 Dominik Meffert
Problems with the large Pressure Pump
When I started working on the new design around Christmas last year the first part I bought was a portafilter coffee machine pump with a high flow and pressure rating.
My initial idea was to use only one single pump for moving all fluid in the system and use a venturi nozzle to generate the needed vacuum for the return line and makeup/solvent loading.
While it worked well with water and pure ethanol, more and more problems arose as the viscosity increased.
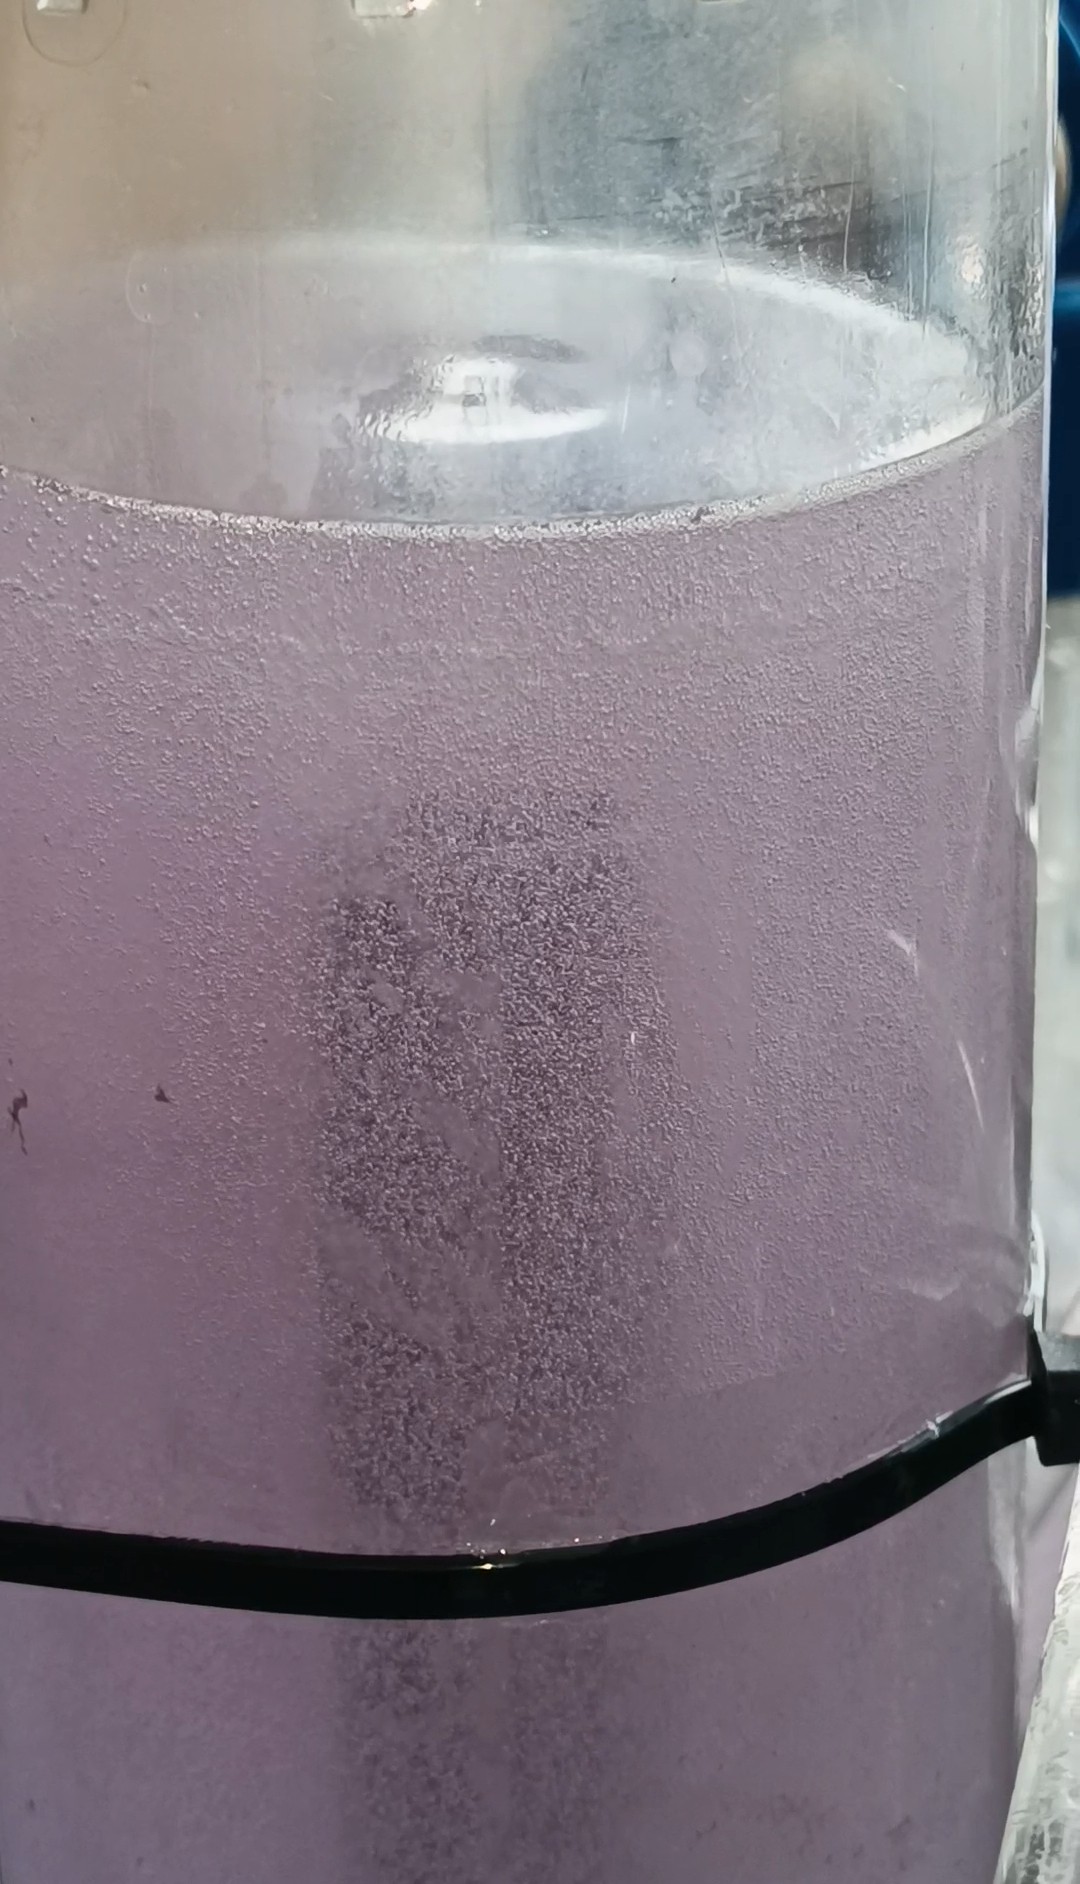
With the high-viscosity ethanol + PVB mixture that I want to use for printing, the venturi valve injected a lot of small bubbles at a high rate into the mixture creating a layer of foam on top of it which kept on rising until the ink tank started foaming over. At the same time, the small bubbles got sucked into the pump causing it to run unstable which would damage the pump over time while creating a loud unhealthy sounding noise.

Over the last weeks, I tried a few things to reduce the foaming problem, but nothing of it could solve it completely...
Another problem with this design was that while the venturi nozzle could still generate a high-flow suction when powered by a high-viscosity fluid, the vacuum level got reduced so much that it could no longer draw in the fluid through the return line...
While this wasn't already bad enough the pump also generated a lot of heat which makes it hard to keep the temperature inside the system constant...
With these problems and the fact that these kinds of pumps are pretty noisy and also quite expensive when bought new, it was time to start working on a better and cheaper solution.
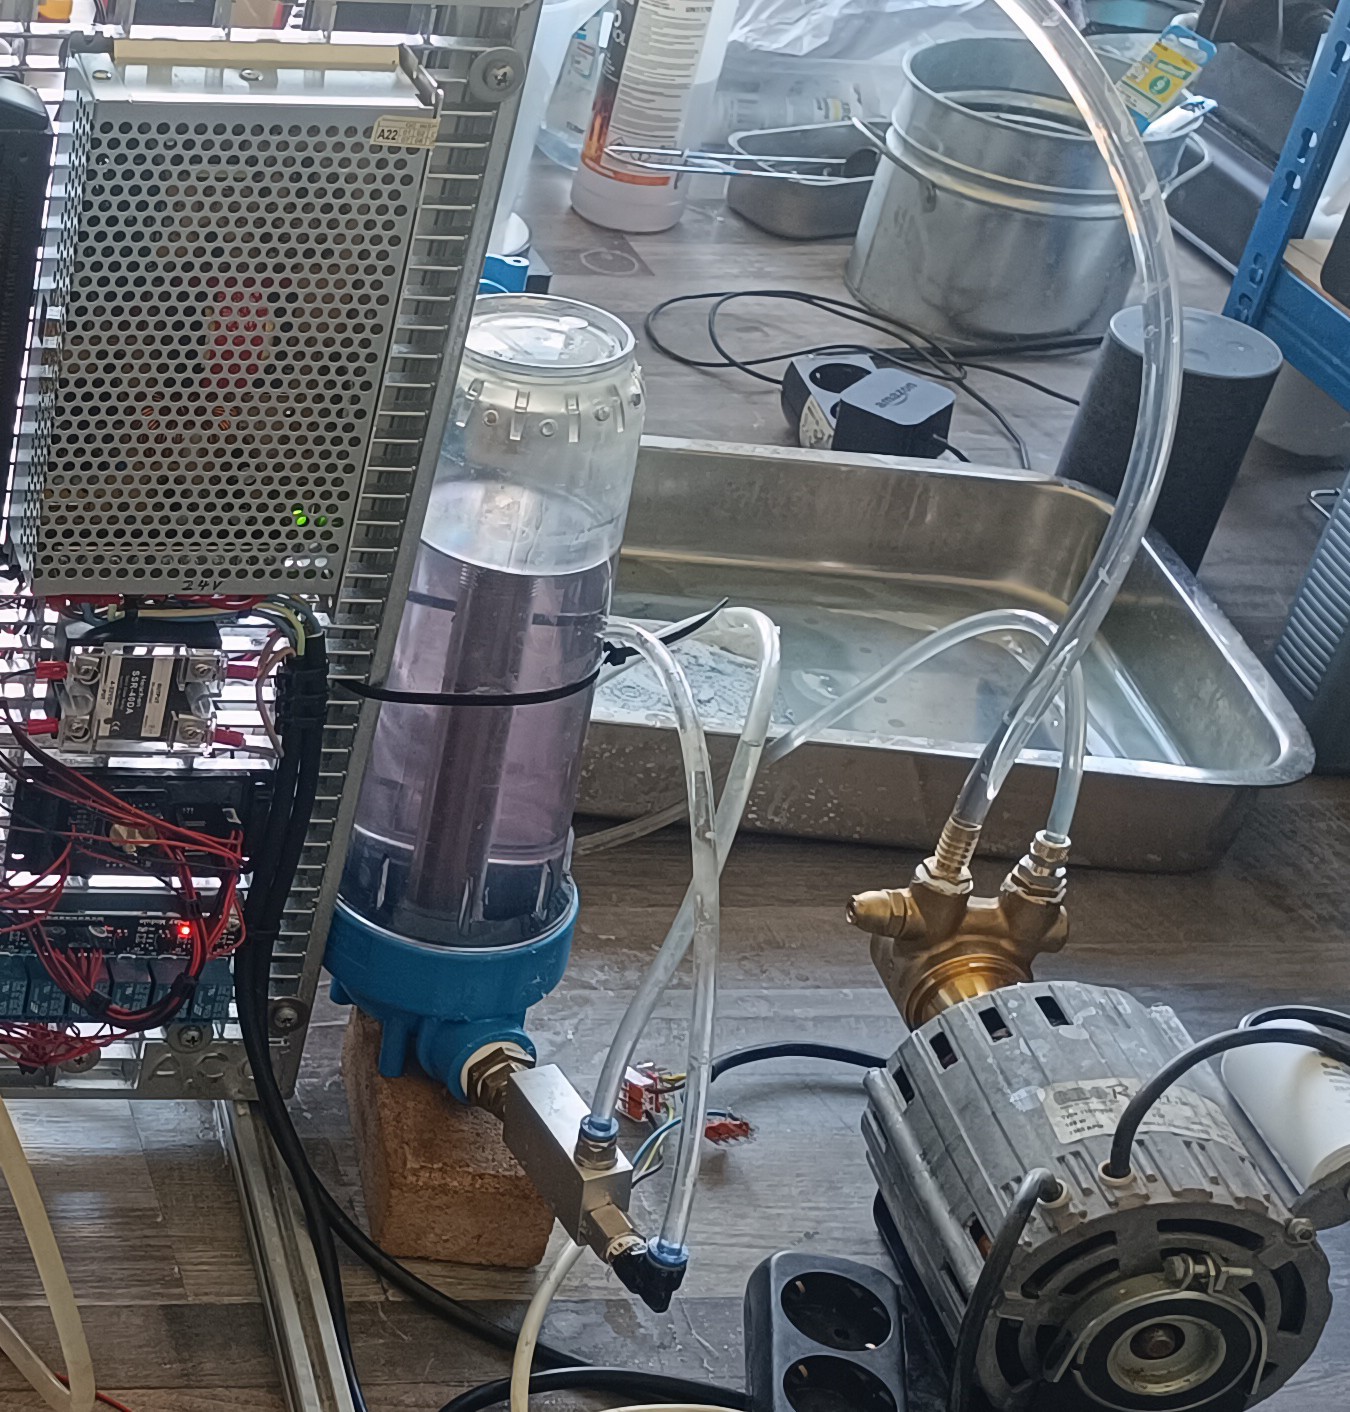
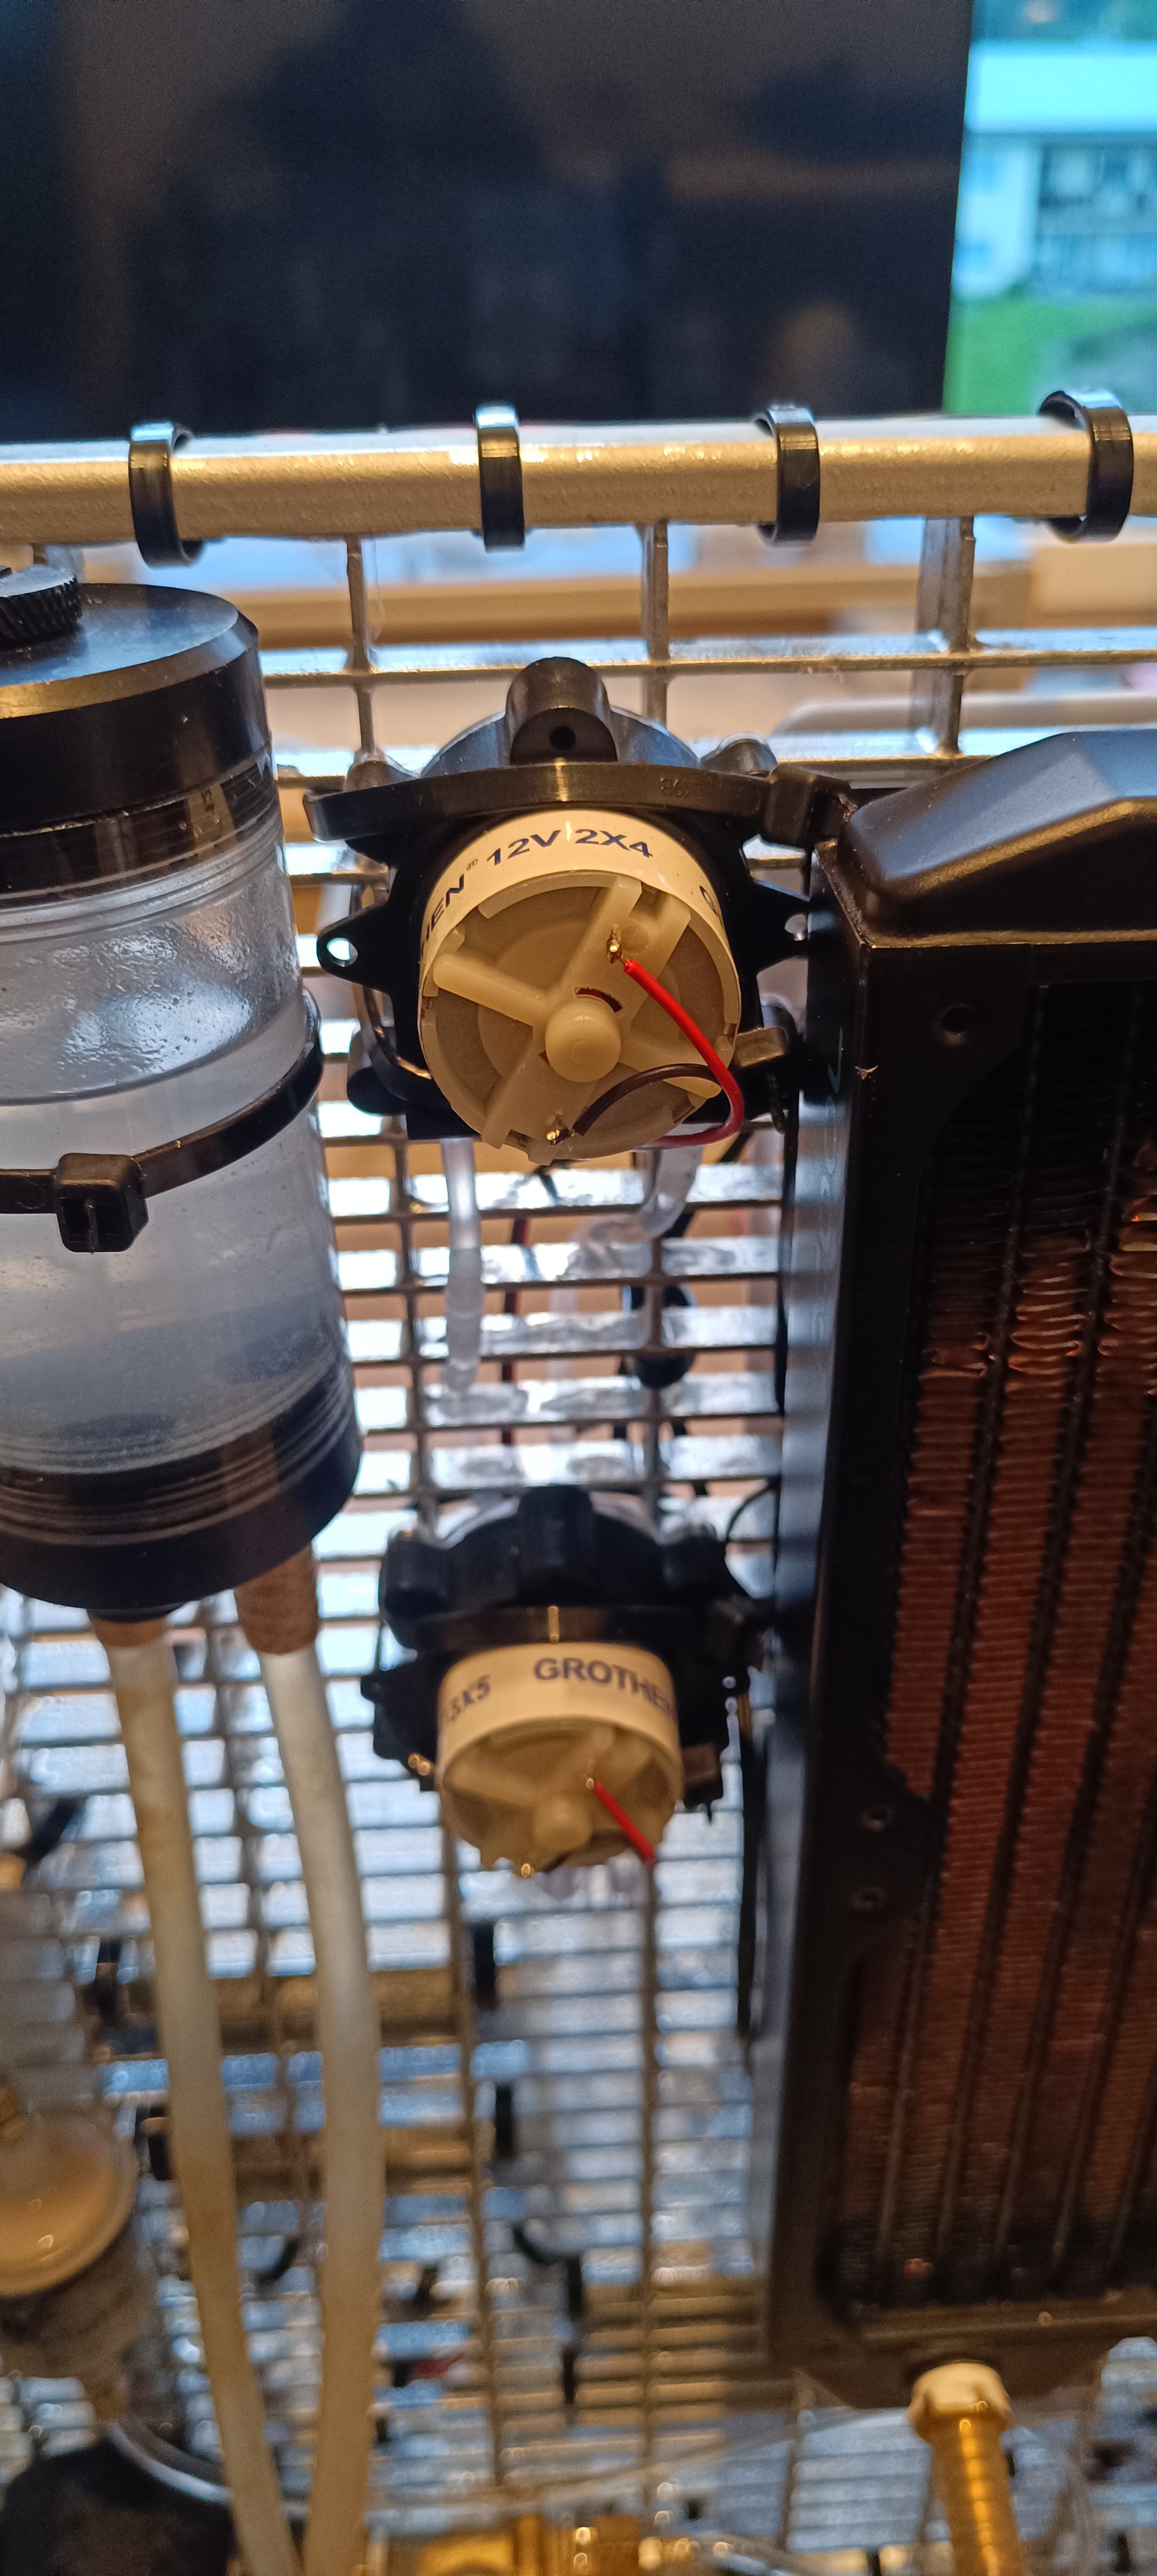
Brushless DC Pump for Ink Circulation
A few weeks ago I already added two small 24V brushless pumps to the printer for ink circulation inside the viscosimeter and for water cooling.
While thinking about the changes needed for replacing the large pump I realized that the viscosimeter circulation pump can also be used for circulating all the ink inside the printer and not only the ink inside the viscosimeter. Because of that I could remove the valves needed for the "viscosimeter sample refresh" function and just keep the pump circulating the ink all the time.
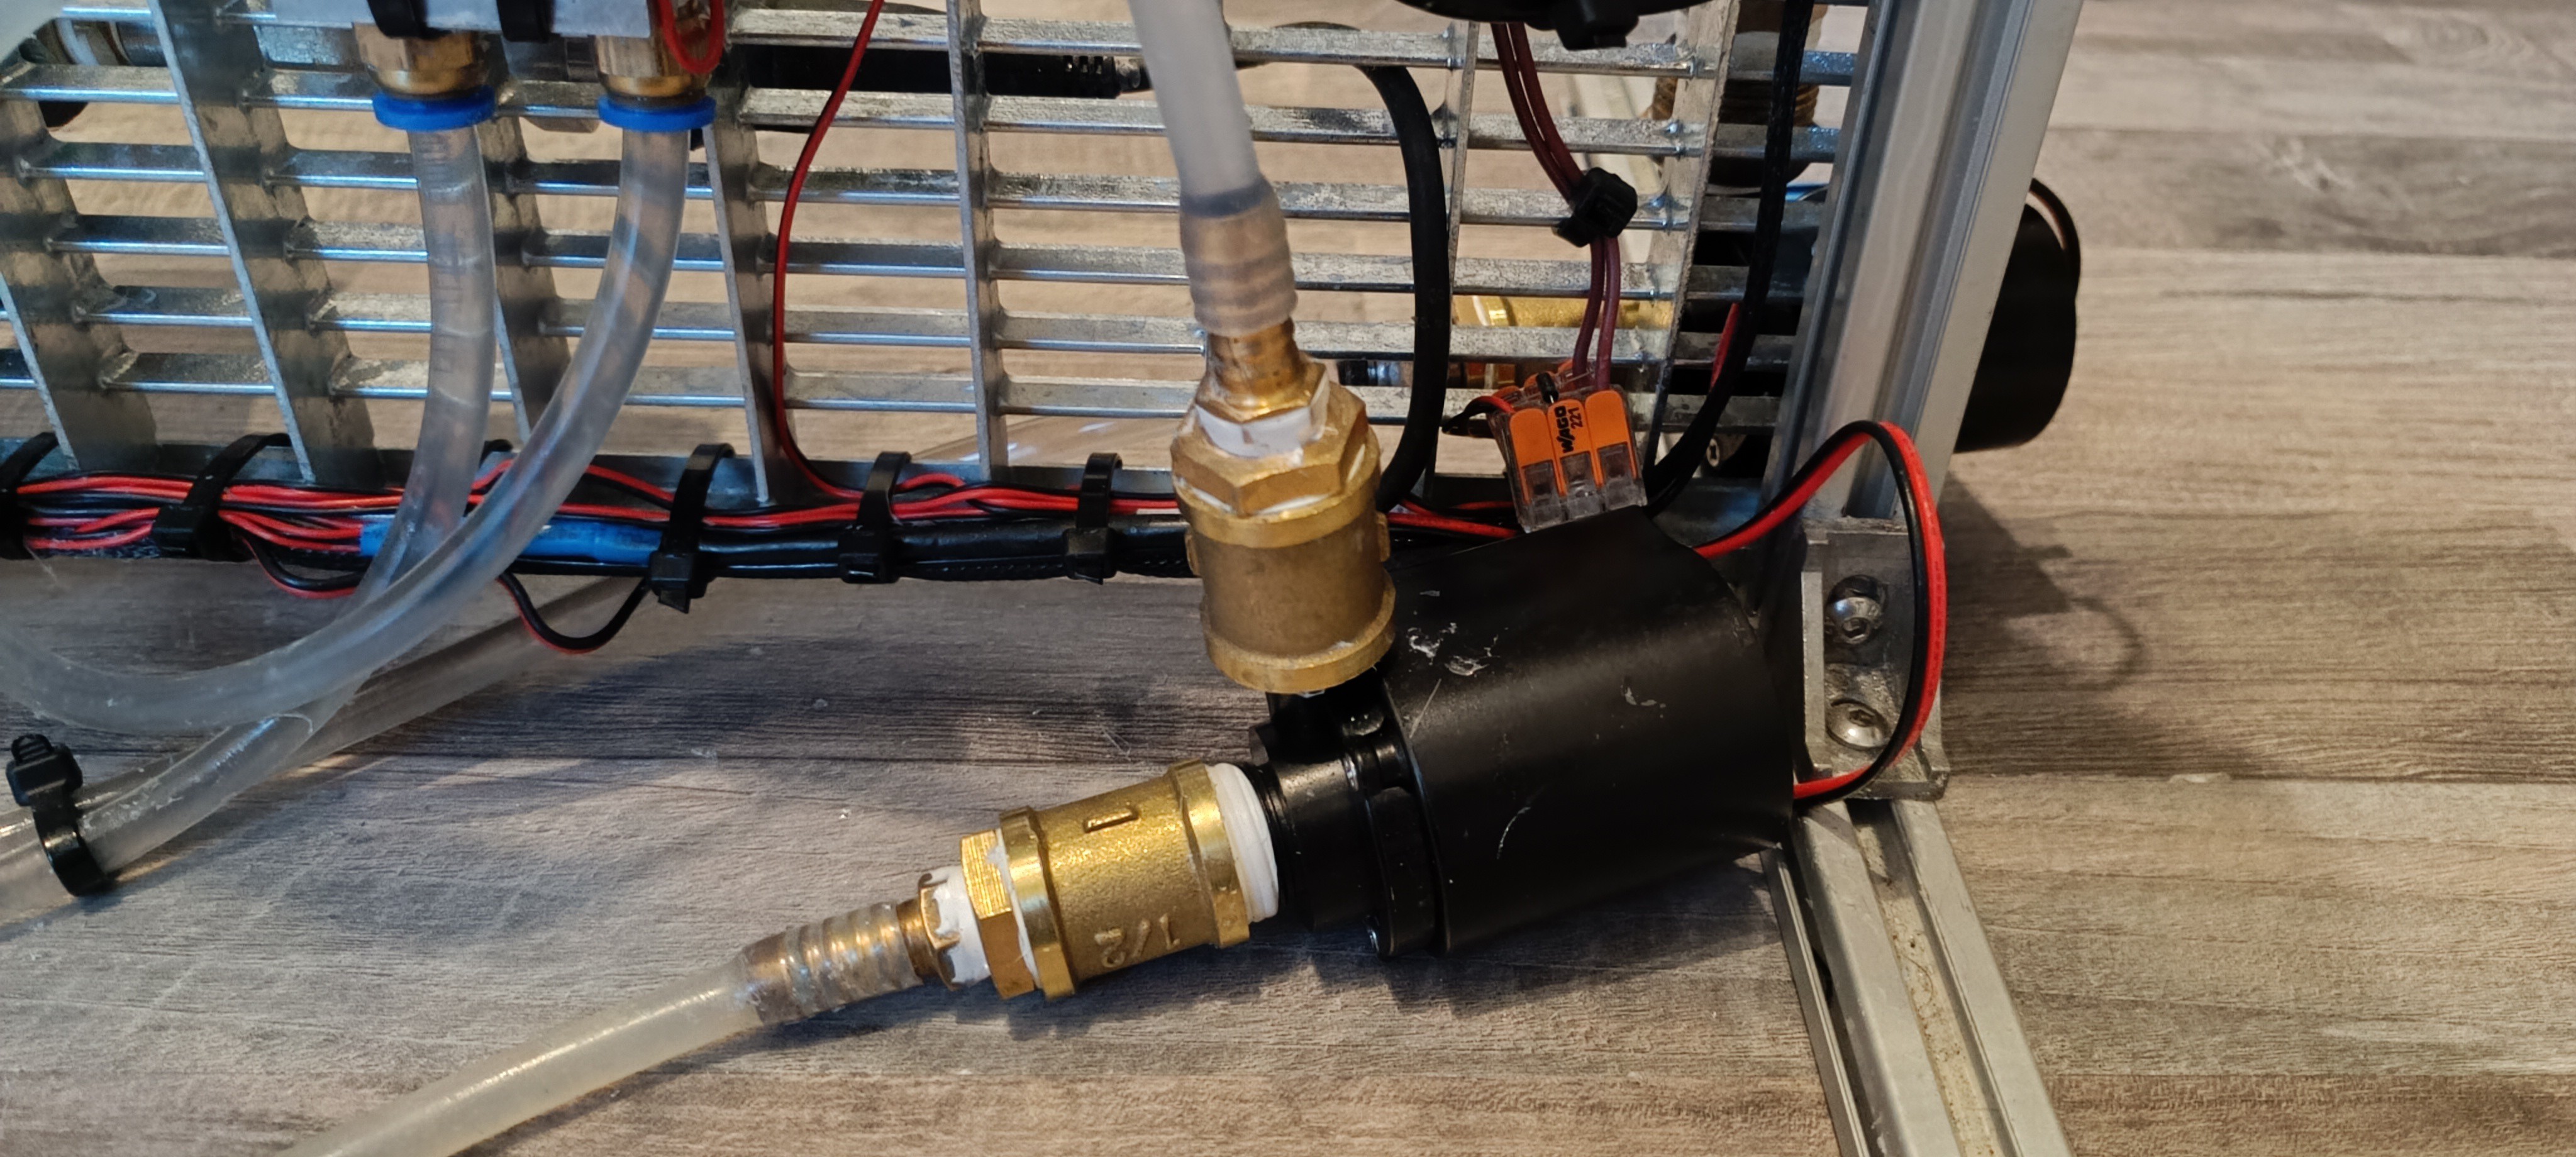
For lifting the steel ball inside the viscosimeter a solenoid valve connected parallel to the pump outlet can be opened from time to time.
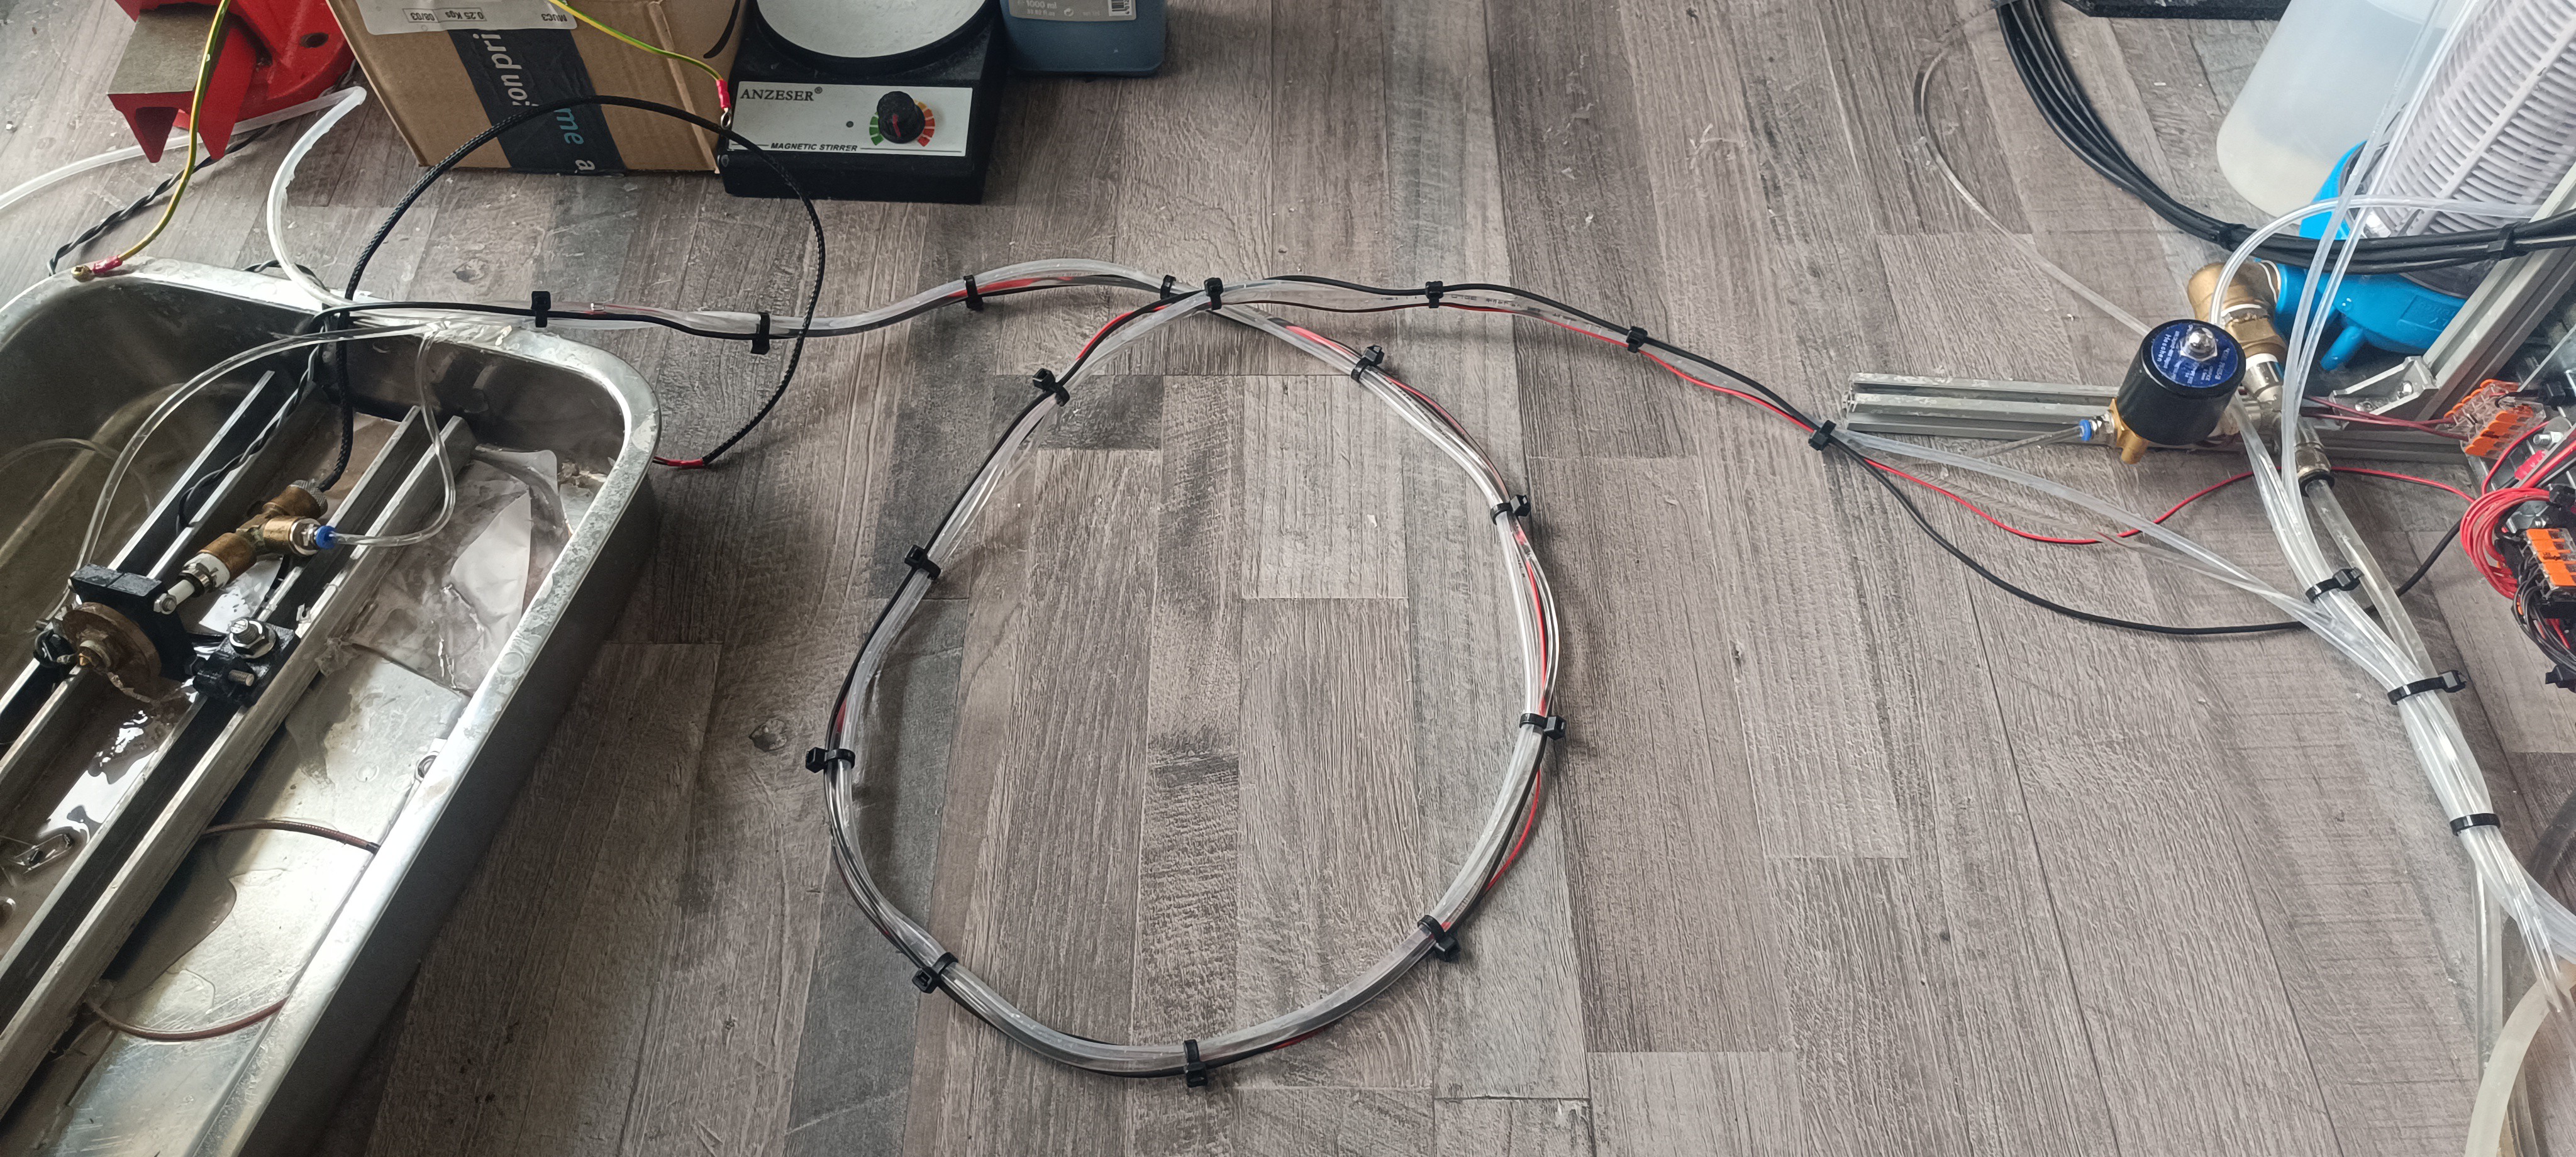
The ink flows from the ink tank to the circulation pump and gets pumped to the viscosimeter.
From there it flows into a T fitting which is connected to the outlet of the relief valve that regulates the pressure of the pressurized part of the system.
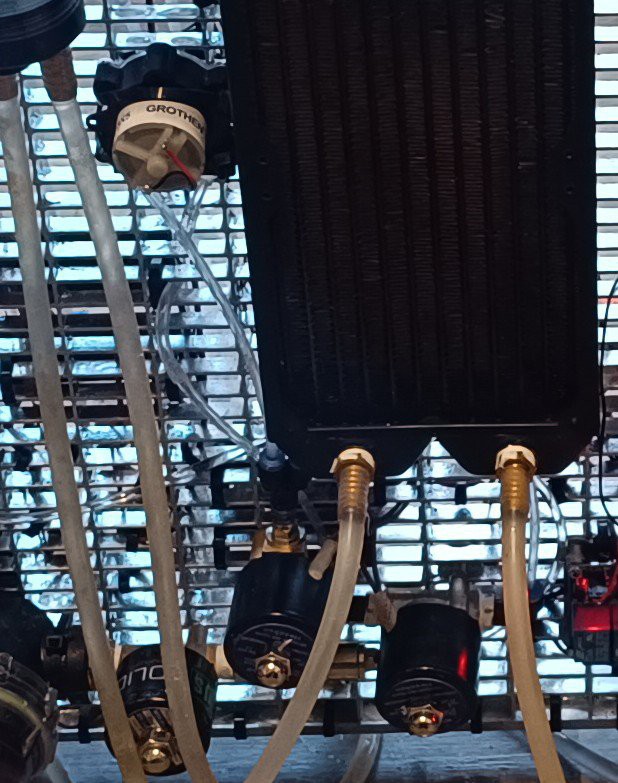
From there the ink flows into the heat exchanger that keeps the ink at 25⁰C by heating and cooling it.

Finally, the ink enters the ink tank again to complete the cycle that keeps the ink well-mixed and at a steady temperature.
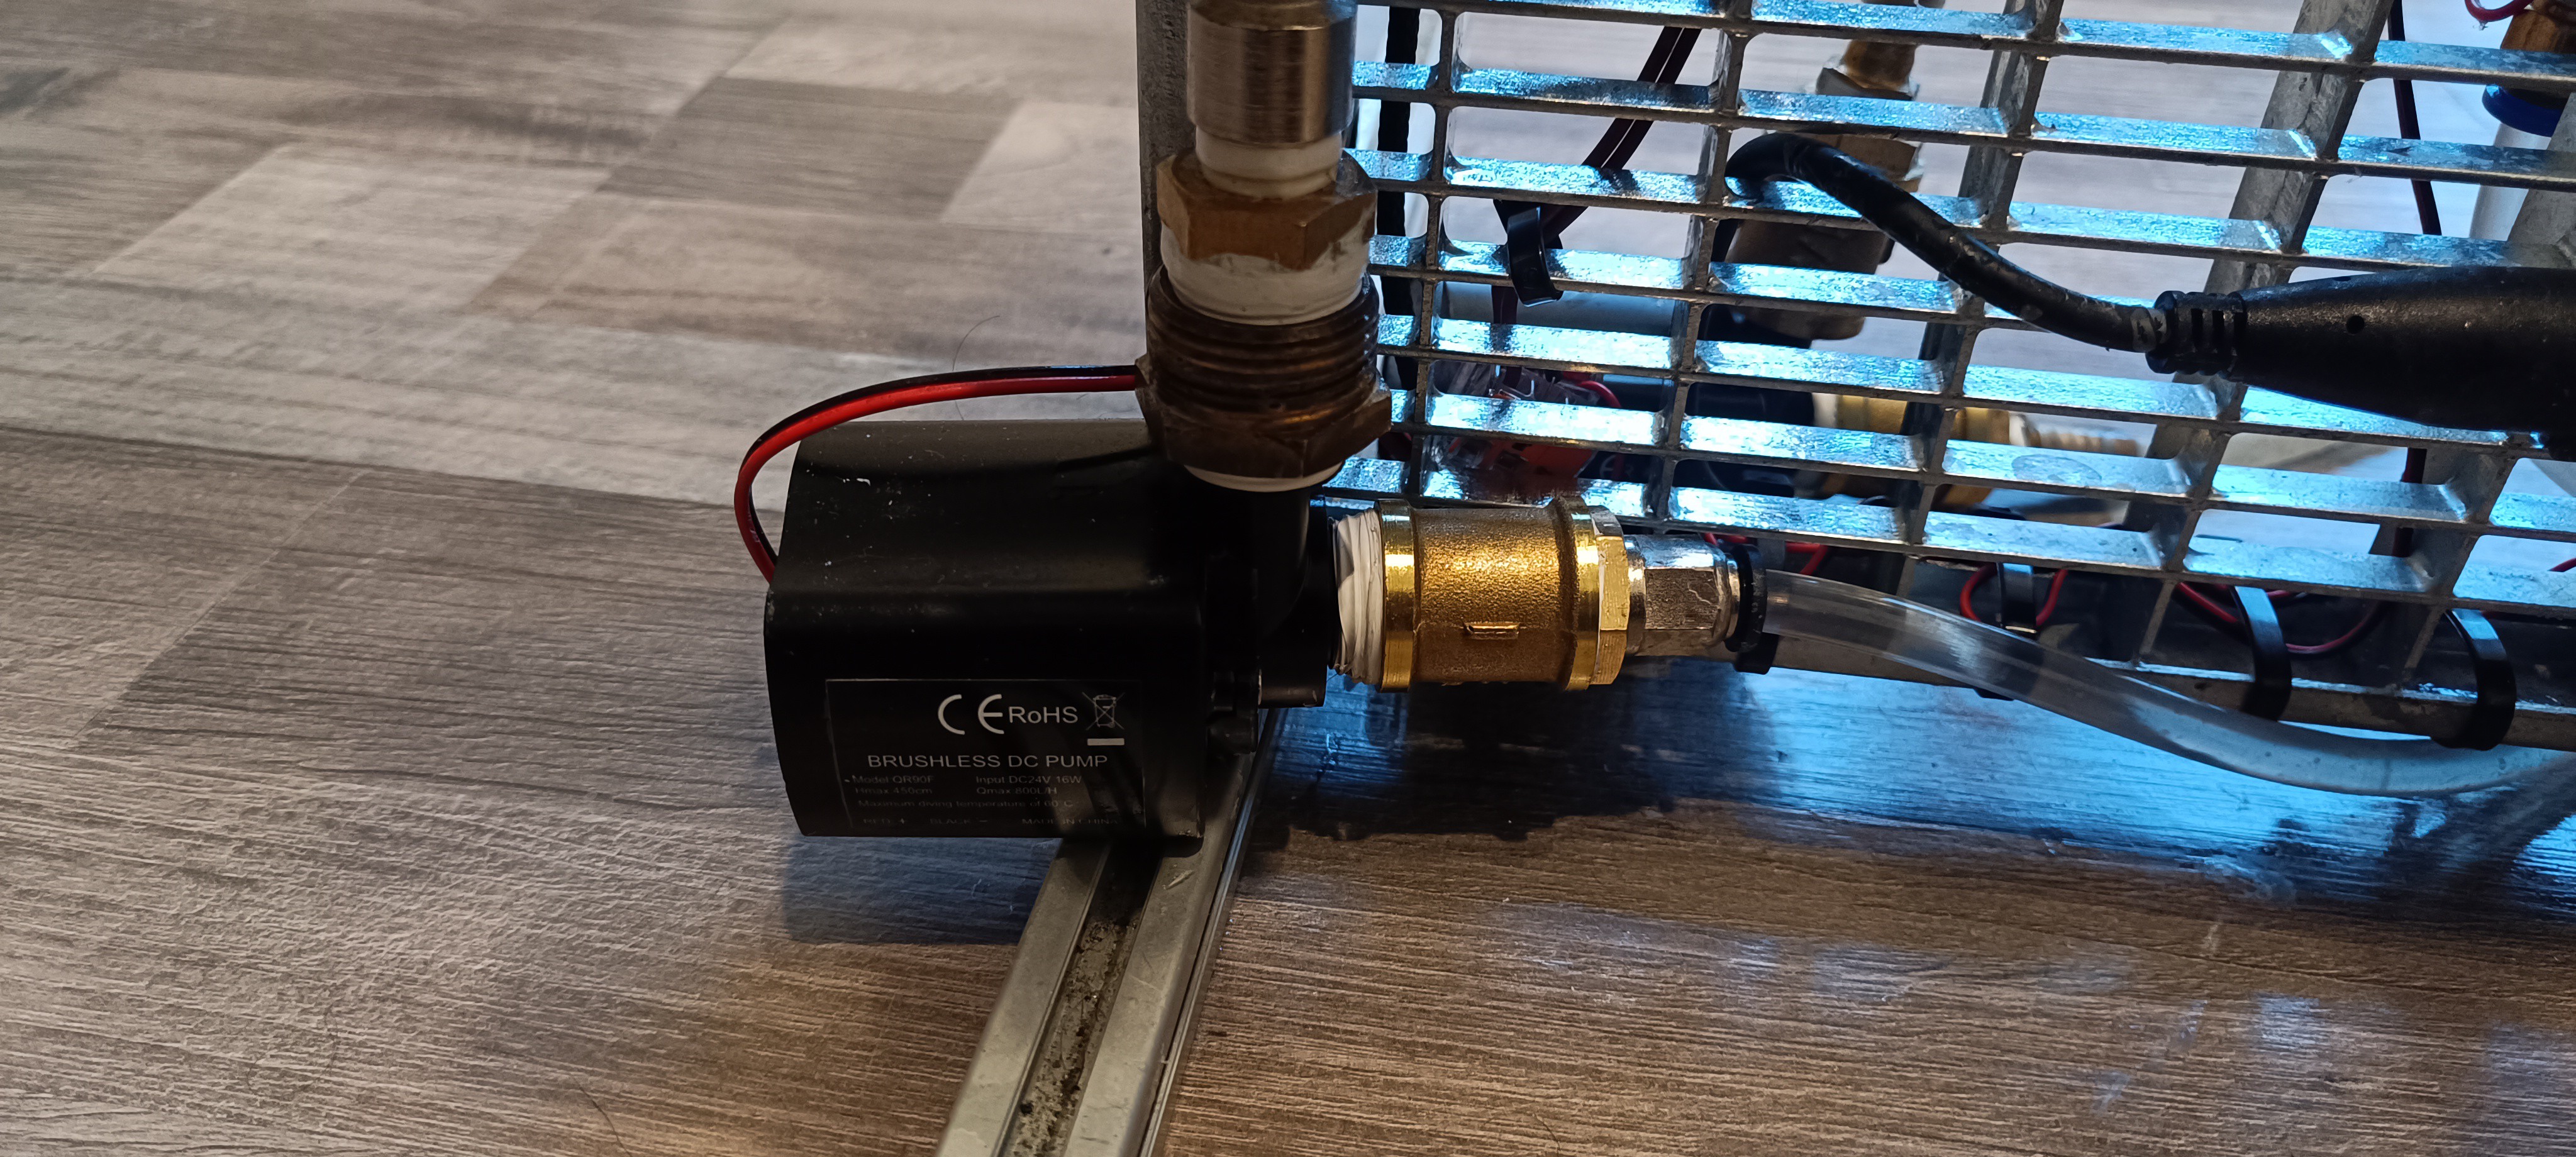
Brushless DC Pump for Water Cooling
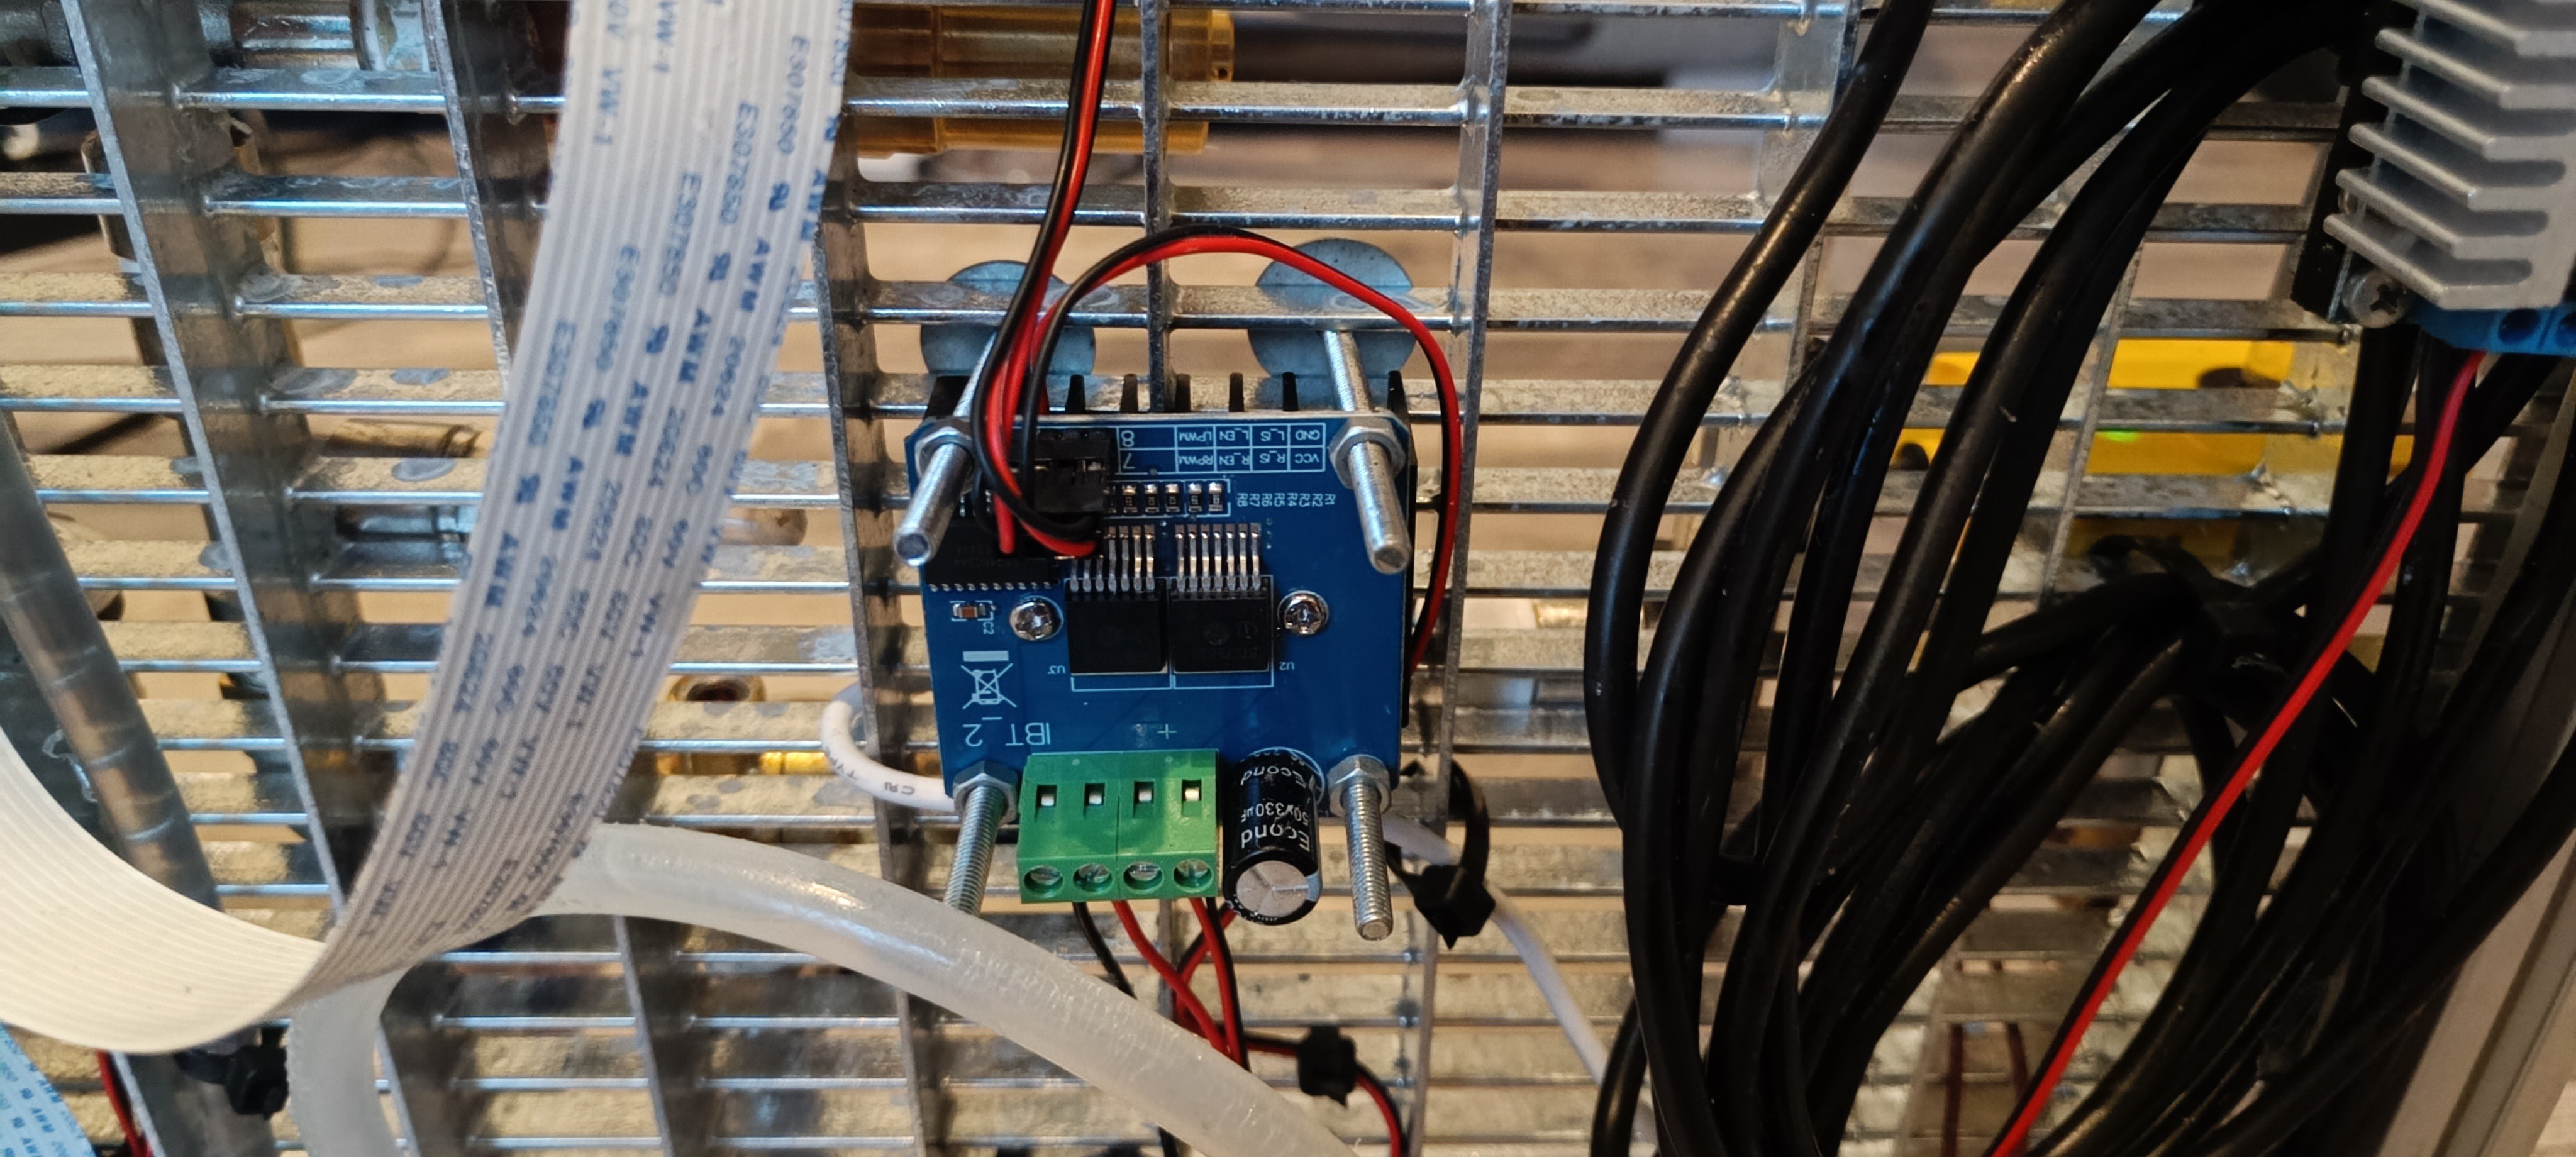
The water cooling system is used for cooling a TEC 12706 Peltier module for heating up or cooling down the ink so that it can be kept always at 25⁰C independent from the room temperature.
The water flows from the water reservoir tank to the circulation pump and gets pumped into the heat exchanger.


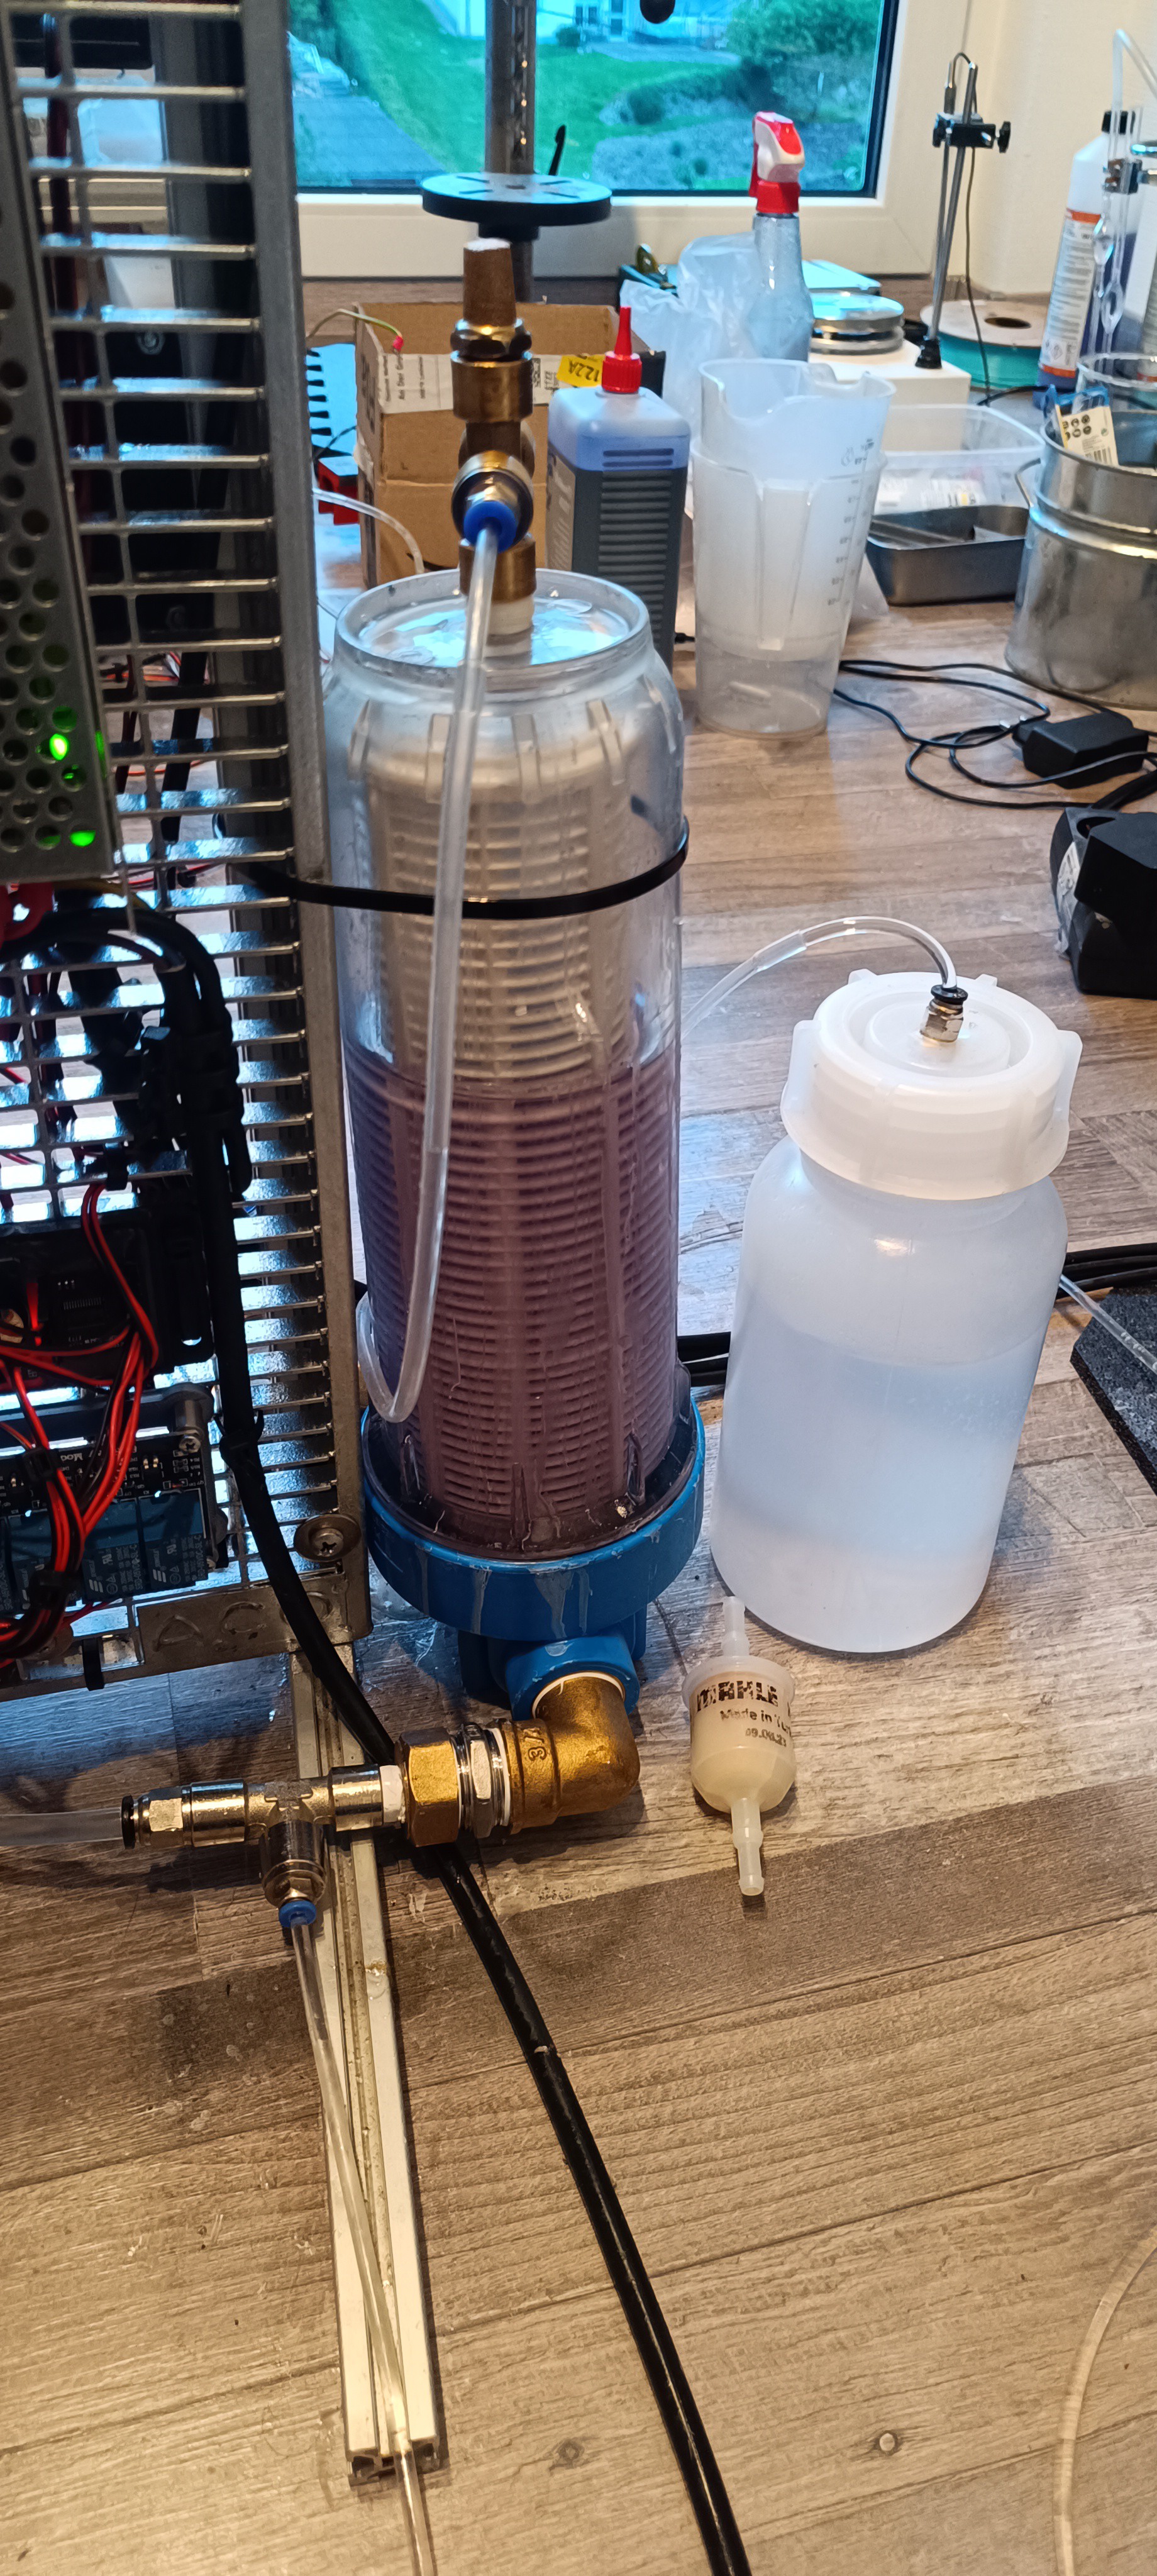
Peristaltic Pump for Solvent/MakeUp
For adding solvent/makeup (ethanol) to the mix I switched to using a peristaltic pump instead of the vacuum line. This pump should be able to add always the same amount of ethanol to the mix when running at the same speed for the same amount of time.
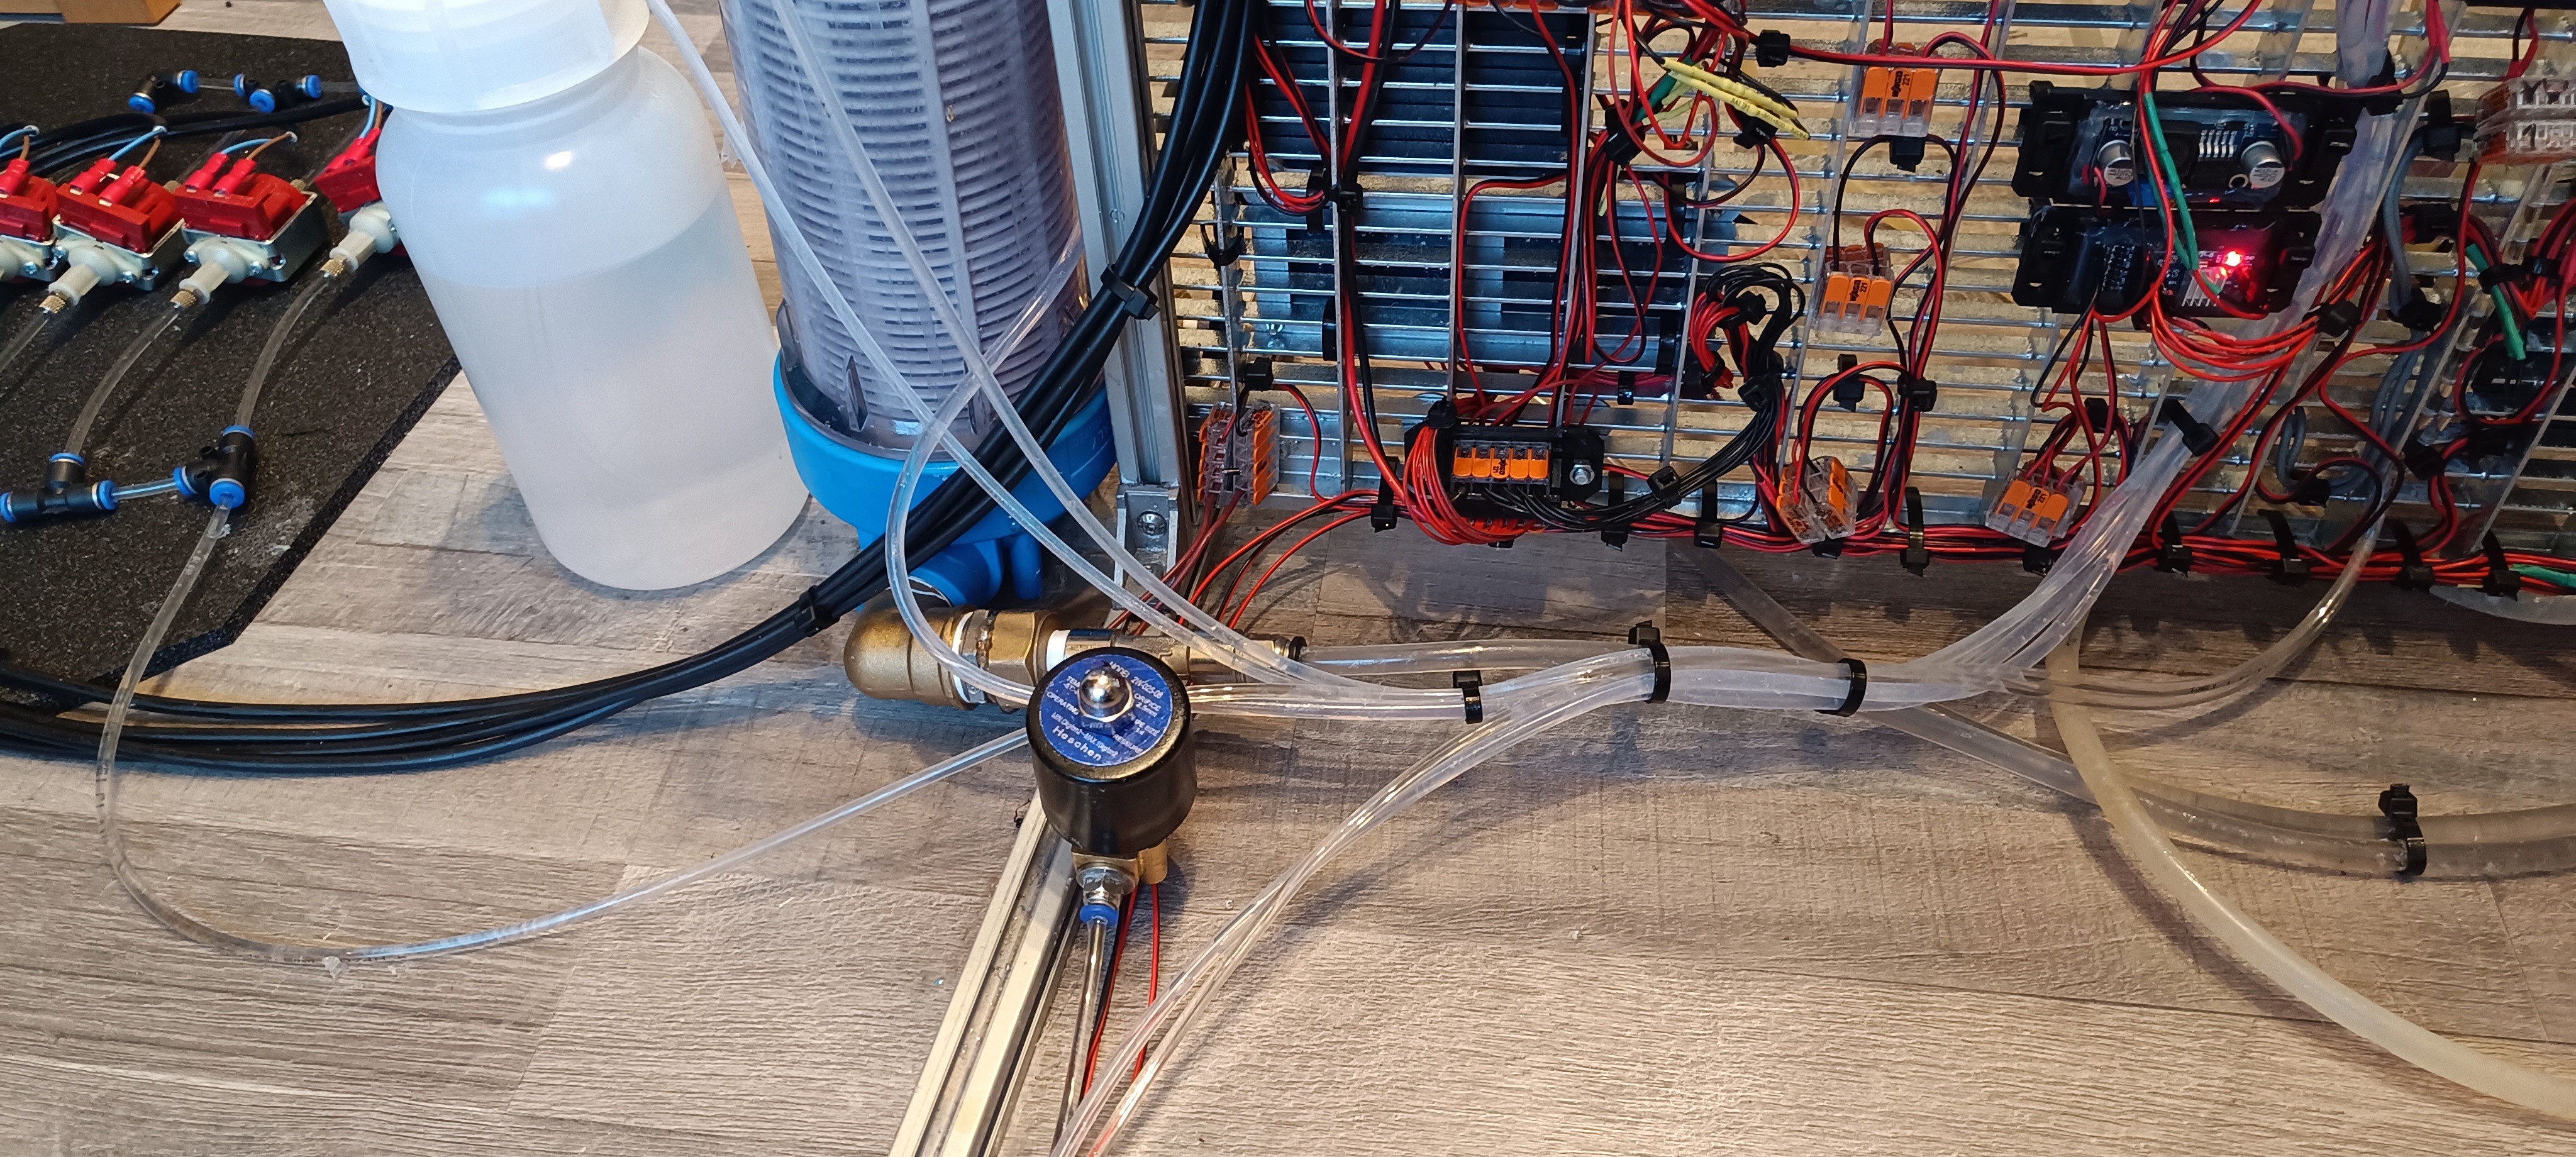
The ethanol is drawn from the bottle next to the tank and flows from the pump into the cross-fitting at the top of the tank.
The side connections of the cross-fitting are for makeup and return line and the top connection is for adding pre-mixed Ethanol/PVB ink and venting the air from the return line out.

A quick note here:
While writing this project log I just had the idea to relocate the two valves on the printhead over to the machine frame.
These valves are used for applying the vacuum either to the nozzle or to the gutter.
At the moment the printhead is mostly disassembled and only used for testing the fluid lines.
When everything related to fluid management is working nicely and reliably, I will build a separate prototype only for the printing electronics to ultimately merge both parts into another revision of the project.
Since this is the most complicated project I ever worked on, it will still take a long time until it can be used for anything useful.
Currently, the printhead is connected to the printer via a 3m long connection line consisting of a ground wire for ESD protection, a cable connection to the nozzle thermistor that checks the ink temperature at the nozzle, the ink line which supplies pressurized ink or vacuum for cleaning to the nozzle, the return line which draws the ink back to the printer and a flush line which is connected to the ink tank that can be used for flushing the nozzle line and return line by applying vacuum to the line that needs to be flushed and connecting the flush line to this line. The vacuum draws the ink from the tank through the line that should be flushed to the peristaltic pump and from the pump back into the ink tank which has a mesh filter inside for separating any dirt that may get flushed out of the line.
Peristaltic Pump for the Return Line
When I tested out the first peristaltic pump for adding makeup, I was surprised at how well these pumps can generate suction.
The generated vacuum level is higher than that of the venturi nozzle when driven with high viscosity fluid and the flow is much lower so that not as much air gets sucked in that could mix with the ink to form bubbles or foam.
Replacing the venturi with a peristaltic pump has not only the advantage that it solves the bubble/foam problem, it also lowers the required high-pressure flow rate, because now, without the venturi nozzle, the only thing on the printer that requires high pressure is the ink stream through the 0.1mm nozzle which only requires a very low flow rate what makes it possible to use other types of pressure pumps for the printer.
The return pump pumps the ink back into the cross-fitting on top of the ink tank which generates a vacuum on the input side of the pump that is used for either returning the ink from the gutter or cleaning the nozzle.
For returning the ink from the gutter, the gutter valve is opened so that the ink from the ink stream hitting the gutter block/pipe can be drawn back into the printer. This is normally done as long as the printer is active and the ink stream is present.
For returning the ink from the nozzle, the gutter valve is closed and the nozzle vacuum valve is opened, so that the ink can flow backward through the ink line via the return line back into the tank. This is normally done to clean the nozzle with either pure ethanol or ink from the flush tube.
While only a small amount of pure ethanol should enter the system to not dilute the ink too much, the flush tube can be used as long as needed for flushing particles out of the nozzle/ink line that may block the nozzle again if they don't get completely flushed out of the ink line.
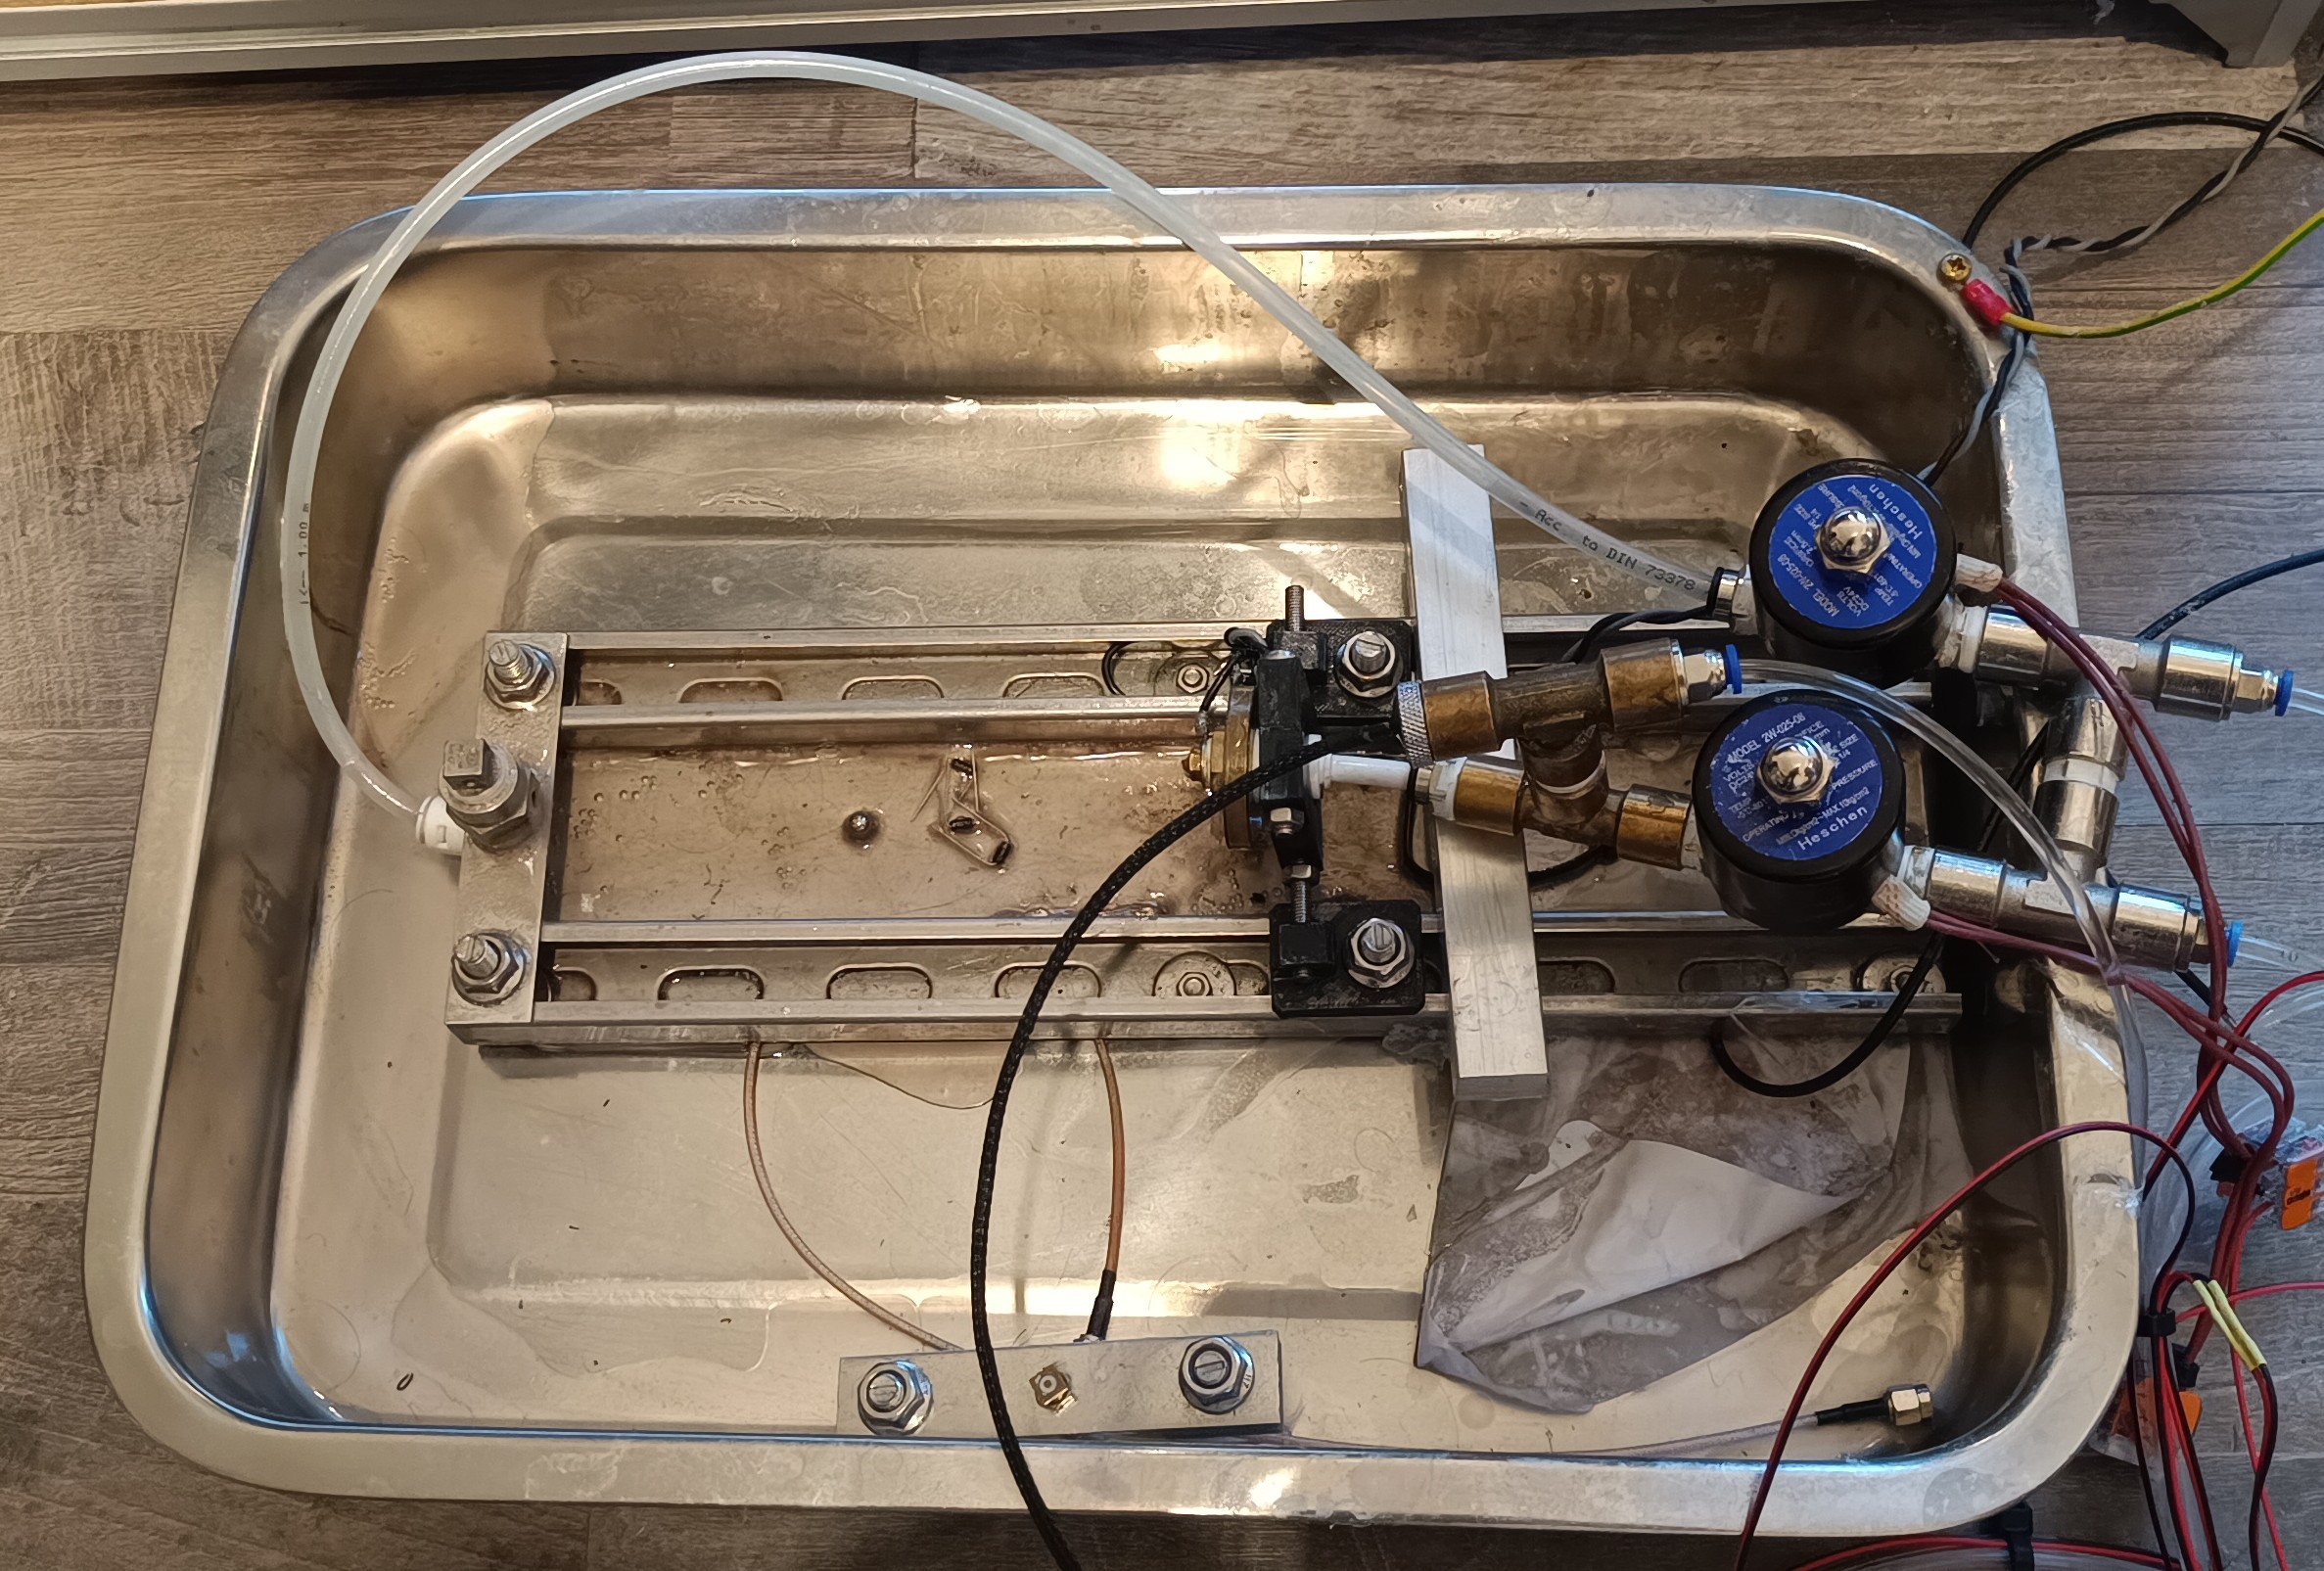
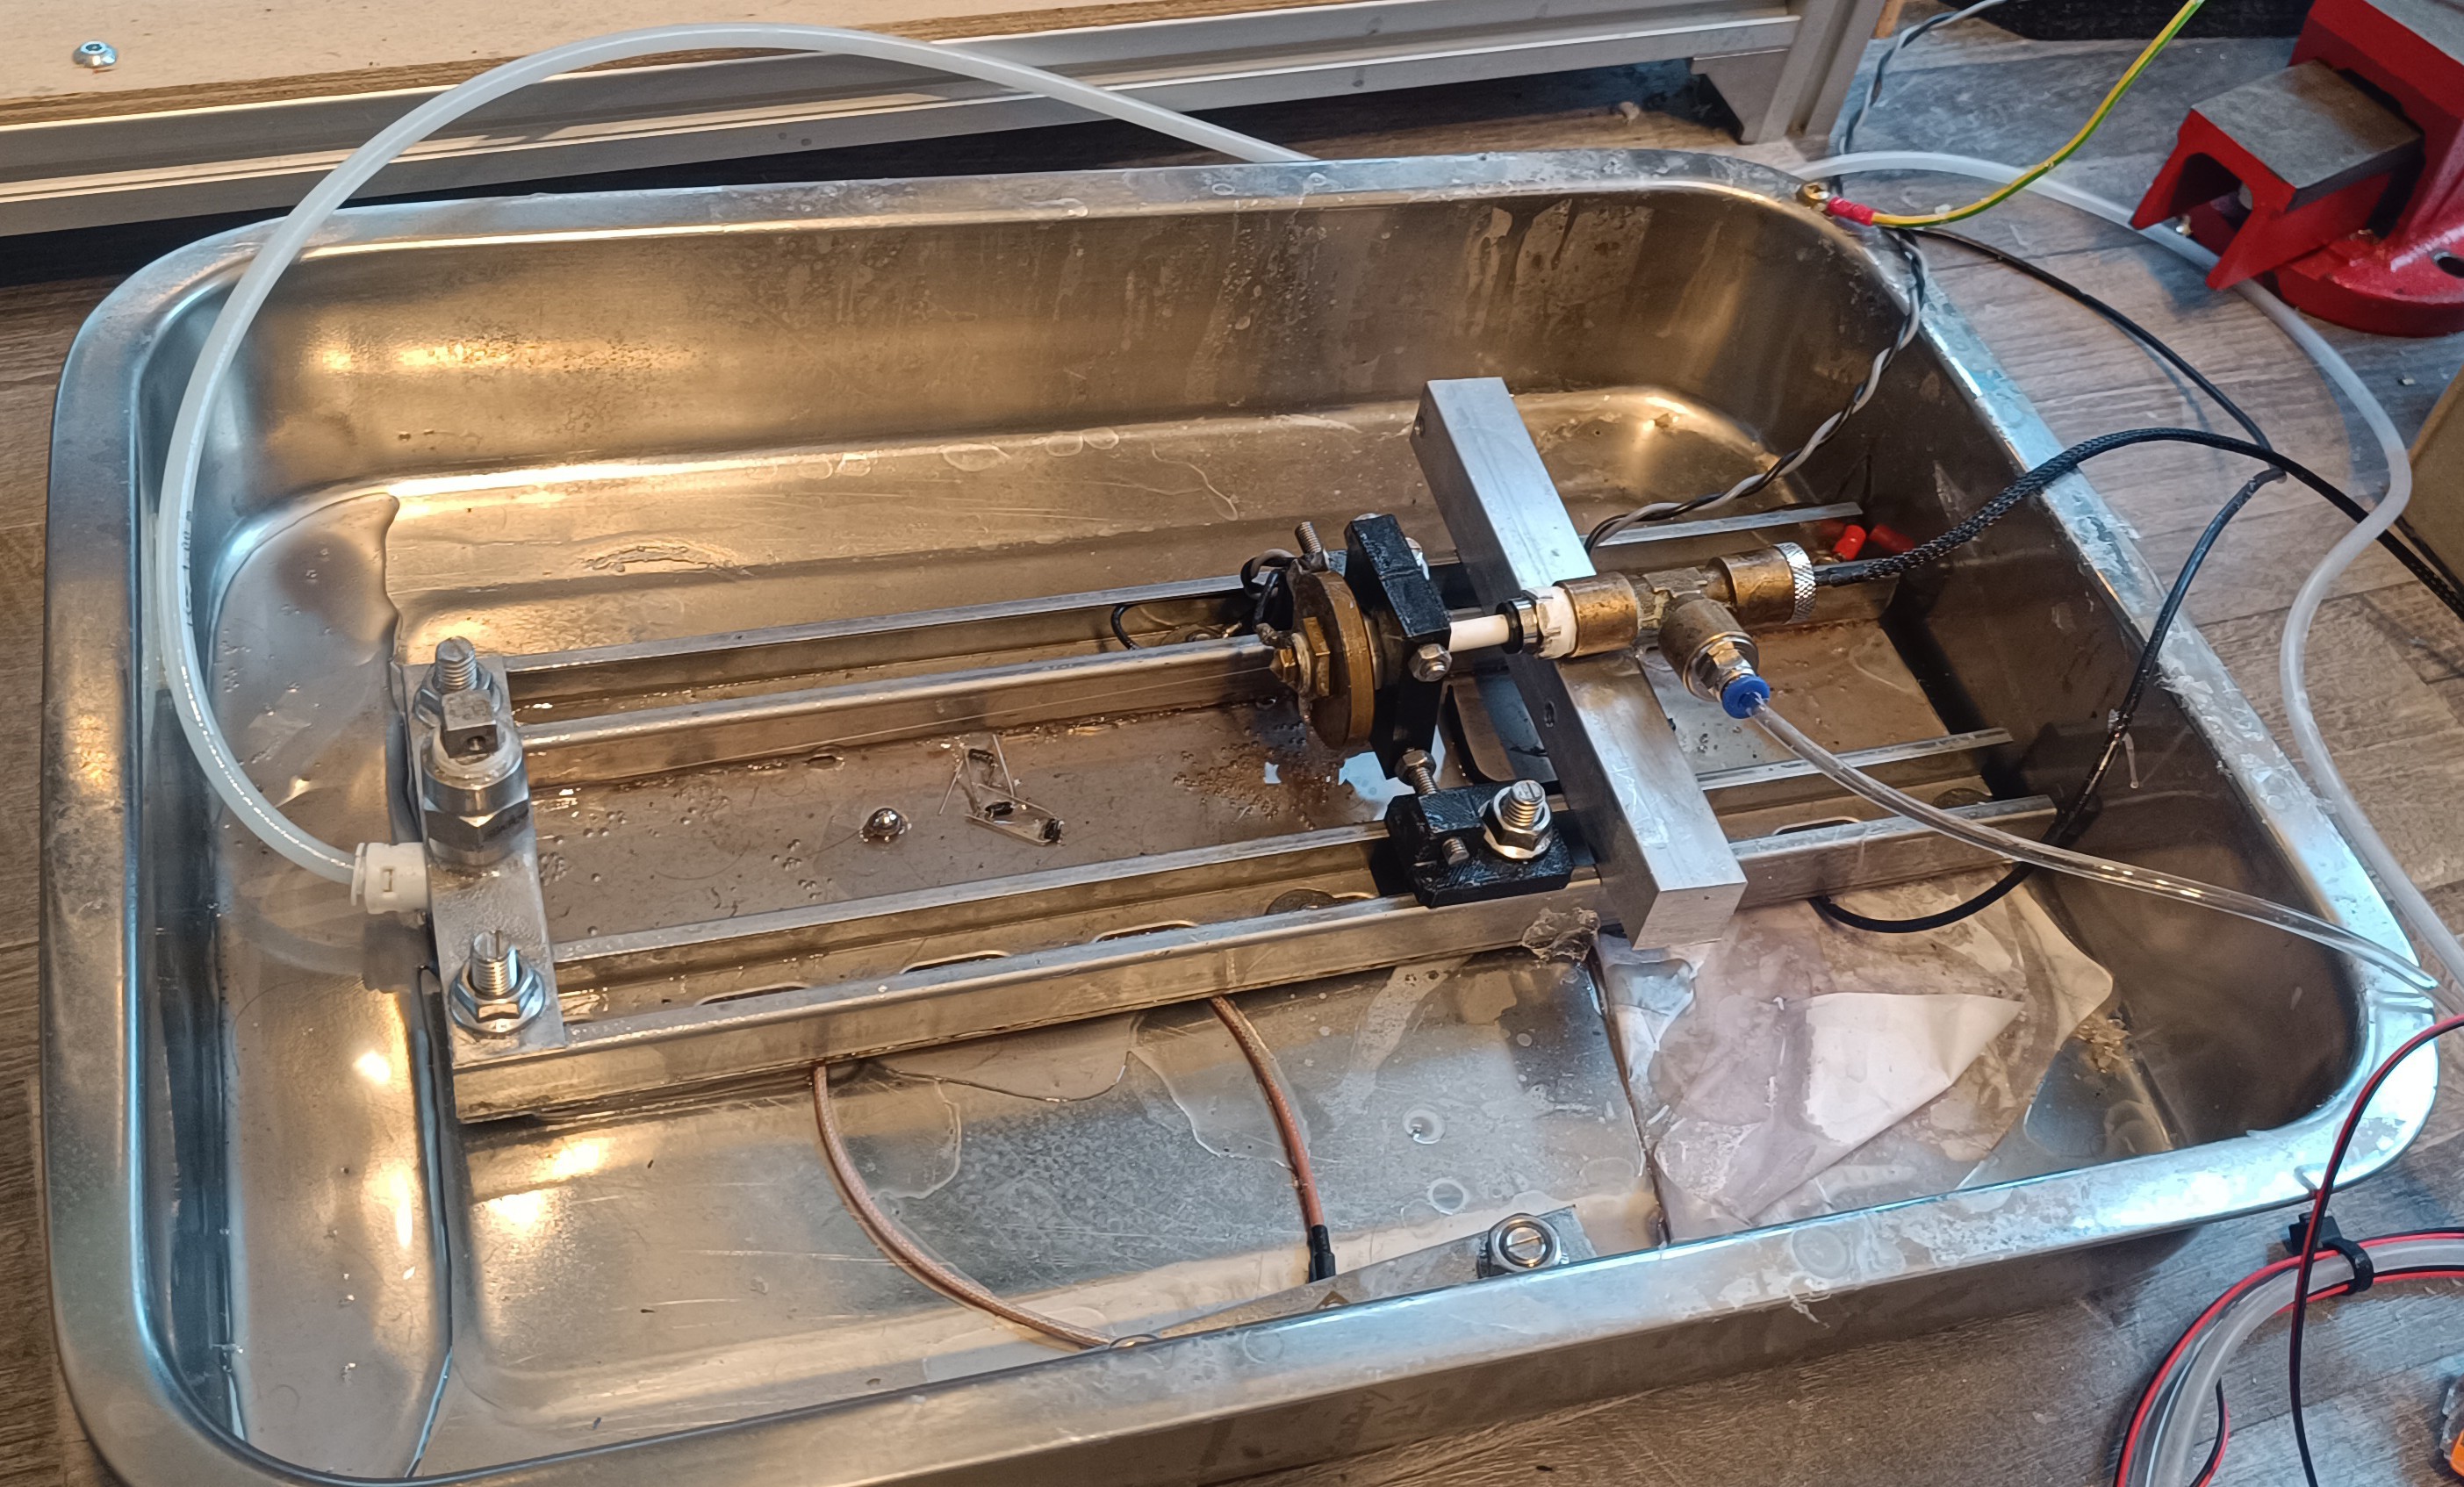
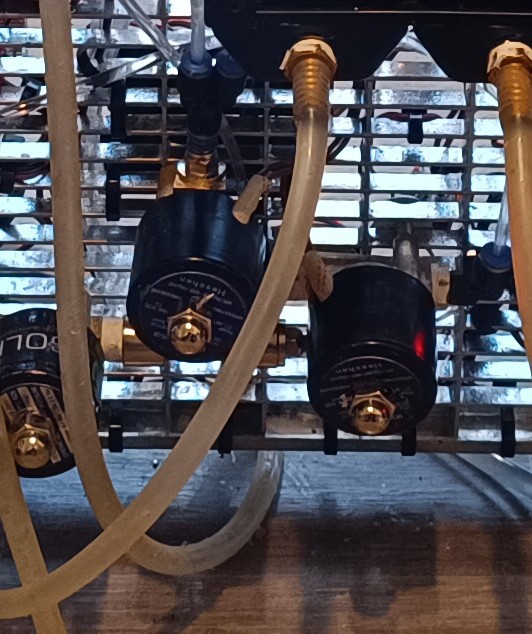
New Pressure Pumps: 4 Solenoid Pumps
Since the high-pressure flow requirement got much lower with the new design, it is now possible to use other pressure pump types for generating the needed pressure and because small solenoid pumps like the ones used in cheap coffee and fog machines don't make a lot of noise, I decided to use them for generating the needed pressure.
These pumps are available in many different sizes with different flow, pressure, and power ratings. While the smaller ones are very quiet, the larger ones make a louder humming noise.
While some models can run at 100% duty cycle, most of them are only rated for running in 1 min on / 1 min off cycles to prevent them from overheating. This is the major drawback of this kind of pump.
To deal with it, I'm currently using four of them connected in parallel to the ink line wired to a 4-channel relay module to run them one by one with a few seconds of overlapping to prevent the pressure from dropping while switching.
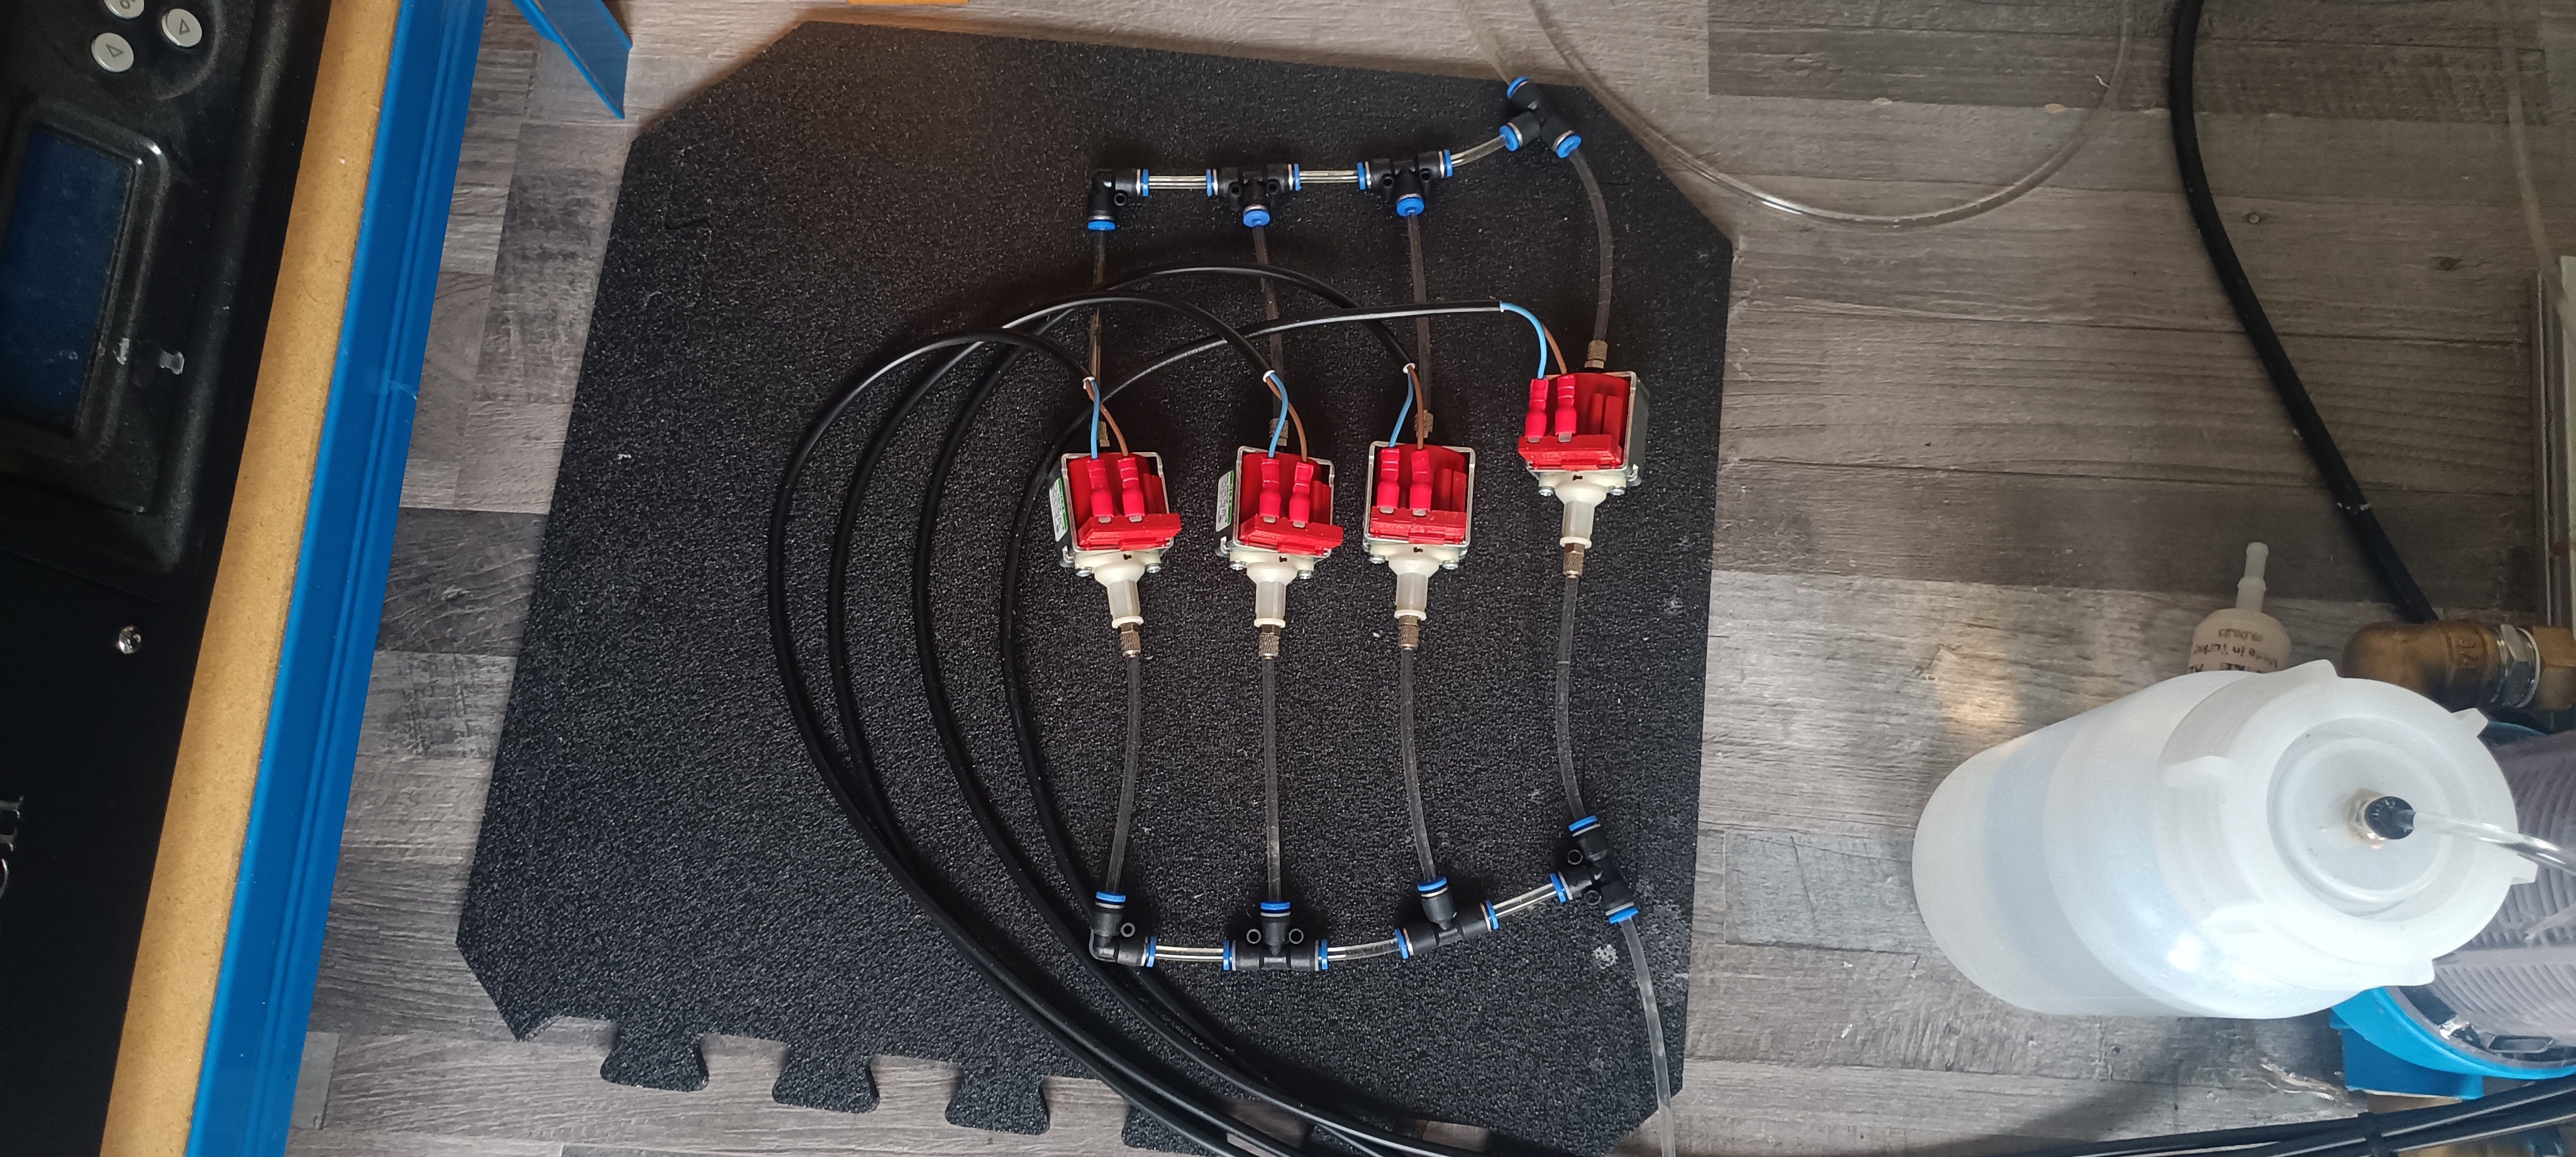
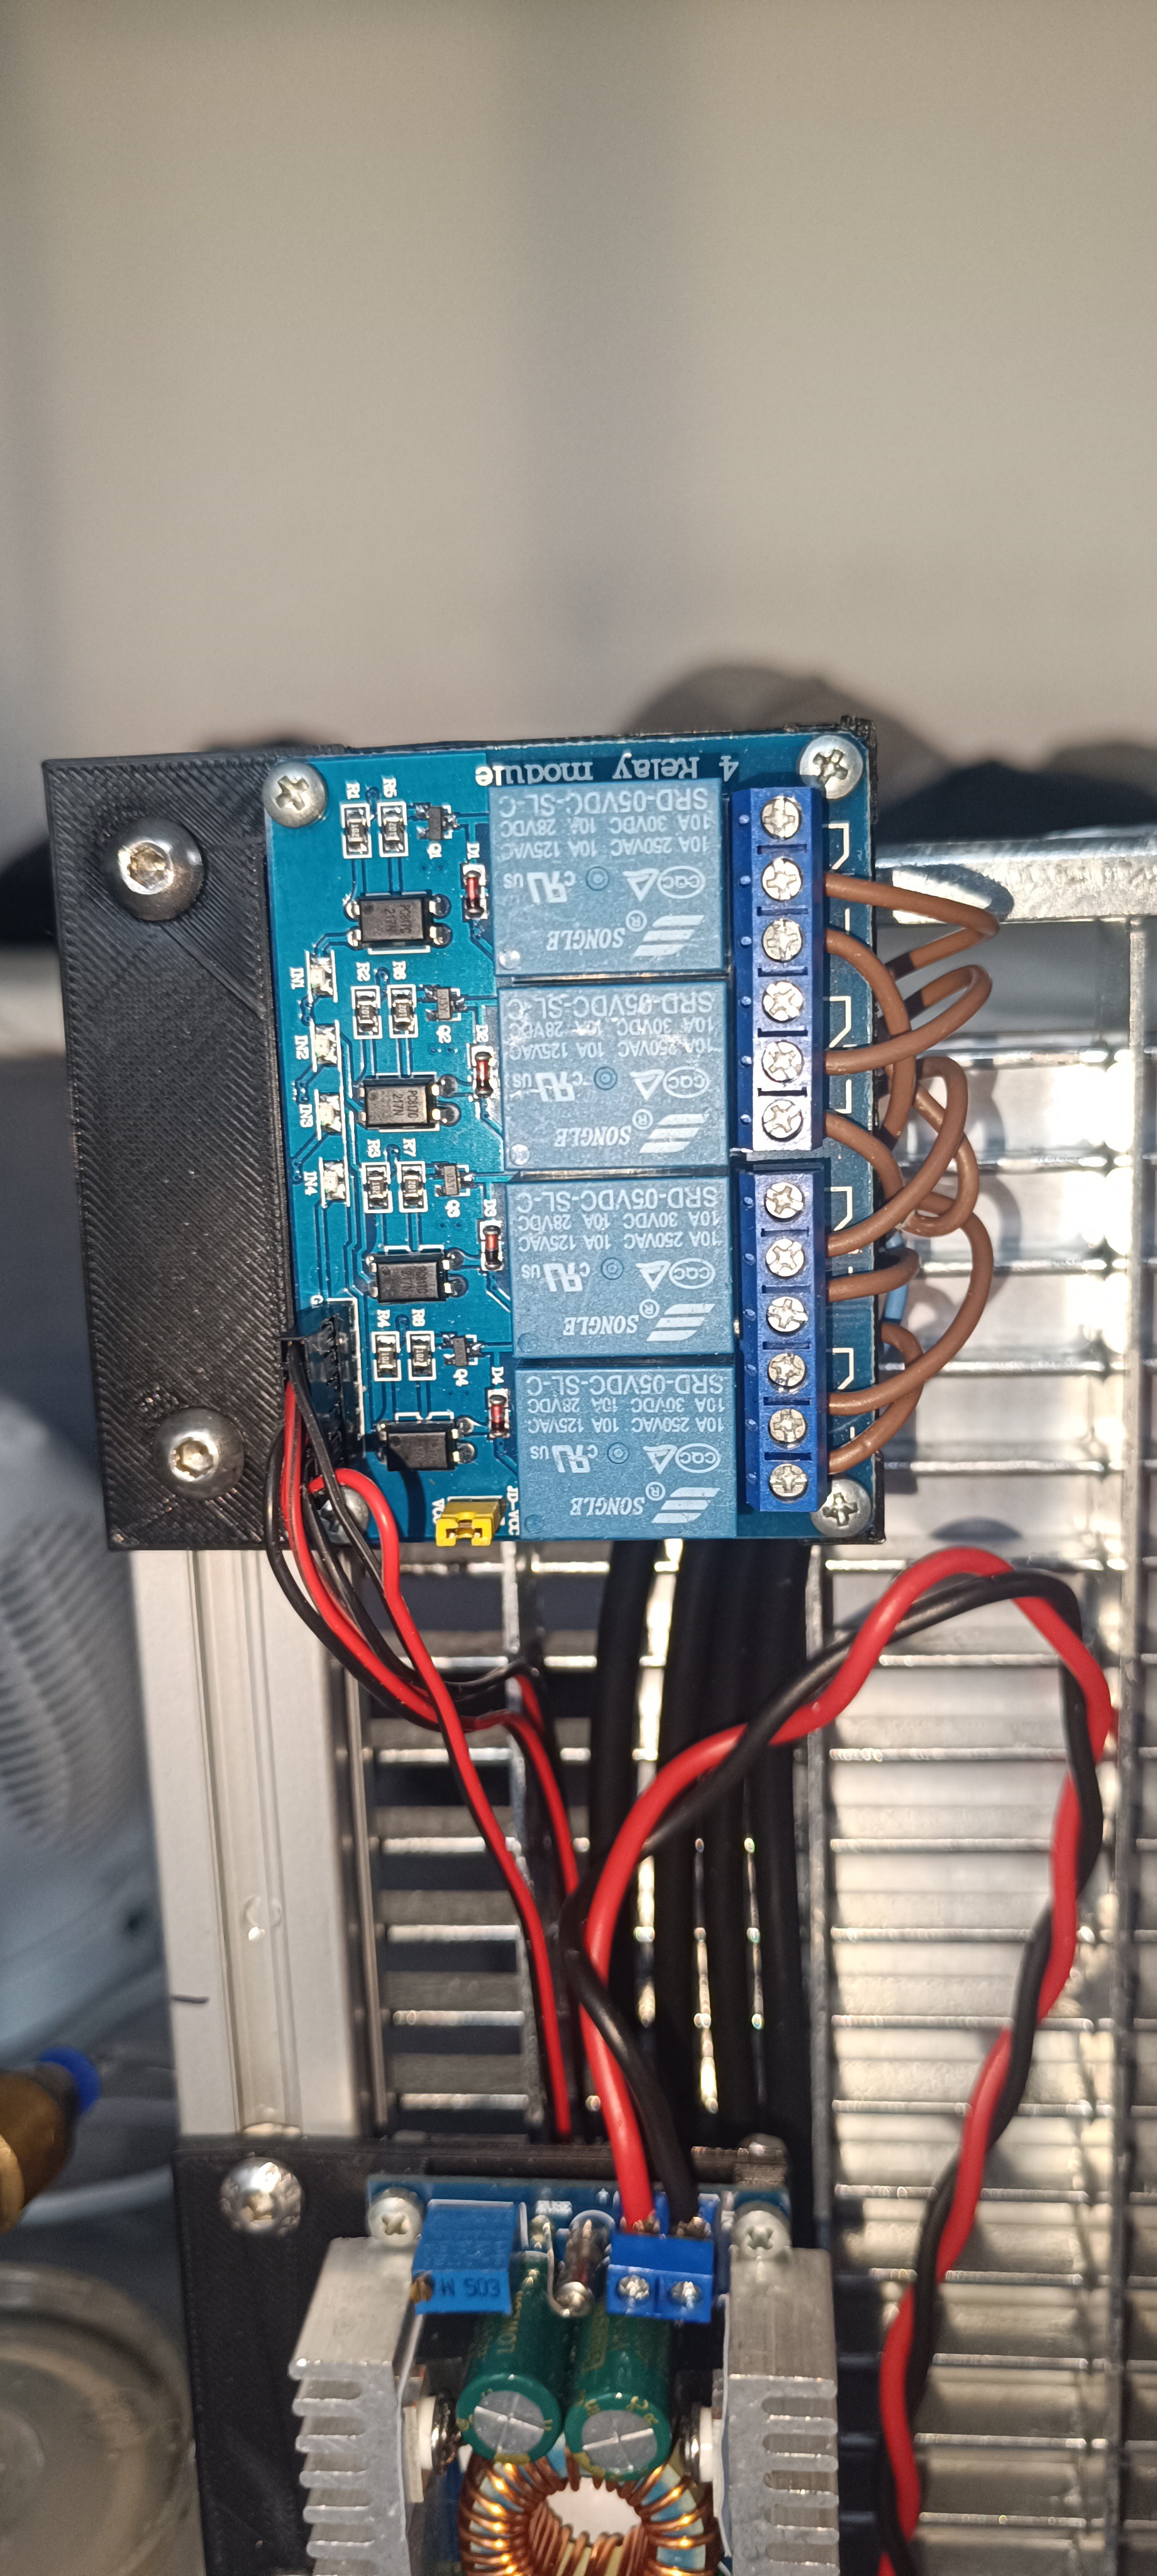
This way each pump is 1 minute turned on and 3 minutes turned off, which is 3 times the required off time for this model. While testing, they heated up, but not enough to be worried about melting the plastic around the coil.
I'm currently using 4 of the ULKA NMEHP Type 1S models, which are small and silent pumps with a 1 min on / 1 min off rating.
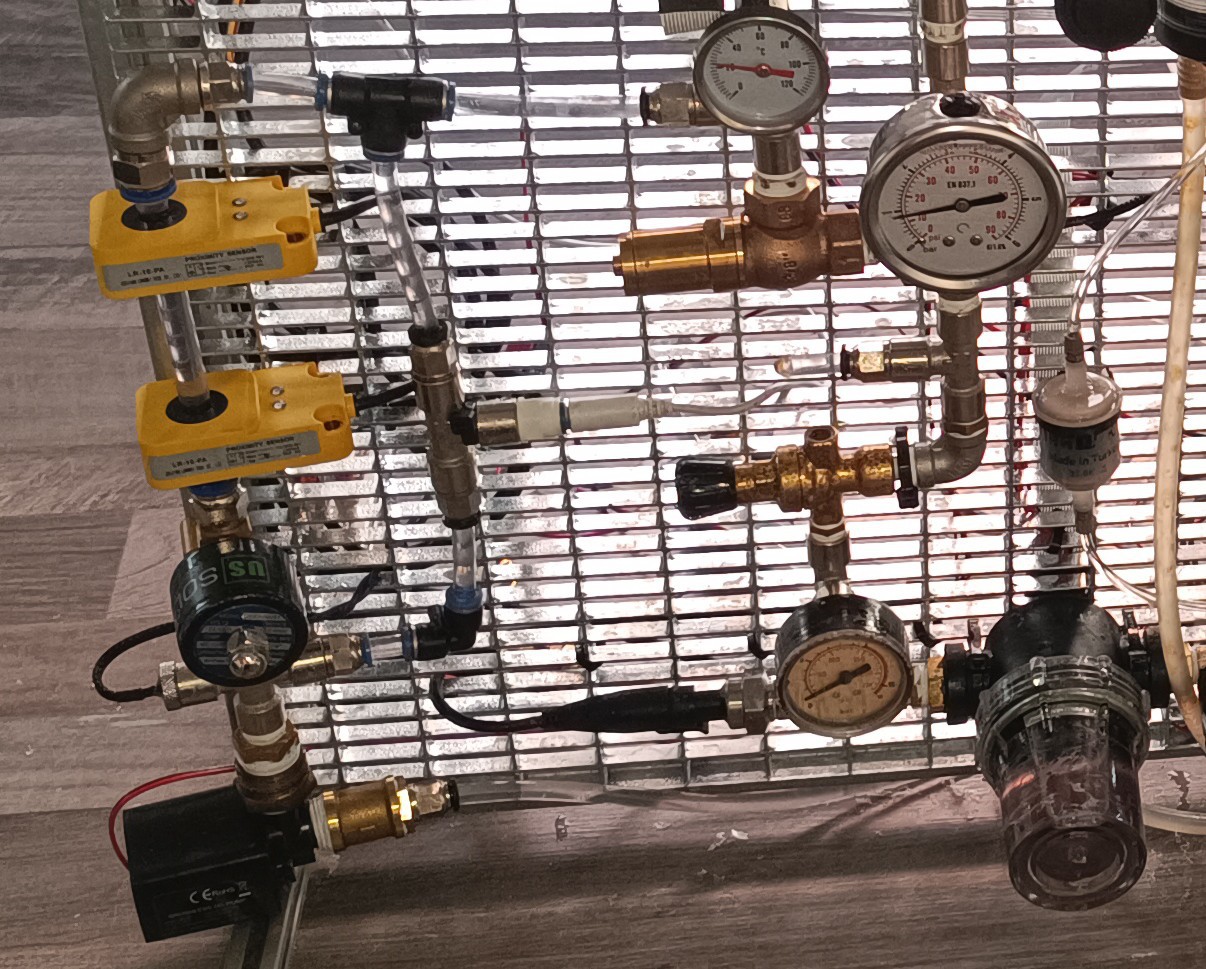
The ink is drawn from the tank into the pumps and is pumped into the high-pressure line. The system pressure is controlled by a relief valve which I set to around 50psi. The relief valve lets some of the ink flow back into the tank to keep the pressure steady.
The pressurized ink flows through a pressure regulator that regulates it down to the desired ink pressure of the stream (eg. 40psi). After that, it flows into a pressure accumulation tank/damper (just a tank with a hollow rubber ball inside) for stabilizing the pressure.
The idea behind that is, that by keeping the system pressure at 50 psi and by using a damper on the 40 psi side, pressure fluctuations on the 50 psi side will not affect the 40 psi side as long as the pressure doesn't drop below 40 psi at some point.
Now, when the ink valve is open, the ink flows to the printhead into the nozzle for ejecting the ink stream that hits the gutter to close the cycle.


Summary
At first, I thought using many small pumps instead of one large pump would add more complexity to the project, but it turned out to be the opposite, here's why:
One large Pump
I searched for a long time until I found the portafilter coffee machine rotary vane pump that could supply high pressure at a high flow rate. I bought a used one for cheap, but when you buy these pumps new, they can easily cost multiple 100€. The pump I used was also quite noisy and introduced a lot of heat into the system.
I bought this pump especially to power the venturi nozzle which injected a lot of air bubbles into the ink, leading to a buildup of foam, damage on the pump vanes over time, and air bubbles mixed into the ink stream.
In short - I had a lot of problems with this pump.
Before I started using the small pumps I searched for other types of large pumps like garden pumps, hydraulic pumps, high-pressure fuel pumps, and diaphragm pumps, but none of them could meet all of the requirements.
There are also special CIJ pumps available, but they are very expensive and hard to get.
Since this is a DIY project I think it would be very frustrating for others to start the BOM with a pump that is expensive, loud, and hard to get, so I looked for alternative ways.
Multiple small Pumps
Brushless DC Pumps
I already started using the two brushless DC pumps for the new viscosimeter and later also used them for ink circulation. These pumps cost less than 30€ each and are relatively silent. There is also no special type required and it is possible to just use any pump that can provide enough flow and pressure to lift the steel ball inside the viscosimeter and circulate the ink.
Peristaltic Pumps
Same as for the brushless DC pumps, no special requirement, besides generating enough suction for drawing the ink and makeup to the tank. The pumps I used cost less than 30€ each, but any other peristaltic pump should work as well. They also are relatively silent.
Solenoid Pumps
The only requirement for these pumps is being able to supply the needed pressure (eg. 50 psi).
I used 4 small and silent ones which did not cost more than 20€ each, but if you can find a model that has a 100% duty cycle while providing enough pressure and having an acceptable noise level, you could also go with just one pump. The noise of the models I use is very low so it's sometimes hard to see if they are running without taking a look at the pressure gauge.
By replacing the large pumps with the small ones, the noise of the machine could be reduced so much that it is now more silent than my 3D printer. With that, running it at any time of the day including deep at night should no longer be a problem.
Conclusion
In my opinion, using different pump types for different tasks instead of just one pump type for everything makes a lot of things easier. It will be easier to find the right pumps for the project and if one pump should fail, you would just have to repair or replace this cheap (eg. 30€) pump instead of buying a new multi 100€ pump.
Thank you for your interest in my Projects
Great thanks to @Paulo Campos and Robert for helping me a lot with this project :)
Discussions
Become a Hackaday.io Member
Create an account to leave a comment. Already have an account? Log In.