 infinityis
The new pumps came in! I tried them out and they produce a much more satisfying flow. There are a few places where the water still groups together into streams, so I may investigate adding more holes or increasing hole sizes in those areas. Add that to the to-do list.
I then cut and drilled tubing for the second trough; the process was very similar to the first one, but I happened to find a small leak in one of the 3D over-the-edge parts. Something else to add to the to-do list…
I wanted to improve upon the duct tape solution to redirect water into the trough at the edges. I came up with the 3D model seen here at Thingiverse. It provides a small channel to catch the water coming down, and then it redirects water away from the edge, widening as it gets closer to the surface of the water. I superglued this piece onto the bottom corners of the glass and sealed it along the glass-plastic surface with a small amount of Silicone II.
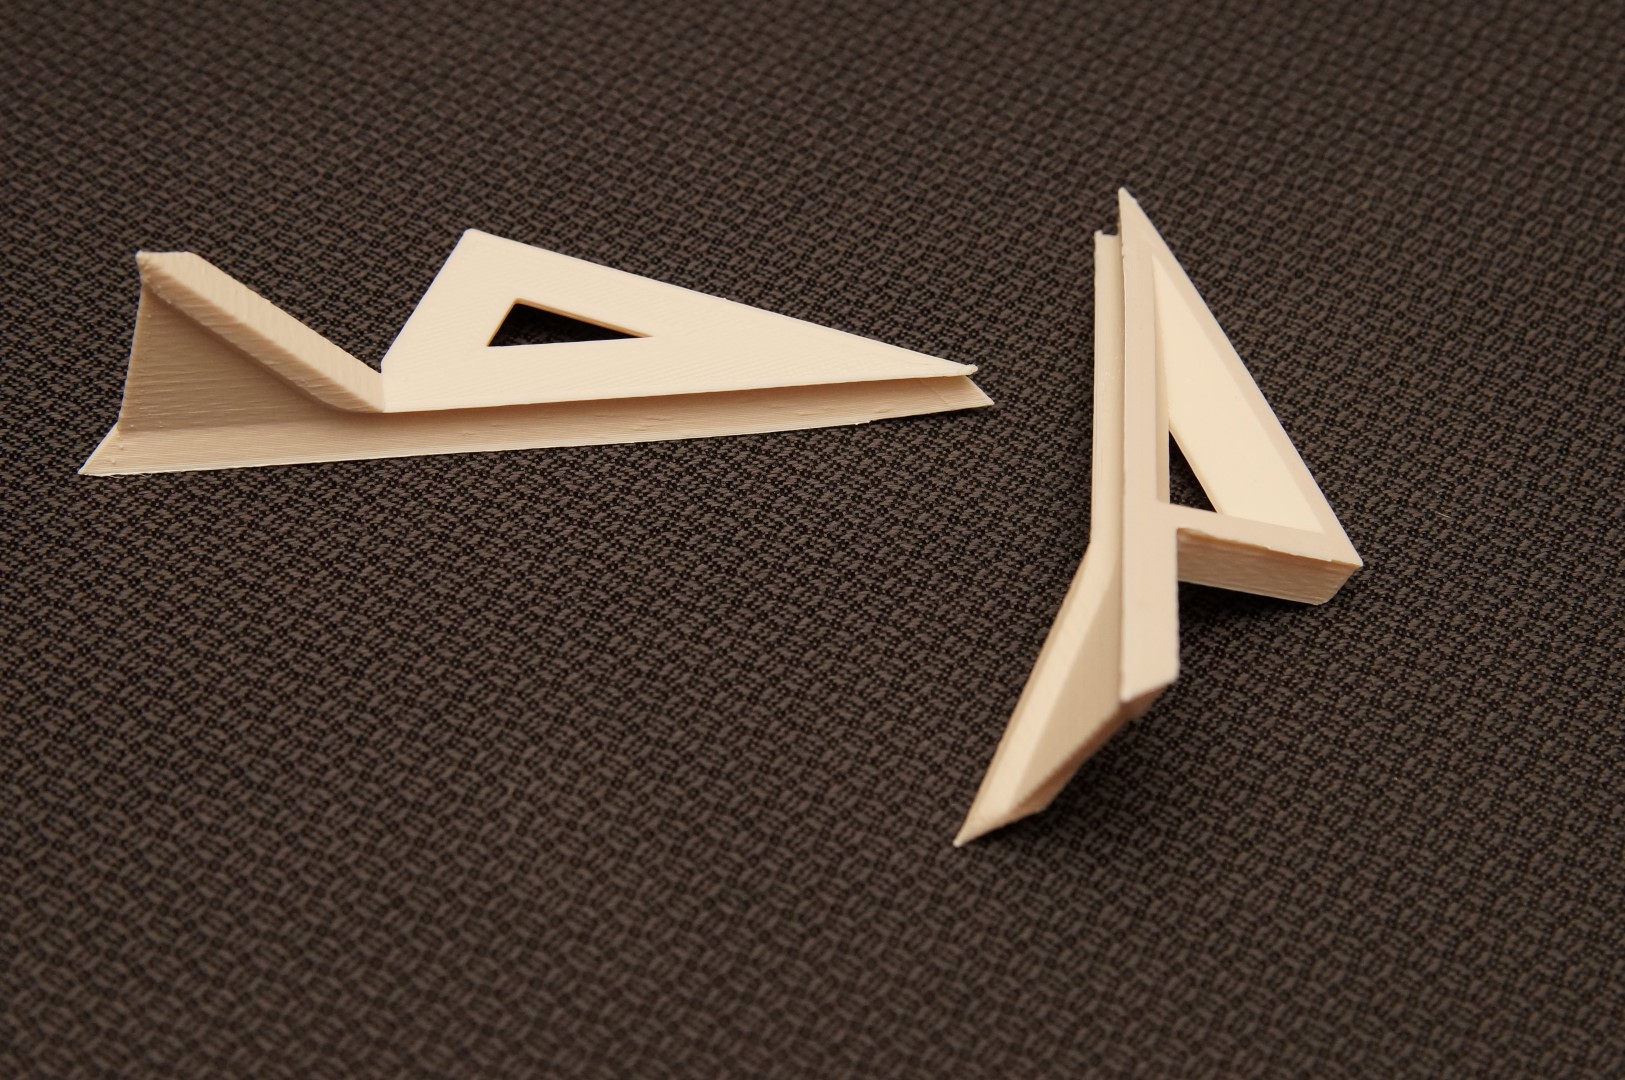
It works well for the most part, but there is the occasional stream of water that makes it over the edge and gets the wood wet; I’ll probably add a little more material to the surface to help contain all the water. I may need more paper for my to-do lists. :)
The "wood that gets wet" is 1 inch corner edging. It covers the rather unsightly edge of the plastic sheeting liner. A little backstory here....
The liner is made out of two layers of 6mil plastic, and a black top layer made by cutting open a 3mil thick garbage bag (I really don’t want it to leak, so redundancy is critical). I filled the liner with water, then trimmed the plastic layers so that they ended at the top edge of the wood trough. I then taped the layers together with duct tape all the way around the edge. I nailed the lining into place along the top edge of the wood (nailing through the duct tape) about every 6 to 8 inches along the edge. The corner edging wood covers the plastic sheeting edge, duct tape, and nails along the edge of the liner.
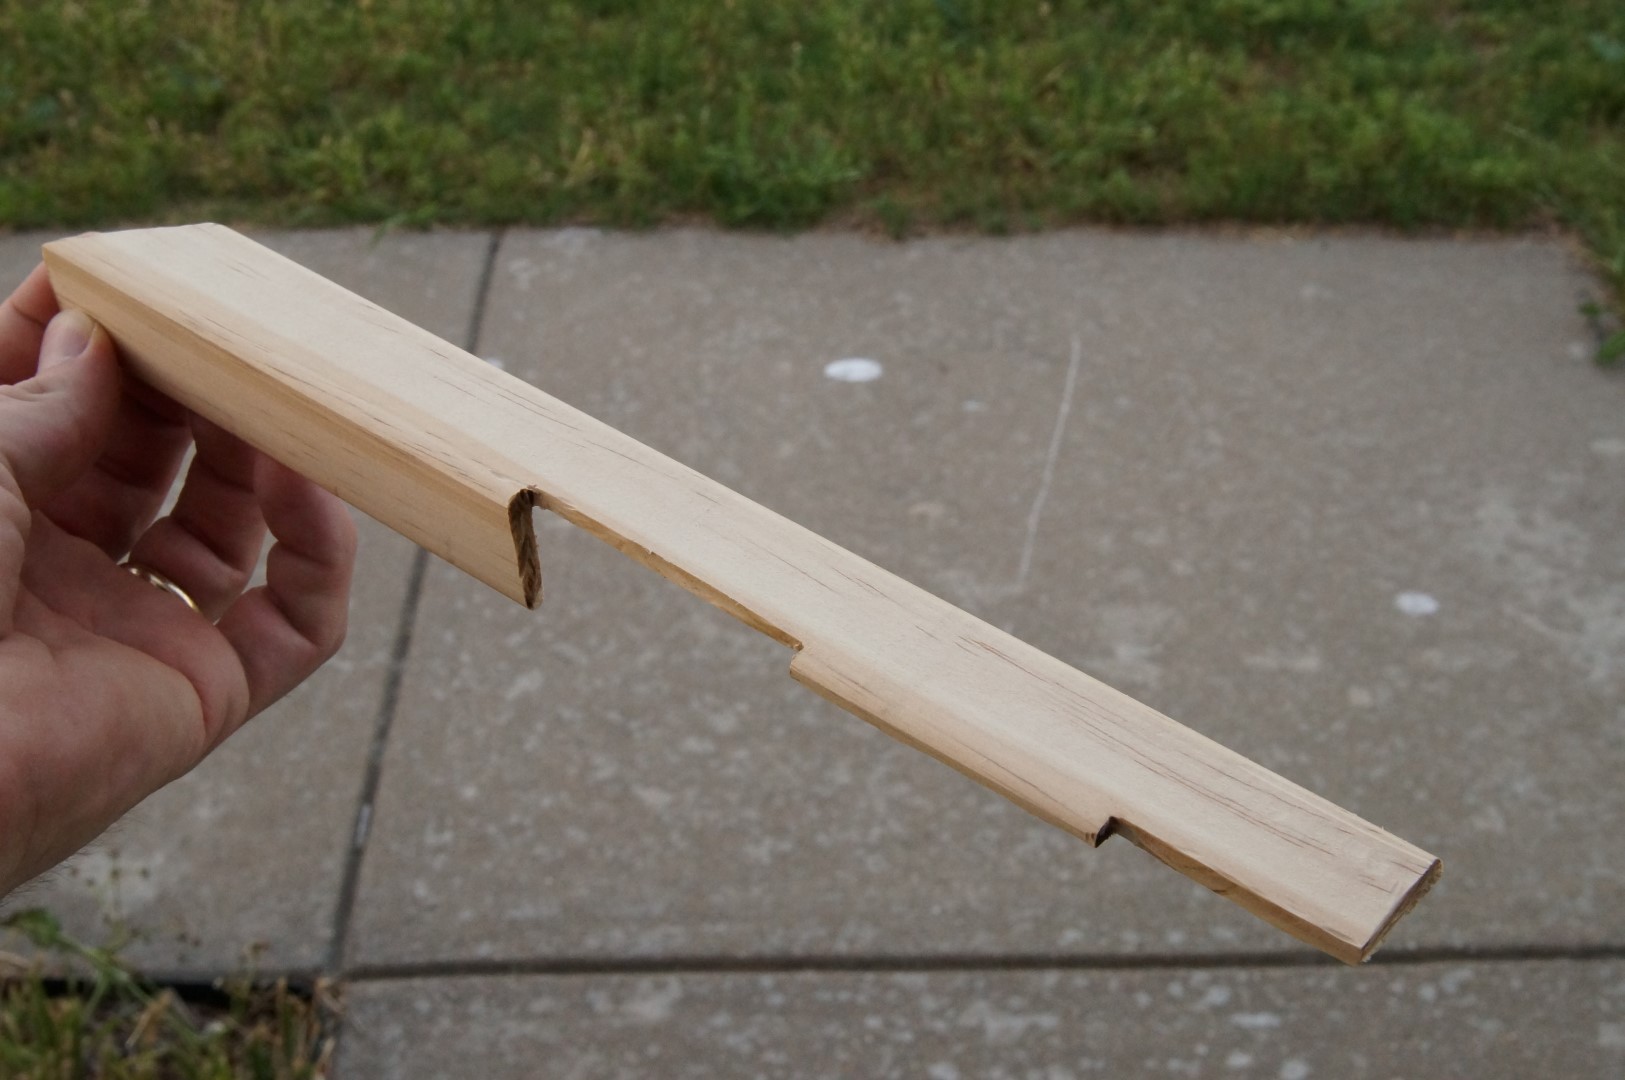
The wood corner edging on the long sides of the trough is rather straightforward to cut and doesn’t require anything special, but the ones along the short edges are rather oddly shaped. I marked the needed cuts with a pencil, and took a Dremel to it, revealing a final shape (which fits well) that looks like this:
One last thing, I uploaded the first video required for the Hackaday Prize! You can find it here, enjoy!
Discussions
Become a Hackaday.io Member
Create an account to leave a comment. Already have an account? Log In.