 Mike Szczys
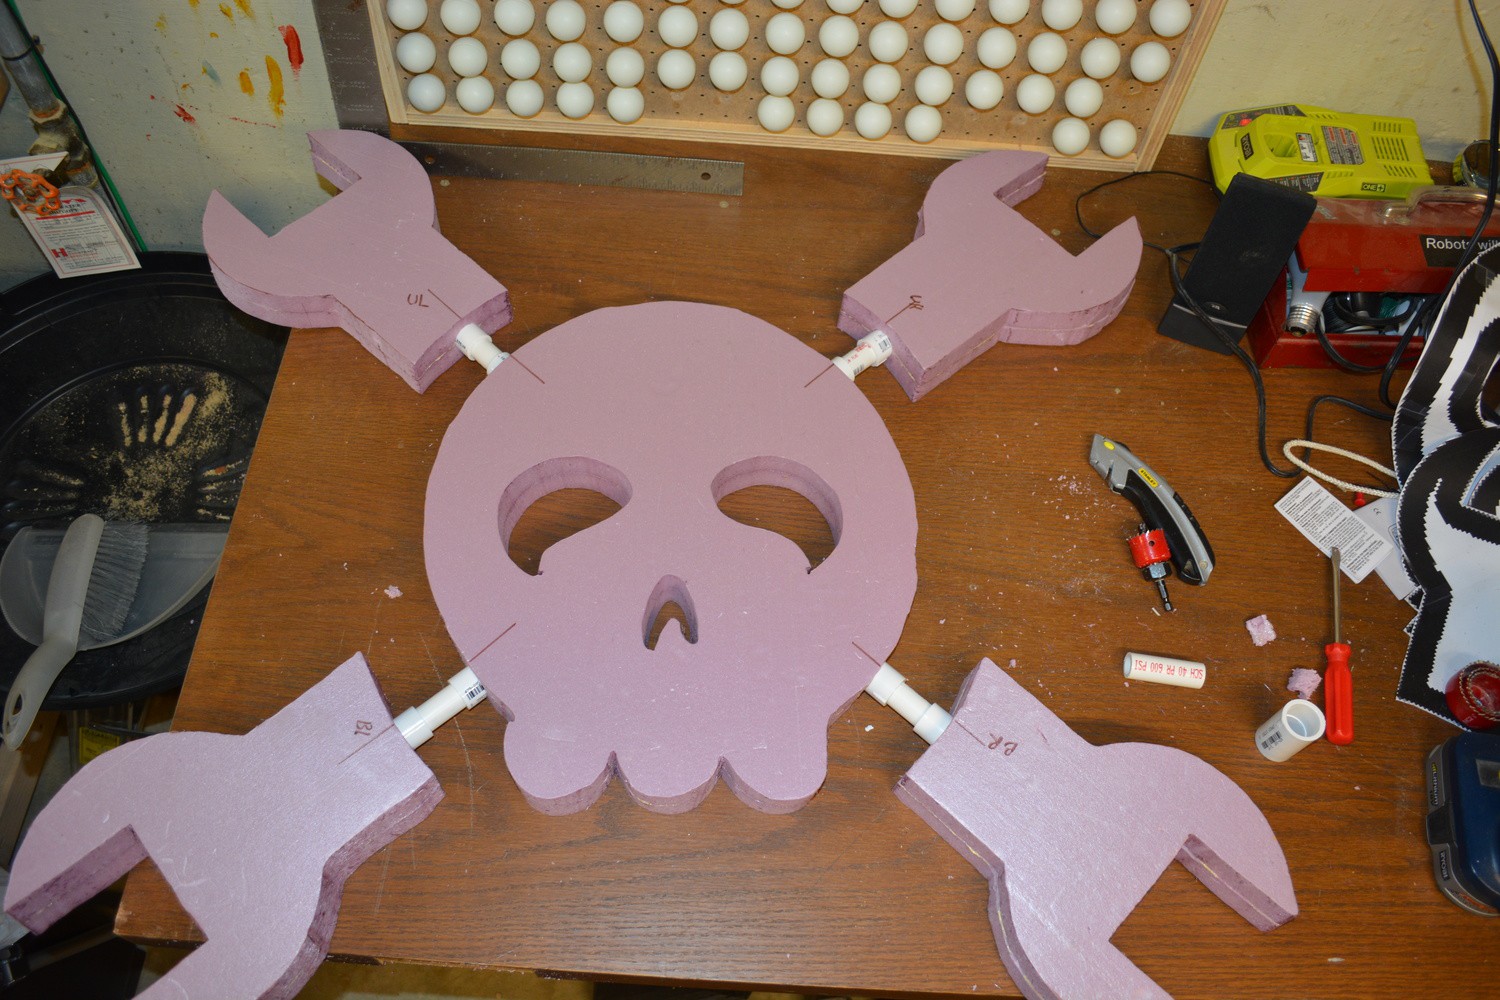
After the glue had set I cut off any that squeezed out. It was then time to lay out the pieces so that I could drill holes for PVC fittings.

I used some straight edges to make sure the pieces were aligned. I then drew layout lines with a sharpie on both pieces. These were to help ensure the hole I drilled with a hole saw was as straight as possible. Here's a test piece I used to make sure my plan of gluing PVC junctions in the foam would work:

The image below shows it with all the pieces in place, but I didn't glue in the fittings yet. This is because I wanted to remove the fittings for part of the paint job.
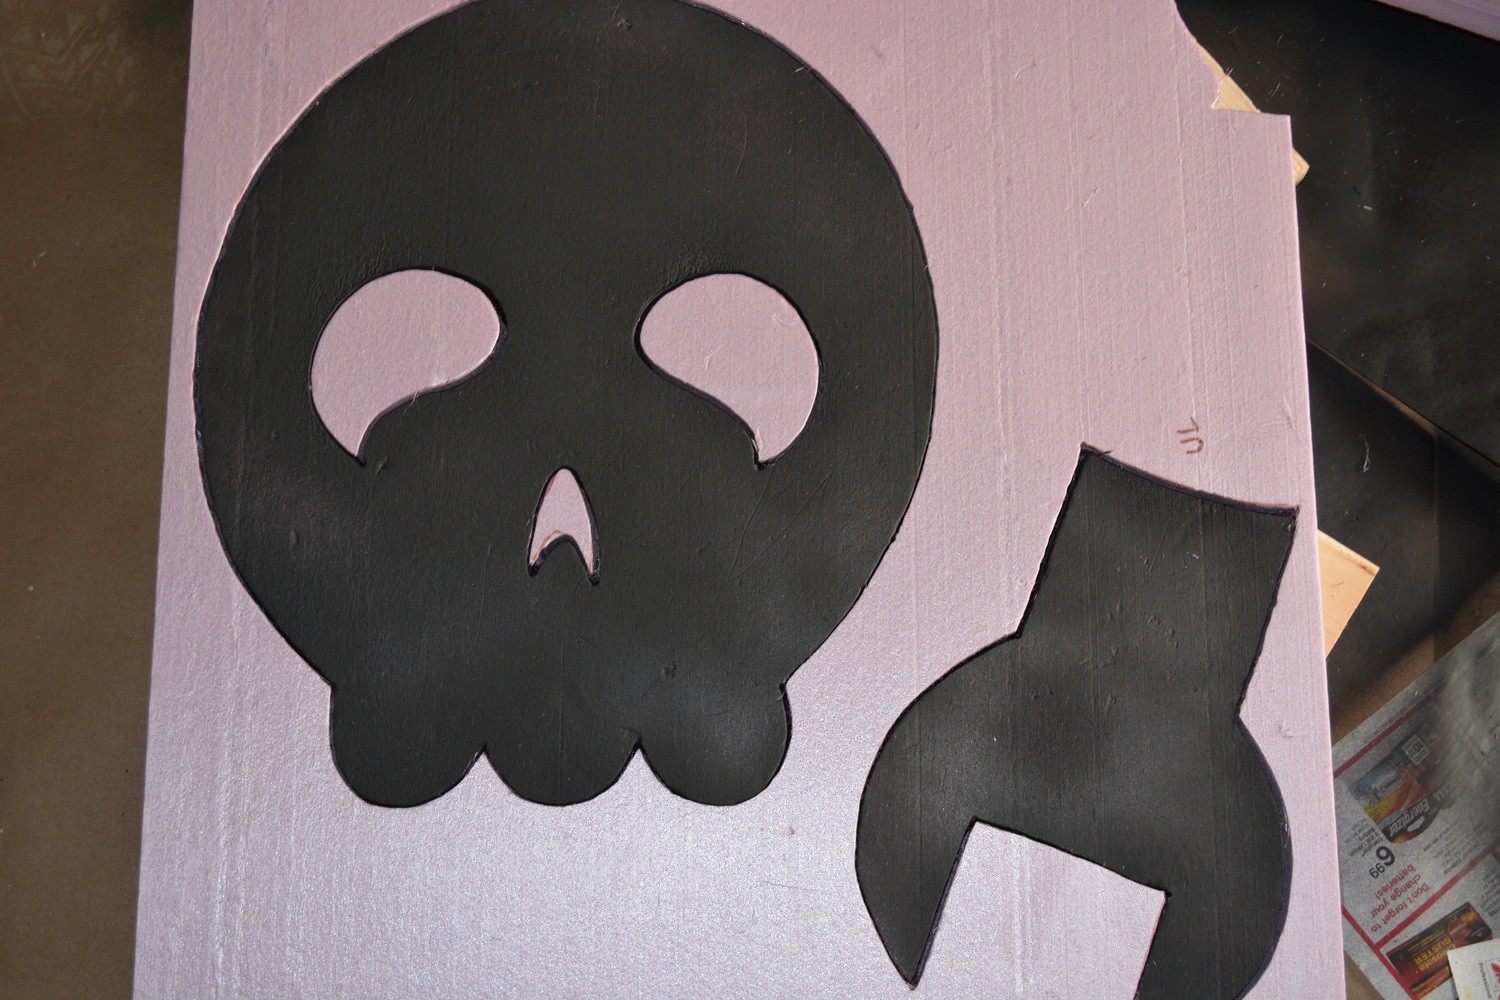
Time to paint! I first coated everything with matte black:
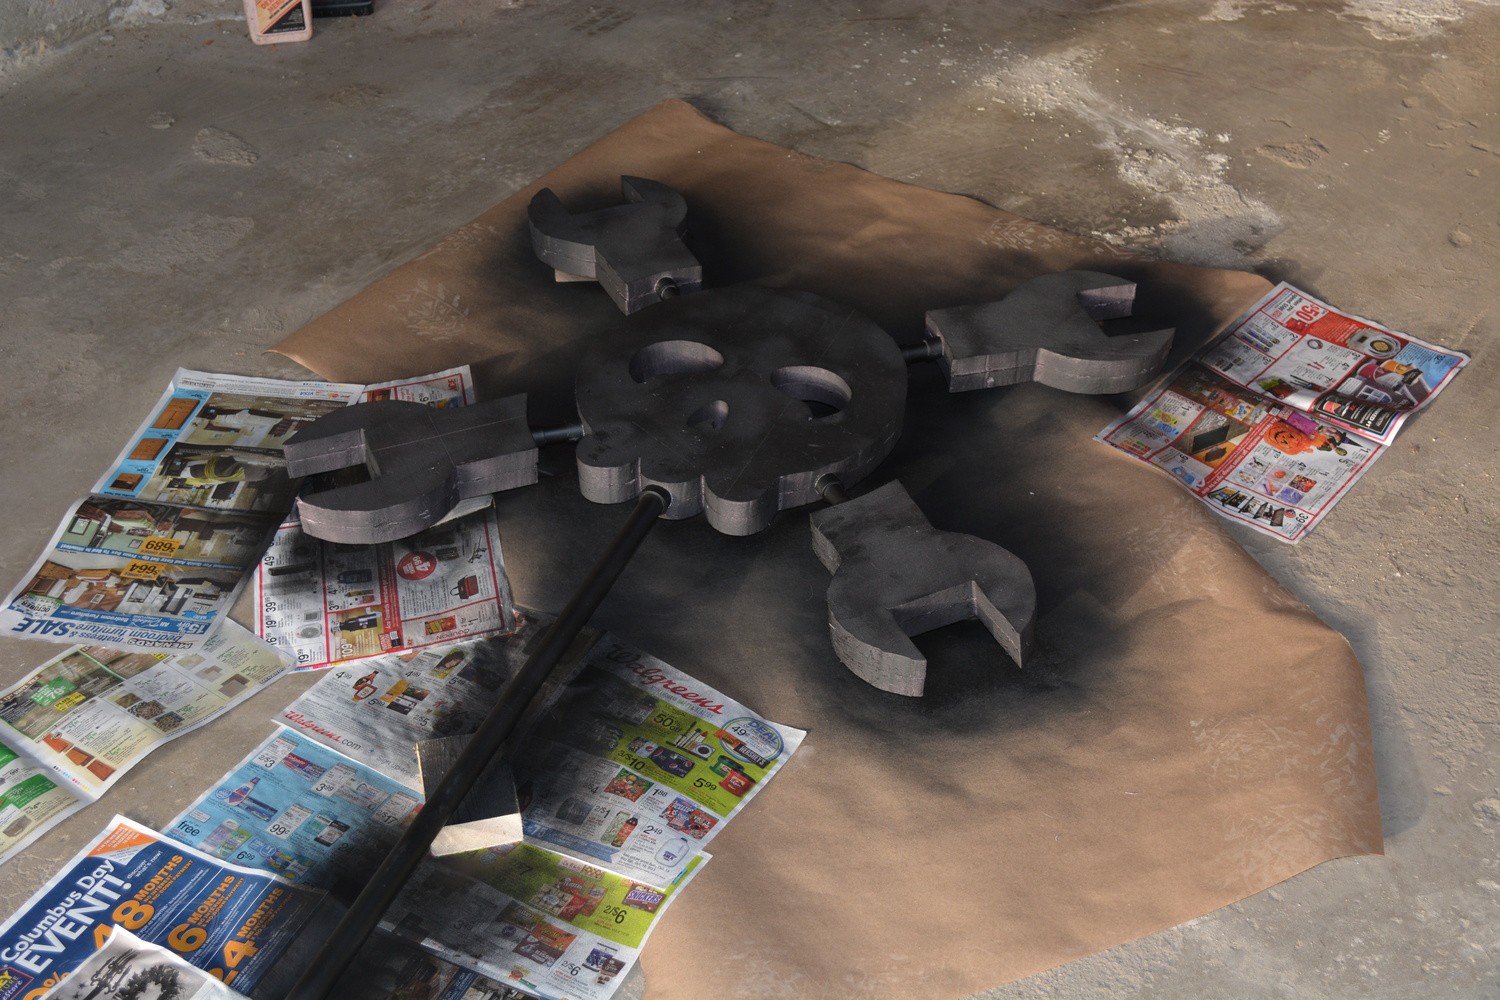
I ended up putting two coats on each side, paying special attention to the edges. Here's the thing, spray paint has acetone in it. Acetone dissolves polystyrene. But if you keep the can far enough away and don't let the paint pool it won't eat the foam.
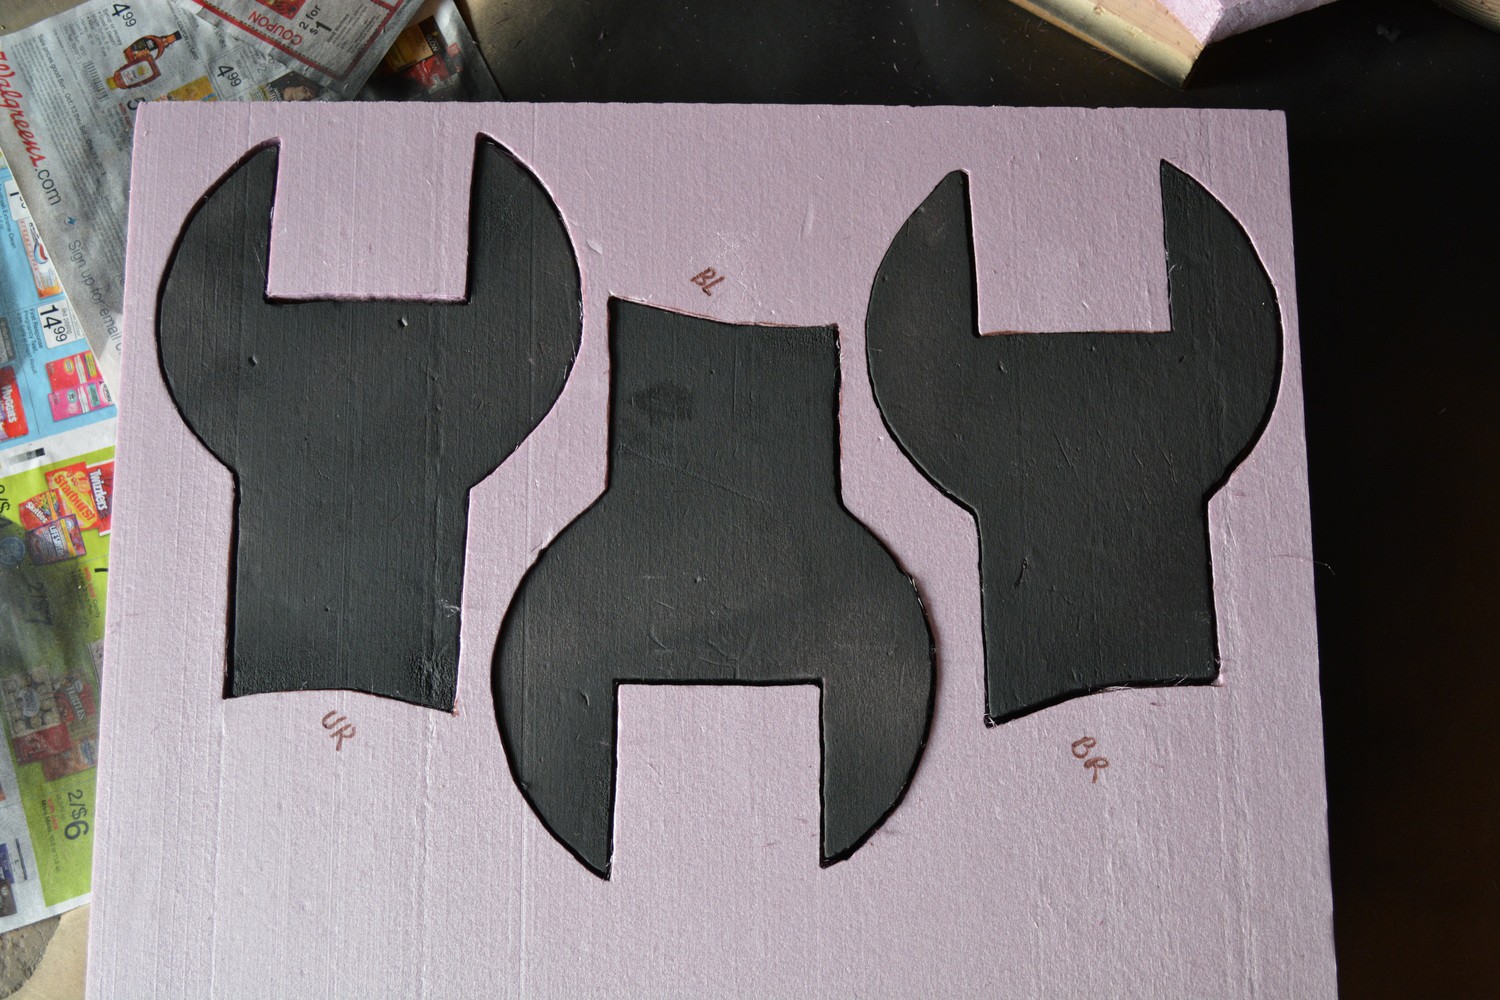
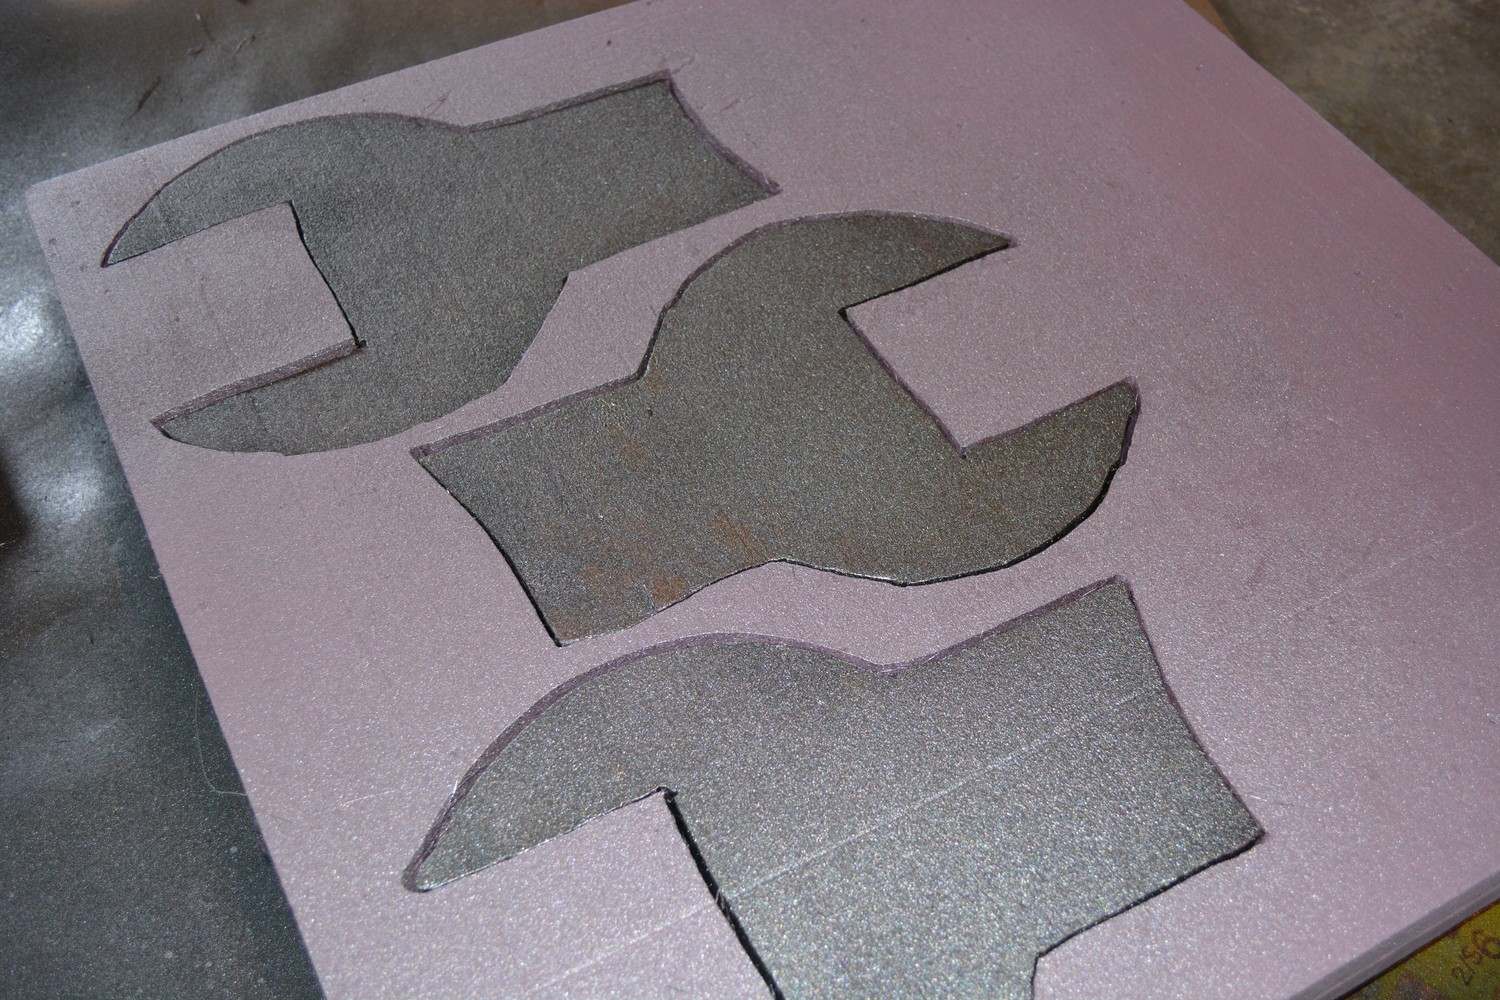
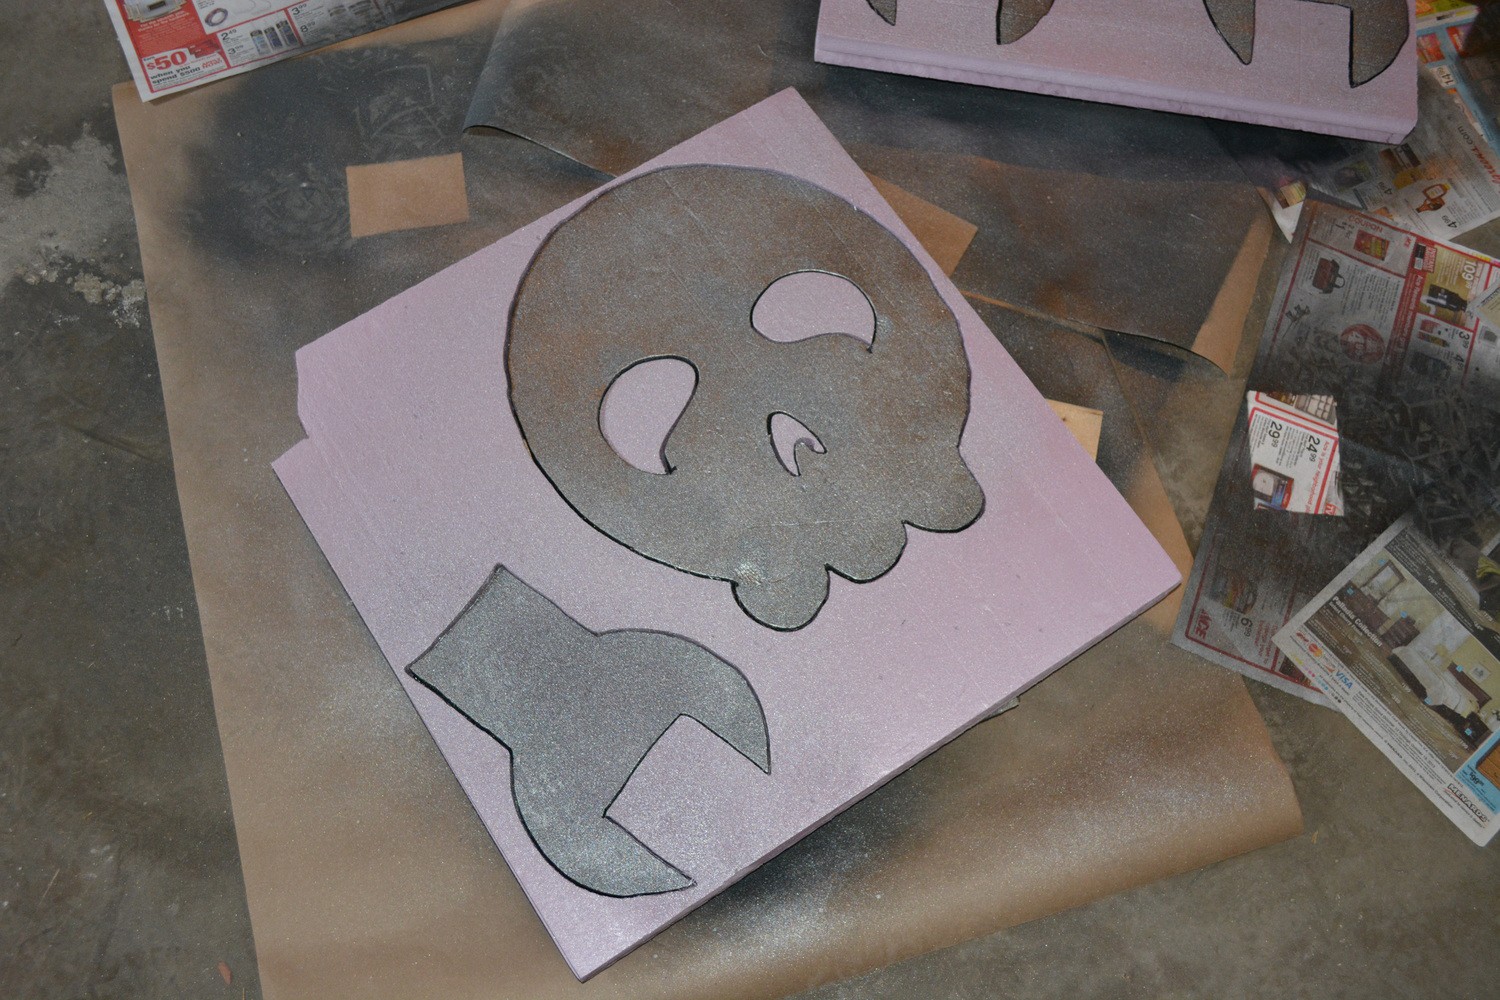
My plan was to have black edges and silver with metal flakes on the faces of the logo. So I kept the waste from the cutting process. After removing the PVC fittings I put the foam pieces back together and used it as a stencil:
Discussions
Become a Hackaday.io Member
Create an account to leave a comment. Already have an account? Log In.