 Irene Sanz
With the proliferation of consumer robotics at the hand of well known companies, domestic robots are not a novelty anymore. While they excel at chores like vacuuming or lawn mowing, they are certainly far from the Jetsons’ Rosie-like robot maids we were promised in the 21st century.
To overturn this trend, we want to help create an all-around robotic assistant, be it aiding with domestic chores or participating in everyday work life.
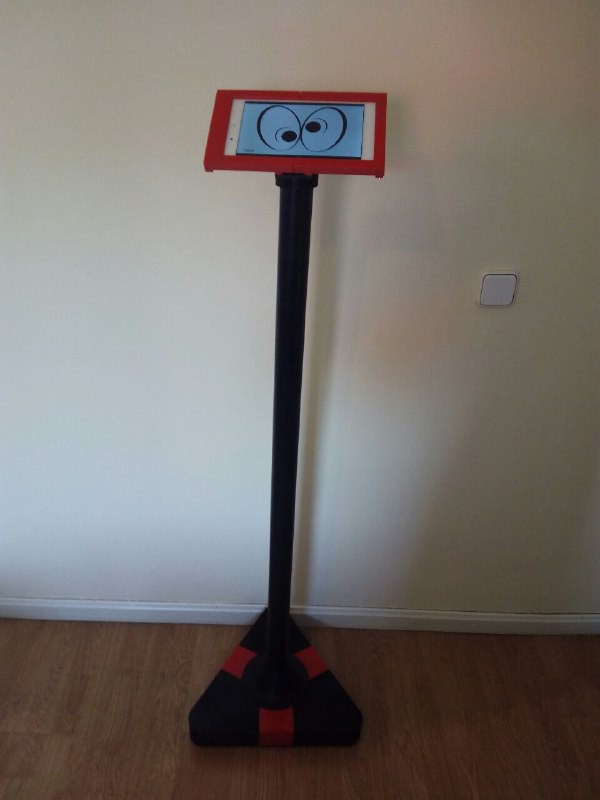
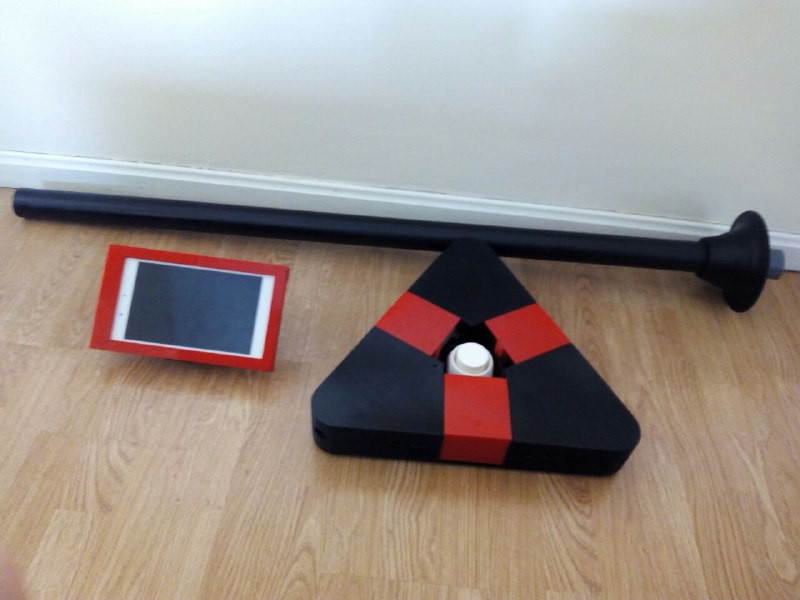
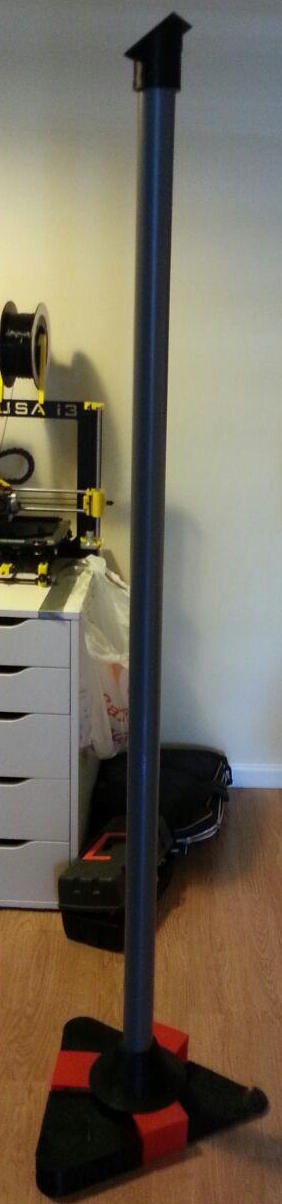
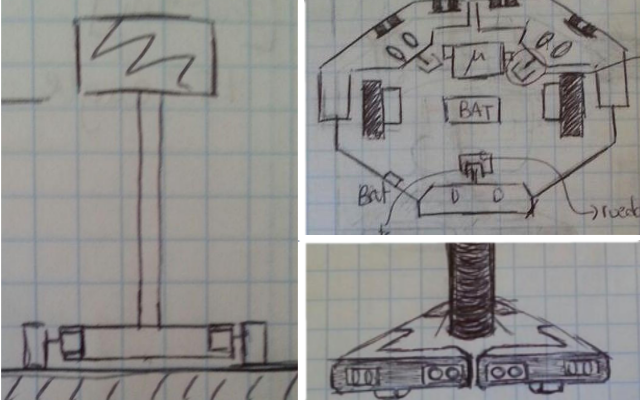
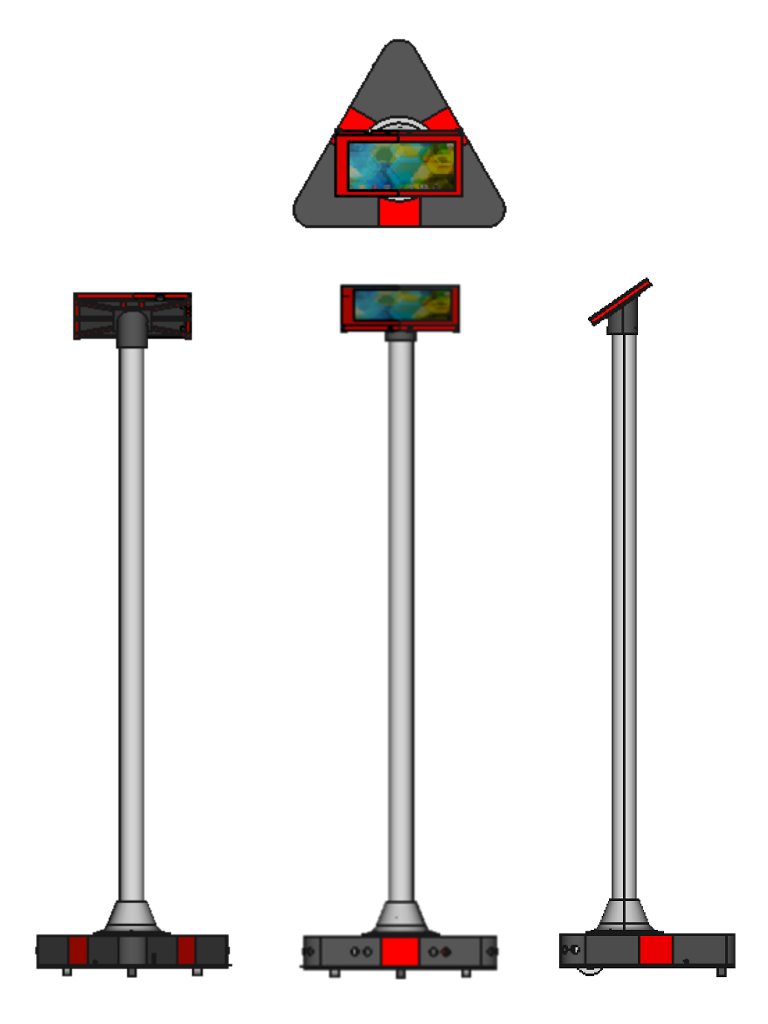
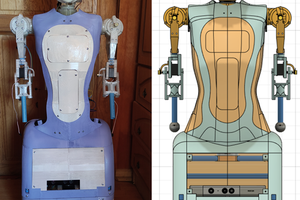
Thus comes Tabbot, a human-sized and affordable Open Source robotic platform, which in order to be successful, must be as simple to program and modify as possible.
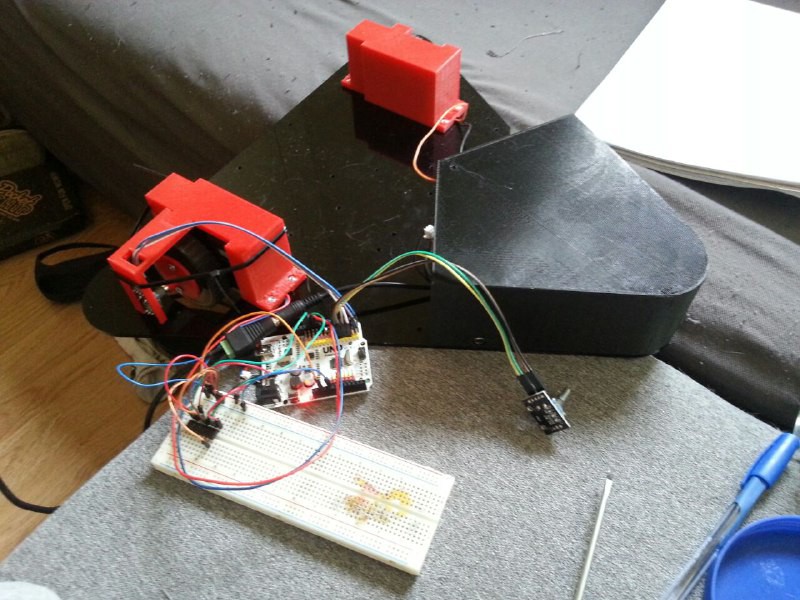
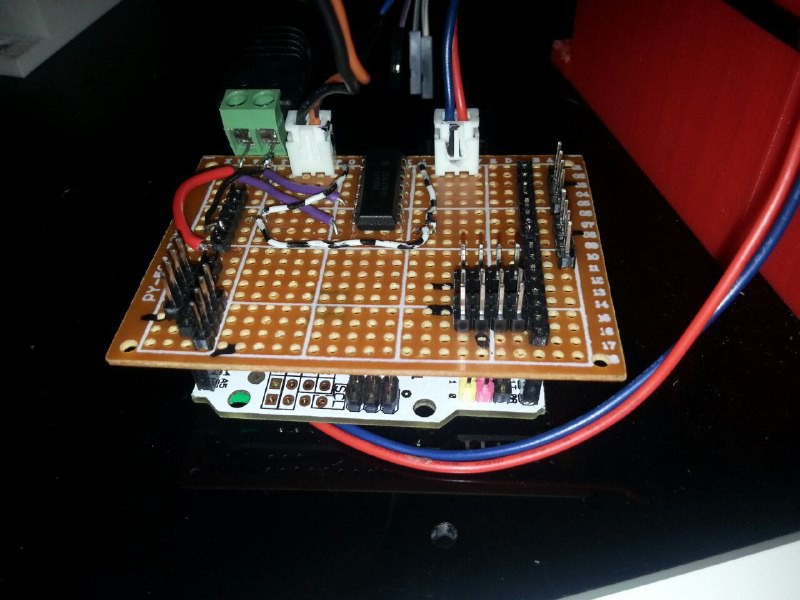
An arduino has been used as the main microcontroller, to empower less knowledgeable programmers, and an android tablet to provide the interaction with the user as well as providing complimentary features such as internet connectivity or camera access.
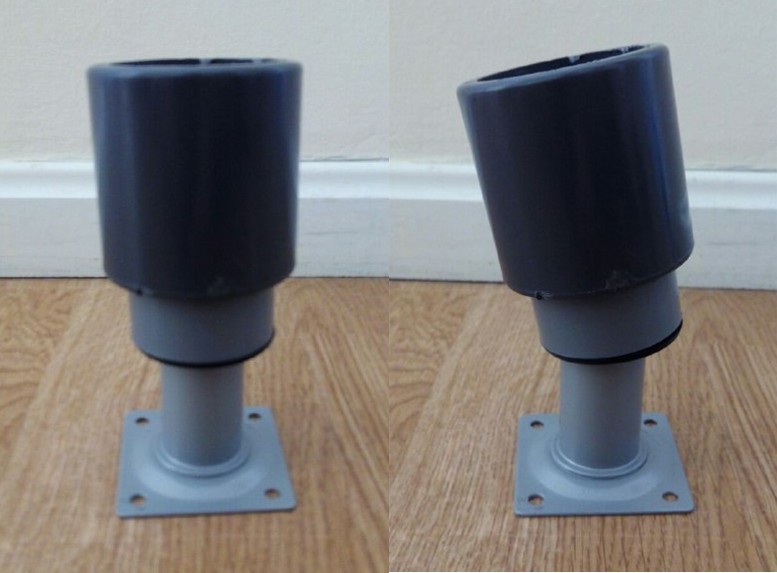
It also navigates on wheels instead of legs to get rid of pesky inverse kinematics and PID calculations and is shapeless, so it can be covered with different skins or have accessories such as arms or trays added as needed.
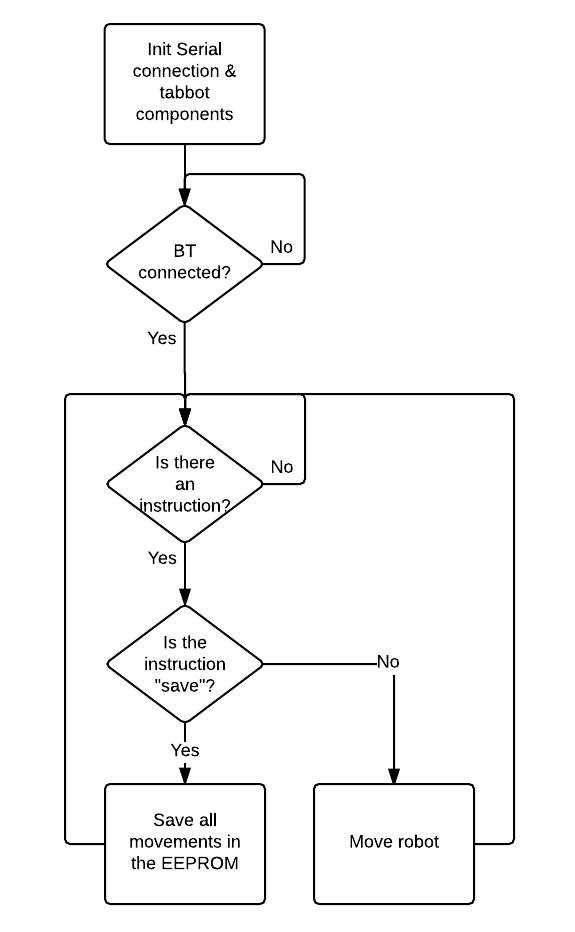
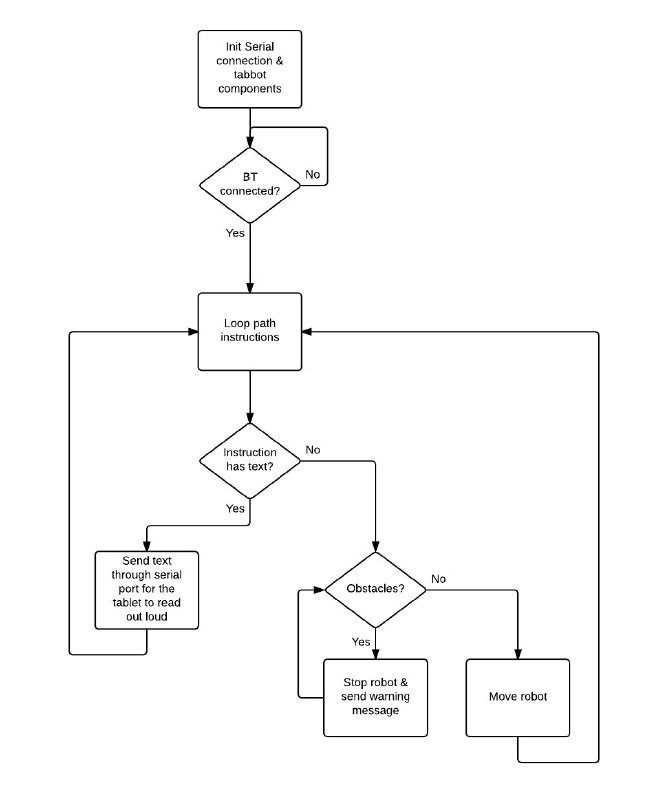
Tabbot applications:
* Robotic Guide [DONE]
* Remote controlled telepresence
* Add tray, Robotic Waiter
* Add arms, Robotic Assistant
* ...
Robotic Guide example:
Sorry about the vertical video, there was simply no way to fit it horizontally :)
 Maximiliano Rojas
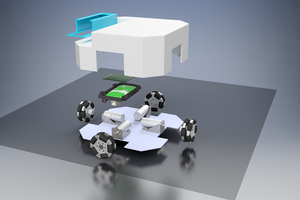
 panovvv
 Dimitris Xydas
 Florian Festi