 tomwsmf
The Circuit Playground Dice Bag CC Attribution-ShareAlike 4.0 International Tom Higgins & Sons
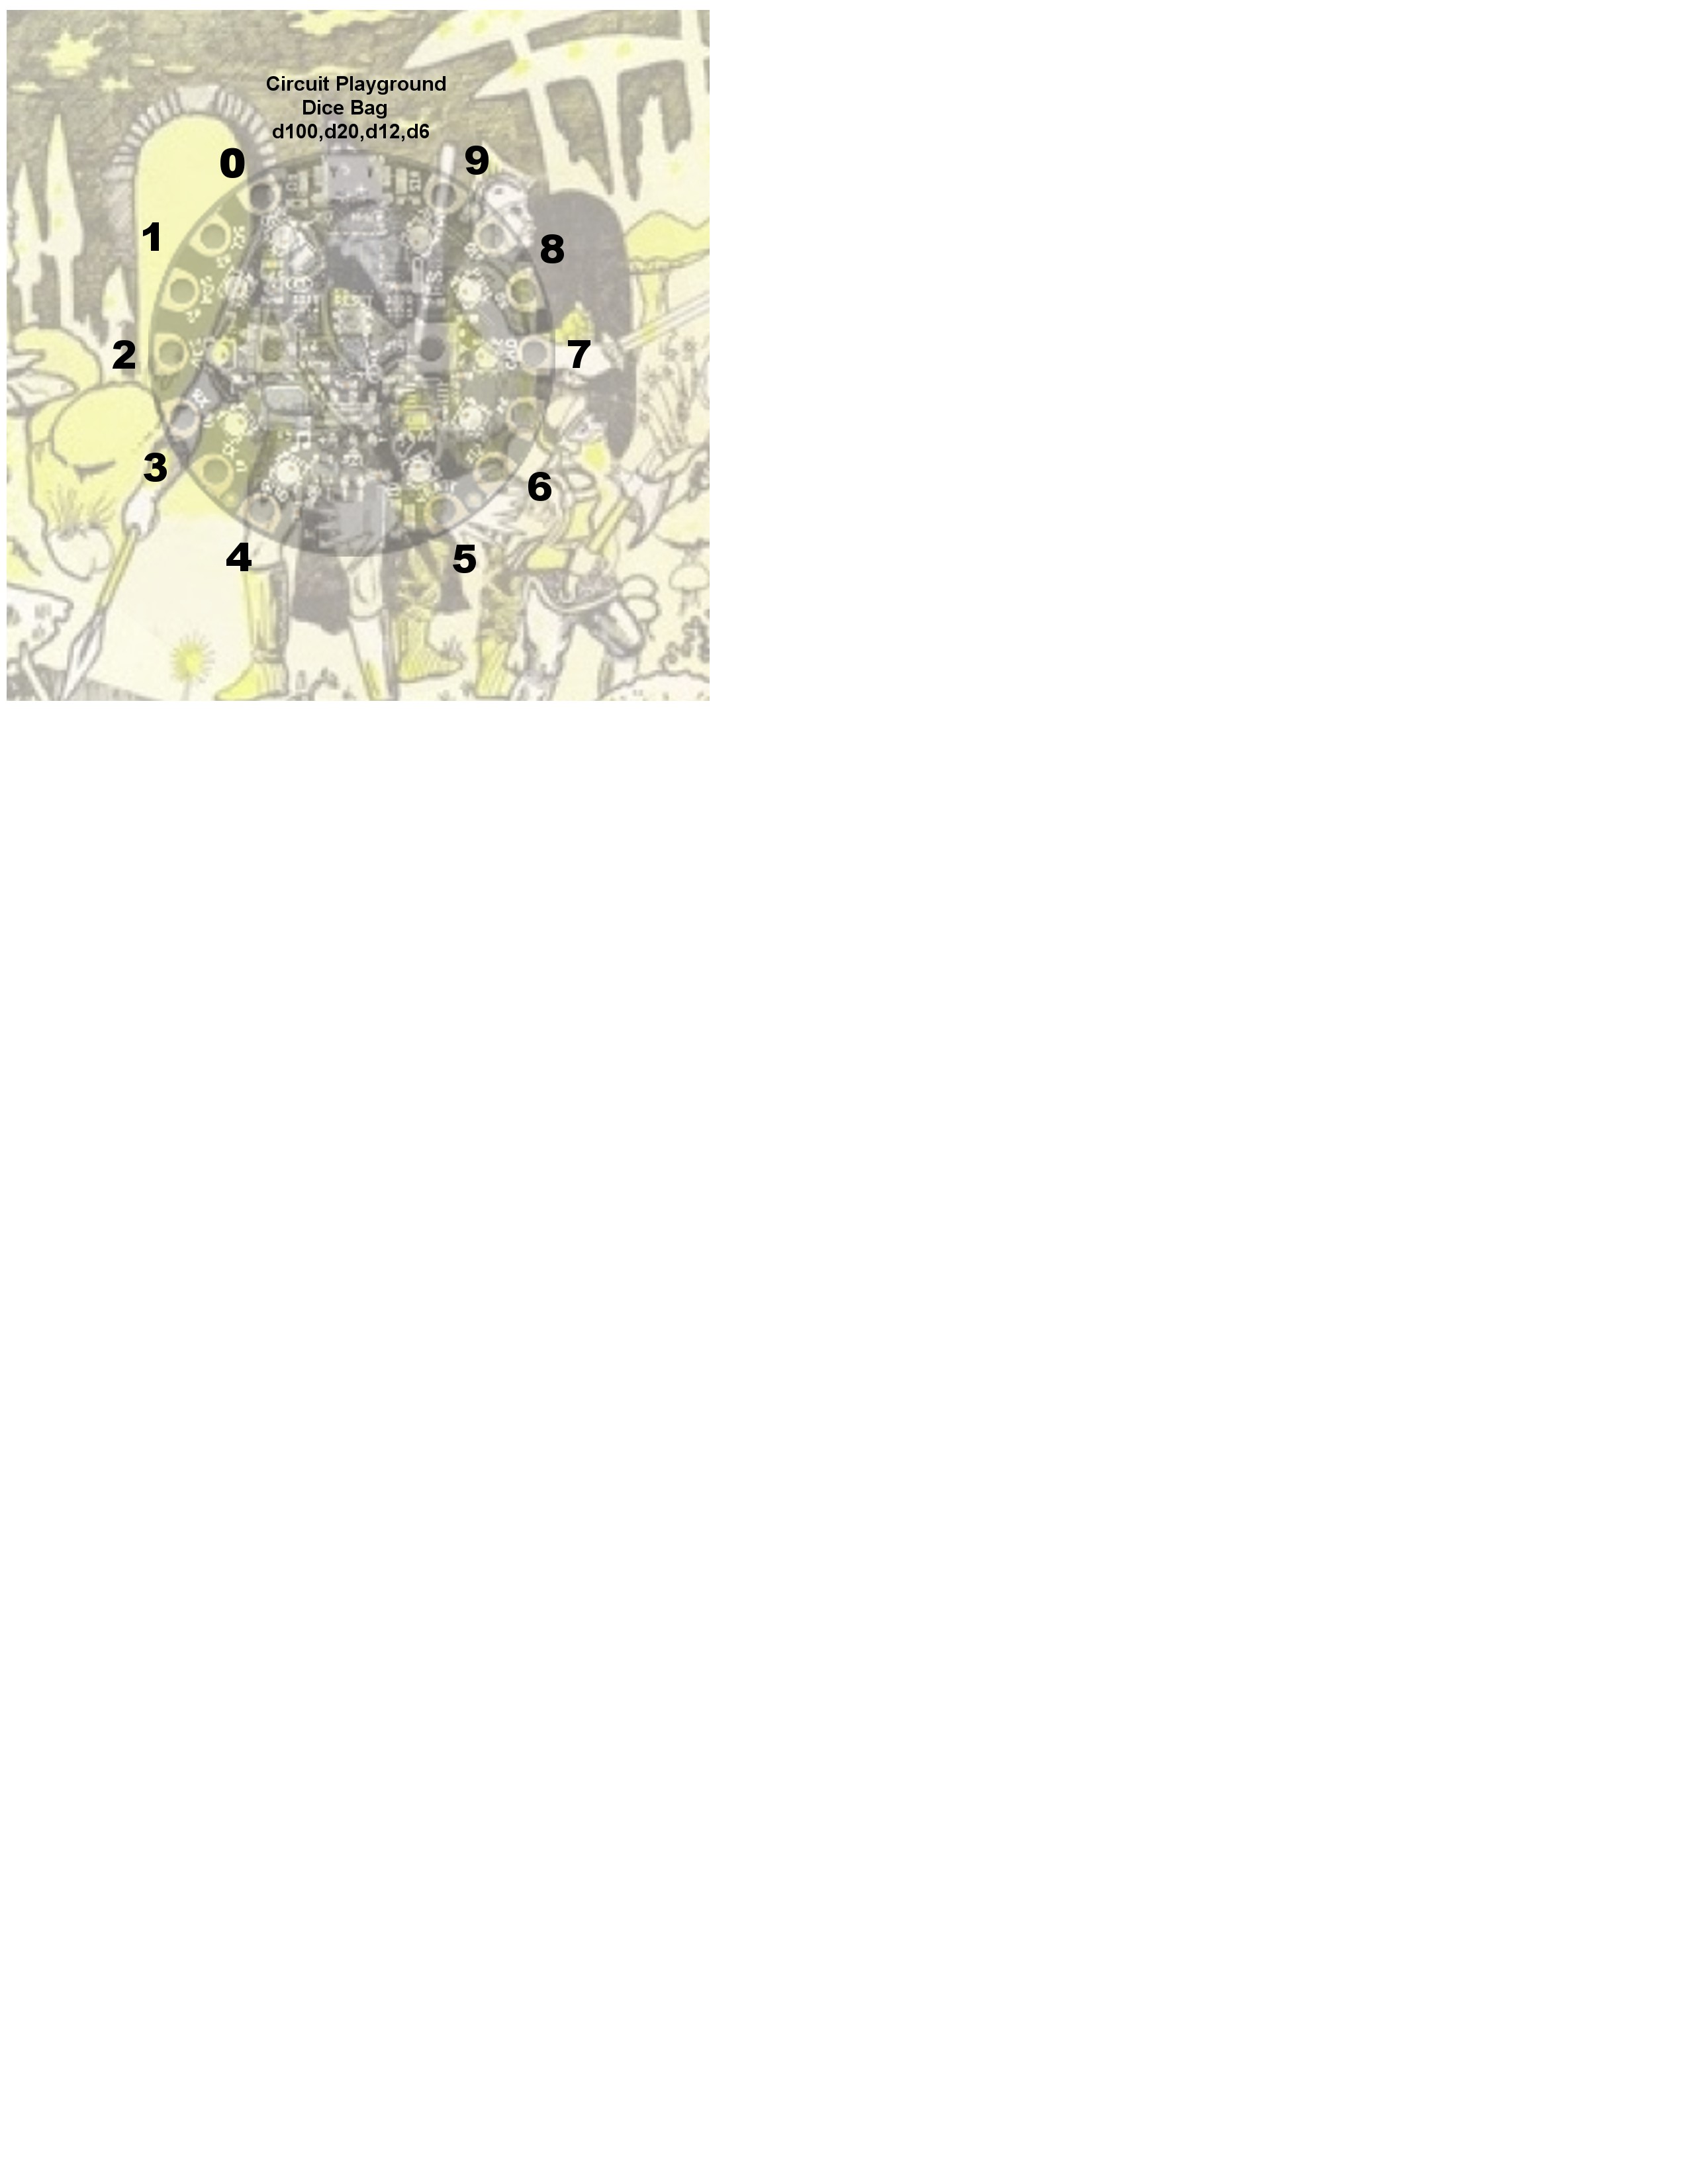
Dice Bag uses Adafruit's Circuit Playground (https://www.adafruit.com/products/3000) to roll dice of several type, d100, d20, d12 or d6. An optional custom 3in button was created to mount the CP on. The test unit uses a 150mah lipo (https://www.adafruit.com/products/1317) mounted on the back side of the button.
Features
User Manual
Select the type of die you would like to throw by putting the Select Switch in the proper position
and then pressing the proper Button
Select Switch + Left Button d100 (0-99) Right Button d20 (1-20)
Select Switch - Left Button d12 (1-12) Right Button d06 (1-6)
 danjovic
 zakqwy
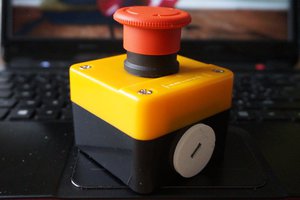
 Ithasu