 risknc
Hello Hackers!
I've been a bit buried in startup slog, cadding and prototyping and thermalsing like a monster and generally disappearing from the world at large, though I am very friendly with the chineese now. Between that and burning man the staff progress has been slow, but I'm finally getting close to V2 coming online for the first time.
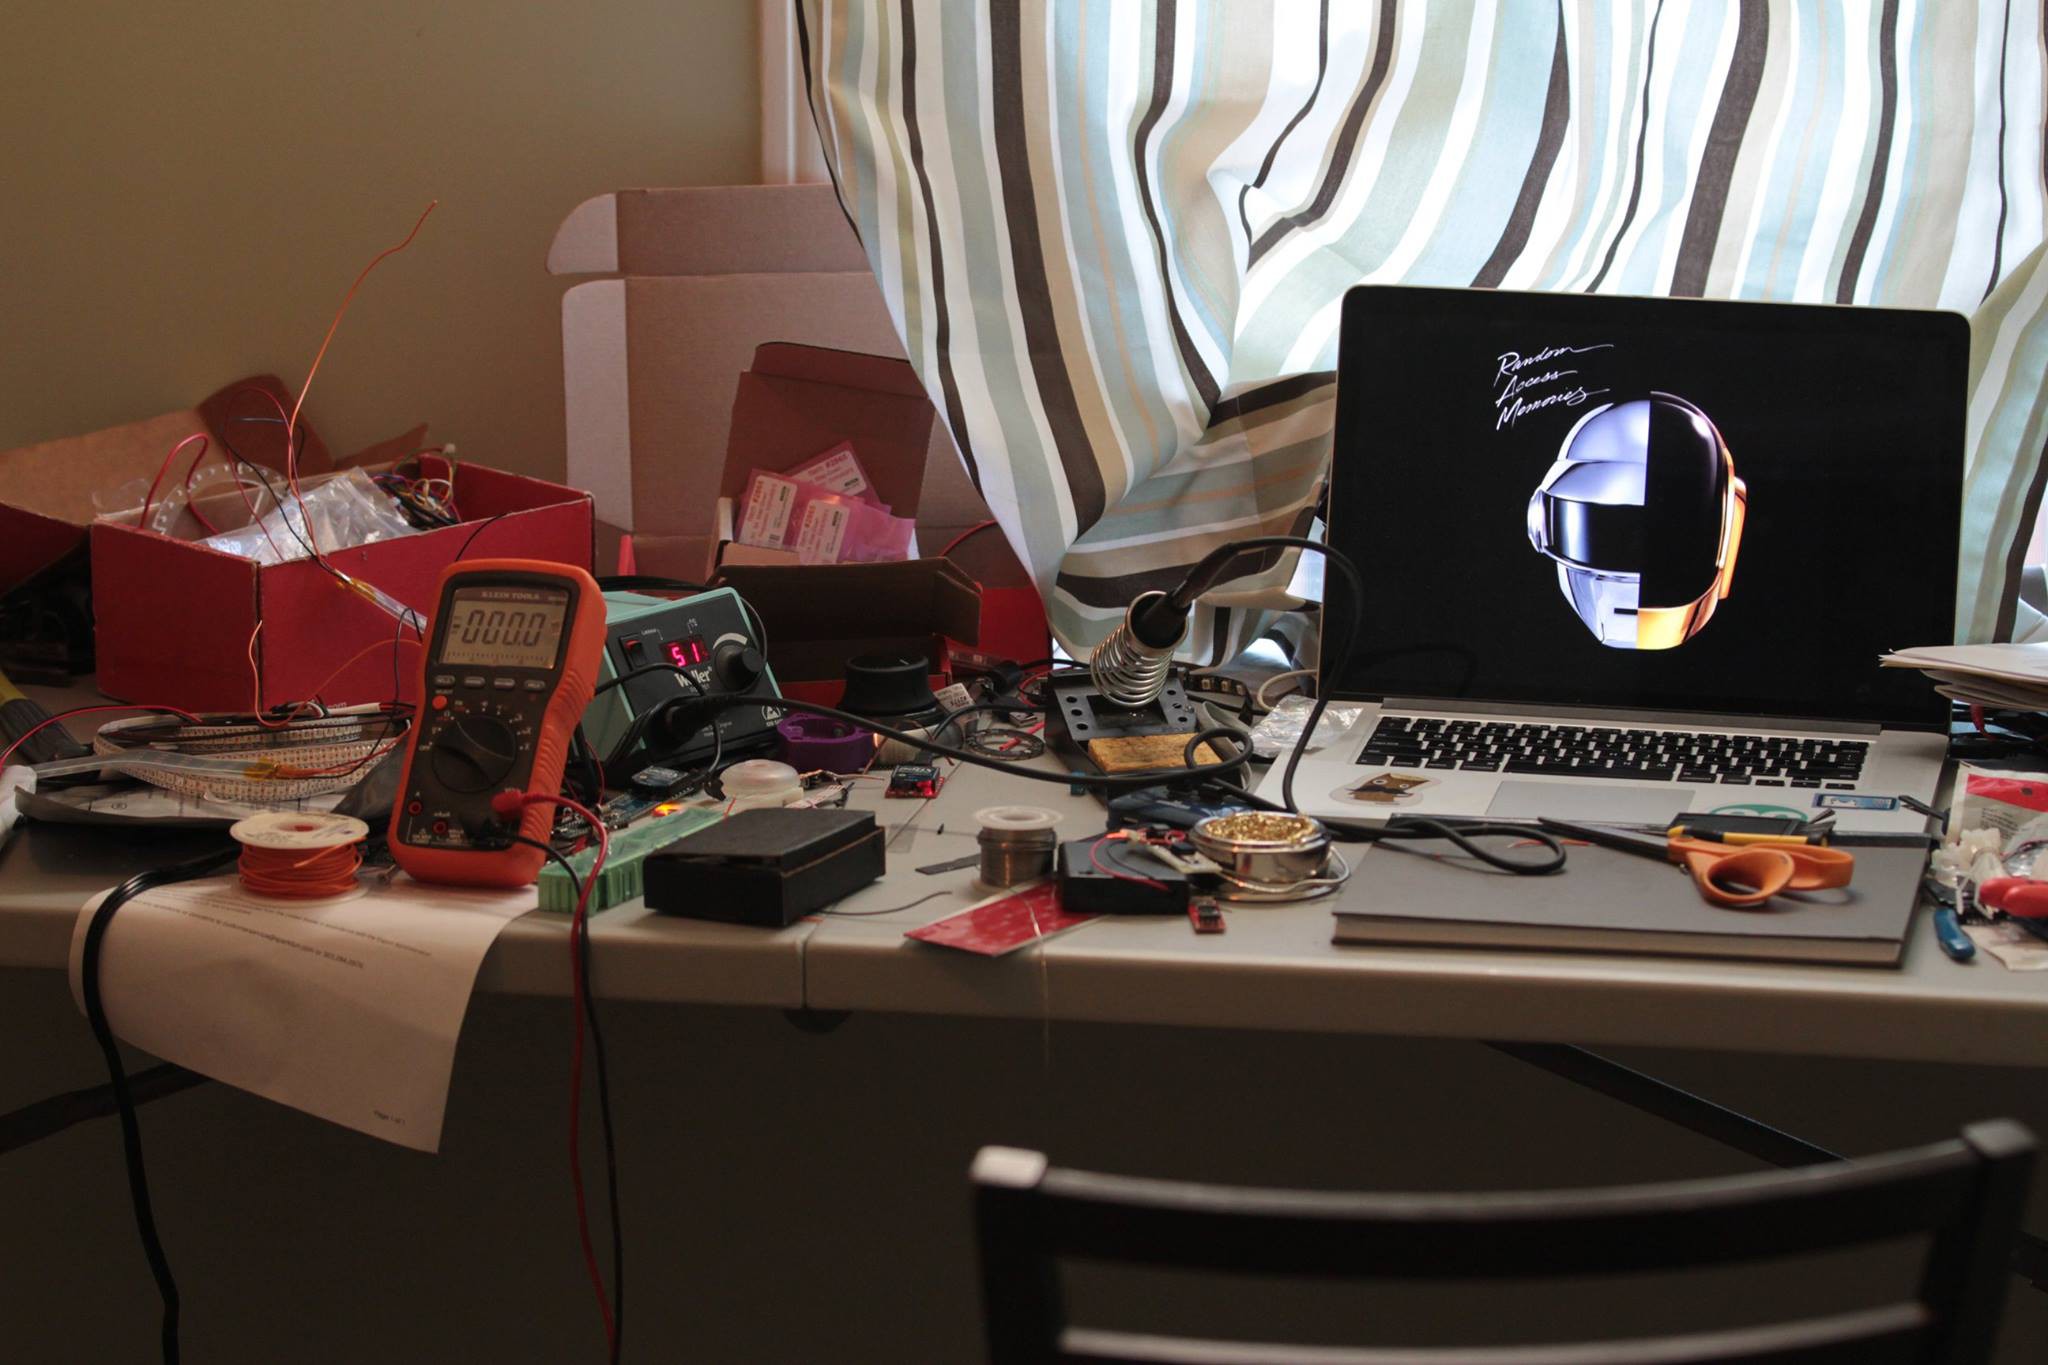
Pictured above: pre burn I figured I could assemble them all over night disaster
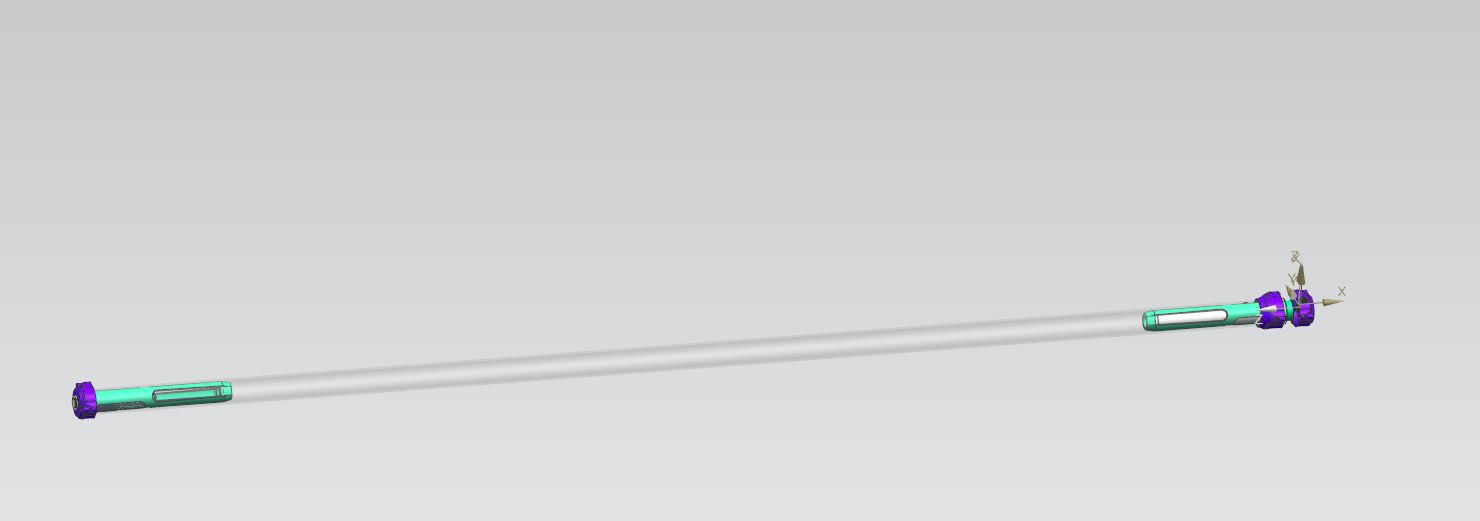
Right before the burn I ordered materials for 5 V2 staffs, using a much cheaper bill of materials (~$200 worth of materials per) I've been building and tweaking the design over the past few months, though I haven't fully assembled one yet (lots of mechanical tweaks and tricks to figure out :P).
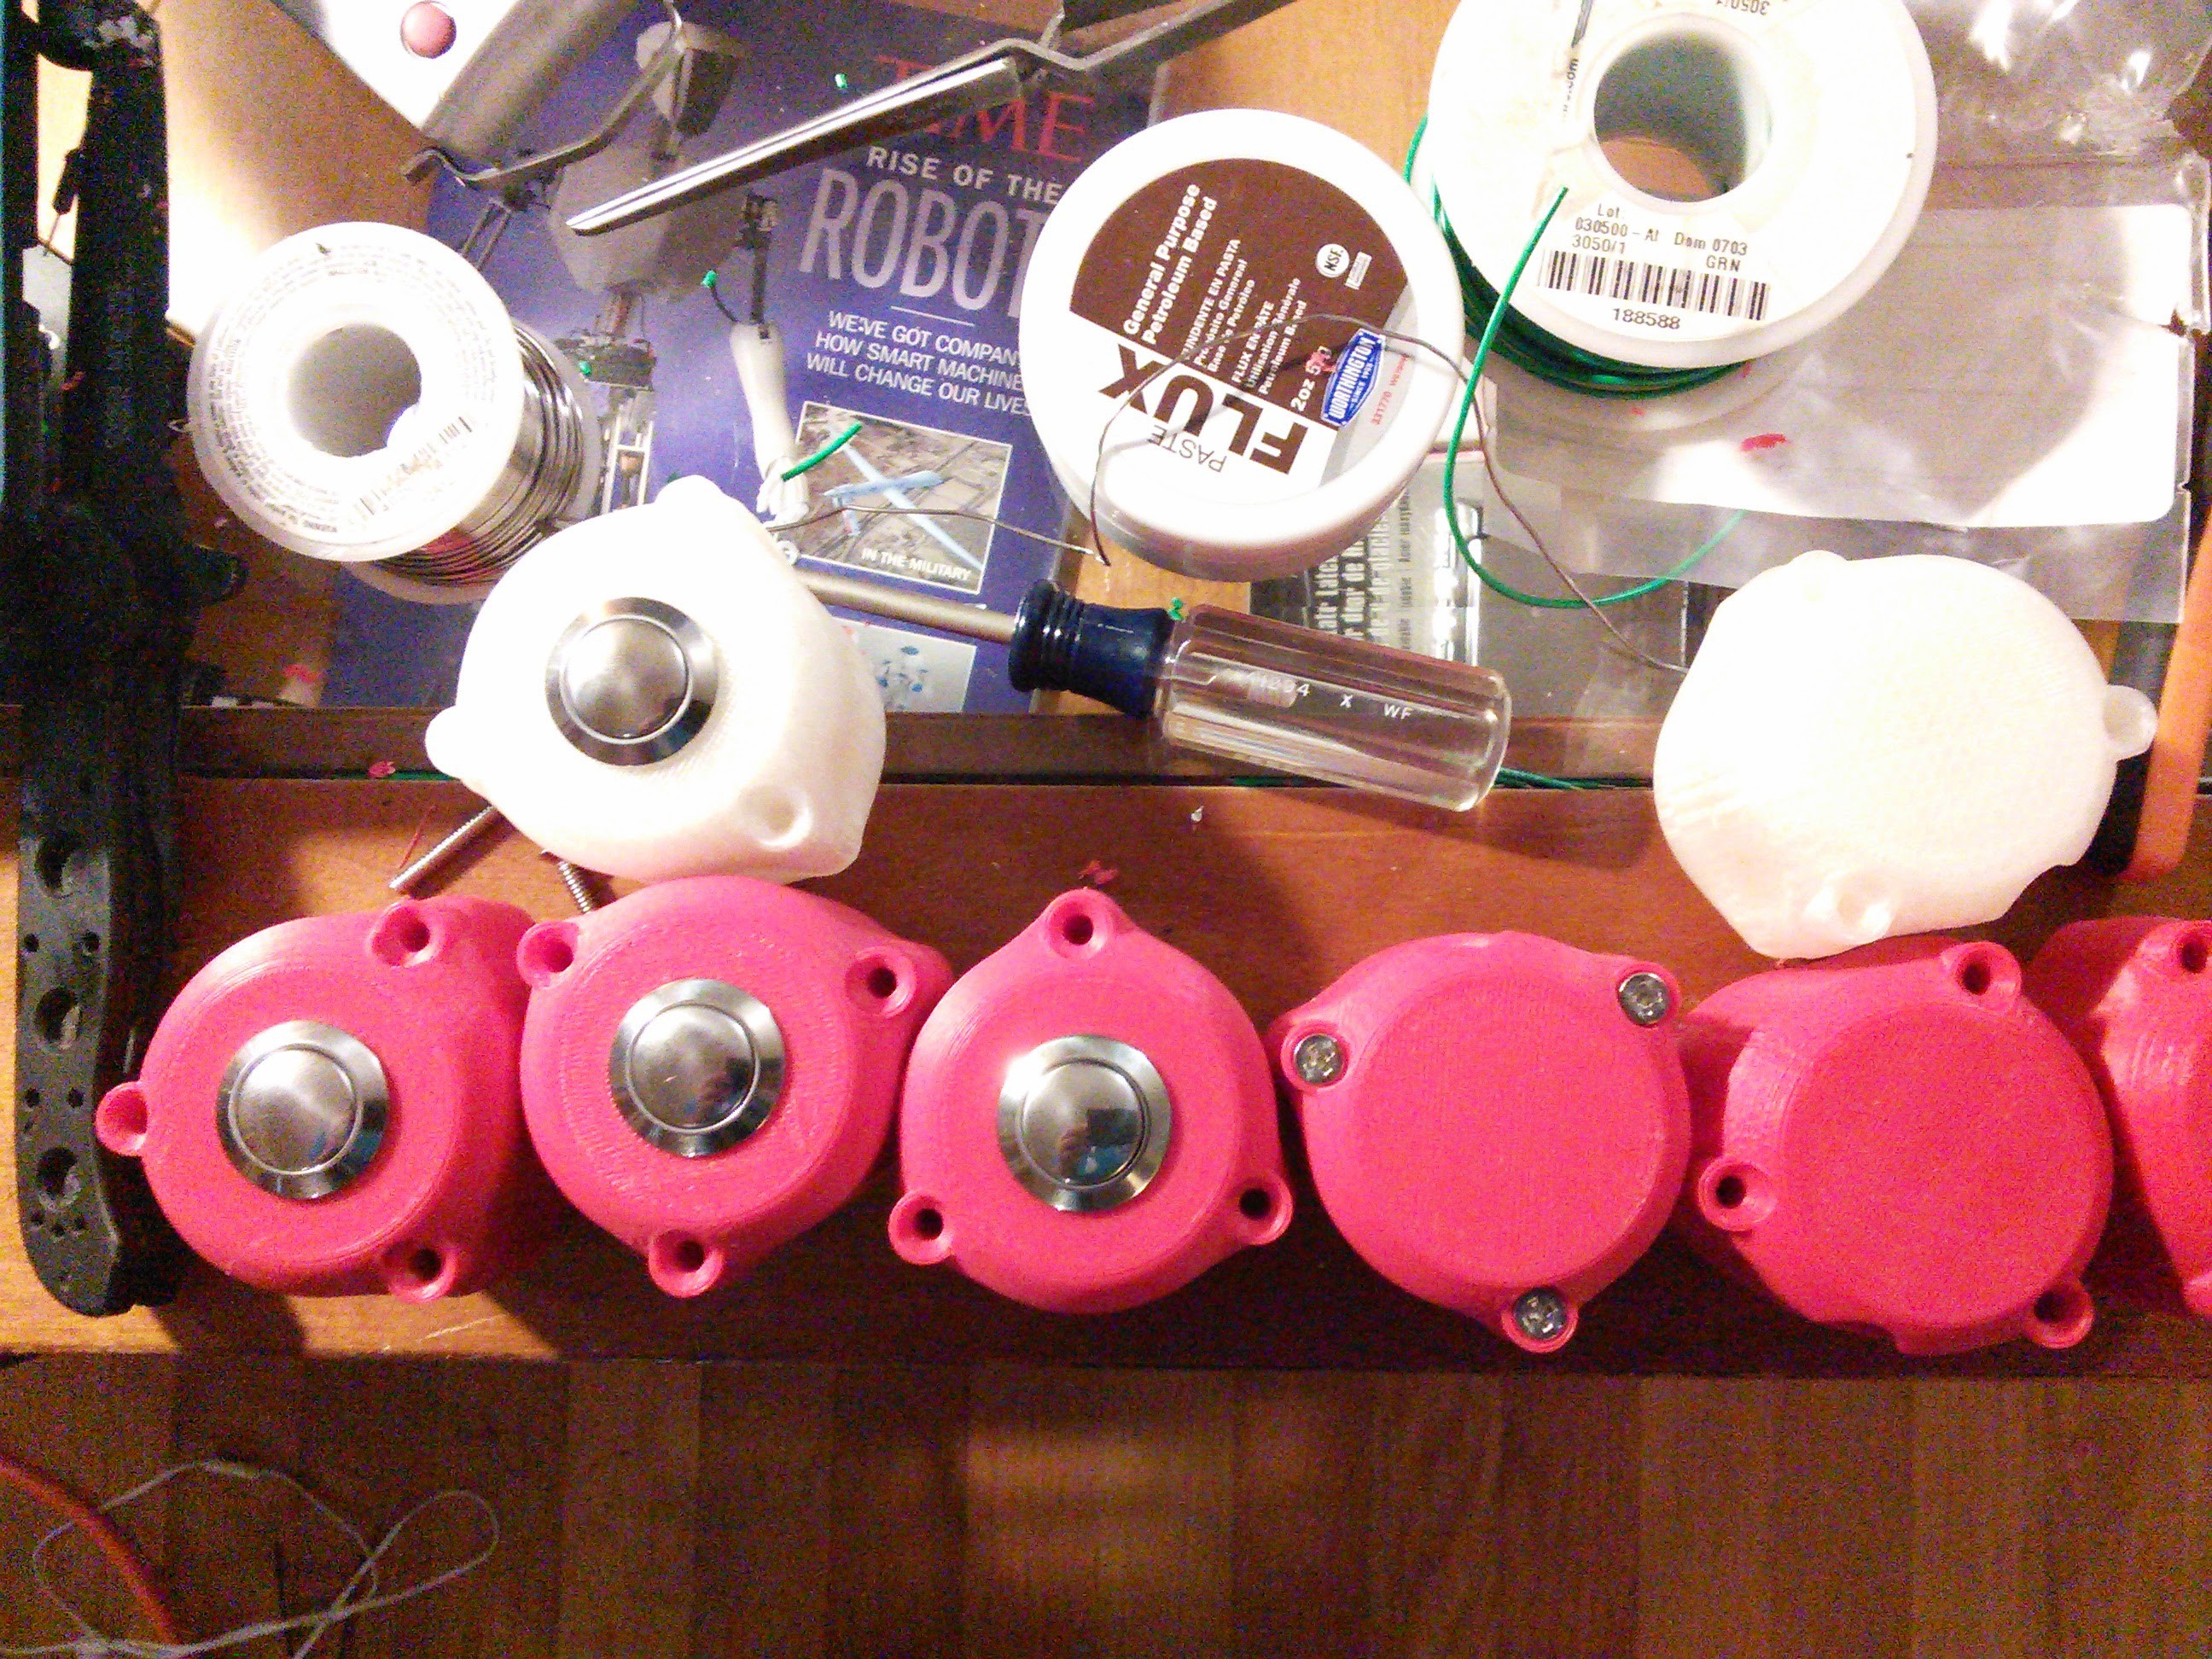
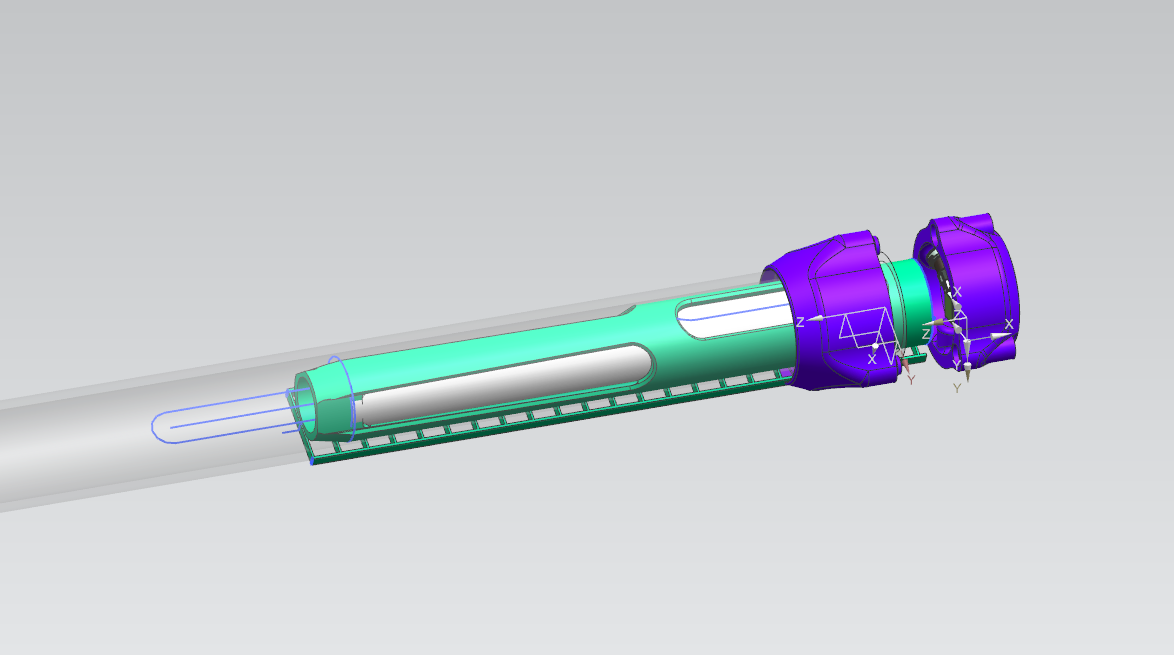
I printed all the parts for each staff (I'd like to go back and get them machined by a service like firstcut or find a tormach I could mill them on myself out of an aluminium or maybe a stainless (ooo fancy) to go with a carbon core version of the staff.
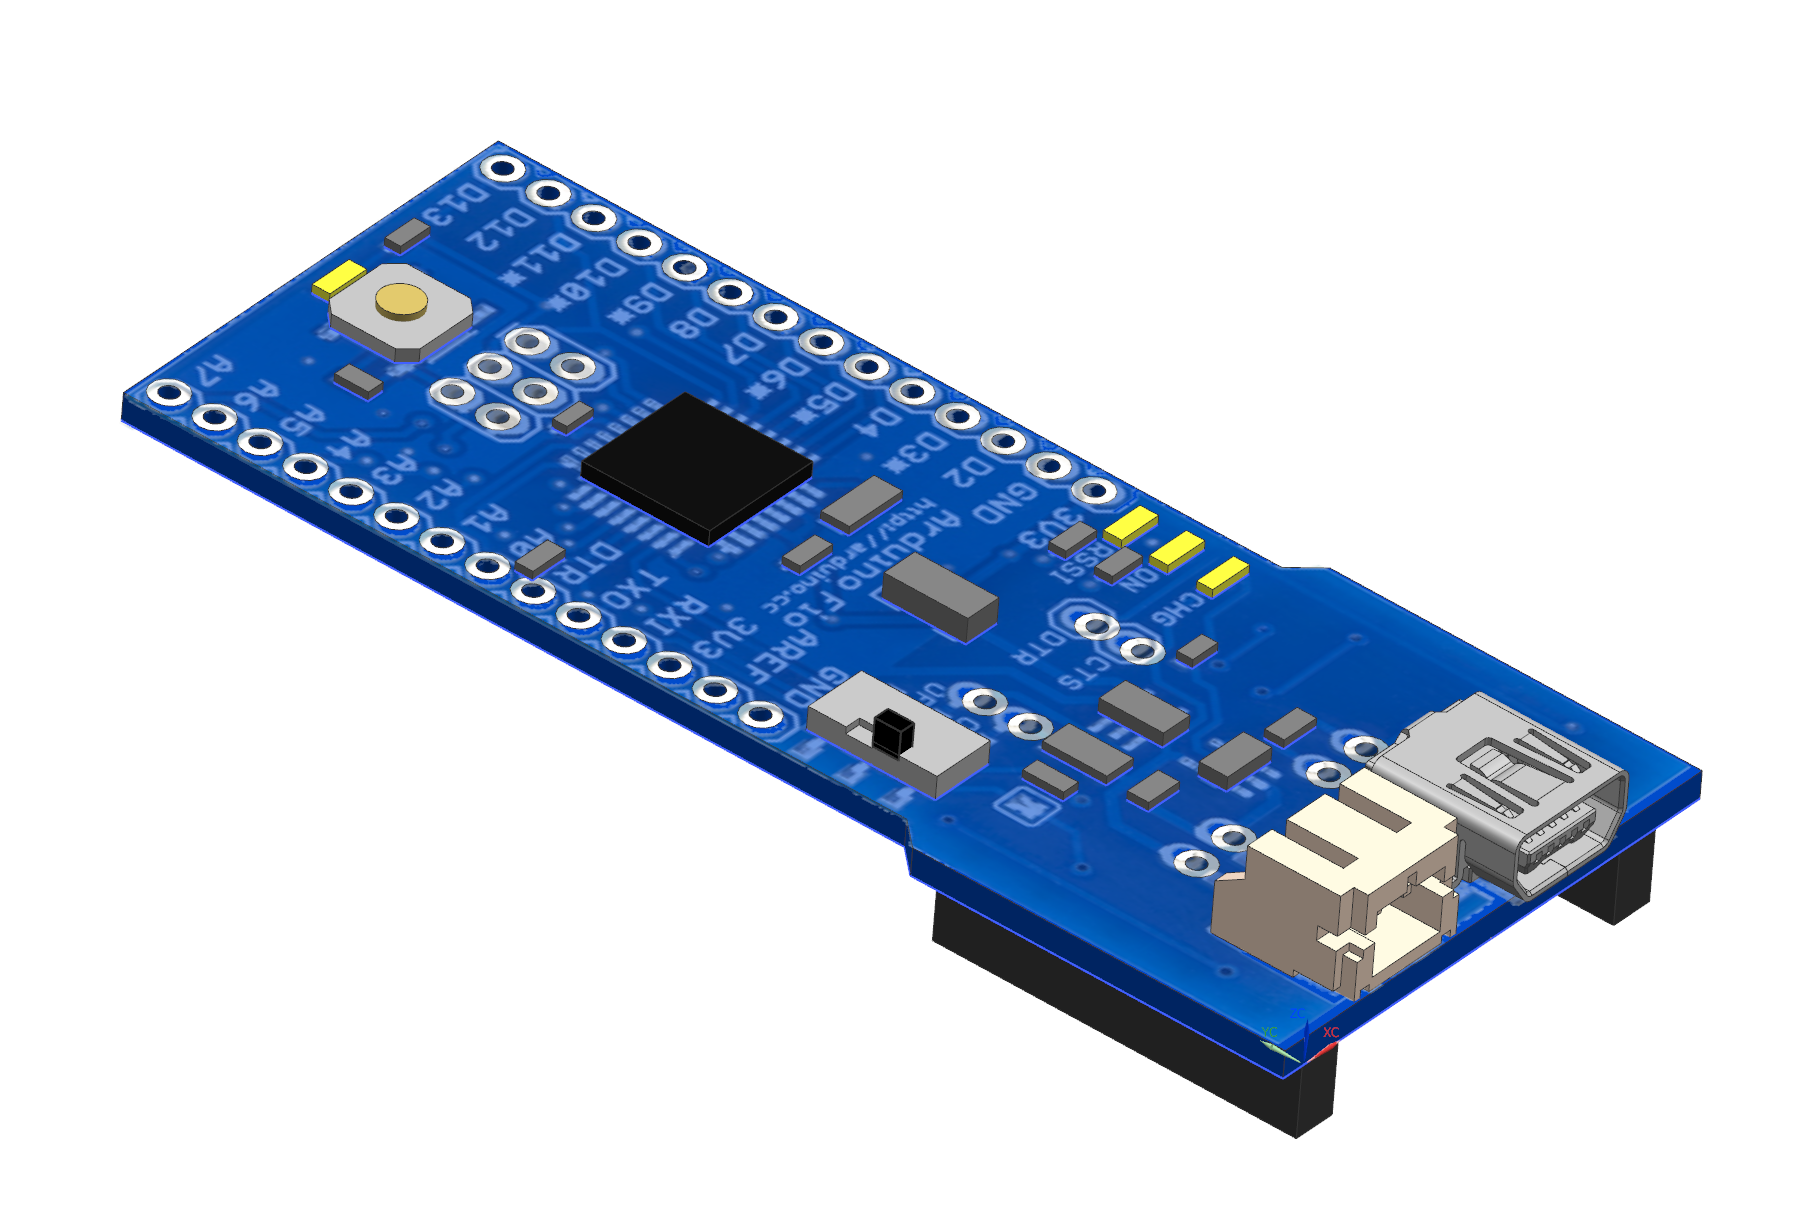
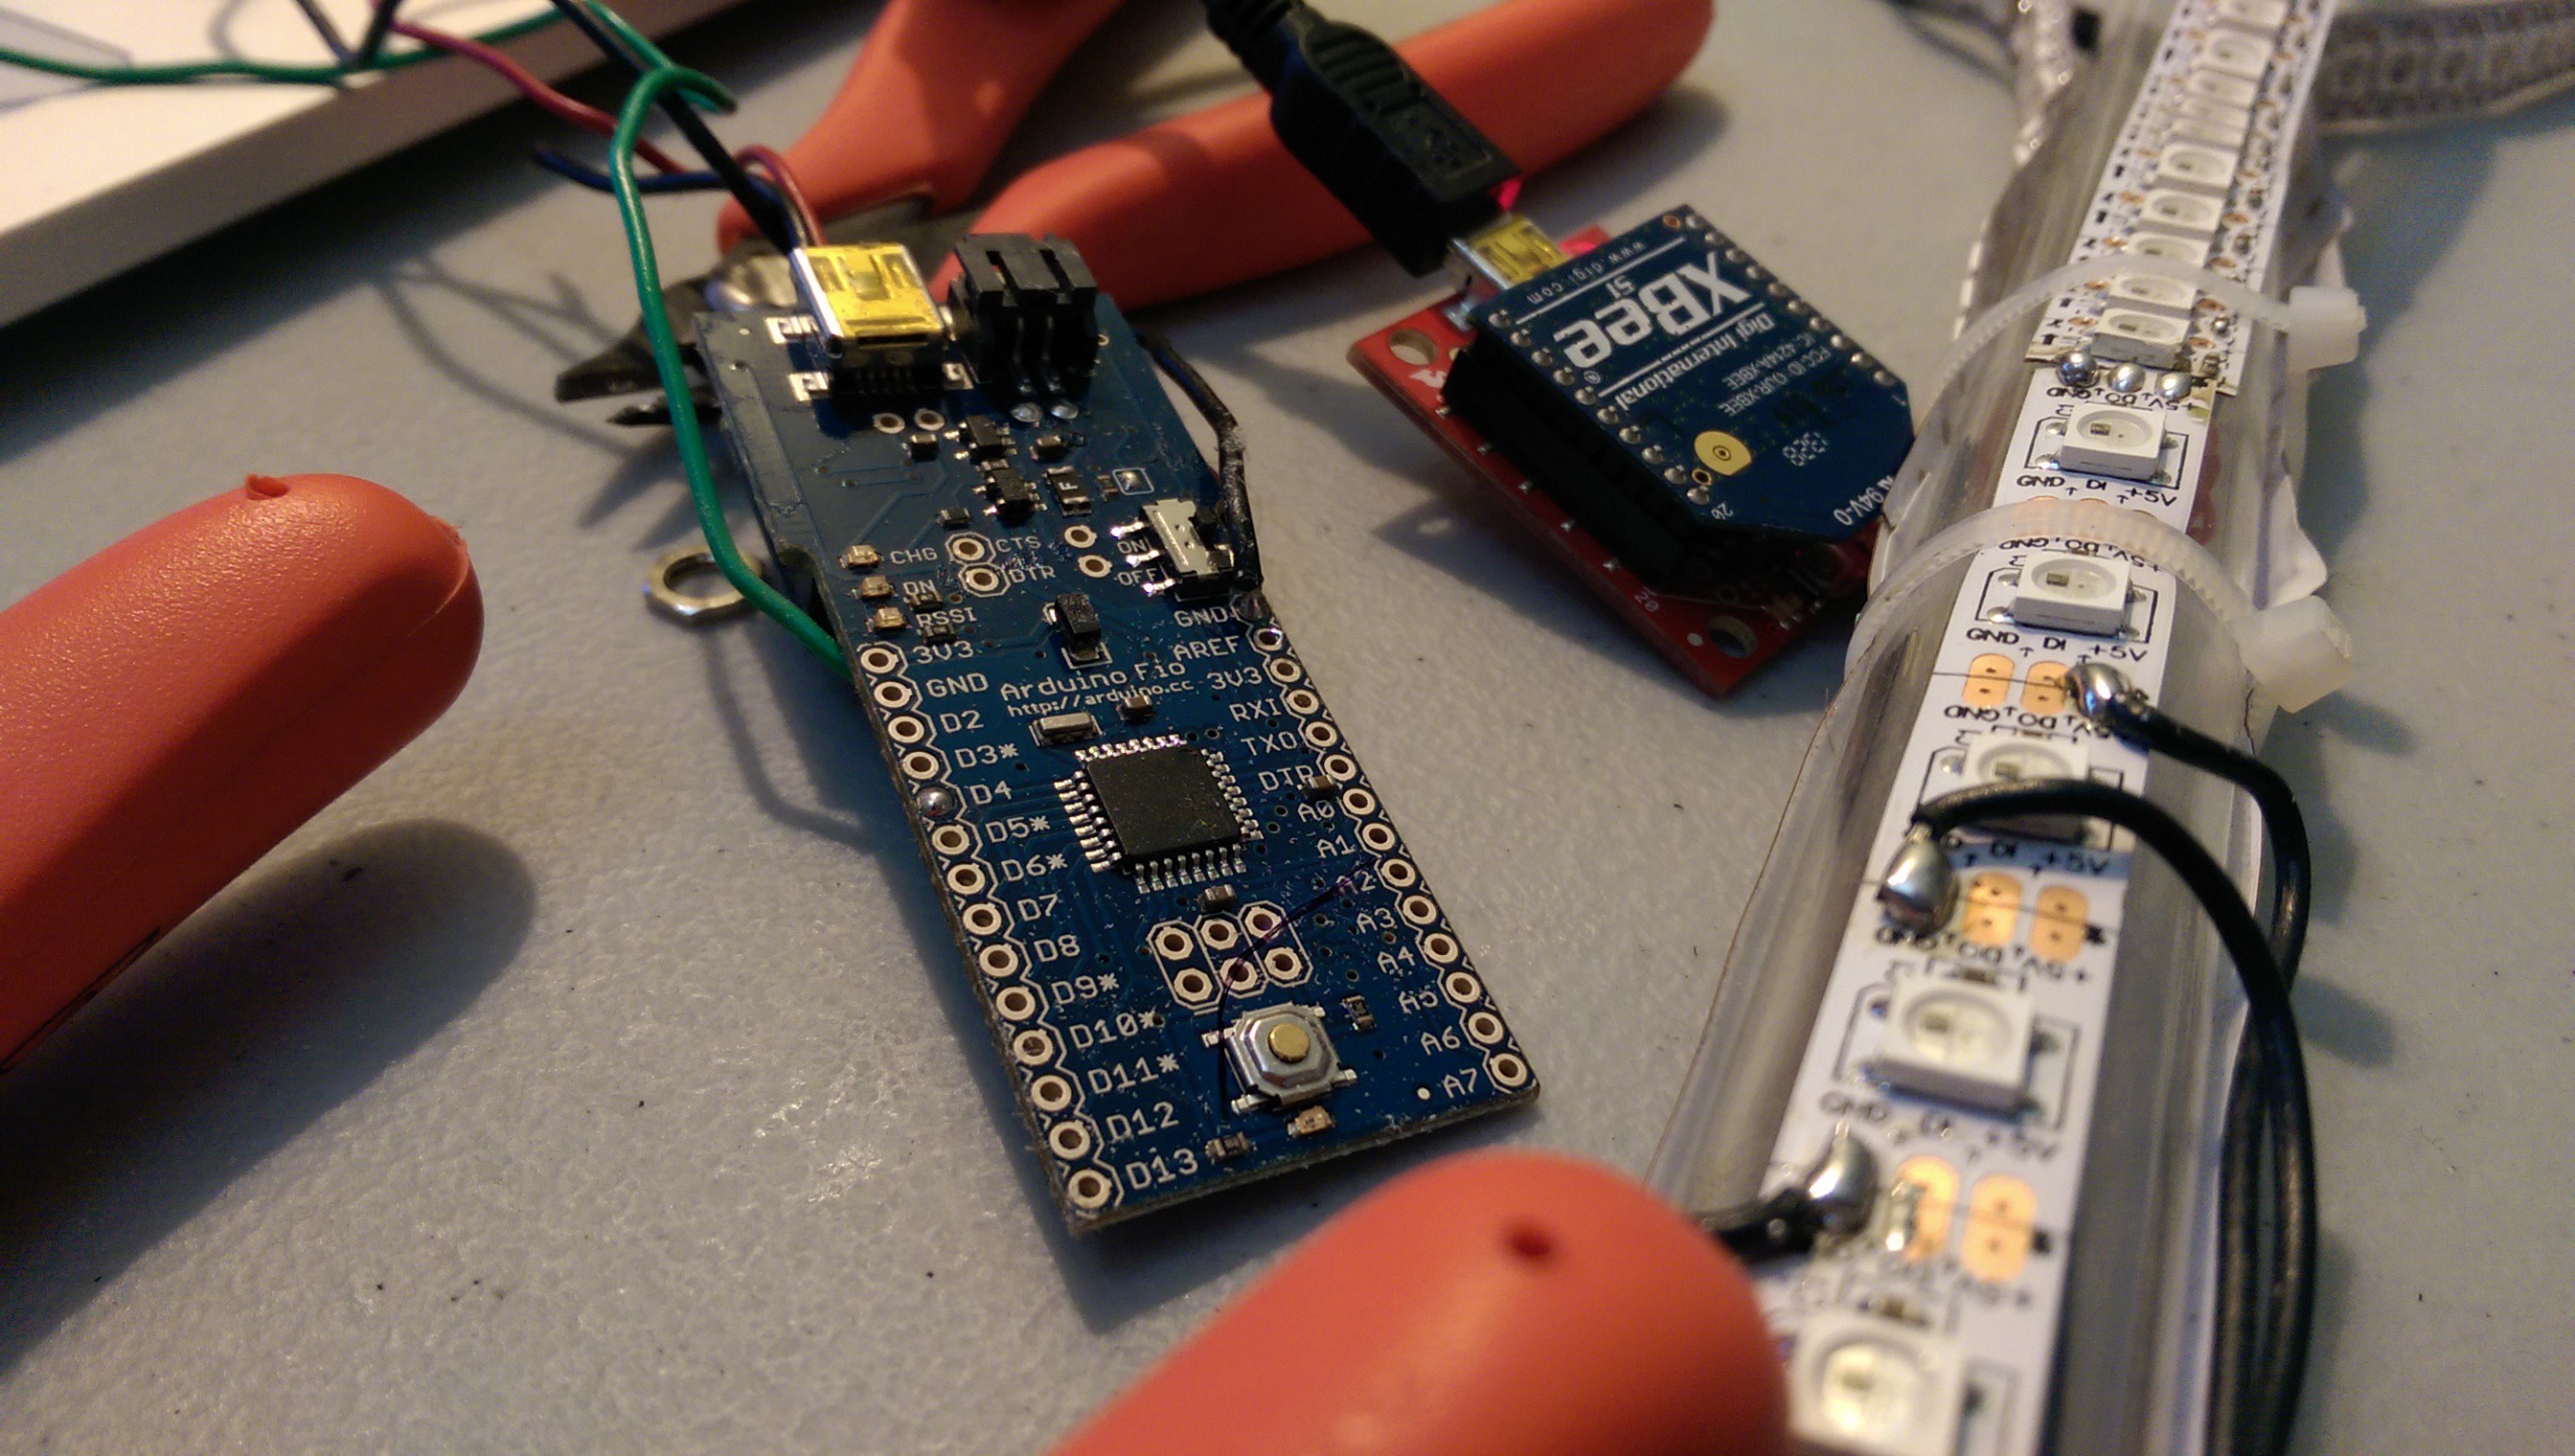
Somewhere in here I modeled a FIO, it's FIOGRABCADCAPSISFORWINNERS on grabcad now also figured out how to remotely program over xbees, pretty nifty.
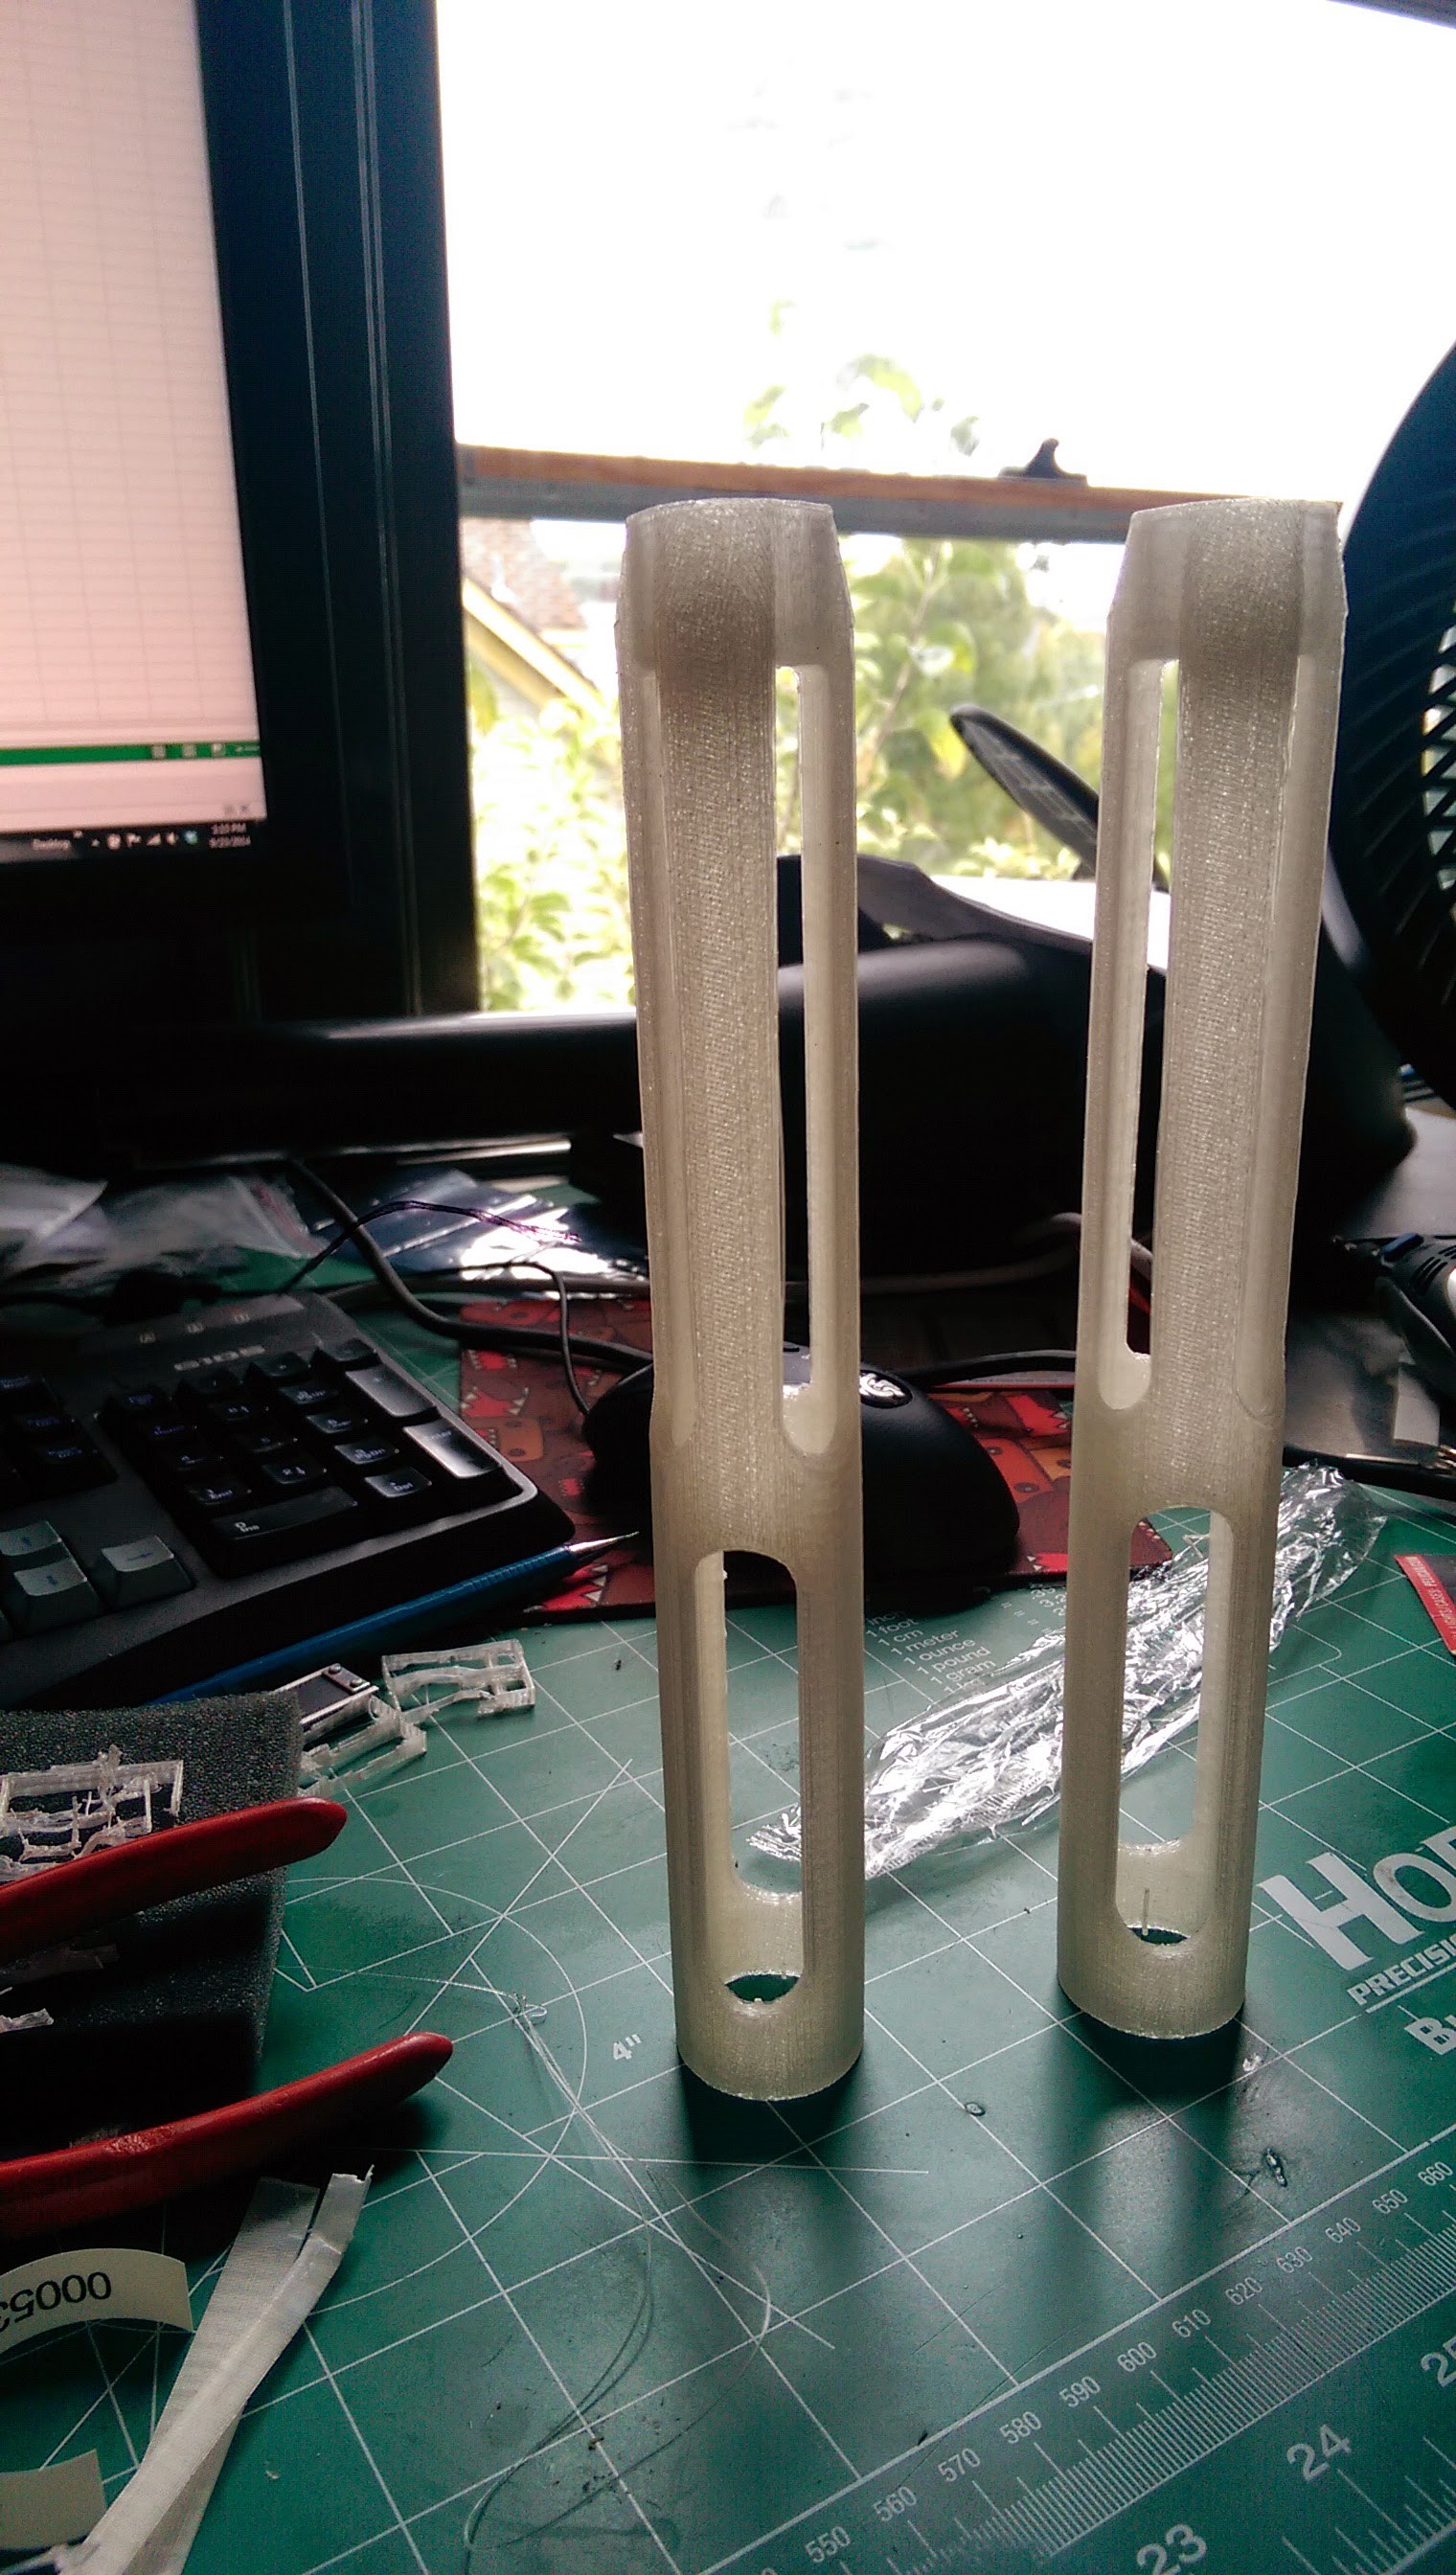
After attempting assembly a couple times, I realized a nice printed spacer that holds boards or batteries at either end would be perfect, and as it turns out, the correct length spacer for the battery I'm using is ever so slightly smaller than a M*kerbot build area diagonal. My m*kerbot heated build platform connector basically caught on fire when I tried to start it up after I got back from the burn, so I printed a few on a friend's printer.
Above: single end insert spacer, with additional support scaffold I manually modeled in (I'm doing an FDM printer sans dissolvable support, so it's easier if I model in the scaffold). If this isn't phallic enough for you well then, get into rocket science.
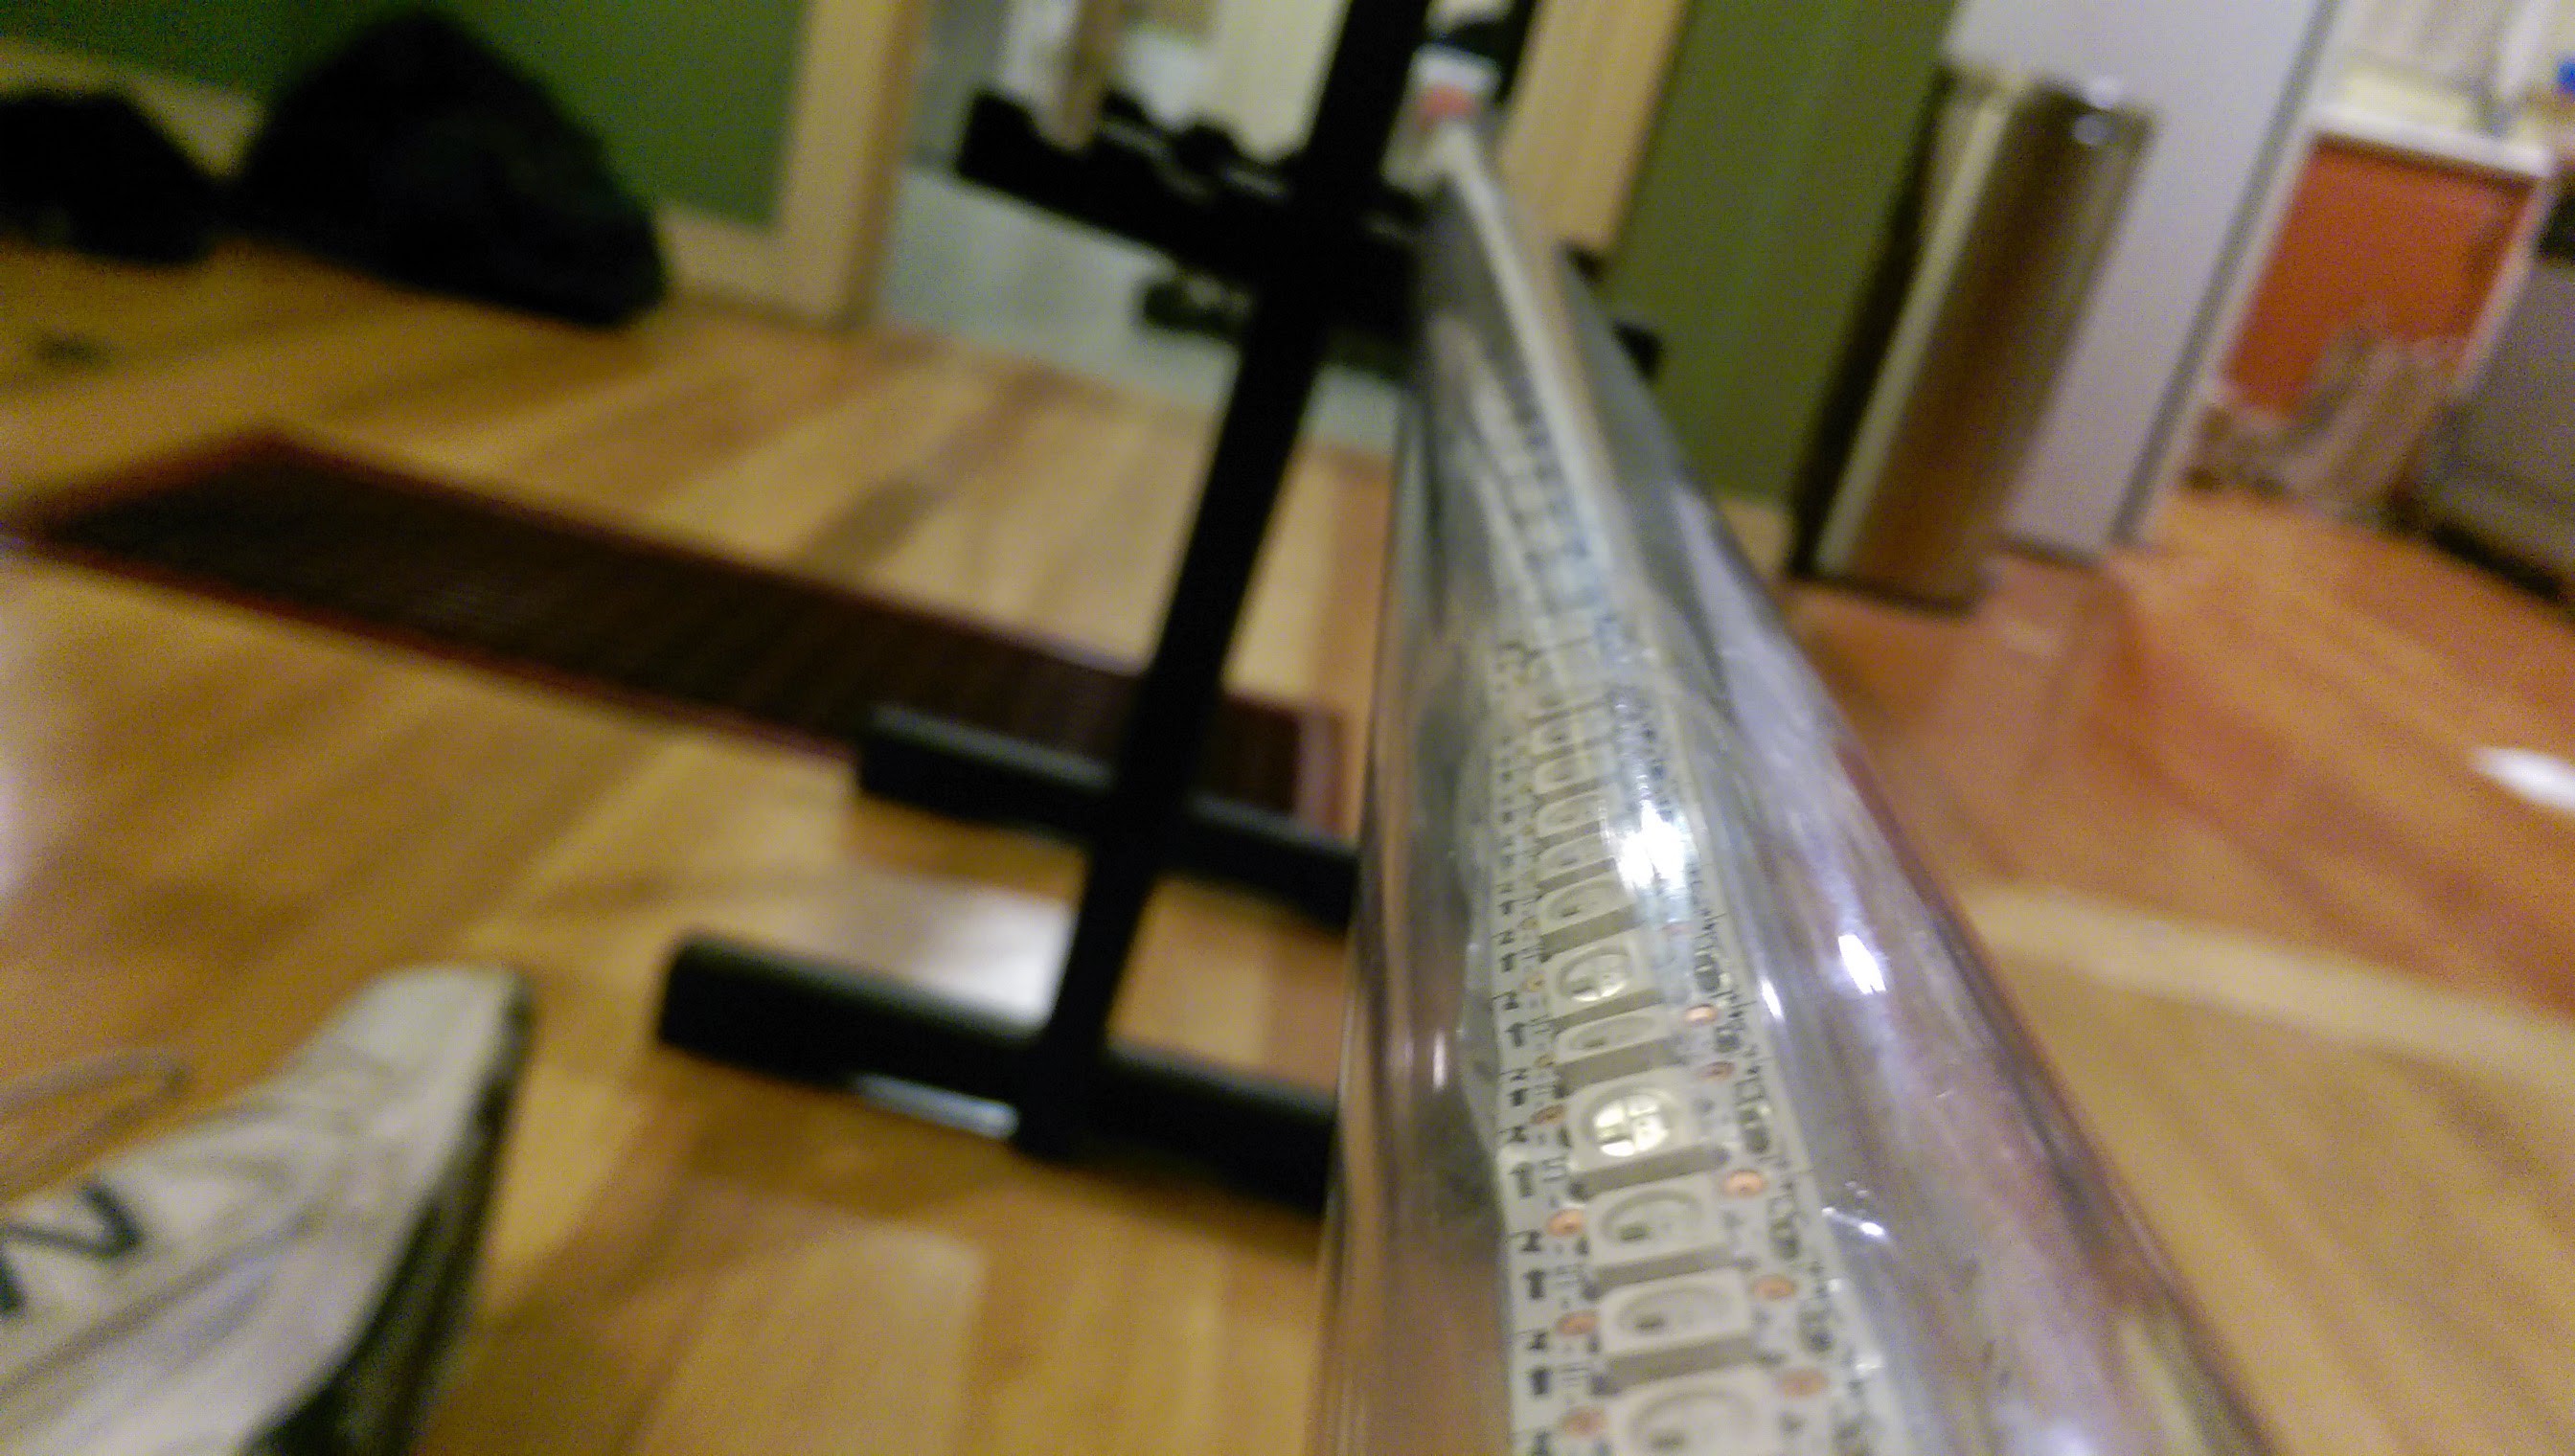
Above: Staff with spacers, LEDs not shown for obvious reasons ( I am lazy and have not changed them since I added the spacers)

Had to squeak it in, makerware didn't like it. I rammed it in. I really need to get off makerbot pritners. get me a bukobot.
Fresh off the printer
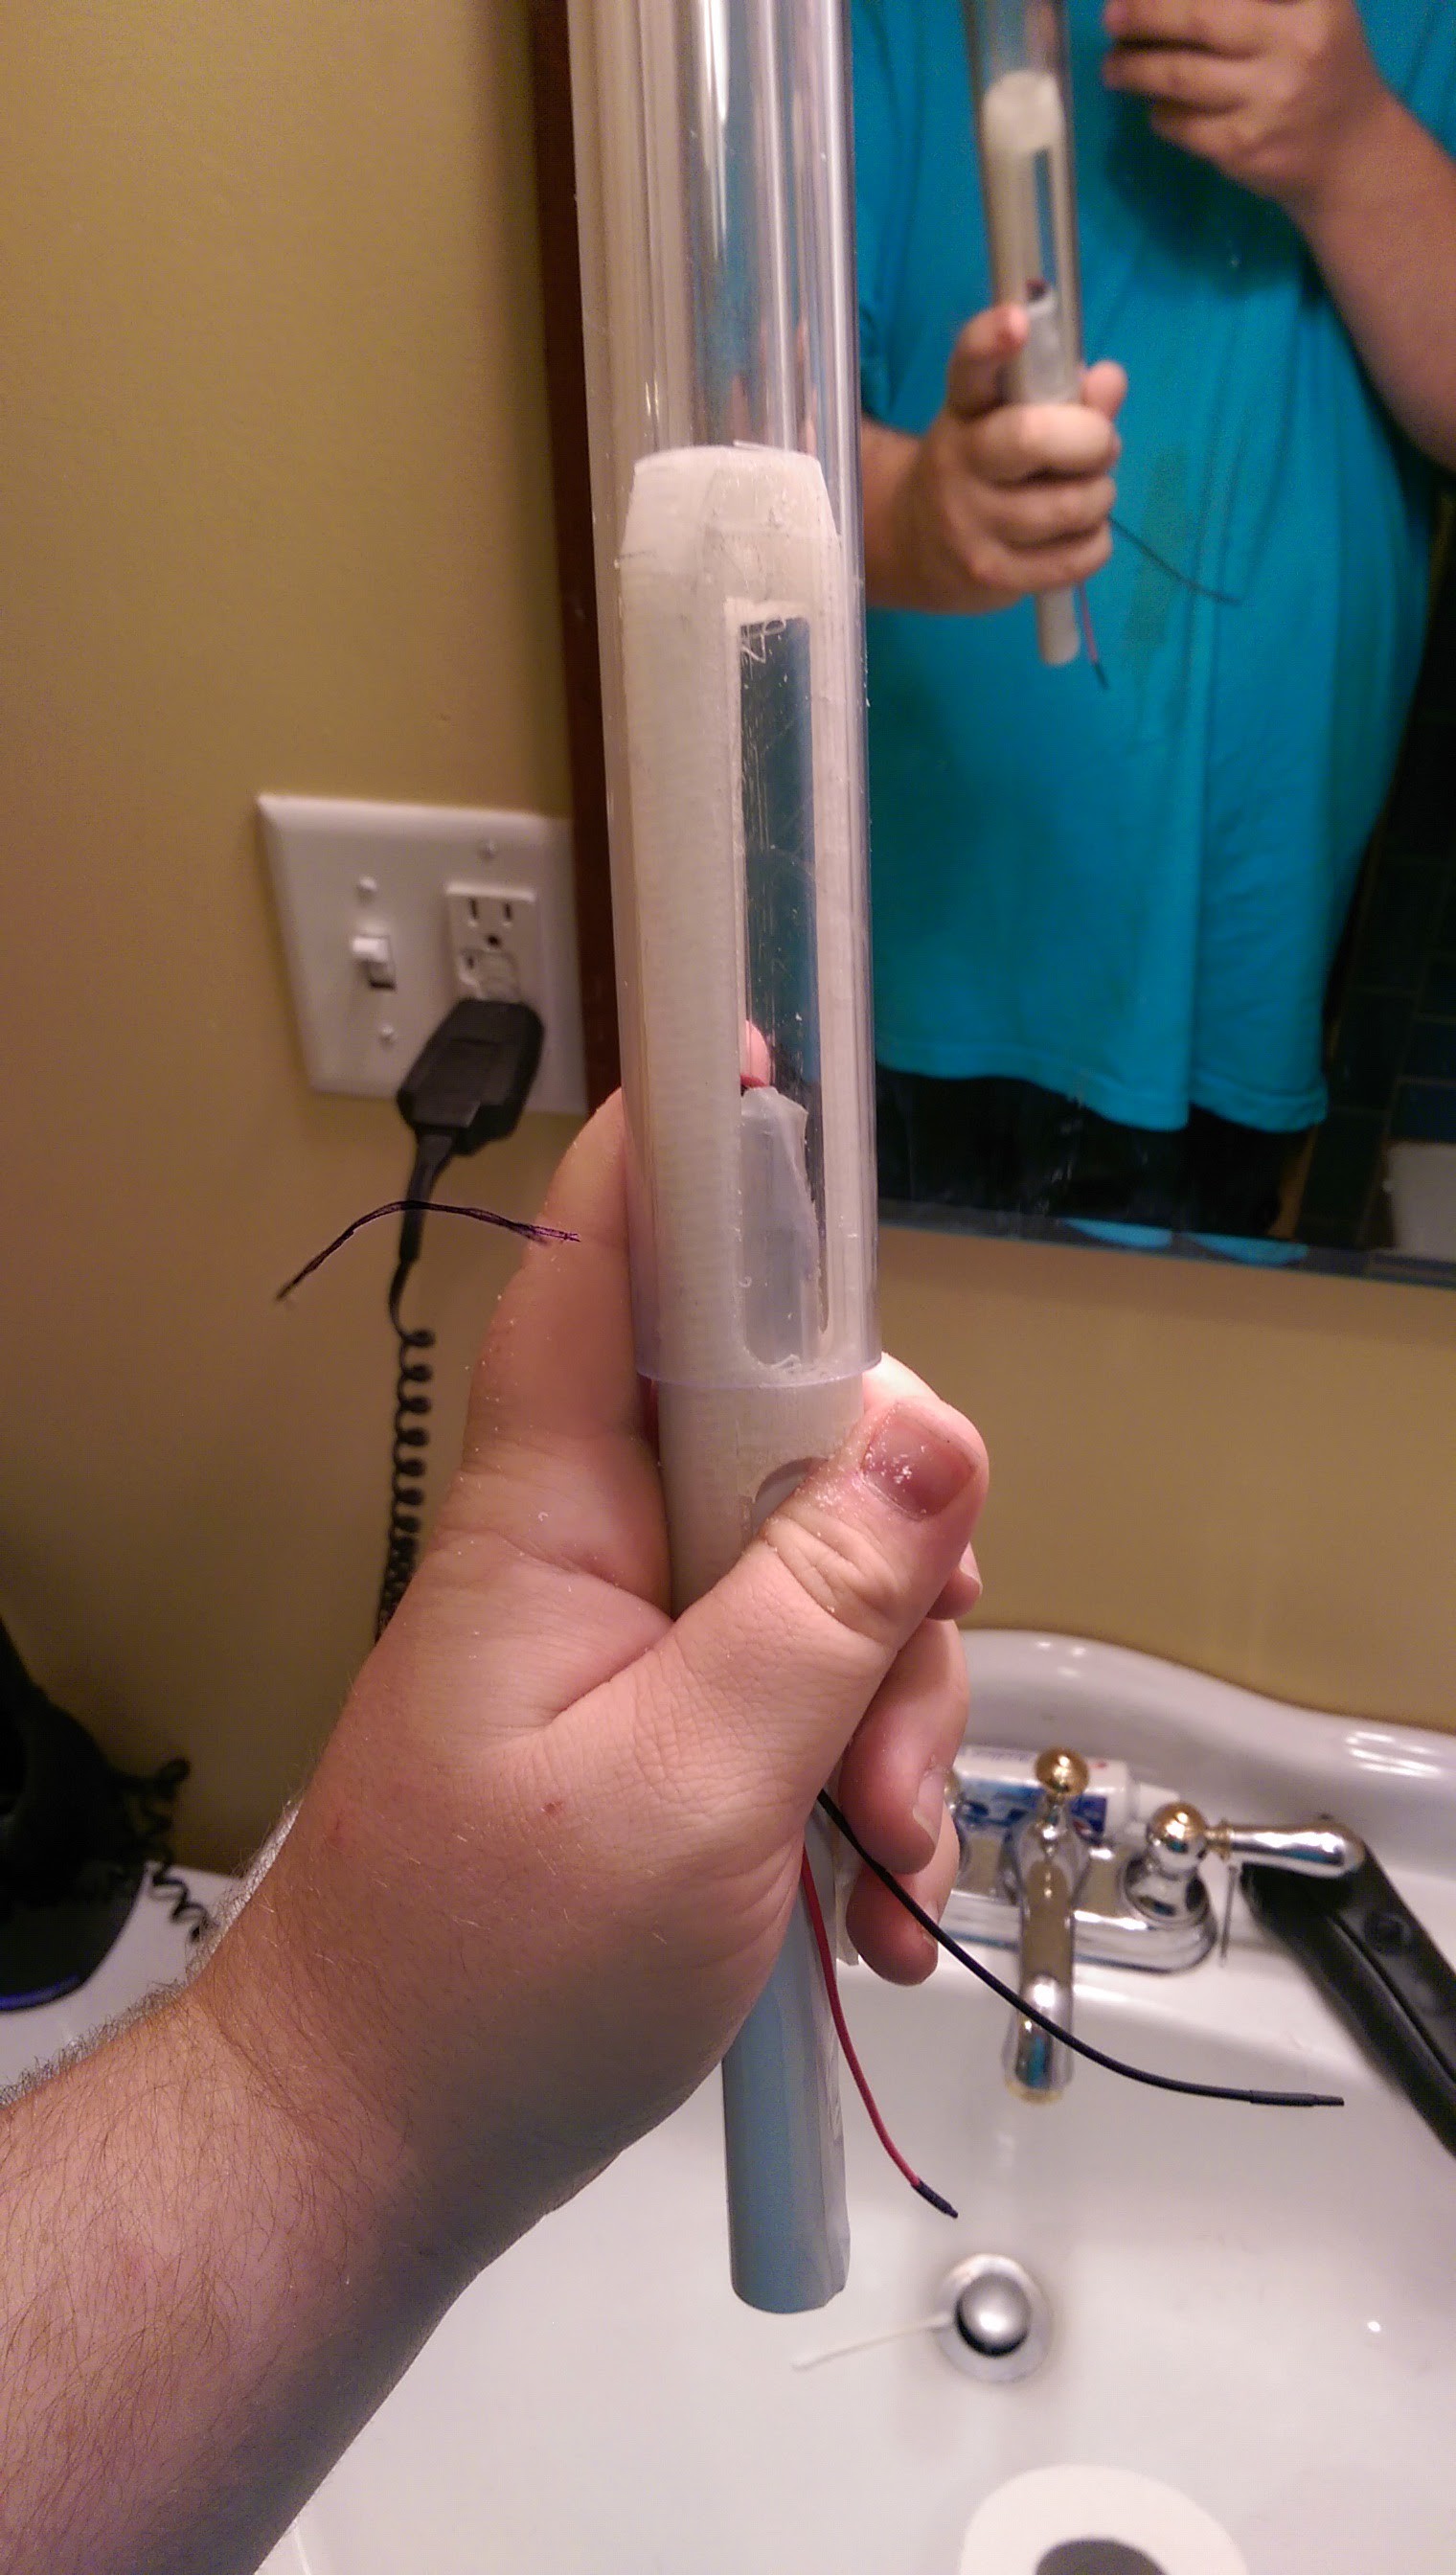
The fit, she was perfect.
(well ok, there was a tad of sanding)
so spacers were in, it was time to solder up the harness. I "finalized" the wiring layout, threw in some connectors so I could disassemble it without having to "tear" it apart (or desolder anything) and got to soldering. After a couple solid nights of getting everything sorted I powered it up and voila, we have a working micro. I'm right at the point where I do the first few light tests now.

HOTT STUFFF
I'm going to finish up the wiring, button everything up and check to make sure the wireless programming via fio is still performing admirably. assuming that all works I'll create a bit of a stress test program to see just how bright I can go with this set of hardware ( 12v battery with a 5v 6a step down from pololu, somewhere around 400 LEDs on this guy I think, I haven't counted in a while)
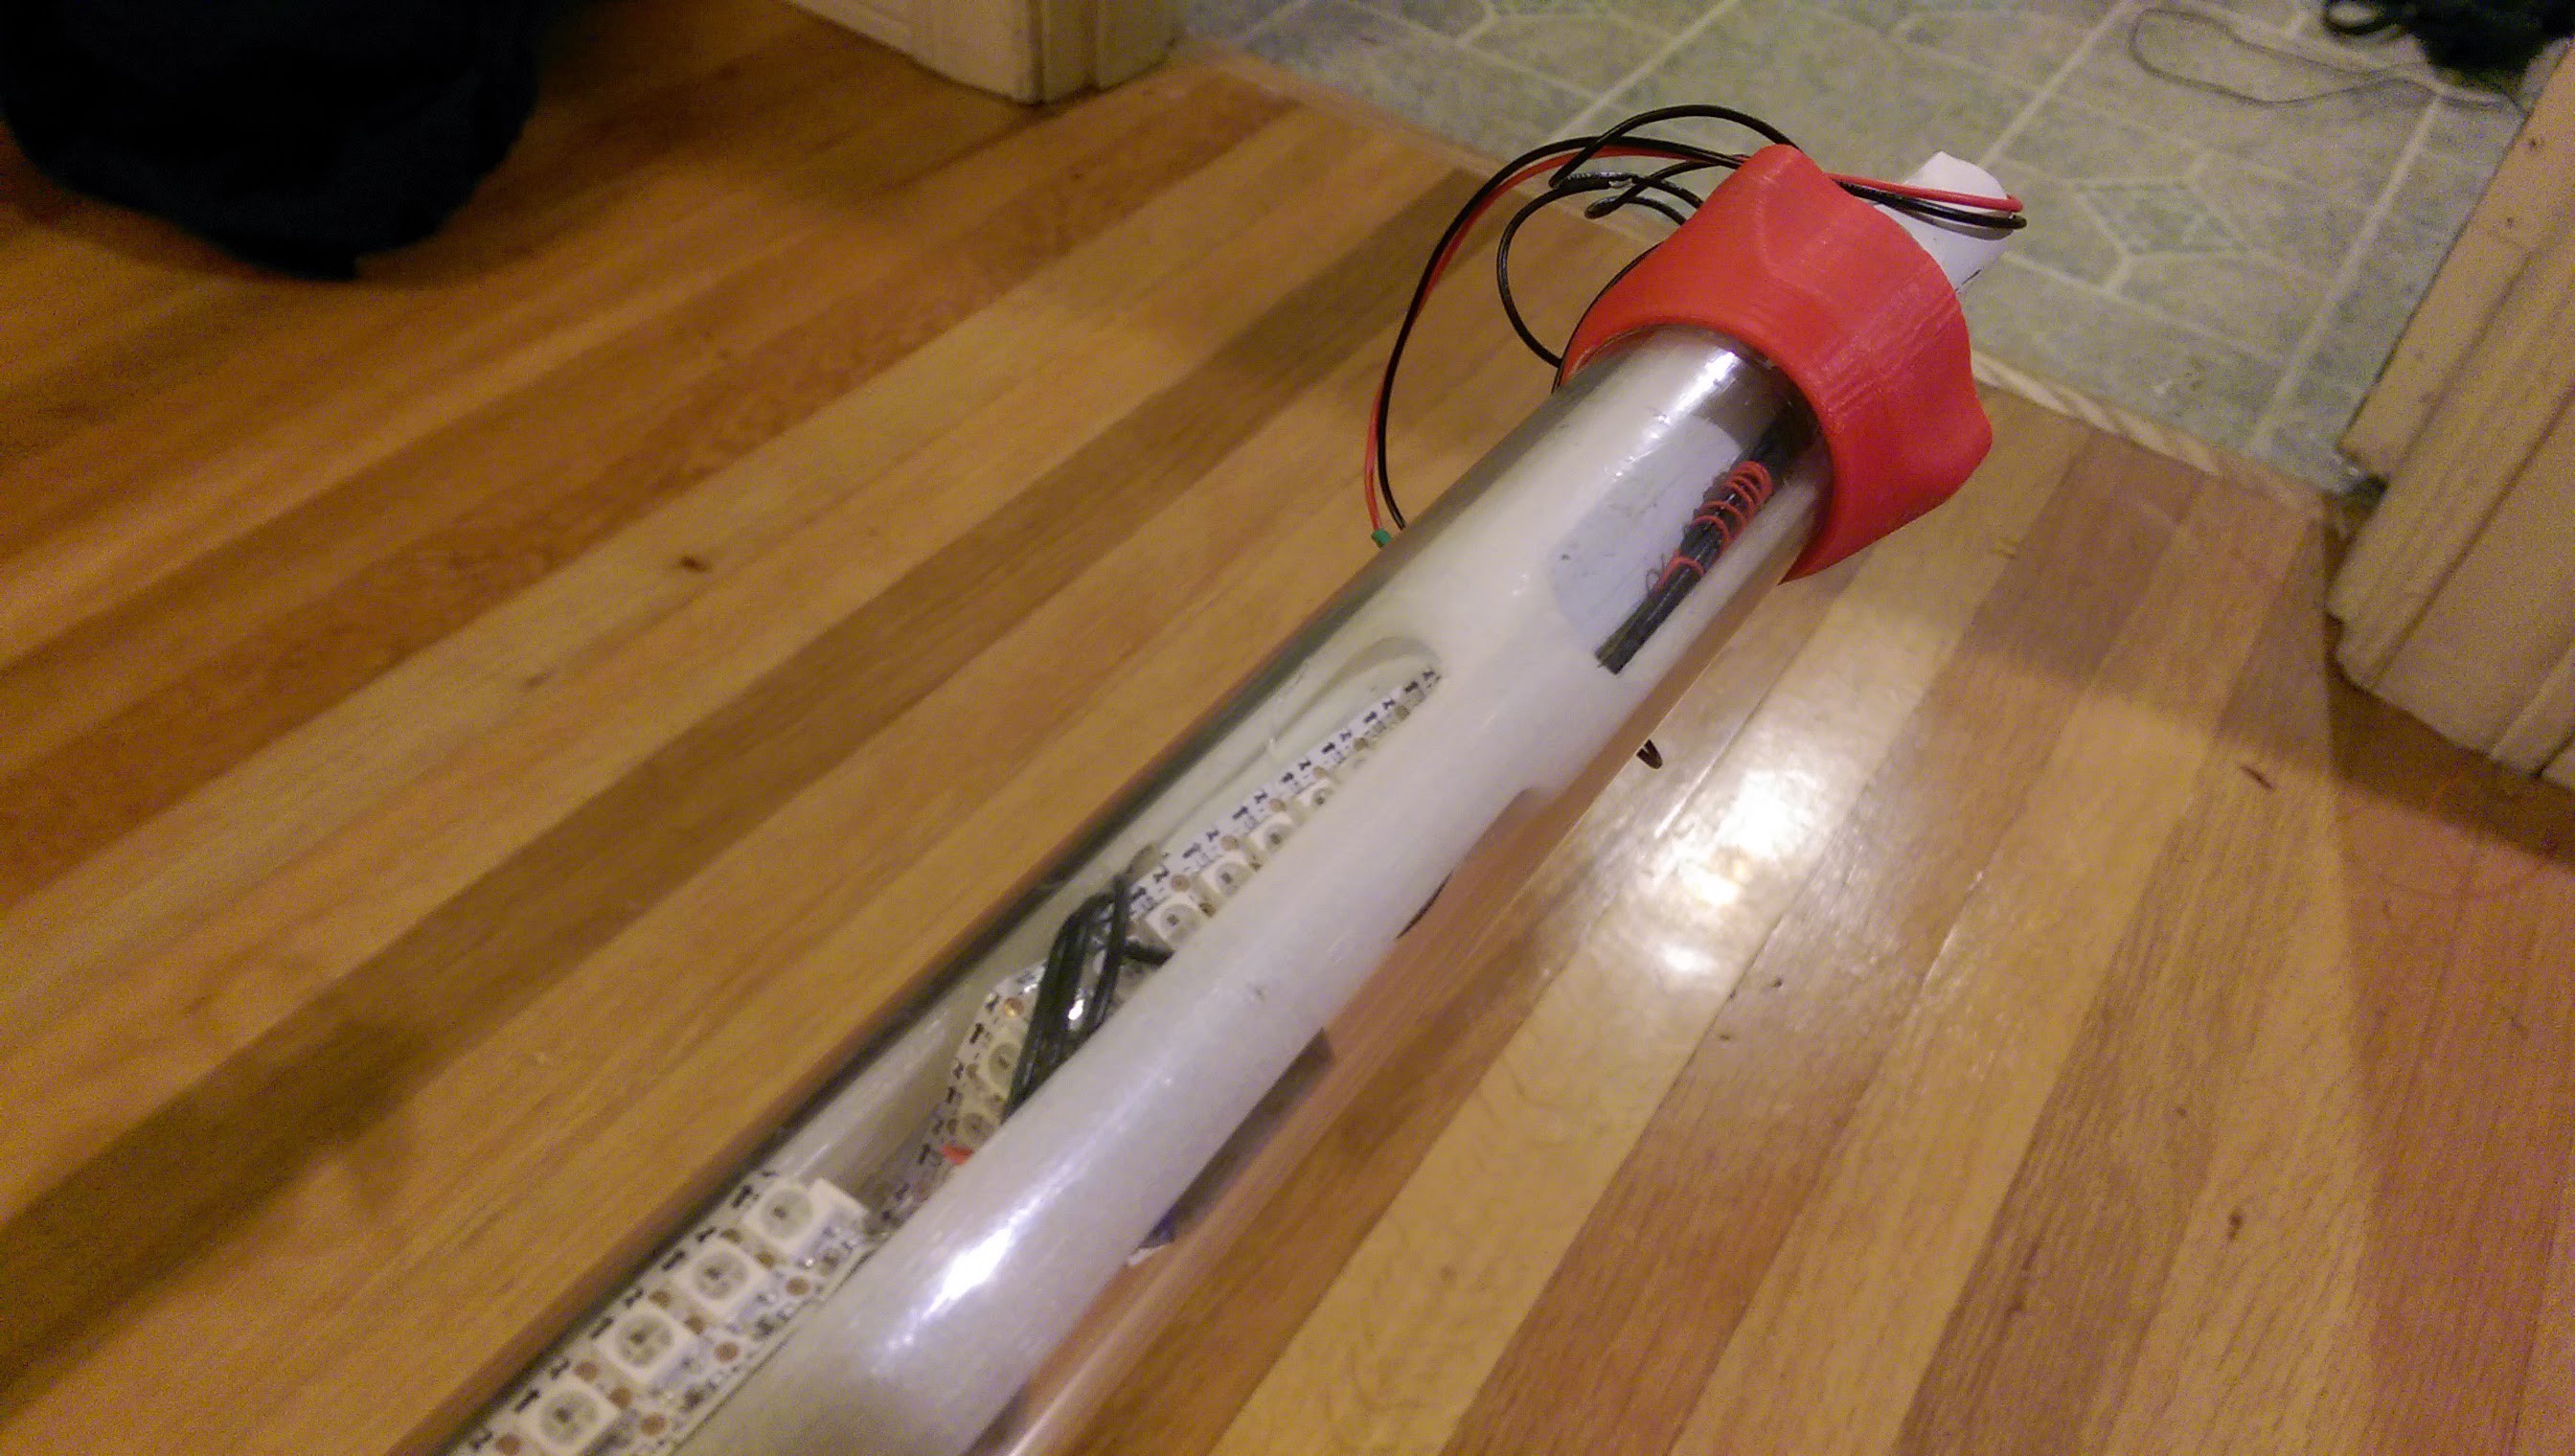
(battery sticks out, gonna fix that)
oh and google made me a gif for free, thanks Larry and Sergey, really top notch work there.

Let me know if you have any questions about the build or want more info on any of the components I'm workin with. I'm going to give a little demo/talk about this project at dorkbot socal on sunday 19th of October, come check it out! I'll keep posting logs here as the project moves forward.
Discussions
Become a Hackaday.io Member
Create an account to leave a comment. Already have an account? Log In.