 EK
EKIn this update we continued to work on the encoder- coming up with code to move its position by a given number of ticks.
We also added buttons to detect when the gear set hits the ends.
The most challenging part of this update was figuring out that the motor was overshooting the encoder by 1-2 ticks, and trying to fix this.
Read more to see all of our prototyping.
Current Design
‘Slow-mo’ encoder control:
In action:
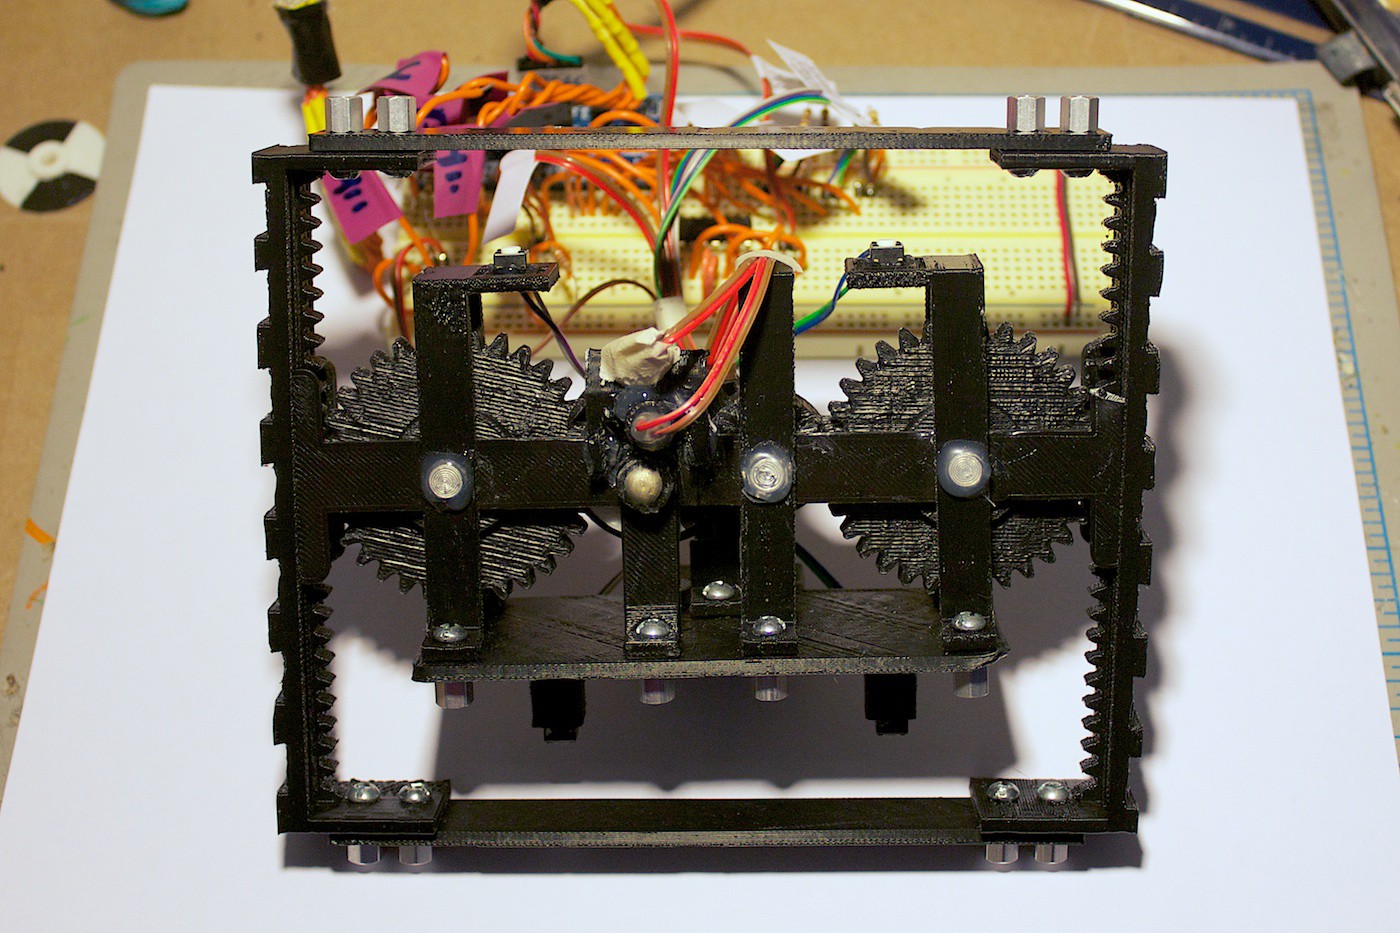
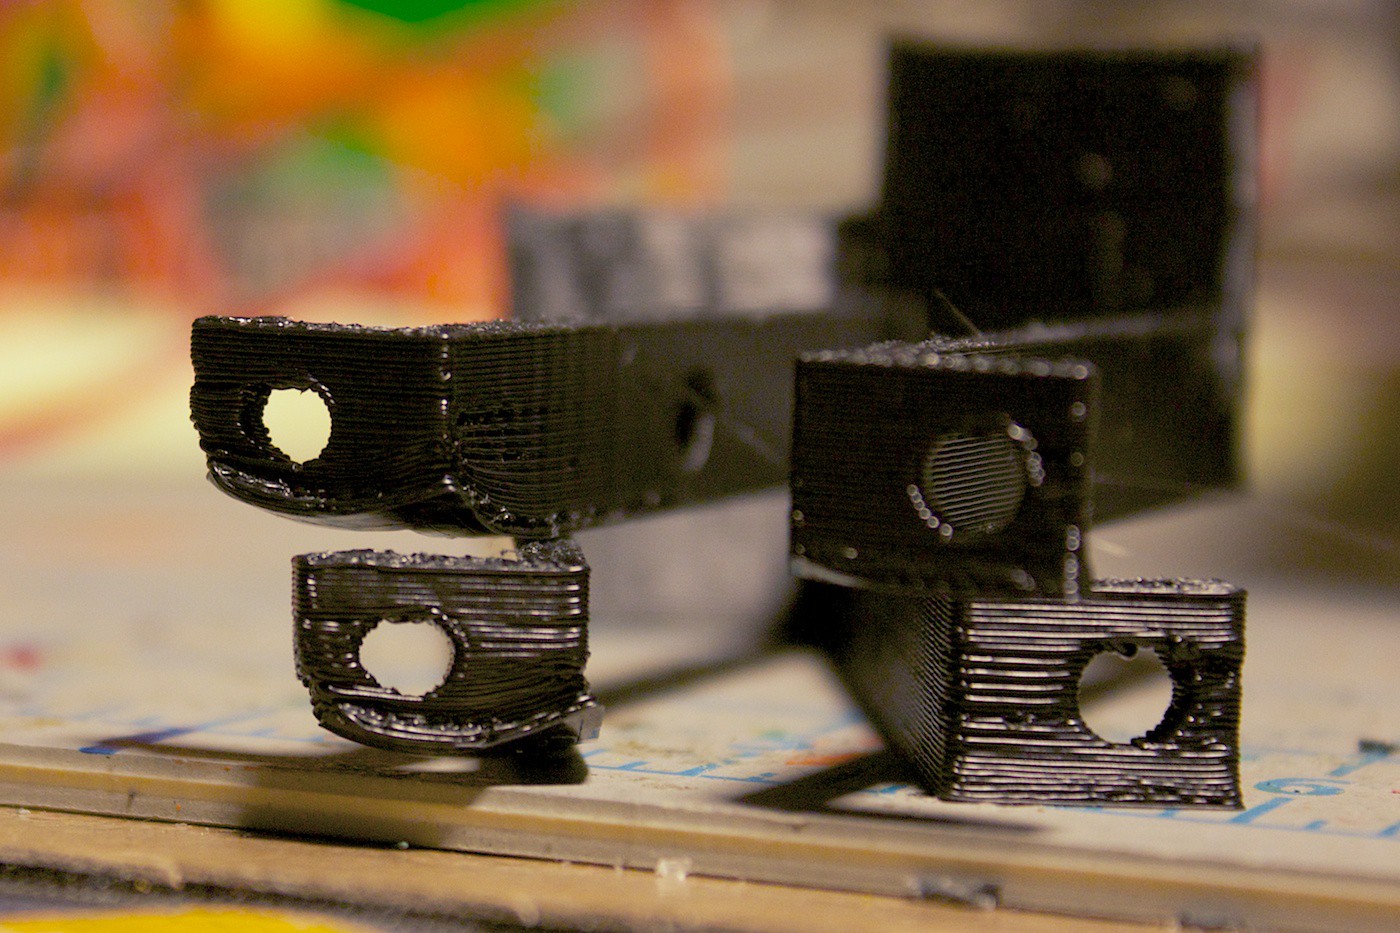
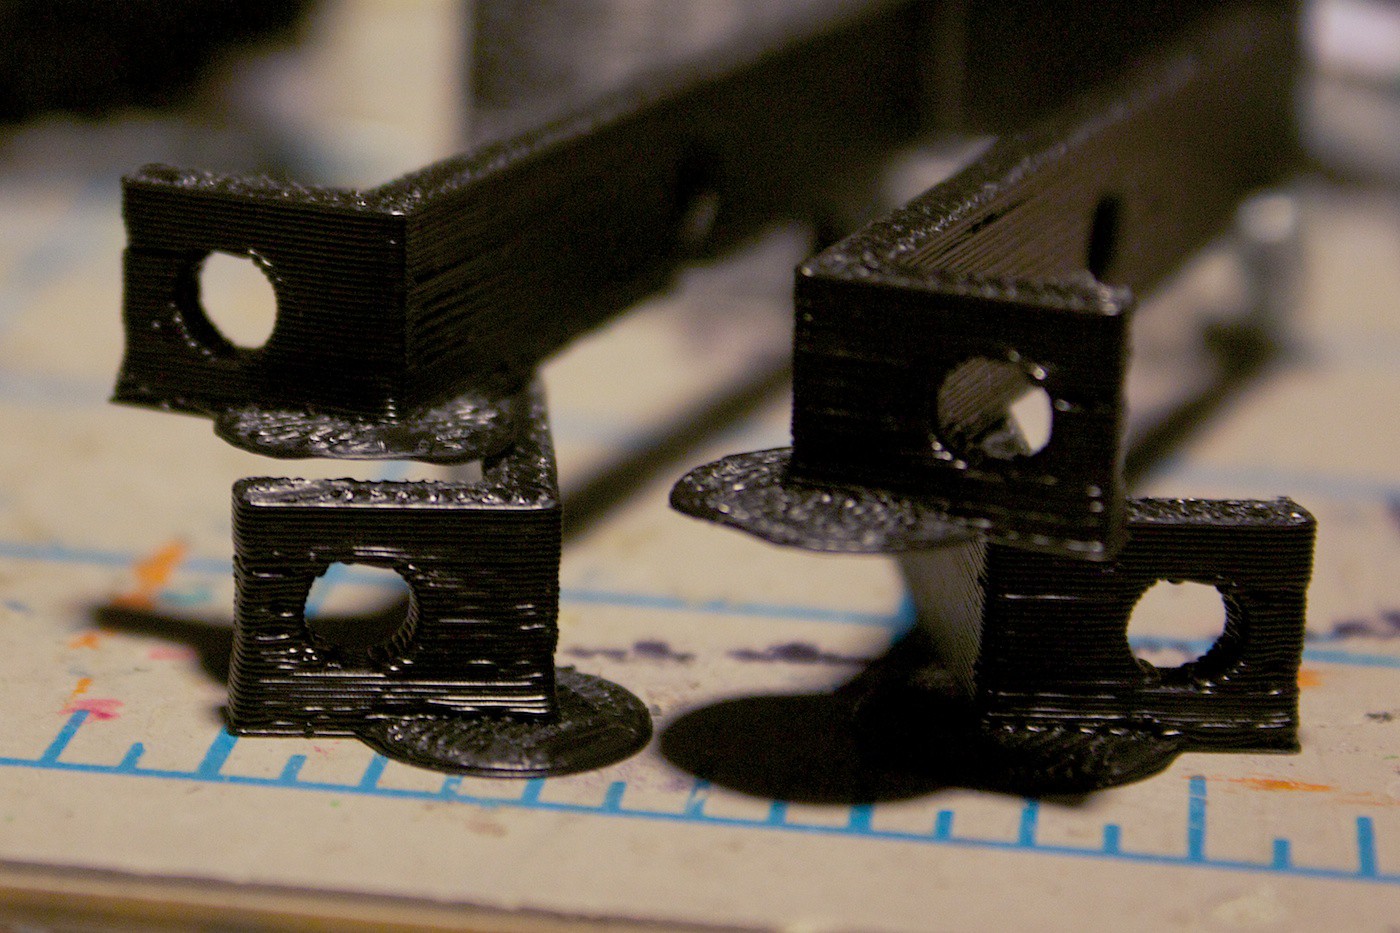
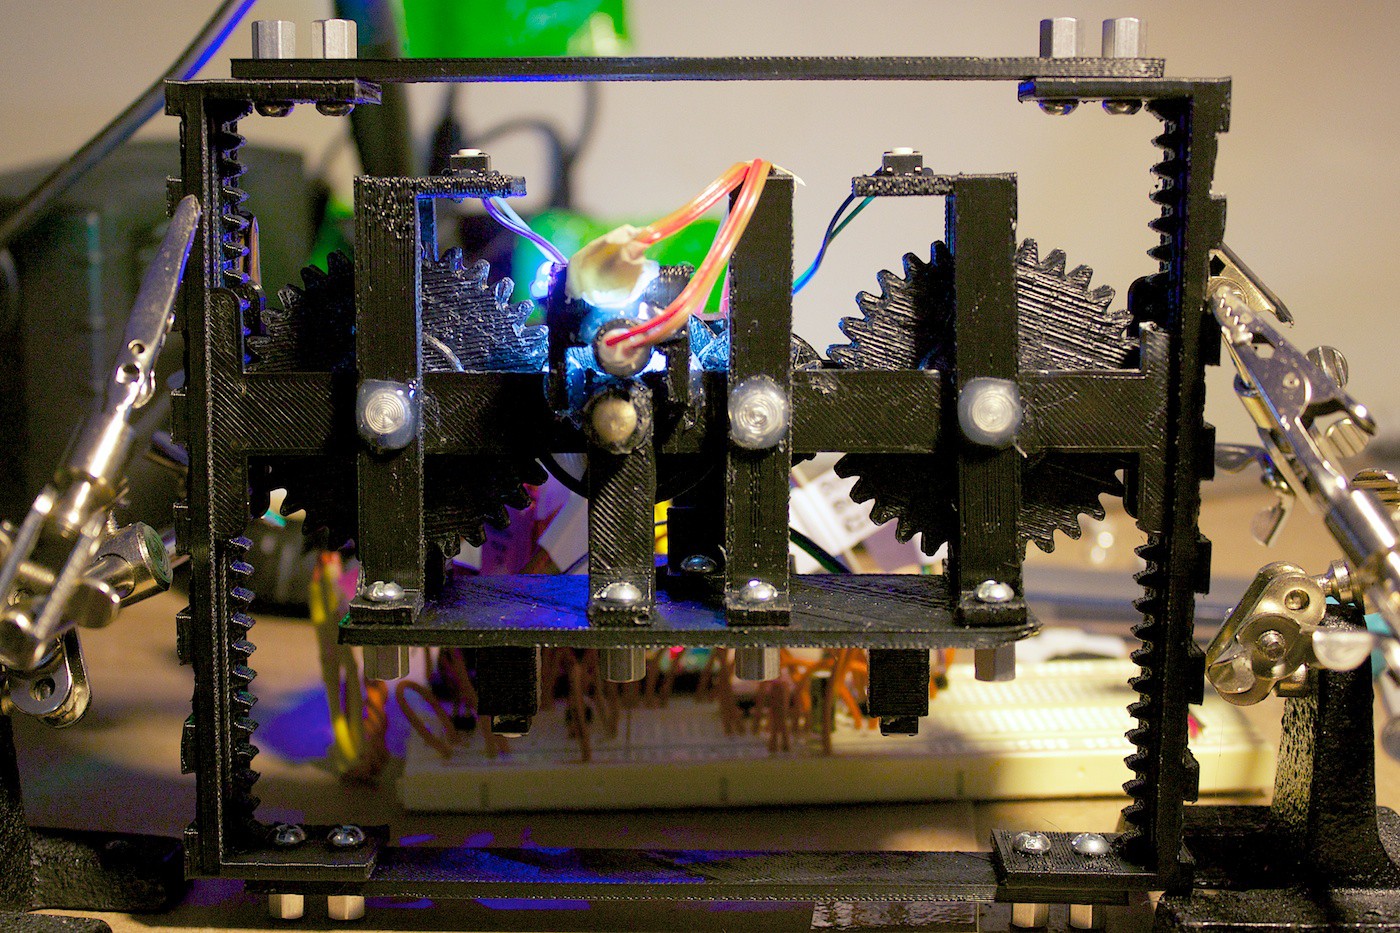
Front view:
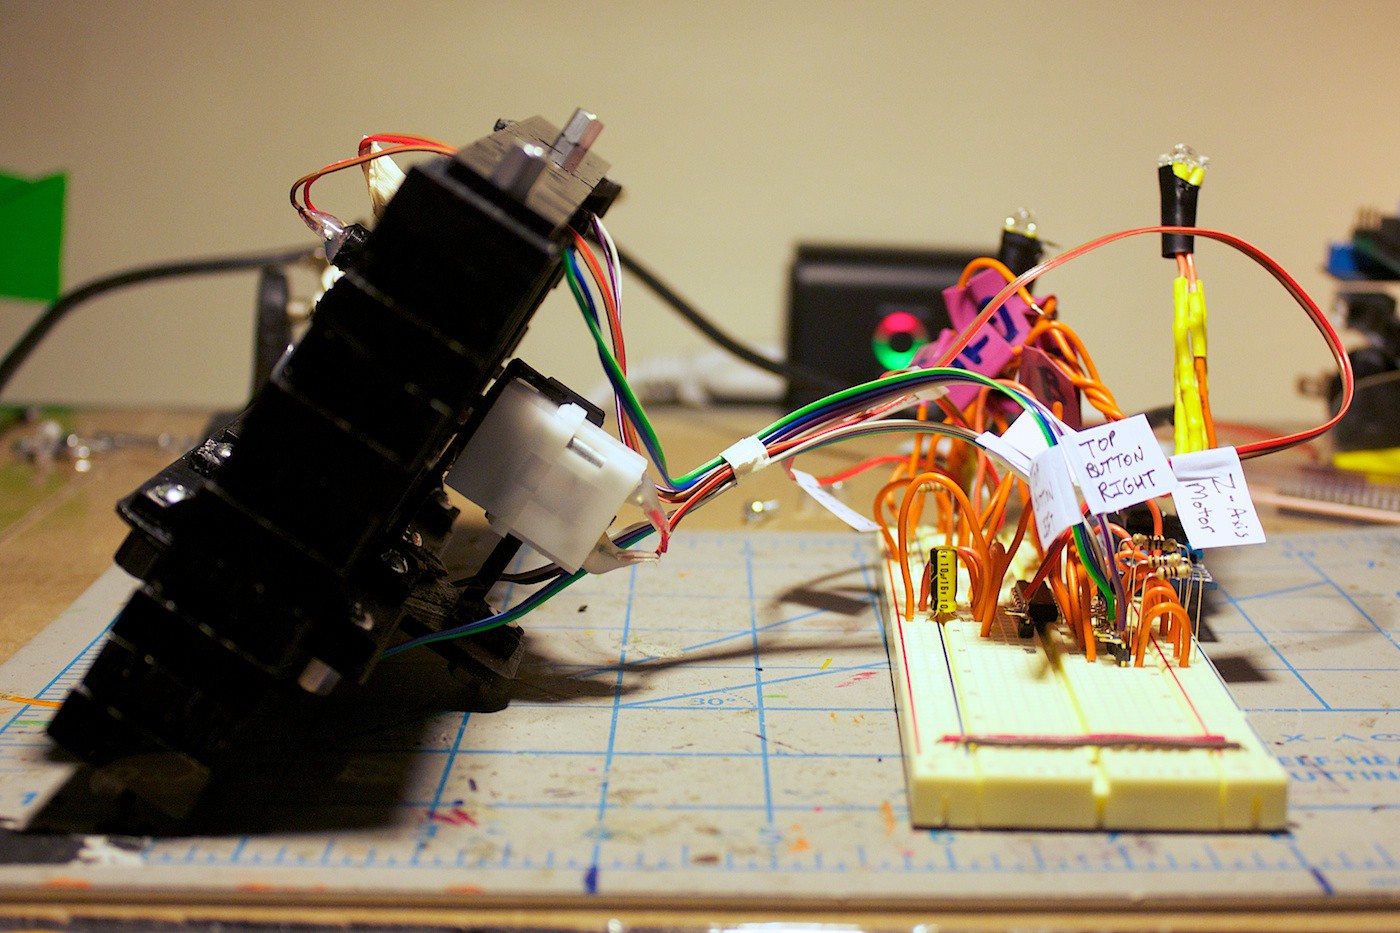
Side view:
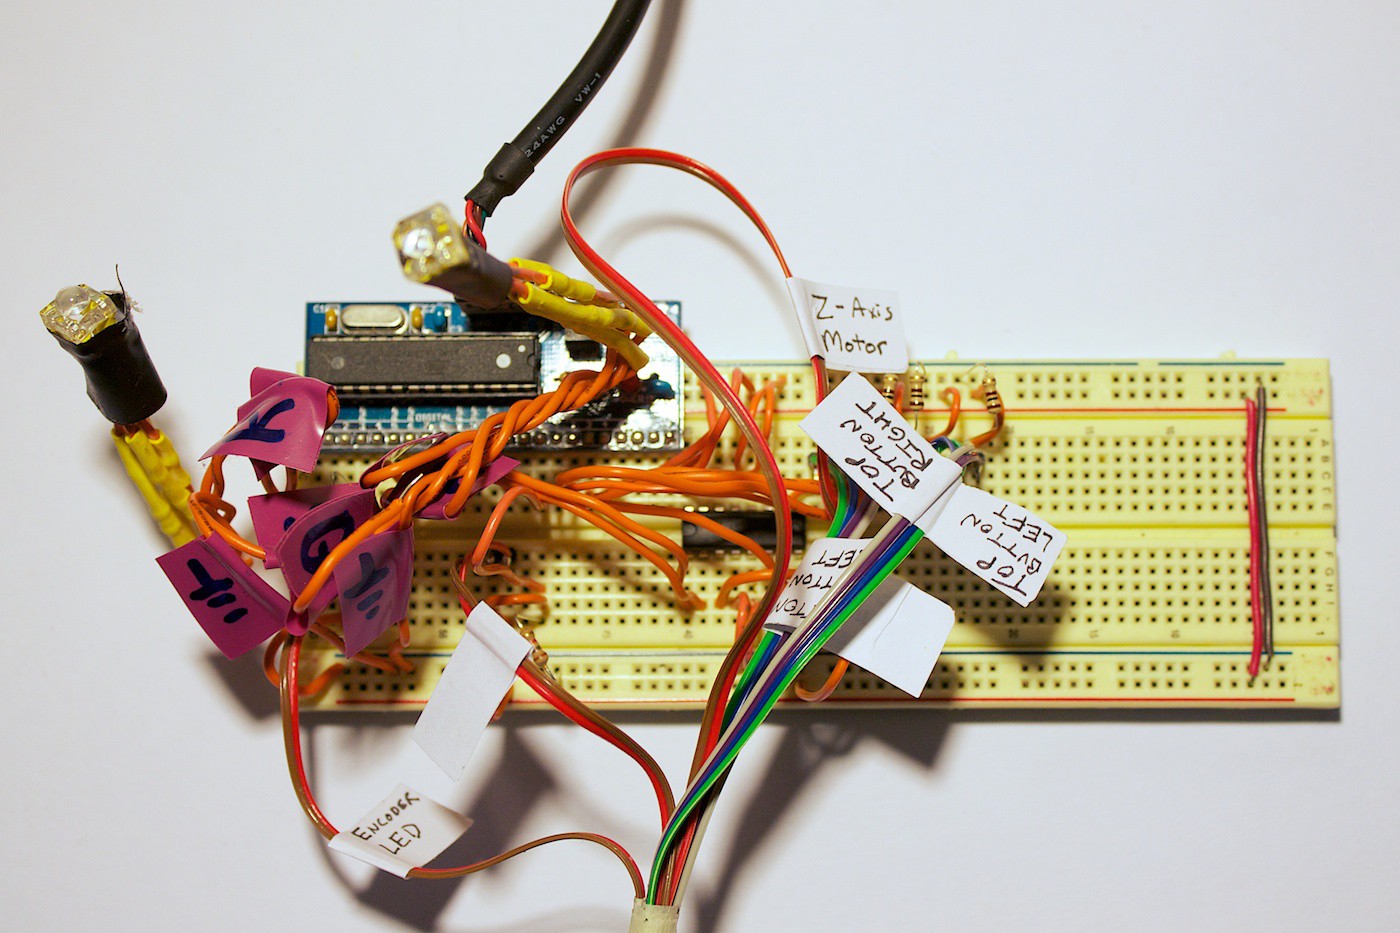
Breadboard view:
Materials
Mechanical
• 3D printed pieces in ABS plastic
• 18x 6-32 3/8” screws
• 18x 6-32 1/4" stand offs
• 4x 1”, 1/4" diameter Rivets
• Hot glue
Electronics
• 1x Sippino Arduino derivative
• 1x Breadboard
• 1x 10uF capacitor
• 6x 68 ohm resistor
• 2x 150 ohm resistor
• 5x 100 ohm resistor
• 1x 1k ohm resistor
• 2x RGB LED
• 1x White 5mm LED
• 1x Photocell
• 4x Tactile buttons
• 1x LM293D
• 1x 120:1 DC gear motor (Reason for choosing this one is it is what we had on hand.)
• Wires and labels
DIY Encoder Part 2
Now that the LDR can detect changes from the dark/light stripes on the encoder disk, it was time to write this into code.
The first tactic we went with was a moving average filter on the LDR. The previous value was compared with the current to see if it exceeded a threshold.
This code did not work entirely well. Sometimes it would skip ticks on the encoder. This was mainly due to the size of the moving average.
After tinkering with this for about 30 minutes, suddenly it all stopped working. The threshold was no longer the right amount. However, nothing in the environment changed. The ambient light was the same, the white LED was still on, and nothing had moved.
… Or has something moved?
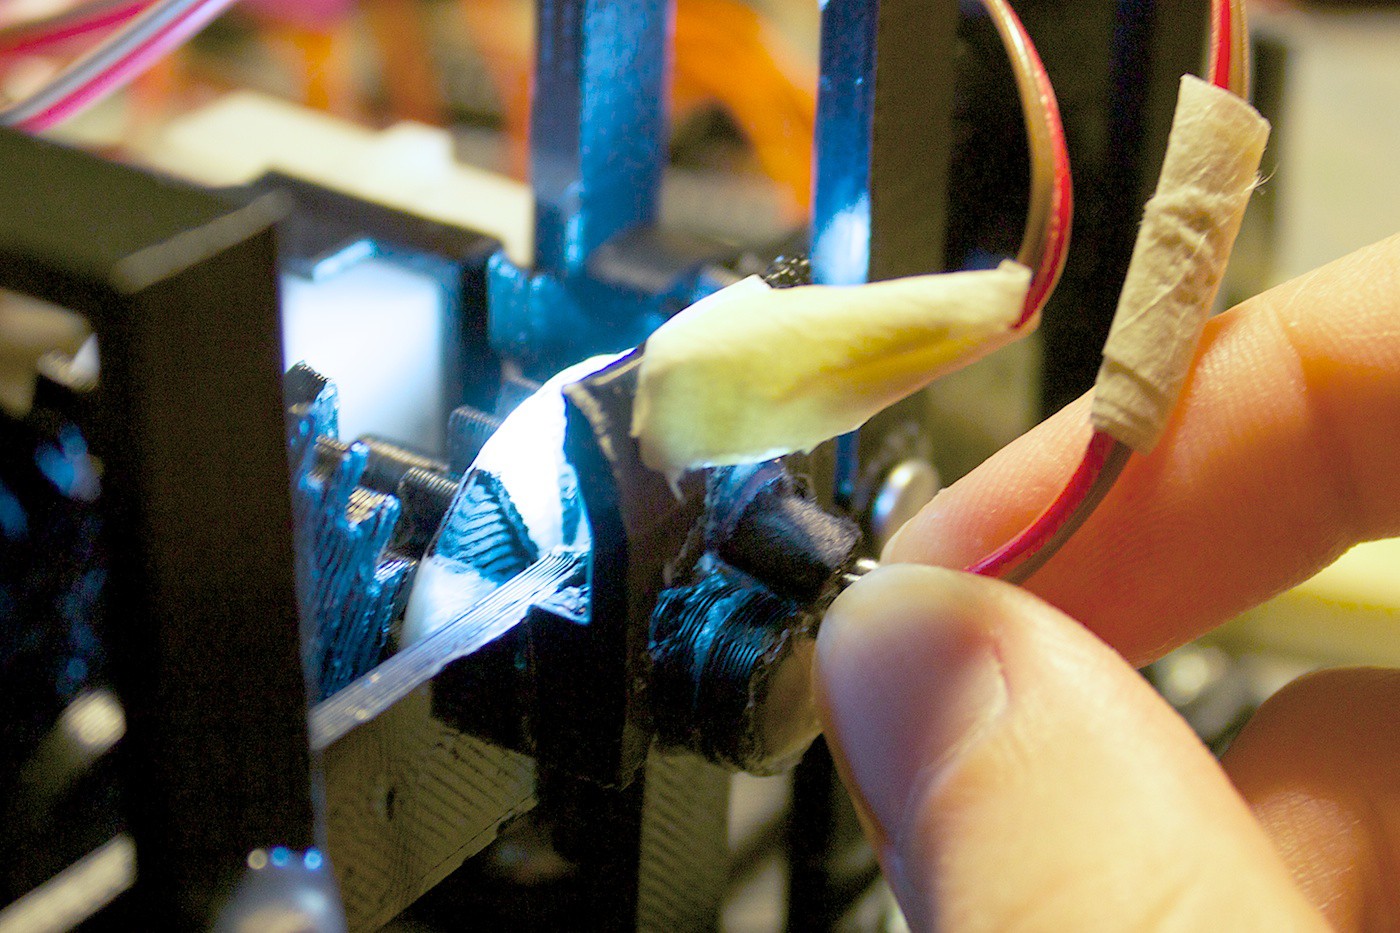
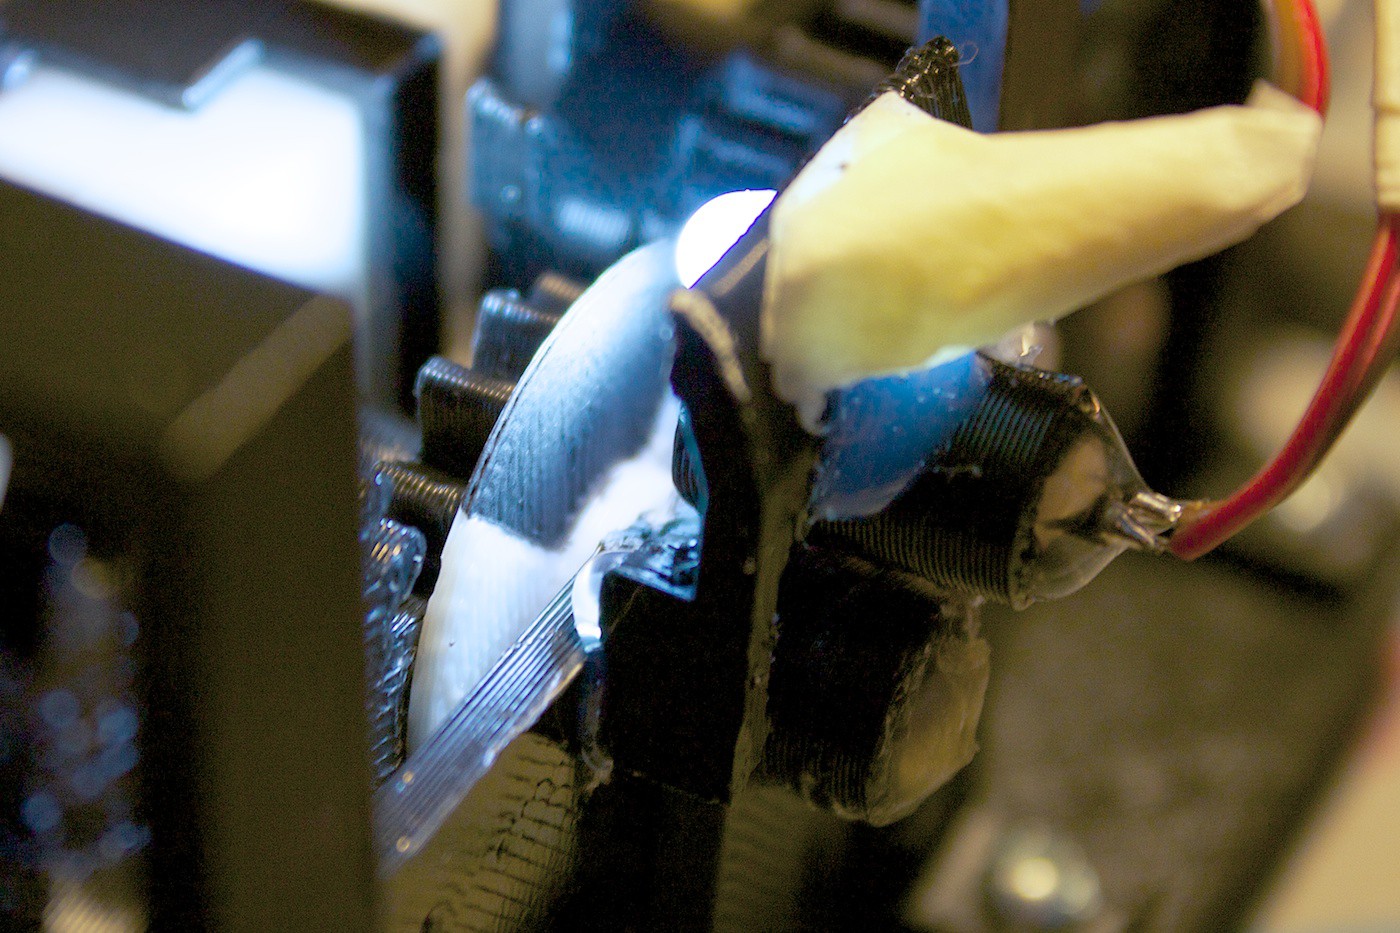
The LDR was currently attached to the mount via a piece of paper wrapped around it and hot glue. The paper was ripping away from the glue, causing the LDR’s angle to move.
Here you can see us pulling at it:
We designed and 3D printed a tube for the LDR.
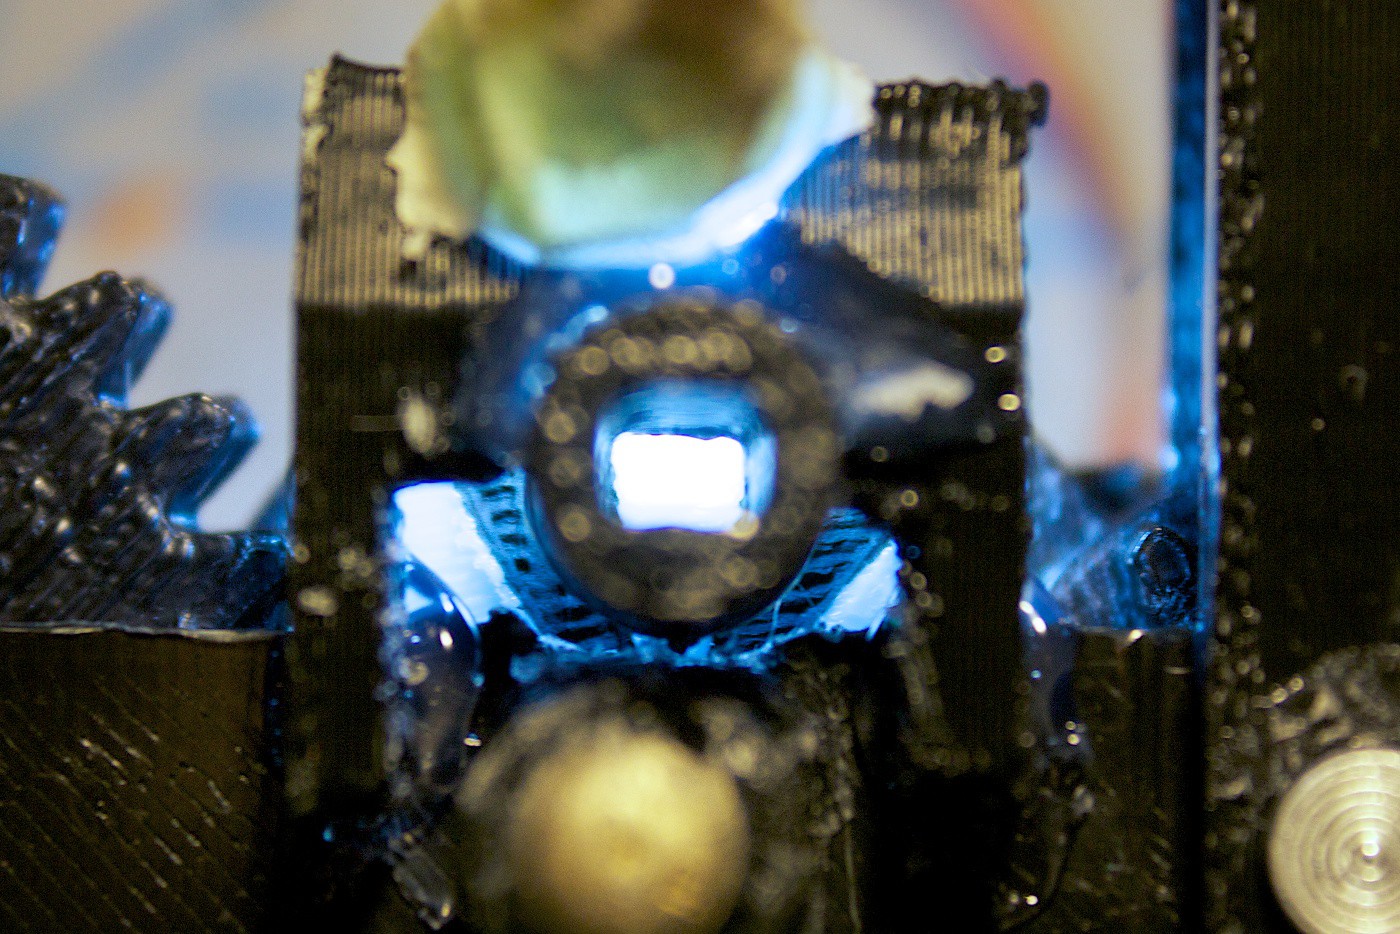
We find the next two photos so cool. It is looking through this tube to see what the LDR sees. Imagine if your vision was an array of these? Woah.
Dark:
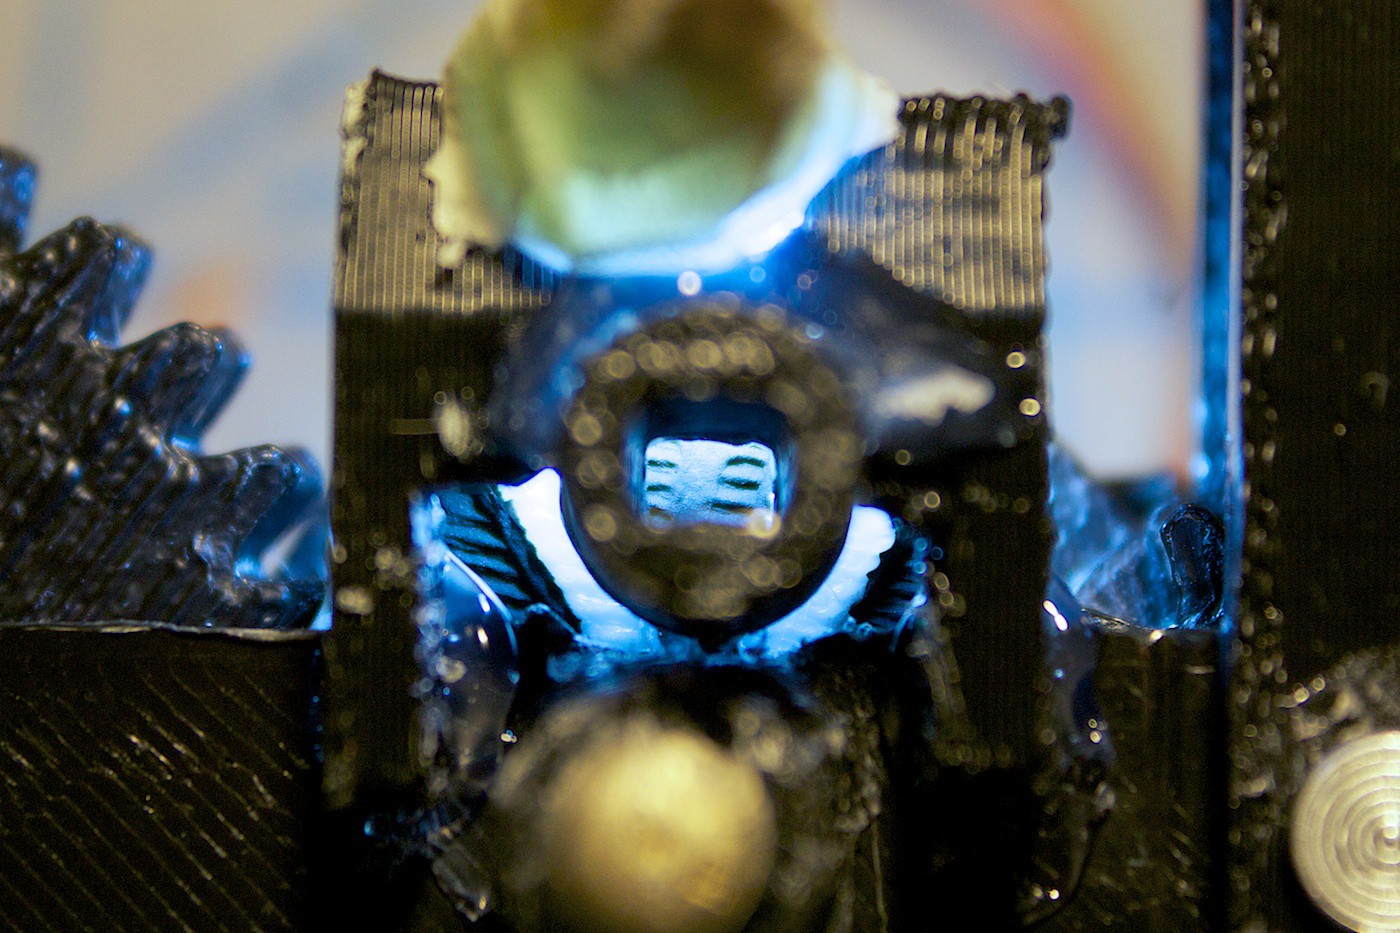
Light:
Adding the LDR to this tube helped with the stability. The threshold remained the same. But there is still the problem with skipping the encoder ticks remaining to be solved…
DIY Encoder Part 3
If we told the motor to turn 6 ticks, it would always overshoot by 1-2 ticks. It just was not able to stop in time.
At first we tried to tackle this problem in the code. If there wasn’t a ‘tick’ within 50ms, then we would tell the motor to slow down. Otherwise, run at maximum speed all the time.
This did not really work out. The motor would still overshoot. Plus, by telling the motor to slow down, it had less torque to be able to move it up and down the racks.
We worked on this for an embarrassingly long amount of time. We decided to take a break and look at the hardware to see if there was a problem there. The LED and LDR were fine, but maybe what they were pointing at wasn’t? What if the encoder disk was wrong?
We created two new disks, one with 90 degree ticks, and the other with 45 degree ticks.
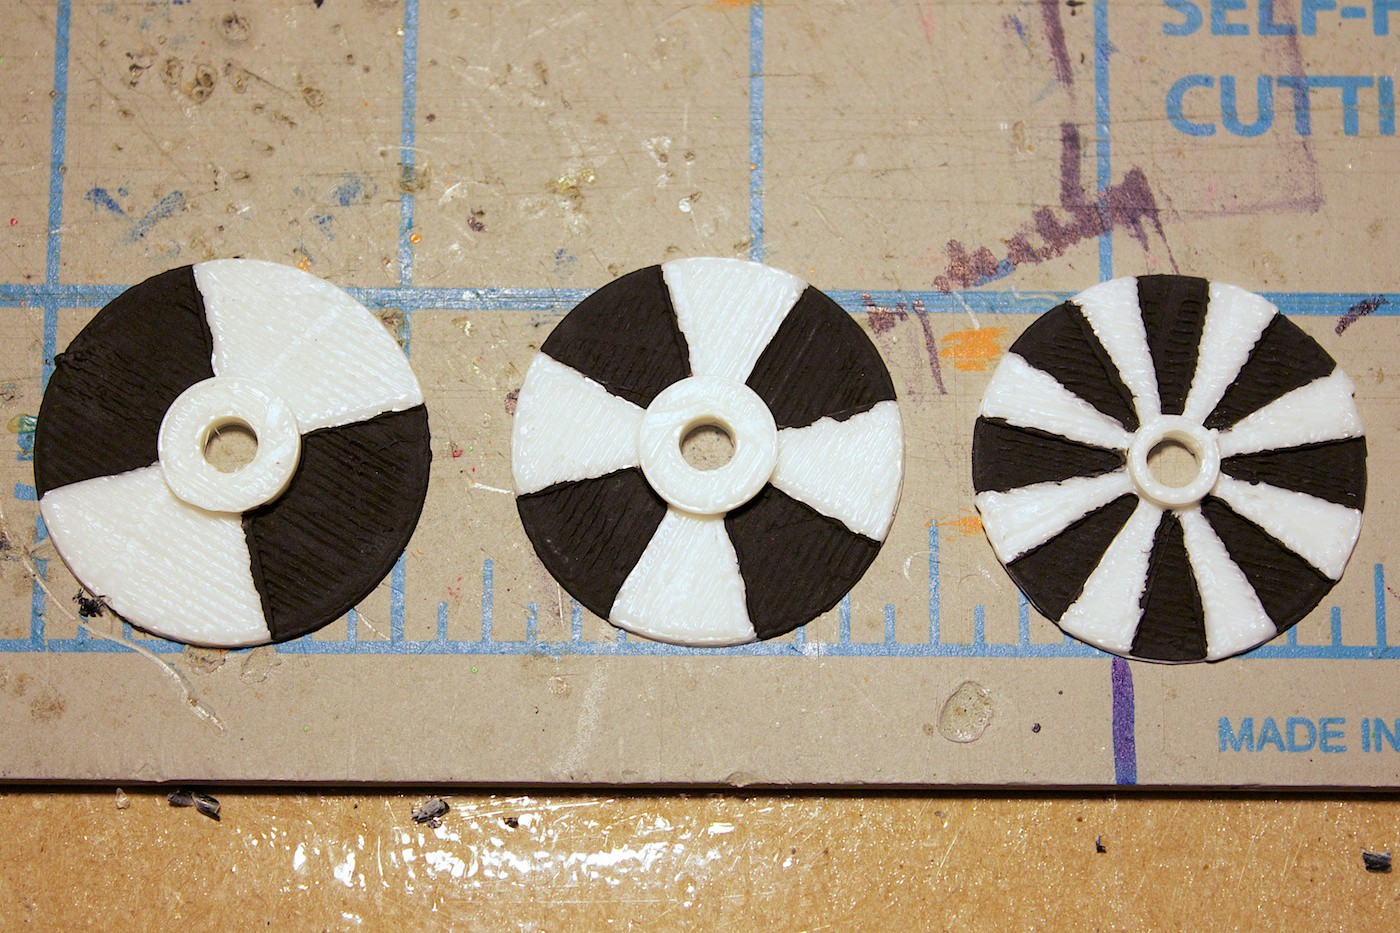
The one we ended up using was the 90 degree ticks disk. It works well with this set up, and is quite reliable.
We tried a few different code techniques for the 90 degree disk to see what could work the best.
One way was to find the maximum or minimum value starting from the latest tick. If the values started either increasing or decreasing respectively, then we would say that max/min was a tick.
This approach didn’t work out very well in reality. Sometimes it would trigger a tick when there wasn’t one. We guess this is due to some reflections on the disk, like the ridges from the filament strands or something.
The way that we are currently using looks for a specific threshold for the dark and light stripes – without a moving average. If it hits it, and the previous tick was the opposite shade, then it is considered a tick.
This works well most of the time. Sometimes the thresholds have to be re-calibrated. This is either due to some ambient light that the white LED isn’t flushing out, or a new problem that we haven’t become aware of yet.
It is working! Hooray! (And still has not broken yet, to date)
End Stop Buttons
The next addition we wanted to make was to add buttons to the ends of the gear set. The buttons would be triggered when they would hit the ends of the racks – specifically the bars that join the two racks together.
The reason why we need these buttons is in case the motor decides to run away, and keep driving into the end of the racks. It would be bad for the motor and gear set.
The encoder would not be able to prevent such a problem since if the gear set is at the end, then it cannot move any further, making the encoder disk unable to spin to the next tick.
The first step was to design some modifications to the clip that is used to keep the gear set together. Except that we ran into a printing issue:
The corners on the left tabs are warped. To fix this problem we added little two-layer circles to the corners:
The buttons were glued on the top of the clips inside of the designated box:
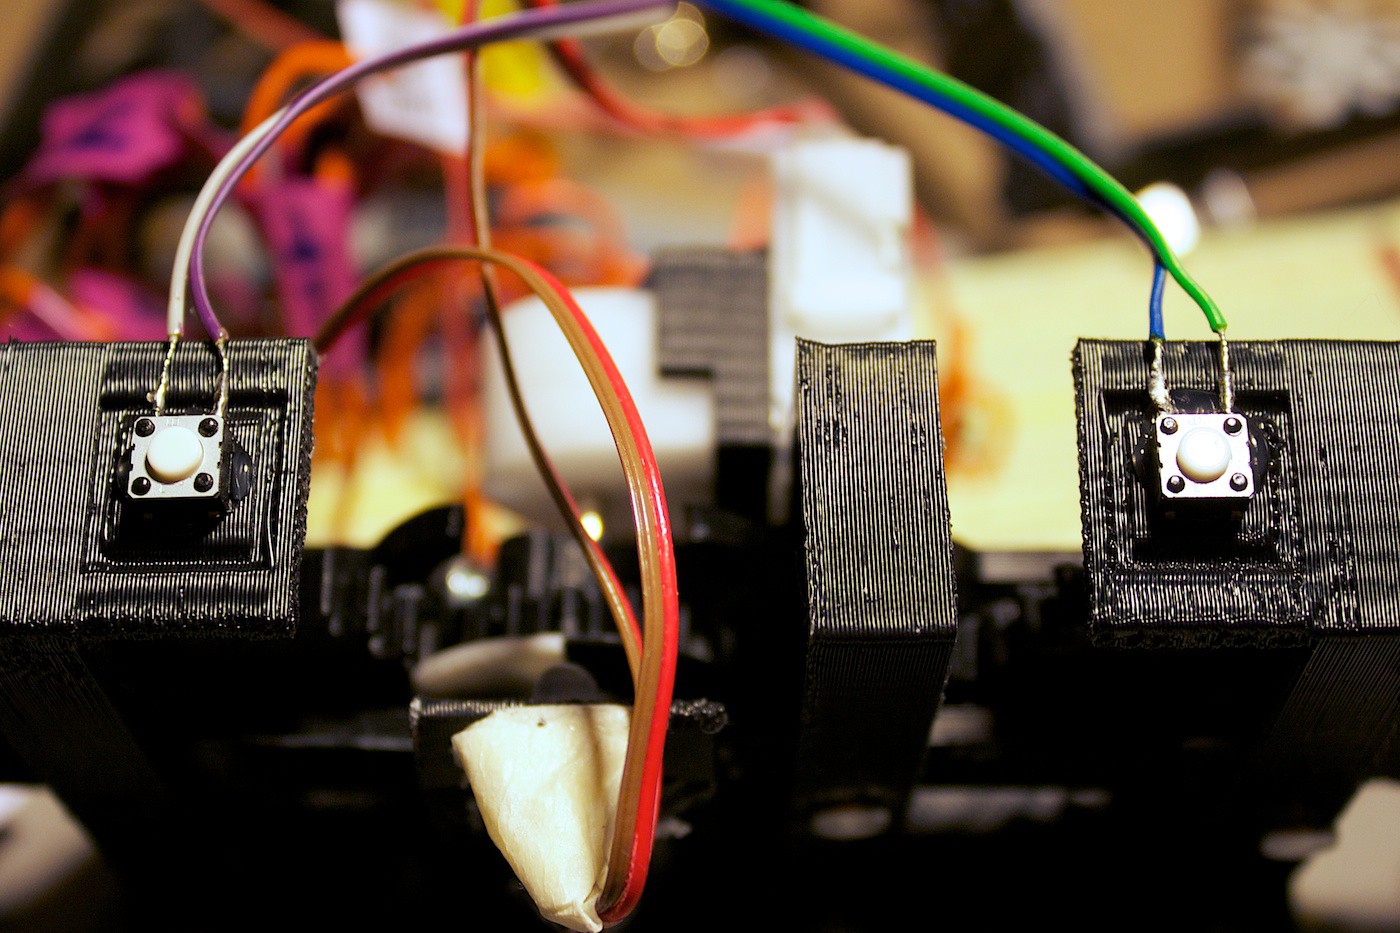
On the bottom, the buttons were added to pieces to extend the button past the distance where another plate could be attached.
Here is a vine of us testing the buttons:
When assembling it all together, there was a small problem encountered. Sometimes the horizontal bar would flex when the buttons would hit it. It would keep flexing, and not letting the buttons be pressed.
Here you can see quite the flexing:
This problem was fixed by flipping the bar over (glossy side up).
Now the gear set can move until it hits the buttons, and reverse its direction!
Drive Gear Breaks
Just as we finished the buttons and watching the gear set move… the drive gear breaks.
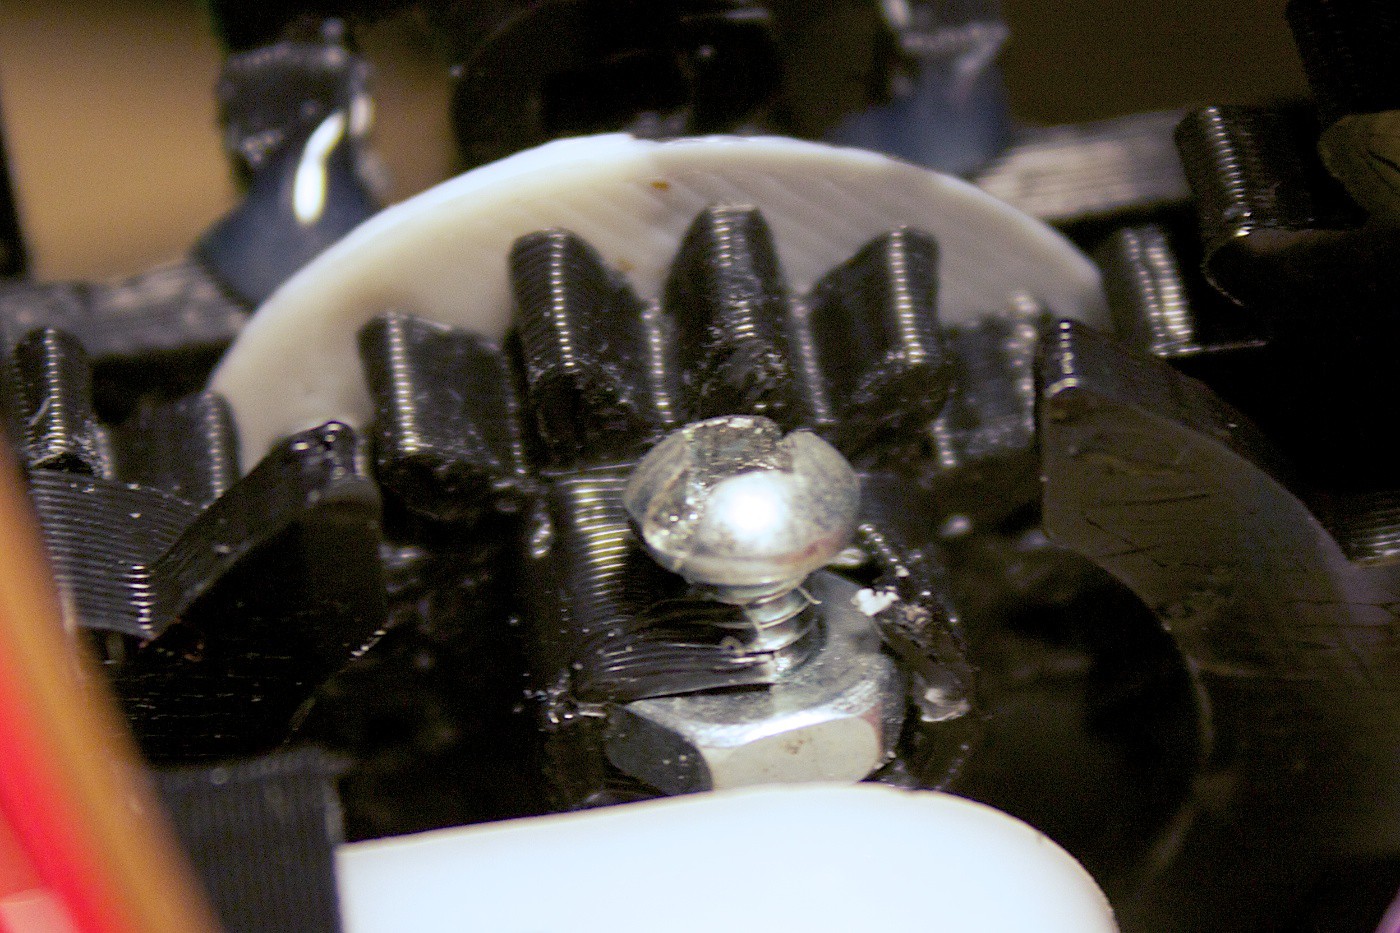
We decided to create a better version. There was quite a bit of wiggle room for the motor’s shaft in this one, so we made it smaller. We also increased the height of the motor mount.
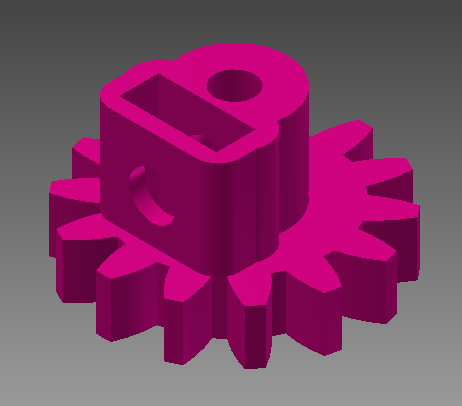
It was printed in 100% infill, and it is much stronger than the previous version.
Increasing Rack Slider Length
With the buttons added to the gear set, it restricts its movement to approximately 2.7mm. This will not be very adequate to cut food … unless the food is for leprechauns or faeries or something.
We changed the design of the rack sliders to be 30mm longer.
Here is what it looks like now:
You can see that this lets the gear set move much more:
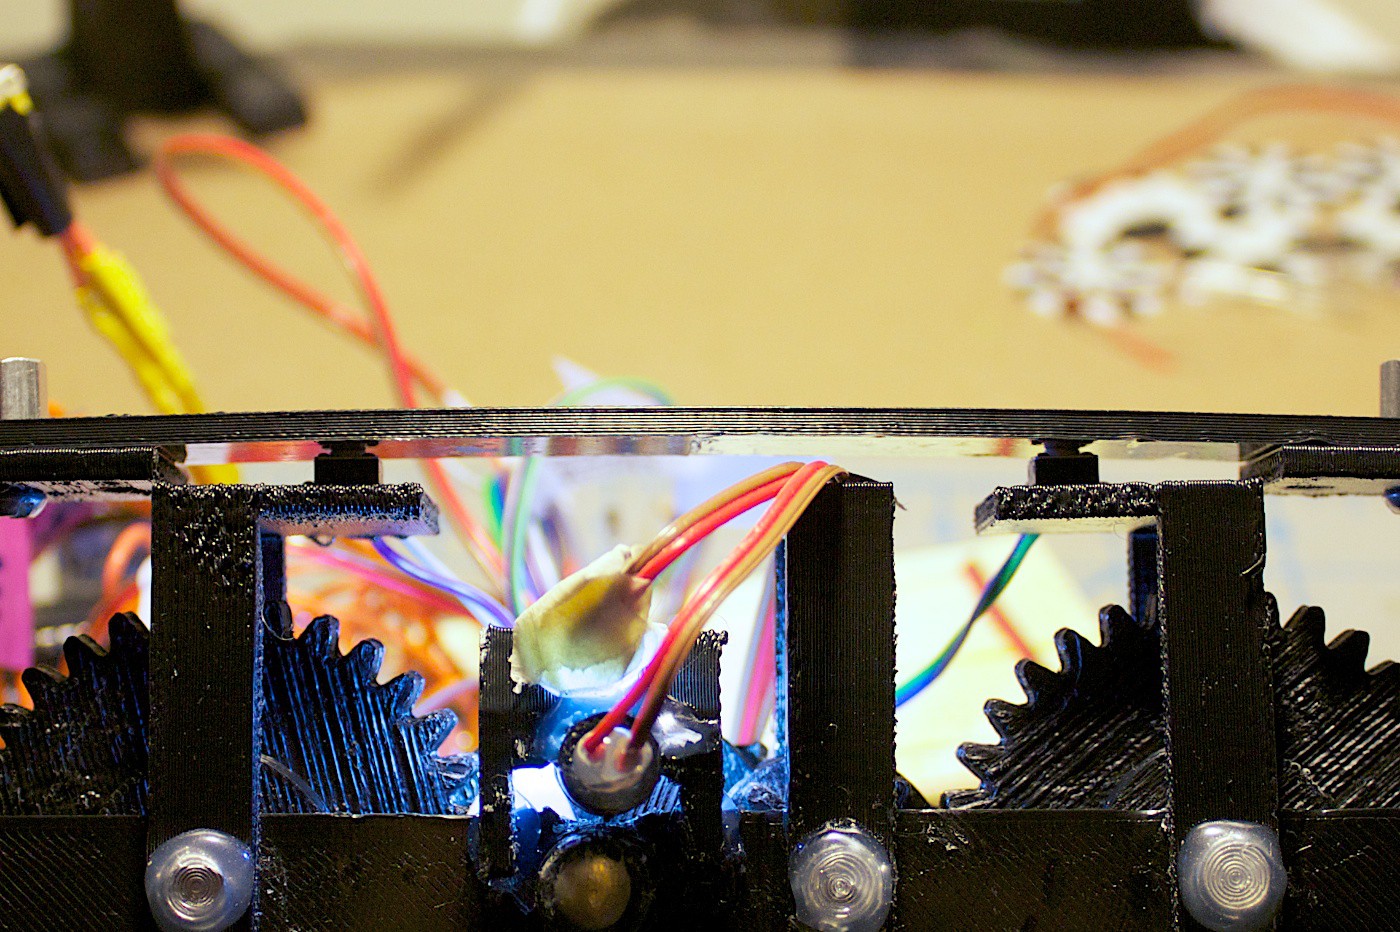
To finish off, we added encoder control to this movement. It delays a bit of time after each tick, then proceeds. If the buttons are pressed, then it reverses the direction.
It is very nice to see this work after all of the iterating :D
Lessons Learned
Do not assume paper is a stable material for attaching things to.
Sometimes it is nice when things break, because you can fix them in the present moment rather than a larger disaster later on.
The encoder disk fiasco taught us that you have to look at different places, other than what you’re working on, for what the cause of the problem might be. It can suck a lot of time away from your project if you keep trying to fix the problem in one way.
The next item we are working on is a little test sub-assembly to try out an end-effector.
We want to create a piece that attaches to the base of the gear set and extends outwards. On this extension would be a mount for the end effector. The end effector we would try first would be a toothpick.
We are hoping to be able to draw a smiley face on the skin of a fruit by having the Z-axis move up/down, thereby poking the fruit with the toothpick.
It will be interesting to see how superficial the pokes will be. Or maybe it will go right through. We are eager to test the Z-Axis strength to find this out!
This brings us up to date with our current progress. The pieces for the end effectors are printing out right now… Stay tuned for the next update!
Discussions
Become a Hackaday.io Member
Create an account to leave a comment. Already have an account? Log In.