 EK
EKIn this update we wanted to test the Z-Axis by creating an example end-effector sub-assembly. We used a toothpick as an example tool.
We also created an app to interface with the robot and control it.
Finally, we experimented with AR marker tracking.
Read more for all the details and photos!
Current Design
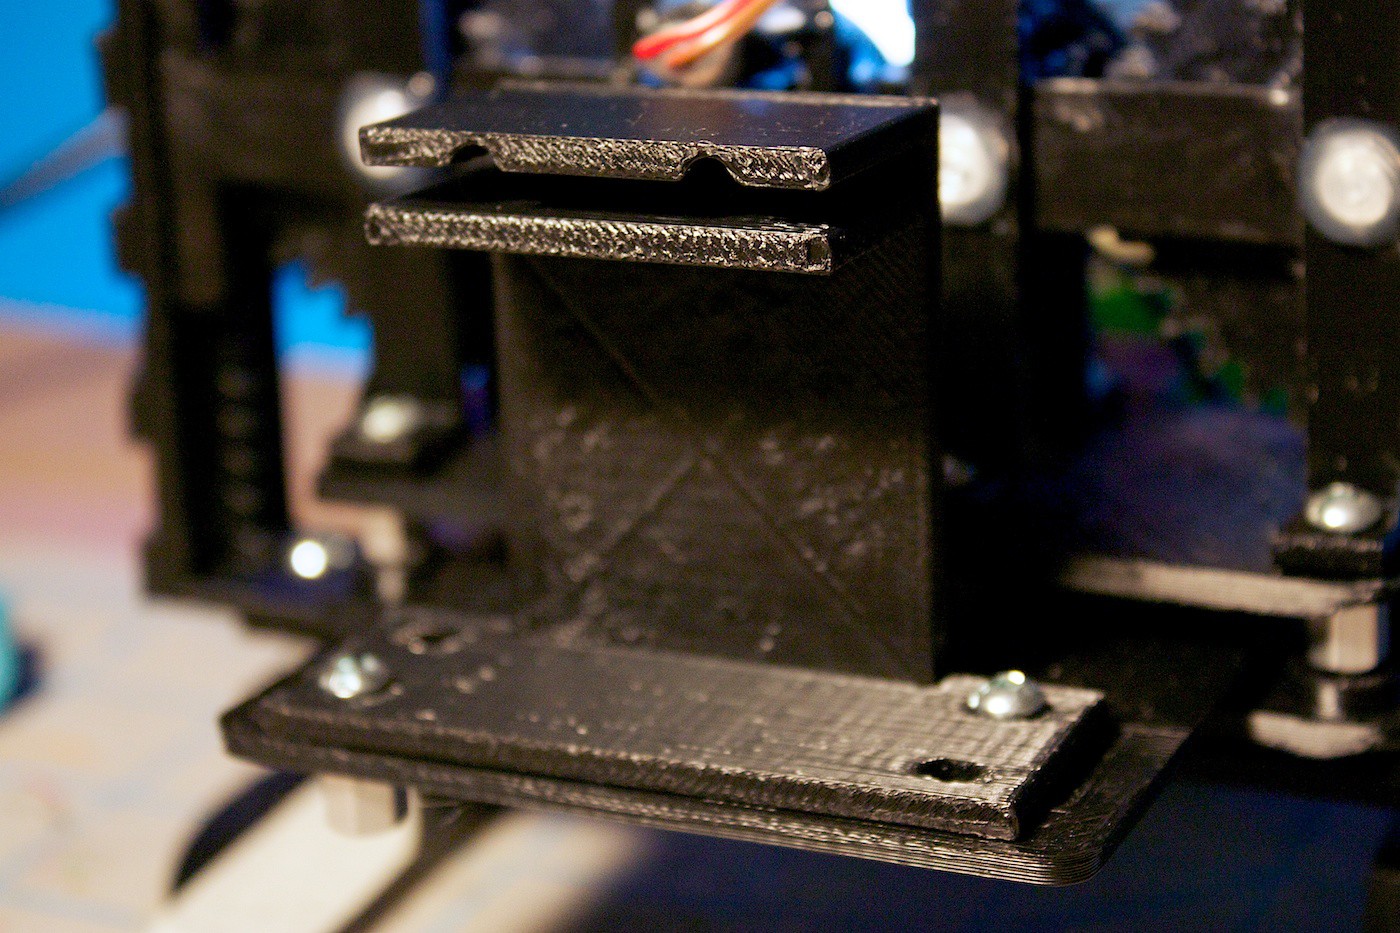
Front view:

Angle view:

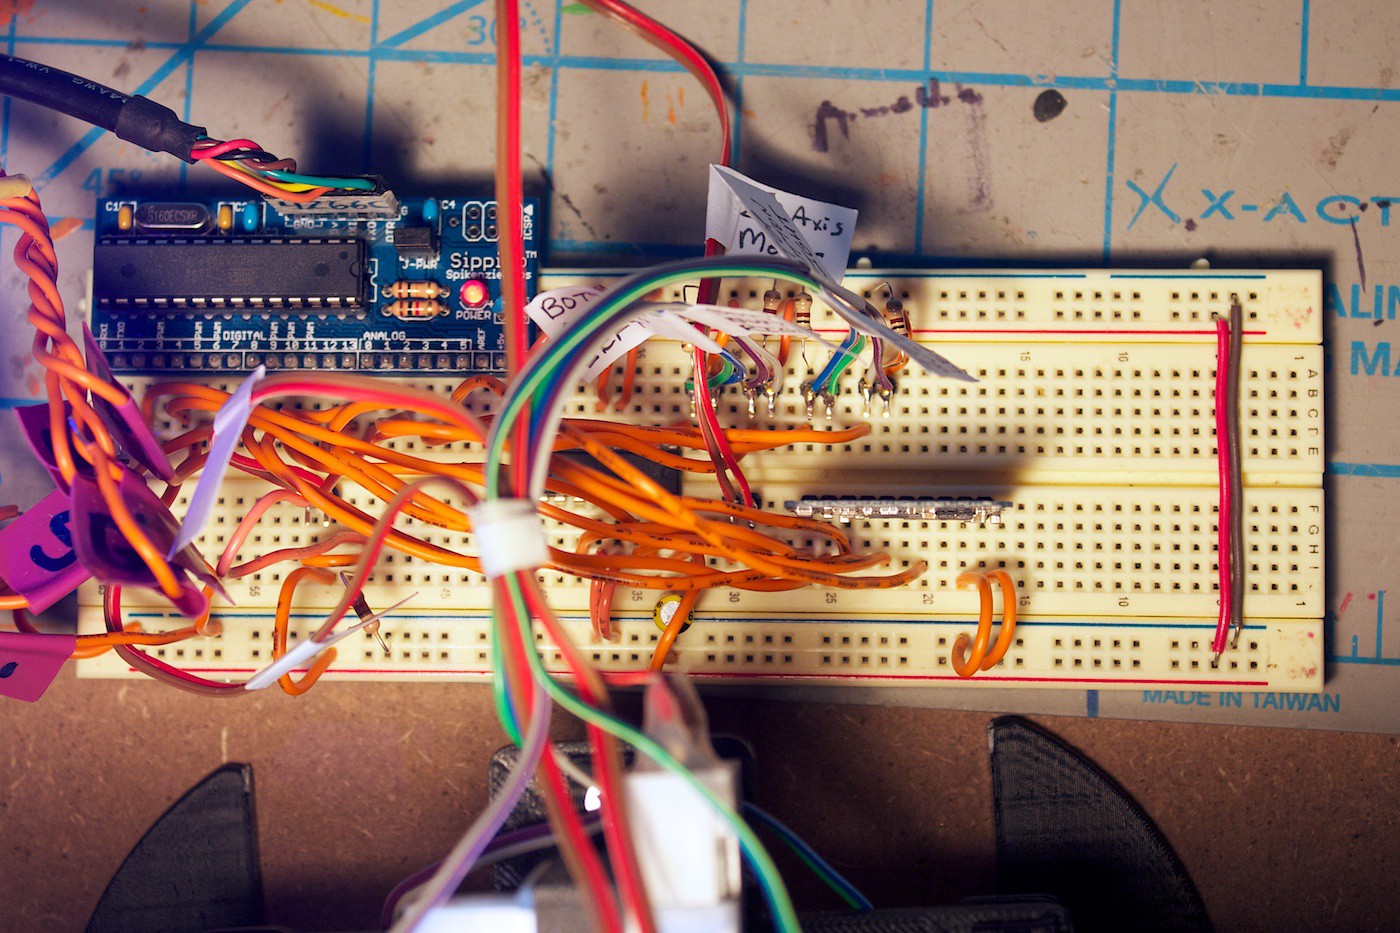
Overhead breadboard:
Video
Since there are lots of visual demos in this update, we created a video for it. Check it out!
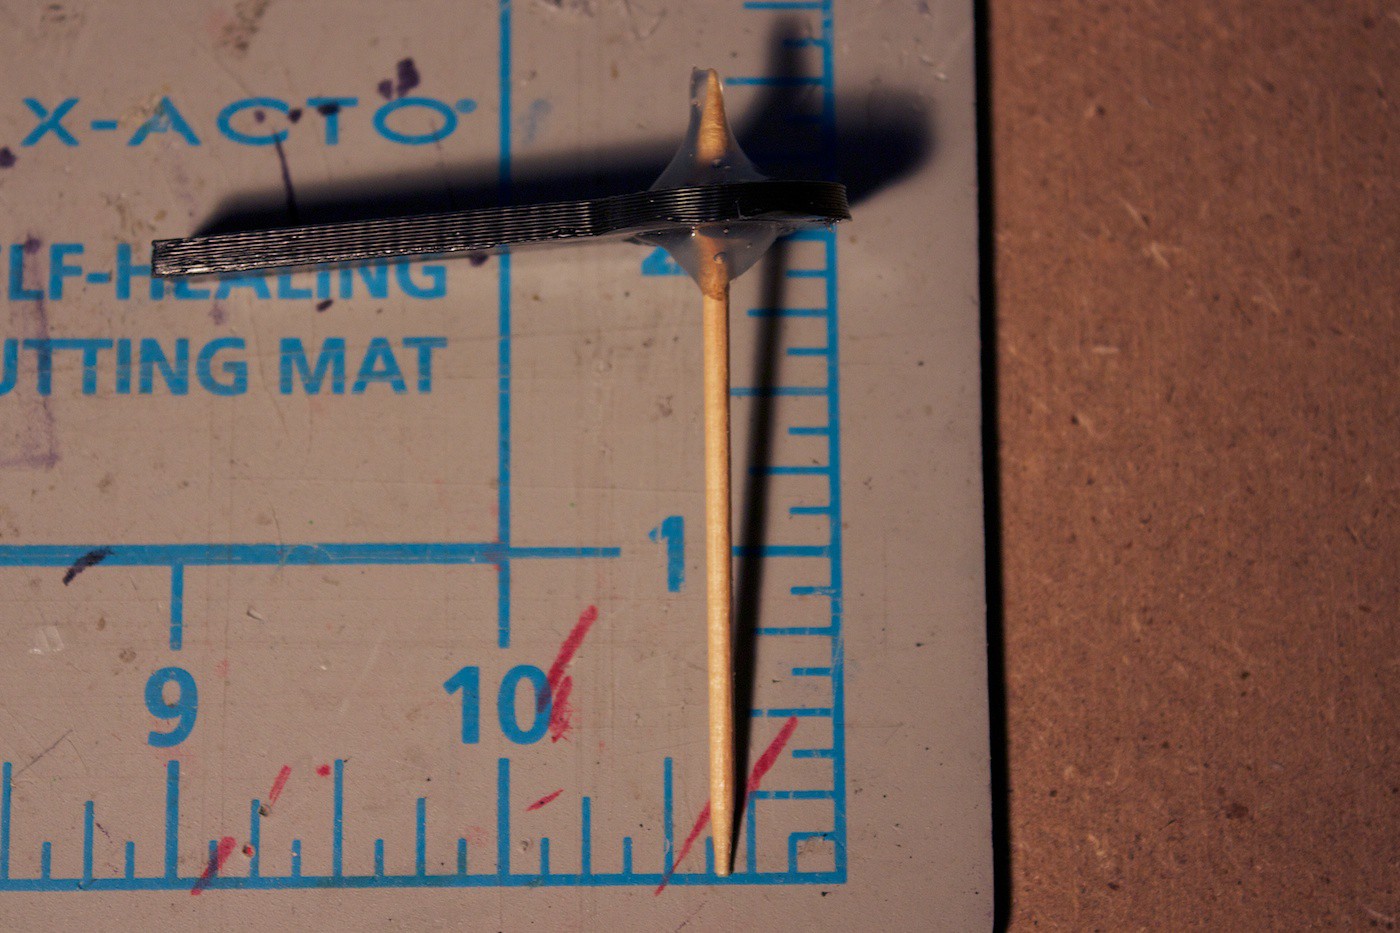
Test End-Effector
Before diving in to designing and printing the Y-Axis slicer, we wanted to see how well the Z-Axis can work by poking sticky tack with a toothpick.
We headed to the drawing board:
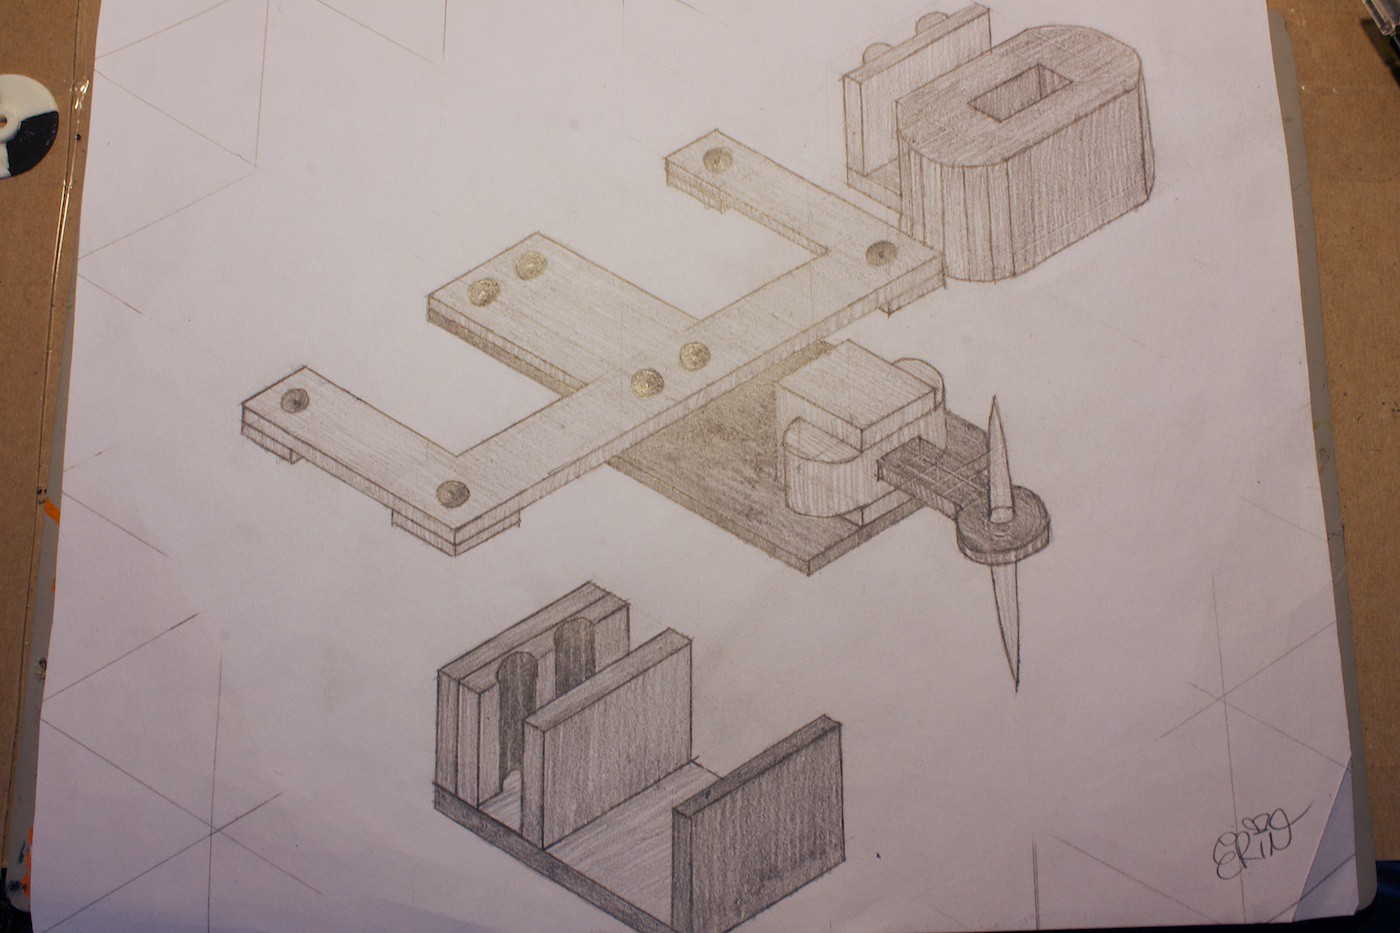
Then designed it in CAD and 3D printed it.
Here is the main tool piece. This interlocks with a tool holder, mounted on a plate attached to the bottom of the gear set on the Z-Axis.
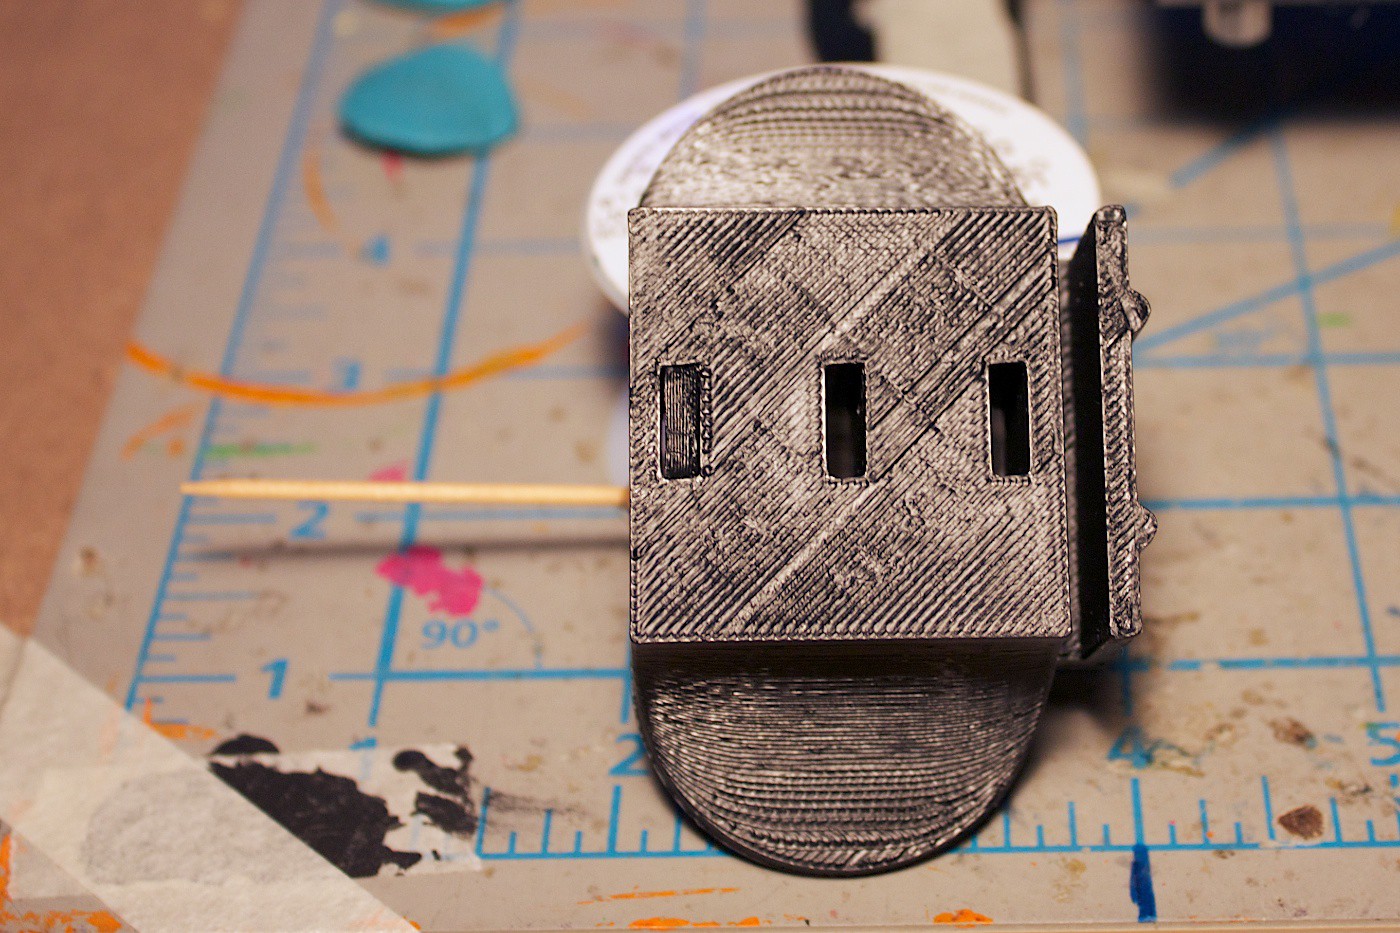
Tool holder piece:
This toothpick holder piece is inserted into the main tool piece. Eventually there will be more pieces similar to this, but designed for other tools / cutlery.
App
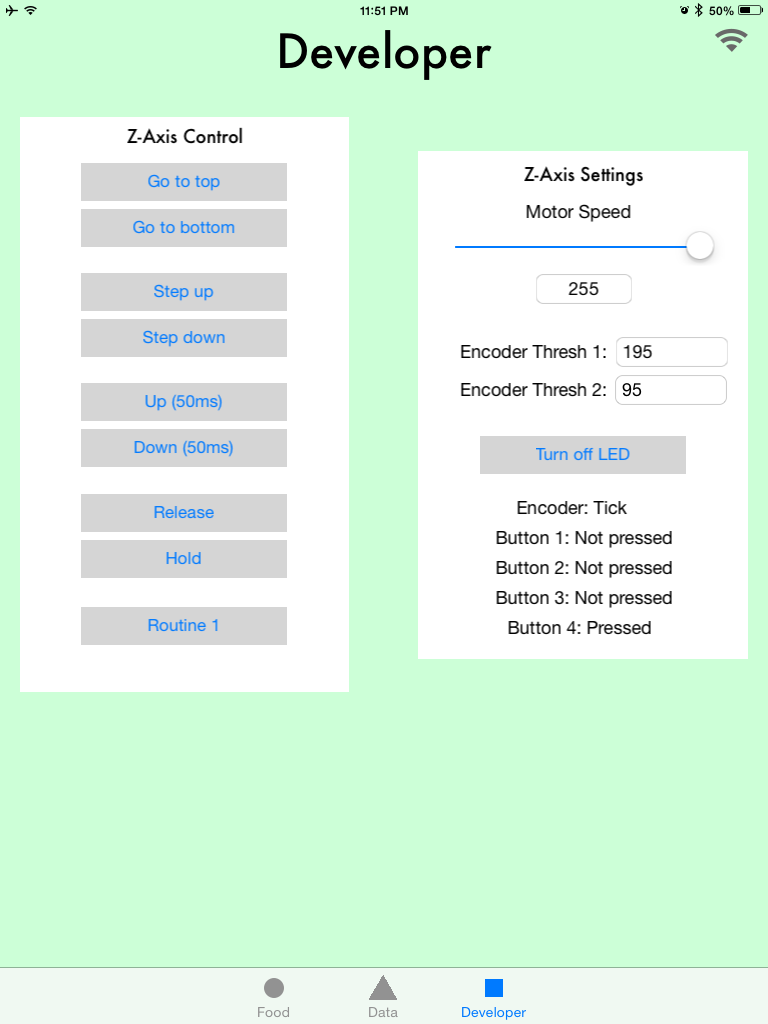
The app has three tabs: Food, Data, and Developers. For this update, we are focusing on the Developers tab. This is where we can control the robot.
On the Developers tab there are two sections: one for controlling the Z-Axis, and another for its settings and status updates.
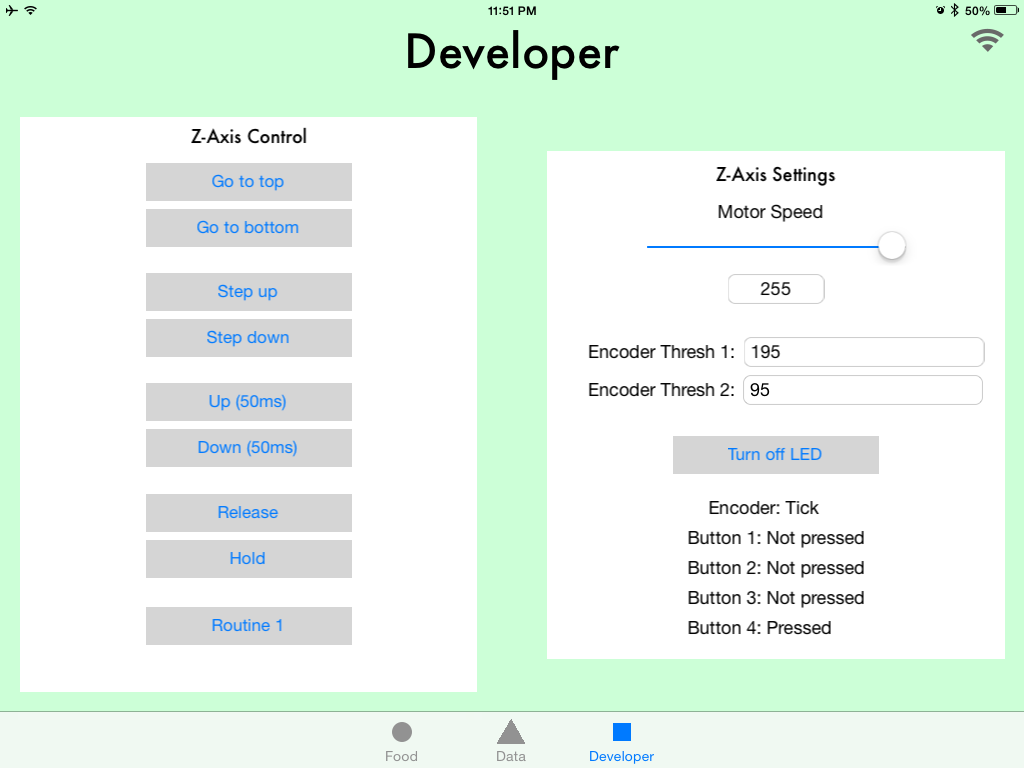
The settings such as motor speed and encoder thresholds are transmit from the robot to the app when it is connected.
The app is designed to work on iPad. The robot connects to the app on launch using Bluetooth low energy. We are using the nRF8001 breakout board from Adafruit. We send the data back and forth in a protocol we designed called Promulgate.
Also, a small design detail, we made sure the auto-layout constraints were set to display the interface properly in both landscape and portrait orientations.
In the future we envision the Food tab to display some meal ideas based on the history of food you have sliced. The Data tab will use APIs online to grab nutritional information about the food, and chart your frequency of food slicing.
Augmented Reality Experiment
For being able to detect where the food is on the plate, we will need some sort of way to see it. We could use AR markers to detect the corners of the plate, and calculate the distances of the swiped slices from there.
The first step was to get an AR test running. We followed a tutorial based for iPhone, and made some tweaks to the code to make it work with iPad. Instead of printing the marker on paper, we 3D printed it.
Here you can see the app tracking the marker:
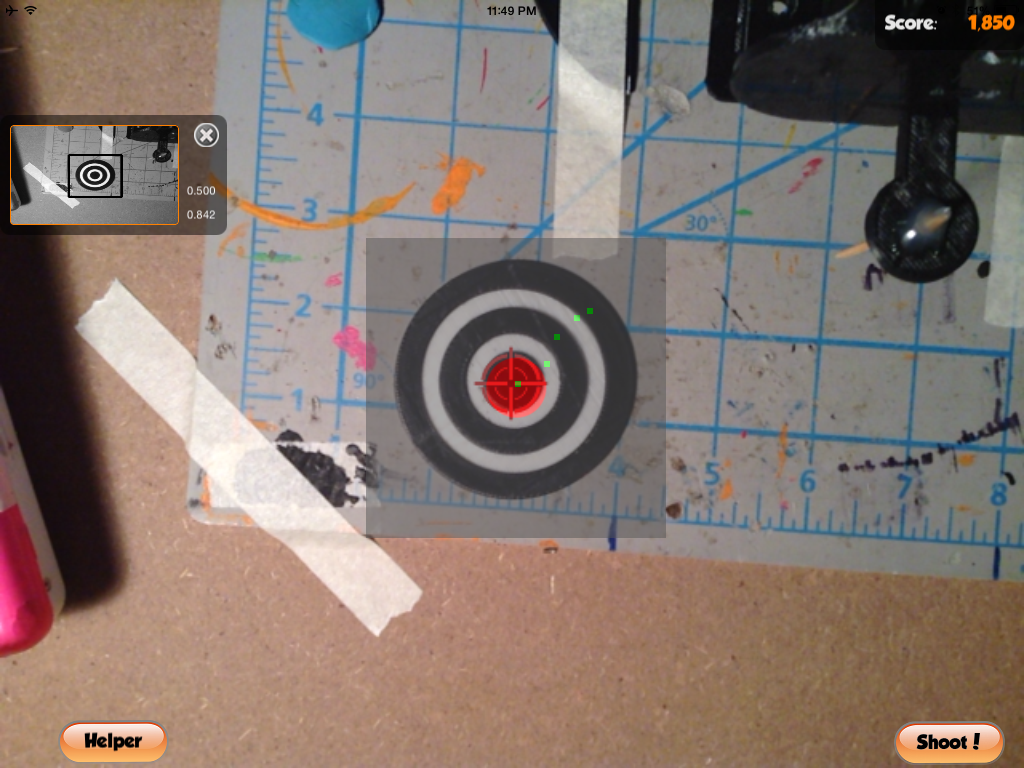
In a future update we want to be able to track two of these markers.
Future
That is all for this update. There are so many more things to do…
Ongoing
- Create rails for the bottom of the Z-axis
- Attach a laser pointer to show where the toothpick will be aiming
- Test to see if an IR distance sensor would be able to detect how far / close the food is
- Create the Y-axis slicer sub-assembly
- Experiment with ways to attach a knife to the end-effector
- Make the breadboard more permanent
- Improve routine state machine code
- Modify the nRF8001 advertising name to Food Slicer
App
- Improve connection code and initial loading of data
- Add accessibility data to the buttons
- Work on the Food tab
- Work on the Data tab
- Persist settings data
AR
- Try to make it detect two markers
- Work on calculating the distance from the two markers given their pixel locations and dimensions
- Be able to draw a line on the screen
- Calculate this line’s distance from the markers (to be used with the robot)
Heating Element
- Figure out how to make one! I have no idea! :)
(And most likely many more todo items)
Lessons Learning!
Not exactly past tense this time- but future & present!
My friend Chris Tacklind sent me a box full of laser levels (thanks Chris)! There are actually reflective sensor pairs in some of these, which can be used for better encoders. We are working on tearing them down and trying to use the parts. Stay tuned for the teardown photos in an upcoming update.
At the local makerspace, my friend Tim Brown spent the entire night teaching me about inductors and how to use an oscilloscope. This was very valuable (thanks Tim)! The only problem is that the scope blew up (stopped working) right after. So I have to fix it to use it again… but at least now I have a better idea on how to use one! :)
Hope you enjoyed the video update. Gotta blast and do more hacking! Until next time!
Discussions
Become a Hackaday.io Member
Create an account to leave a comment. Already have an account? Log In.