 Michele Perla
Guys, the project has been finally completed and it is now exposed at Maker Faire Rome 2014!
I won a contest run by my former university, Sapienza University of Rome, and I'm exhibiting at their stand, along with other great projects!
There have been a few adds:
1) I designed an acrylic enclosure which has been lasercut by an online cutting service here in Italy with very fast shipping (48h) and I managed to build it yesterday in late morning, just before setting up the expo. It is composed of 5 parts; 4 of them compose the base and the plane where the FSR PCB is sitting, all cut in 8 mm thick acrylic, while the top is made of 2 mm acrylic. It is holding up with a mix of screws and glue. I still gotta learn how to properly design enclosures, but it turned out great being my very first attempt to design one! Here's a shot:

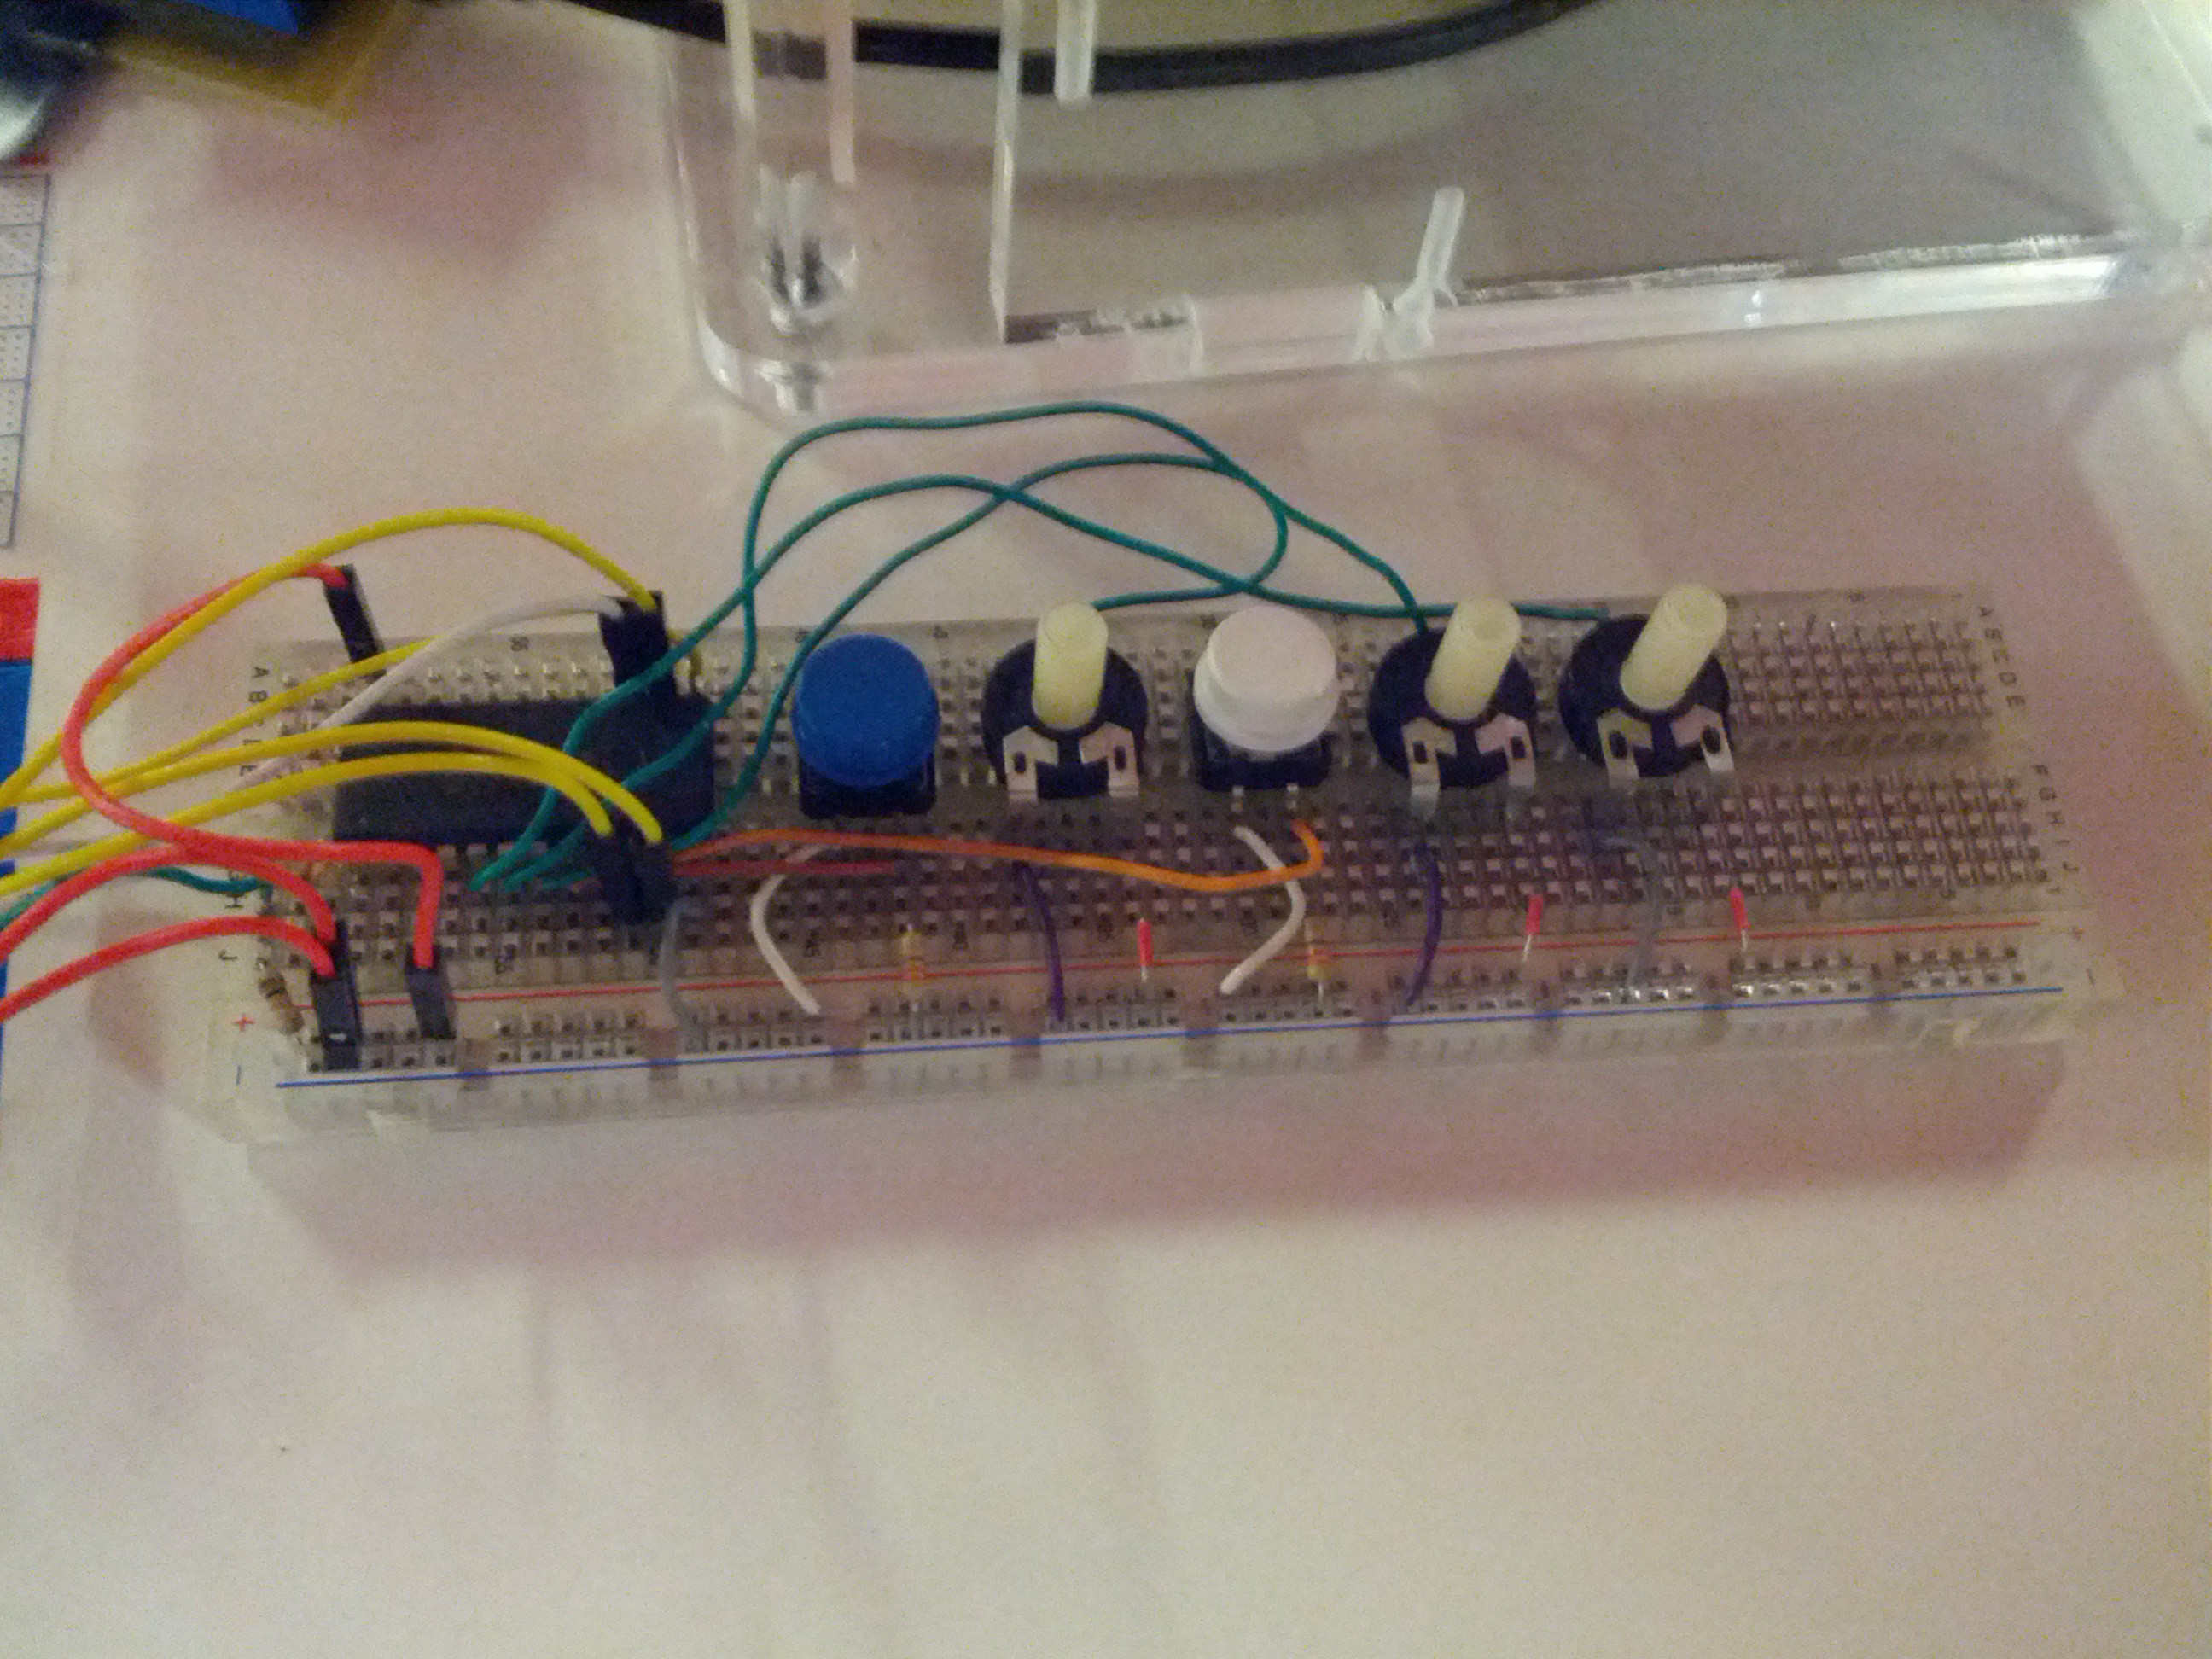
2) I also put up a breadboard version of an expansion board which holds 2 buttons and 3 potentiometers, which have been programmed to act as follows:
a) One button (blue) toggles between fixed and dynamic velocity control
b) One potentiometer selects the fixed velocity value
c) One button (white) lists through 8 different scales:
. Chromatic (useful with MPC-like effects in Reason, for example)
. 7 modal scales (Ionian, Dorian, Phrygian, Lydian, Mixolydian, Aeolian, Locrian)
d) One potentiometer selects the starting playable note (from C to B)
e) Finally, one potentiometer selects the octave of the starting note (goes from C2 to C6)
The source code, both with or without expansion board support, the full schematics for motherboard and FSR daughterboard, the PCB layout file ready to be printed, the enclosure layout to be laser cut on 8 mm and 2 mm sheets, and the whole set of files to be used in KiCad is now available on the Google Drive shared folder of this project, more specifically inside the folder of this project log.
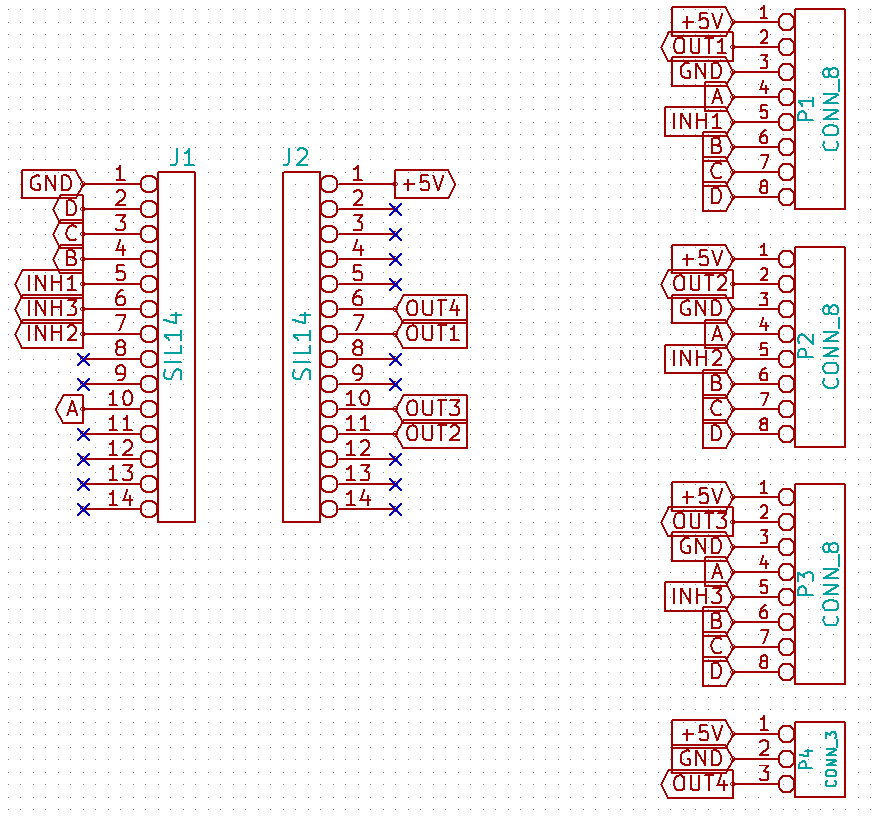
Here are the pictures of the schematics:
This is the motherboard:
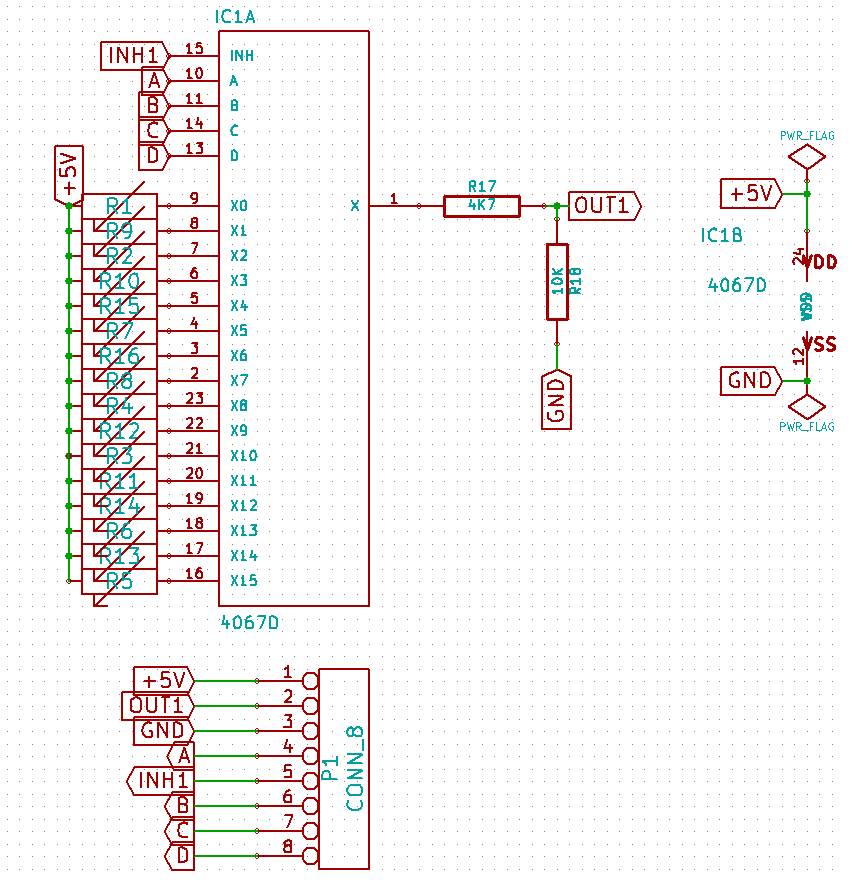
And this is the FSR board:
Bear in mind that the expansion boards looks exactly the same as the FSR Board, except that there are pushbuttons and potentiometers connected to the multiplexer; in particular, one of the pushbuttons pins is put to 5 V, the other goes to the mux in and to ground through 330 Ohms to limit current, while the first and last pin of the pots are connected to 5 V and ground while the wiper is connected to the mux in.
You can see that the motherboard has a lot of unconnected pins, and the others are connected in a strange way; the thing is that I purposely left some pins unconnected so to not interfere with the pins that should be used by a Teensy + Audio Adaptor board; in fact, I used every remaining pin on a Teensy + Audio Adaptor and it fitted EXACTLY three 16 channel mux connectors which share the same control bus, and there was also another spare analog input left; this sums up to 16x3 + 1 = 49 concurrent analog inputs; the strange ordering of the pins has been arranged to better suit my one layer PCB layout needs; this strangeness can be seen also in the schematic of the FSR board, but if you see its PCB layout you can easily understand why it had to be like that (it's easier to route the shortest path to a pin and later reassign it in software, don't you think?)
Finally, the best way to sum things up is to show it in a video!
This kid shows up at the stand and he starts mashing buttons like crazy, he was so cool I had to take a video of him! I will keep adding more videos, hopefully I'll get someone shoot a video while I'm showing all the functionality.
This is a great achievement for me, I've been a first-timer in doing most of the stuff for this project, from PCB printing to case designing, and it is actually the first really finished and polished project I made; surely being under pressure 'cause Maker Faire was approaching helped me to stay focused, but even if under pressure it has been fun all the way through.
Thanks to everyone who showed interest and support, now go make your own!
Cheers,
Mick
Discussions
Become a Hackaday.io Member
Create an account to leave a comment. Already have an account? Log In.