 Kelly Heaton
I'm a visual artist who is fascinated by nature and electricity. I'm passionate about the parallels between hardware and biological life. Through my work, I seek to understand the universal spark of life. You can see images of my past work, now spanning two decades, on my website: https://www.kellyheatonstudio.com
0%
0%
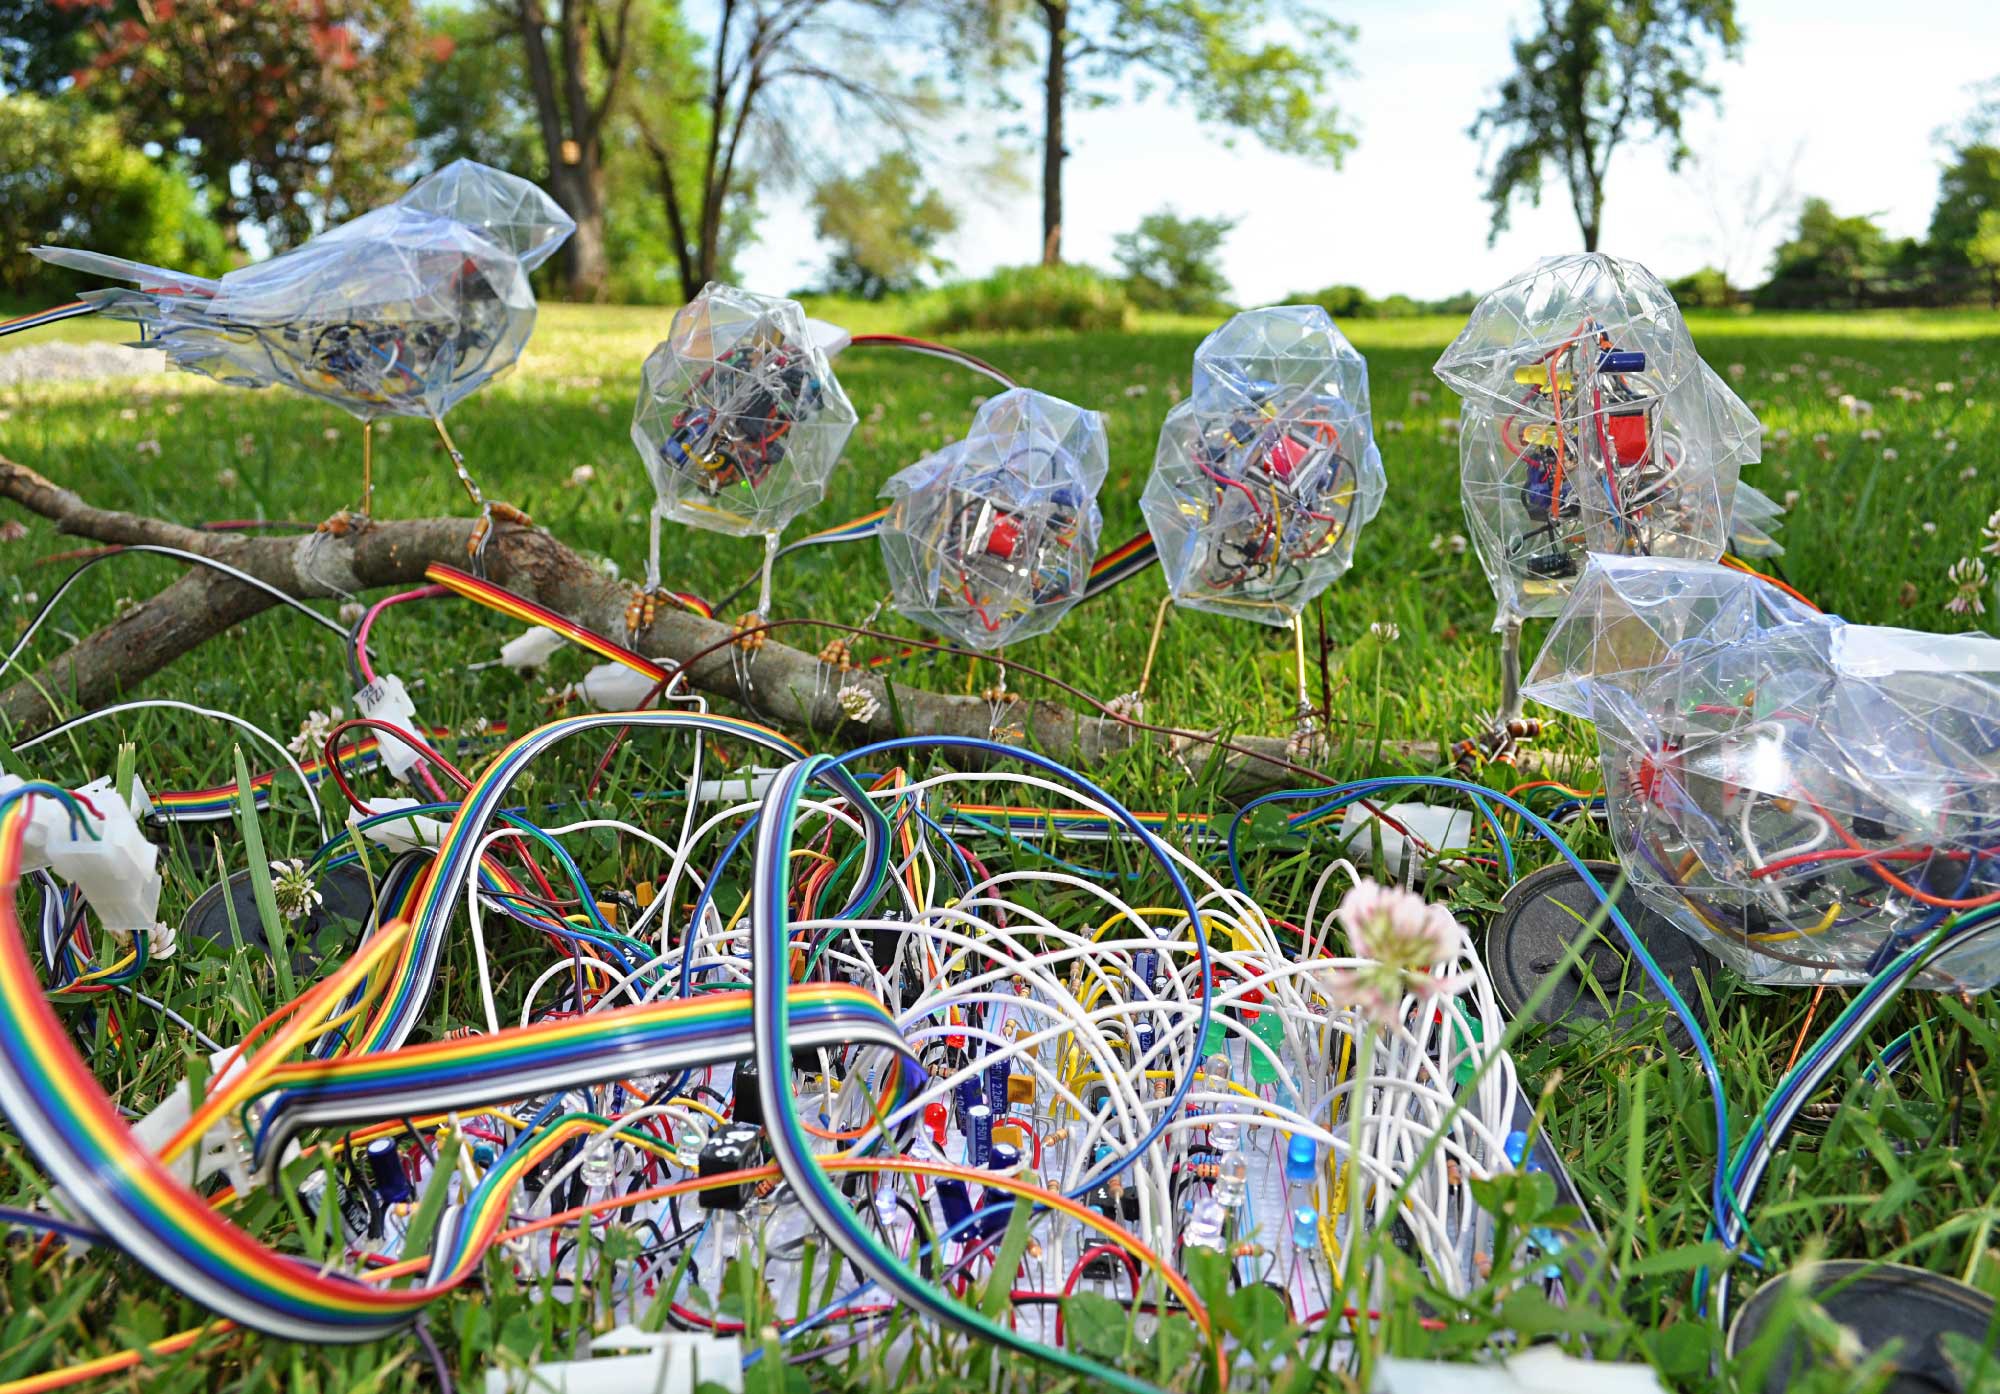
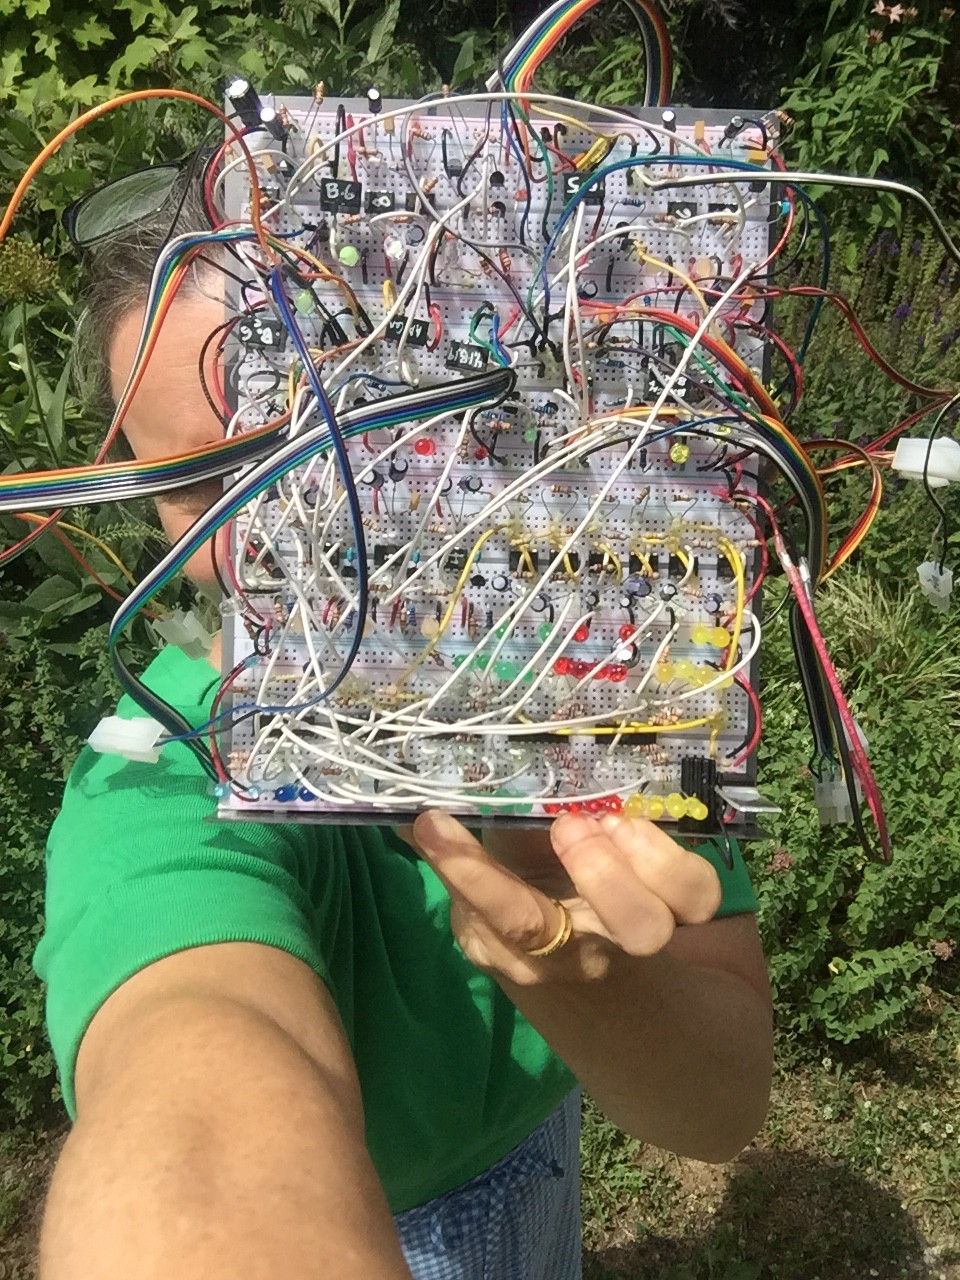
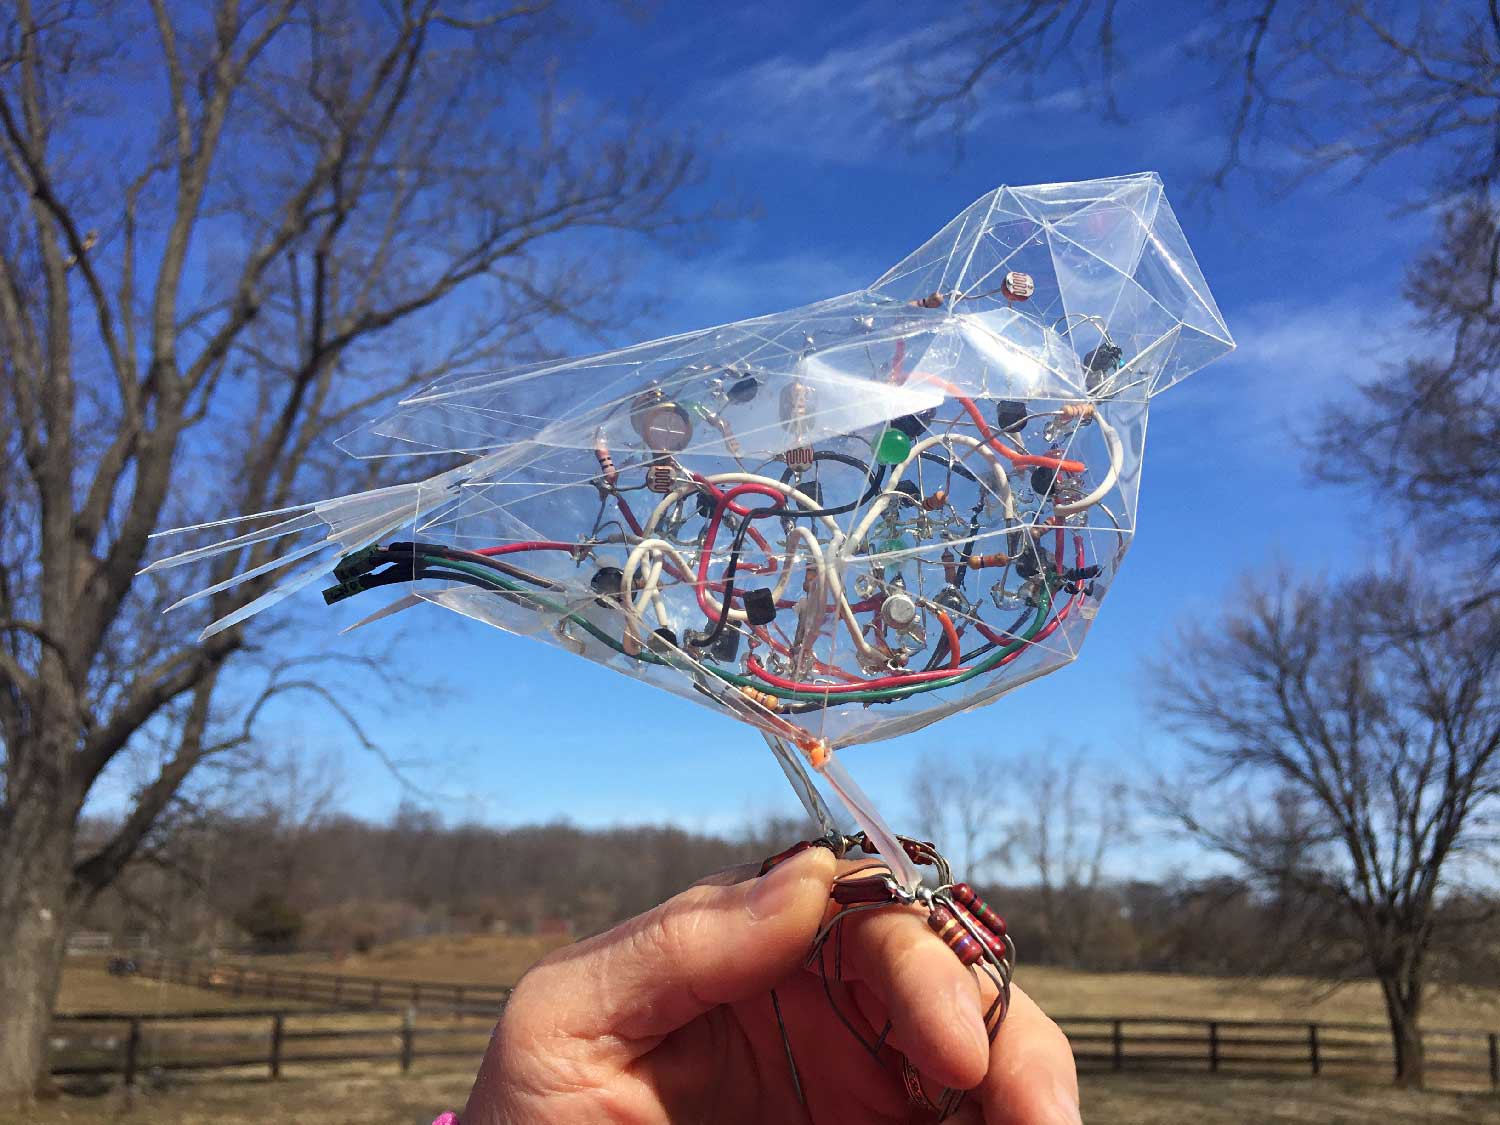
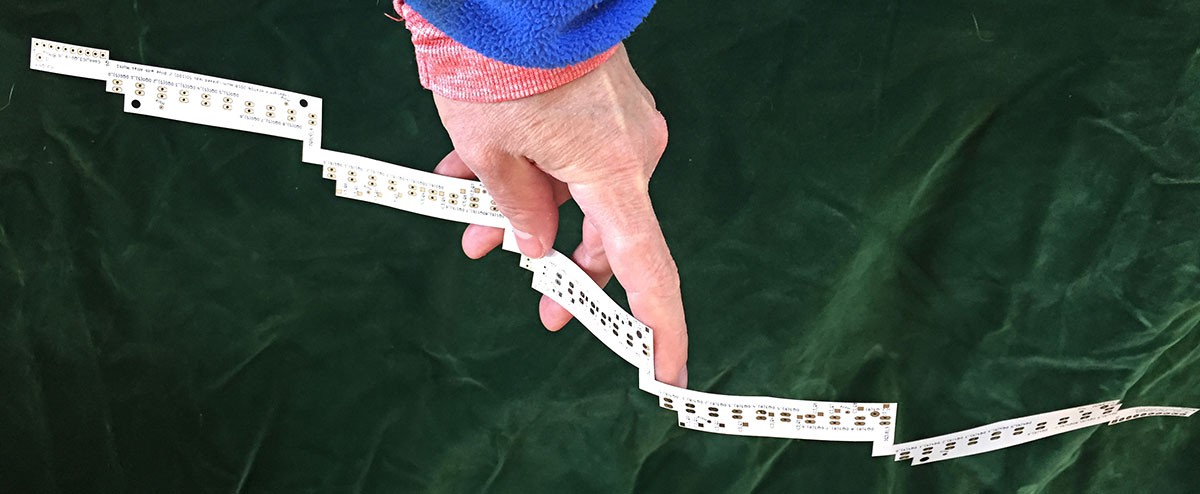
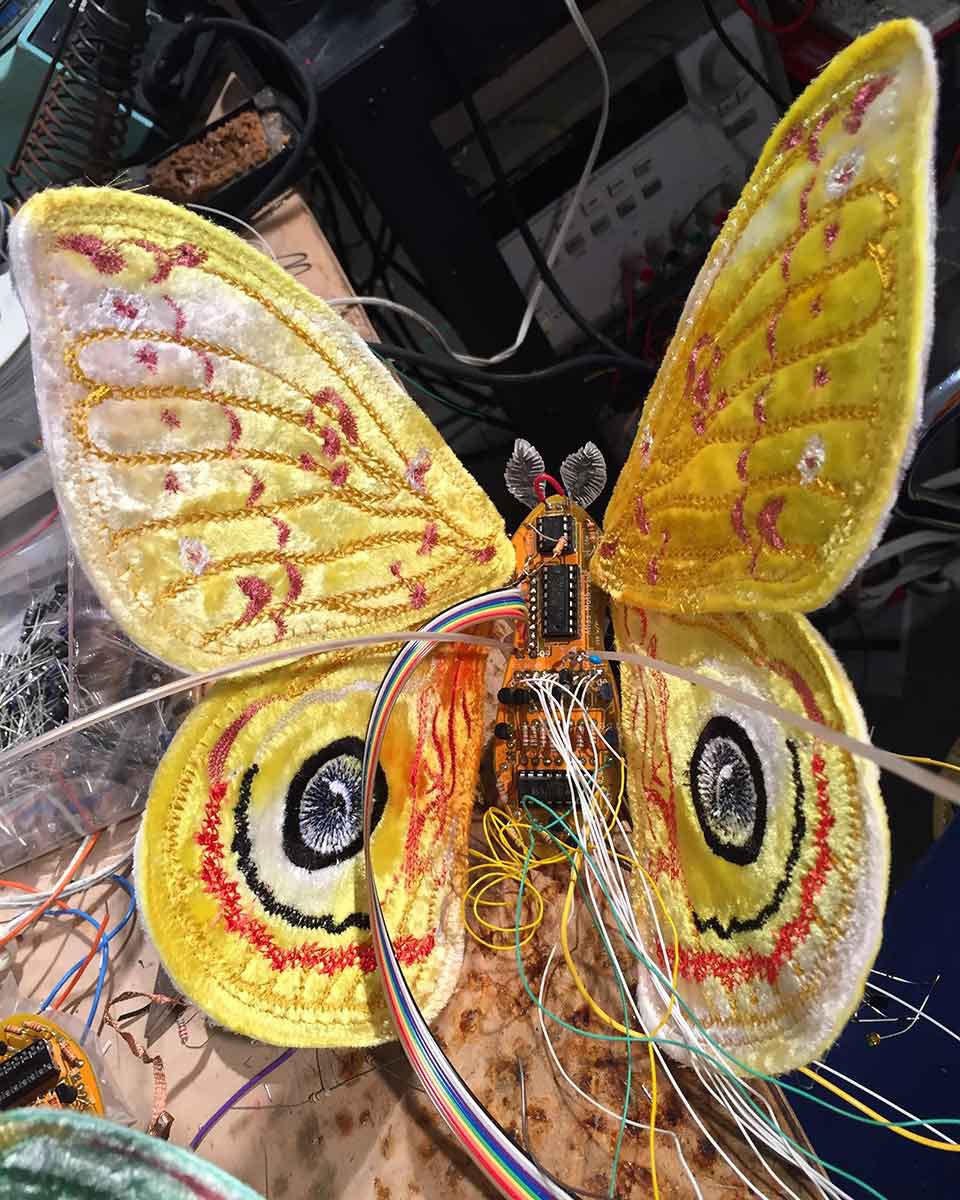
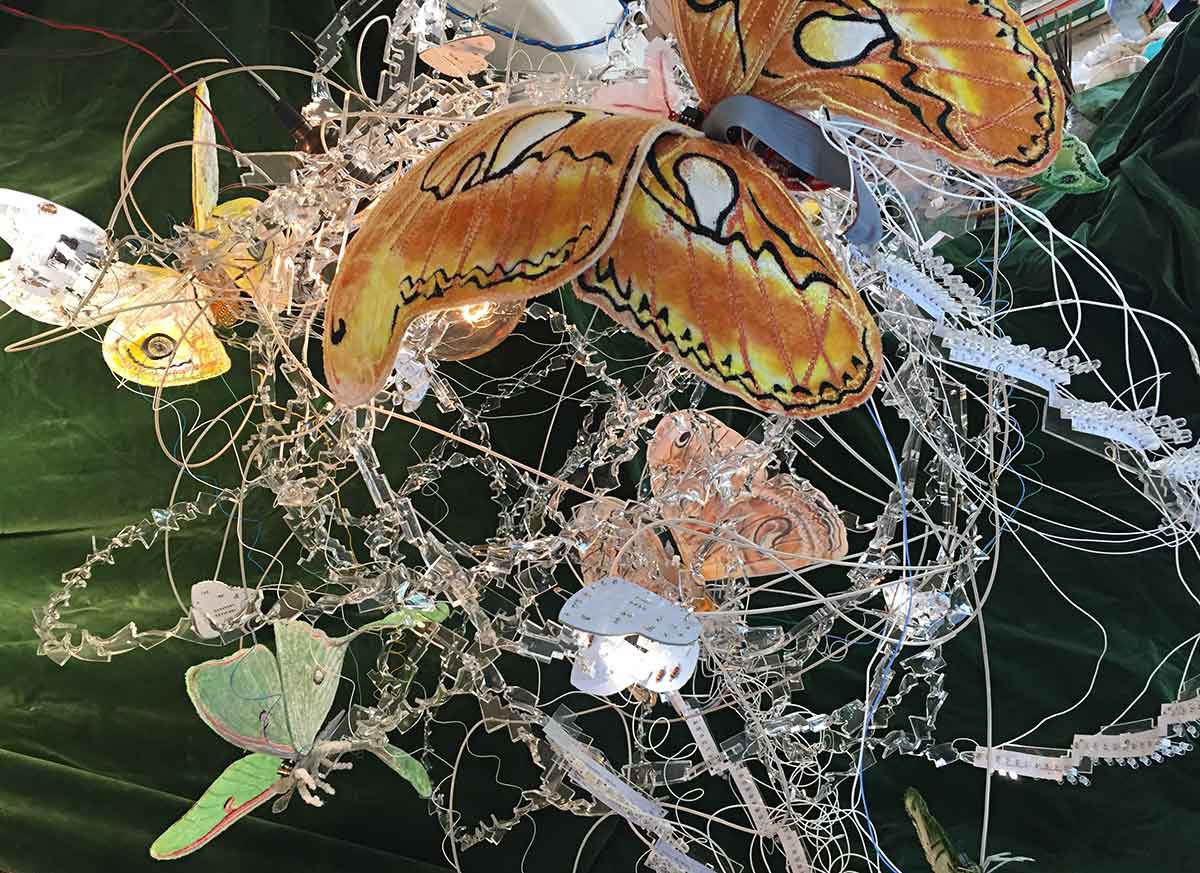
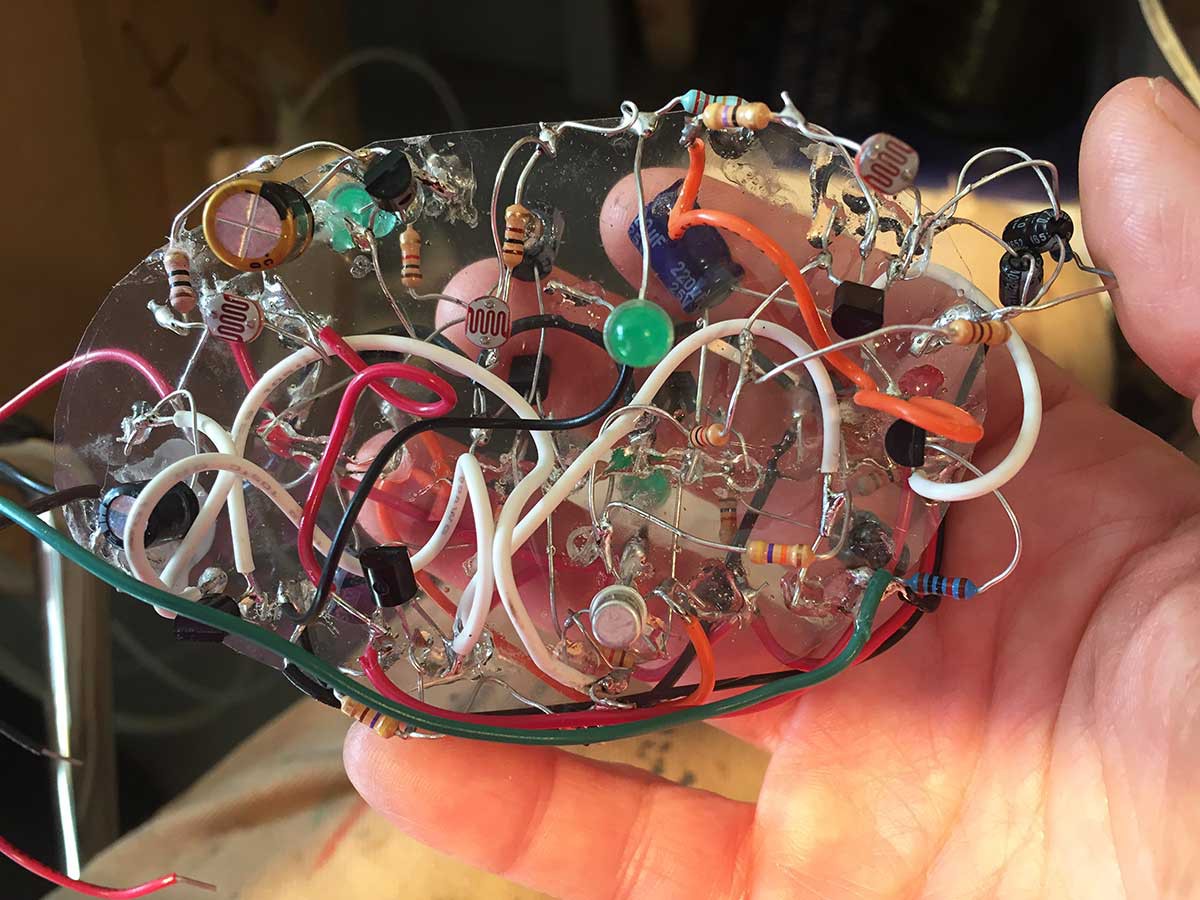
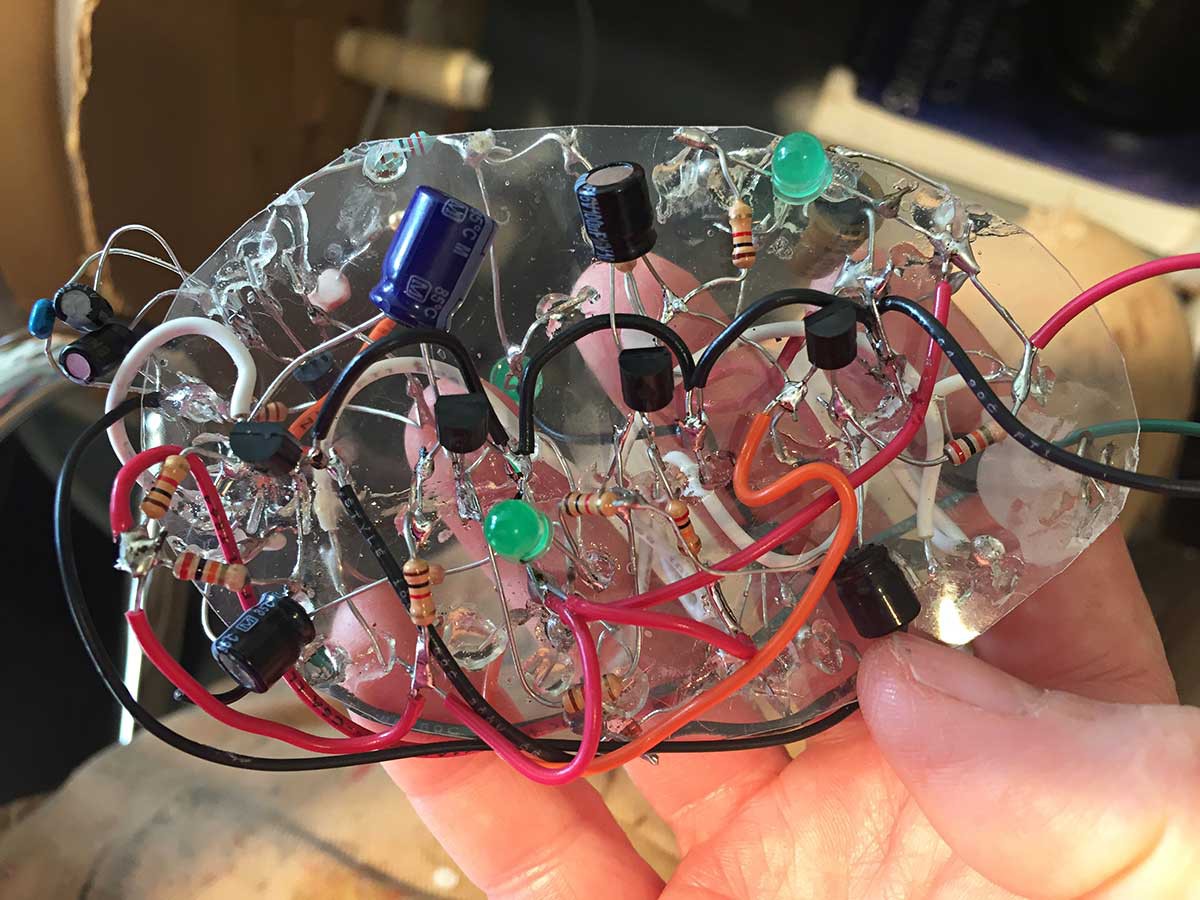
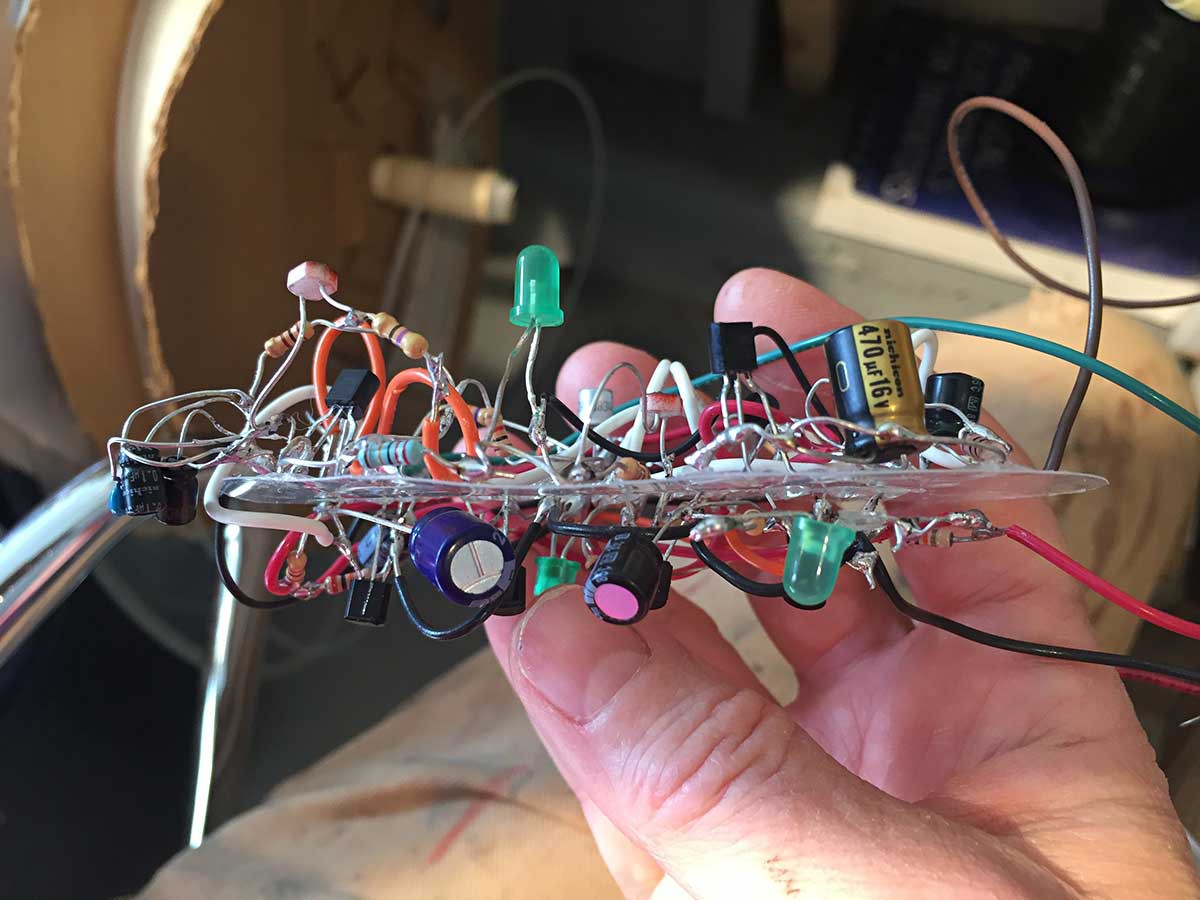
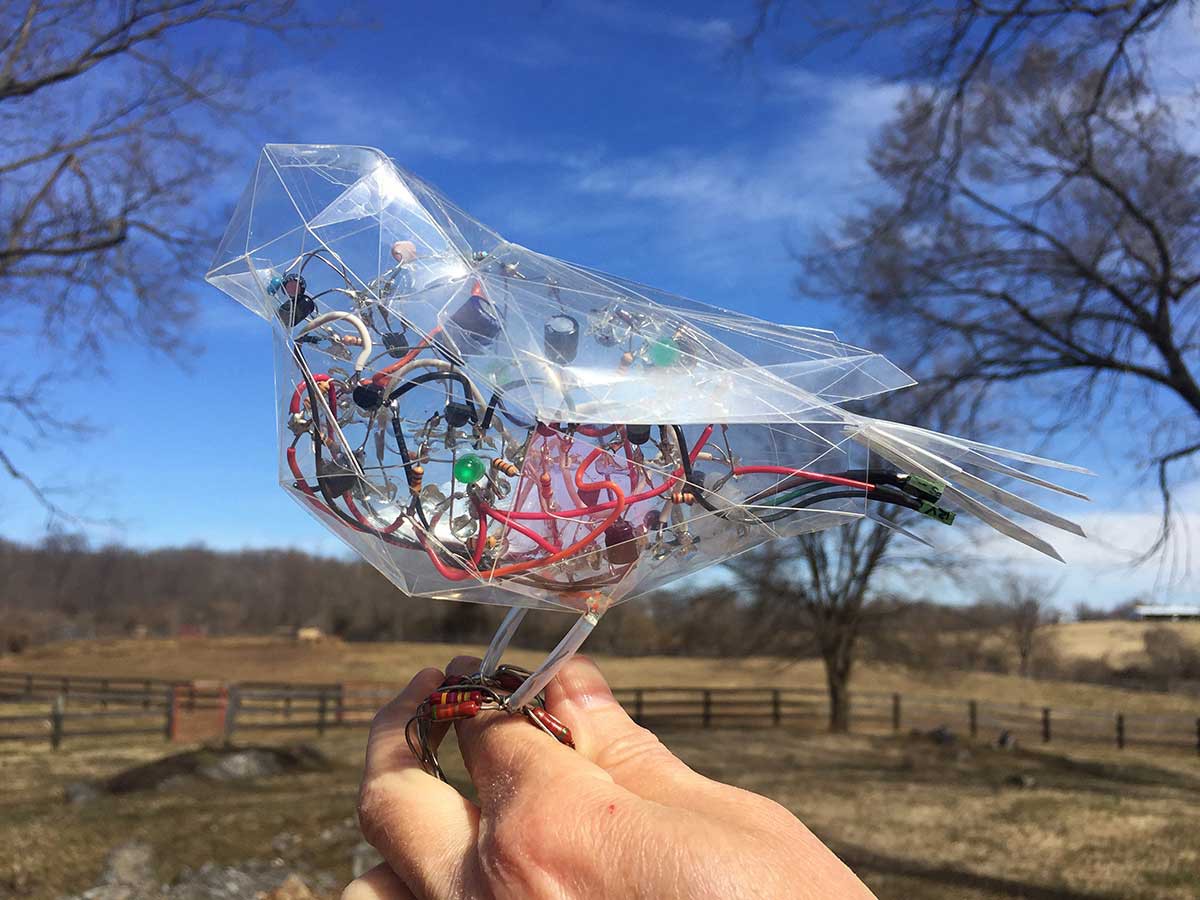
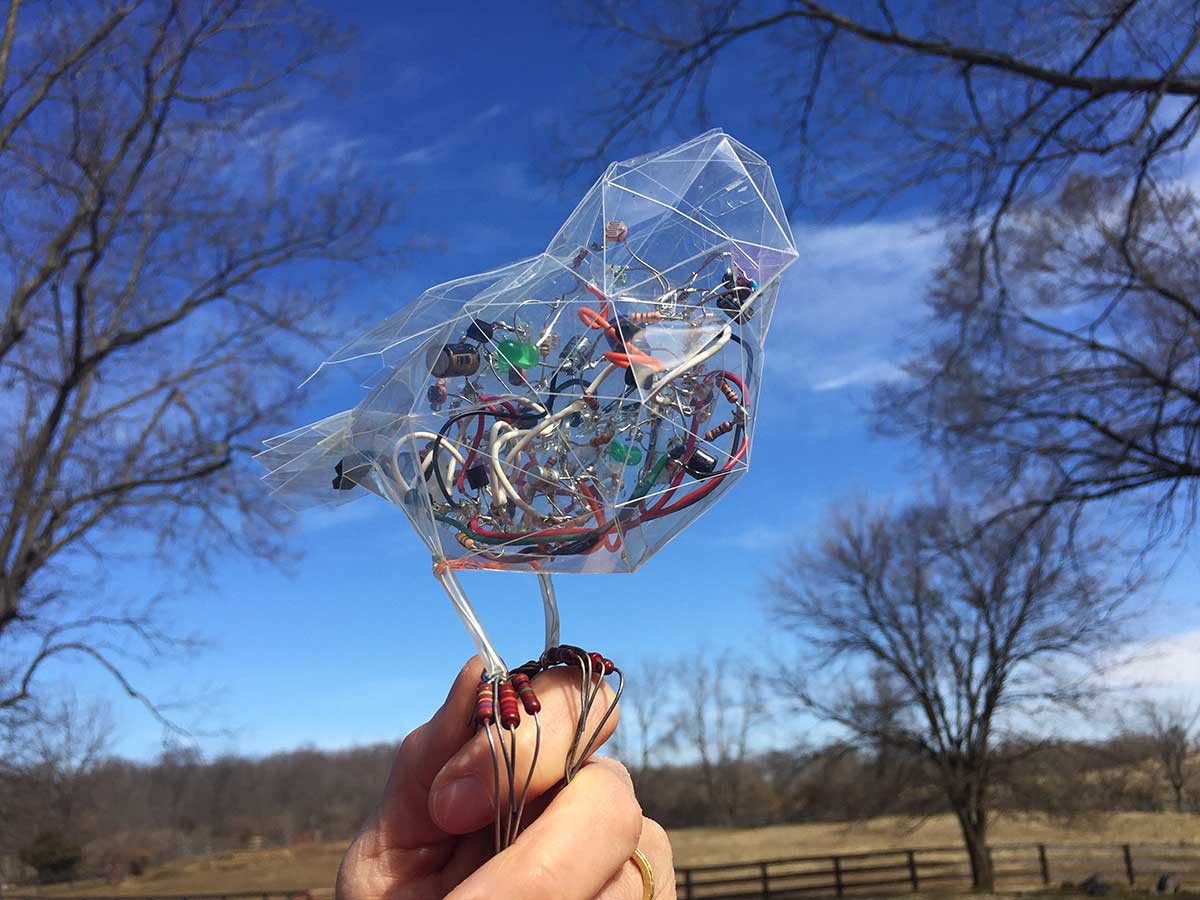
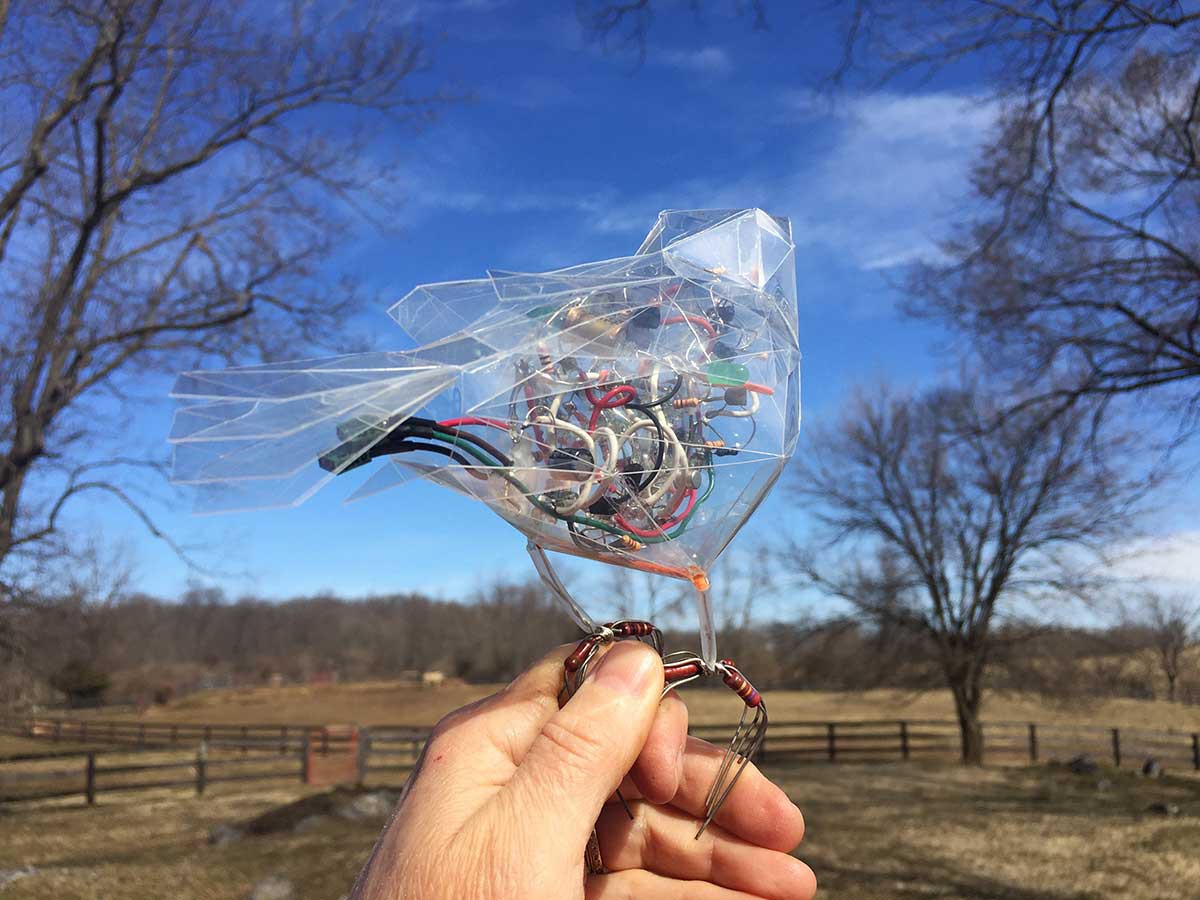
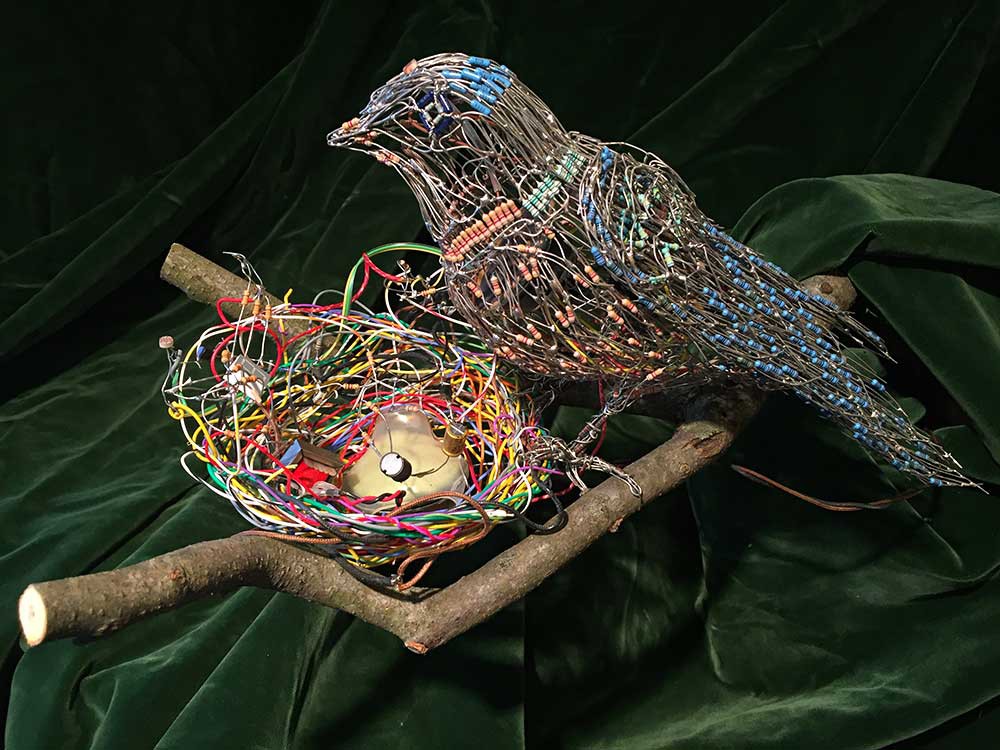
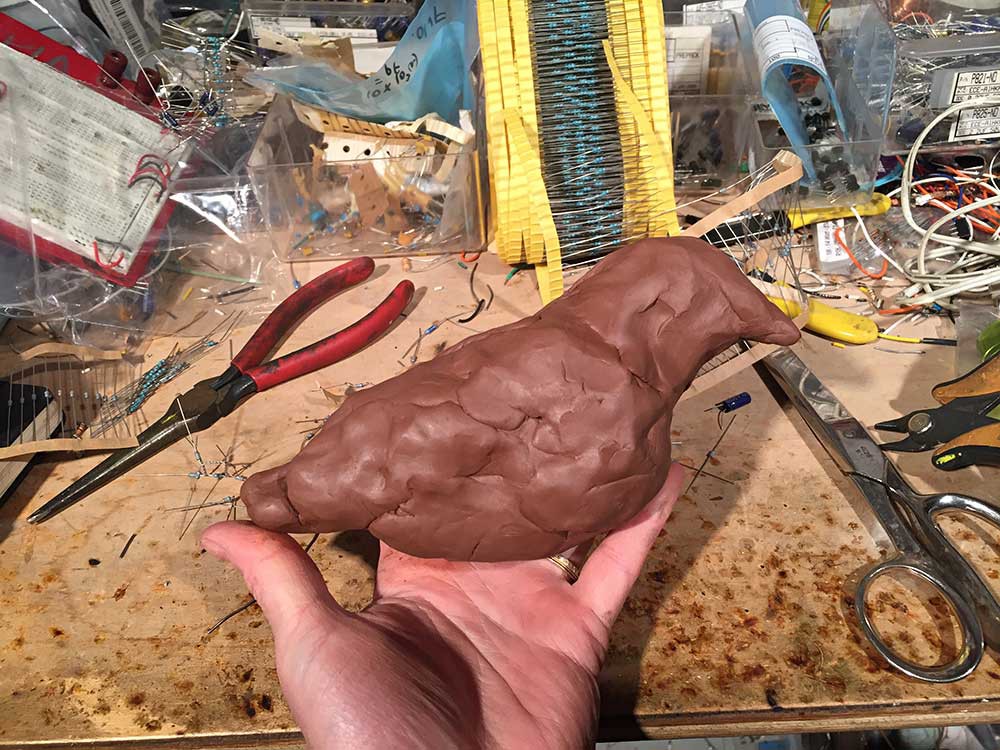
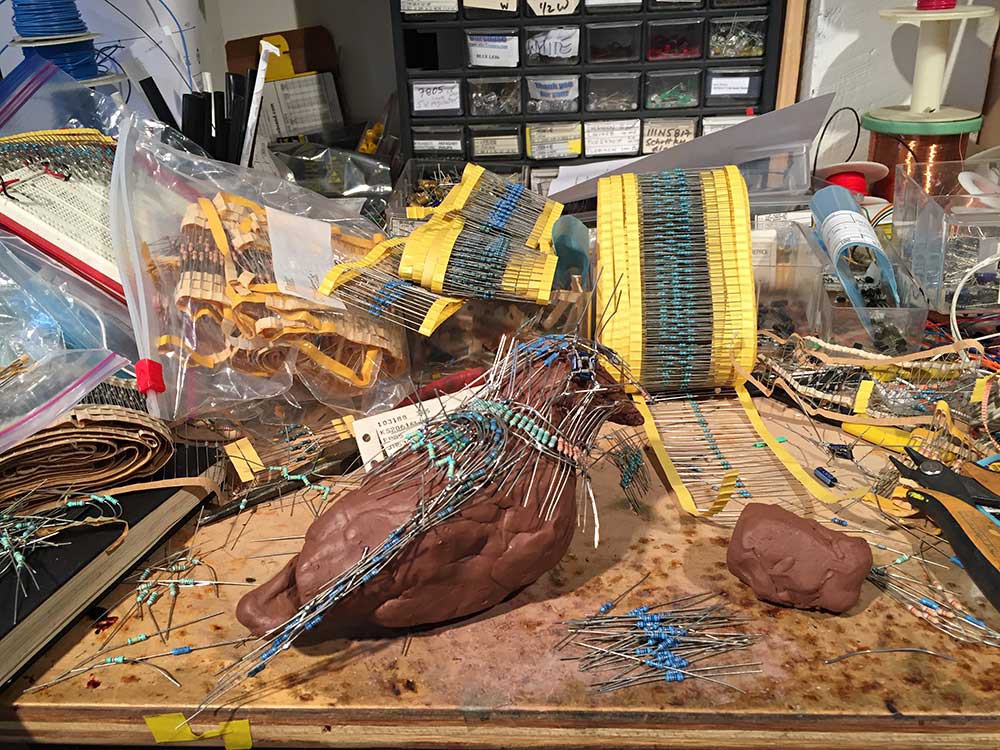
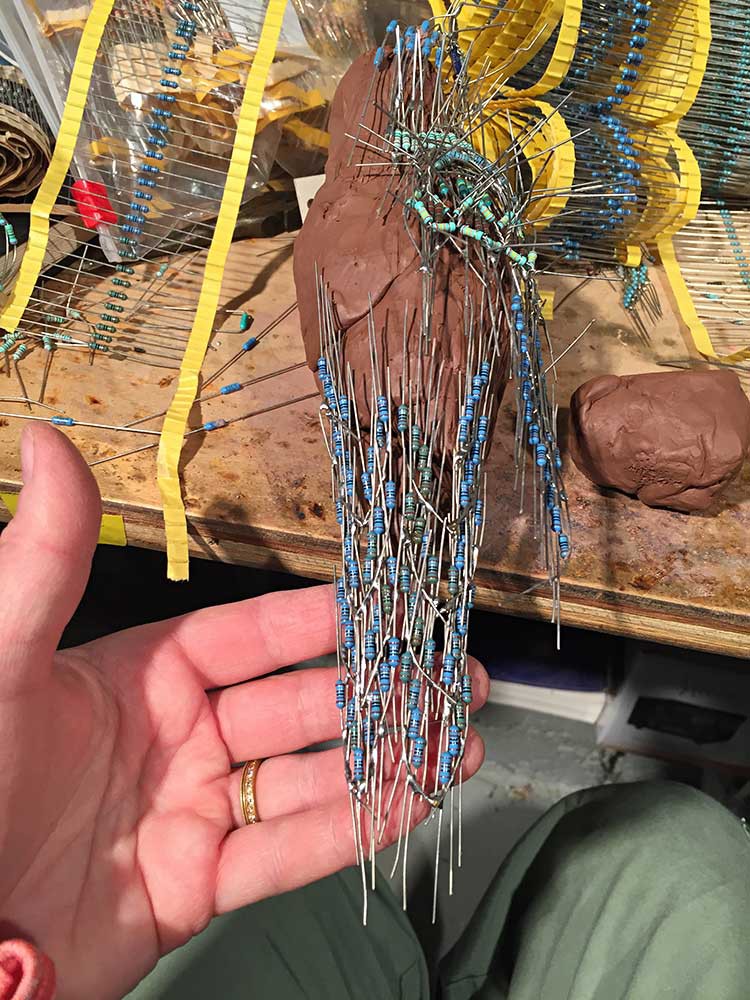
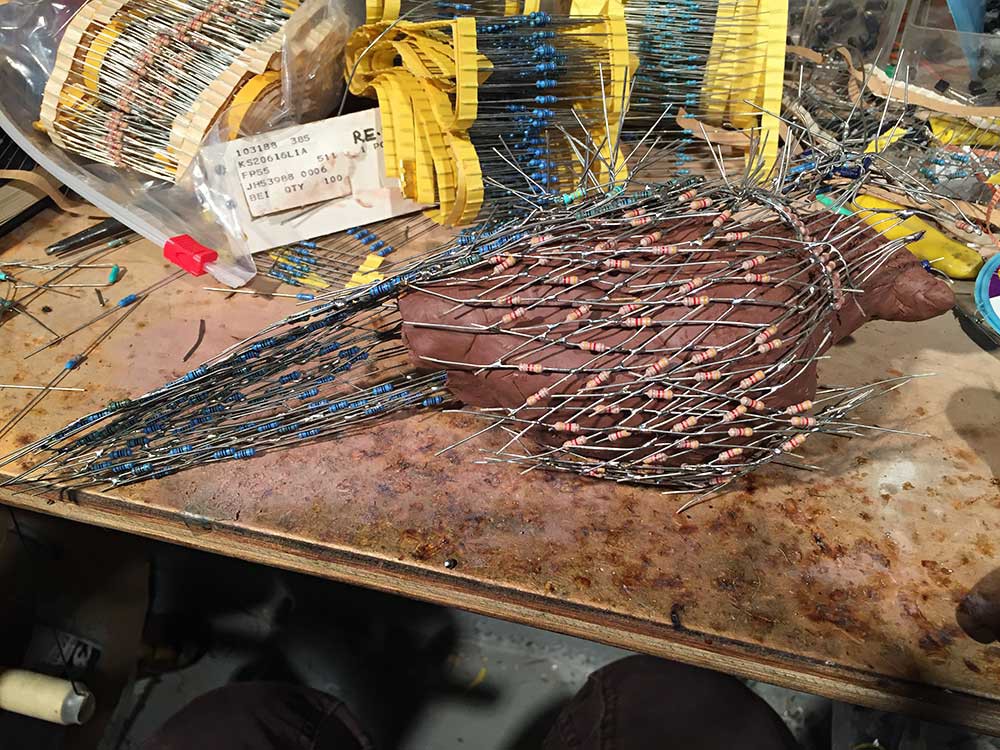
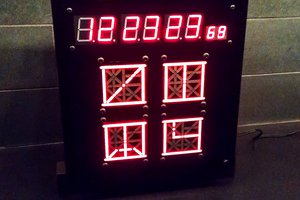
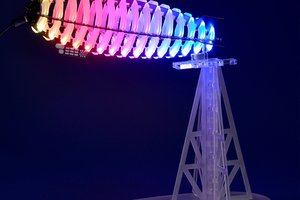
Electronic sculpture
Explore the spark of life through circuit art
Become a Hackaday.io member
Already have an account? Log in.
Just one more thing
To make the experience fit your profile, pick a username and tell us what interests you.
Pick an awesome username
hackaday.io/
Your profile's URL: hackaday.io/username. Max 25 alphanumeric characters.
Pick a few interests
Projects that share your interests
People that share your interests


 RIUM+ (Mike Ando)
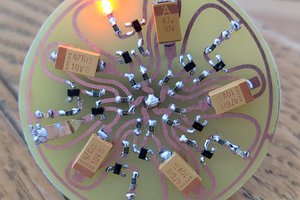
 Yaroslav
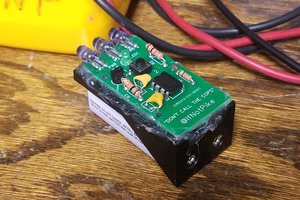
 Not Pike
I didn't need to see the official announcement to know this is a winner;-) Incredibly inspirational piece of work, thank you!