 Robbo
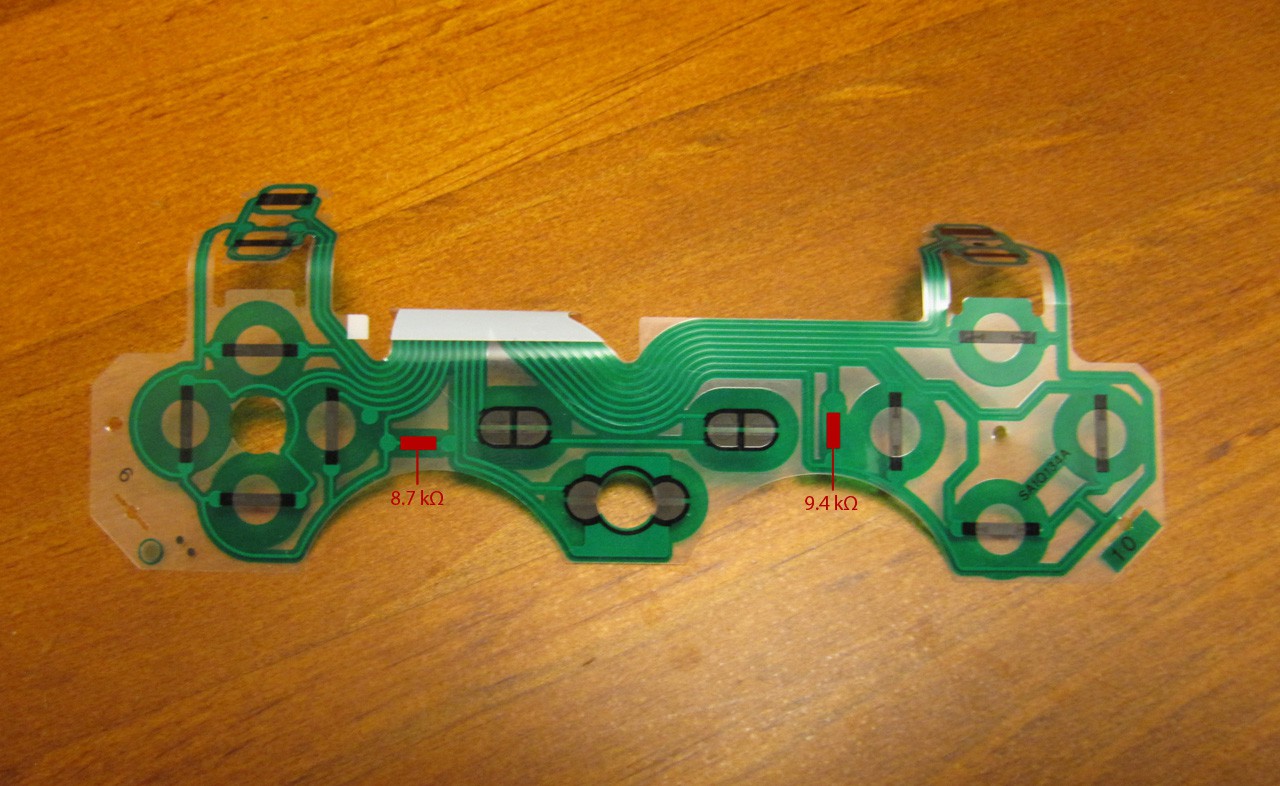
RobboAfter deciding to go DIY, I started looking around online at what other people had done. Slagcoin is where it's at as far as info goes, and http://www.slagcoin.com/joystick/pcb_wiring.html#SOLDERLESS_EXTRACTED_PCBS shows pretty much dead on what I wanted to do. Except for jamming 20 wires in a socket and gluing it all up, that's not pretty.
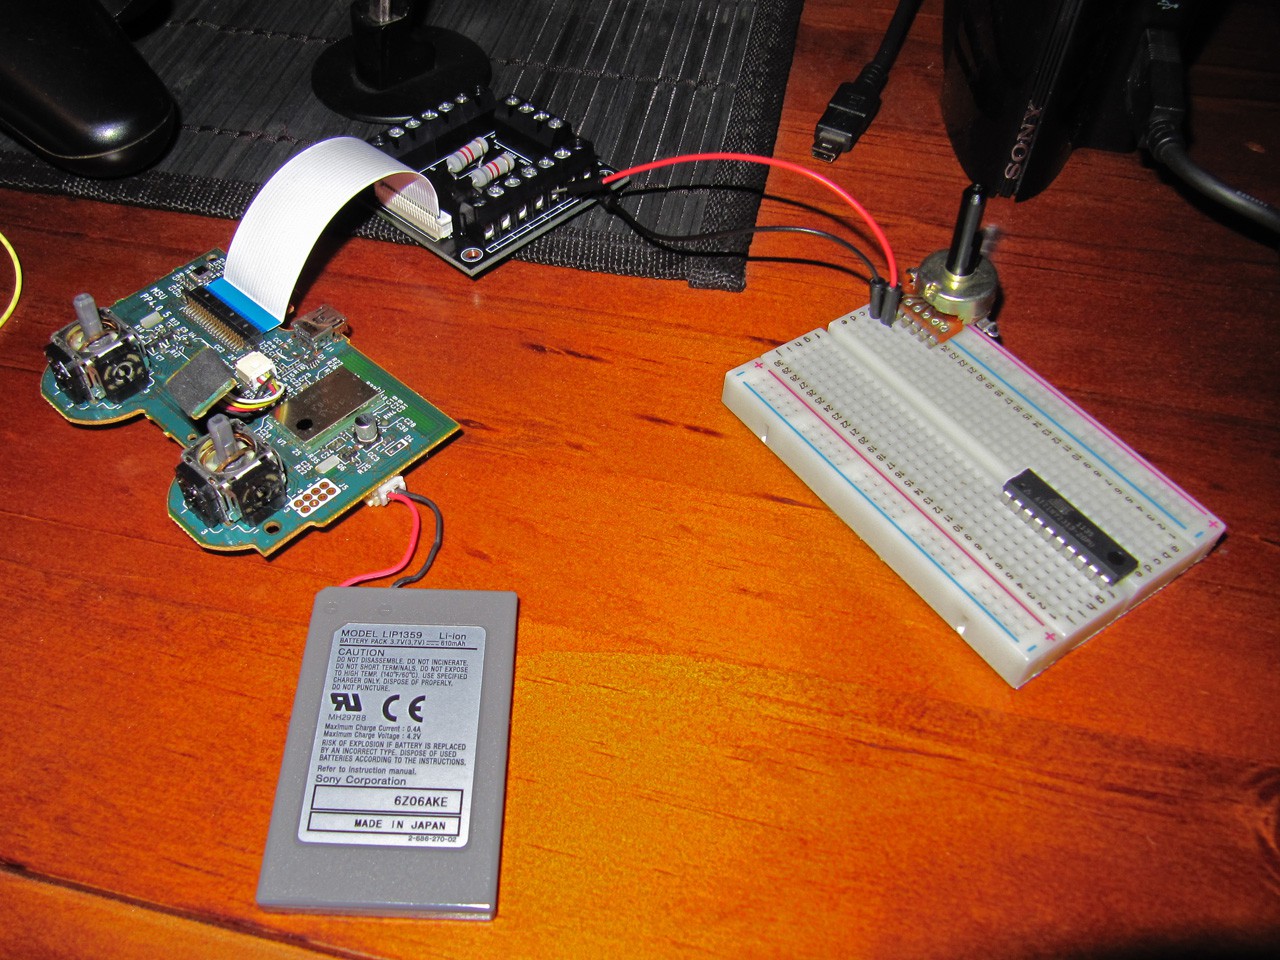
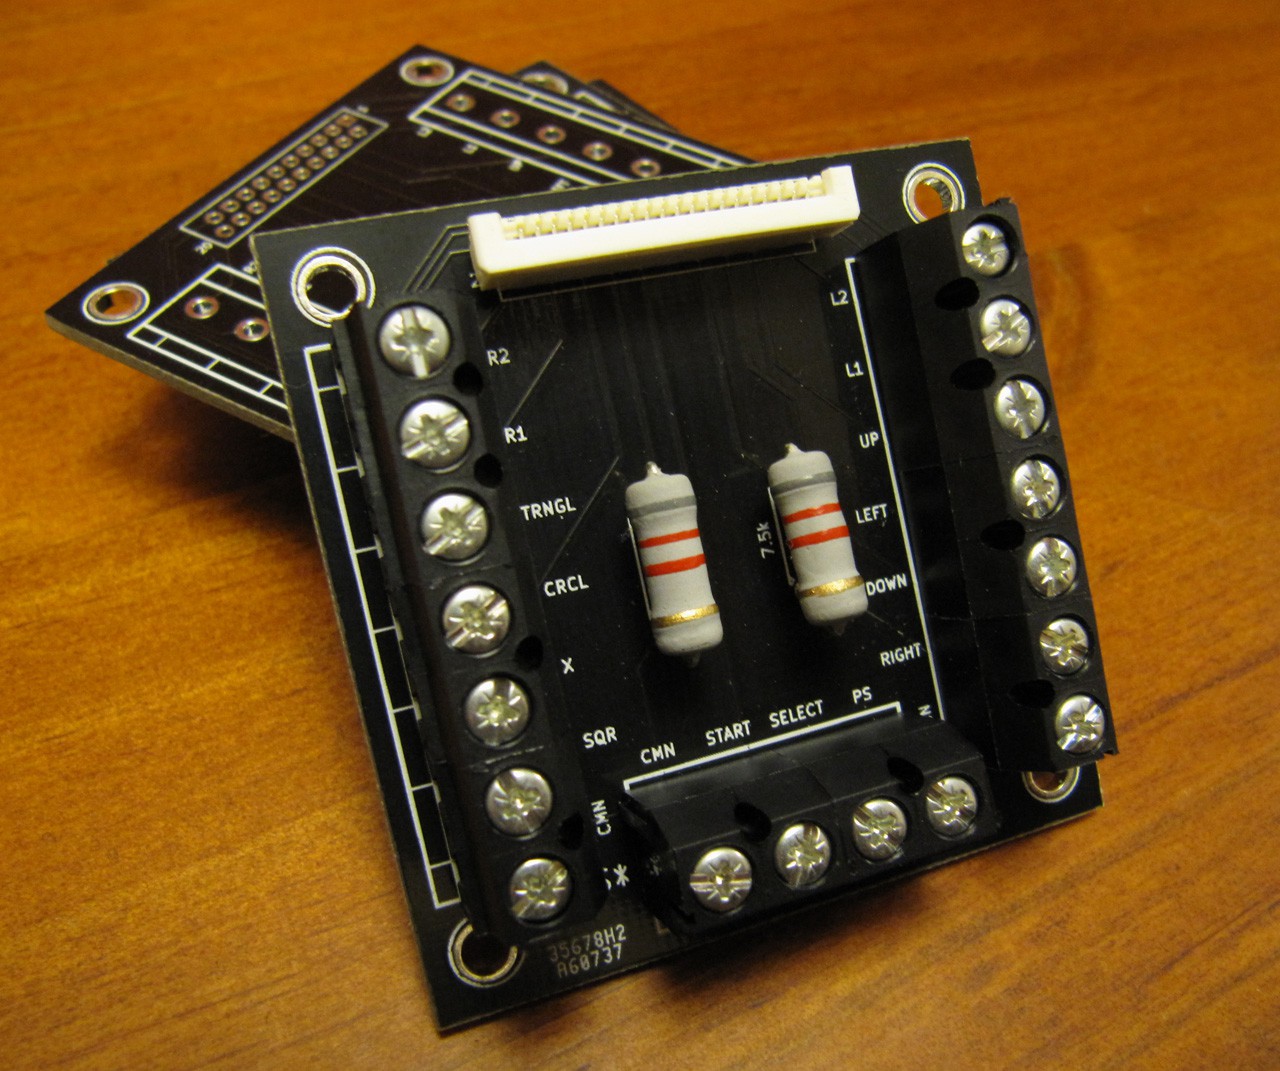
Next I came across http://forums.shoryuken.com/discussion/62104/diy-sixaxis-adapter-full-guide and we really started cooking. A lot of the photos on there are dead now but it's easy enough to get the idea of what others have been doing. Still no way was I going to solder wires straight to a FFC socket and the protoboard method looked OK, I figured custom PCB would be worth a crack.
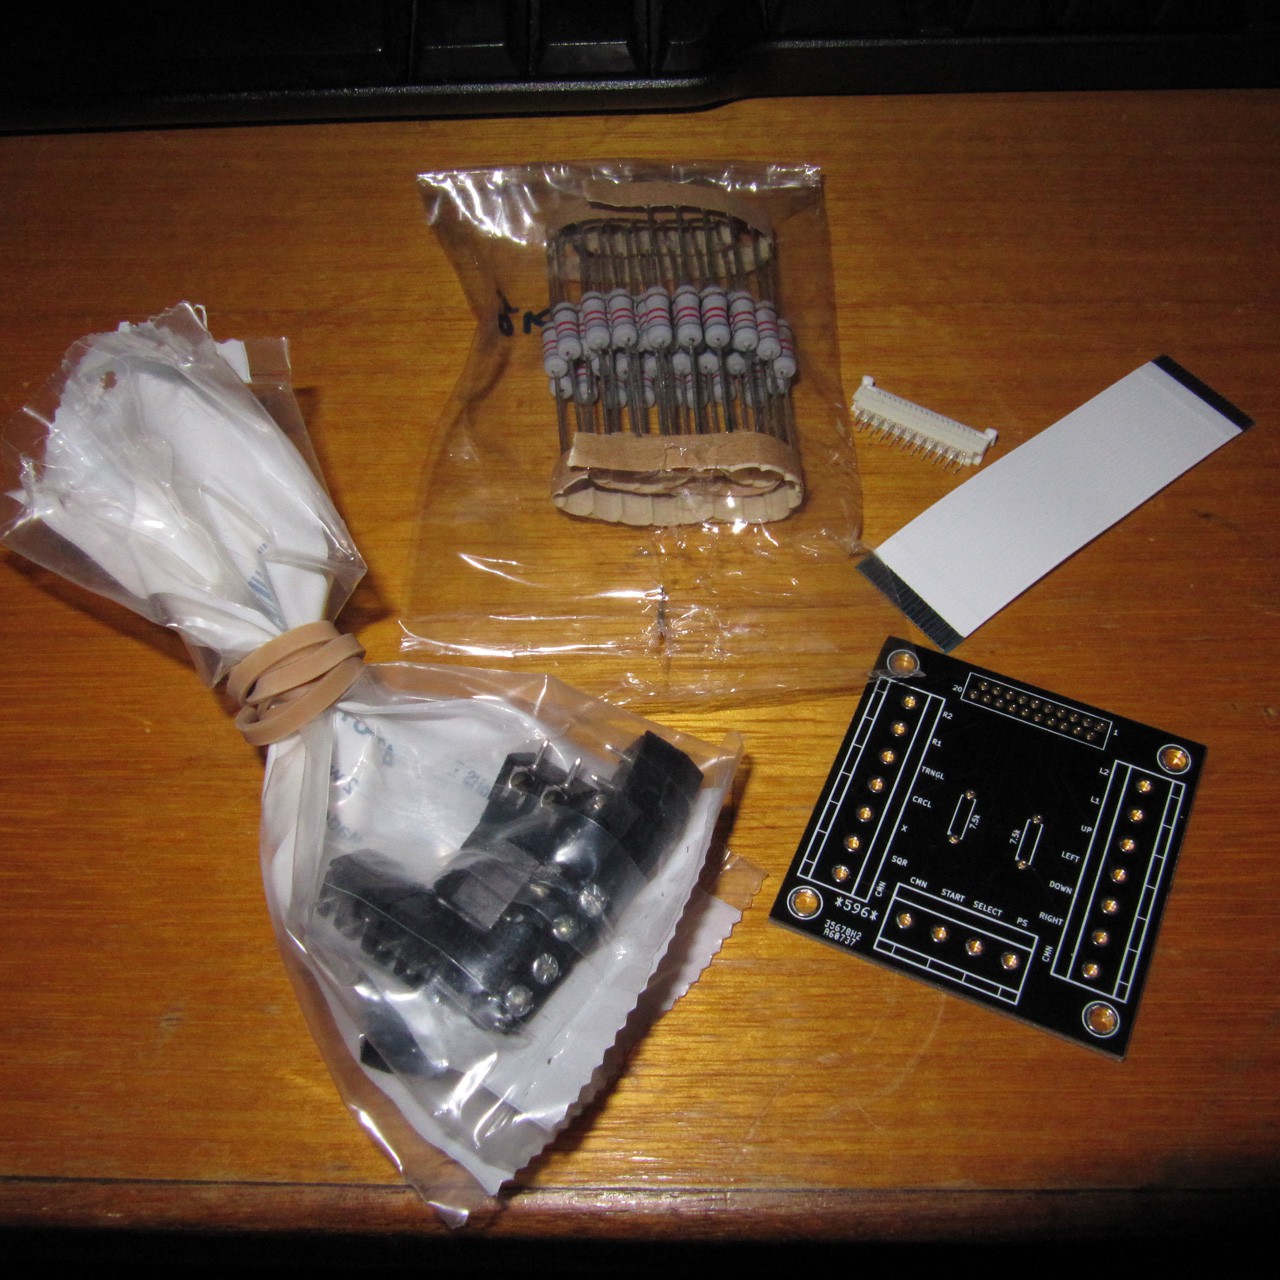
Luckily, I'd just read about http://dirtypcbs.com/ and was keen to give my first PCB design a crack, so away we went and I downloaded KiCAD.
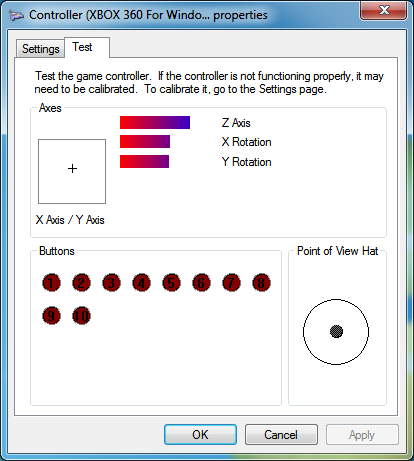
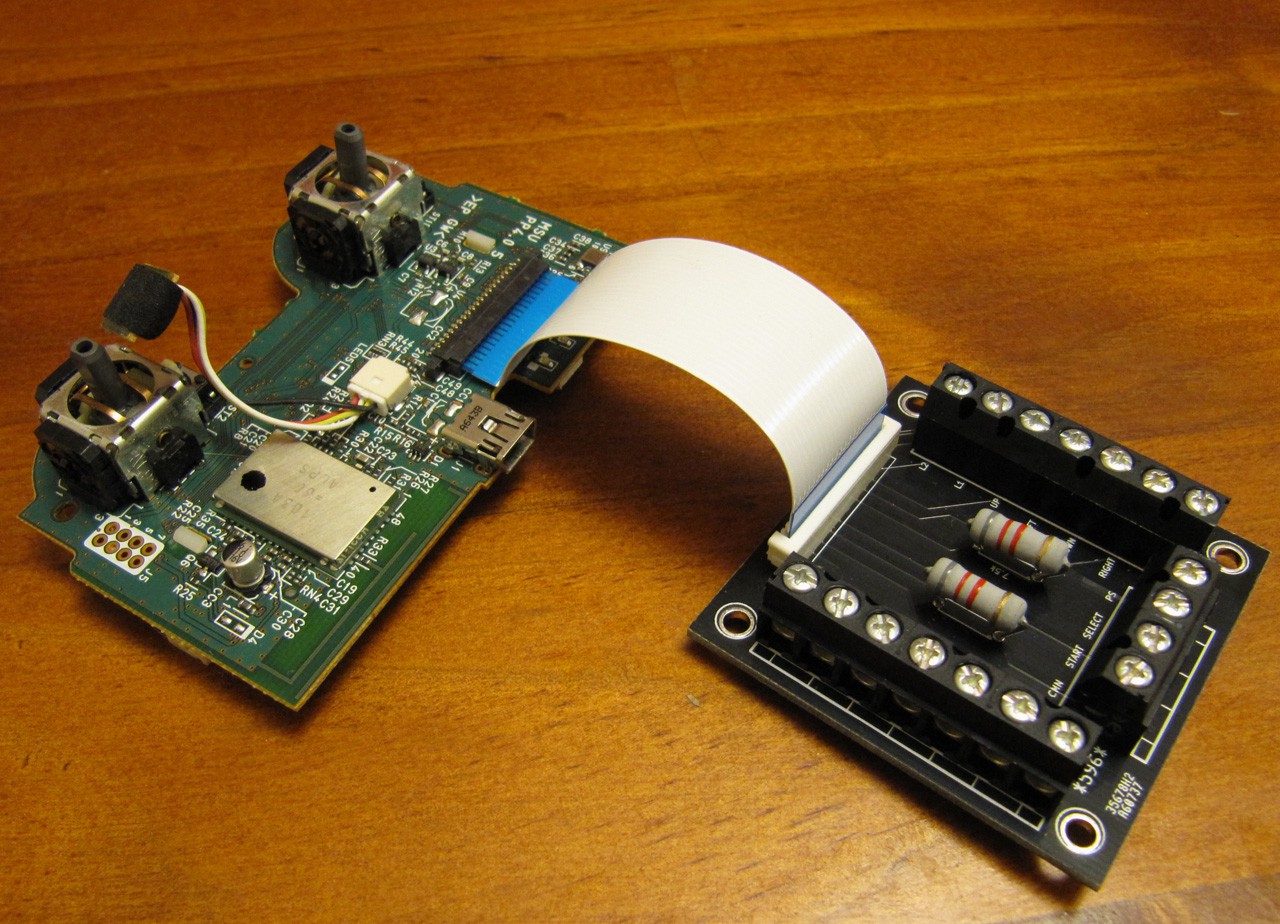
Long story short (and I mean long, KiCAD sure takes some time to get used to), PCBs drawn up, ordered and soldered, wiring hooked up, testing on the PC all looks good. All that's left is to build a decent wooden case for the thing so it can be used in anger. I'm considering also building a full size arcade cabinet that 2 of these can drop into so they can be swapped for couch / cabinet play and save me doubling up on controls.
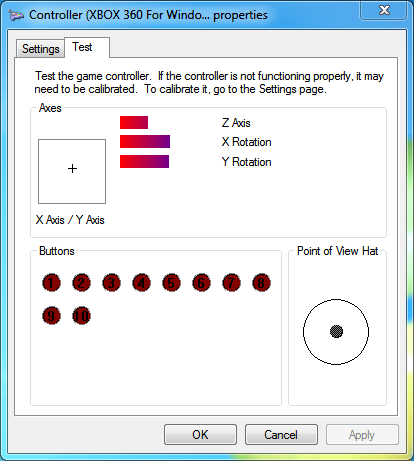
 And that's the throttle being held half open via the pot, yes if you wanted to you could drive around using a big knob for the throttle.


 Quinn
Quinn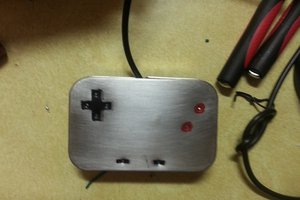
 Solderking
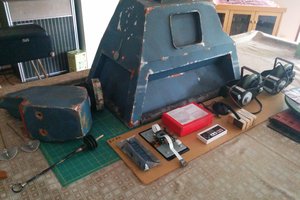
 Andrew Bills
 tEEonE
Do you think this would work with the Hori Fighting Commander PS4? I'm not a fan of huge fight-sticks, but the ability to make the pad of my dreams wireless is something I've been losing sleep over for a long time.
If you think it'll work, I'd like to buy some of those PCBs of yours and any insight you have on how the Hori works. I have images of the Hori without the shell if you need them...