Close
0%
0%

Animated Darth Vader build monitor

USB controlled Lego figure Darth Vader

Similar projects worth following
This is an animated and USB controlled Lego figure of Darth Vader. I use it as a build monitor for TeamCity continuous integration builds, but you don't have to.

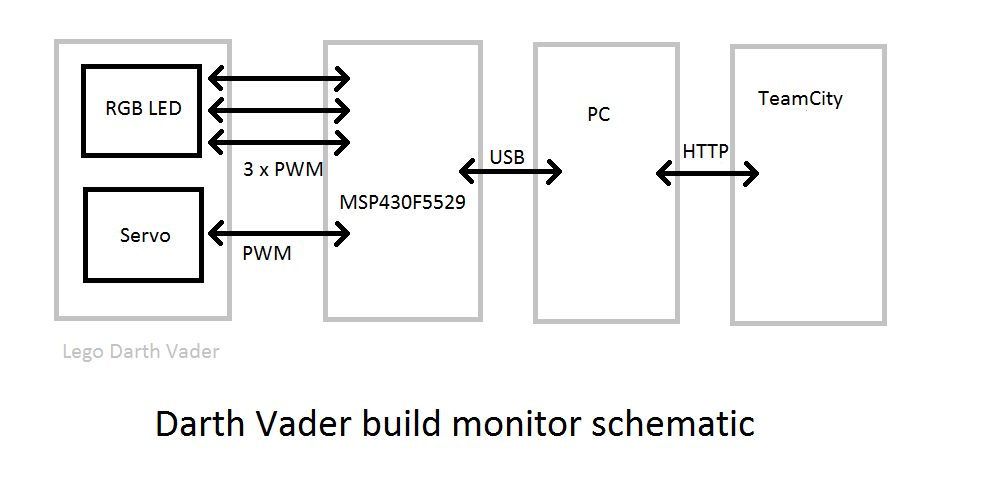
We needed better visibility of our continuous integration builds at work. Occasionally the build would be broken but it wasn't fixed urgently. We needed something visible that would get the attention of the non-IT staff in the office so we'd be embarrassed into getting it fixed quickly. 

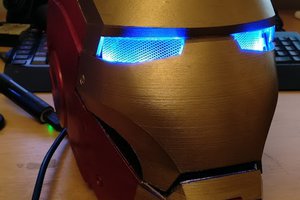
I spotted a large Lego figure Darth Vader torch and thought this would be ideal. A little bit geeky, but not too bad. Clearly visible but not too annoying. The existing toy had white LEDs in his feet and a single colour battery operated LED in his lightsaber. It'd do as a starting point. This is where we want to end up...

View all 8 components

  • Finished!

    Fred Murphy08/17/2014 at 21:41 0 comments

    I've finished the firmware to allow control over a USB serial port. It took a few attempts to connect on through to TeamCity for build notifications, but it's now working.

  • Hardware - complete!

    Fred Murphy08/17/2014 at 21:39 0 comments

    Everything's working and Darth in now under the control of the MPS430. I've got some test software running, but there's still more to do to communicate with the PC over USB and allow control from there. The microcontroller firmware needs to be finished and PC software written.

  • All back in one piece

    Fred Murphy08/17/2014 at 21:36 0 comments

    You'd never know that Darth had undergone extensive surgery. He's been reassembled and apart from an ethernet cable coming out from his back he looks just the same as he did.

  • Moving his arm

    Fred Murphy08/17/2014 at 21:30 0 comments

    Step two - getting the servo in place and attached to his shoulder joint so that he can wave the lightsaber about. We're getting there.

  • Got the lightsaber colour working

    Fred Murphy08/17/2014 at 21:27 0 comments

    I find it always pays to get one part of the project working before blindly carrying on with the rest. Get the "proof of concept" steps done first.

    I've successfully replaced the red LED on the lightsaber with a RGB one that I can control from the MSP430.

View all 5 project logs

  • 1
    Step 1

    AAAARRRRRGGGGHHH! There's a confirmed but with editing project instructions that affects reordering. I've spent hours trying to get them straight and complete. I'll update once the bug is fixed, but for now you'll have to pretend you're watching Memento...

    Remove the battery cover and batteries. Remove Darth Vader's head, open up his chest and get out the bone saw... Sorry - I mean Dremel. We need to make room for a servo in there, so that battery box has to go. Leave enough so the cover can still be reattached.

    We also need to modify the front. I has a button to operate the torch. Remove the PCB containing the switch and glus the button back in place to cover the hole in his chest. Dremel away any bits that are in the way of the servo - namely the clips on the switch and the bits getting in the way of connecting the servo to his shoulder.

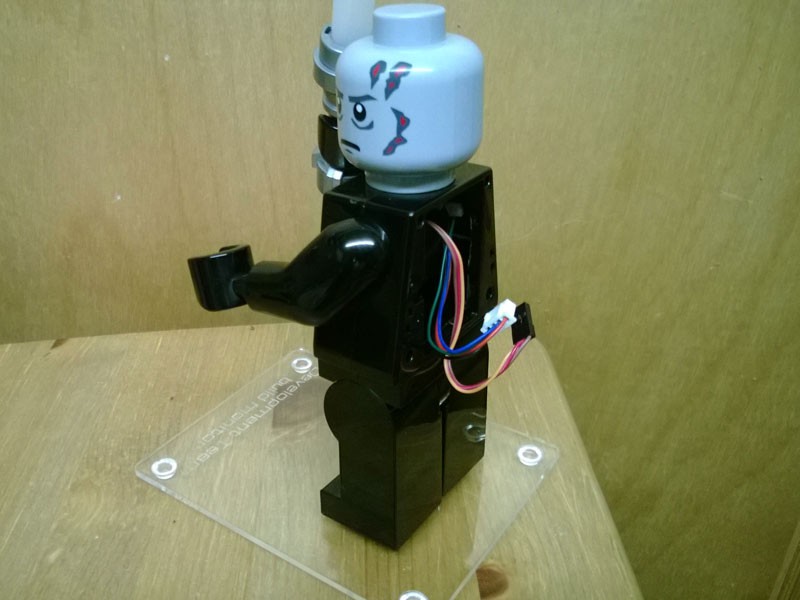
    From the outside, Darth still looks as handsome as ever. But inside, he's had some major work done.

  • 2
    Step 2

    I just have to test as we go along and make sure things are working as expected. Some simple pin toggling to control the colours in the LED. (Don't forget those current limiting resistors.)

  • 3
    Step 3

    Once you have your servo in place and a nice 4-pin connector on the end of your LEDs, Darth Vader can be reassembled and you'd never know he'd changed inside.

    In the photo I've also laser cut a nice plate for him to stand on. It has 2 circles of acrylic glued to it and he attaches just like Lego stuff does - a push fit. Note that he still has a white LED in each foot. I haven't connected these, but of course you could. These could flash to get your attention, etc. Just add another connector here.

View all 10 instructions

Enjoy this project?

Share

Discussions

davedarko wrote 02/01/2018 at 11:57 point

Just stumbled over this while looking for projects to add to the list and wanted to say: nice project :)

  Are you sure? yes | no

Similar Projects

Does this project spark your interest?

Become a member to follow this project and never miss any updates