Md. Khairul Alam
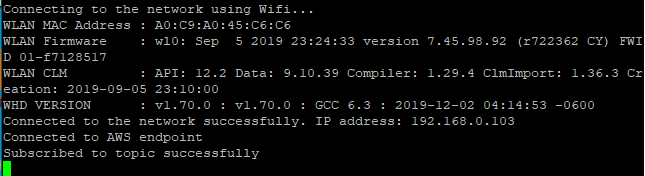
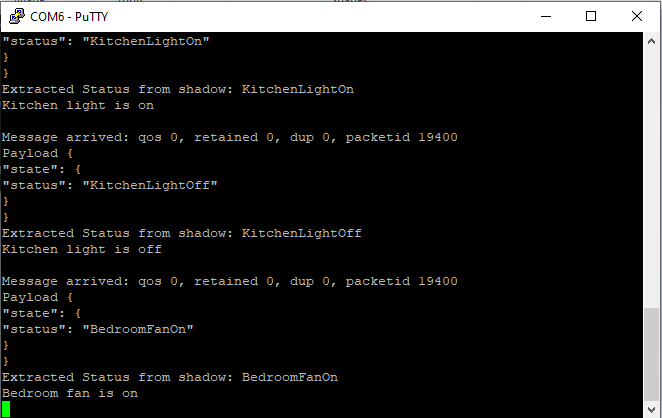
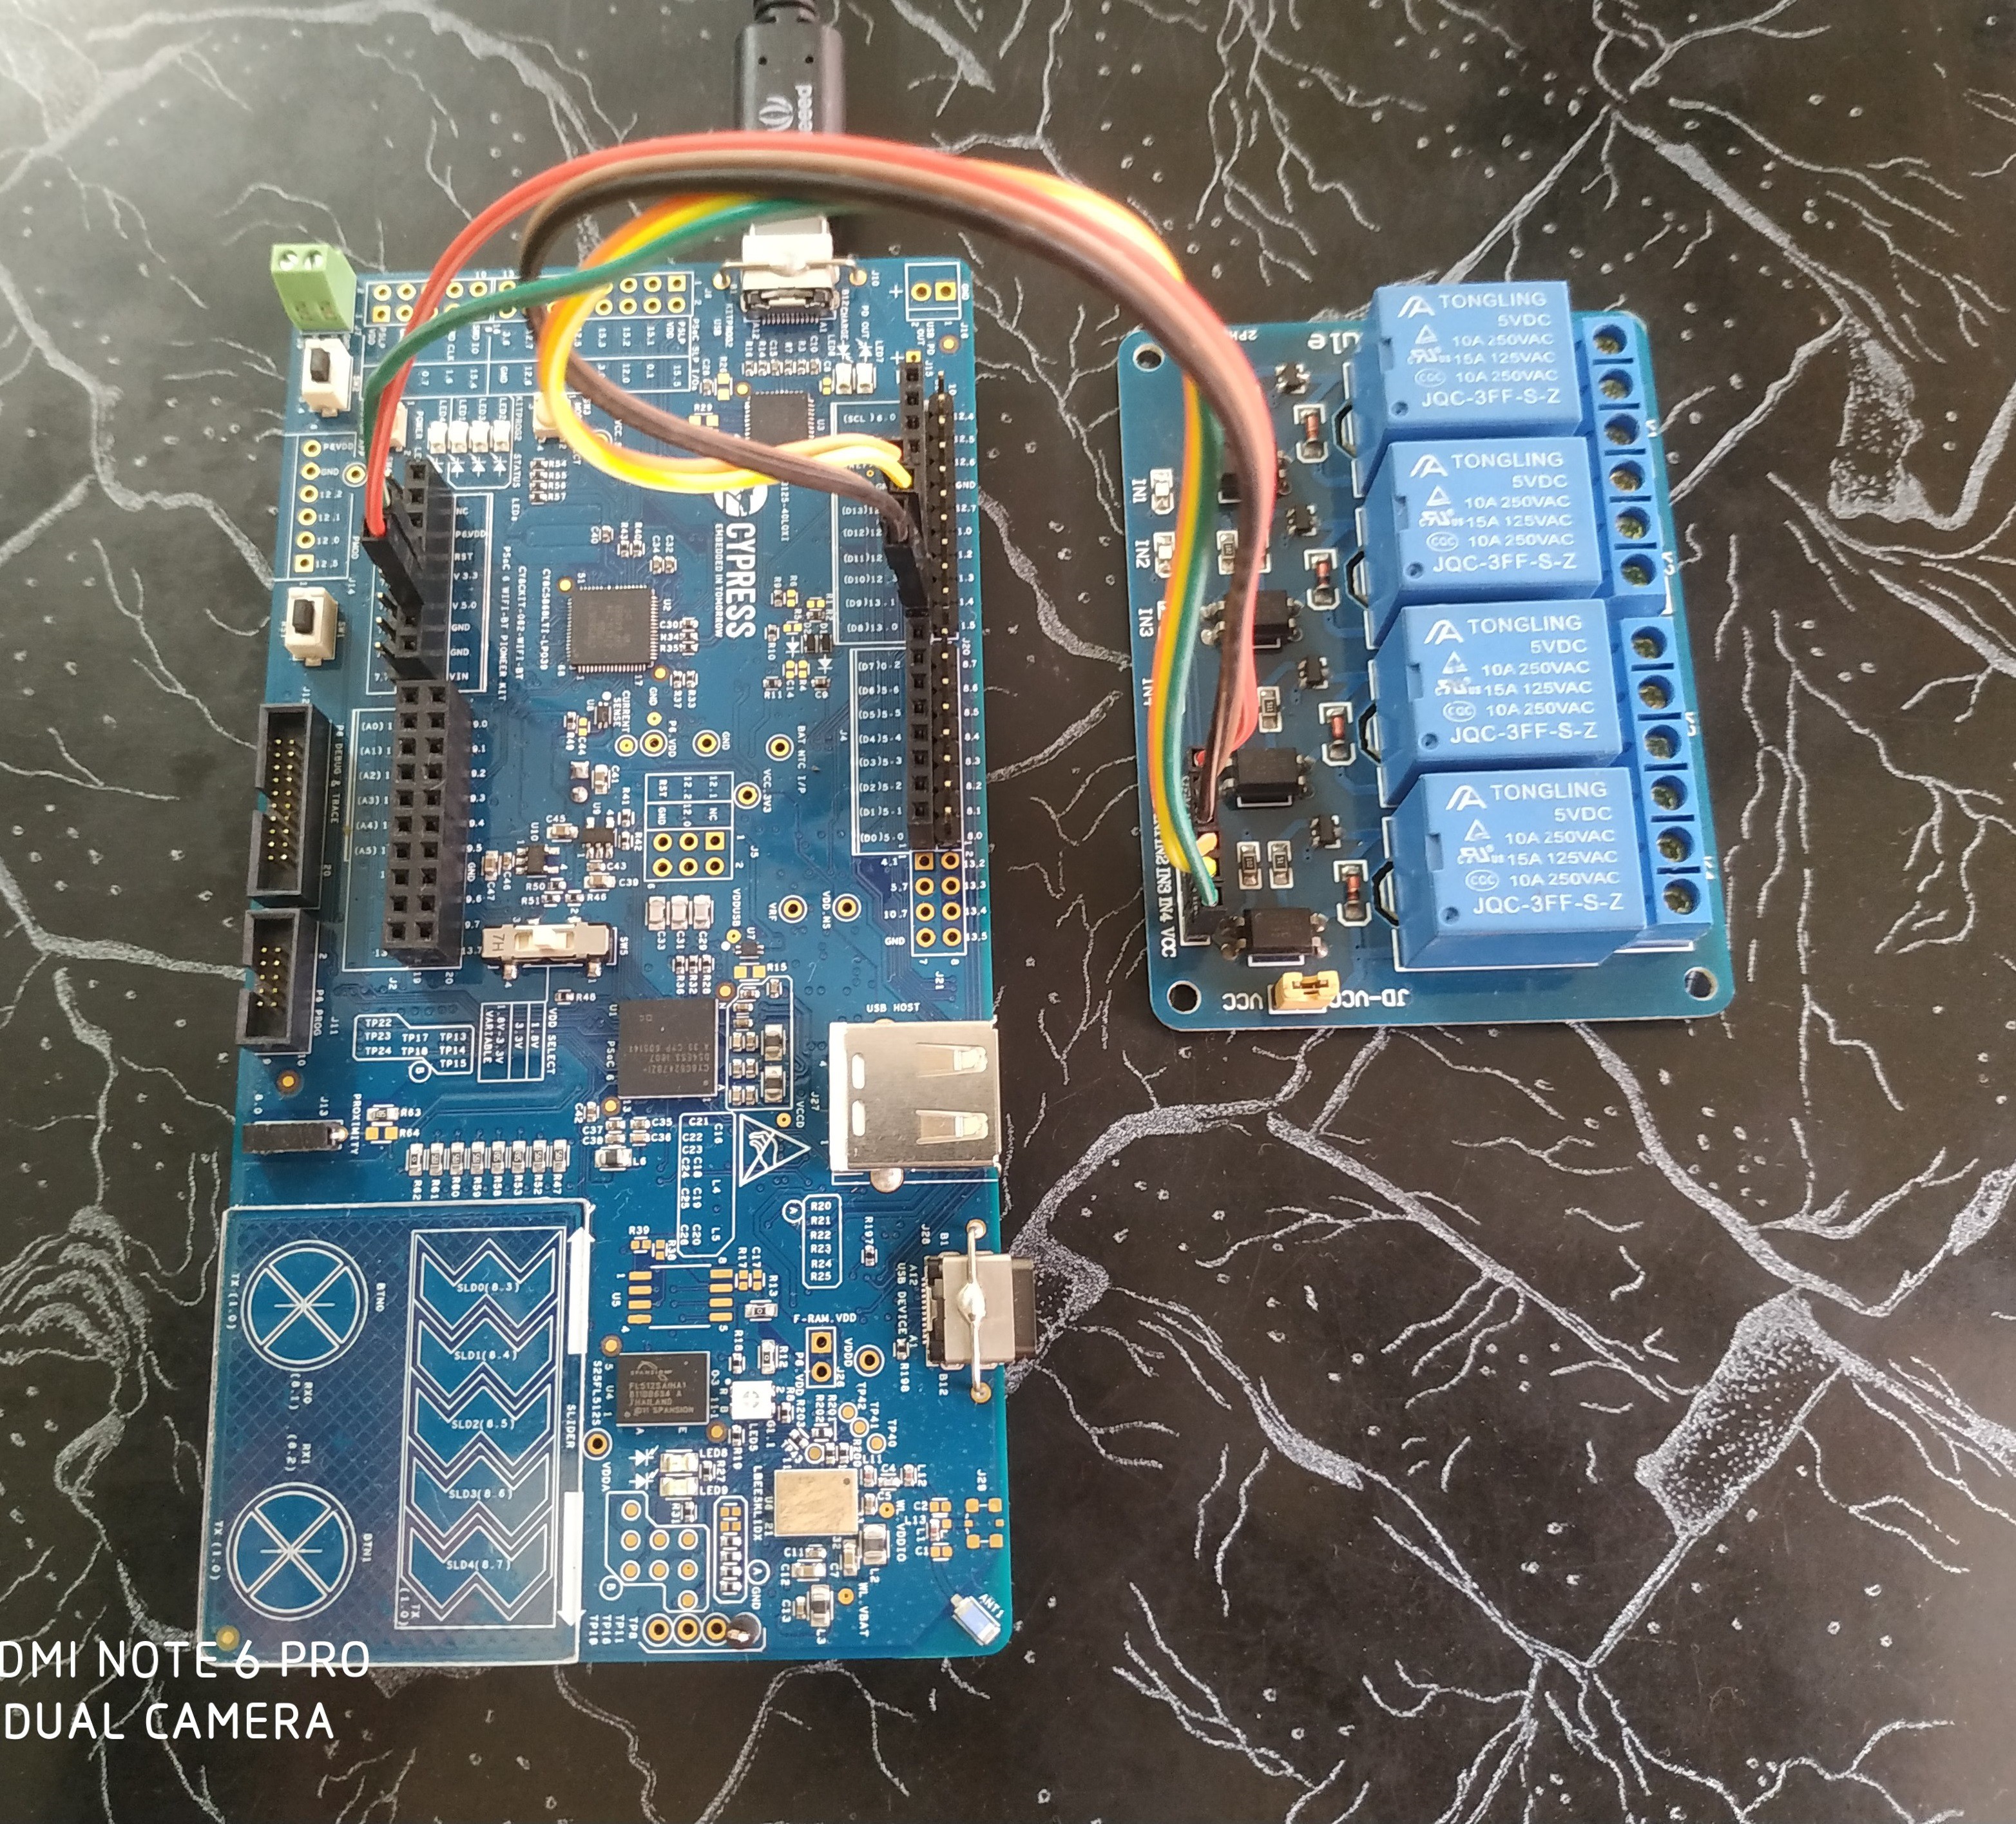
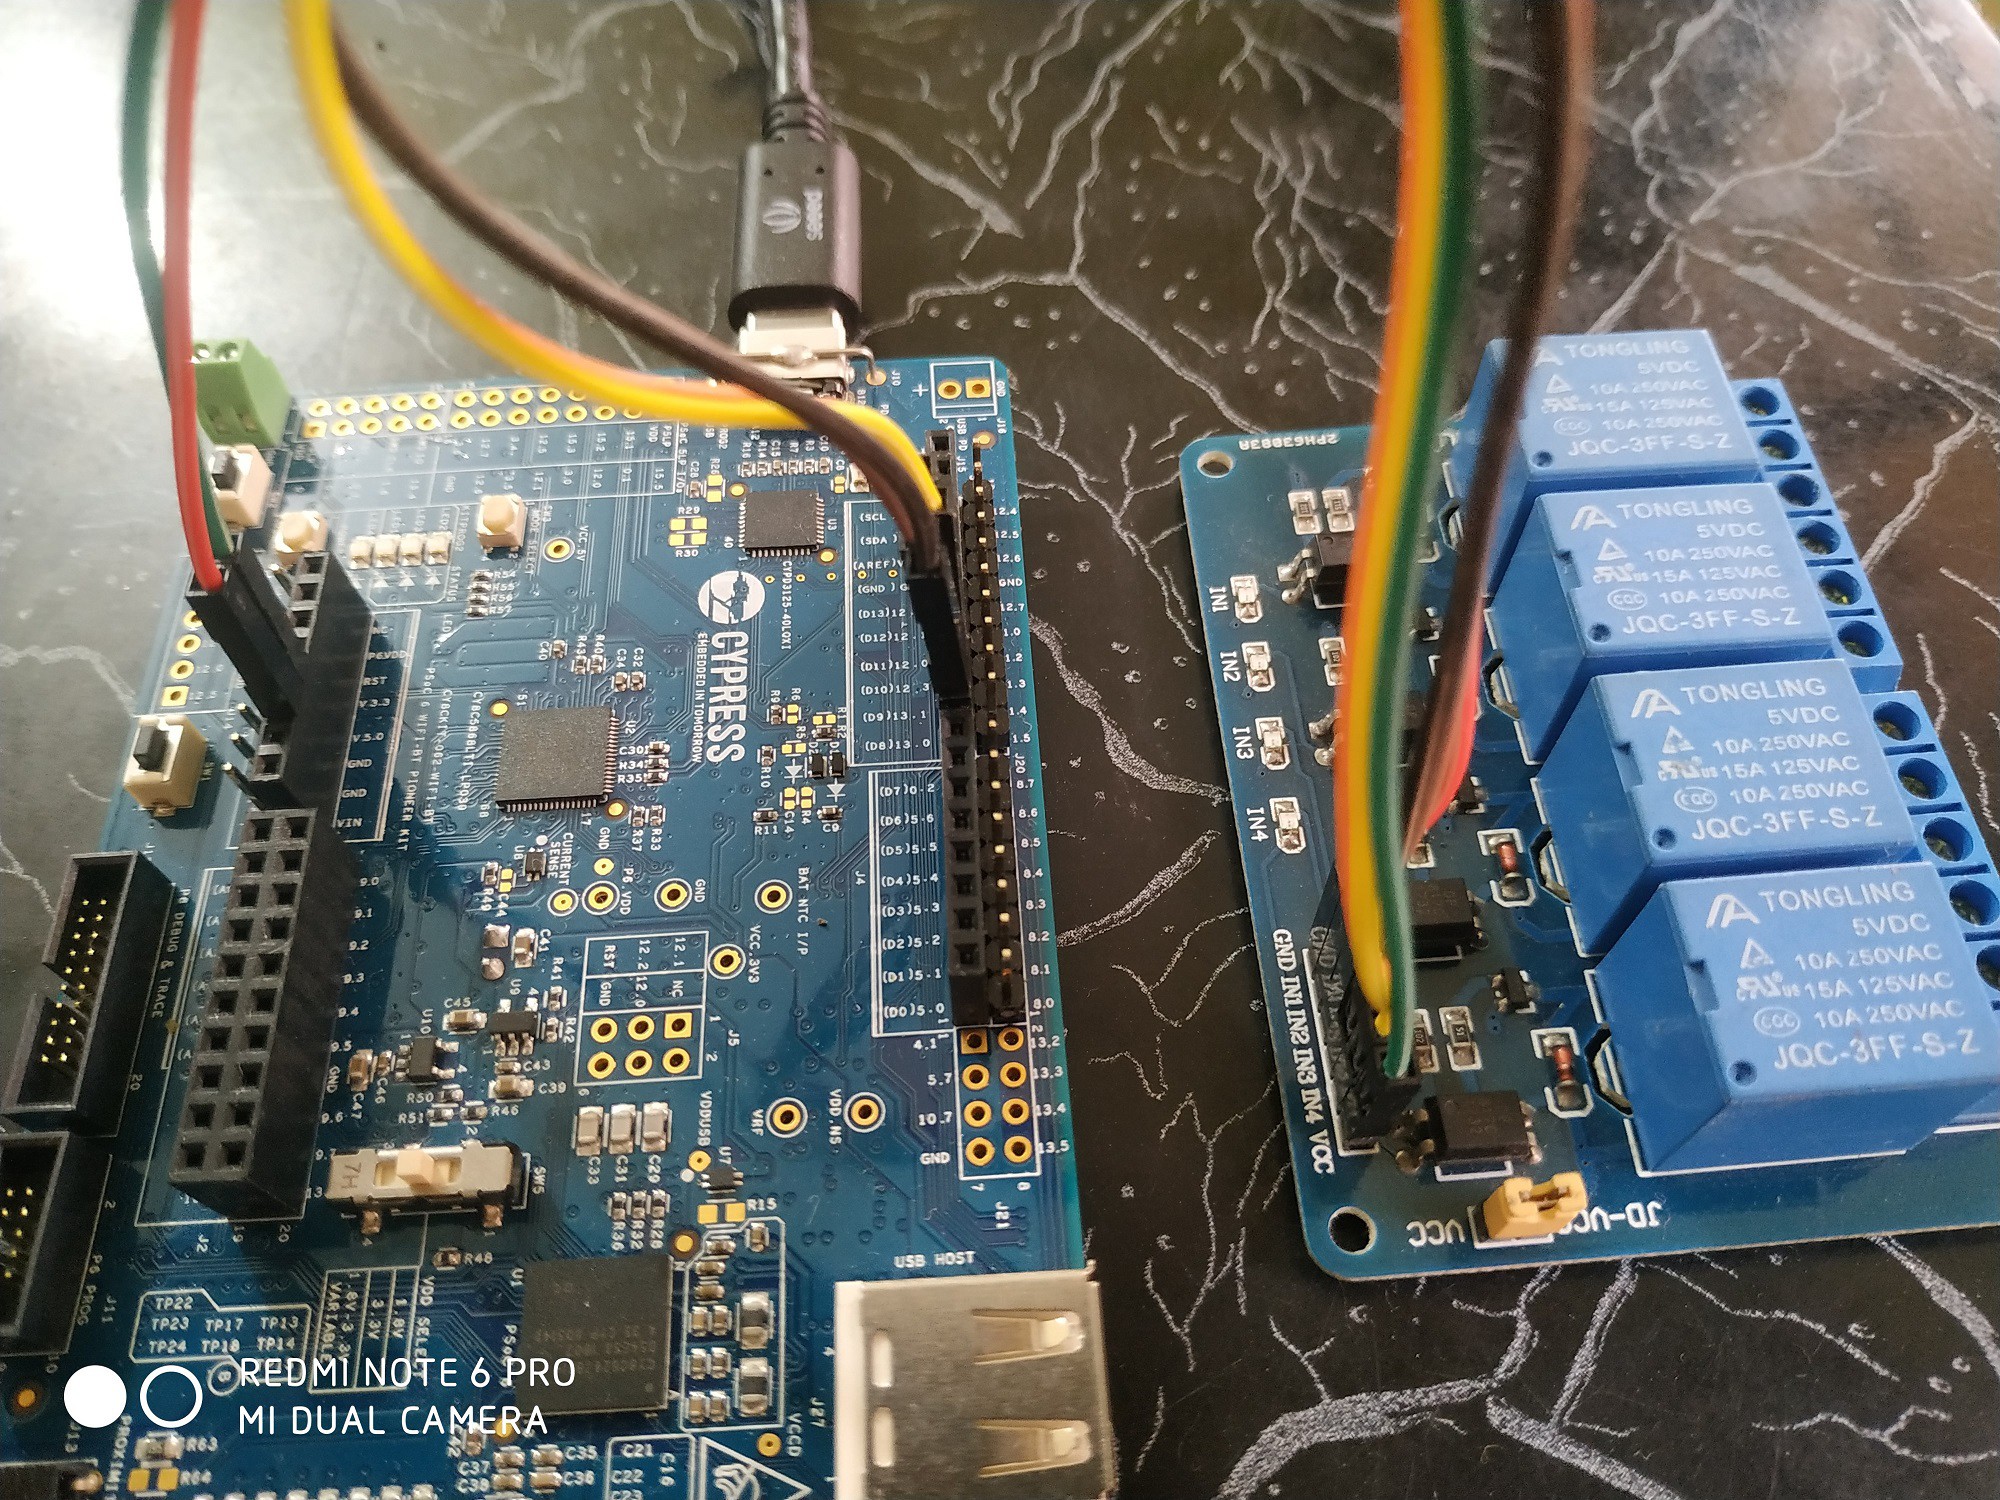
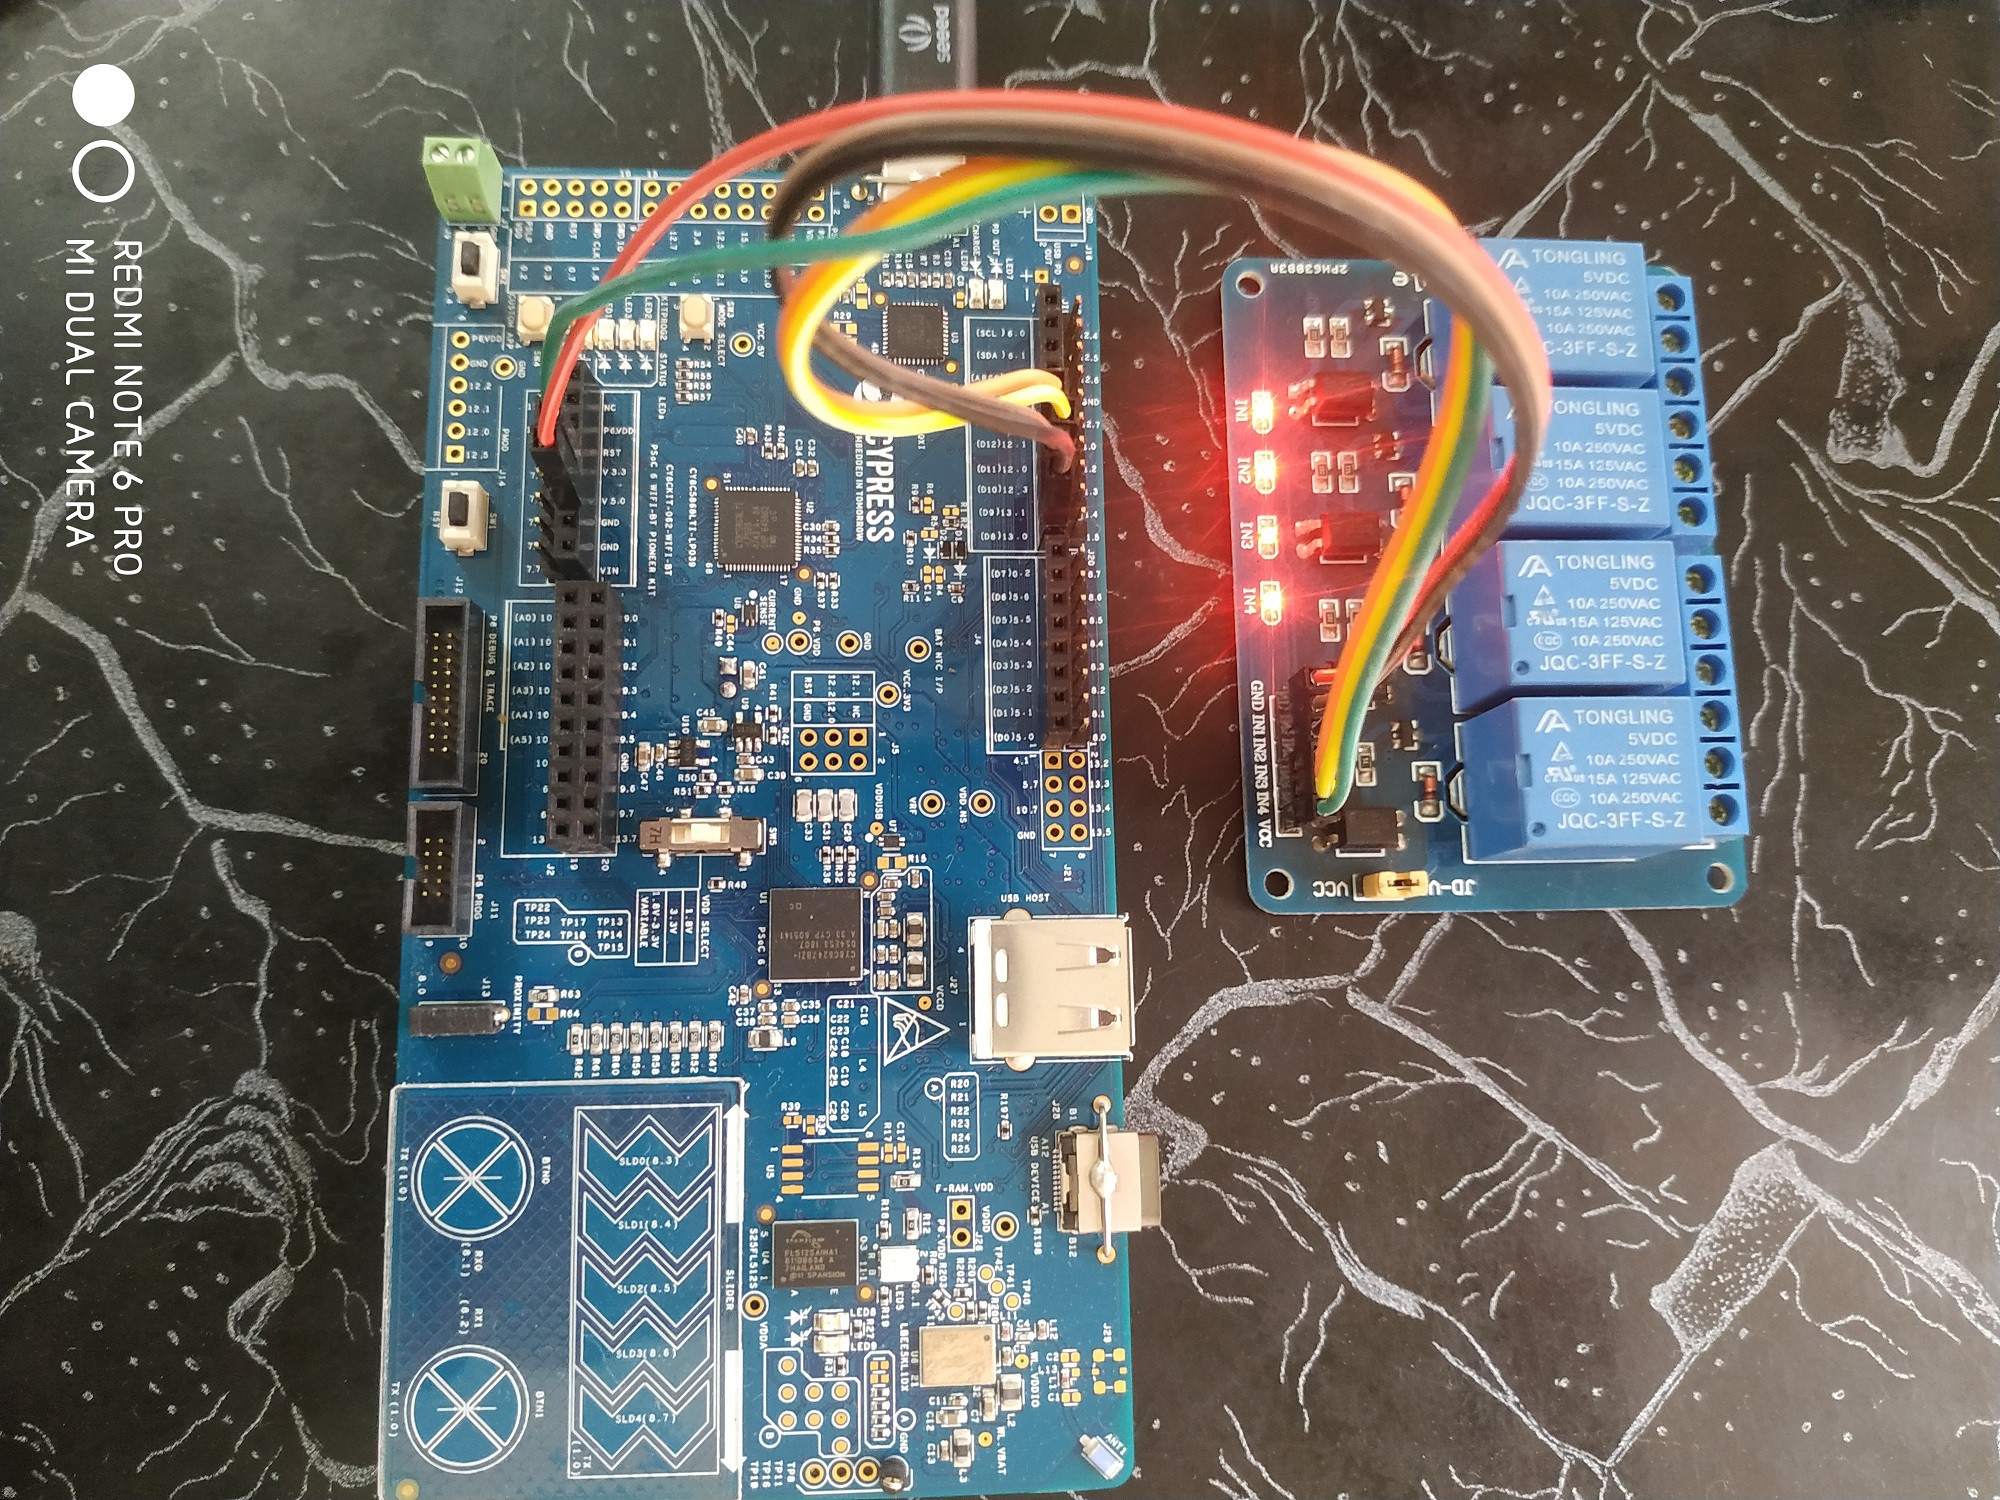
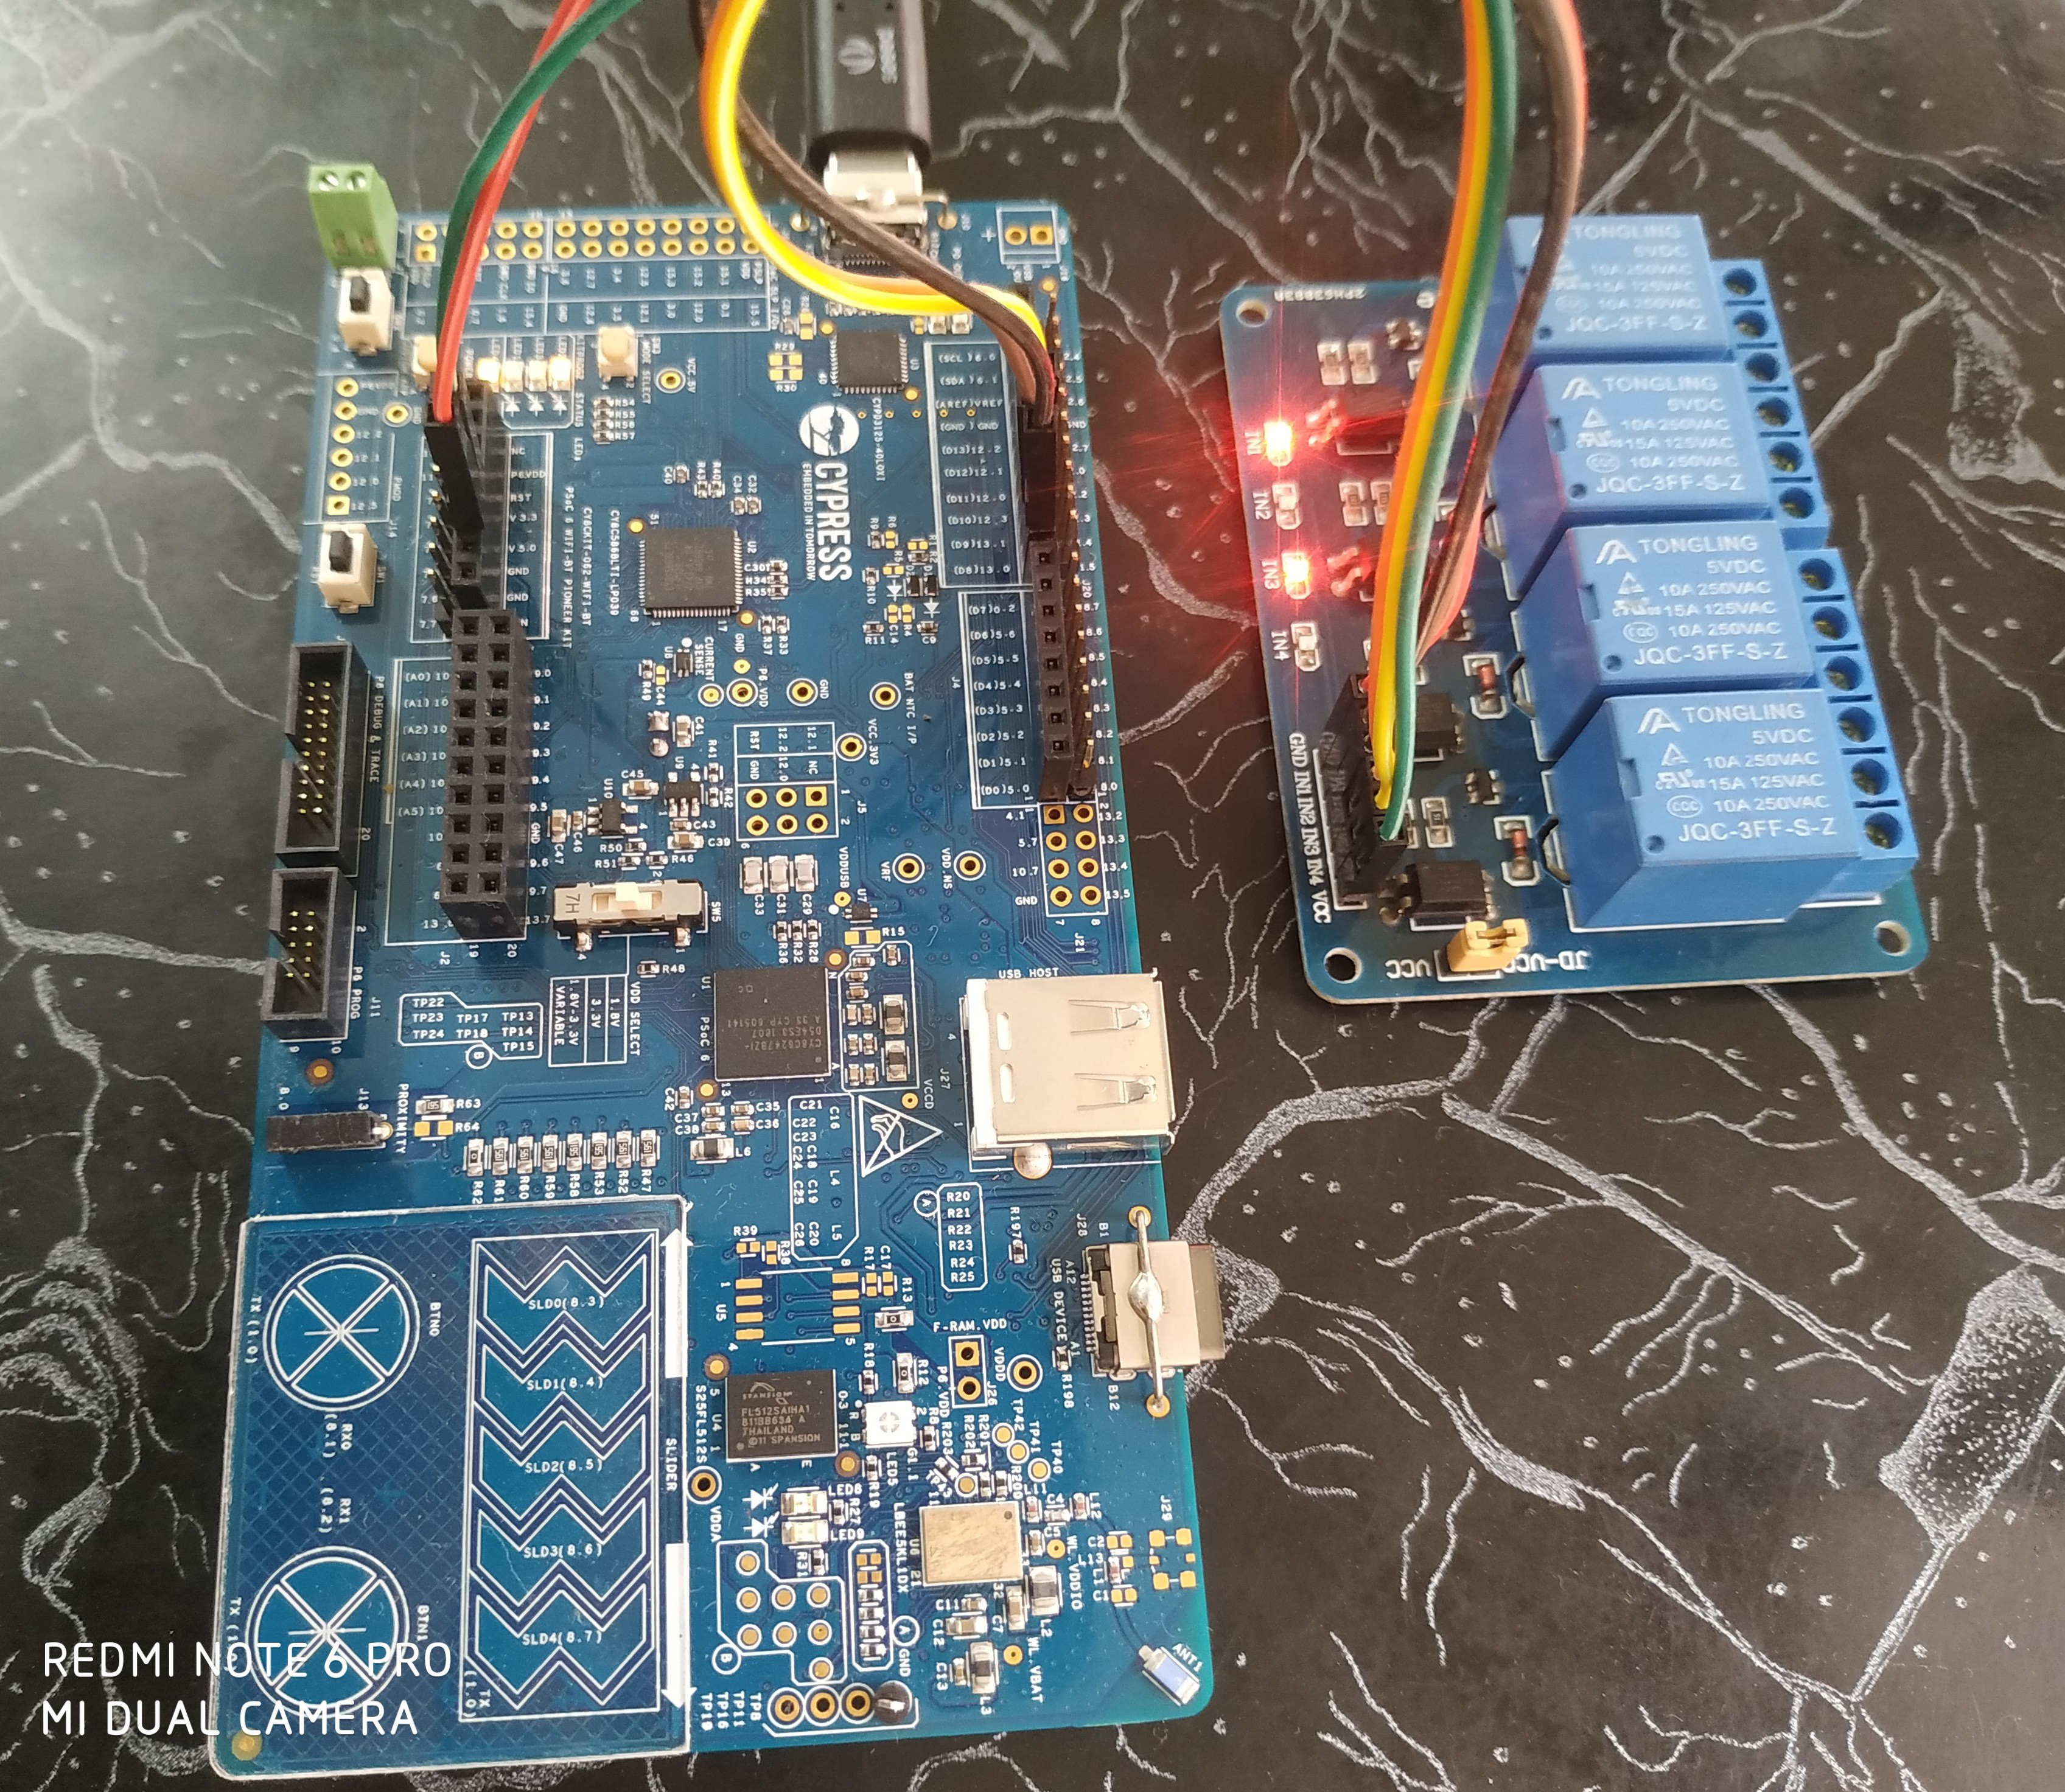
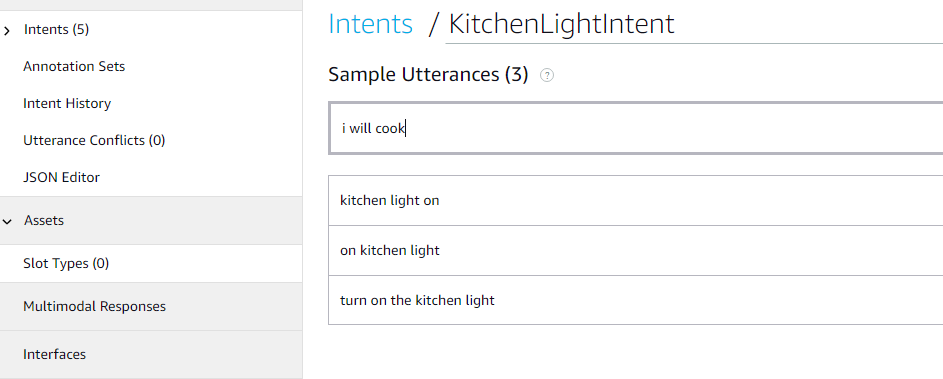
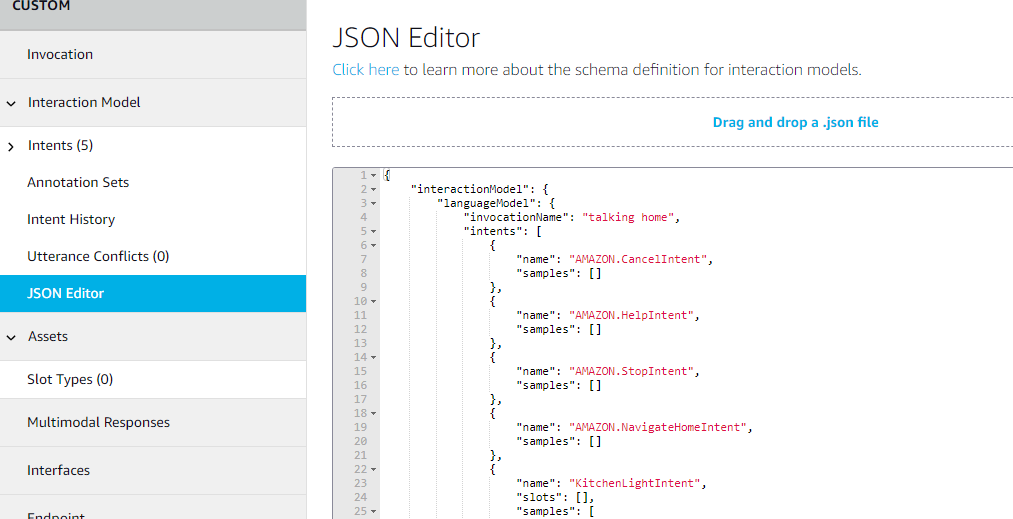
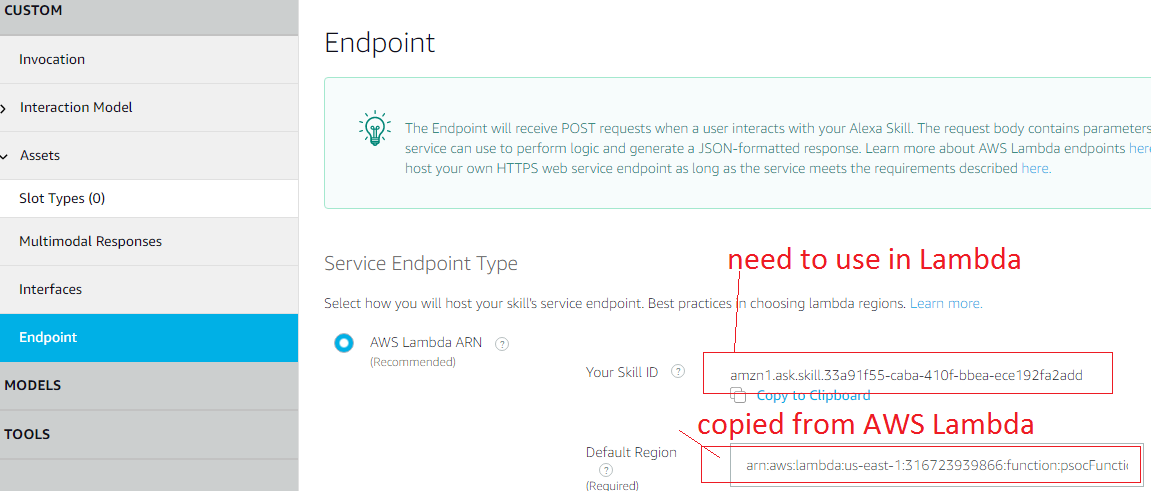
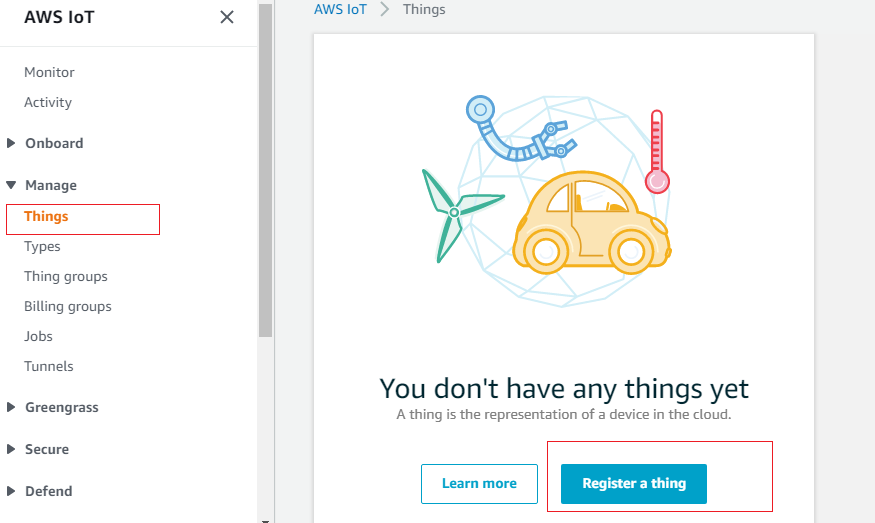
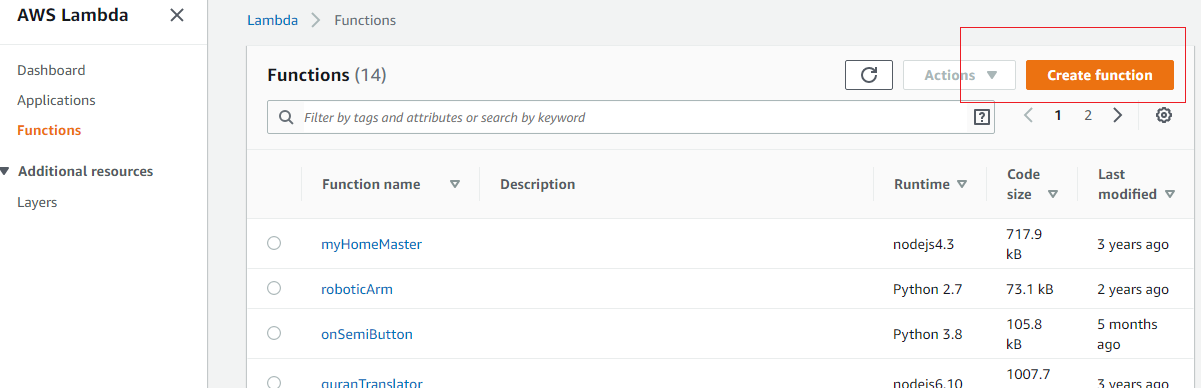
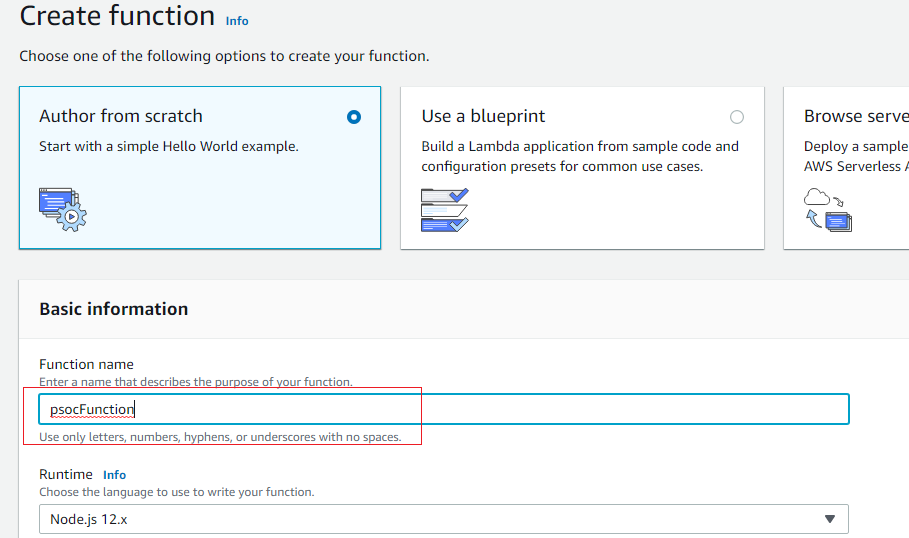
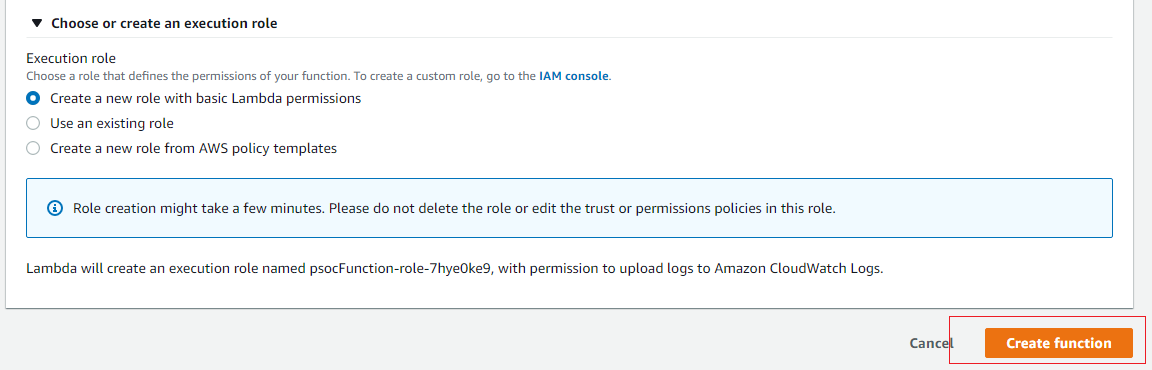
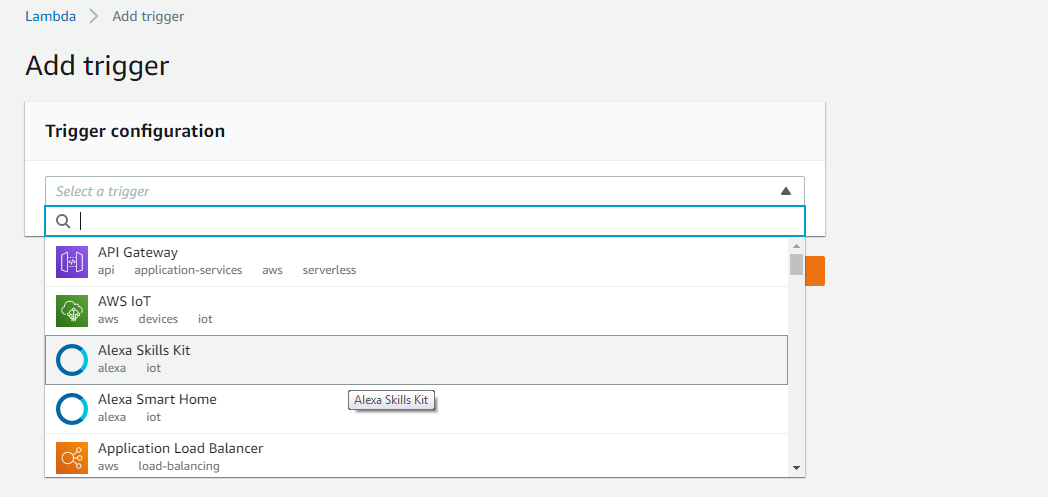
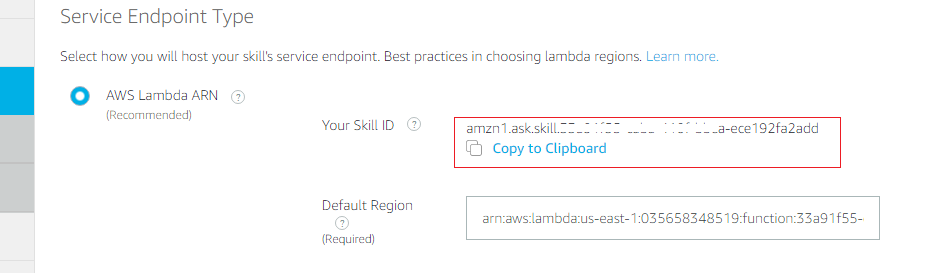
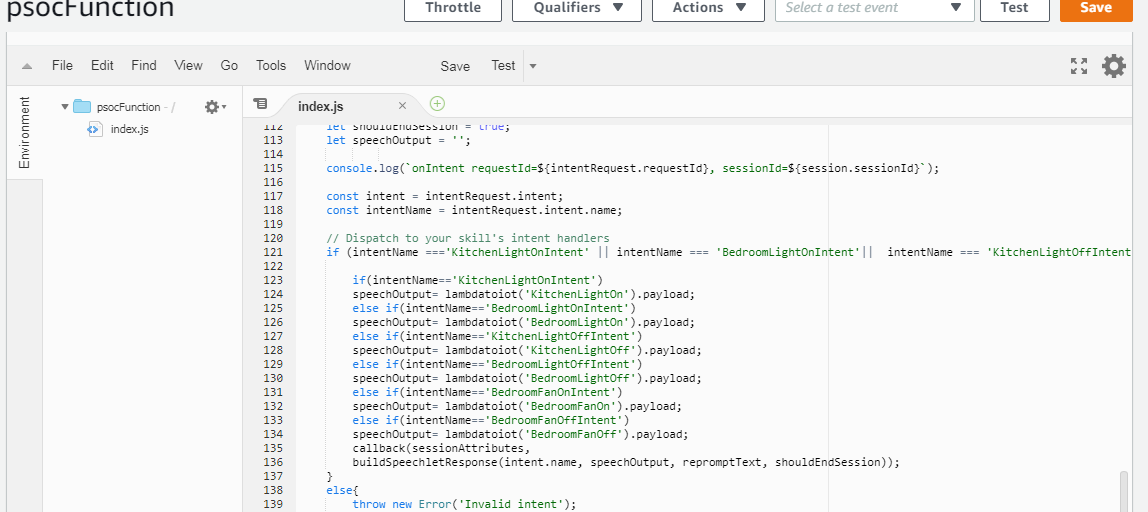
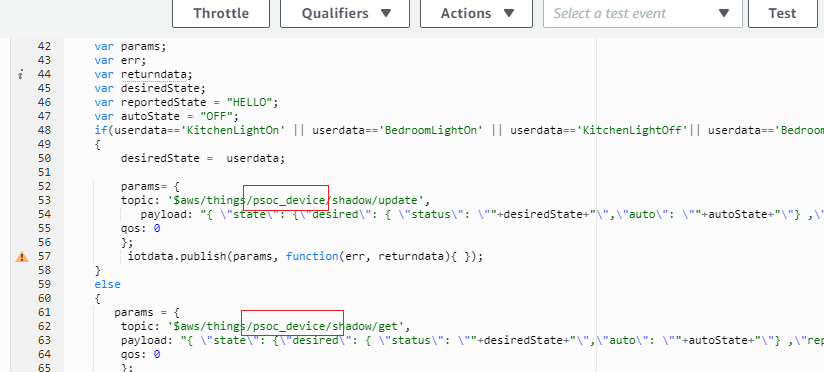
In this project I will show you how you can control your home appliances using Alexa voice command. PSoC 6 WiFi-BT Pioneer Kit (CY8CKIT-062-WiFi-BT) will be used as the main controller of the project. A custom Alexa Skill will be developed for controlling the devices. Amazon AWS IoT Core will be used to send voice command from Alexa to PSoC 6. AWS Lambda will help to send MQTT message to AWS IoT Core. PSoC 6 Pioneer Kit will subscribes to a specific MQTT topic generated from AWS IoT and control a relay board according to the received message.
Software/Services used in the Project
AWS Services
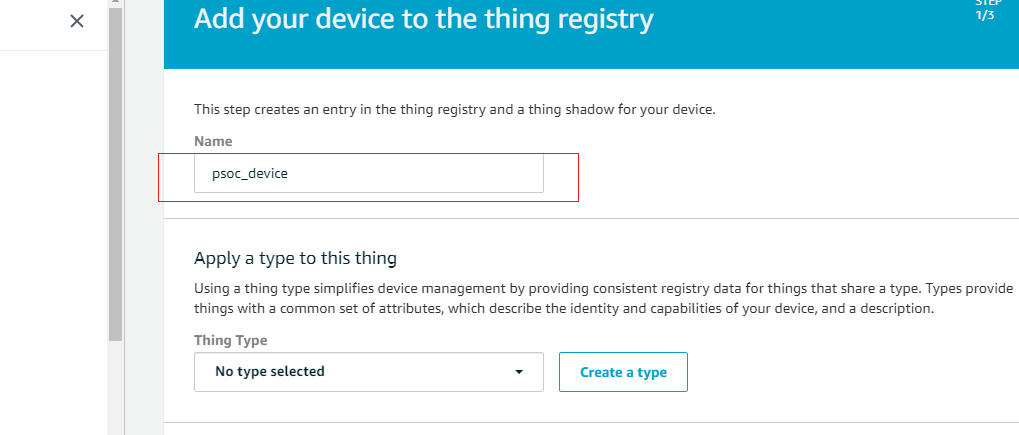
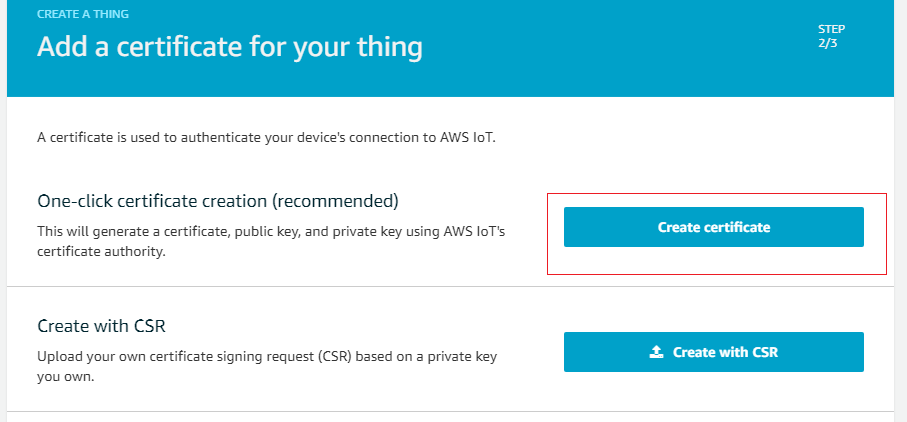
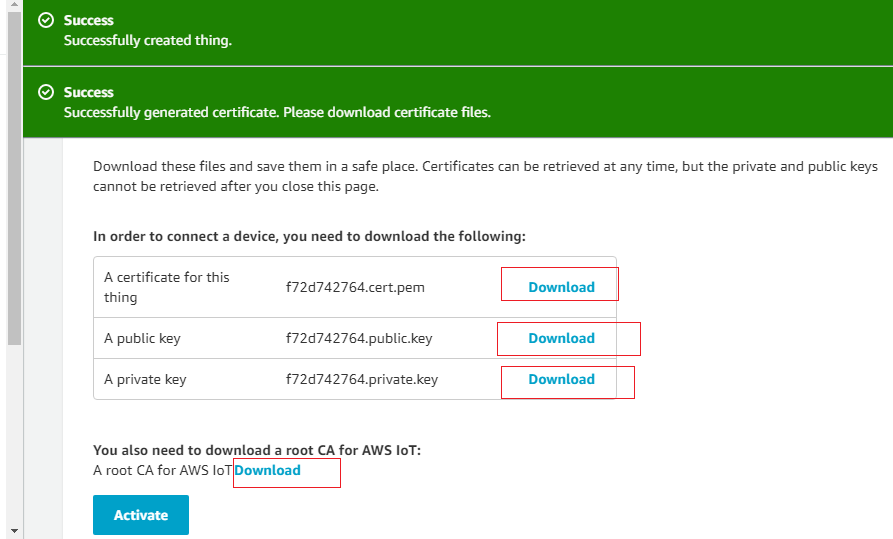
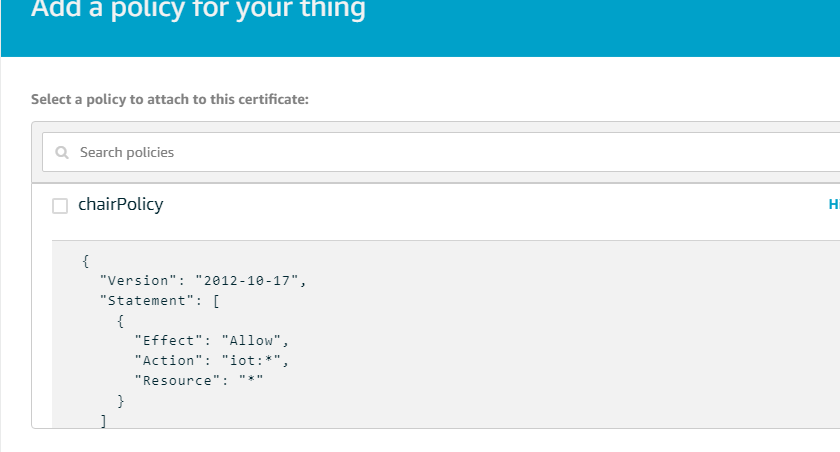
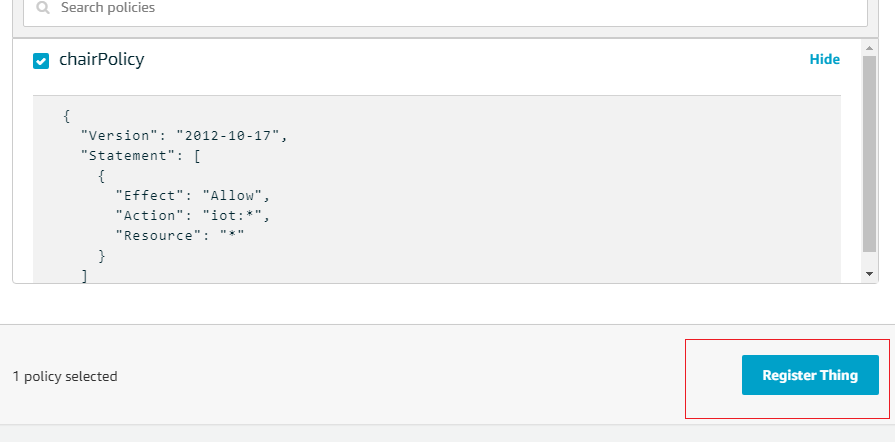
1. Internet of Things Service (AWS IoT Core)
2. Security, Identity, & Compliance service (IAM)
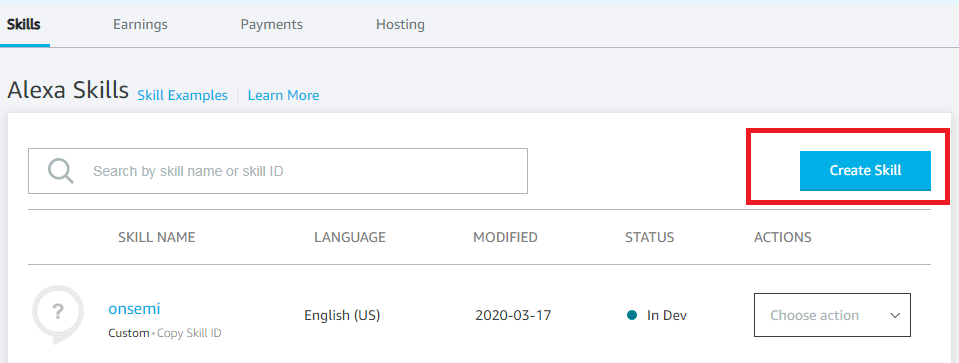
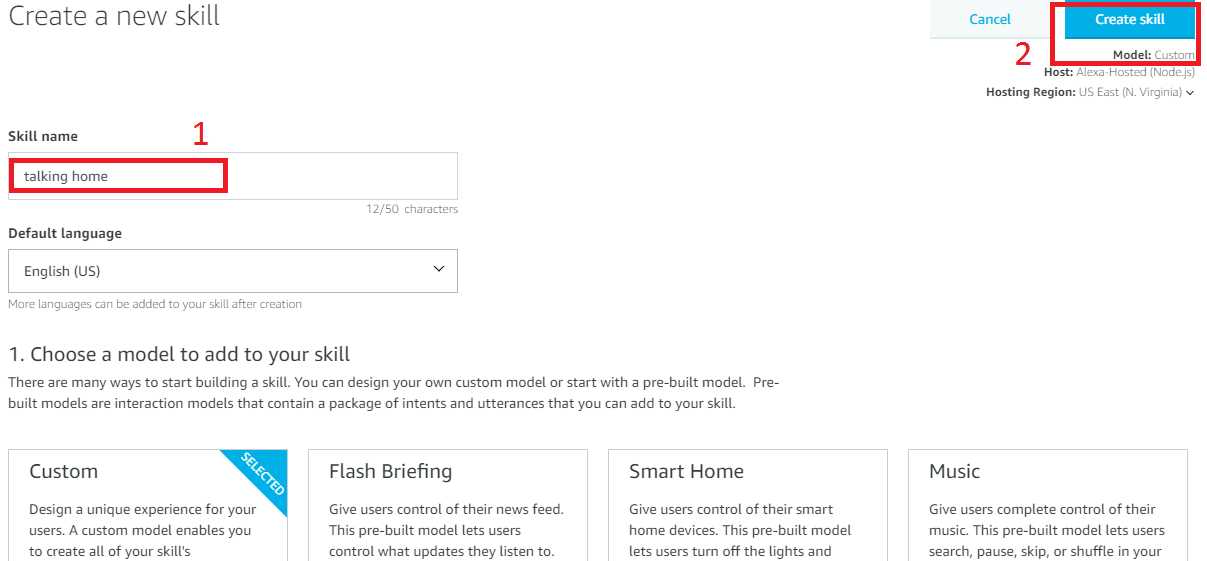
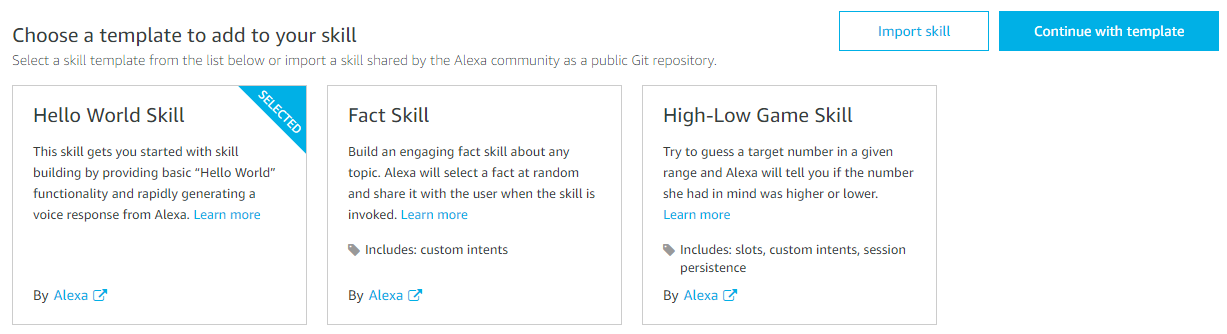
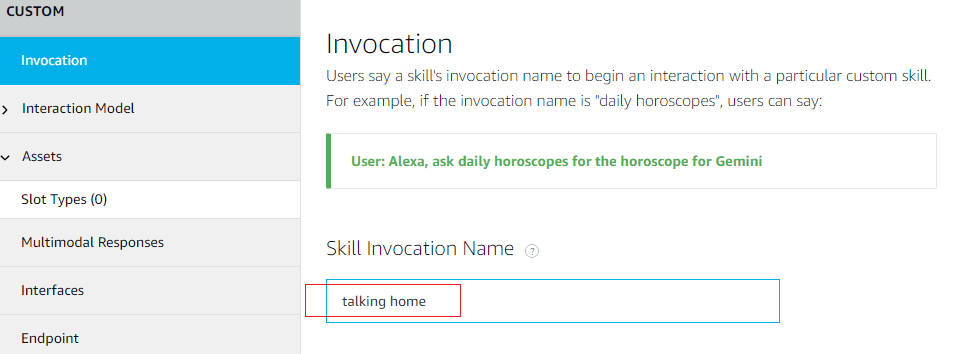
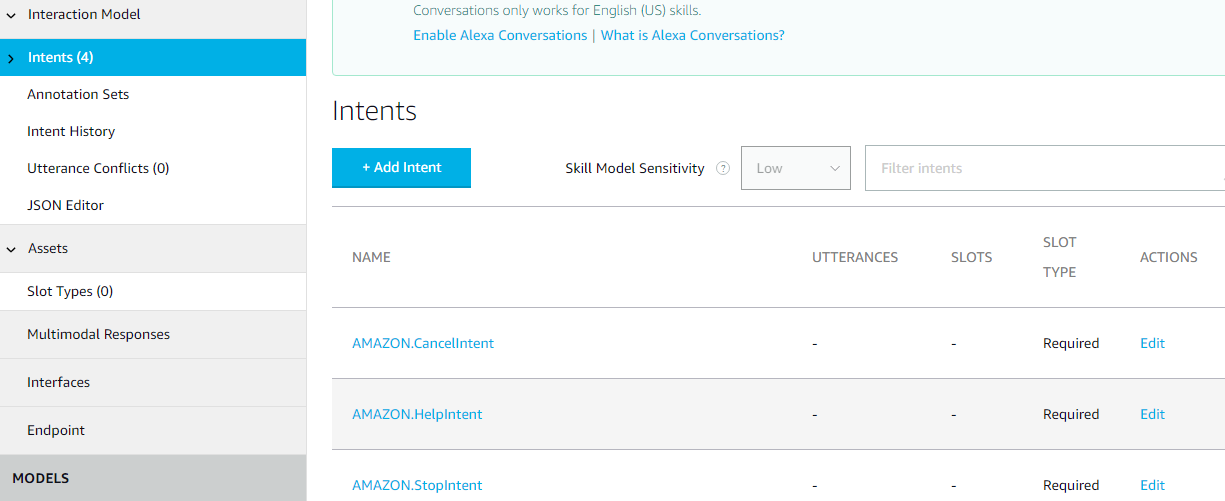
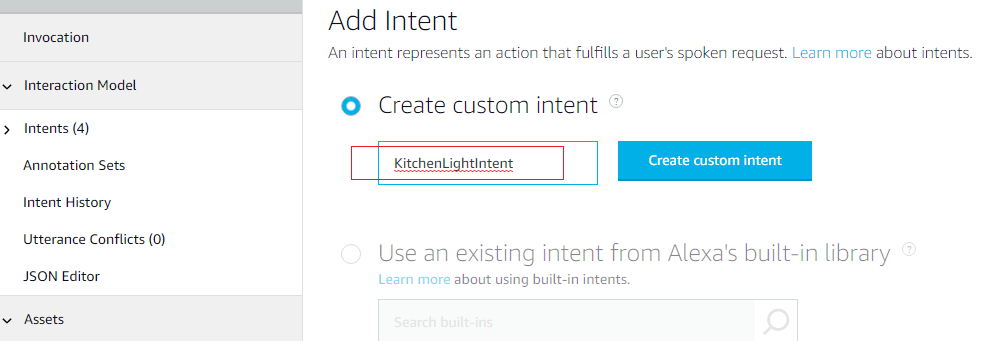
4. Alexa Skill


 GusGorman
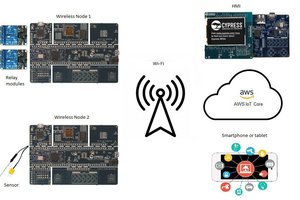

 The Programming Lynx