 Lyon
Lyon
Preperations
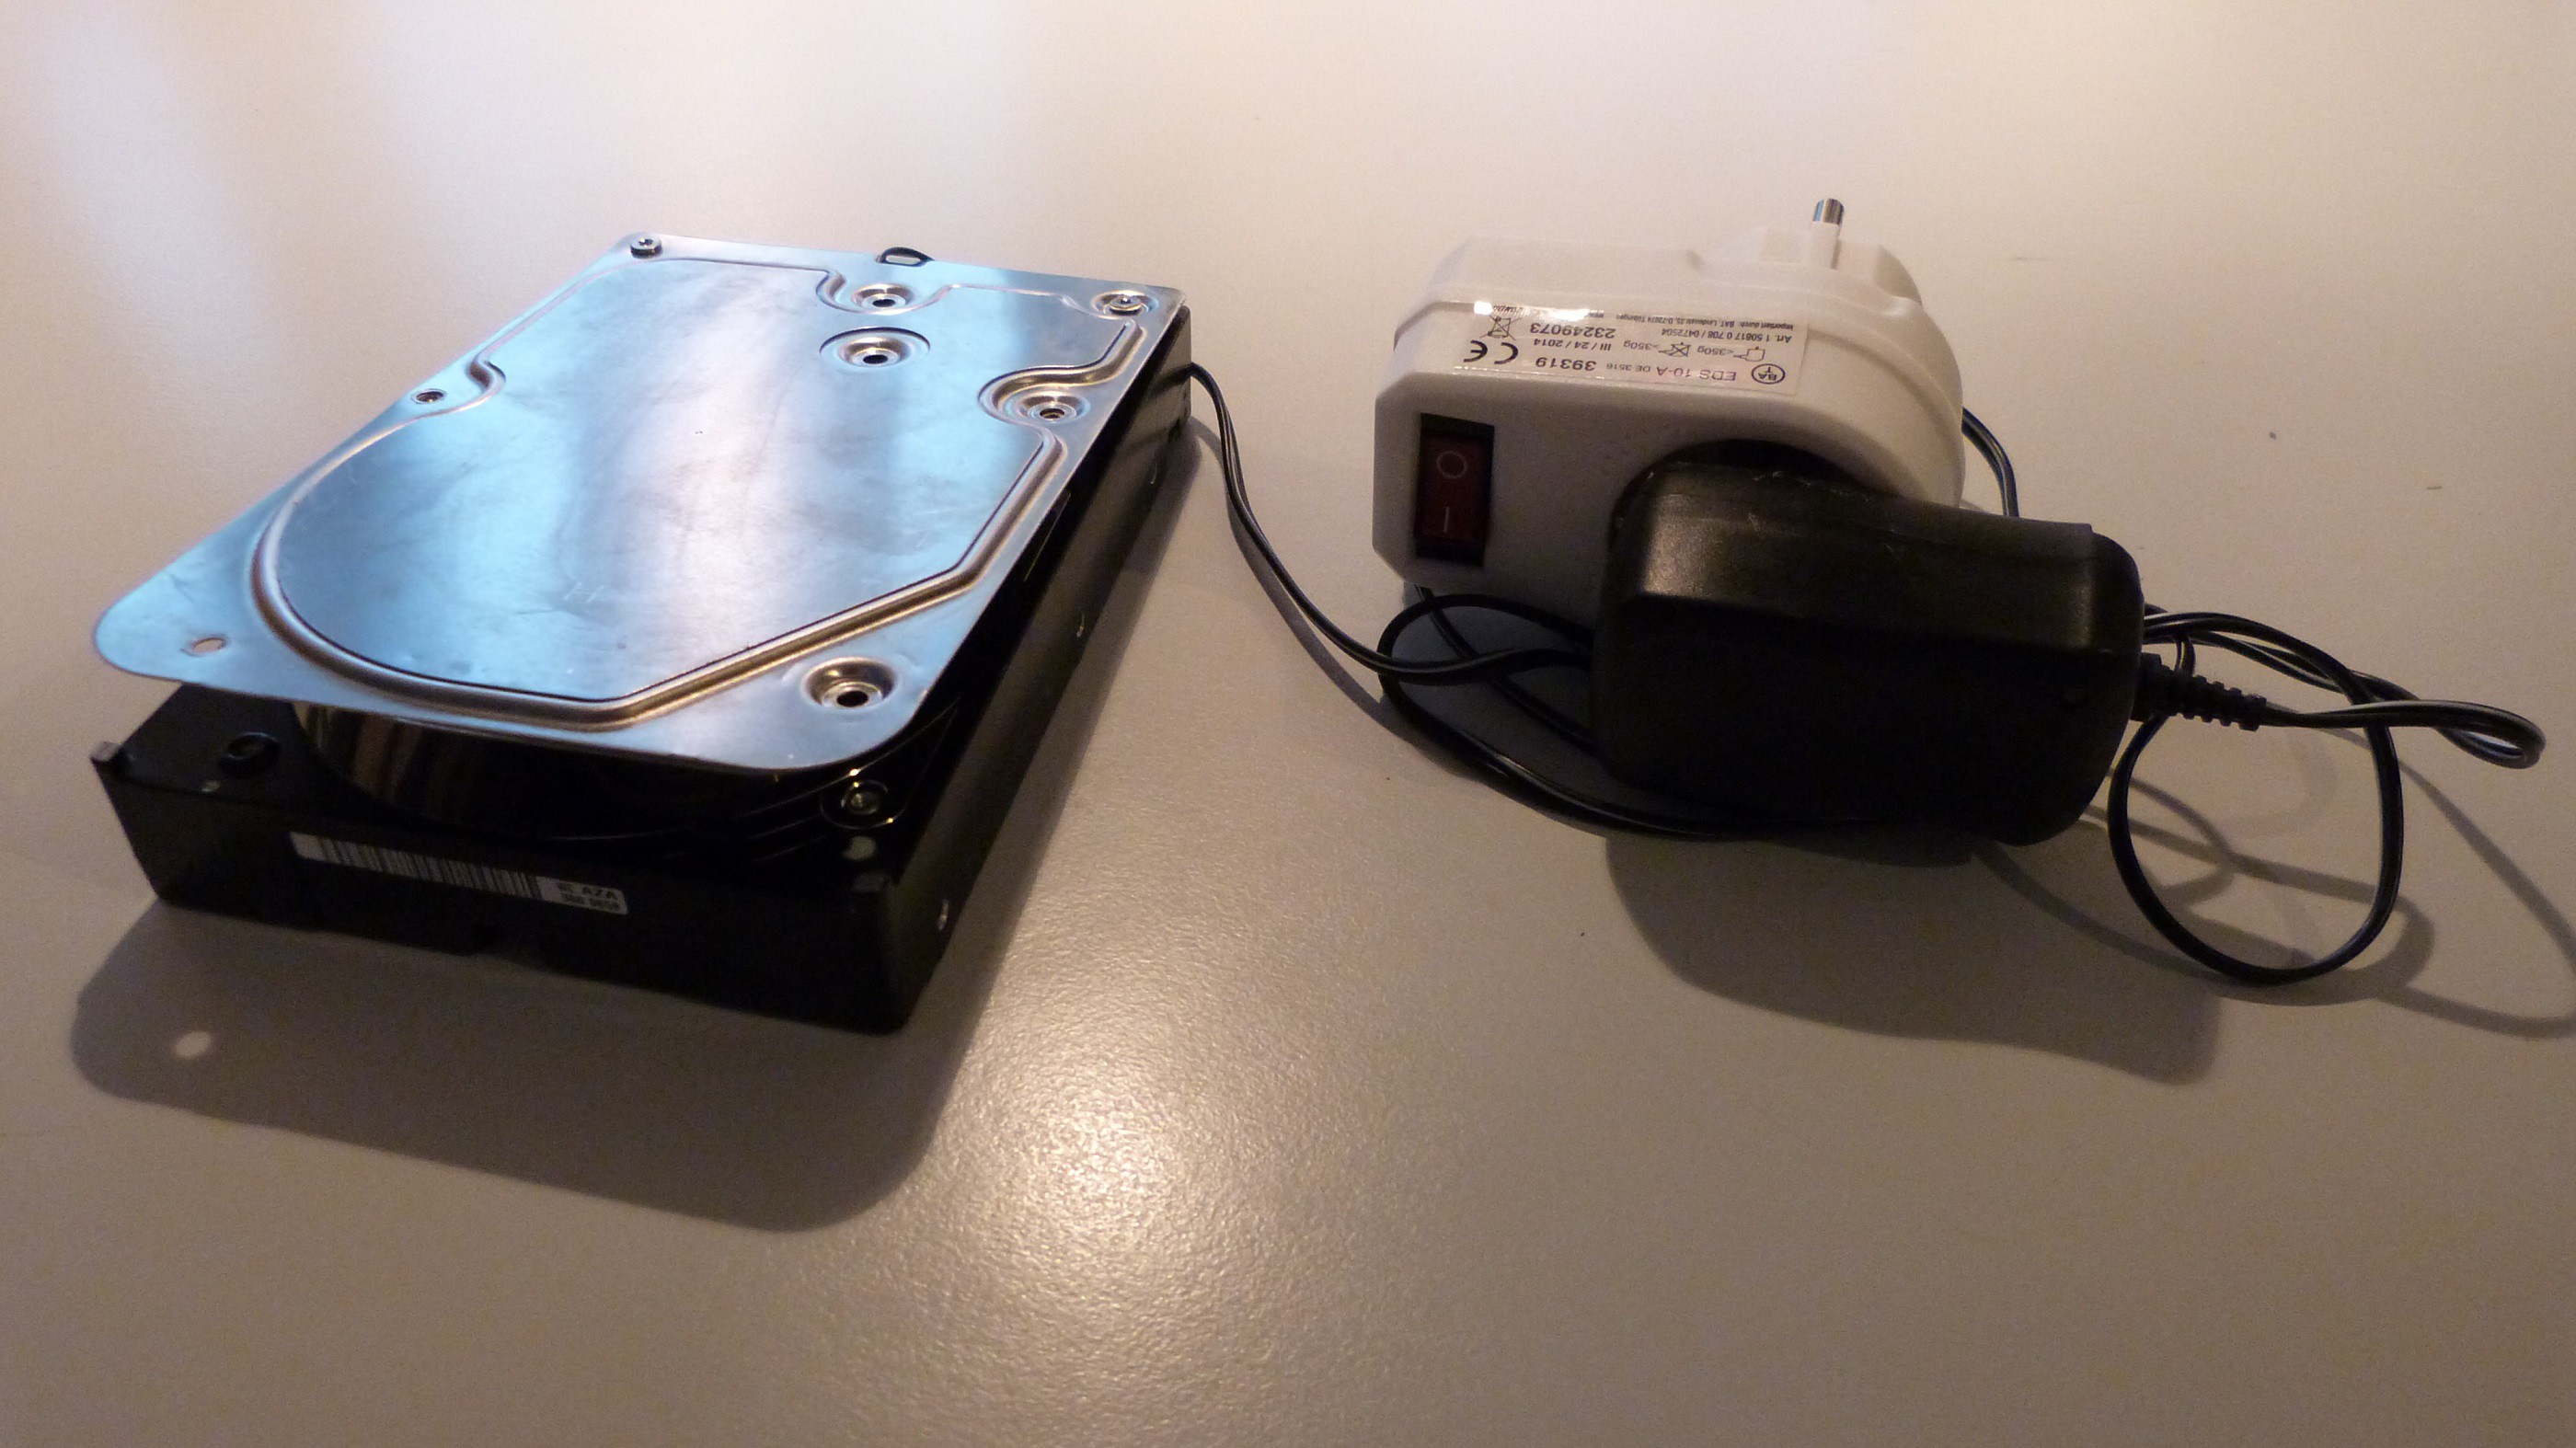
At first you will need an old 3.5” hard disc drive (HDD) with as many gigabytes as you can find. Old HDDs with high capacity for their time will have huge magnets from my experience. These HDDs often have multiple discs. Open the case with a Torx 8 screwdriver. Under the large sticker on the cover you will find additional screws that you have to remove. After opening the coverage you see two thick iron plates at the end of the read head. These two plates hold your magnets. In most cases you can remove the first magnet-plate with a lever. The force between the two magnets can be quite strong. For the second magnet-plate you have to remove the read head with a screwdriver. Sometimes this plate is also fixed by some screws on the other side of the HDD.
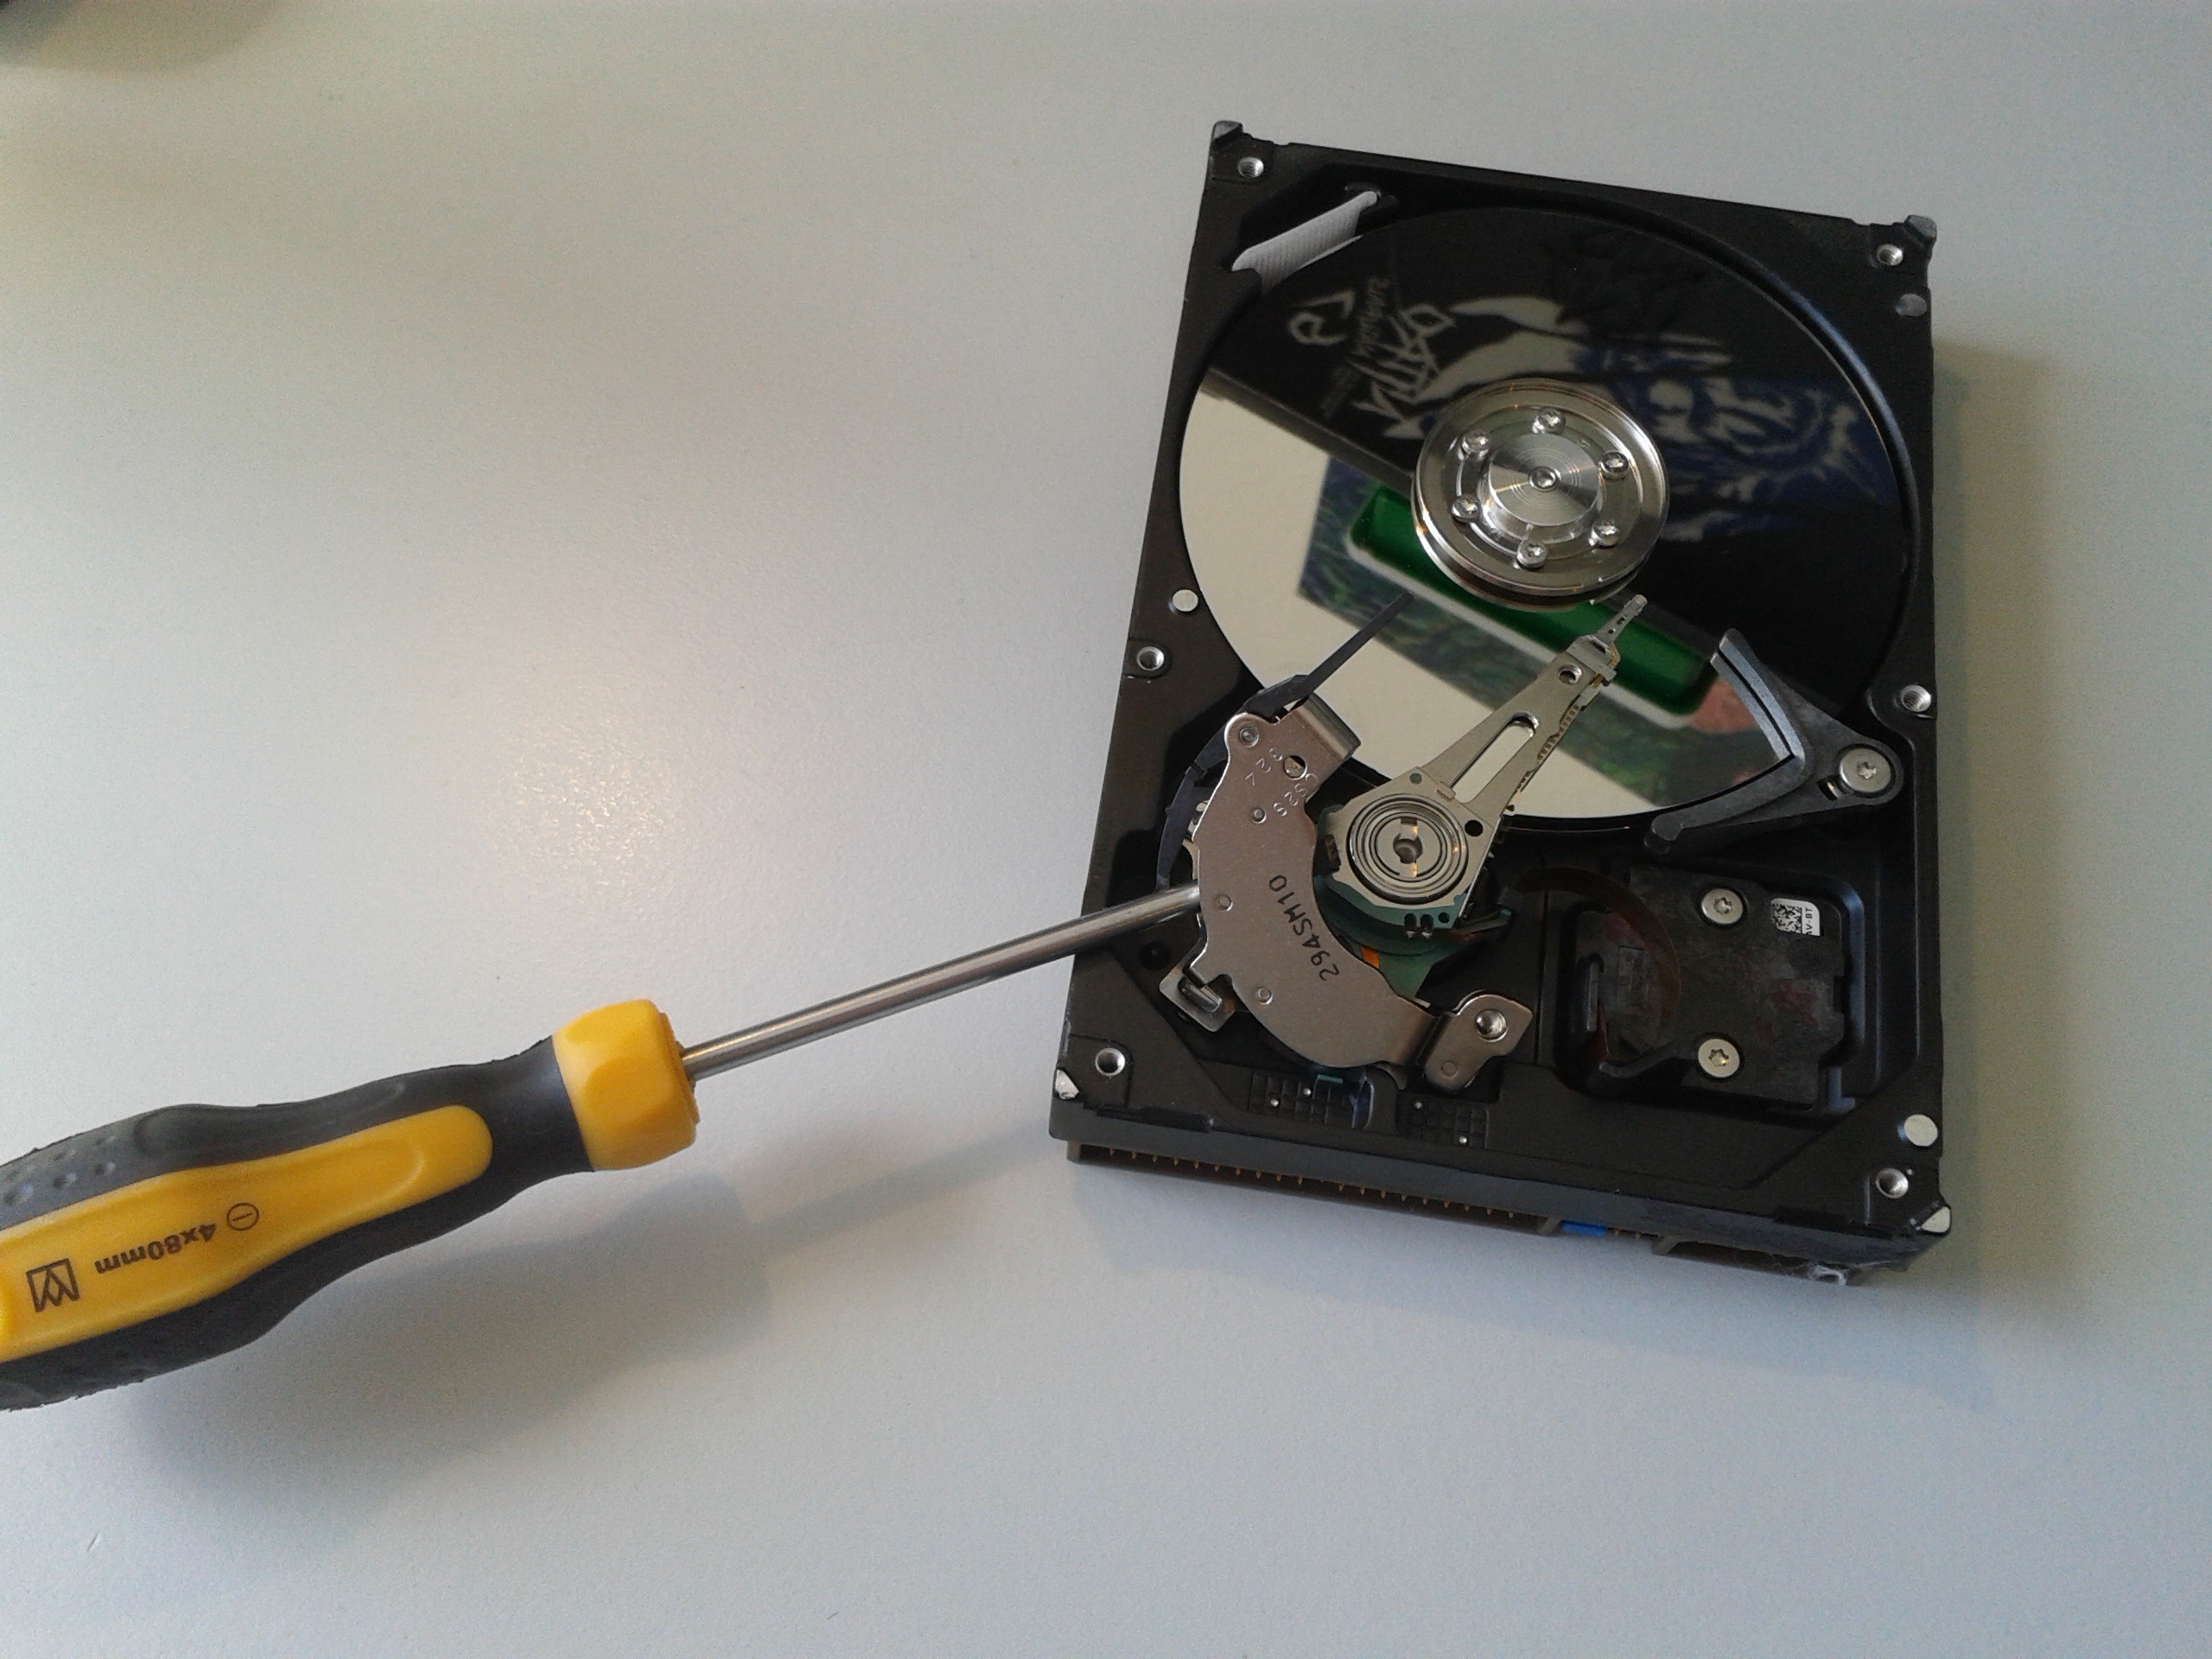
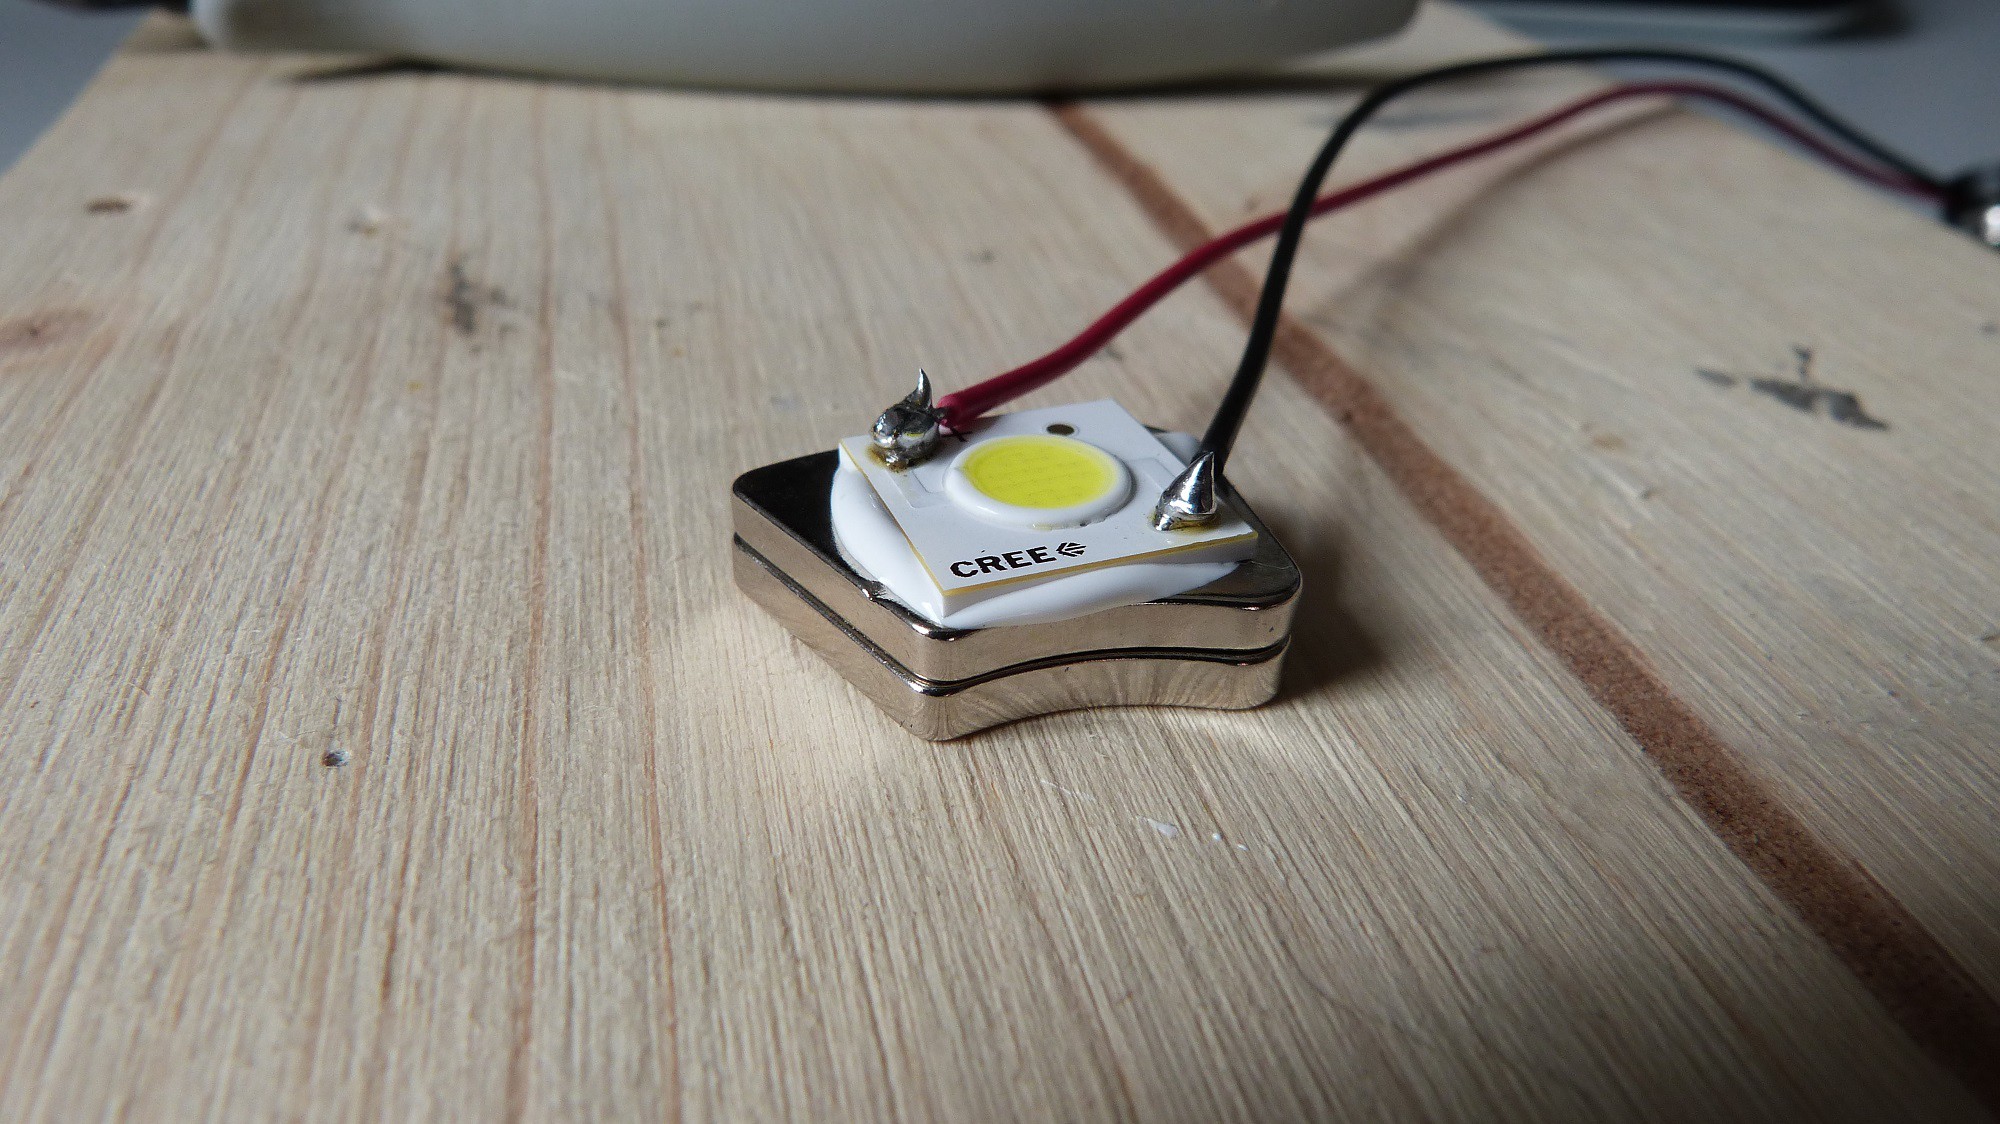
The Beamboarder is based on these two plates. Handle them with caution. When they snap together uncontrolled your finger or the magnets can get damaged. The LED must fit on the iron plate without overlapping. Look at the LED datasheet for the dimensions. A large plate will decrease the temperature of your LED what causes a higher efficiency and longer lifetime. With a small plate the LED is getting to hot and the lifetime will decrease. If you cannot touch the metal anymore do not use it in this way. Try to find HDDs with large plates and stronger magnets.
Now look for a place at the trucks where the magnet will hold. The kingpin is the only ferromagnetic part of most trucks. If your magnetic force is not strong enough you will need another HDD with bigger/stronger magnets or other trucks. Paris trucks have the ideal design and will safely hold your lamp. For downhill and freestyle skating I recommend to stick the LED directly to the truck without the magnet. But keep in mind that you will need a chisel for removing the led when you stick it directly to your trucks.
So check your skate equipment with the magnets before you order the rest of the material. Some trucks are not capable to hold the Beamboarder safely. You should also think about possible beam angles at this point and if you are gone blind other people on the road.
Beamboarder Construction
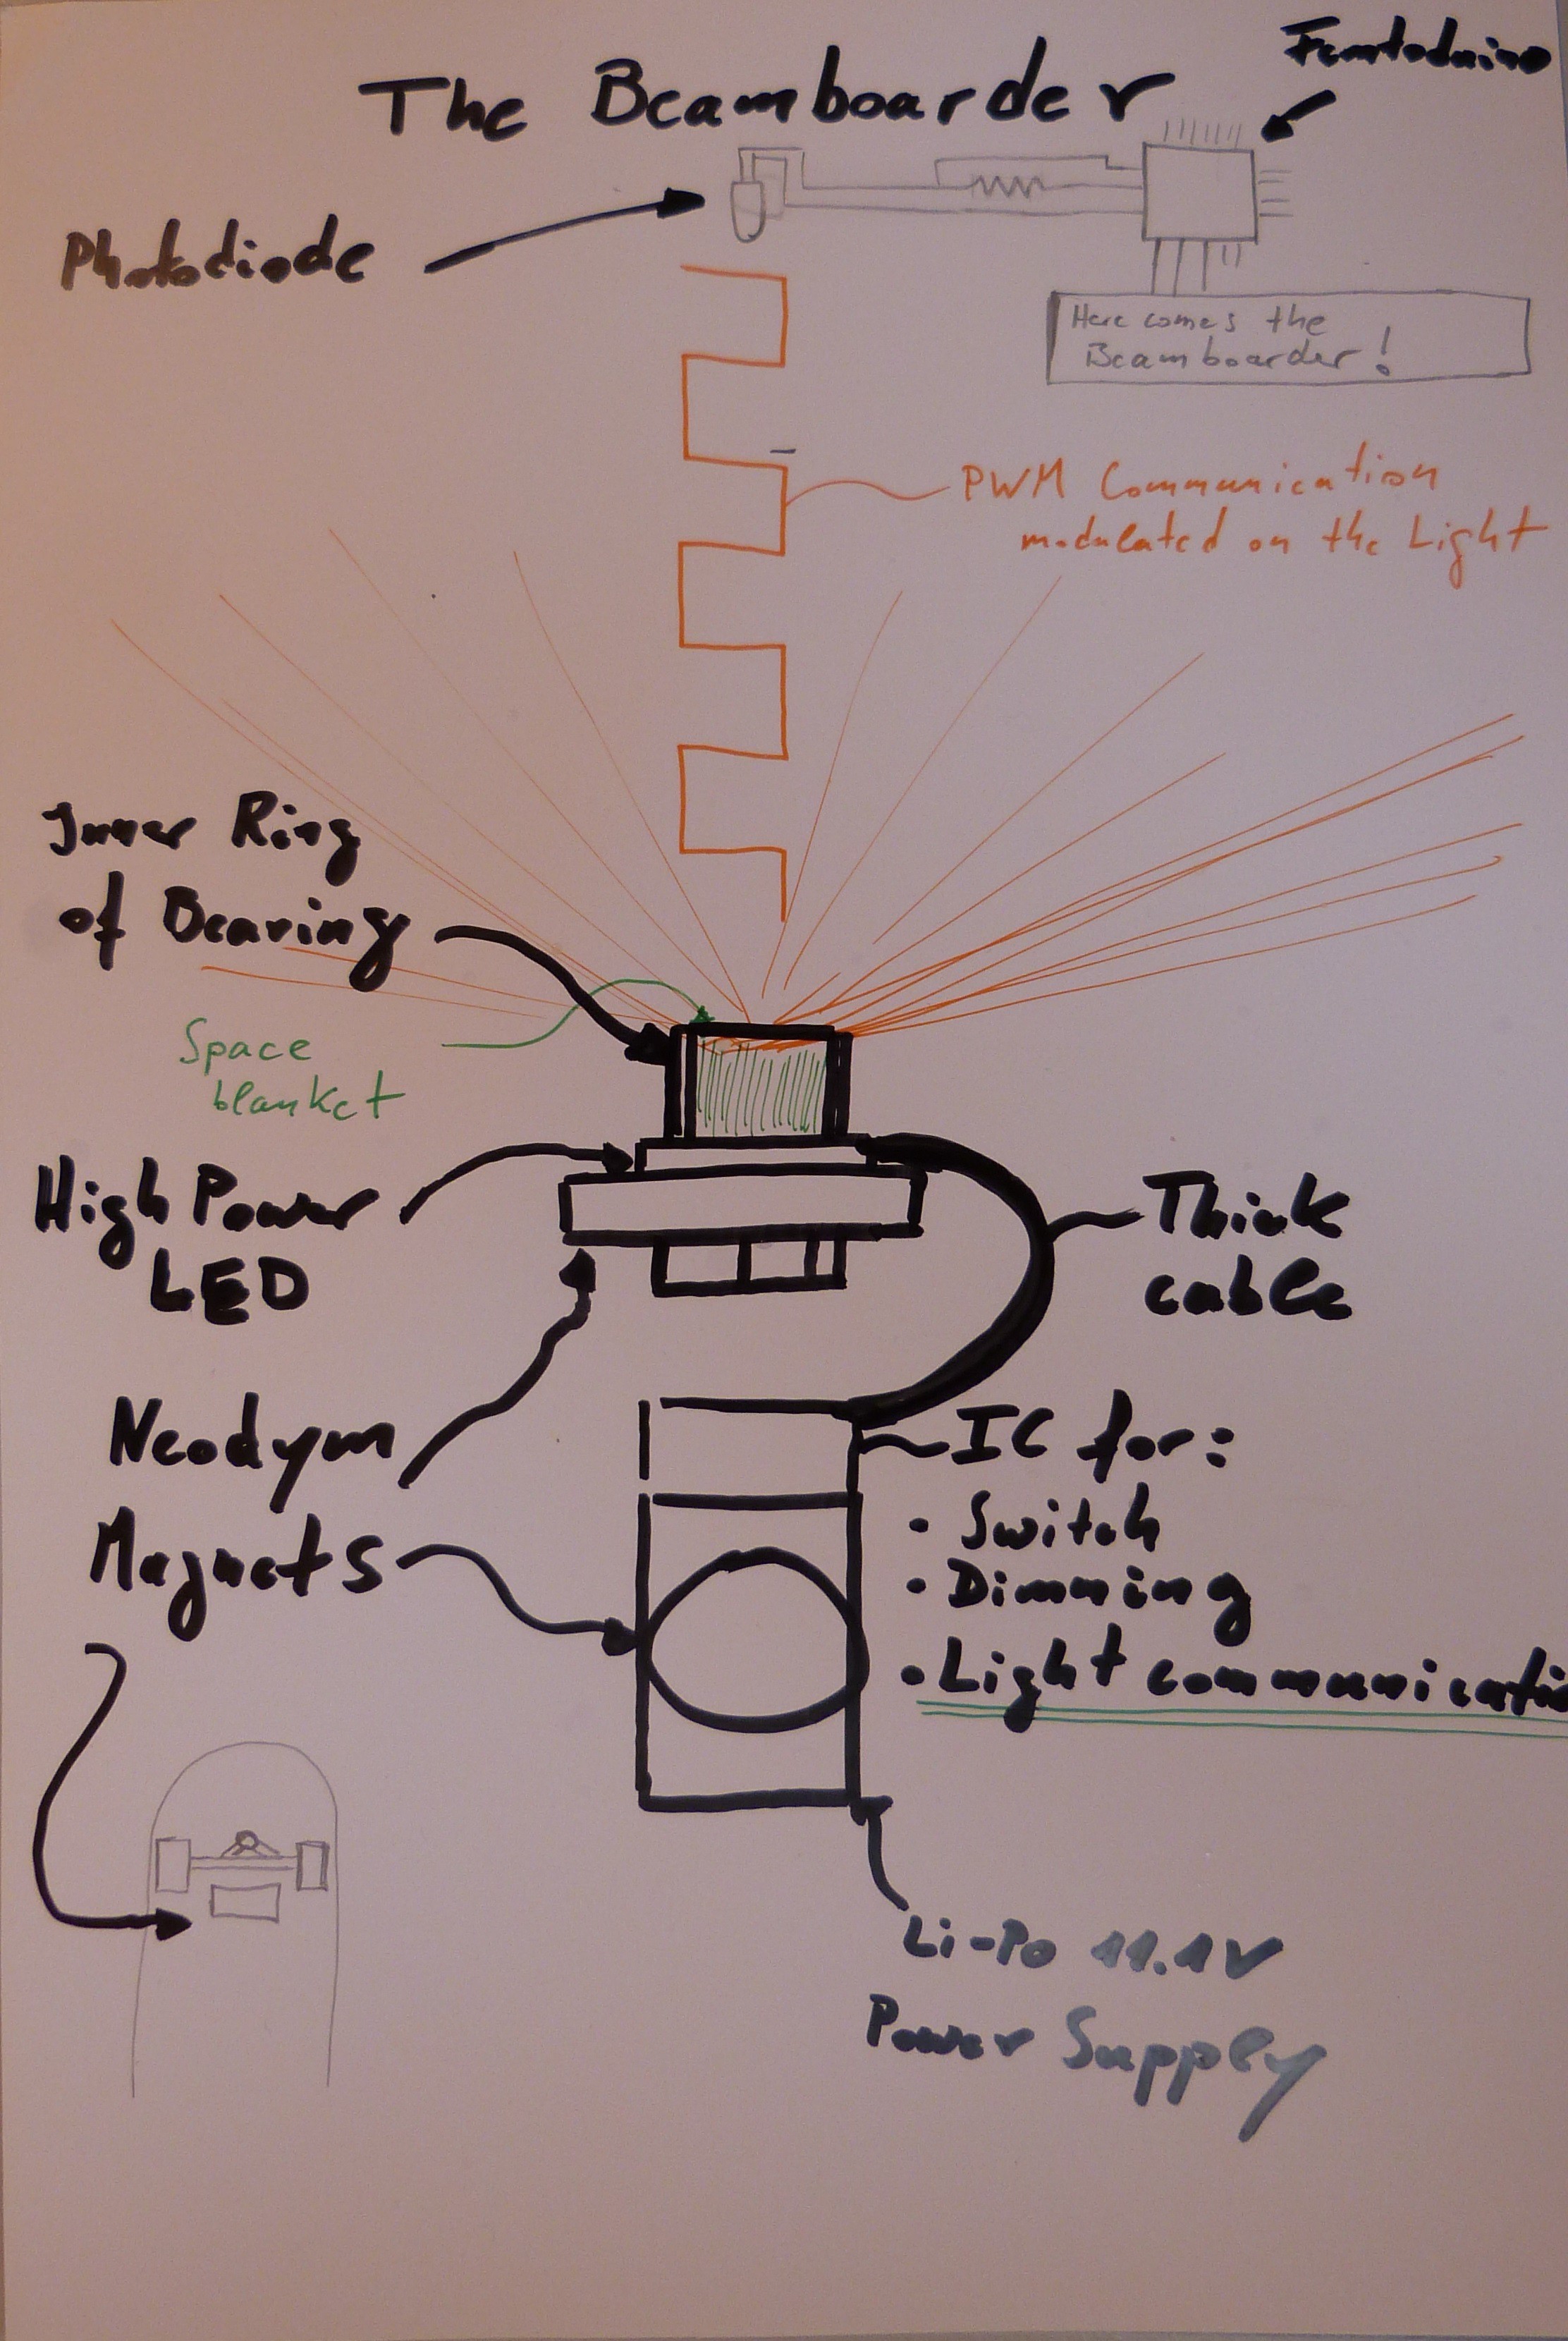
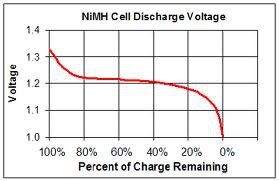
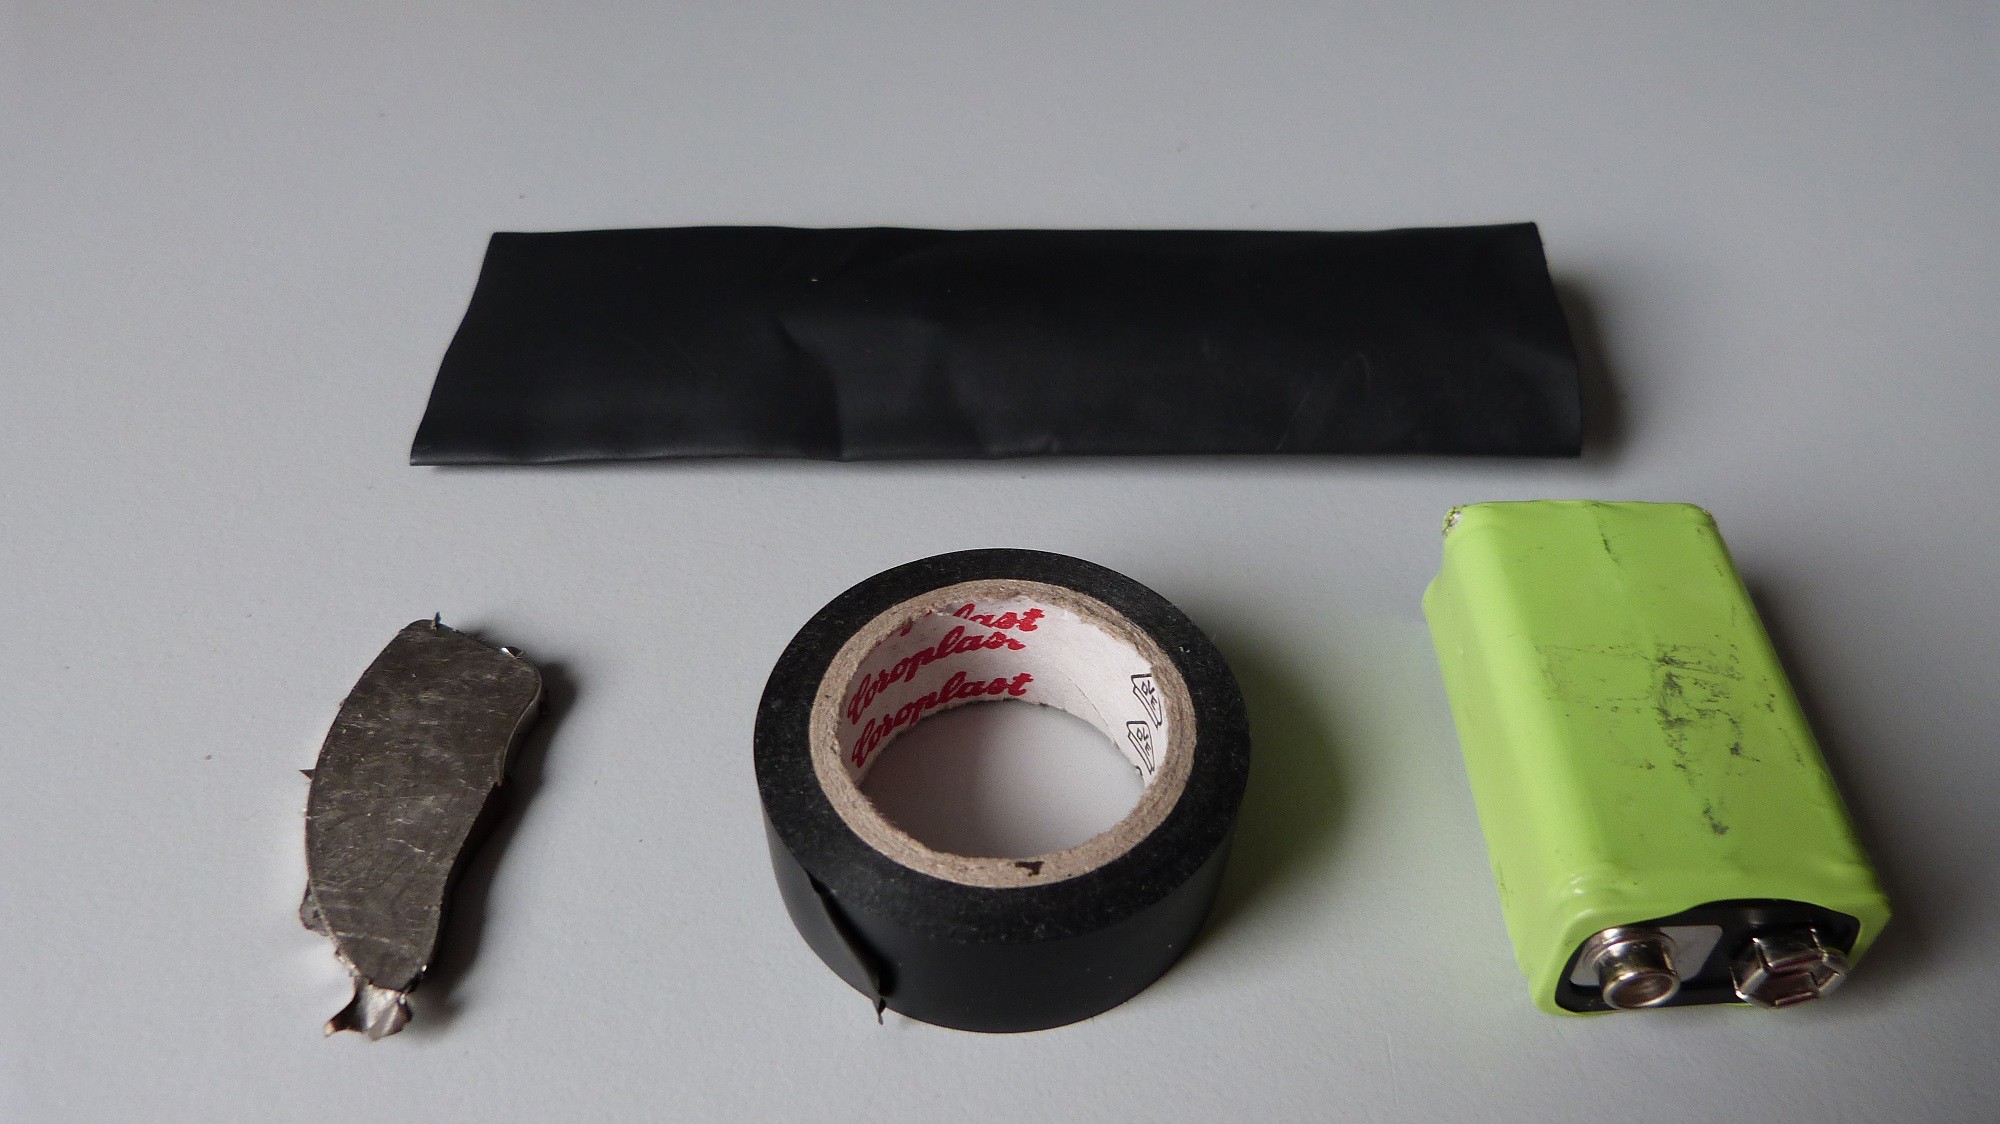
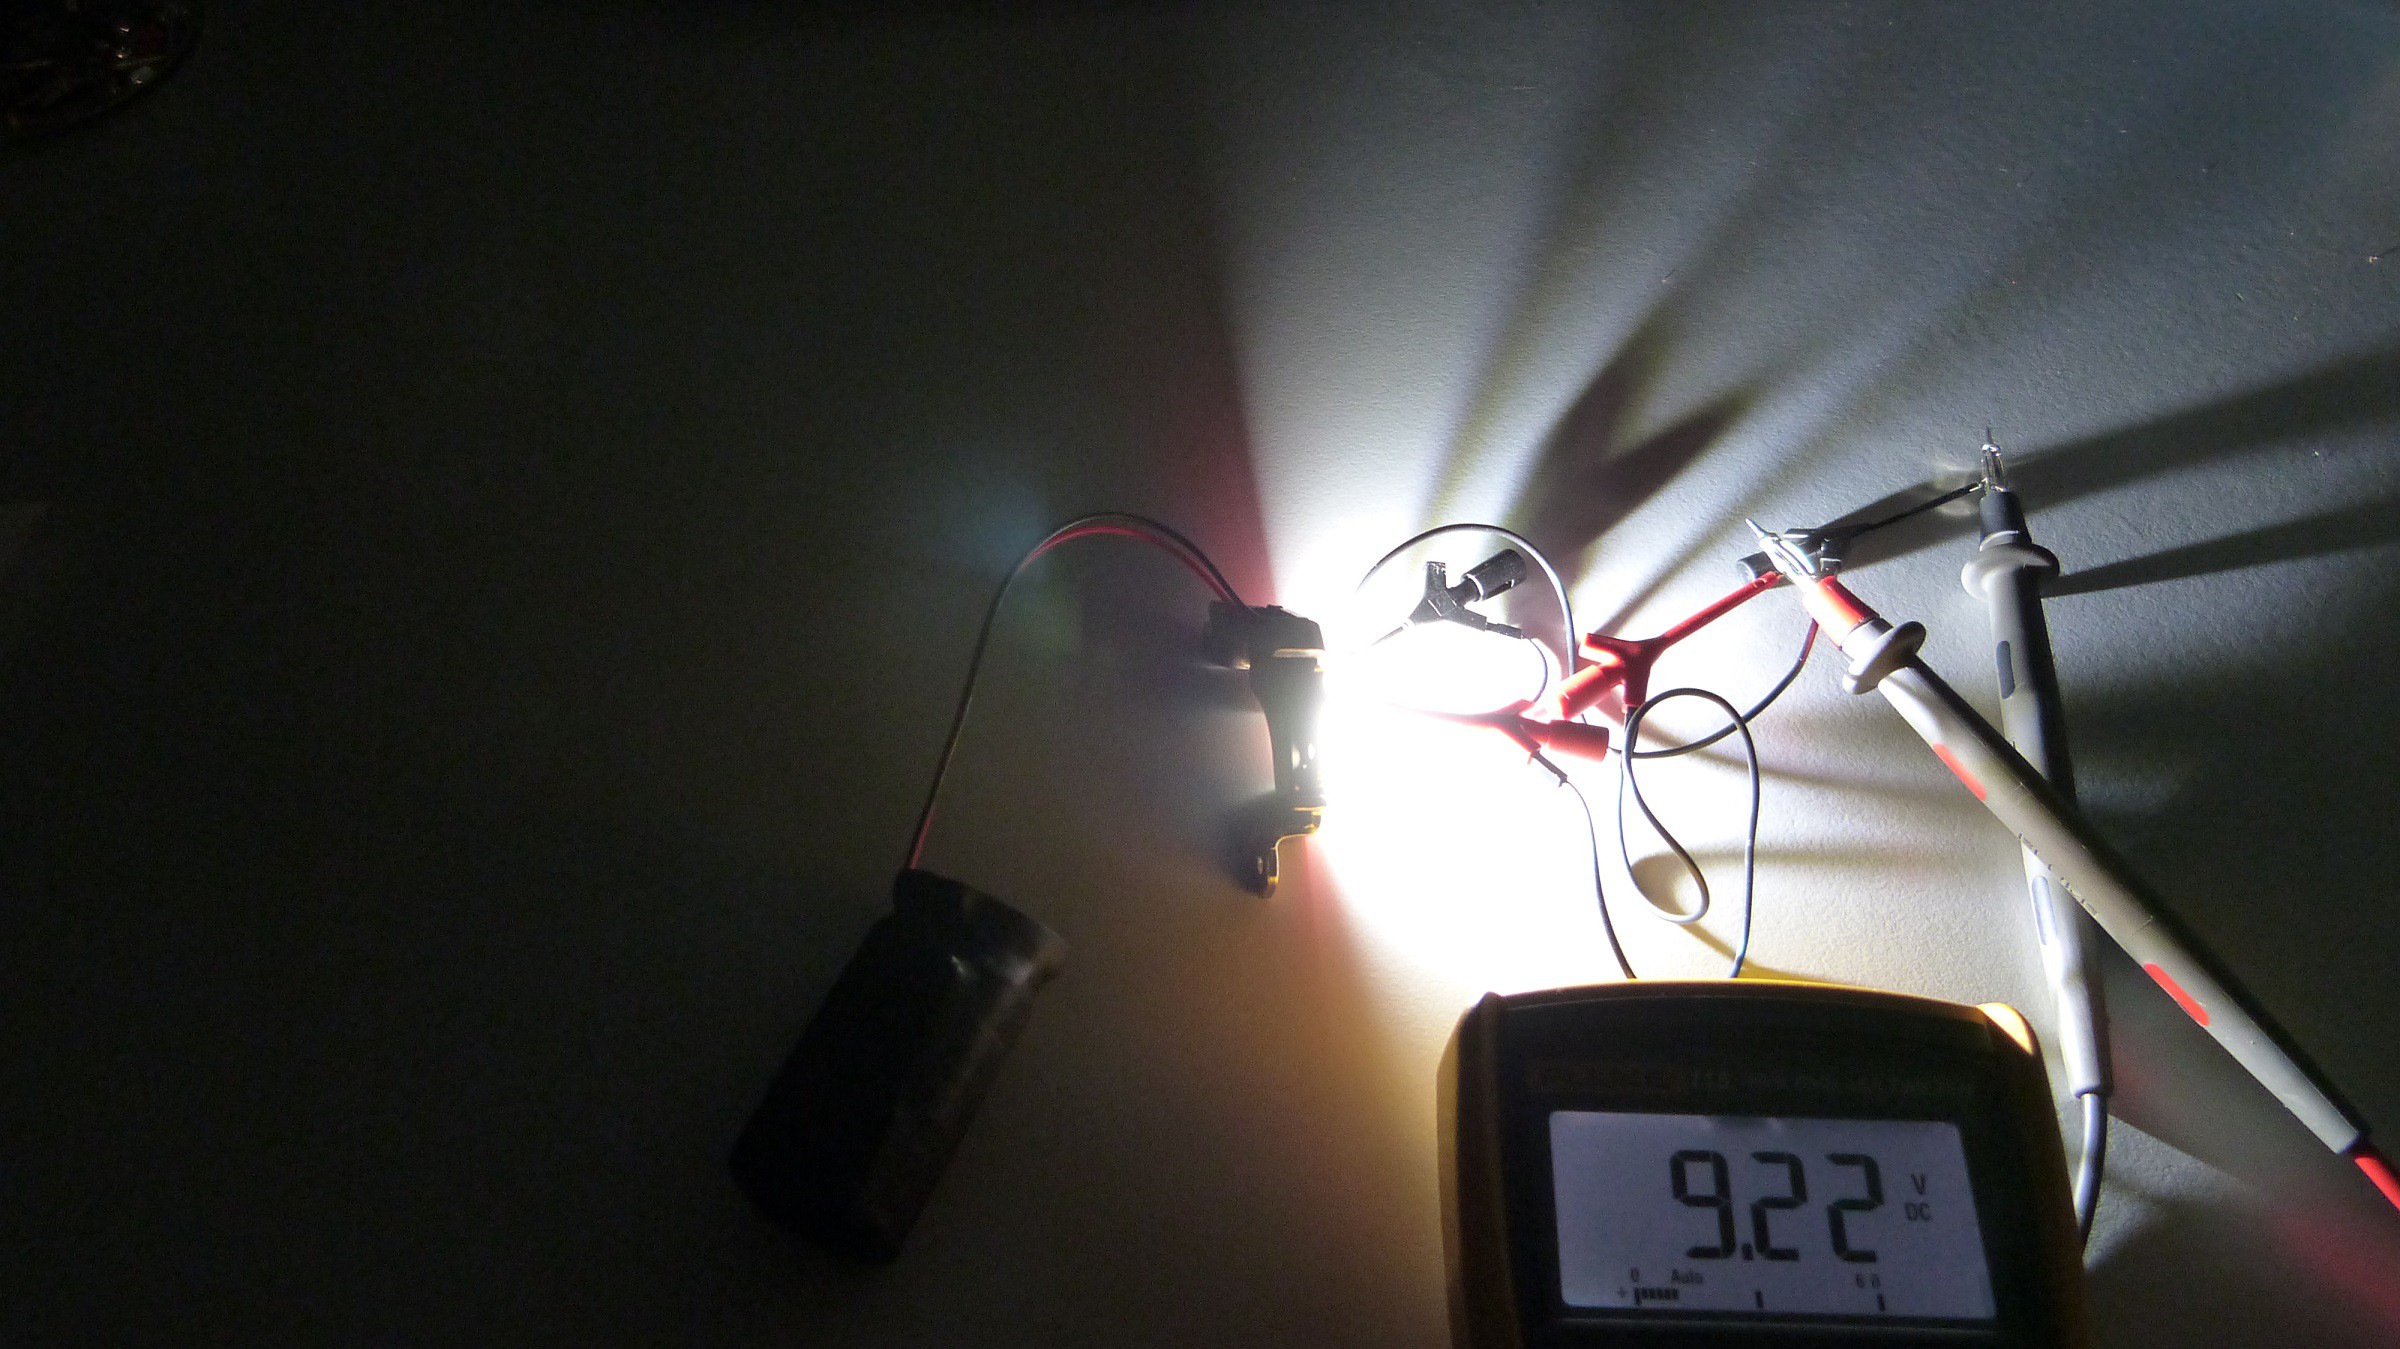
The components I have listed are a result of many experiments. First I tried to use 9V Li-ion battery in the 9V Block size with 680 mAh. Soon I had to learn that these batteries actually have only 8.4 V fully charged. This voltage is much too low for the Cree XLamp CXA1304. The LED will only glow a little bit. Use the 9.6V Ni-Mh 270 mAh batteries and the LED will glare like a star. A fully charged battery will have a voltage up to 10V. This will cause a very bright light of about 600 Lumen. The brightness of your LED will follow the discharge voltage of your battery. The following figure shows the voltage process over the charge that’s remains in one cell:
You can use a resistor to dim the light, but be aware that this will decrease the efficiency and increase the complexity of your setup. Other batteries like an 11.1V Li-Po will destroy this version of LED arrays.
For maximizing the lumen per watt use the LED version with the highest ANSI White value you can get. The cold white LEDs will be much brighter at the same energy consumption. The LED works also as a safety circuit for the battery. Under a voltage of about 7V the LED turns out and preserves depth discharge. The reason for that is the threshold voltage of multiple LEDs in series inside the Cree CXA1304.
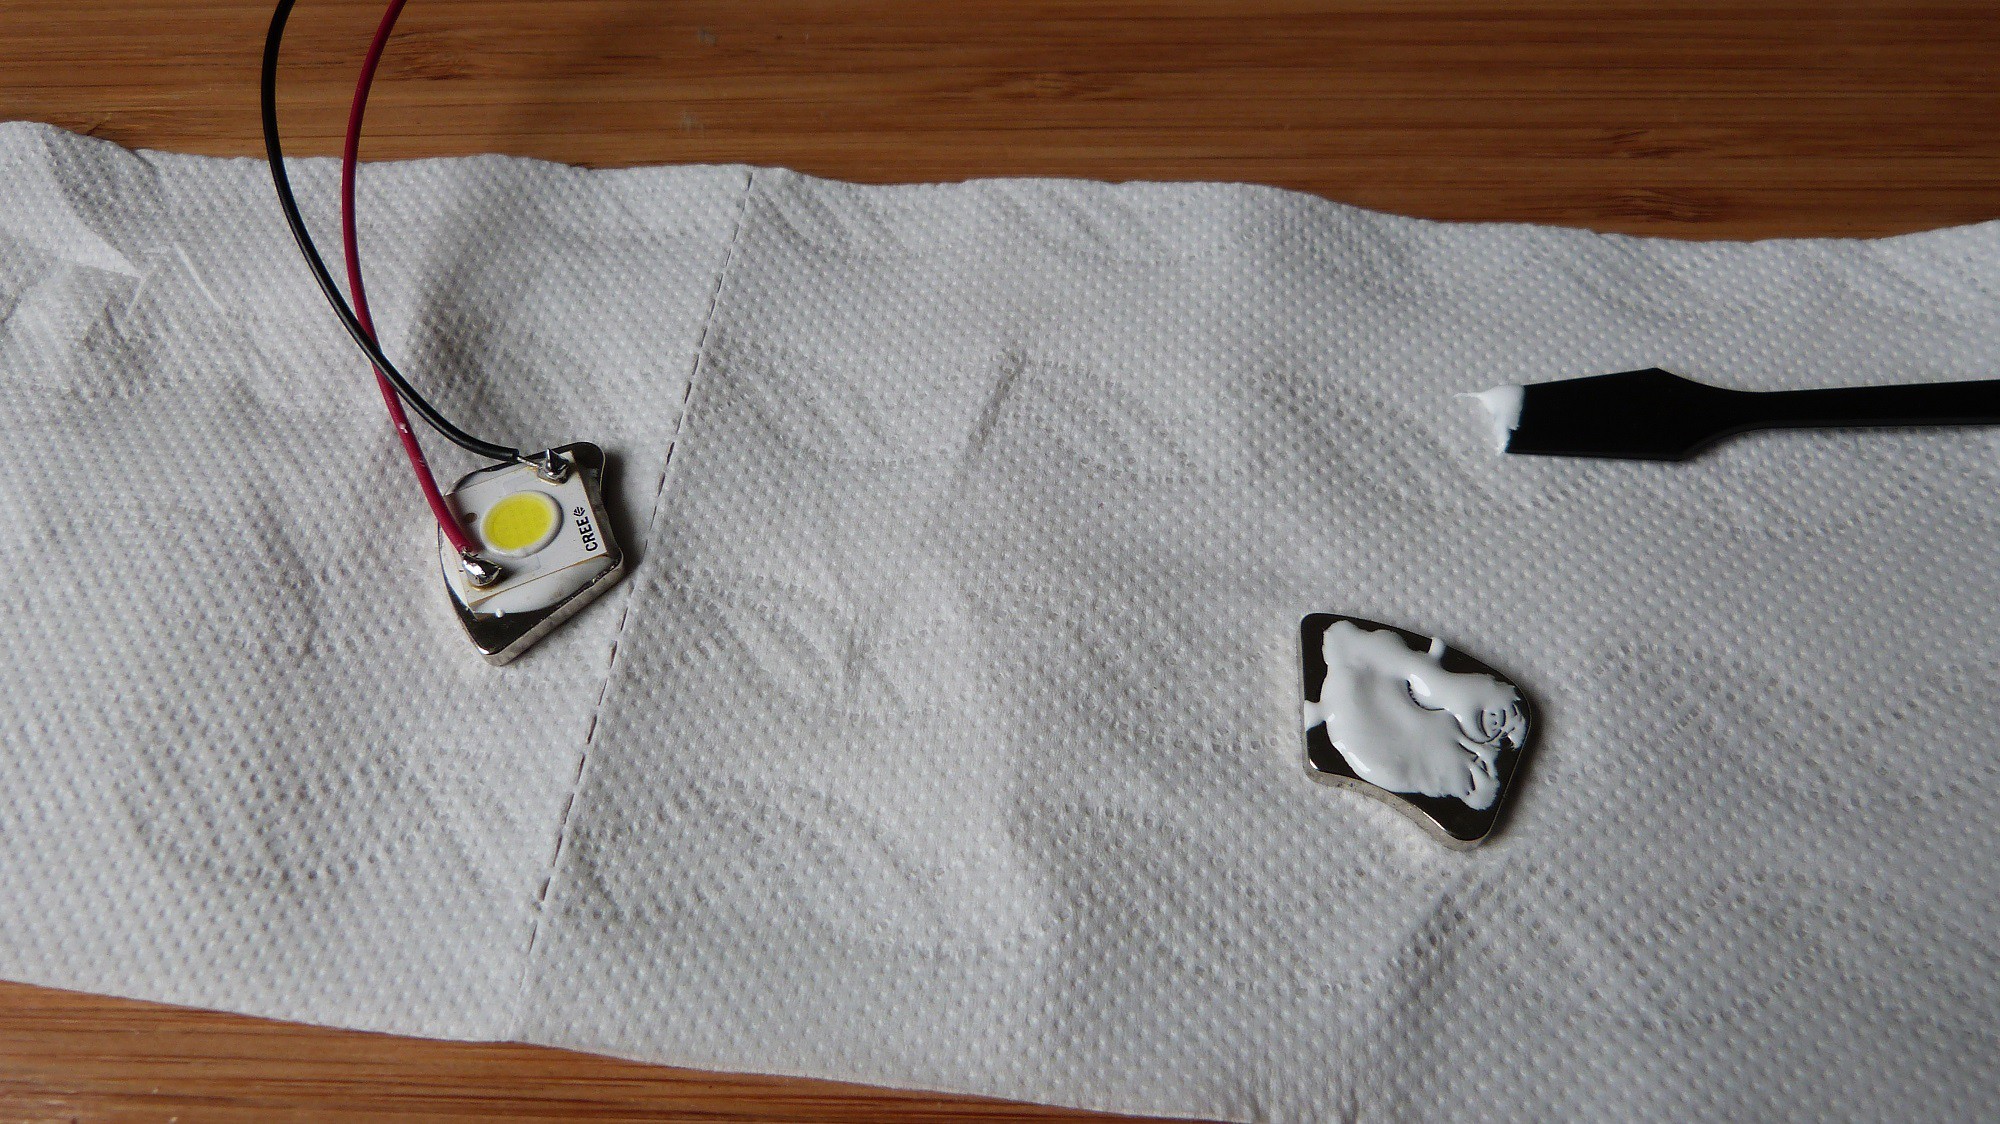
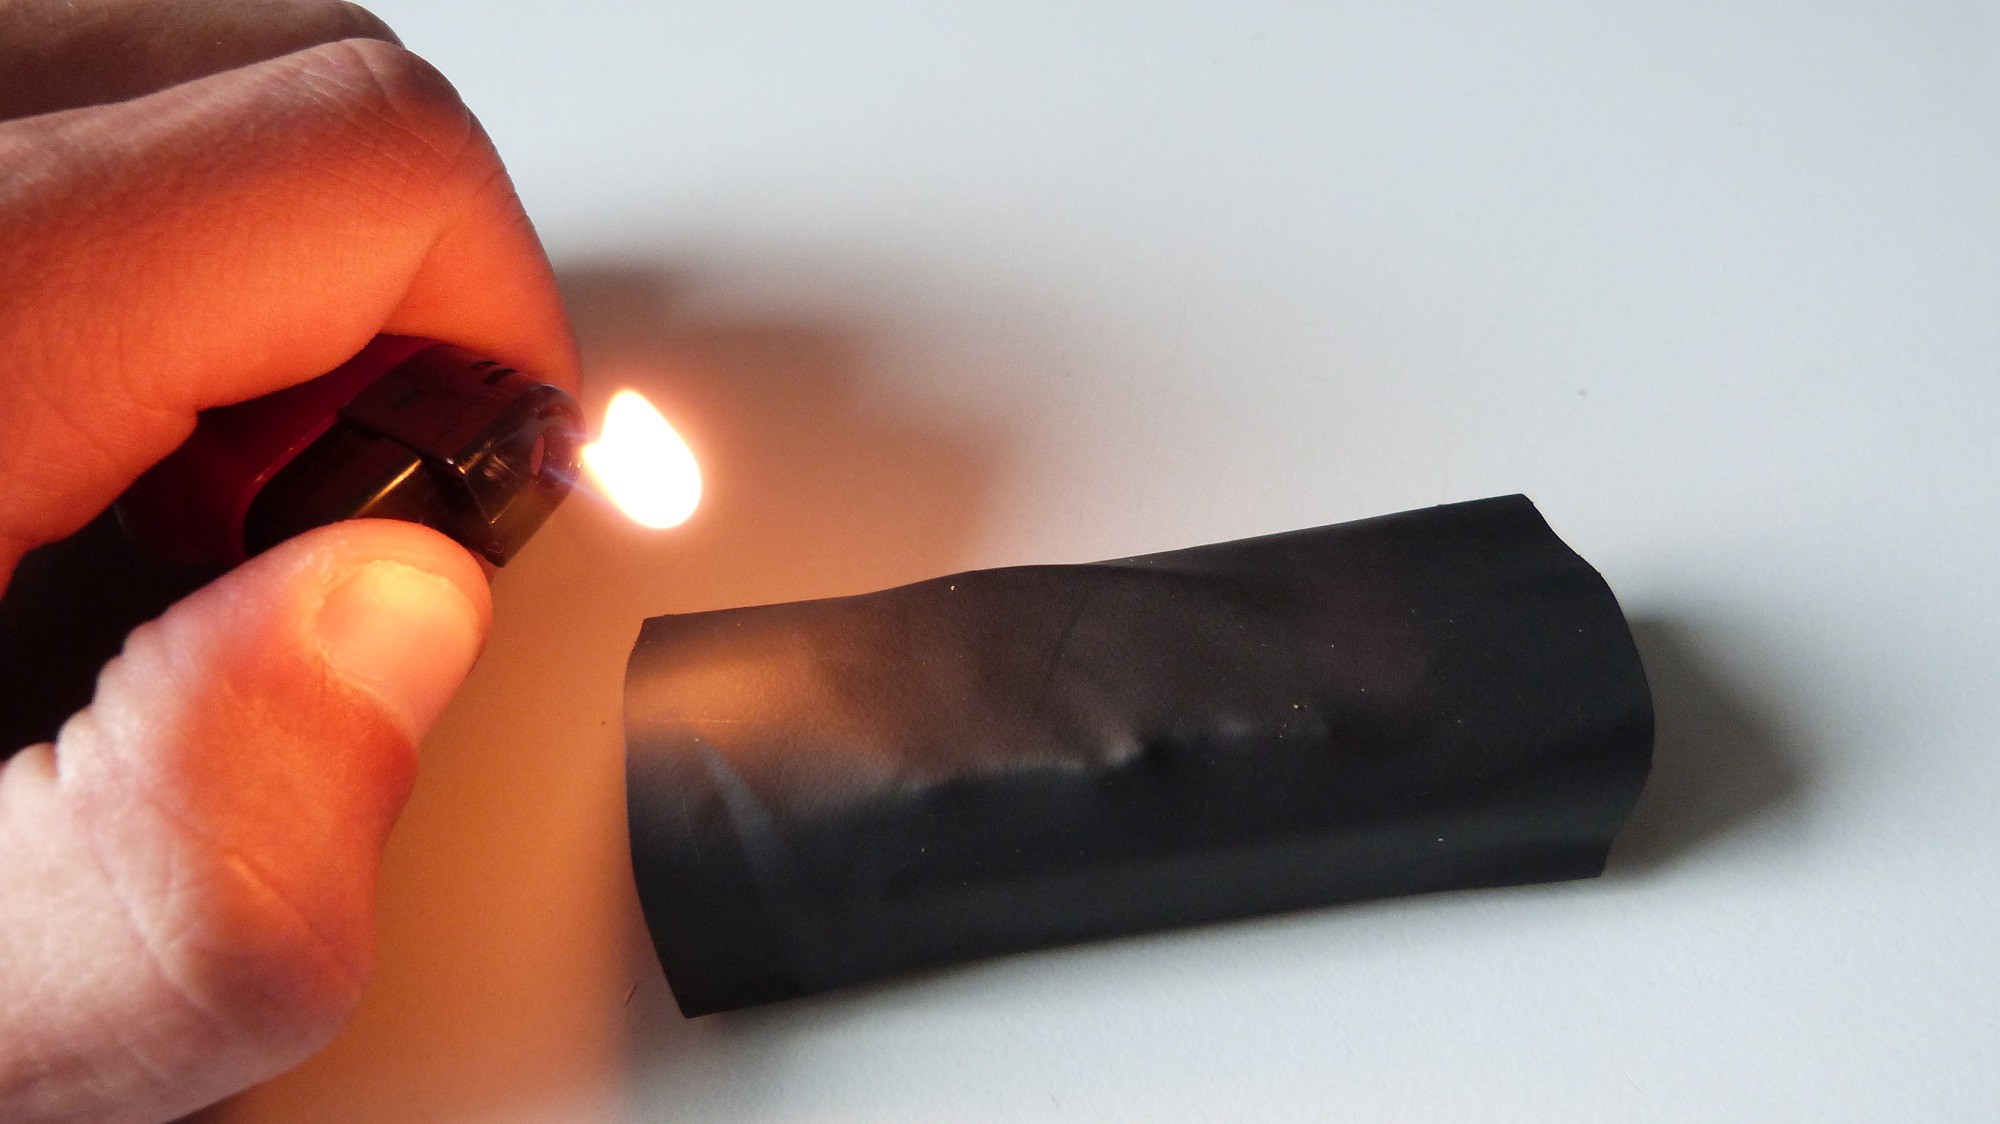
Crafting this LED lamp can be a mess but also a lot of fun. Try to stay clear with the components and remove all dirt with some tissue from the metal surface you want to put on the LED. Have your tissues ready. Combine a small amount of Arctic Alumina Thermal Adhesive 1 to 1 in the middle of the plate and mix is up with a small stick. Place the LED on the Adhesive and press it gently on the plate. A little amount of adhesive should come out on every side of the ceramic body. The drying will last several hours. Do not turn the LED on before the adhesive...
Read more ».jpg)


 Open Green Energy
 Josh
Josh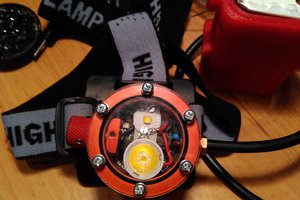
 Jakub Kaderka
 Chris
Chris
On the contest aspect though, how do you plan to make it connected?