 Scott
ScottThe system of solenoid valves, pumps, and etc. is what is at the heart of the apparatus. The cold water and hot water circulate separately, until the software reverses the valves and causes hot water to flow into the cold water carafe. That is what provides the simulated pain relief. It actually feels quite nice....almost addictive.
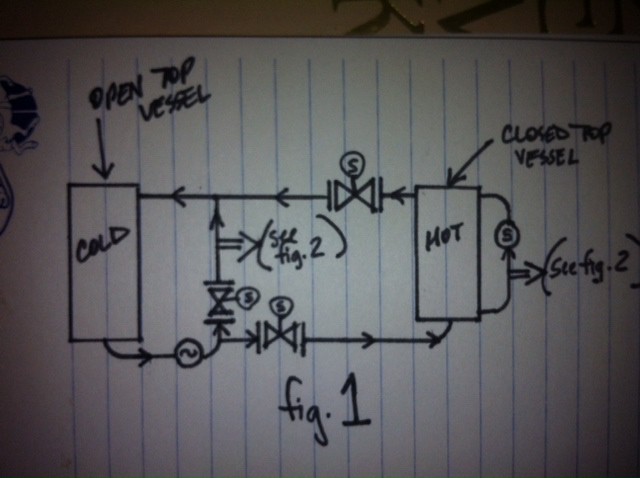
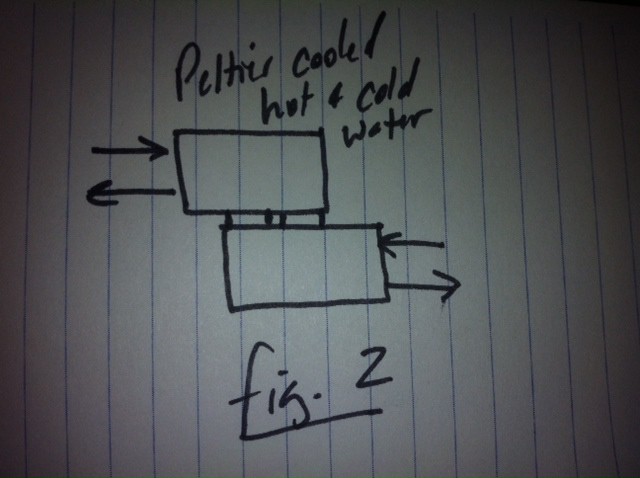
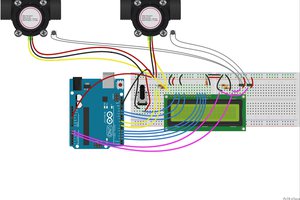
Rough System Design -


 Sagnik Bhattacharya
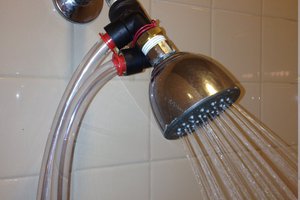
 MechaTweak
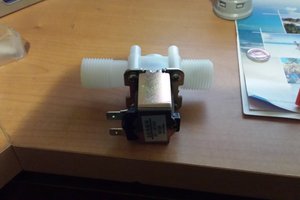
I was inspired to build this, because a student pursuing a Masters in Psychology got me interested in it. Thanks for the advice, too!