• Finally Assembled

    Samuel Wittman05/30/2014 at 16:48 0 comments

    I suddenly decided that I didn't necessarily need my control circuit completed to put the lights in the booth. 

    Here's the lights I'm using: http://www.amazon.com/Sylvania-72344-Mosaic-Flexible-Light/dp/B008COVFUA

    The backs of the light strip are self adhering, and they stuck to the paper on the foam core really well.

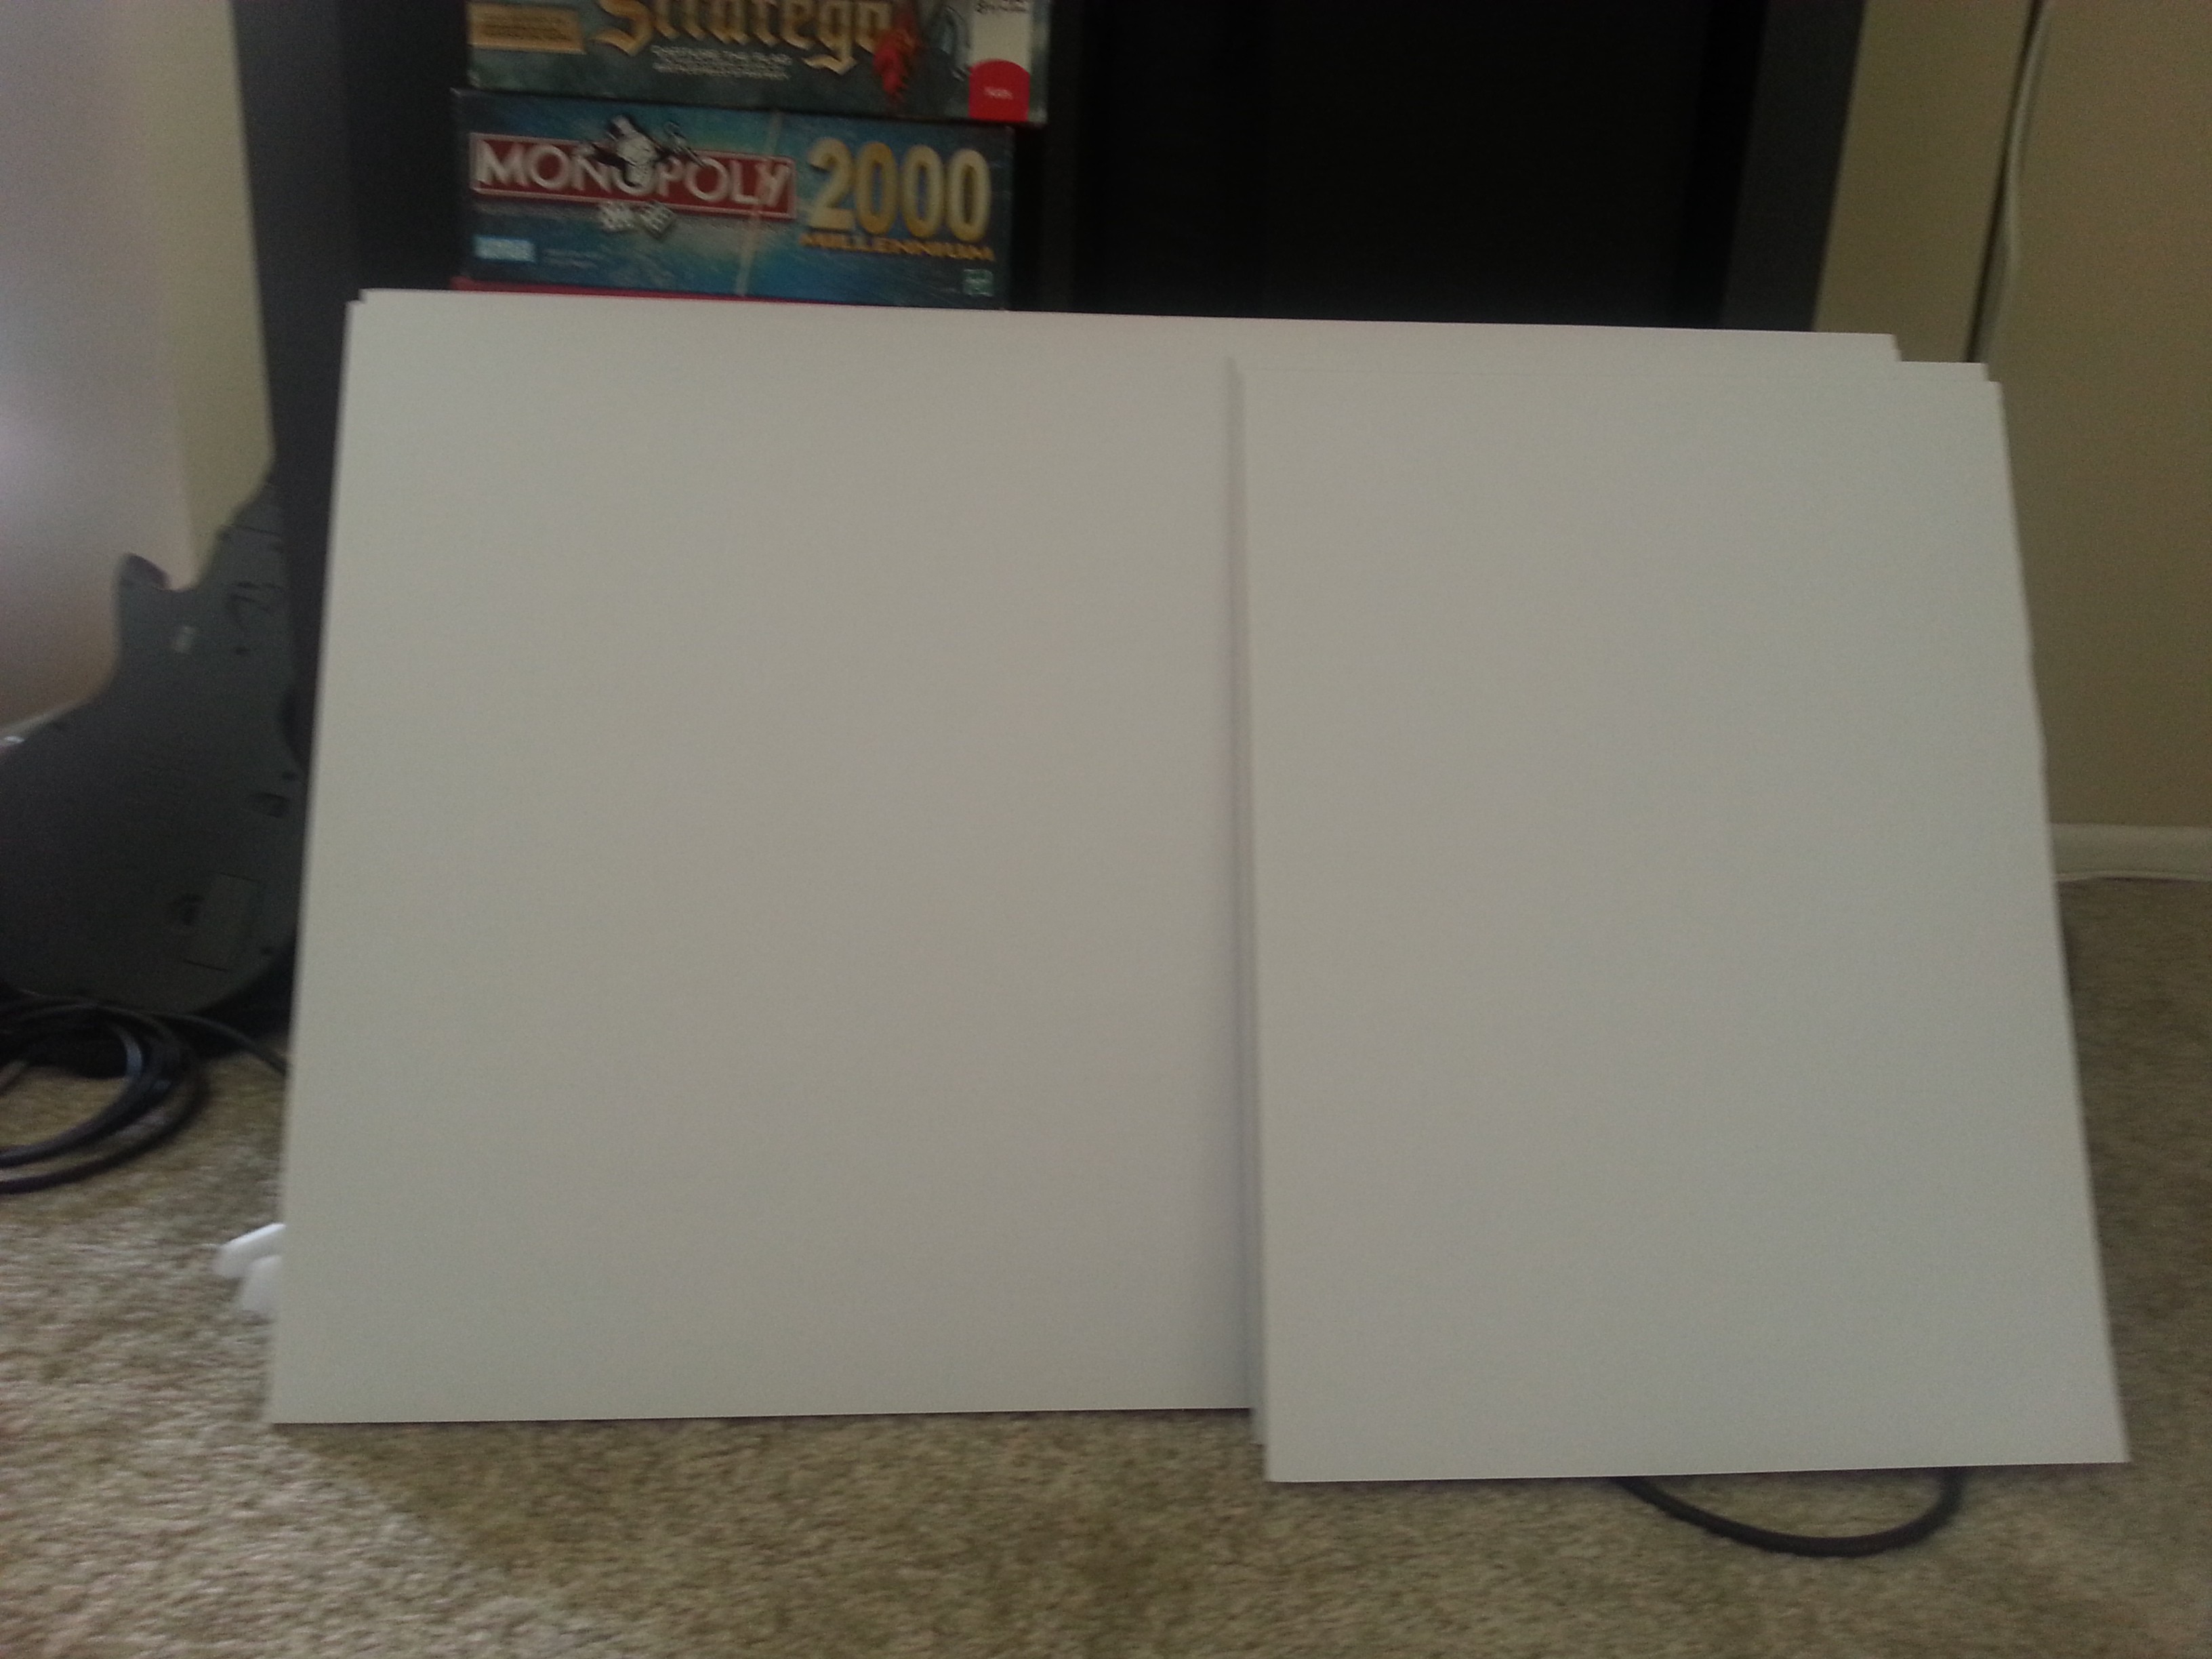
    Here's the photobooth set up, with Alduin the World-Eater for scale. 

    I got some really nice photos out of it yesterday. I used Alduin and my Gundam Dynames model as subjects.

    Compare without flash...
    ...to with flash.

    With flash gave me better front detail, but cast some really nasty shadows. I took some better posed shots without flash while I thought about what to do about this. Pushing the model as far back into the box as I can helped some.

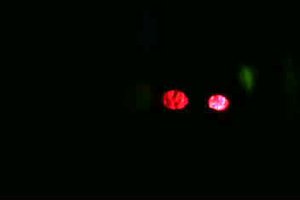
    I think this one is my favorite shot.
     Also, since these are RGB lights, I turned them to red, just to see what would happen. Interesting and creepy.

    Now some shots of Alduin.

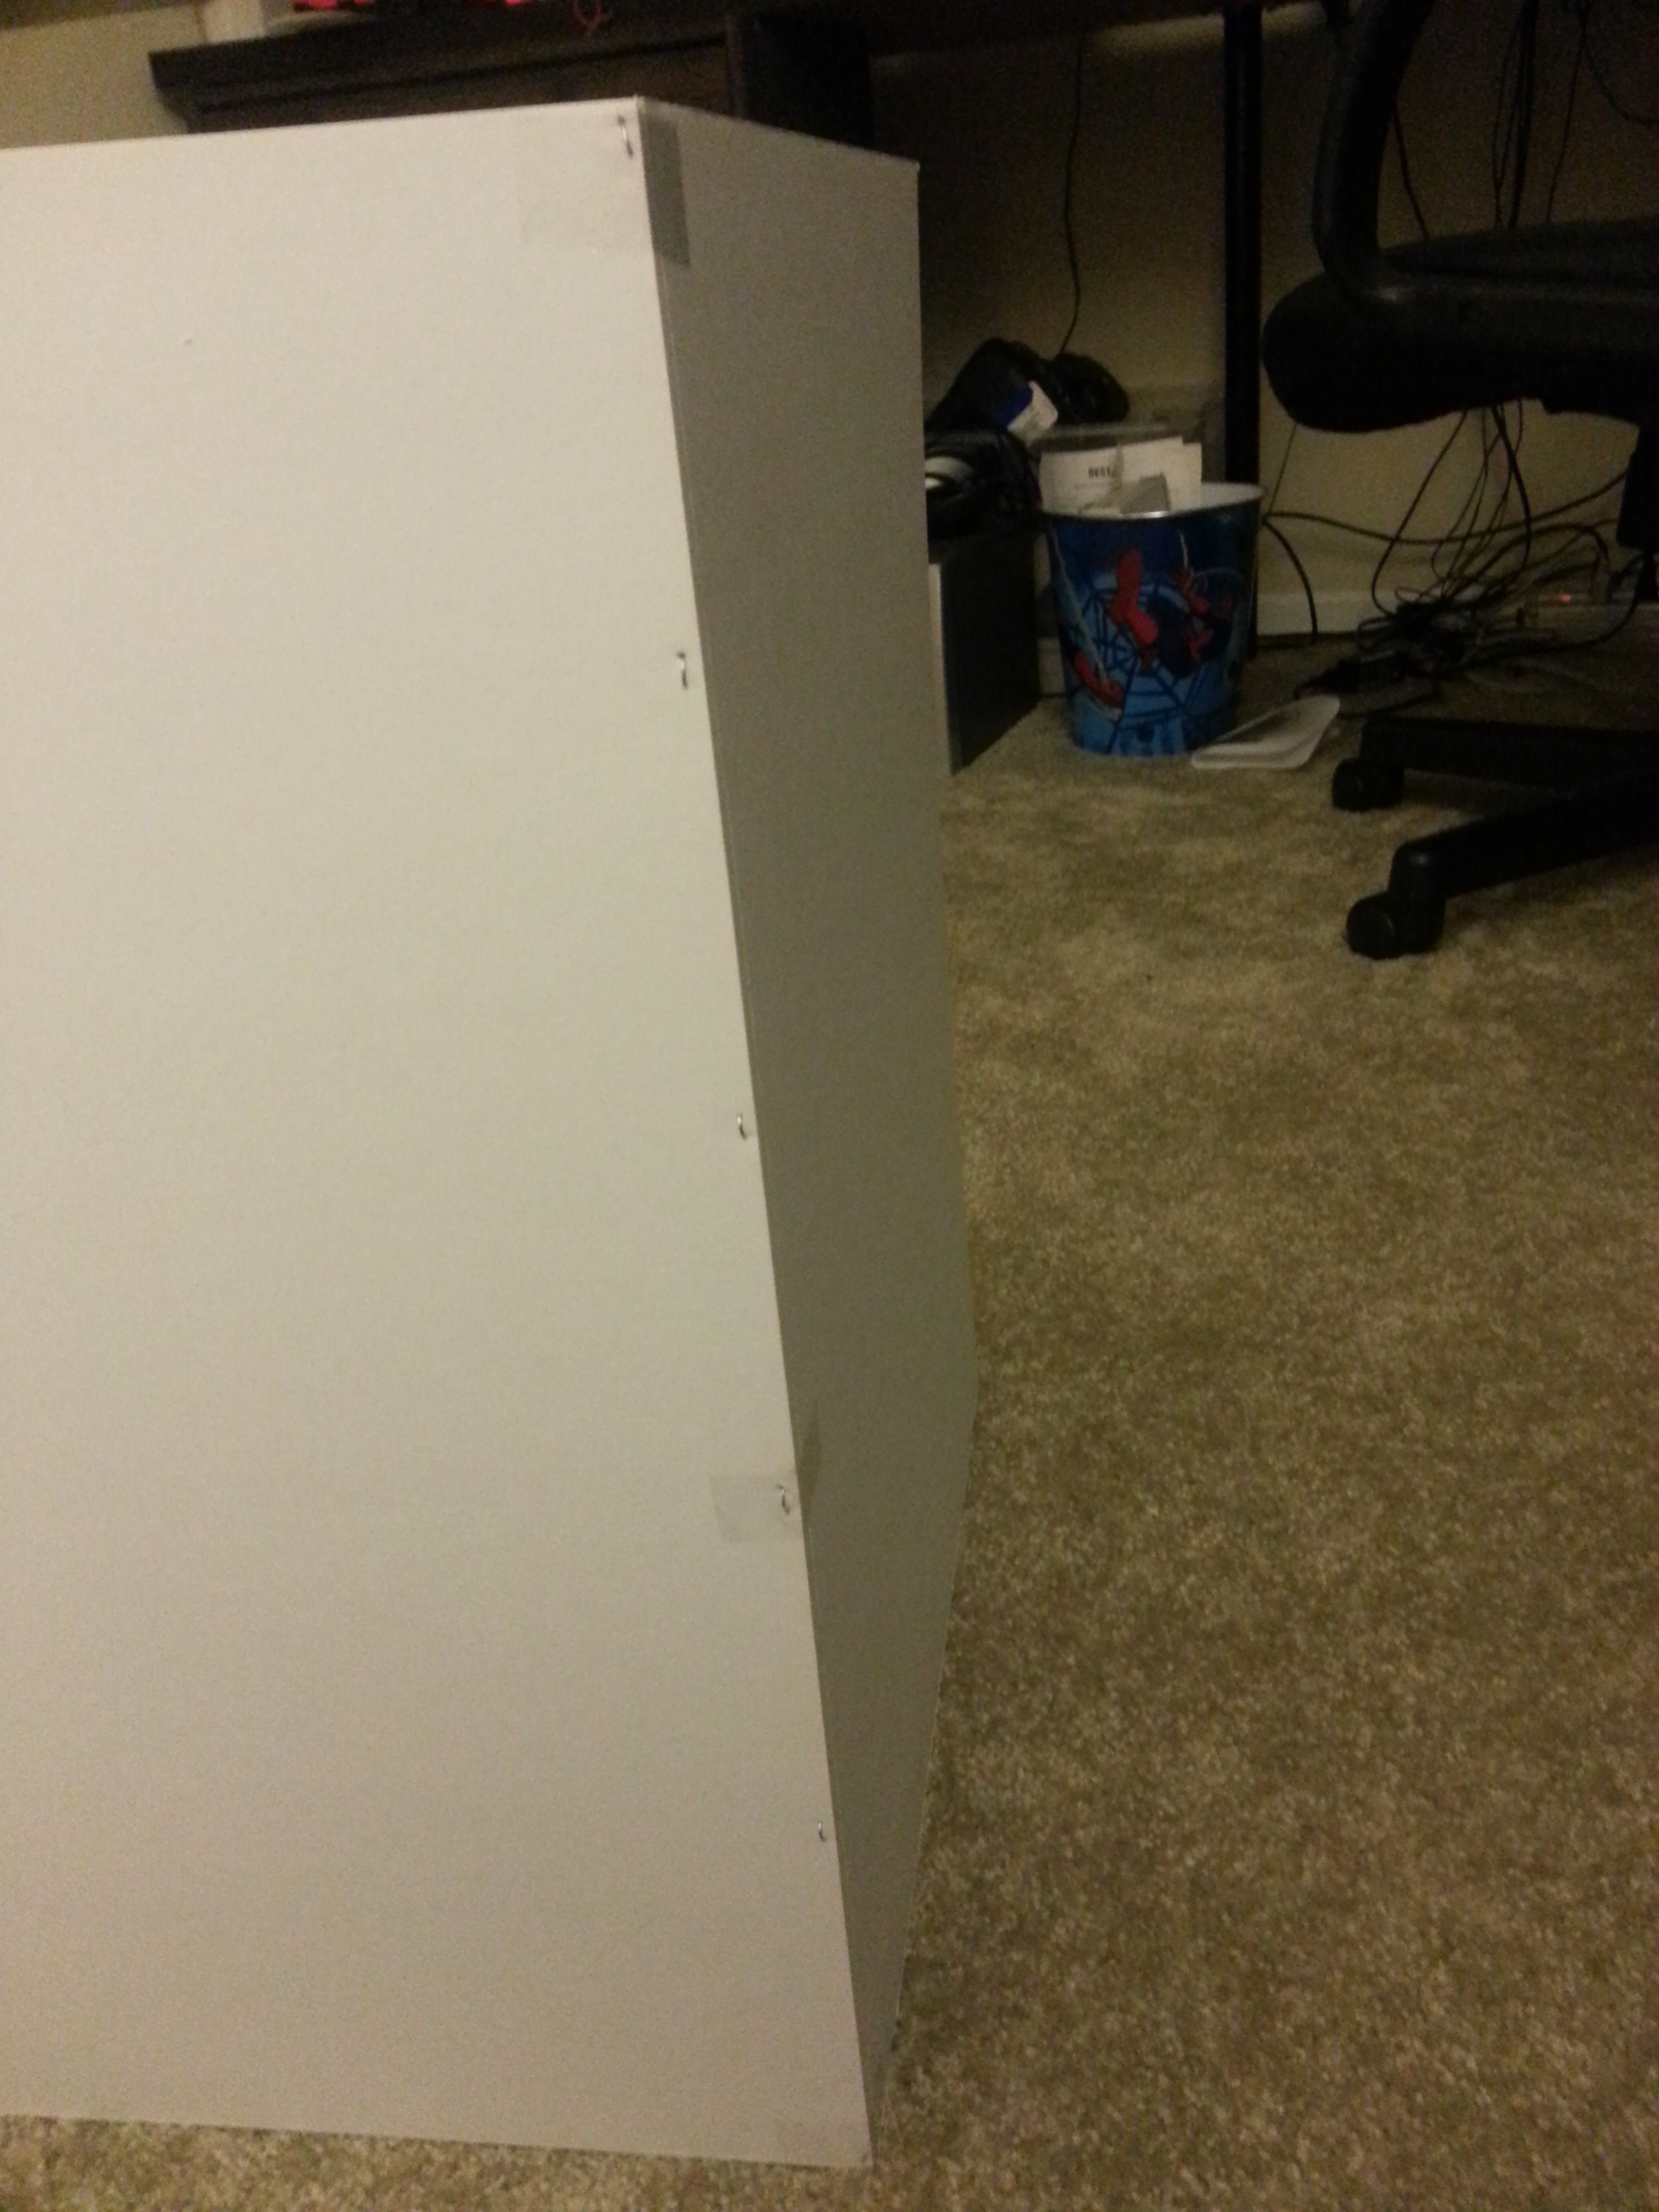
    Here's the one I took when I figured out how to get better front lighting...

    ... and here's how I did it.

    All in all, I'm really pleased with these shots. I look forward to having something more meaningful to take pictures of. I'm sure I will soon.

  • Lights

    Samuel Wittman04/02/2014 at 04:16 0 comments

    Sorry for the broken photos in the previous logs. They should be fixed now. Turns out, if you upload from desktop-dropbox, Hackaday hosts the images, but if you upload from web-dropbox, the images continue to be hosted by dropbox. I could see them because I was logged in.

    I've been holding out on acquiring lighting until I had a chance to see Costco's RGB LED kit. I plugged it in and did some color tests. It looks great and is incredibly bright. I think it will make for some nice pictures! For some reason, drobpox only autograbs photos from my phone and not video, so I'll have to upload these manually.

    The kit includes a wall-wart/remote combo to control color. The colors share a common positive terminal with separate negatives for each color. Probing these terminals with a multimeter showed something I wasn't expecting. When changing the  brightness of each channel for a particular color, the brightness is controlled by pwm. However, when changing the overall brightness of all 3 channels, the positive rail voltage changes, ranging from 4 to 12V.

    Actually, now that I think about it, that makes sense.

    Point being, pwm is bad, because it really messes with cameras. I'm looking to build a small control circuit in the next few days to change each color channel's current, rather than PWM. This will make it play nicer with cameras. This should be a really simple circuit, using large potentiometers as voltage dividers.

  • Additional Equipment and Sample Pictures

    Samuel Wittman02/25/2014 at 20:48 0 comments

    I tend to have very shaky hands, especially when attempting to take photos, so in addition to building a small booth, I also purchased a tripod (10$) and a macro lens ($15) for my phone. 

    The tripod has a couple of features I really like. For one, its a spider tripod, so the legs are posable, rather then telescoping. Each segment is ringed by rubber, so it can be wrapped around poles and oddly shaped objects. It's stiff enough that holding the weight of my phone is no issue.

    For two, the smartphone attachment is removable, leaving a standard tripod threaded rod behind. If I do ever get a nonawful camera, I won't have to buy any new stuff. The little silver arm and foot are spring loaded, so puttng my phone in and taking it out are really easy.

    Just for kicks, I tried to take this same picture with the flash.

    Eww. I have to find a better light source.

    The macro lens is really spiffy. It's basically just a rubber band with a lens inserted, so it'll fit any phone.

    Here's that same photo with flash.


    The first thing I did was started playing with distance. Here's as close as I could get without the lens.

    Next, I put the lens on OVER my phone case. The focus is really hard to achieve, but I can probably make this easier by turning autofocus off.
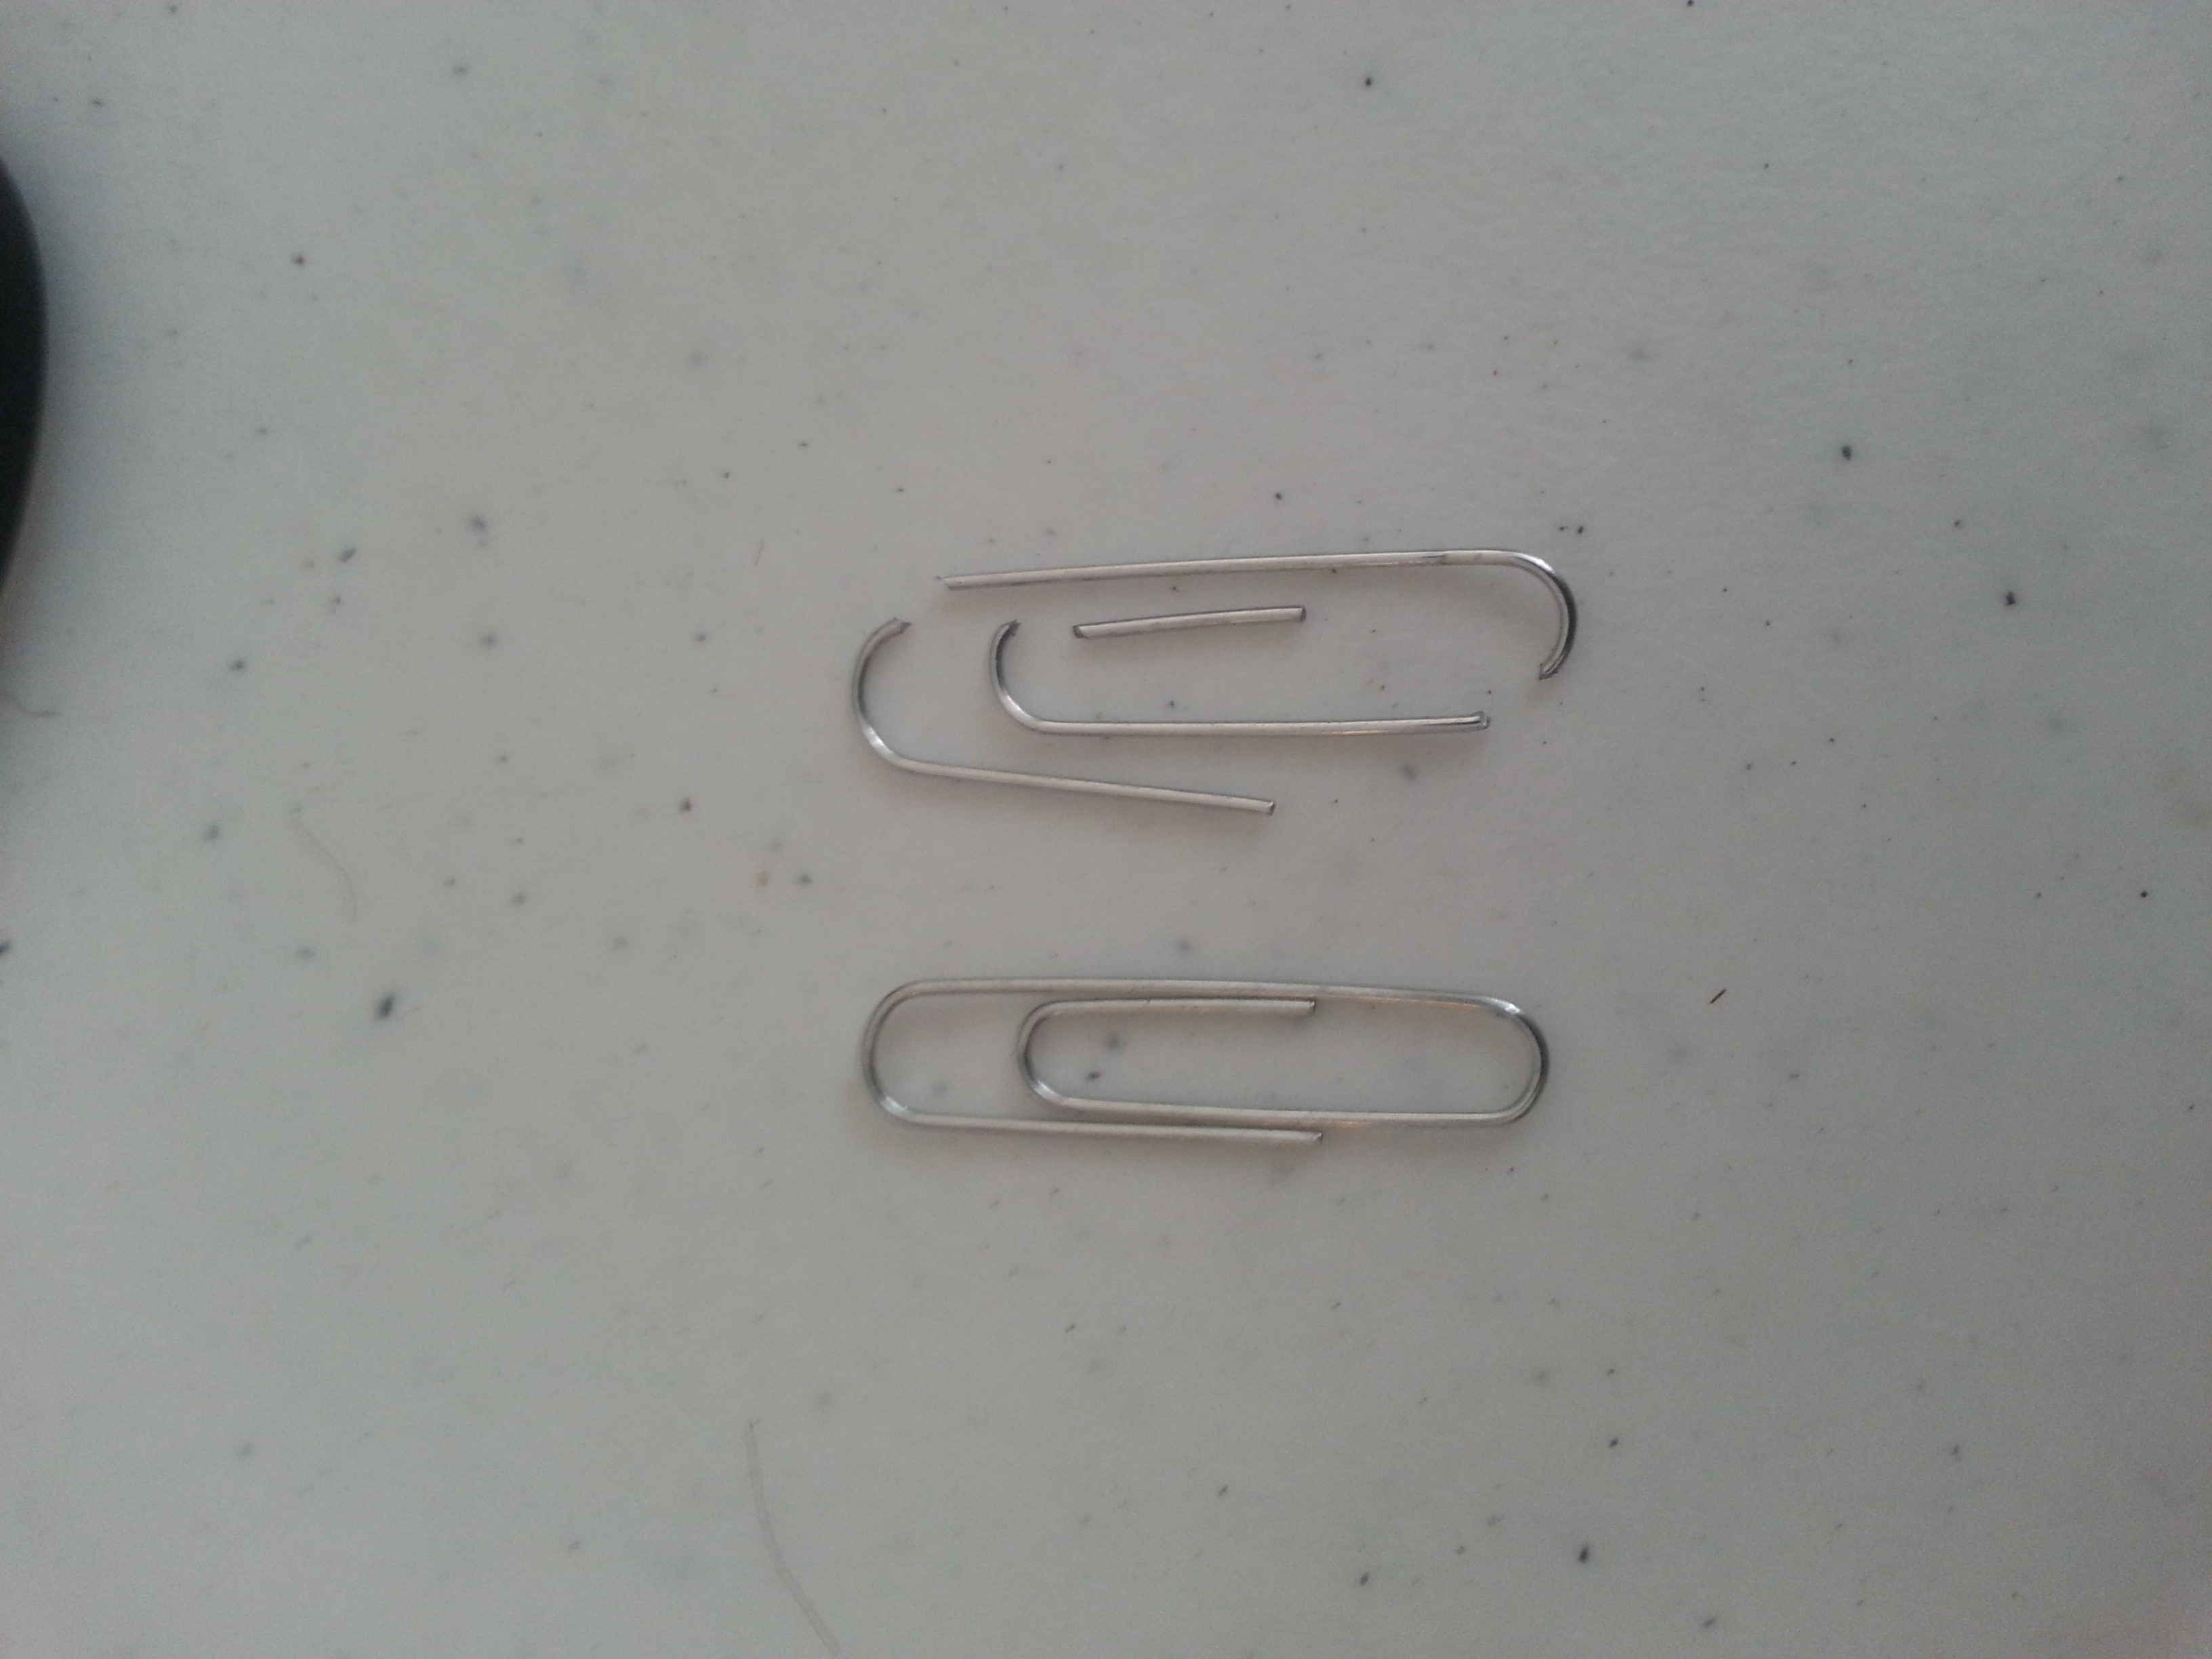
Here's the same photo, without my phone case between the camera and the lens. It's much closer.

    Enough photos of the tripod. Here are some photos taken with the camera on the tripod. My newly aquired RAMPS board was the only circuity thing I had handy as a photo subject. All photos are taken without my case on, without zoom, at the highest resolution my phone can take.

    Without Flash.

    With Flash.

    Without Flash. This one was on the tripod.

    With flash.This was taken with the macro lens on. My phone was crashing into the ramps board before I could get a focus, and even then, it isn't very focused.
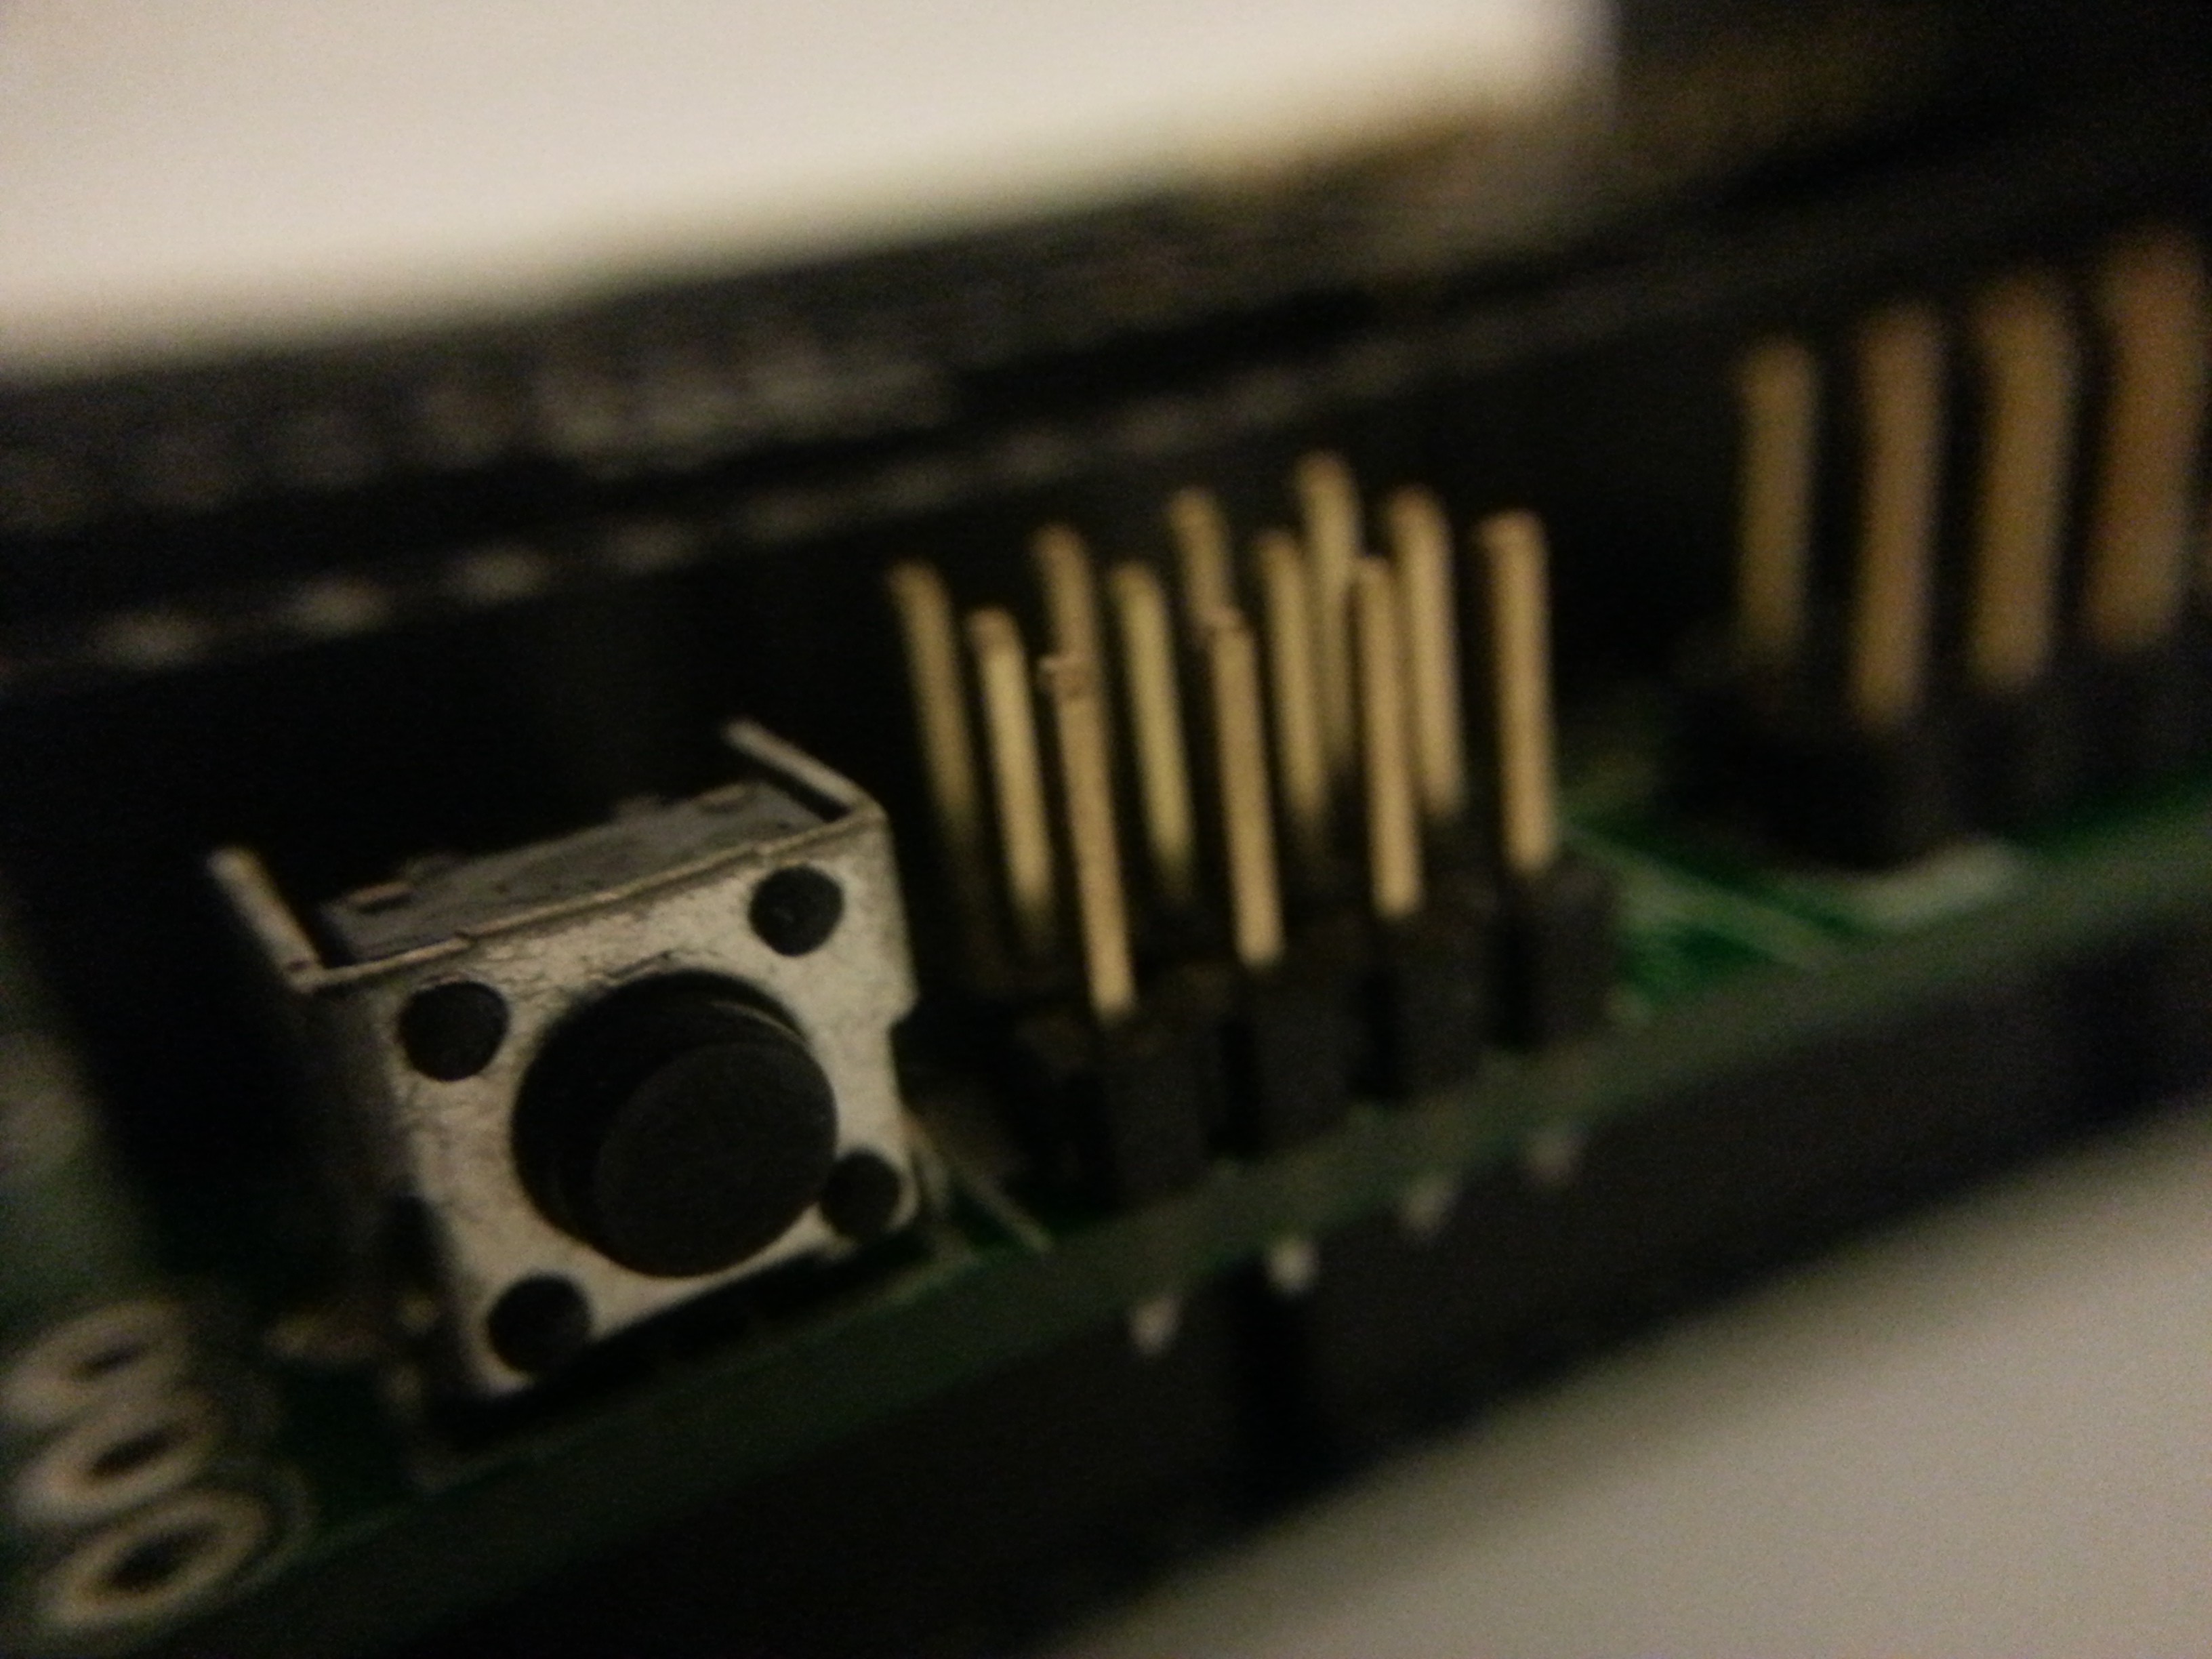
    This was taken without the macro lens.

    Also, just for kicks, I took a picture of the text on a card that came with the macro lens.

    That fisheye is quite bothersome, but I didn't notice it on the pictures of the RAMPS board.

    Conclusion: These photos are way better than anything I could've taken before, but there's still a ton of room for improvement. I'd love to hear how y'all take such great photos of your projects, and if there's anything I should try that I haven't thought of. I'm guessing a lot of my problems will go away when I have properly bright lighting.

    Here's a lizard.

  • How to build it

    Samuel Wittman02/25/2014 at 20:26 1 comment

    Let me start by saying that I found the idea on Reddit, but I'll be damned if I can ever find that post again.

    First up, cut your foam core to size. One full sheet will be the top, and another will be the bottom. Cut one sheet exactly in half, as these will be the two sides. The last piece will be the back and need to be cut to a somewhat random size. Keep the scraps from cutting the back. They'll help support the weight of whatever lighting you use.

    Your paperclips are going to be cut into pins and used to hold the edges of the foam core together by pushing them through the surface of one board into the edge of another. You can get 3 pins per clip by cutting them intelligently. The hooks on the end of each pin will keep it from falling out.

    I started my assembly with a side and the bottom, then added the back, then the other side. I havent yet added the top because I don't have lights.

    Starting with a corner, push one of the pins through the bottom into the edge of the side.


    Secure this with a small piece of packing tape.

    My foam core wasn't perfectly flat.

    I decided to do both corners, then also one in the center of the edge to align the whole side.

    Space additional pins evenly, with 4-6" between each.

    Run a single strip of packing tape over the edge to anchor the pins.

    Repeat for all edges.

    When I finally purchase some lighting, I'll come back and update with what I did.