A while back, I purchased an IR rework station. I'd had the need to reball some BGA devices, and selected the Puhui T870a IR rework station.
Really, words can't describe how bad this station is. The thermocouples read different temperatures for the same area, one read room temperature at 46C! It lacks any sort of ramp control, you merely set the target temperature and then it reaches it, slowly.
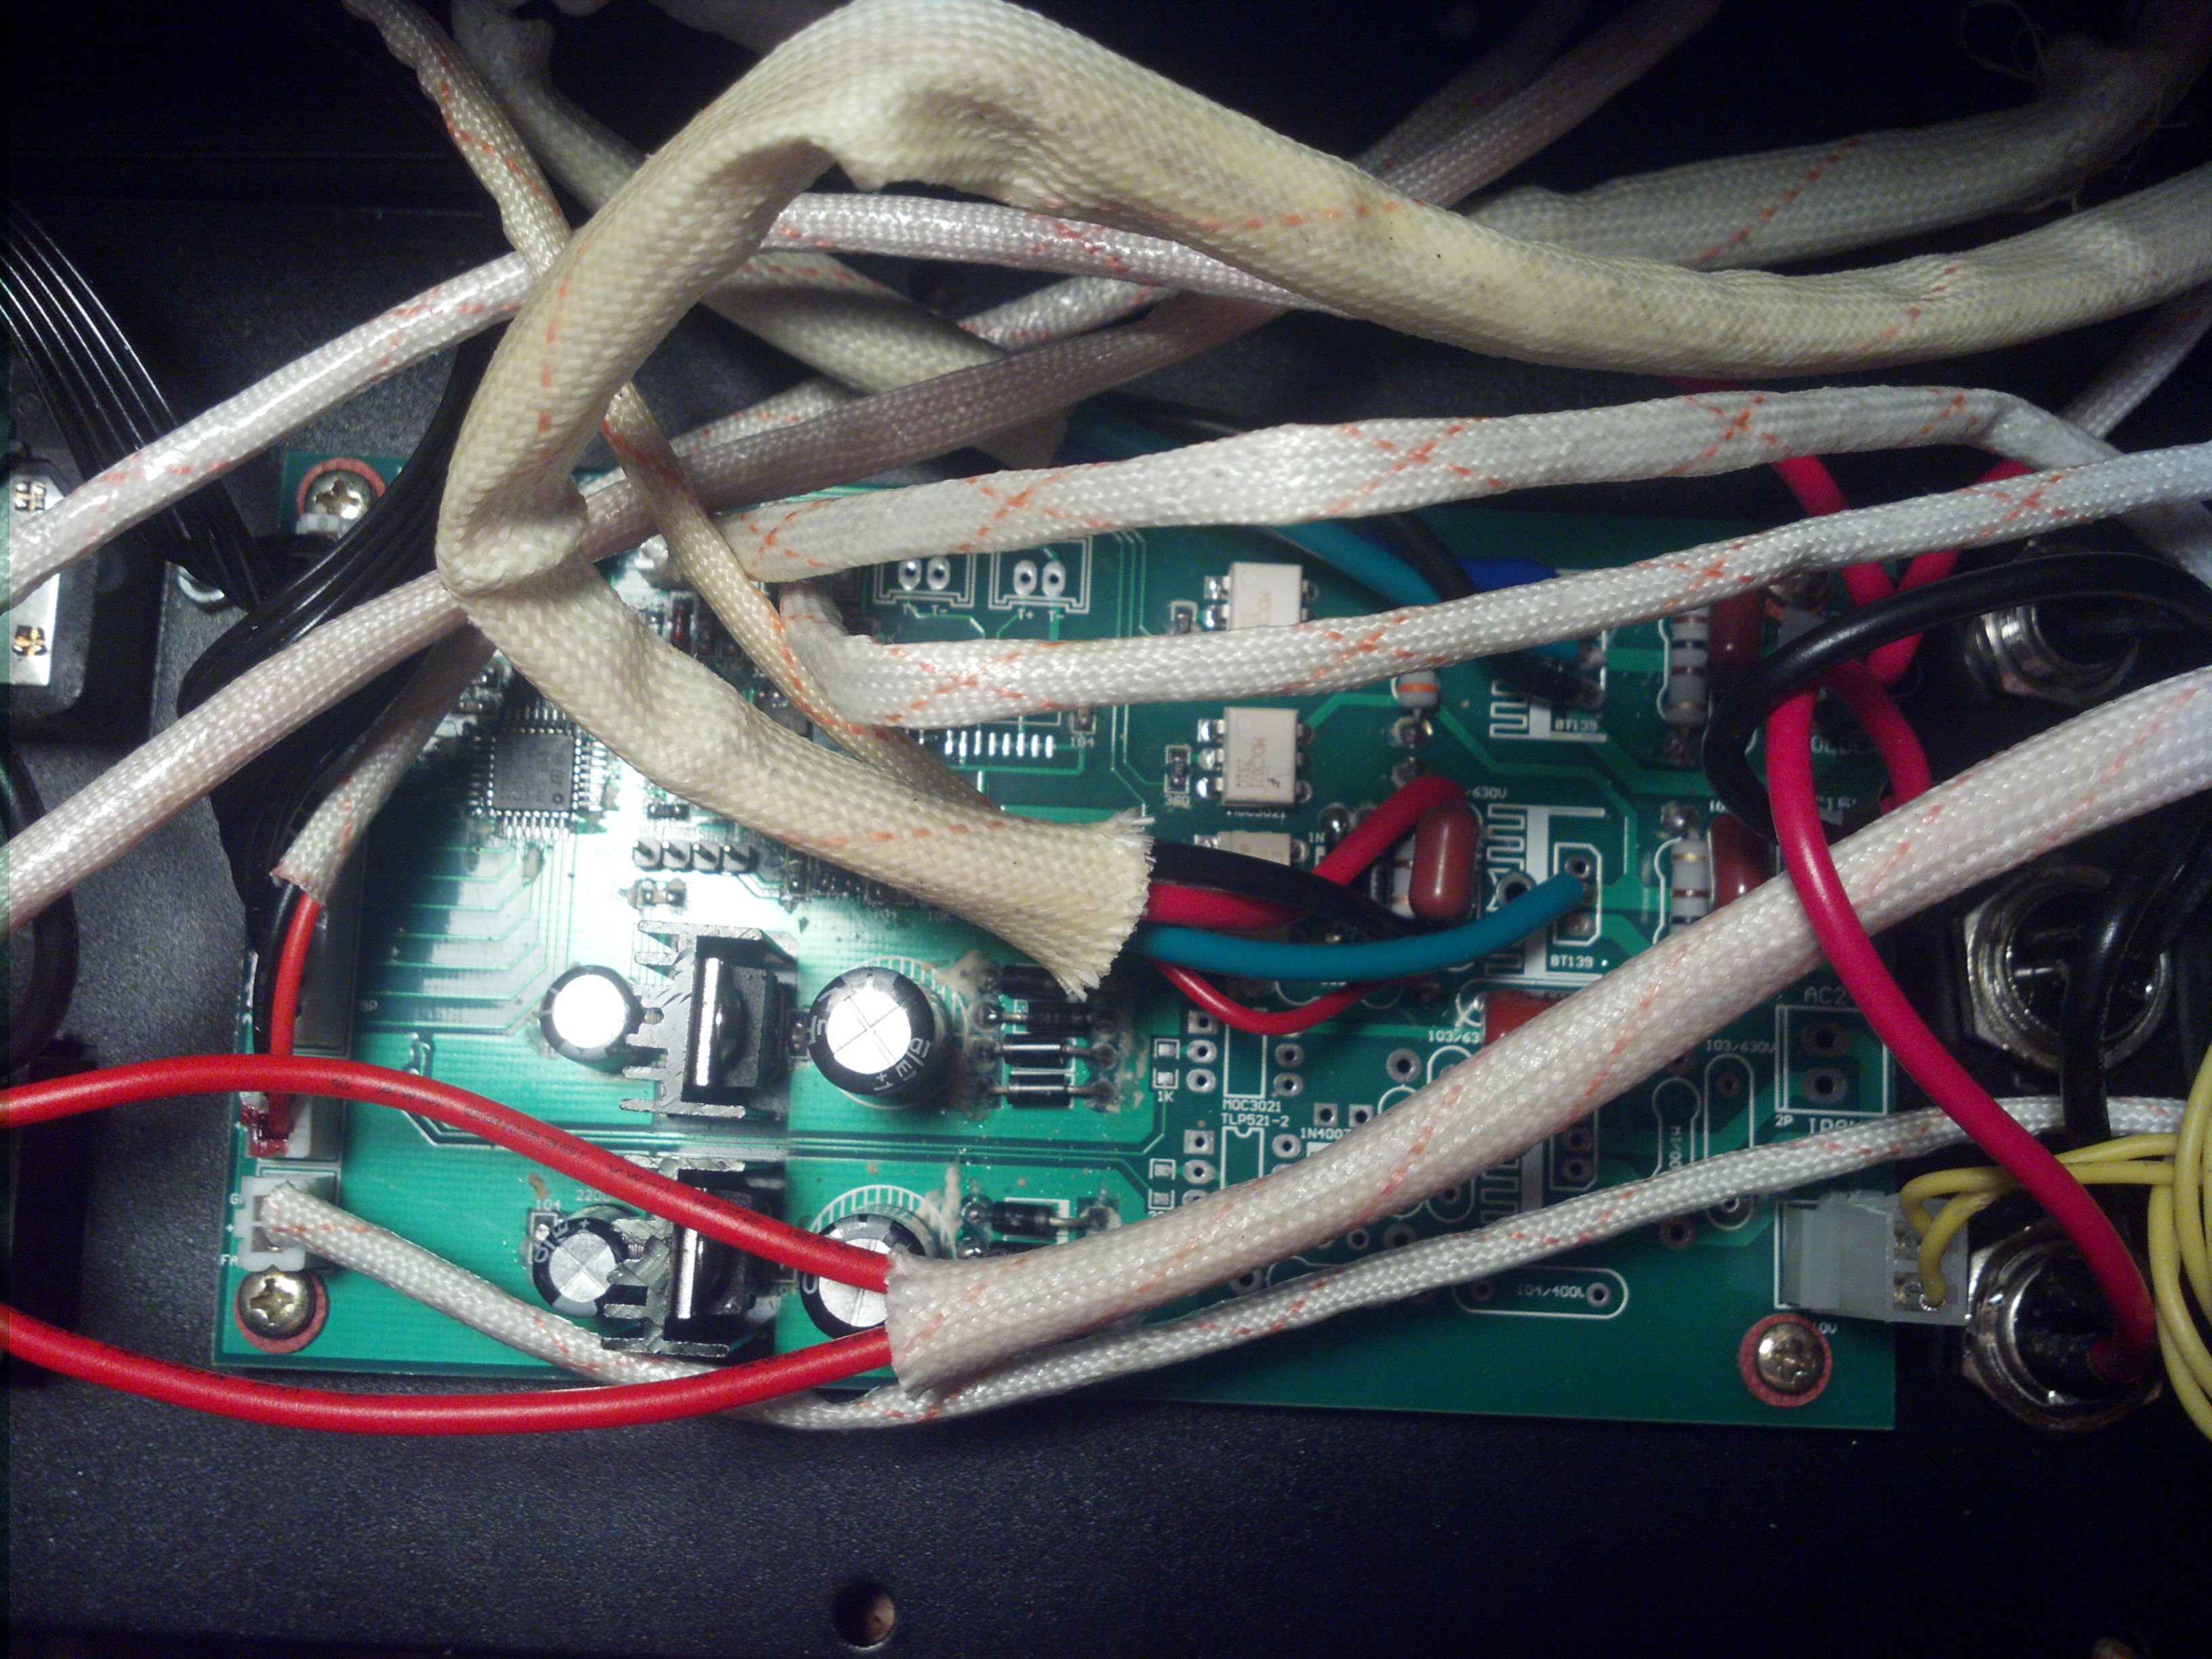
Wanting to make the most out of the cash I dropped on this sucker, I opened it up to find this:
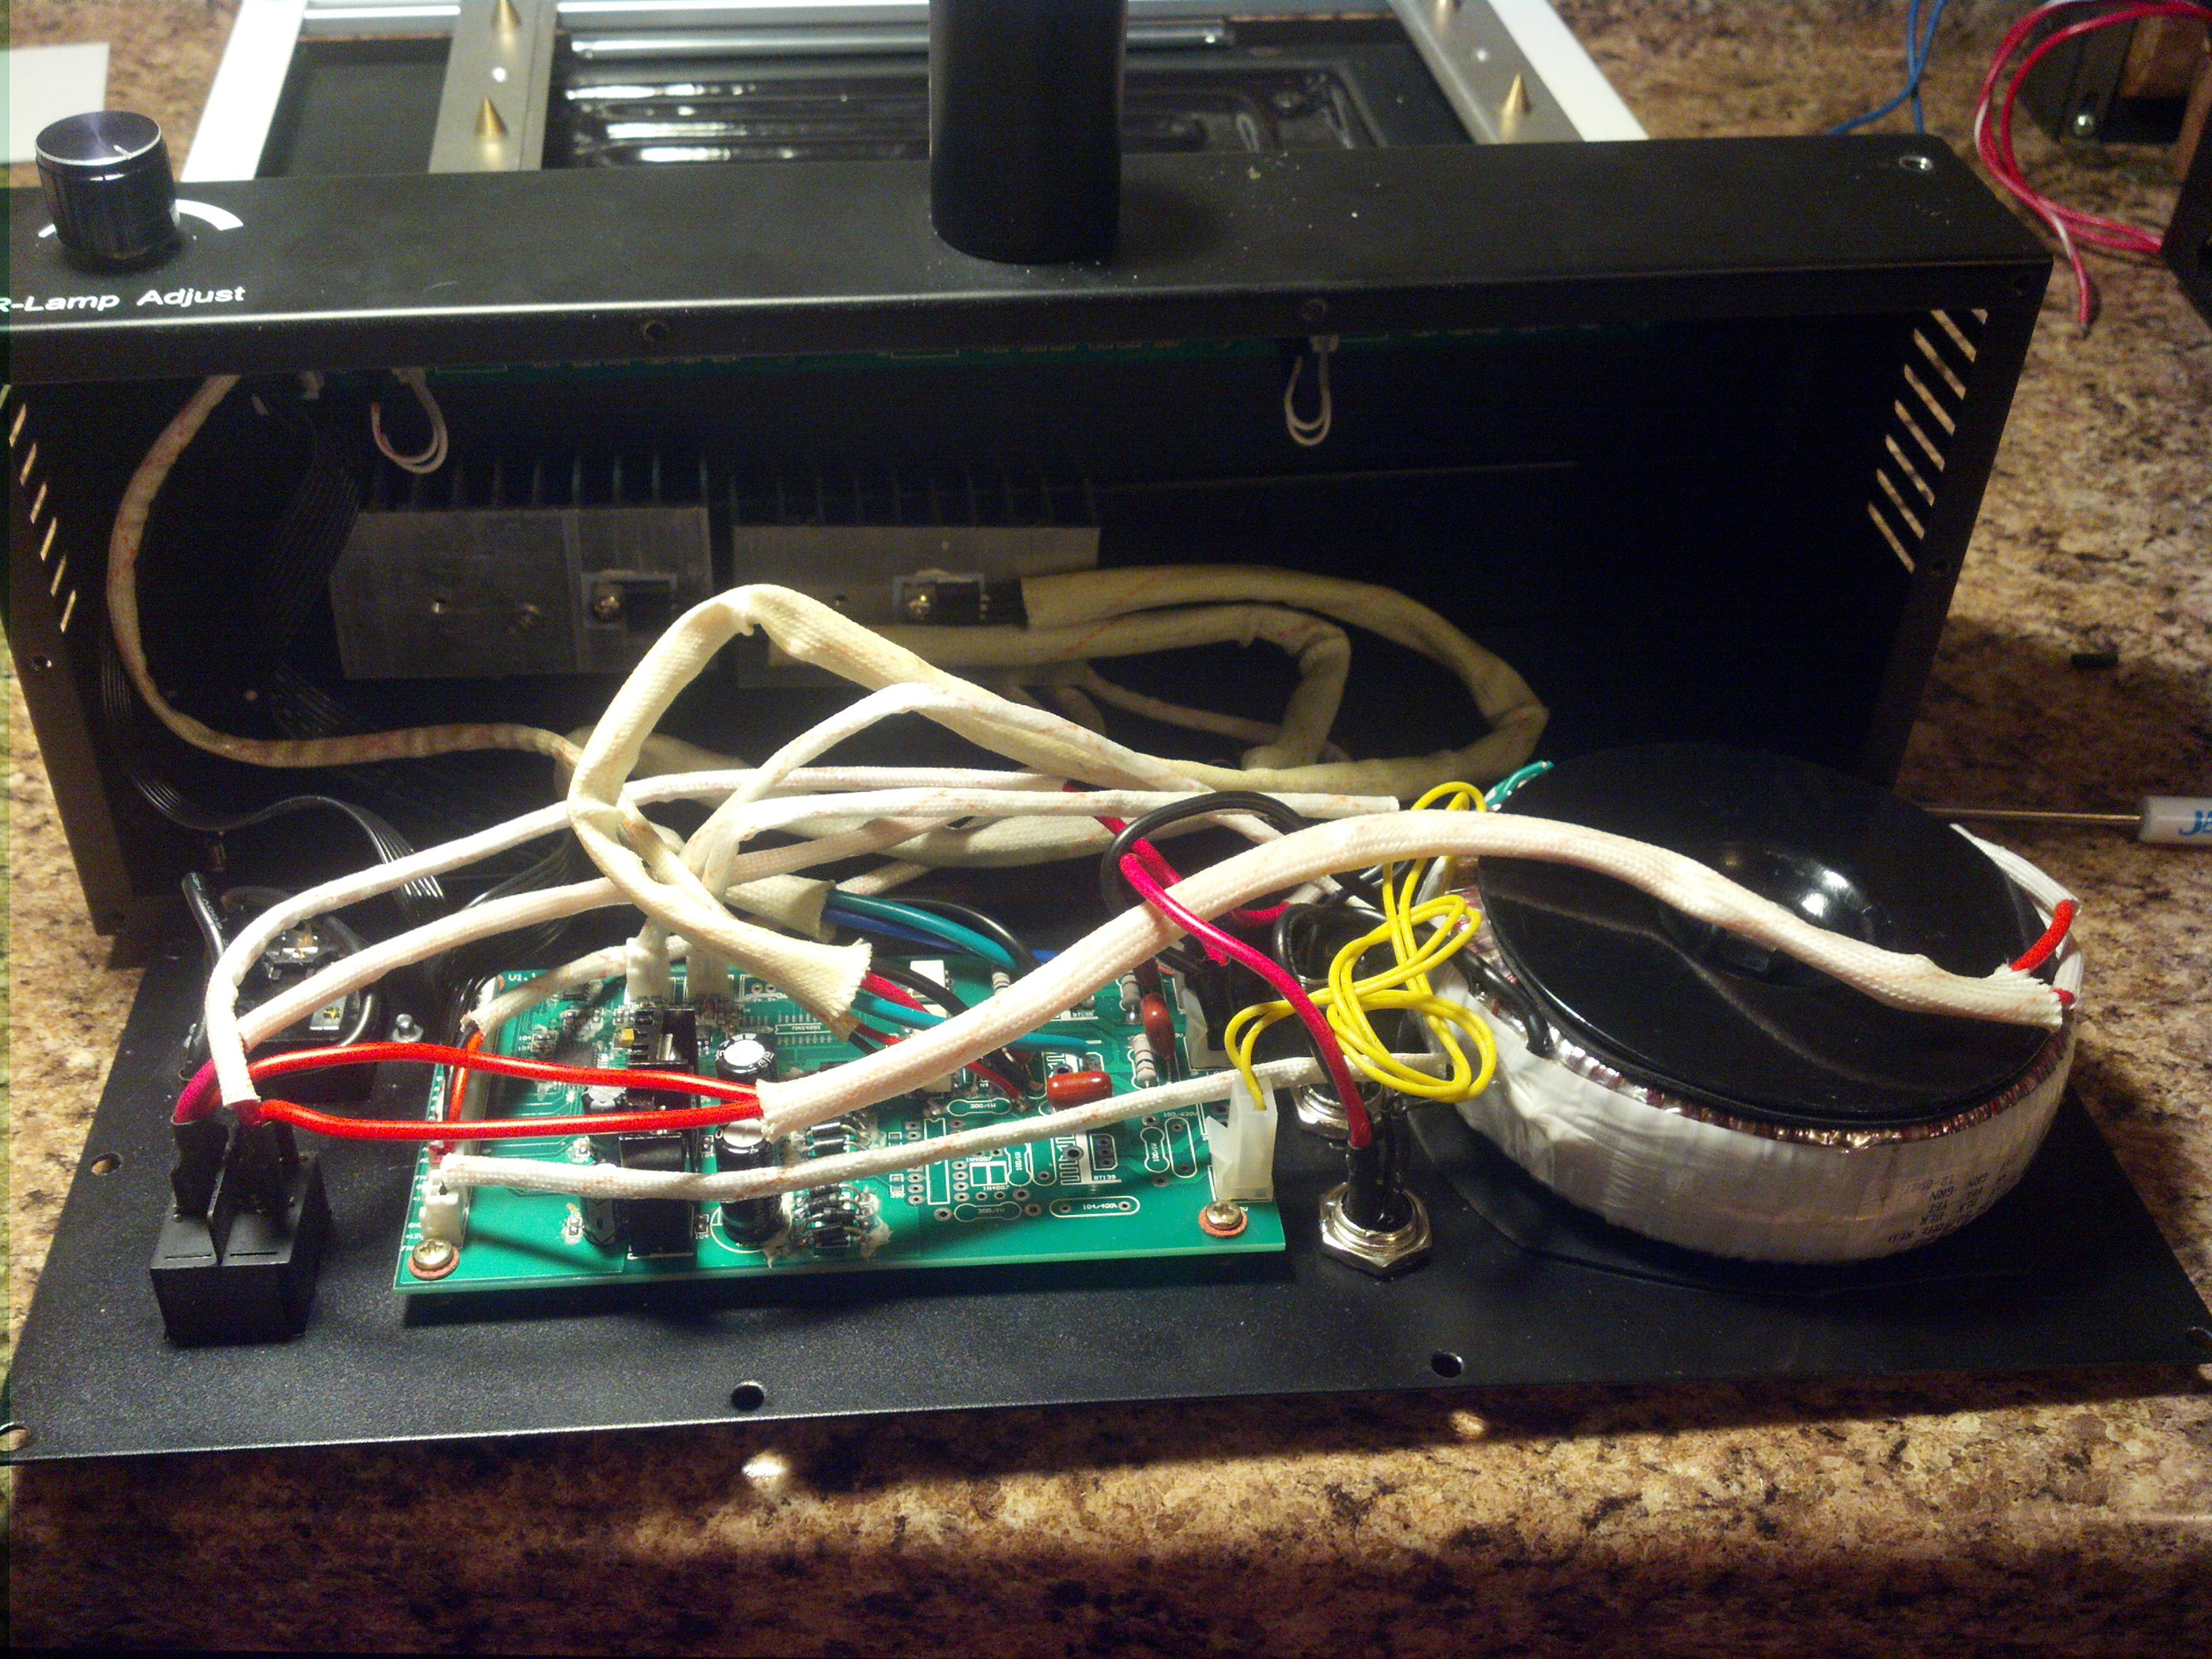
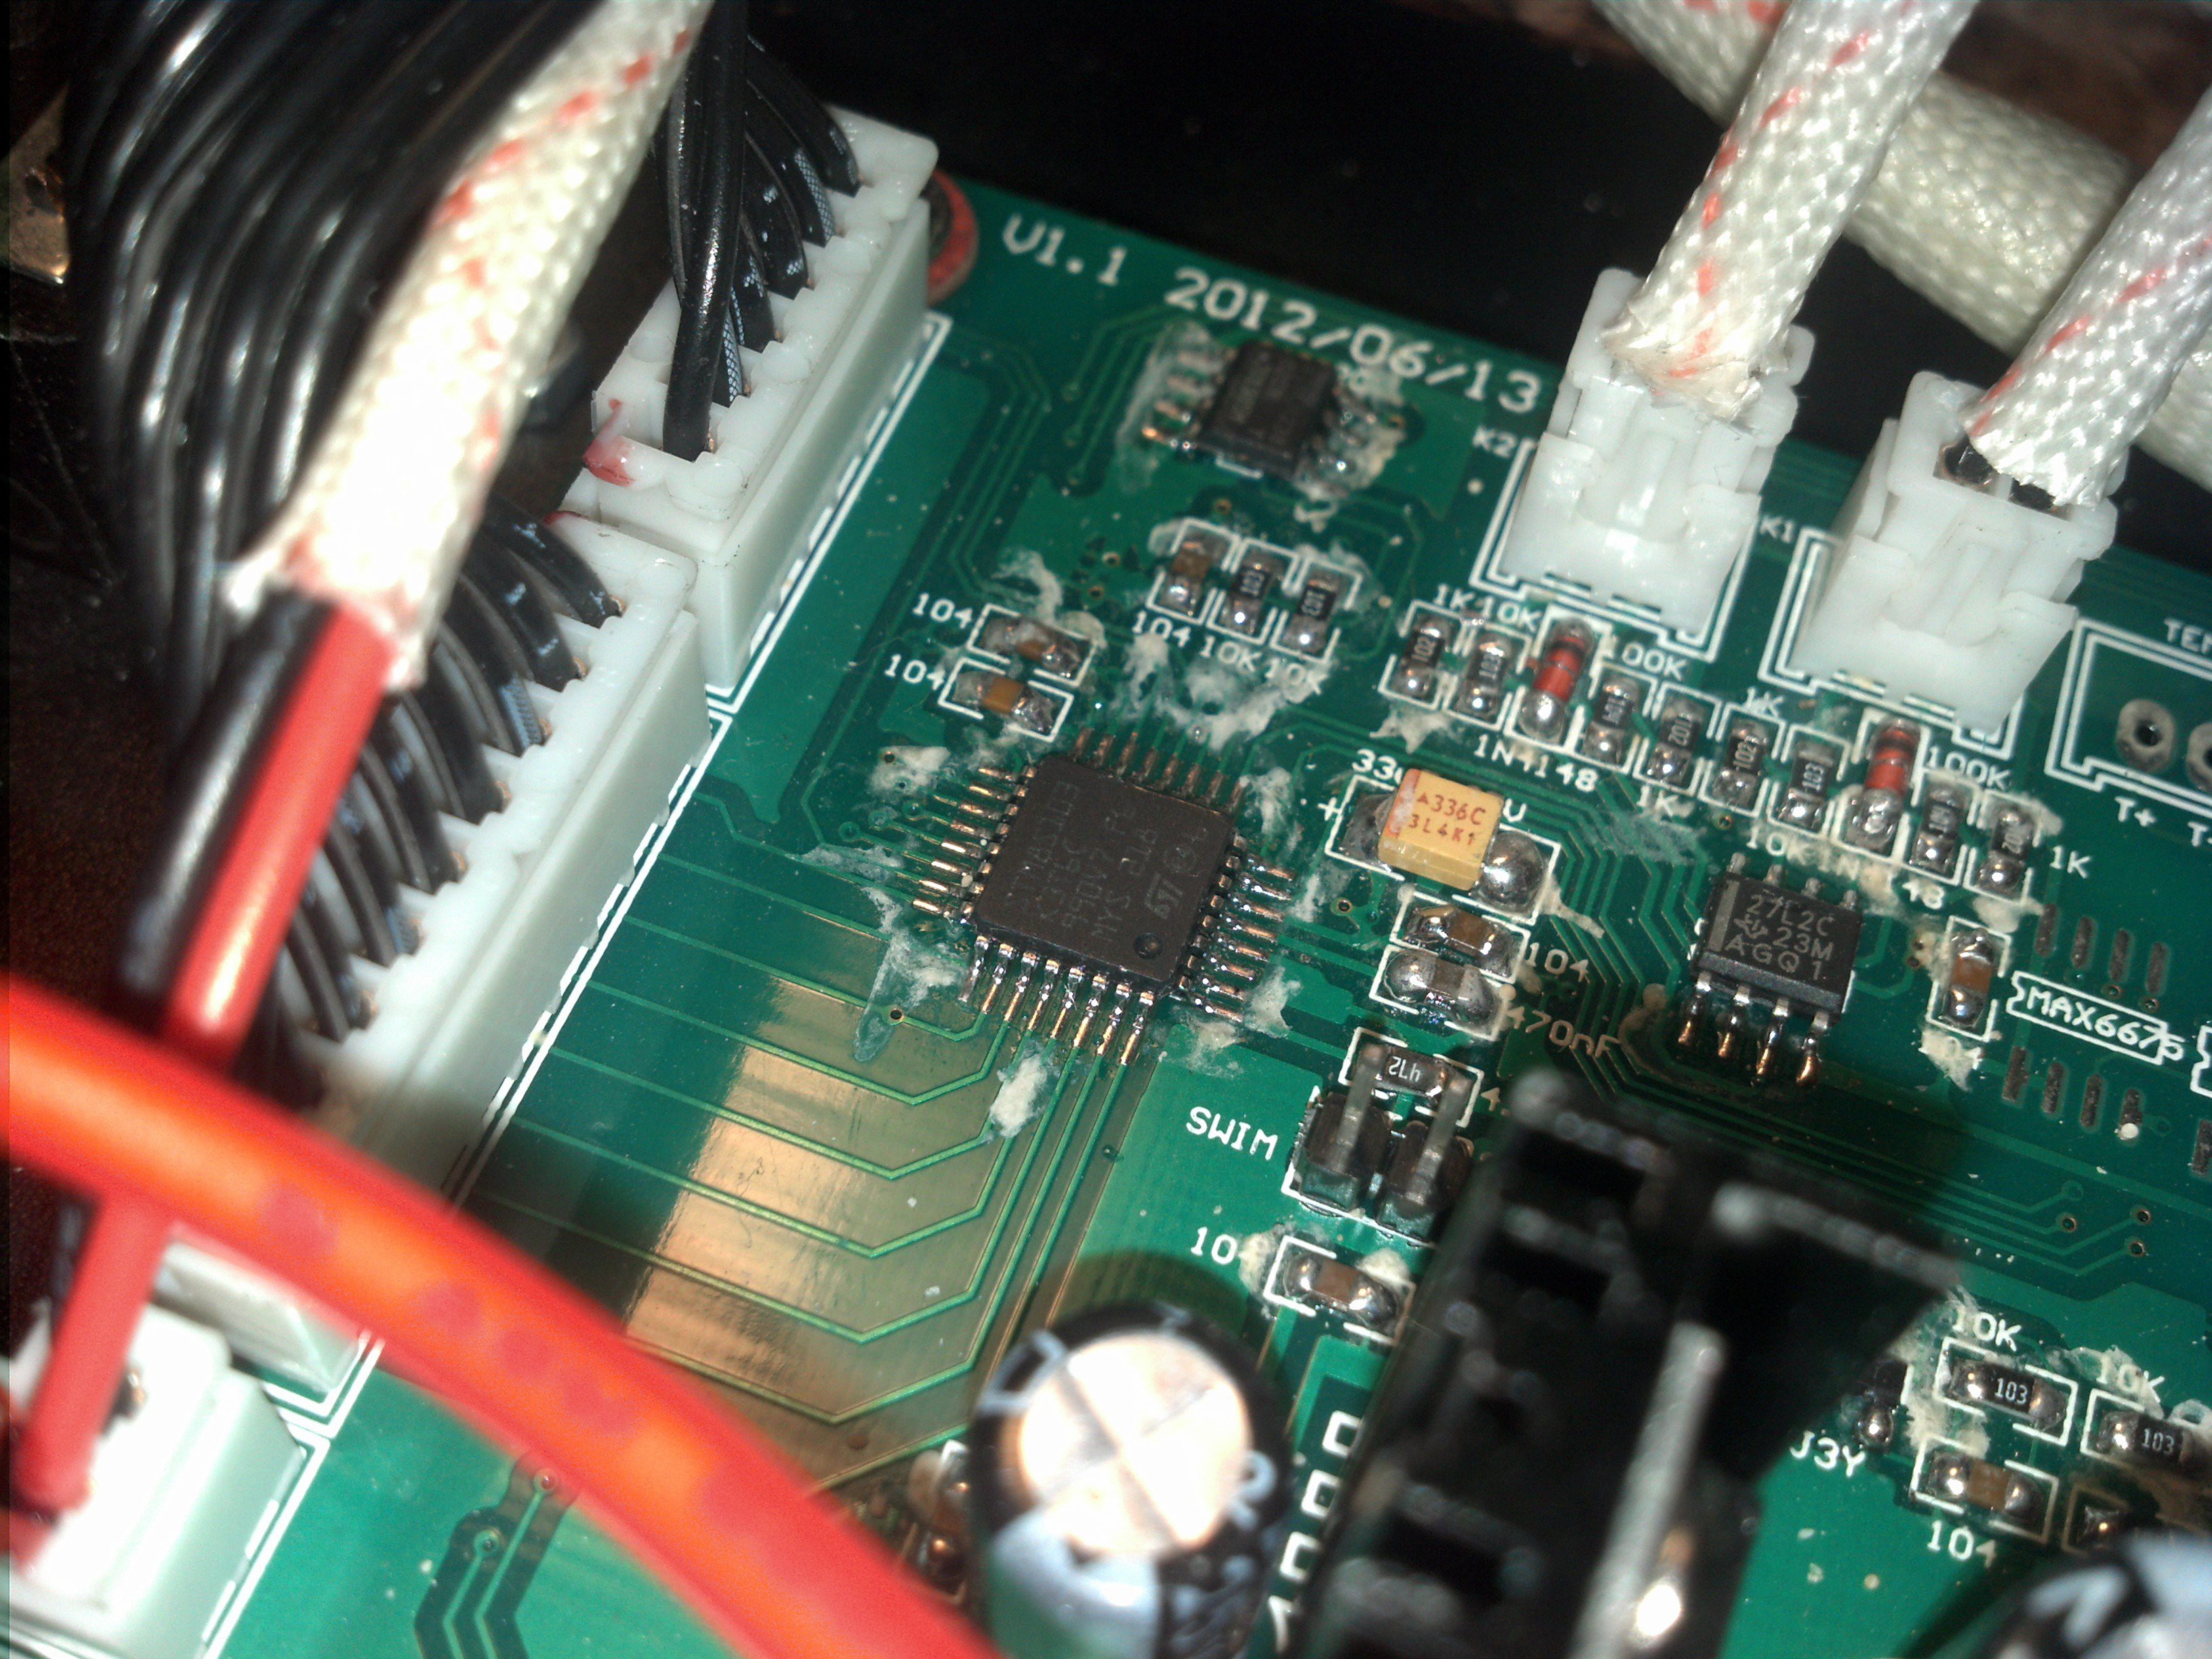
The main show is run by an STM8 series microcontroller (little brother of the popular STM32).
Major components include:
Triacs for controlling the lamp and bed
Optoisolators for controlling the triacs
Opamp circuit for thermocouples
7-segment LED display
5V regulators
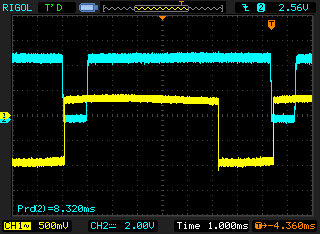
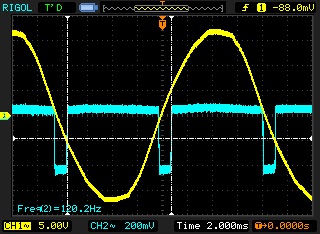
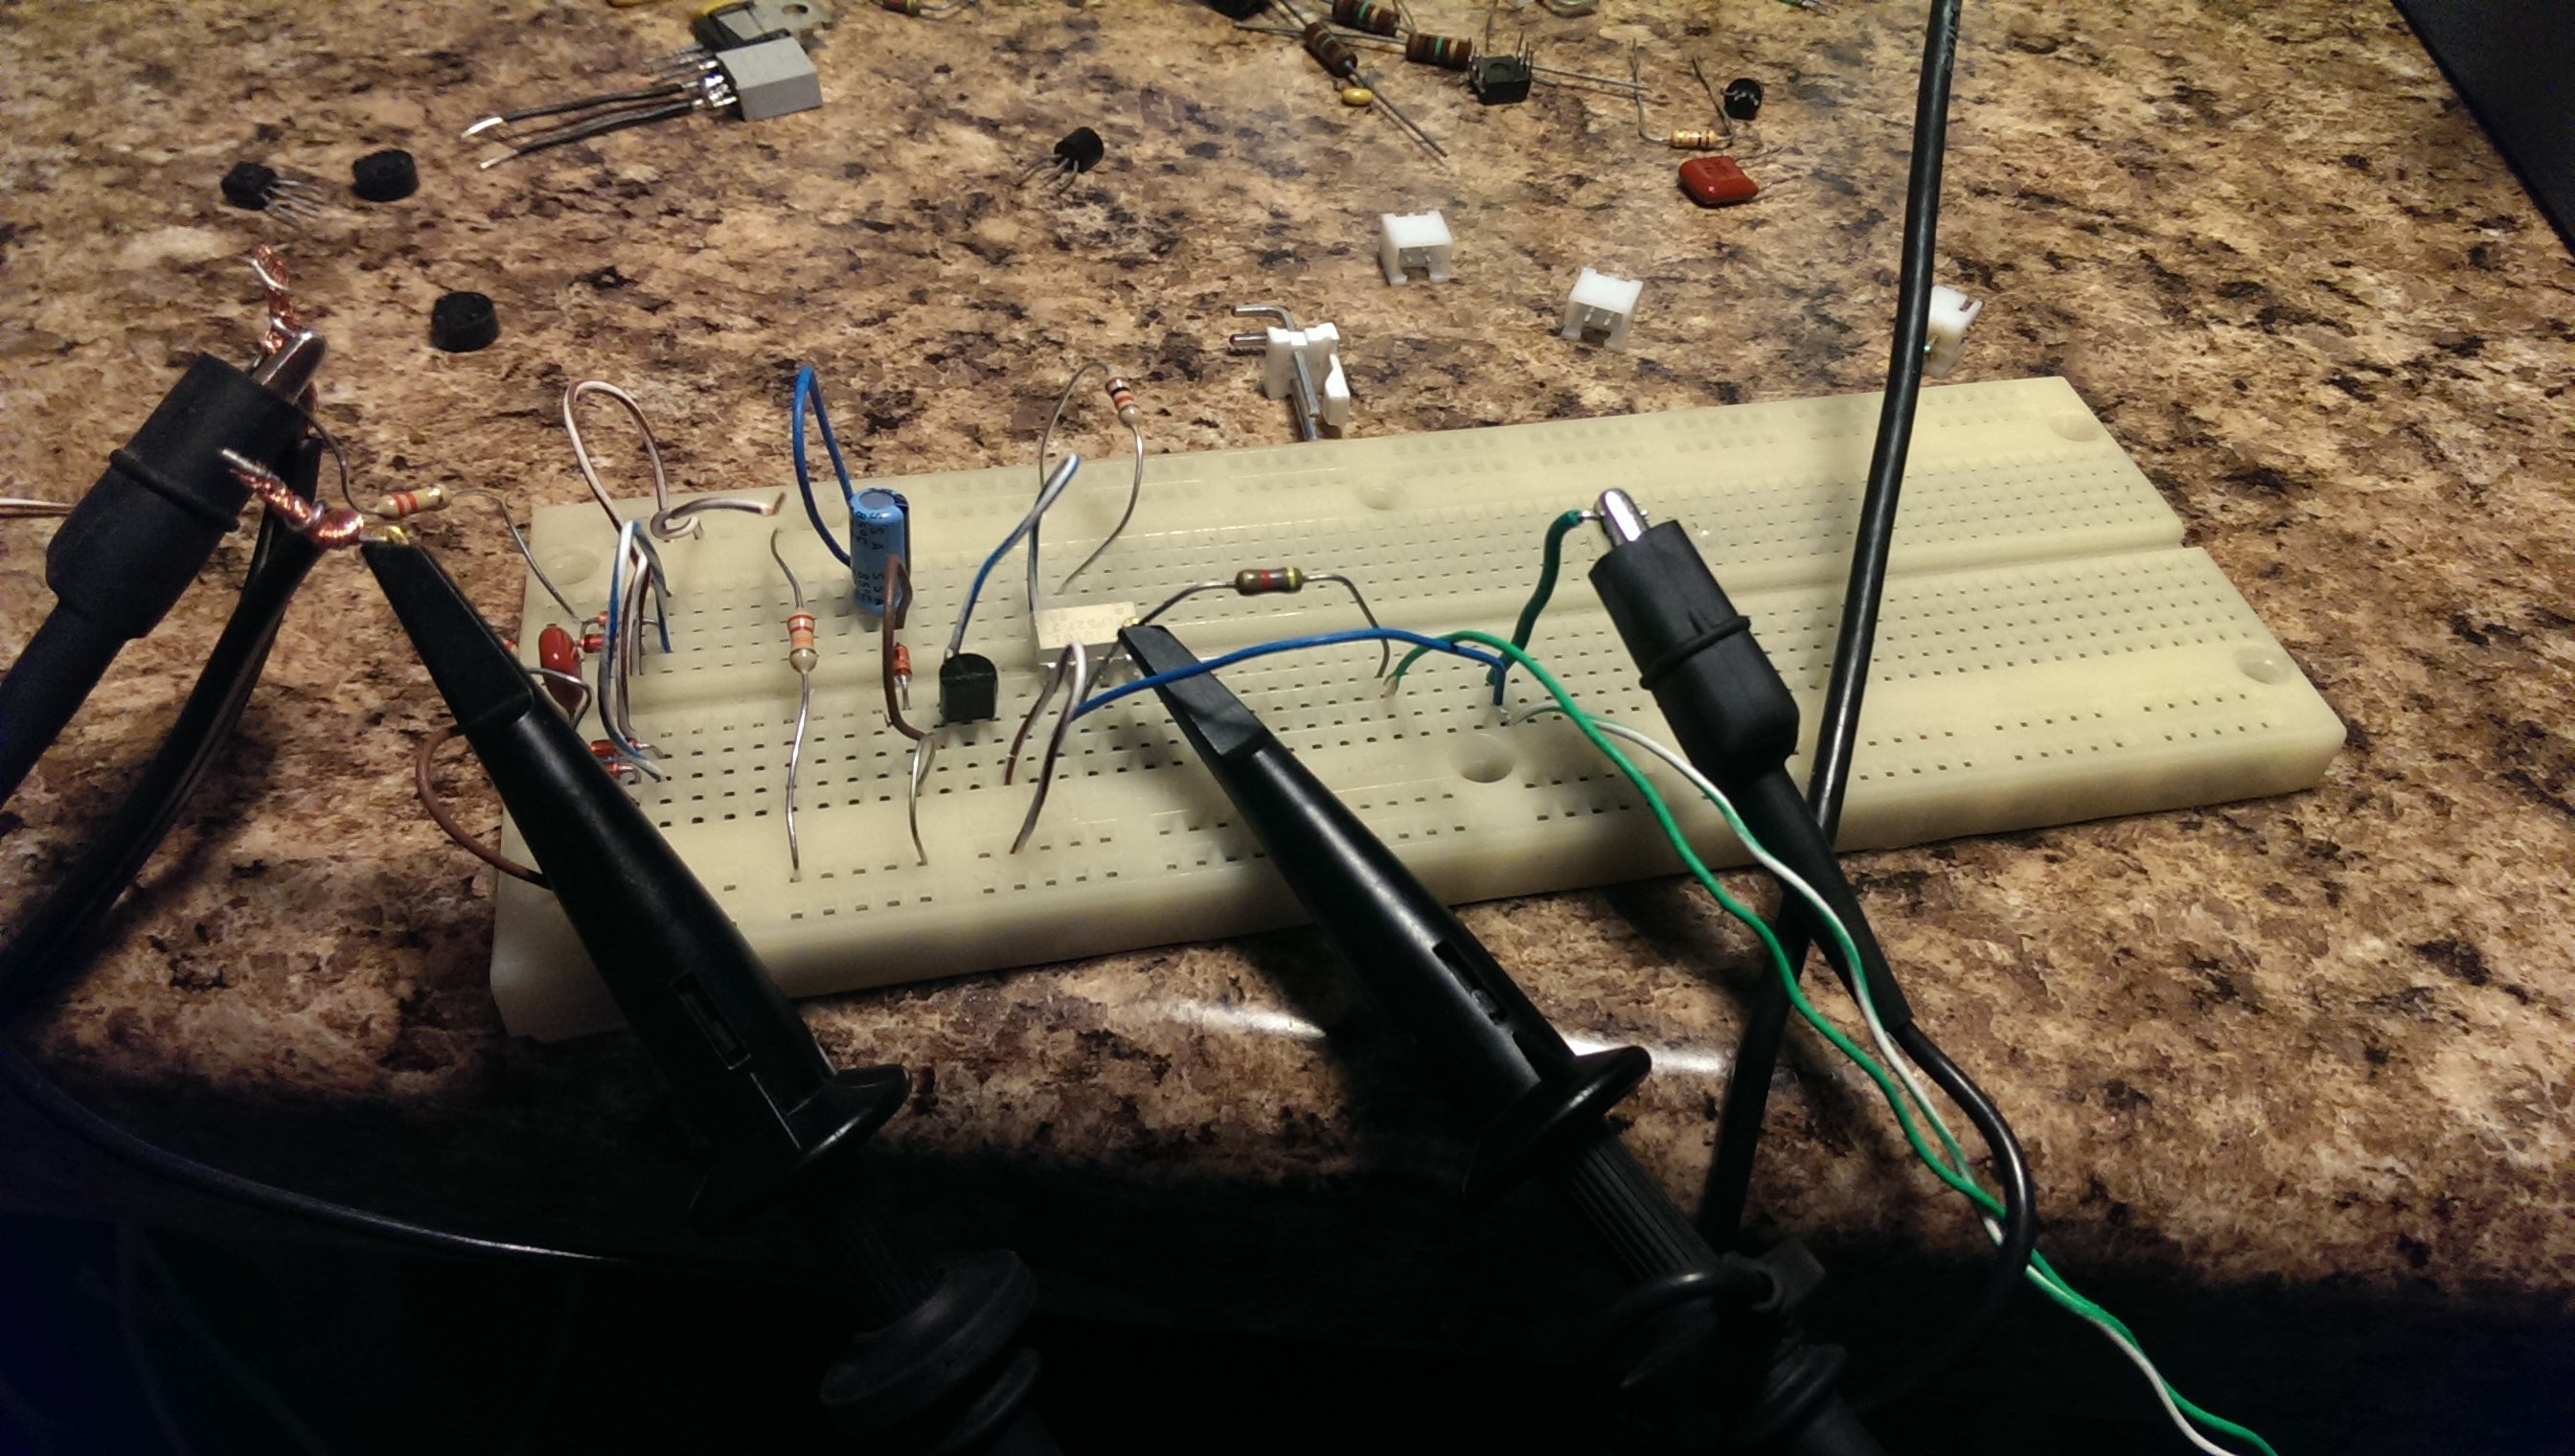
Zero-crossing detection circuit
The replacement system will include much of this, plus a method of computer linkup, in order to allow for ramp generation and reflow profiles.
The goal is to develop a complete drop-in replacement pcb with linkup software.
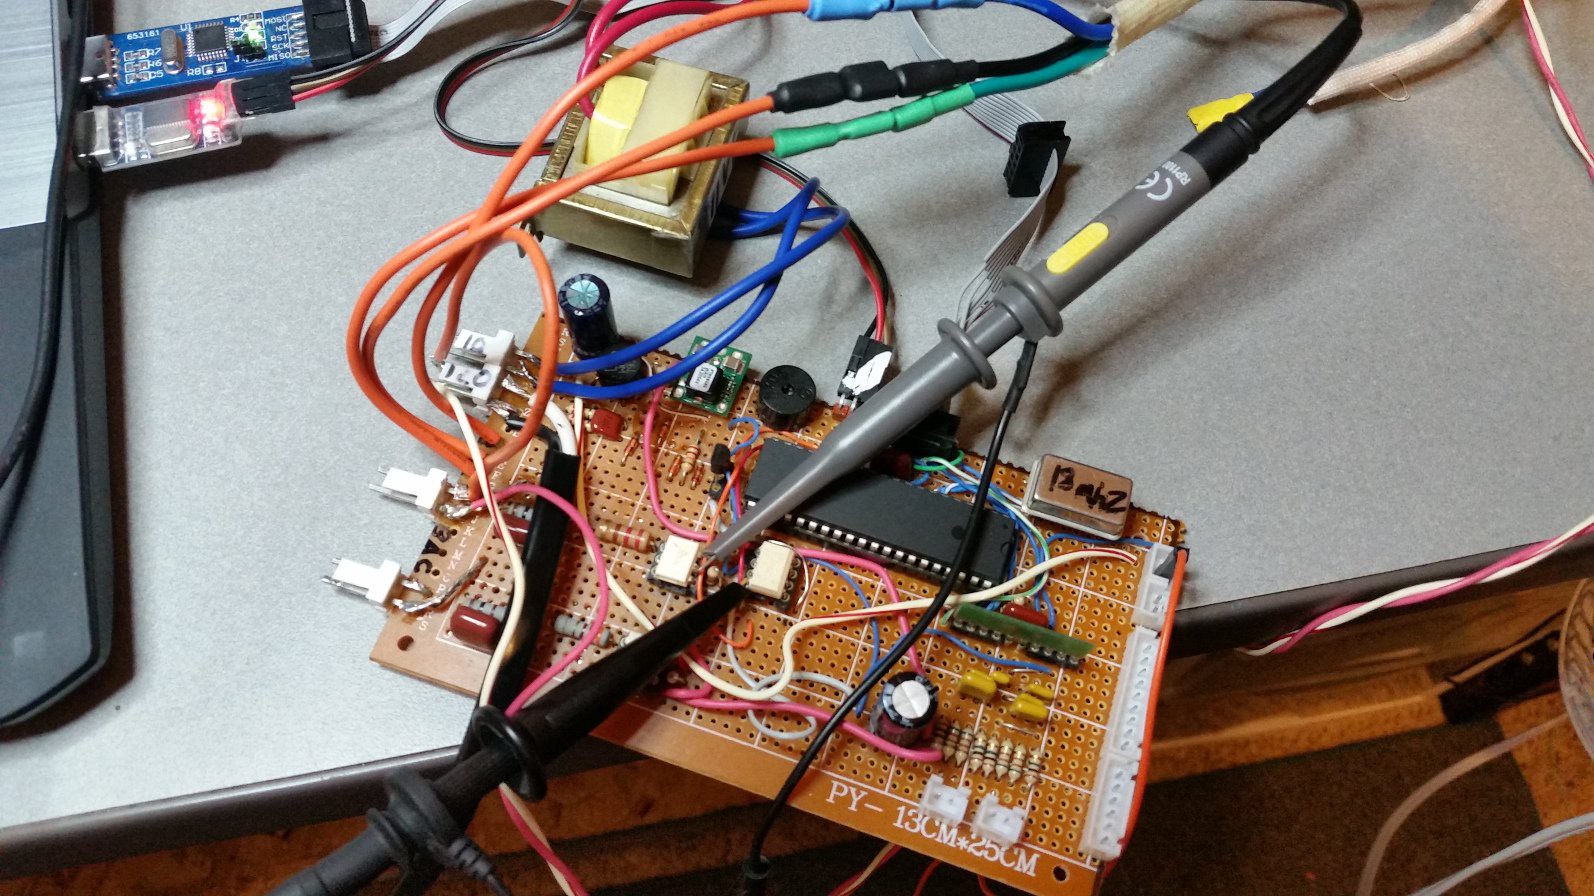
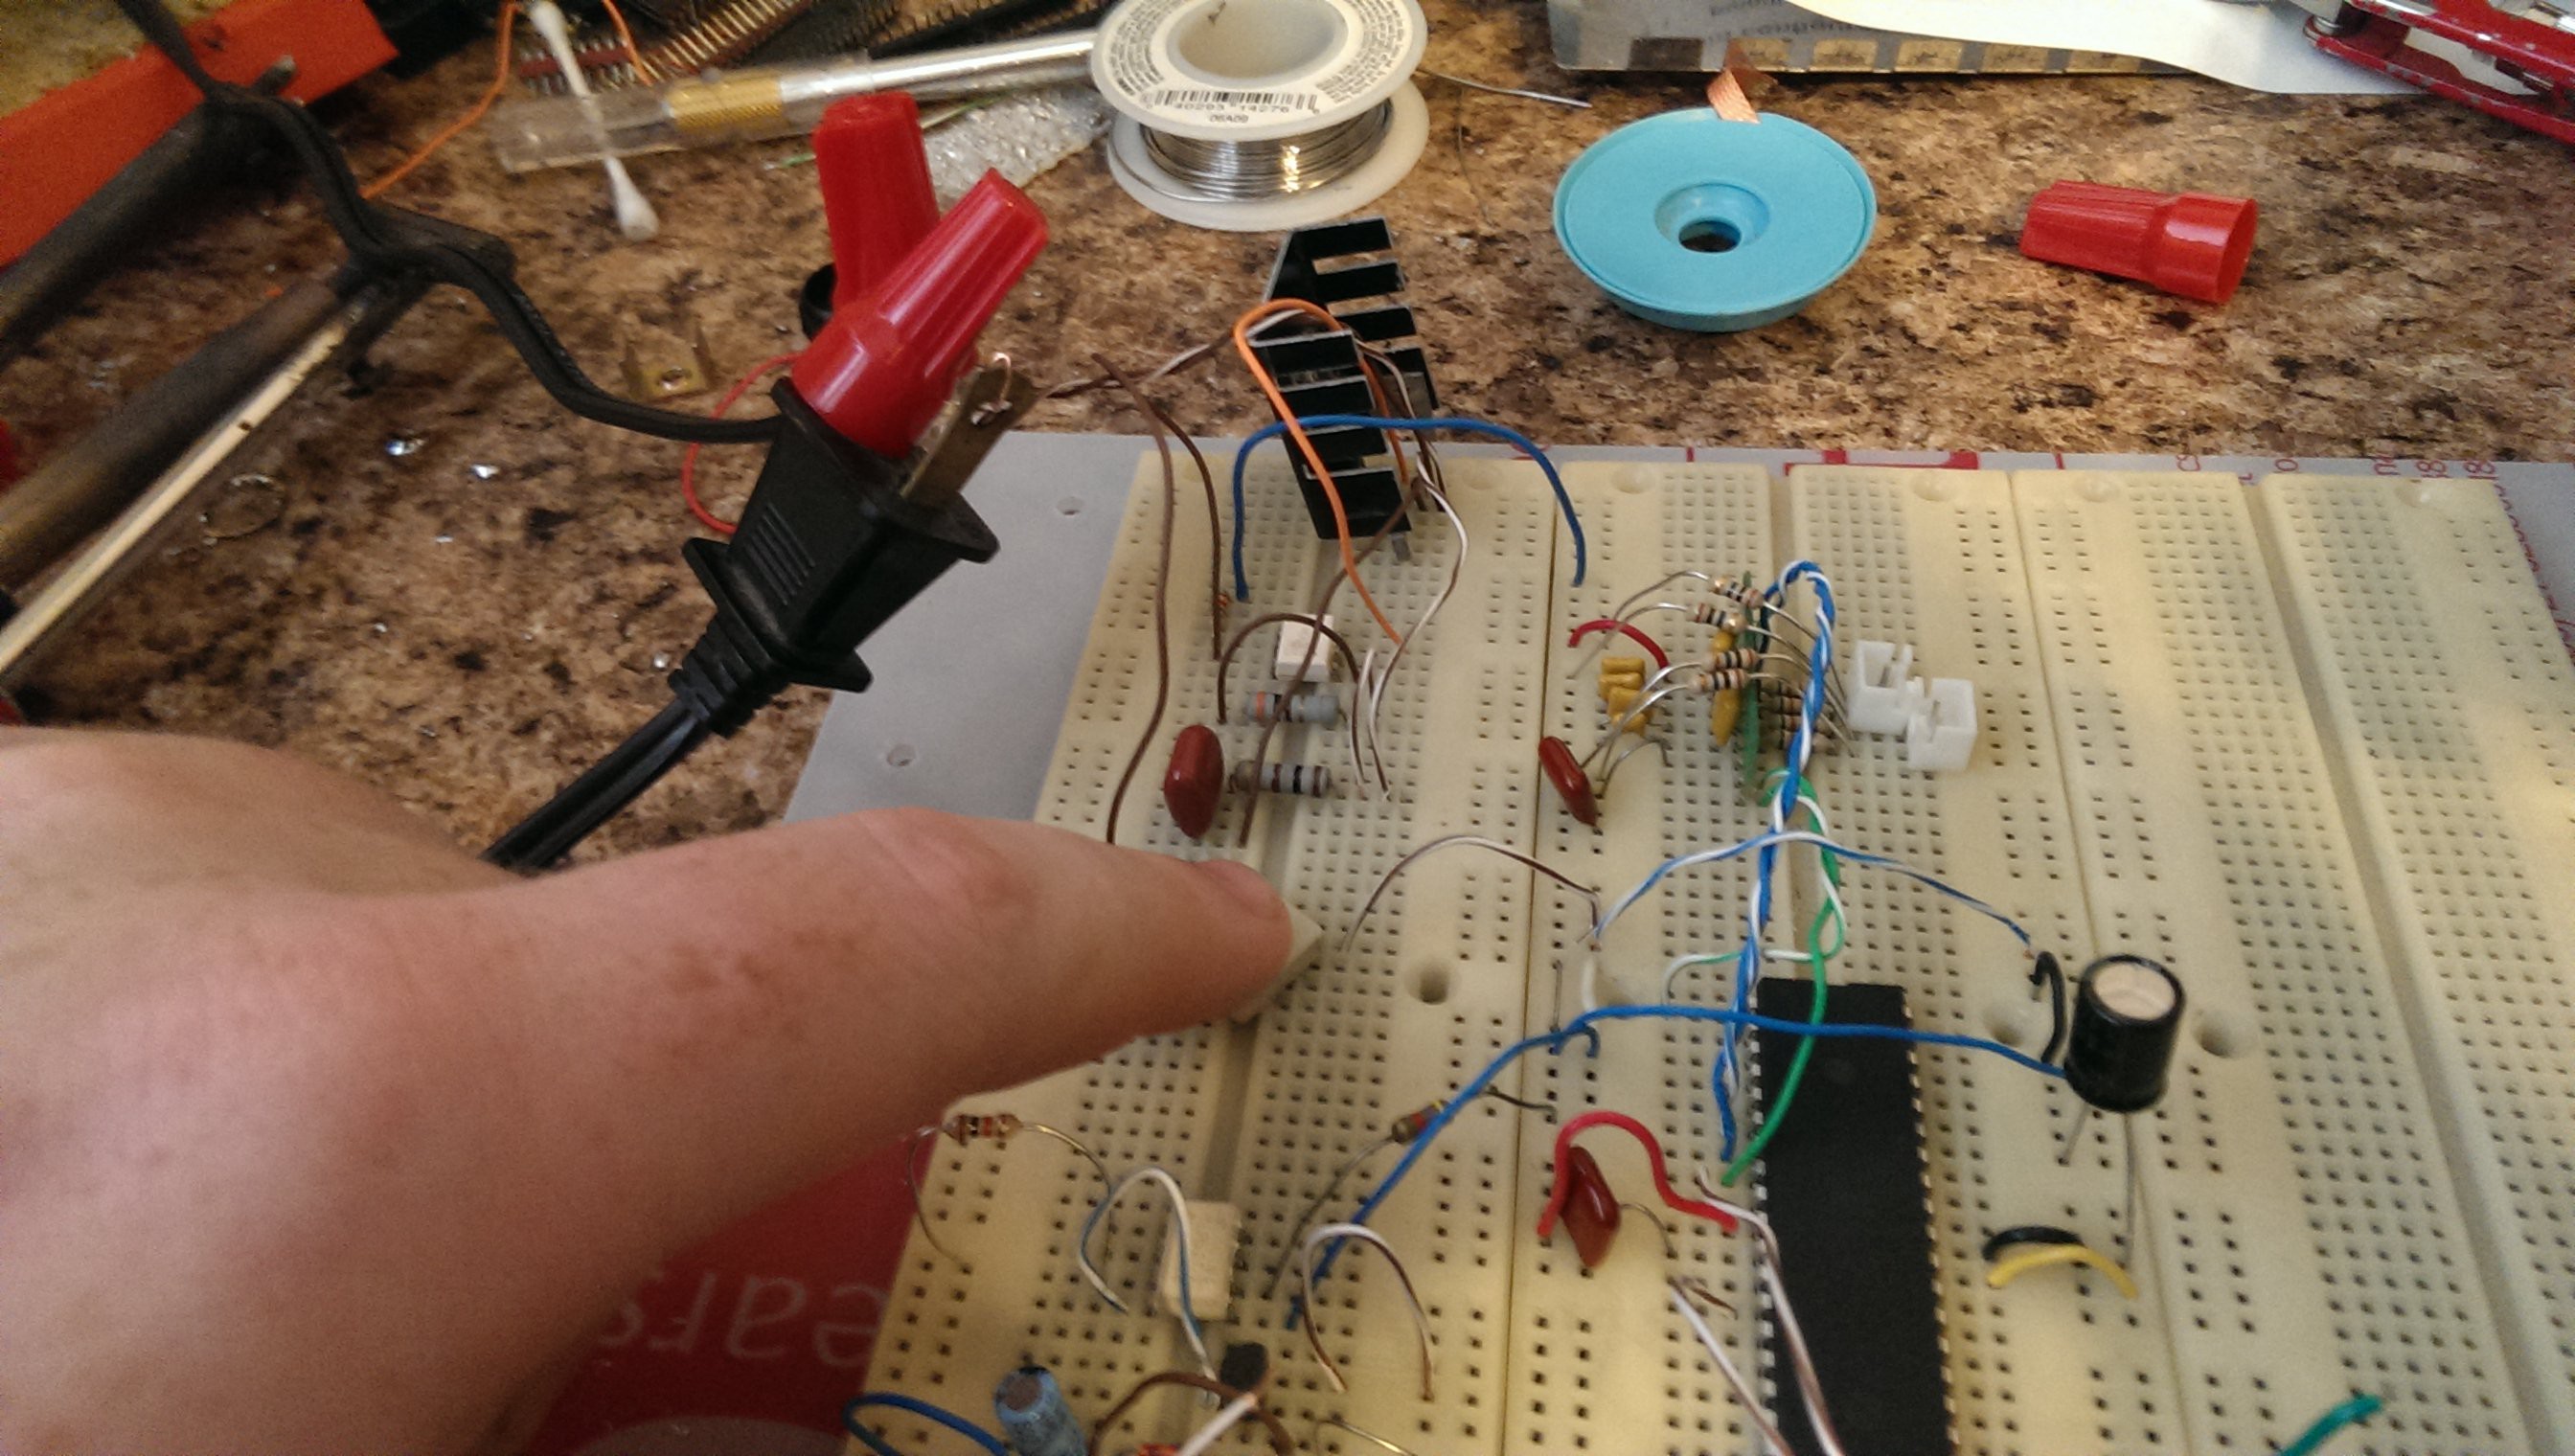
The new system will run on an ATMEGA324, programmed in C.
System Design:
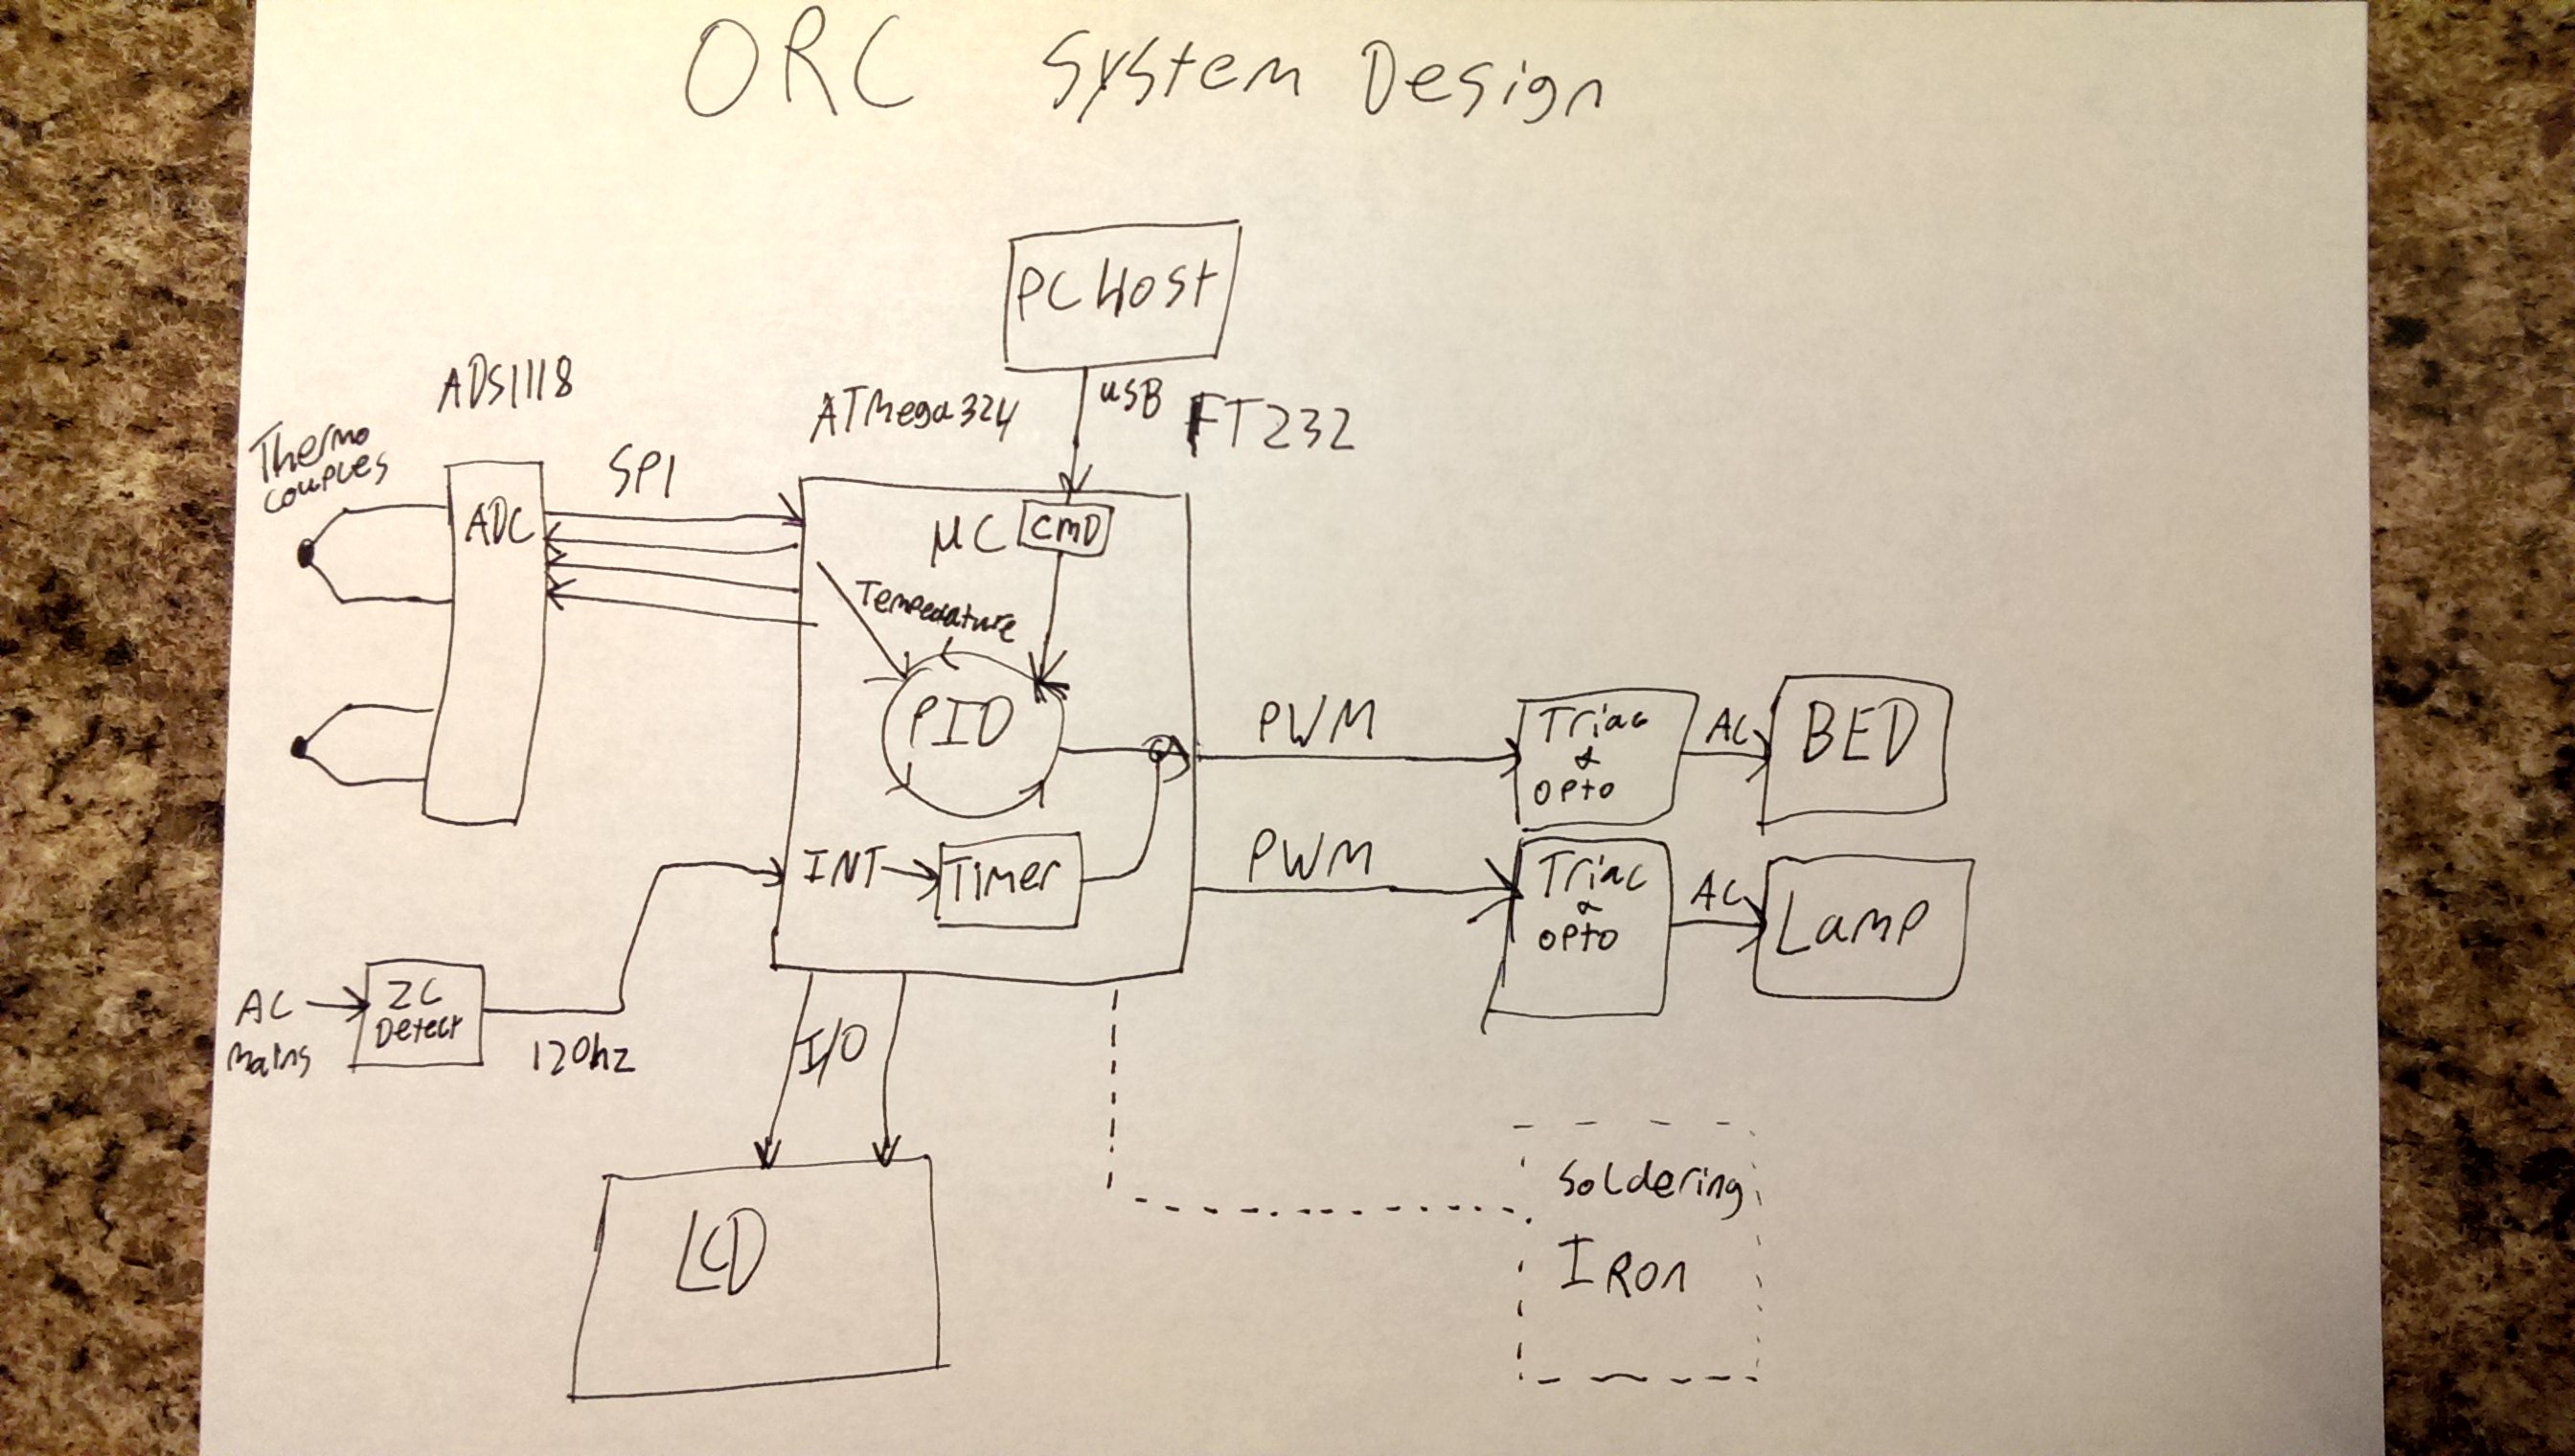
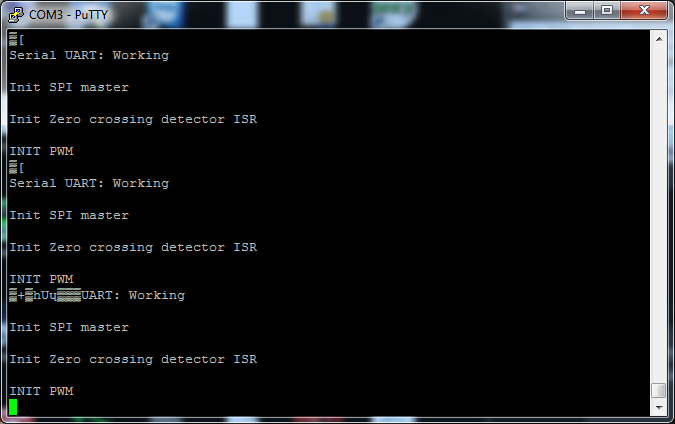
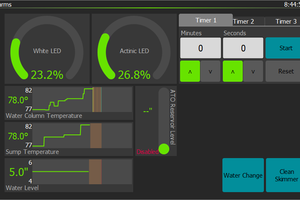
The ATMEGA324 runs a PID algorithm, and accepts commands from PC Host software via USB.
Additionally, the microcontroller is periodically taking temperature measurements with the ADS1118 ADC and thermocouples.
This temperature data is fed into the PID algorithm, along with target temperatures from the command parser. 120VAC is fed into the zero-crossing detector circuit, which generates a pulse on every zero-crossing. The output of that is fed into interrupts and used to trigger an internal timer. The timer is used in conjunction with the output of the PID algorithm to determine the turn on time and on duration of the heat bed and IR lamp. Additionally, a Hitachi-compatible character lcd will be attached for displaying back the current temperatures and setpoints to the user. Future support for off-the-shelf soldering irons is planned.
 Skyler Brandt
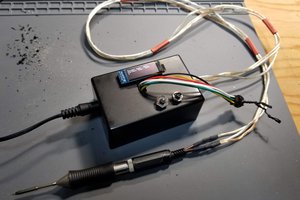
 David H. Bronke
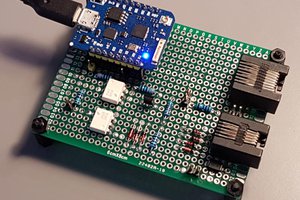
 Ivan Stepaniuk
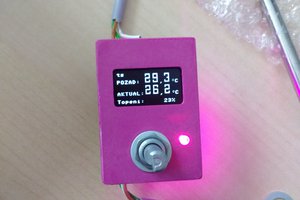
 Robert
honestly I was hoping - that I will find here linux software solution for popular bga rework machines like ir6000, any chances for compatibility?