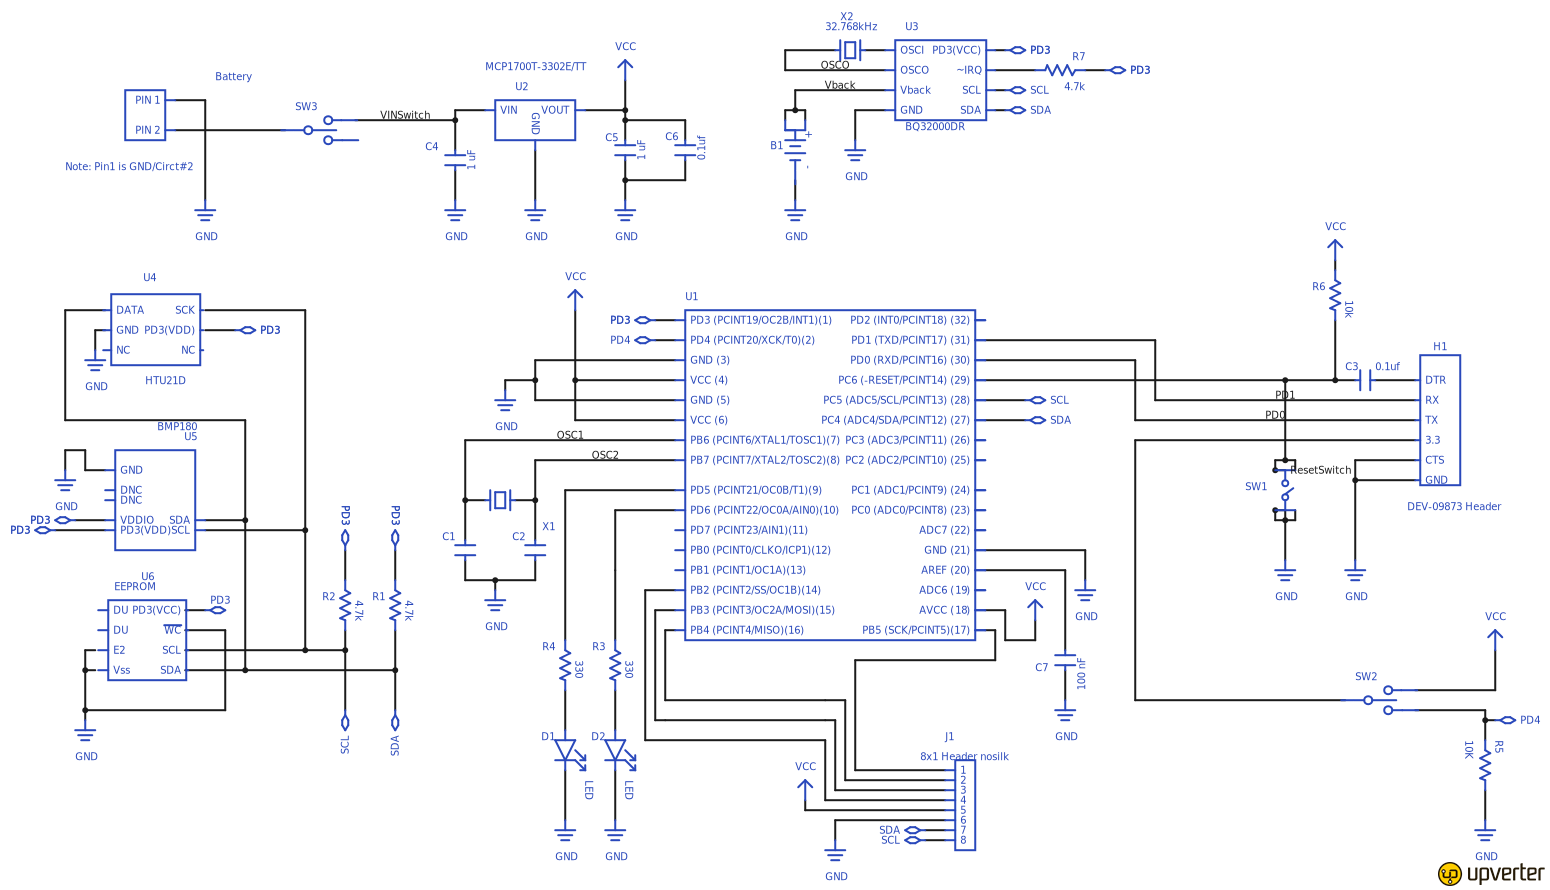
Record humidity, air pressure and temperature.
Store readings in an external EEPROM.
Link reading to the current time using a real time clock.
Low power.
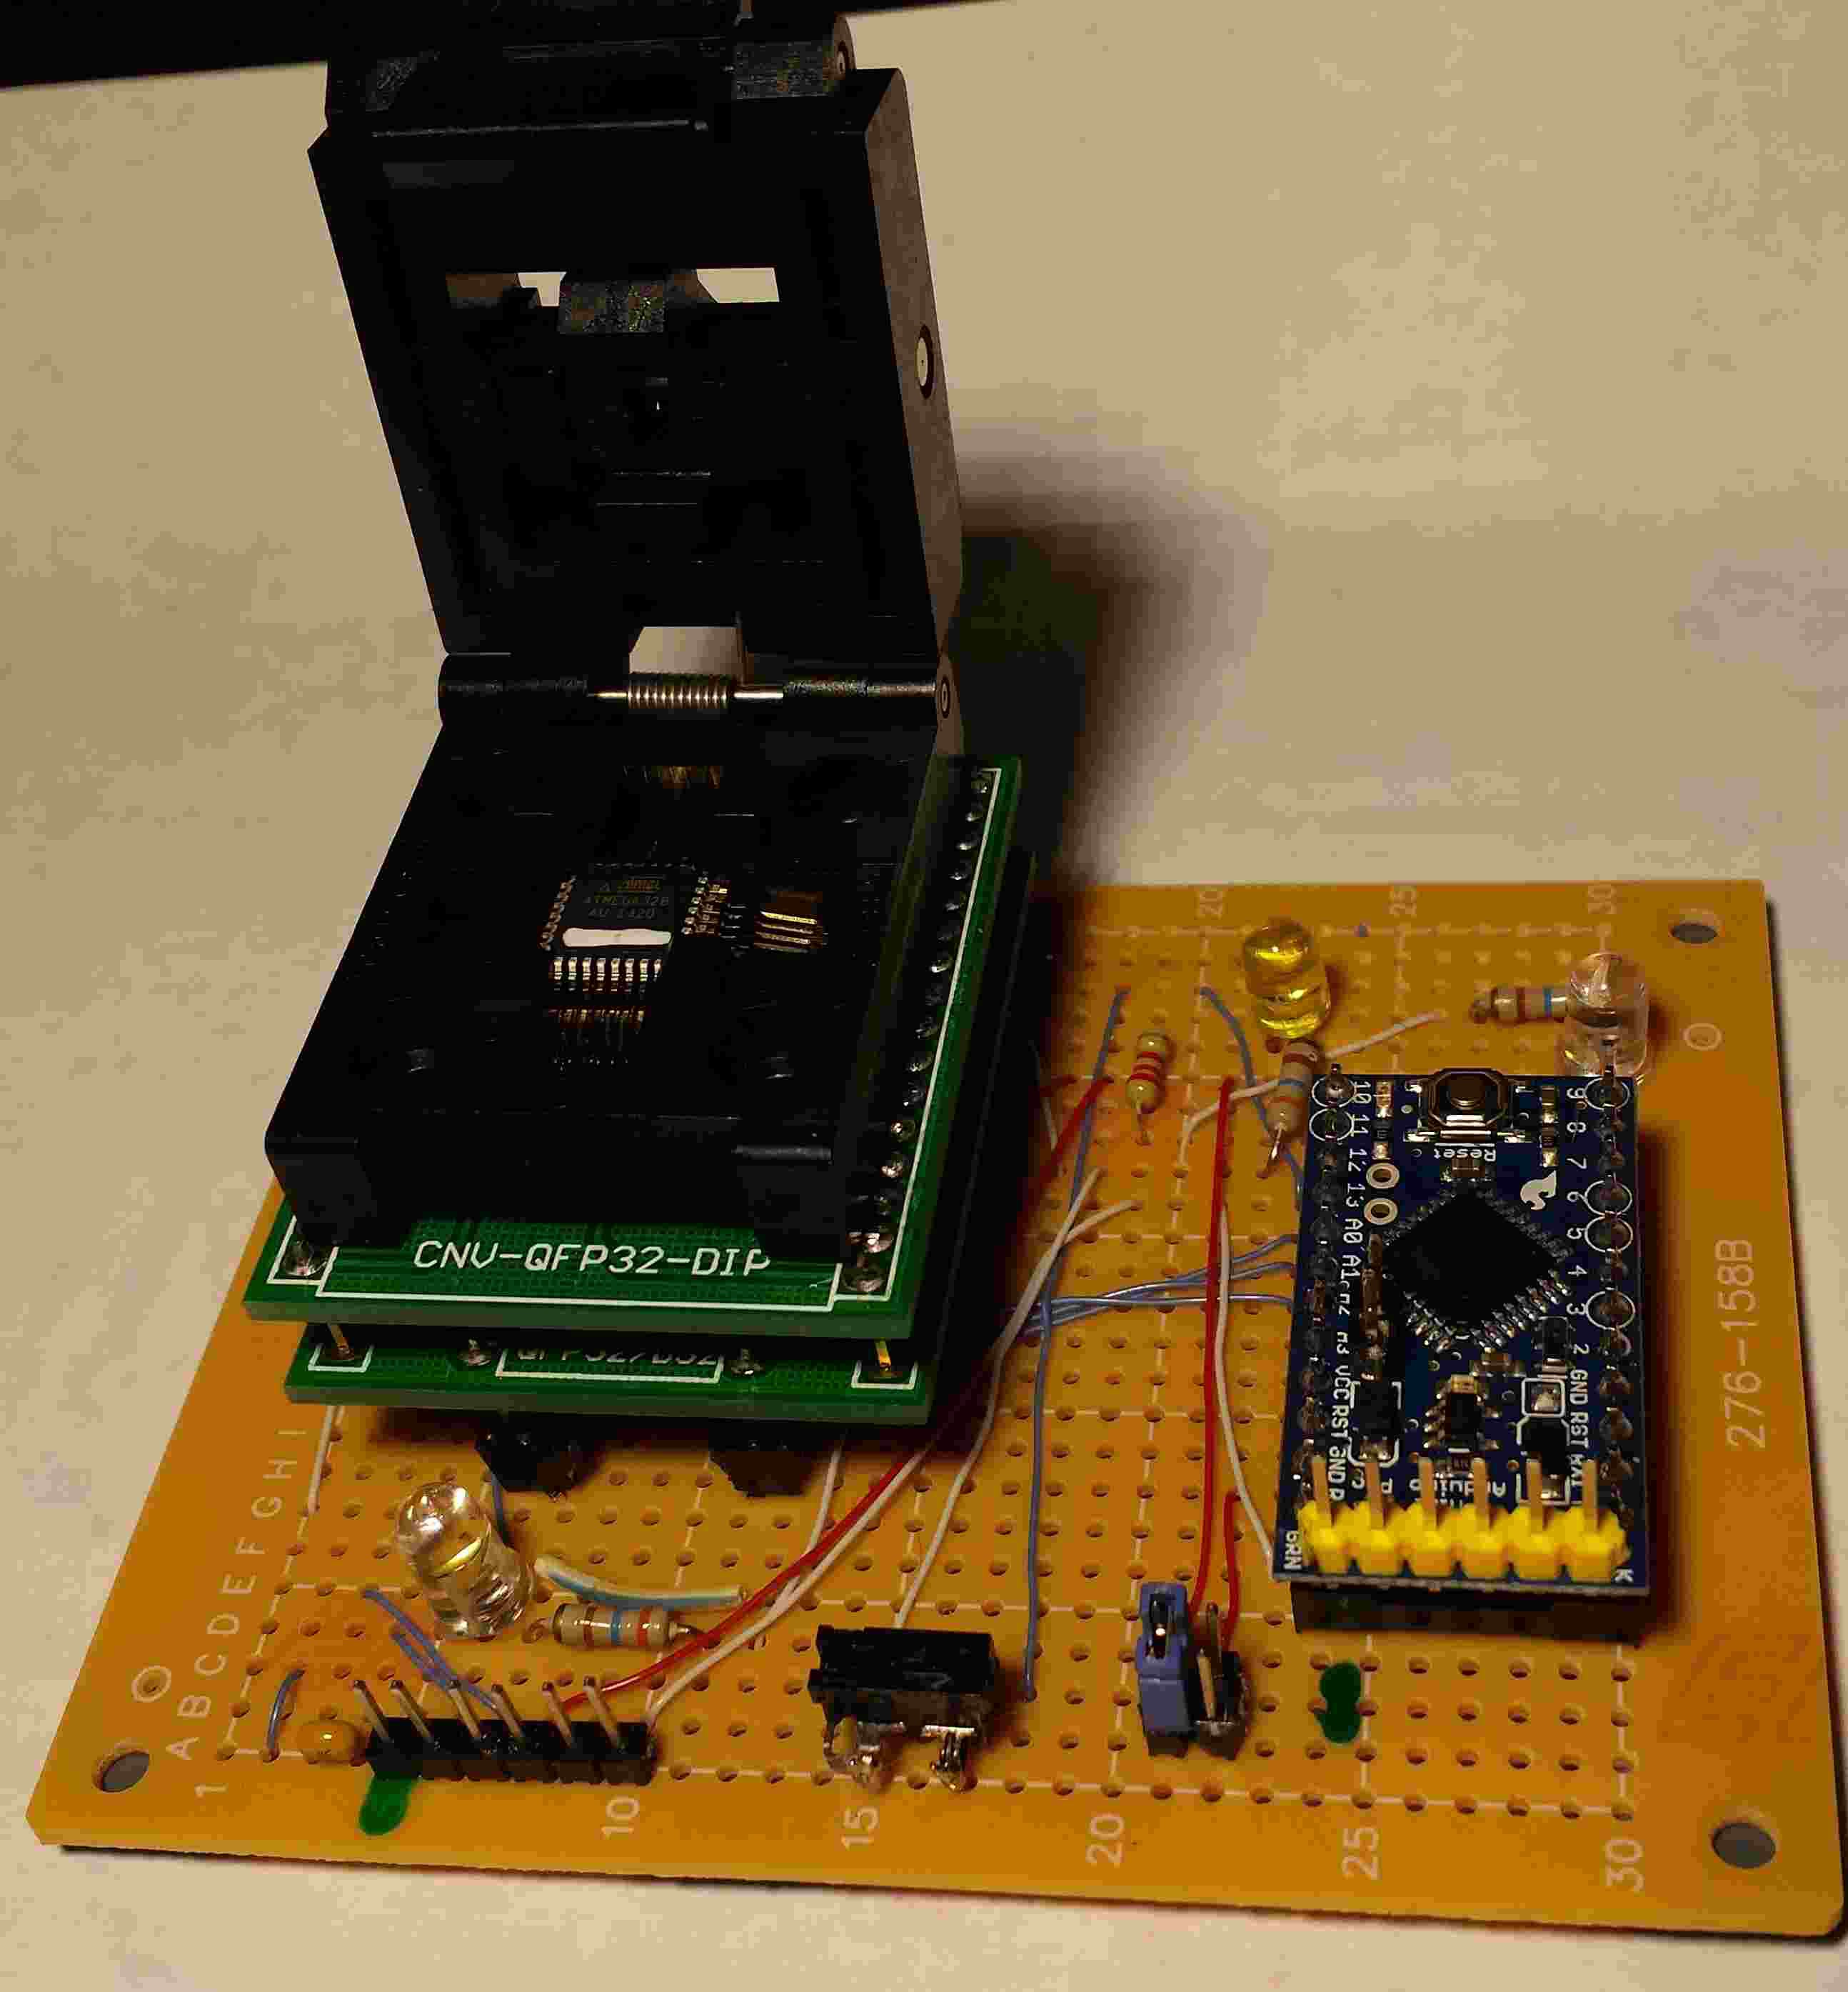
How small can the circuit board get?
A unique package - currently I am looking a triangle shaped tube.
Next version will have capacitive sensor pads for user input and an OLED display.
 Aldwin
 williamg42
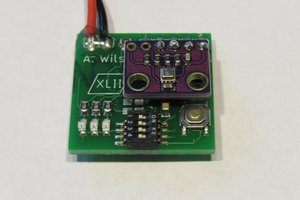
 alnwlsn
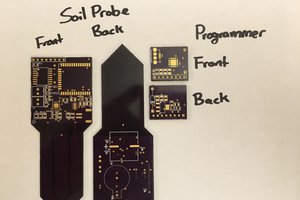
 Colin McAllister