 Lloyd3000
Hardware:
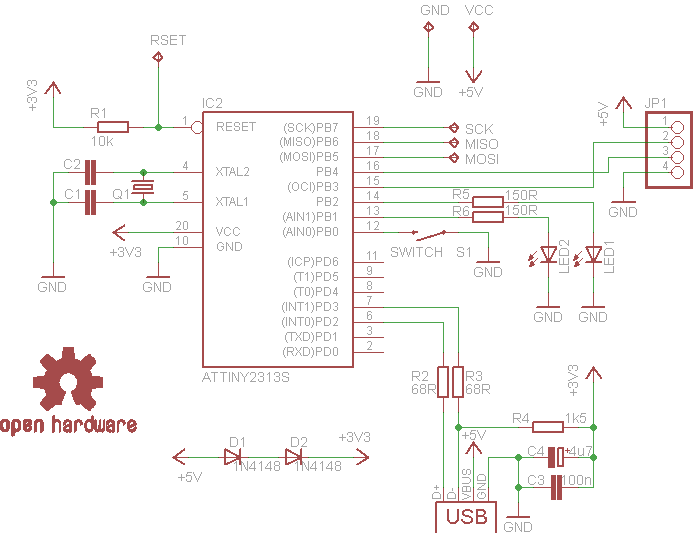
The hardware is fairly simple the Project uses only a very small amount of components that cost only about 5$...
The Attiny2313 is clocked by a 16mhz oscillator that produces a precise frequency necessary for the USB communication. The USB port is connected to PD3 and PD2 with two 68ohm resistors, as in the VUSB example cuirit. Two Leds are connected to PB2 and PB1 and a Button to PB0. The interesting part is the power supply, because a USB port expects a high data line at 2.7 to 3.6volt instead of the 5V supplyed by the connector so there are two diodes in series that reduce the voltage for the microcontroller to about 3.6v.
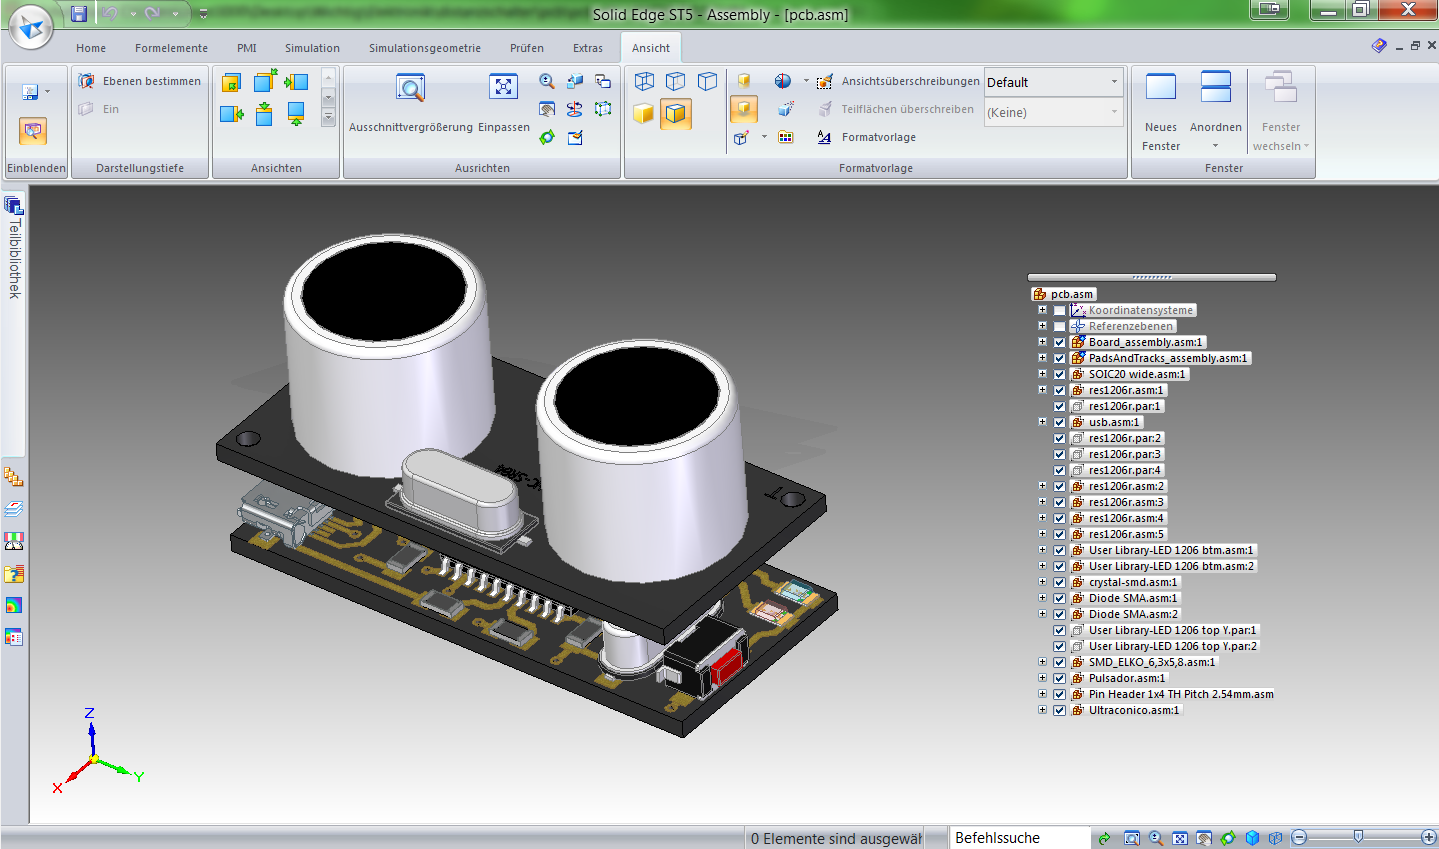
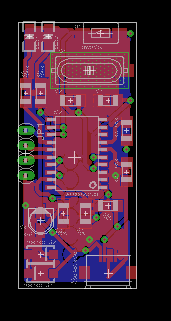
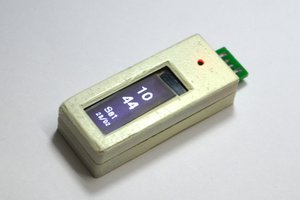
For the prototype i used a square perfboard with 45mm side length. But i also layouted a PCB that fits with 20mmx45mm directly below the sensor.
When im done with the SMD version i will propably 3D print a nice case for the sensor.
Software:
Possible gestures at the moment:
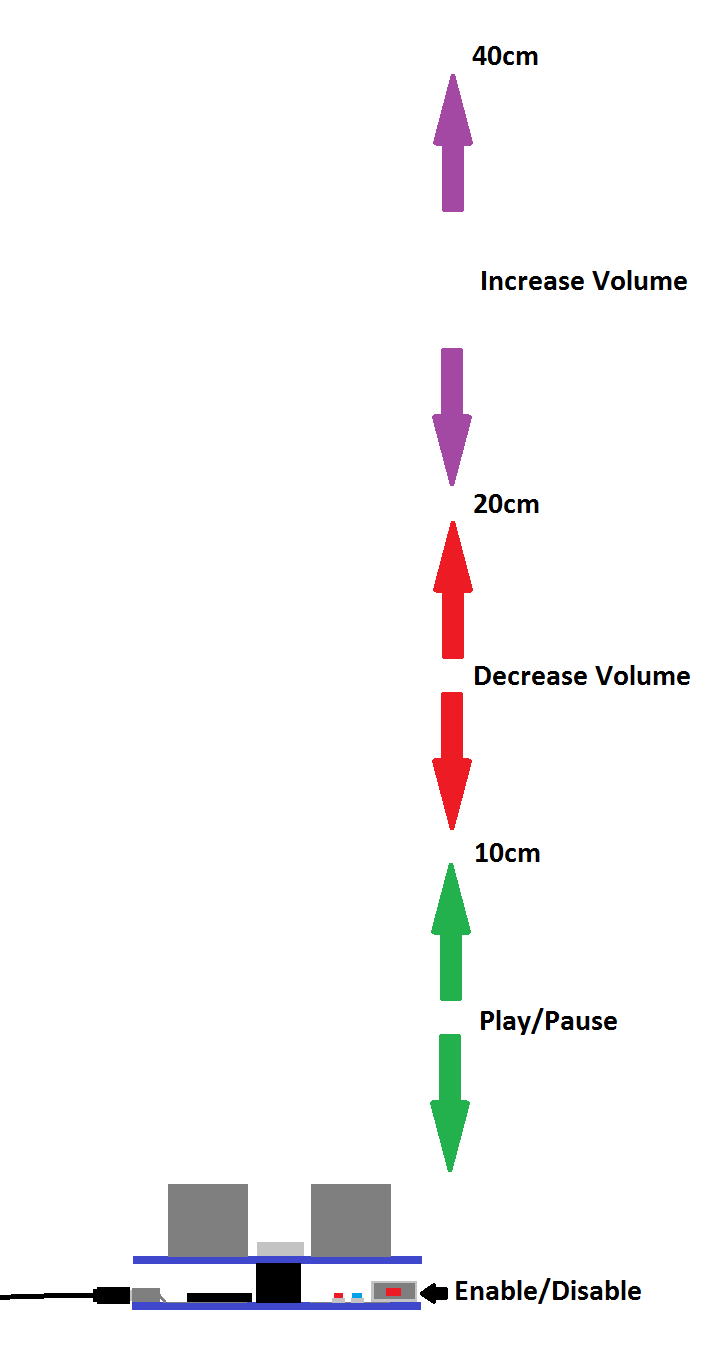
As i use an AVR microcontroller the best way to get USB is VUSB, a open and free USB library for these micros. With the help of this Library i implement a "USB HID Consumer device" as its wildly used in Keyboards with special functions like Volume Buttons. And it also enables it to be driverless on most Operating systems (Windows, Linux...)
The software is a very simple proof of concept at the moment, it just polls the hardware button and if its not muted also the ultrasonic sensor. To do this it sends a trigger signal and counts then the responding pulse length. Depending on this pulse length the right keycode is then selected. And sent in the next step. Tho prevent multiple readings it then sleeps for 300ms and also turns booth LEDs on in this time to give a feedback. If the Hradwarebutton instead is pressd it only toggles the led and the mute variable. What is really important is that the whole time and while every waiting period the watchdog is continuously reseted.
Ofcourse you could send other keycodes instead with this setup every other keycode in the "Consumer Page (0x0C)" section of the USB HID Table is possible...
Other Stuff:
To do:
- tidy up the code
- improve LED feedback
- finish the layout (change switch to side switch)
- make a 3D model
- design a case
- add more functions?
Problems:
- For me as a Teenager i can easily hear a clicking noise that is emitted by the Ultrasonic sensor every time the trigger pin is pulsed. If your older it is possible that you cant hear that noise anymore as your ears degrade...
- The Attiny2313 is almost completly full, as the hex file has about 5,50kb of the 6kb aviable. So there is propably no space for more functions without tidying the code up.
- I can only increase and decrease the volume, as windows(atleast win7) doesnt allow absolute inputs, so cool swinig your hand through the air is not possible at the moment.
 Rohit Gujarathi
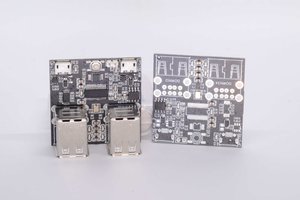
 andriy.malyshenko
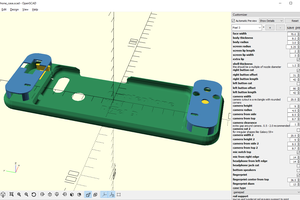
 Maave
Maave
 Laurent