The project goals are:
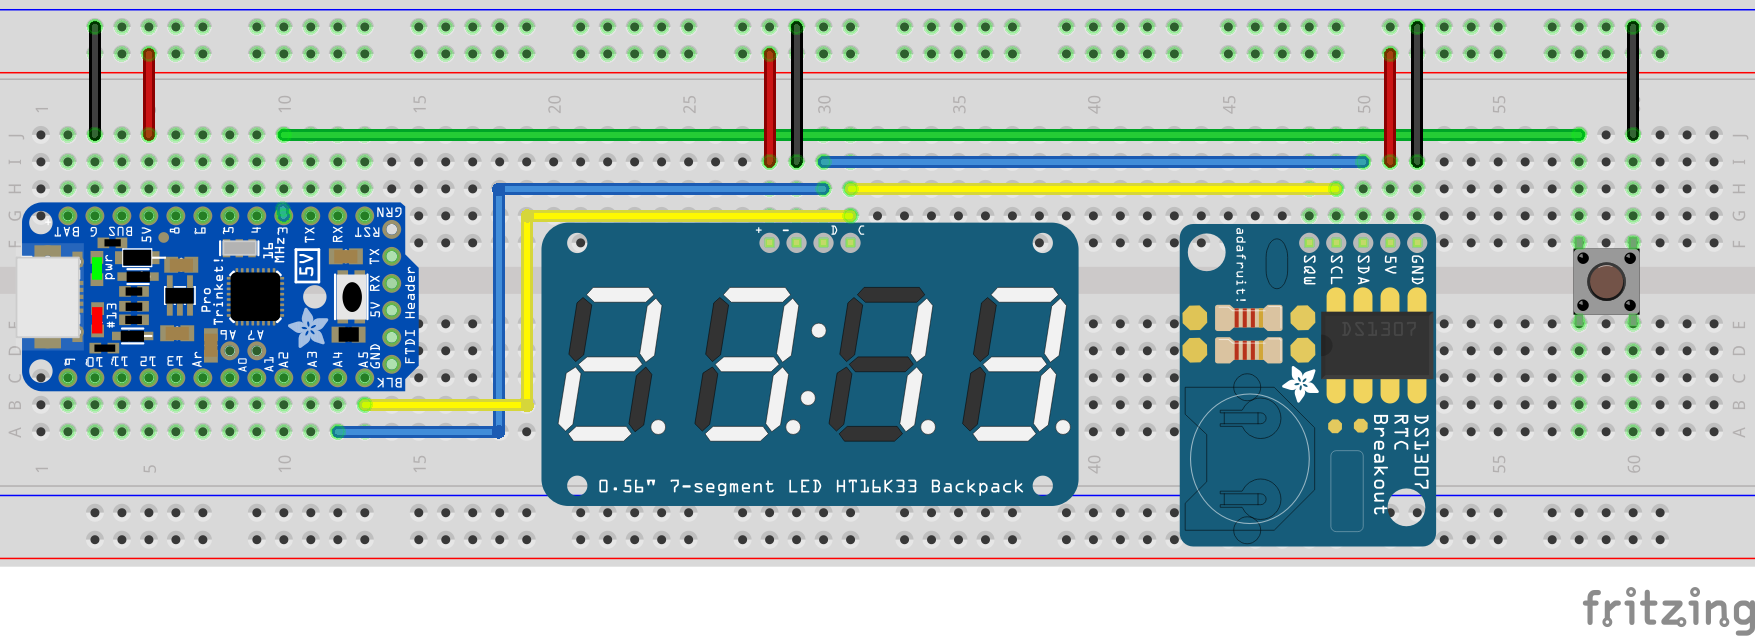
- Implement TOTP on a Trinket Pro.
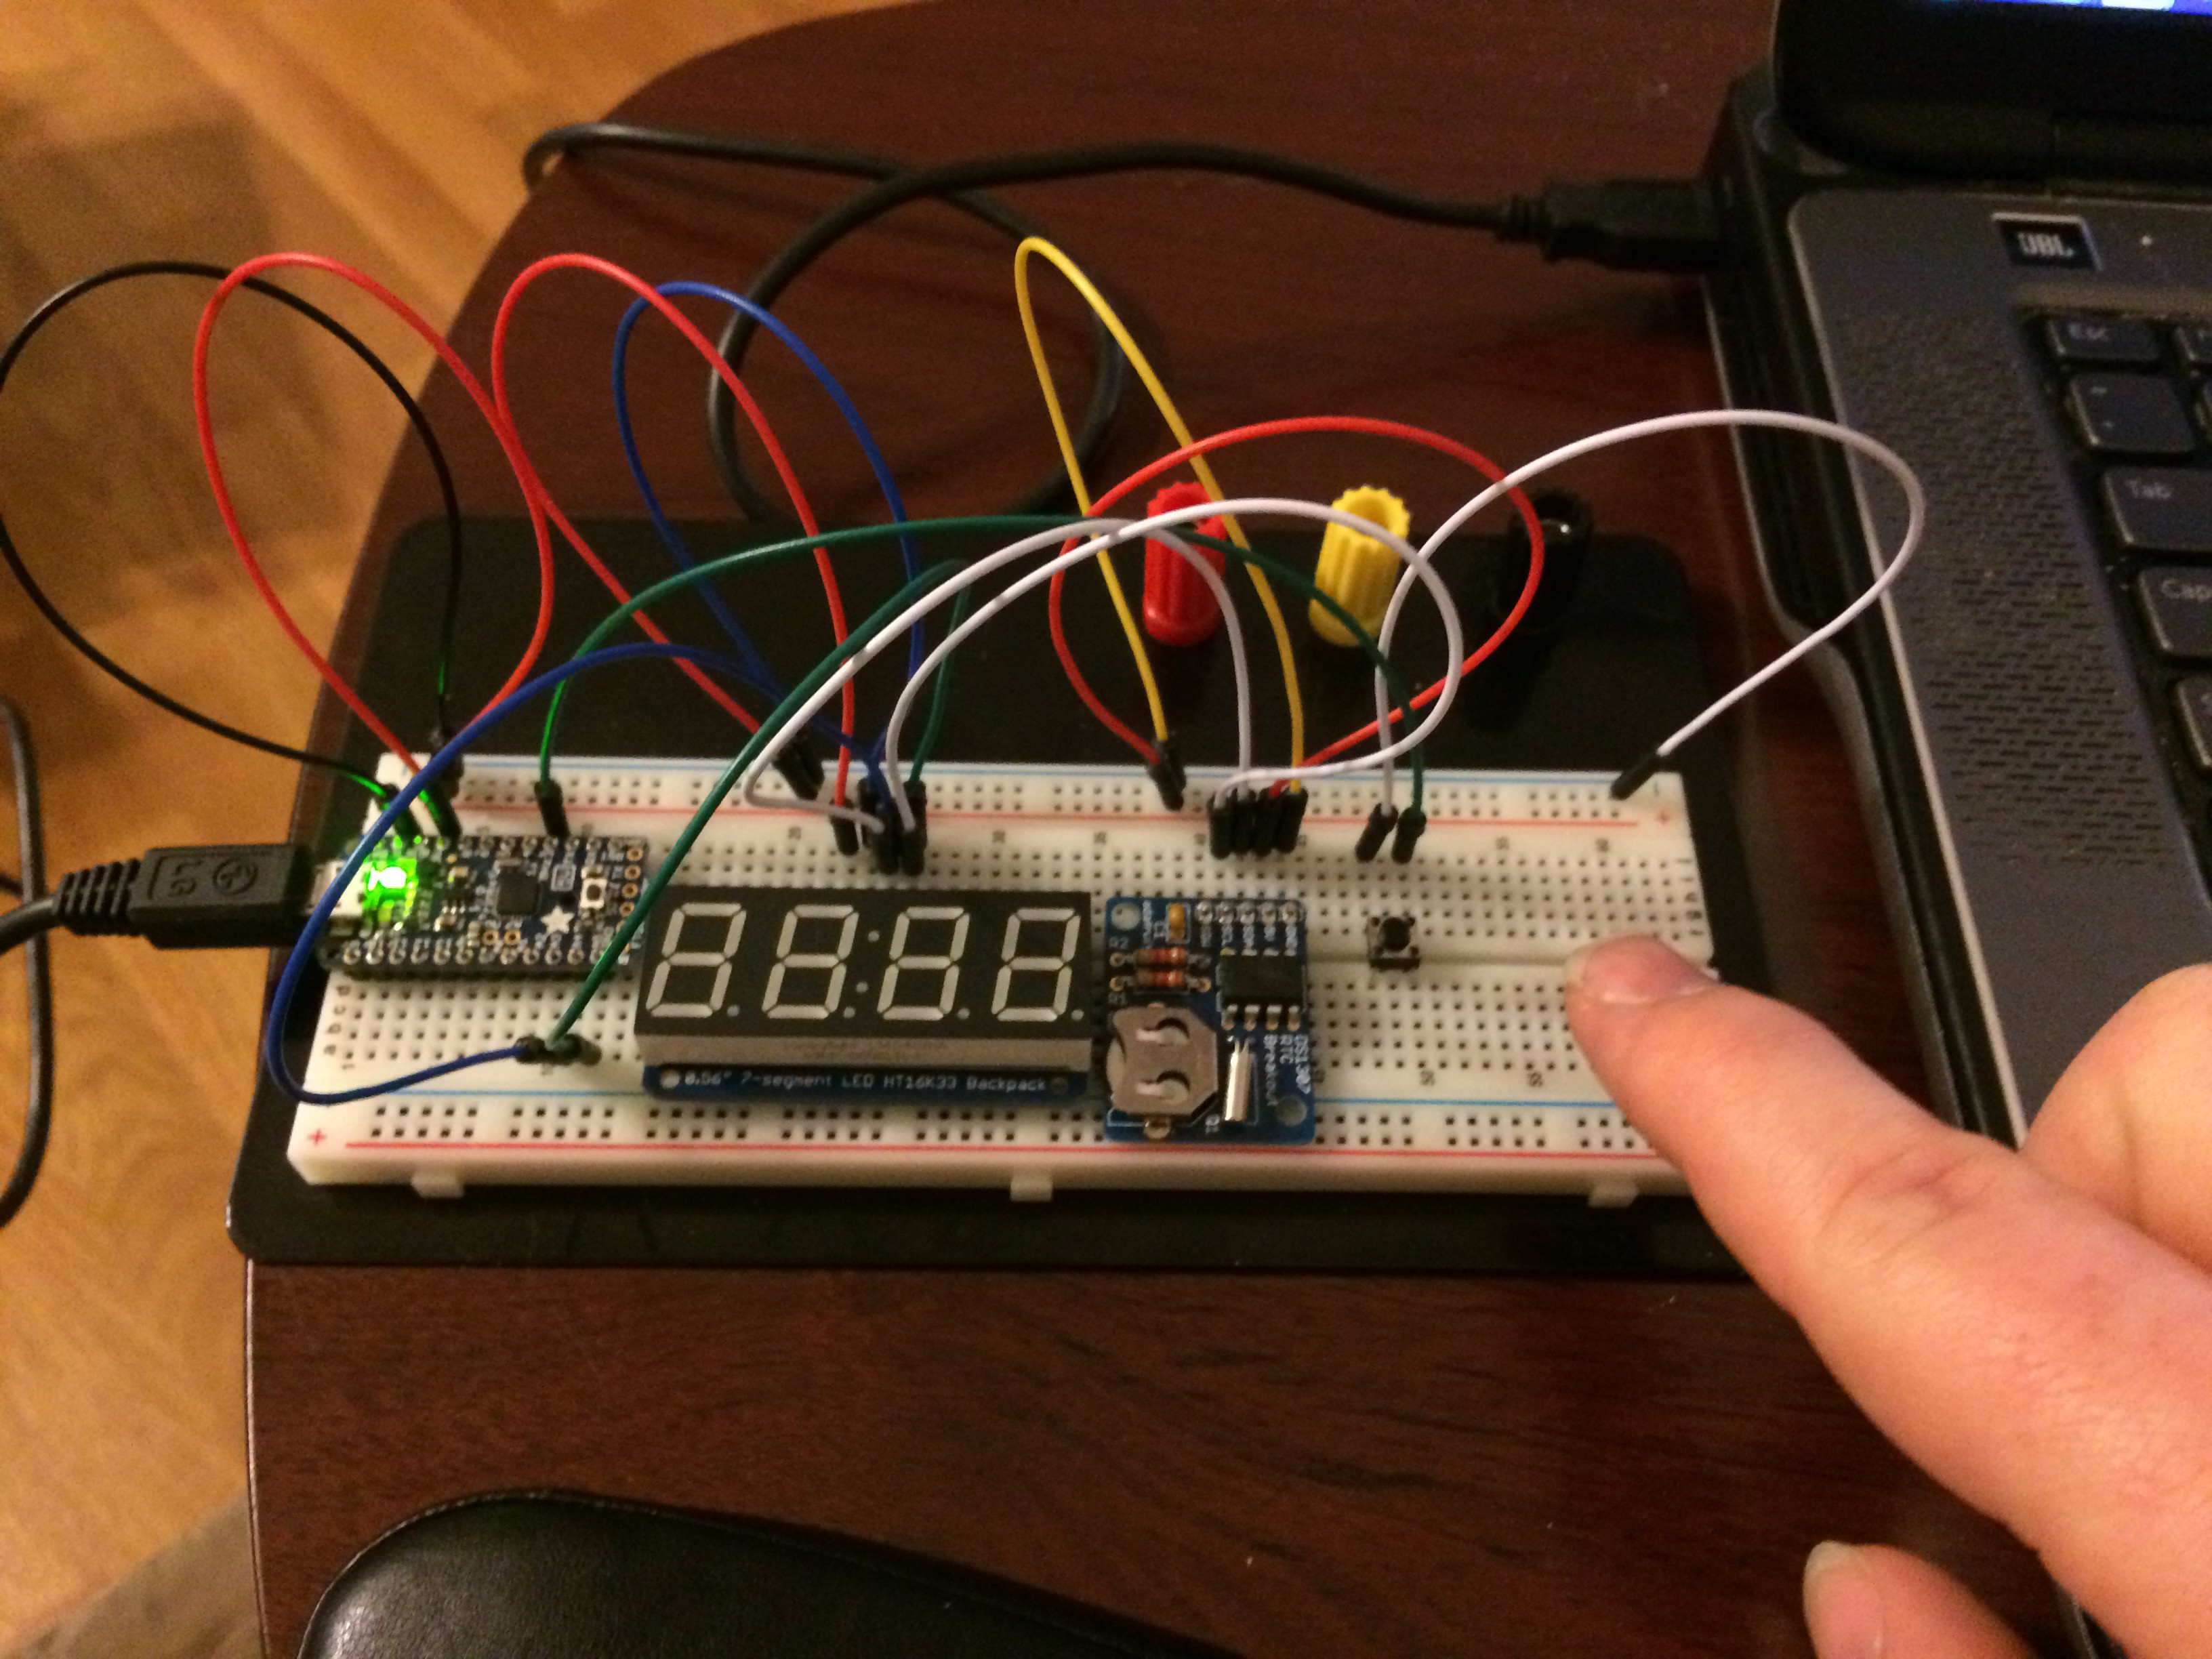
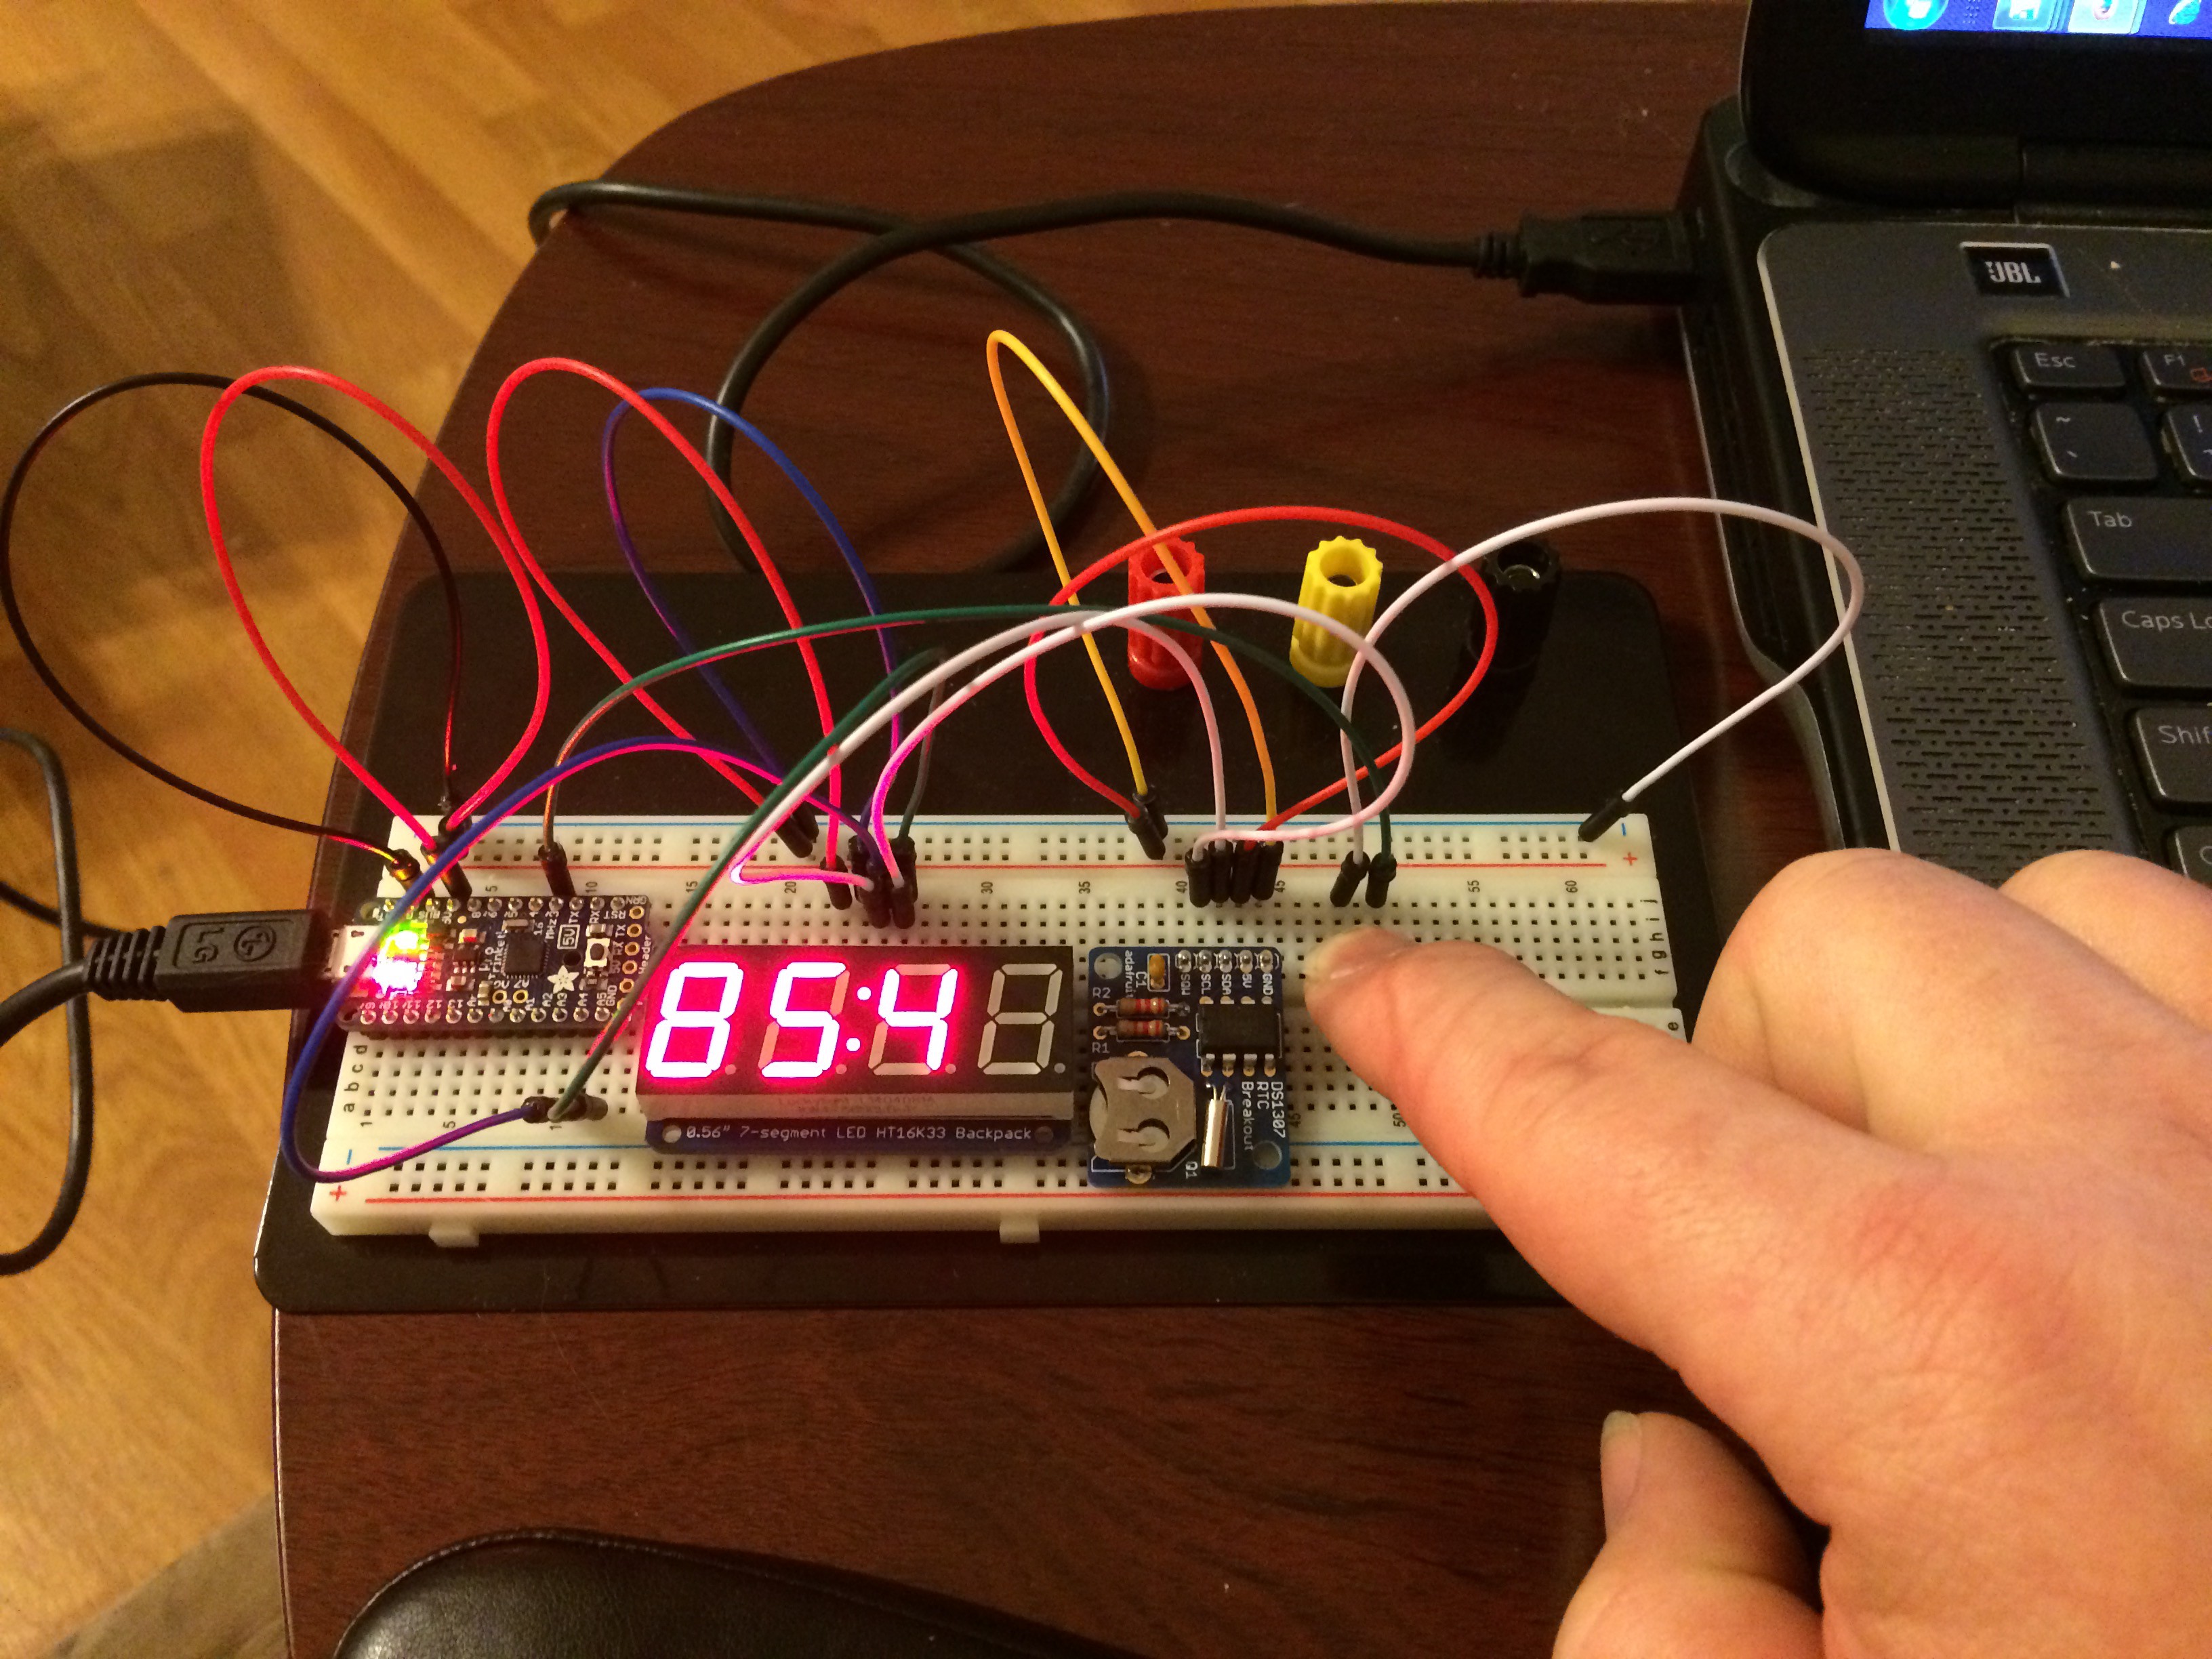
- Retrieve time from a clock source. A DS1307 is the initial choice.
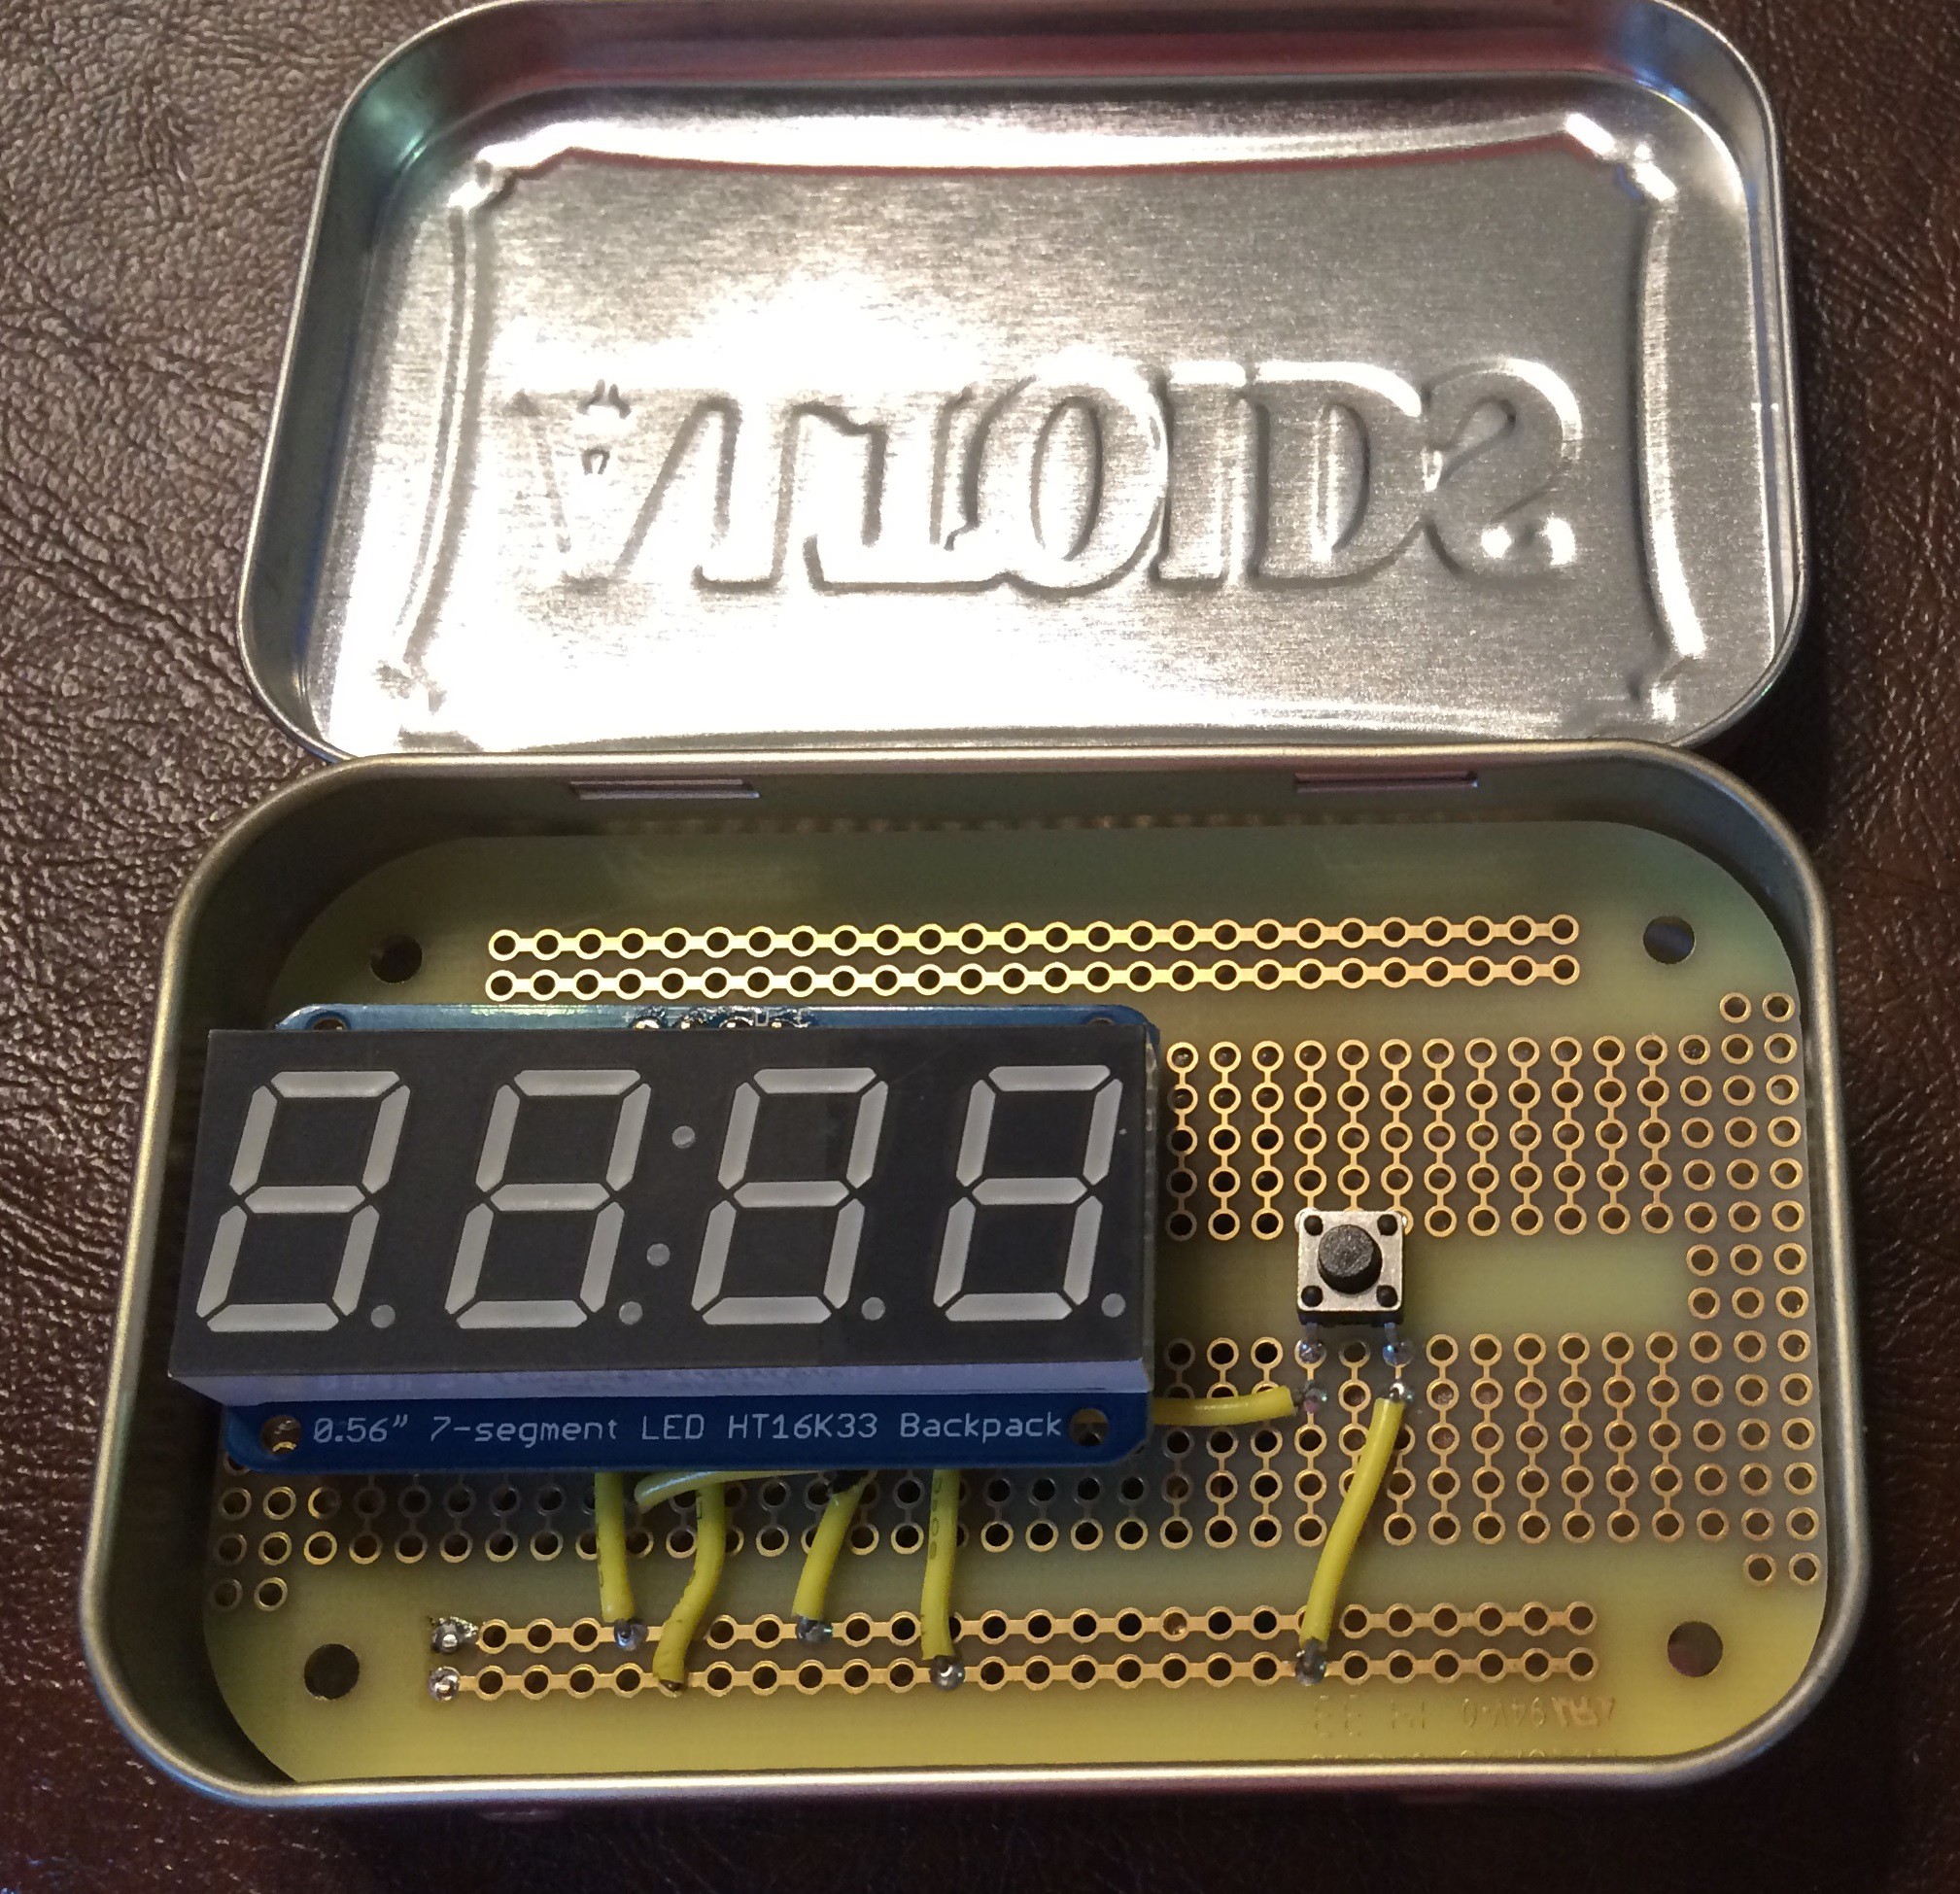
- Use a display to show the generated hash. A .56" LED display is the initial choice. It is 4 digits so the hash will display one half at a time.
- Use a button to generate a hash and display it.
Success criteria:
- Successfully generate reference TOTP hashs from the RFC.
- Successfully retrieve time from the RTC
- Successfully display the hash on the LED.


 Piotr Gaczkowski
 mircemk
 brett.oliver
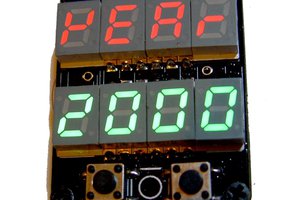
 bobricius
Really nice project, I've been looking for this about 2 years now and have no idea where to start. But since I'm working on Fl3xWatchOLED project. Integrating this into the watch is really useful.