 bram
bramArduino pro mini
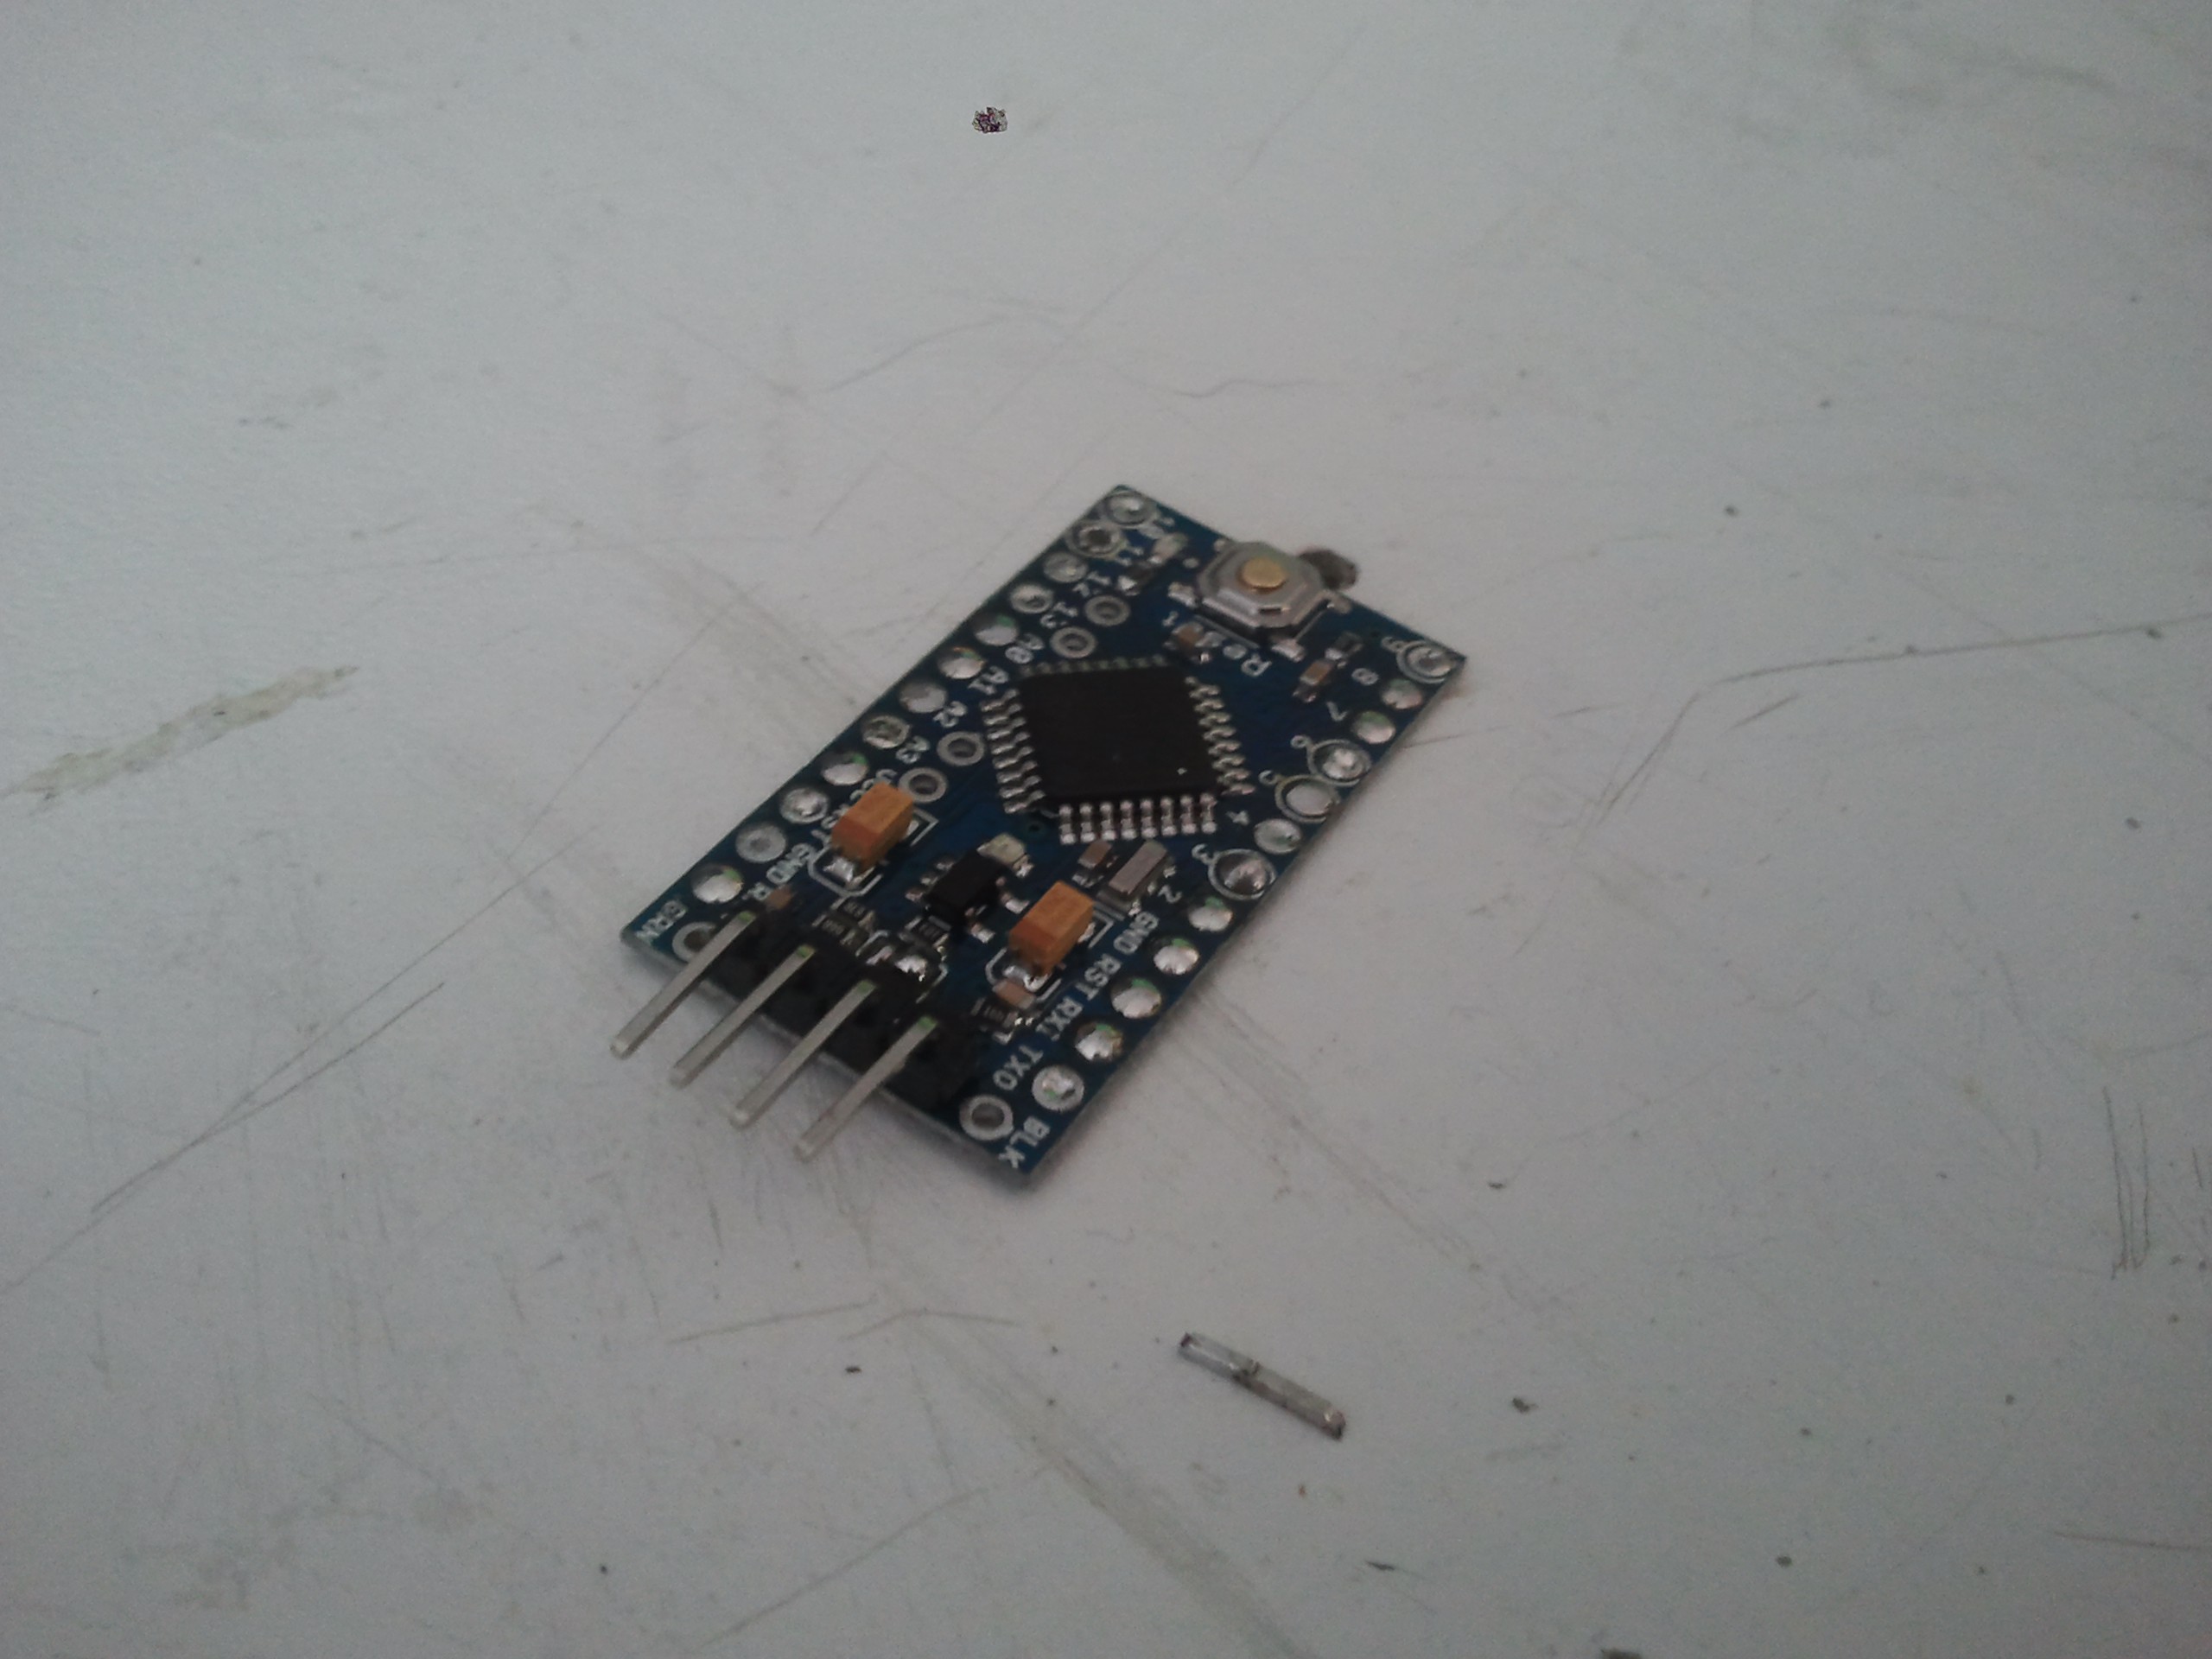
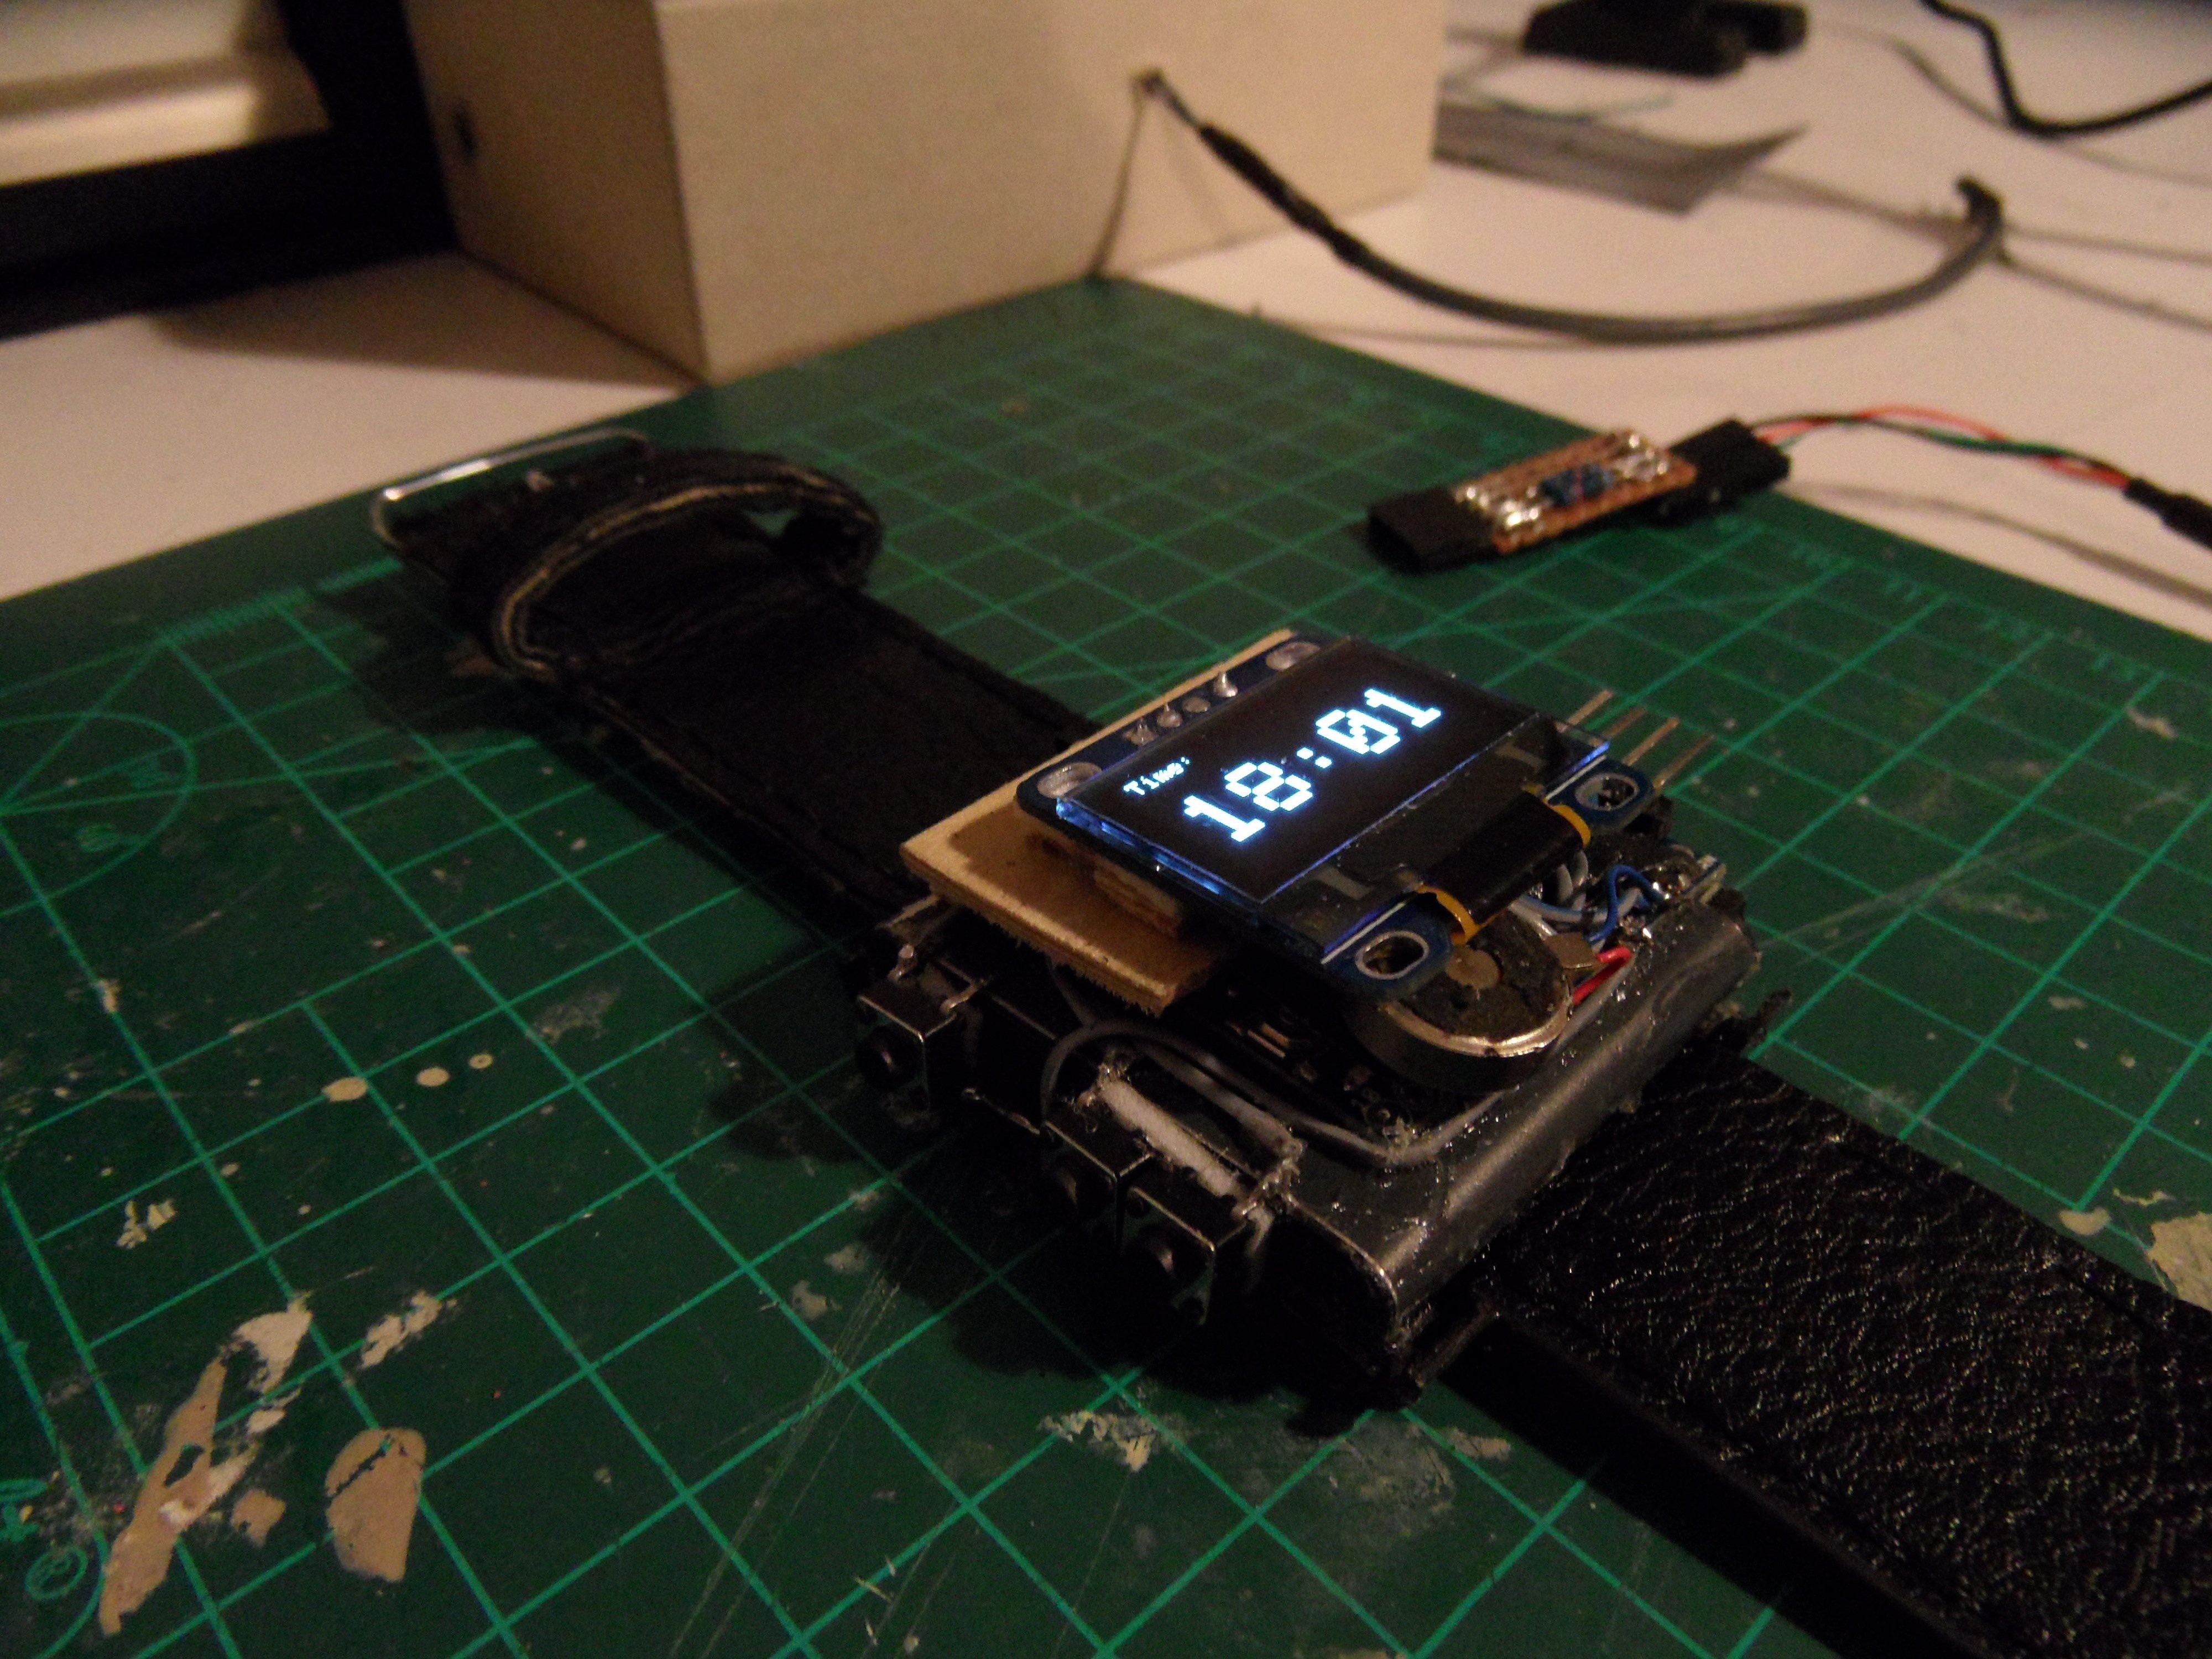
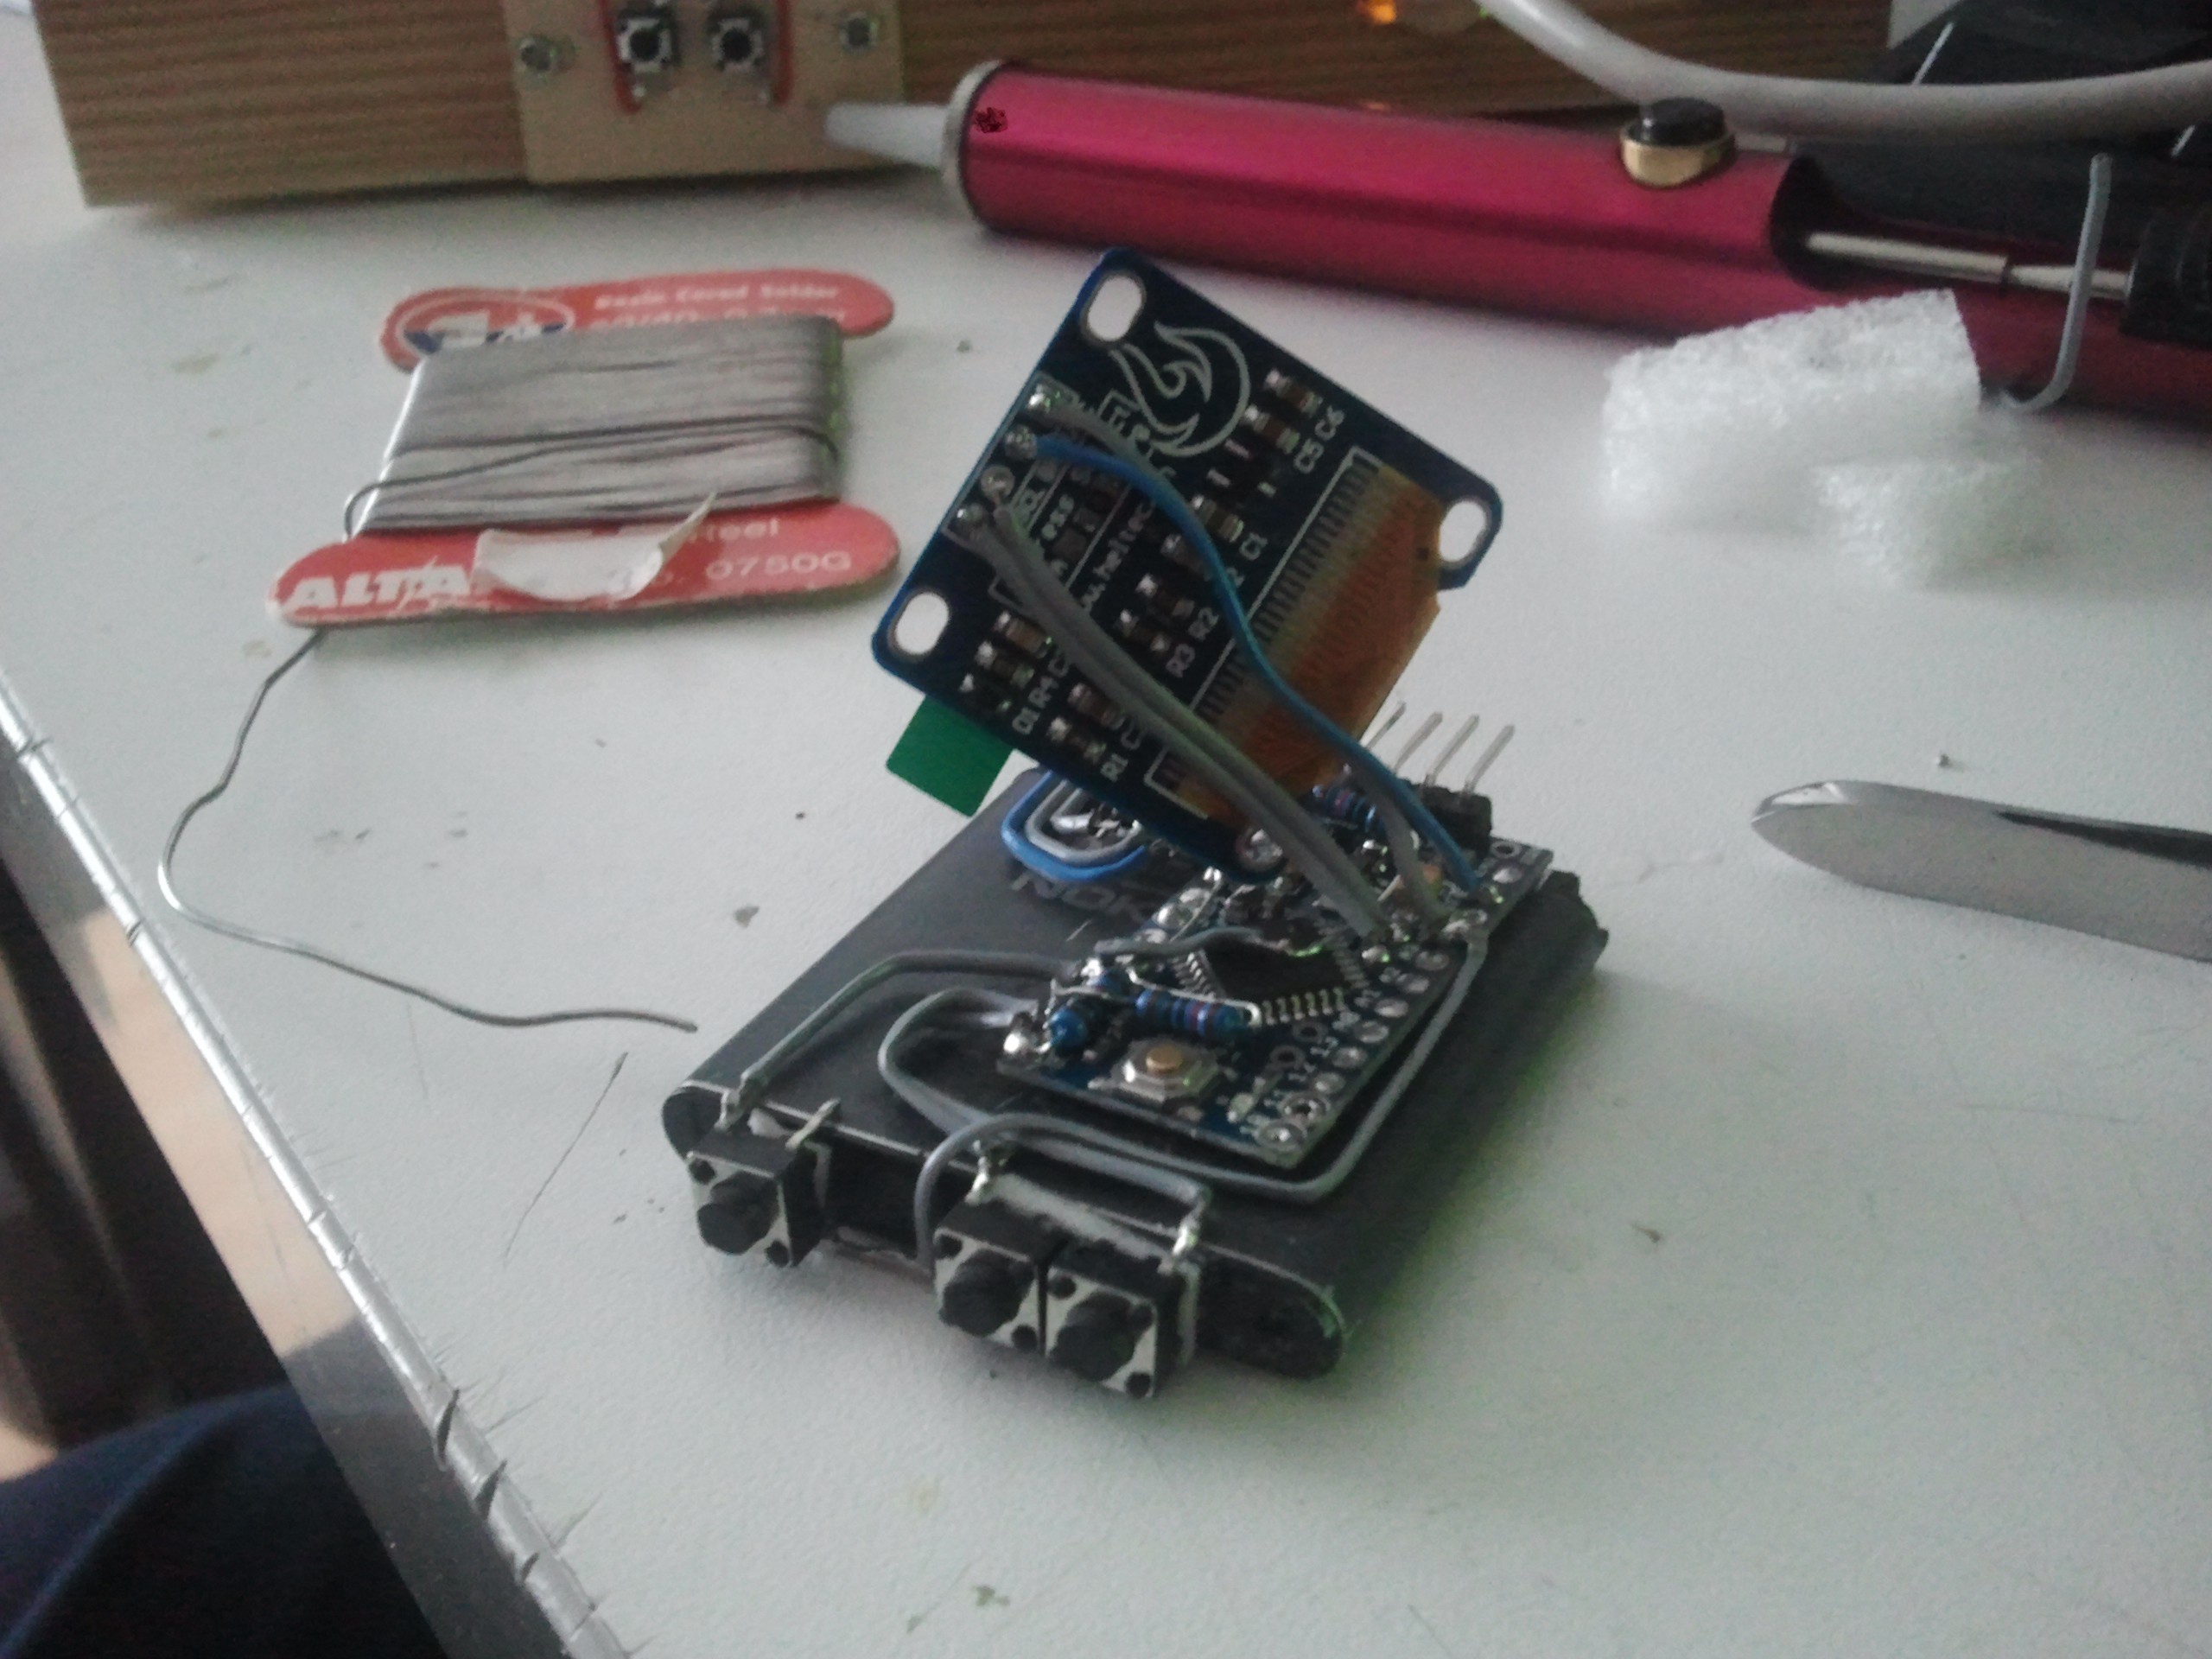
This project is very simple because at the core it uses a Arduino pro mini this small Arduino uses the same atmega processor as the Arduino uno so most of the libraries you will find online just work. with the same pinout.
OLED display
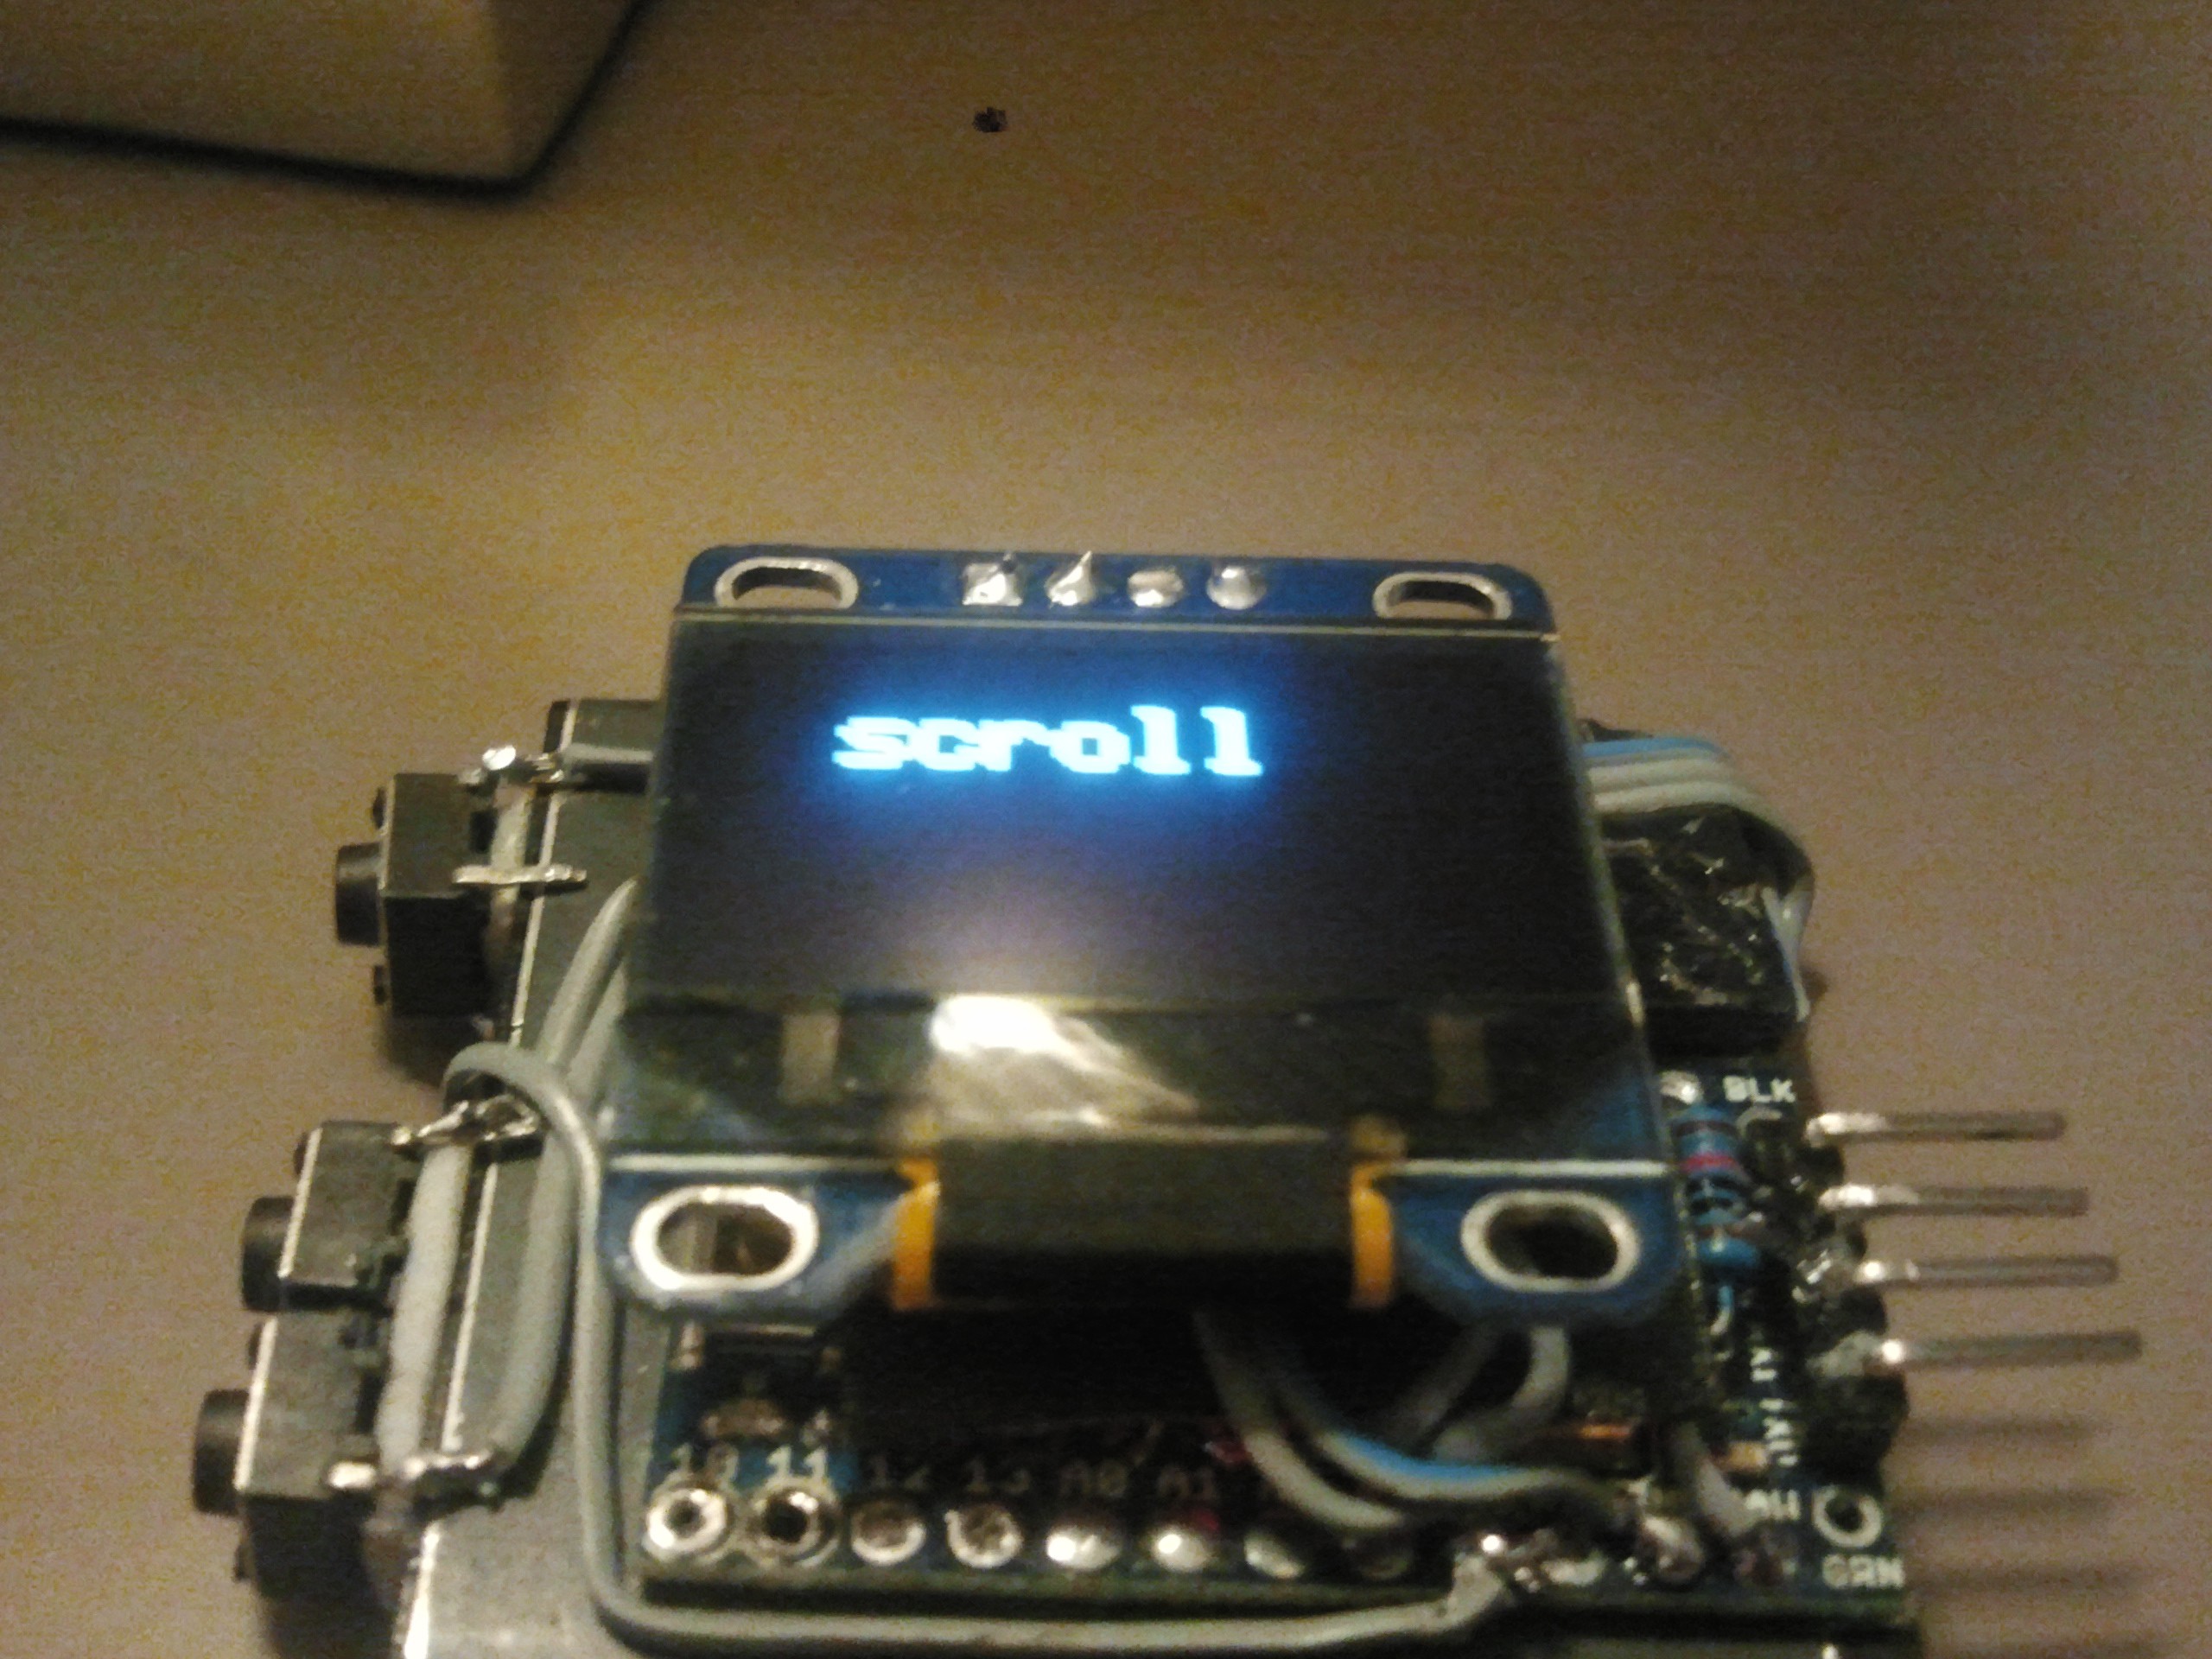
The display used in this project uses I2C to communicate with the Arduino because I2C uses only 2 data connections it is really easy to wire up. It is also just 0.96" this makes it ideal for wearables that need to be small and outside it will be easy to read because the display has a very high contrast.
Recycled Nokia battery

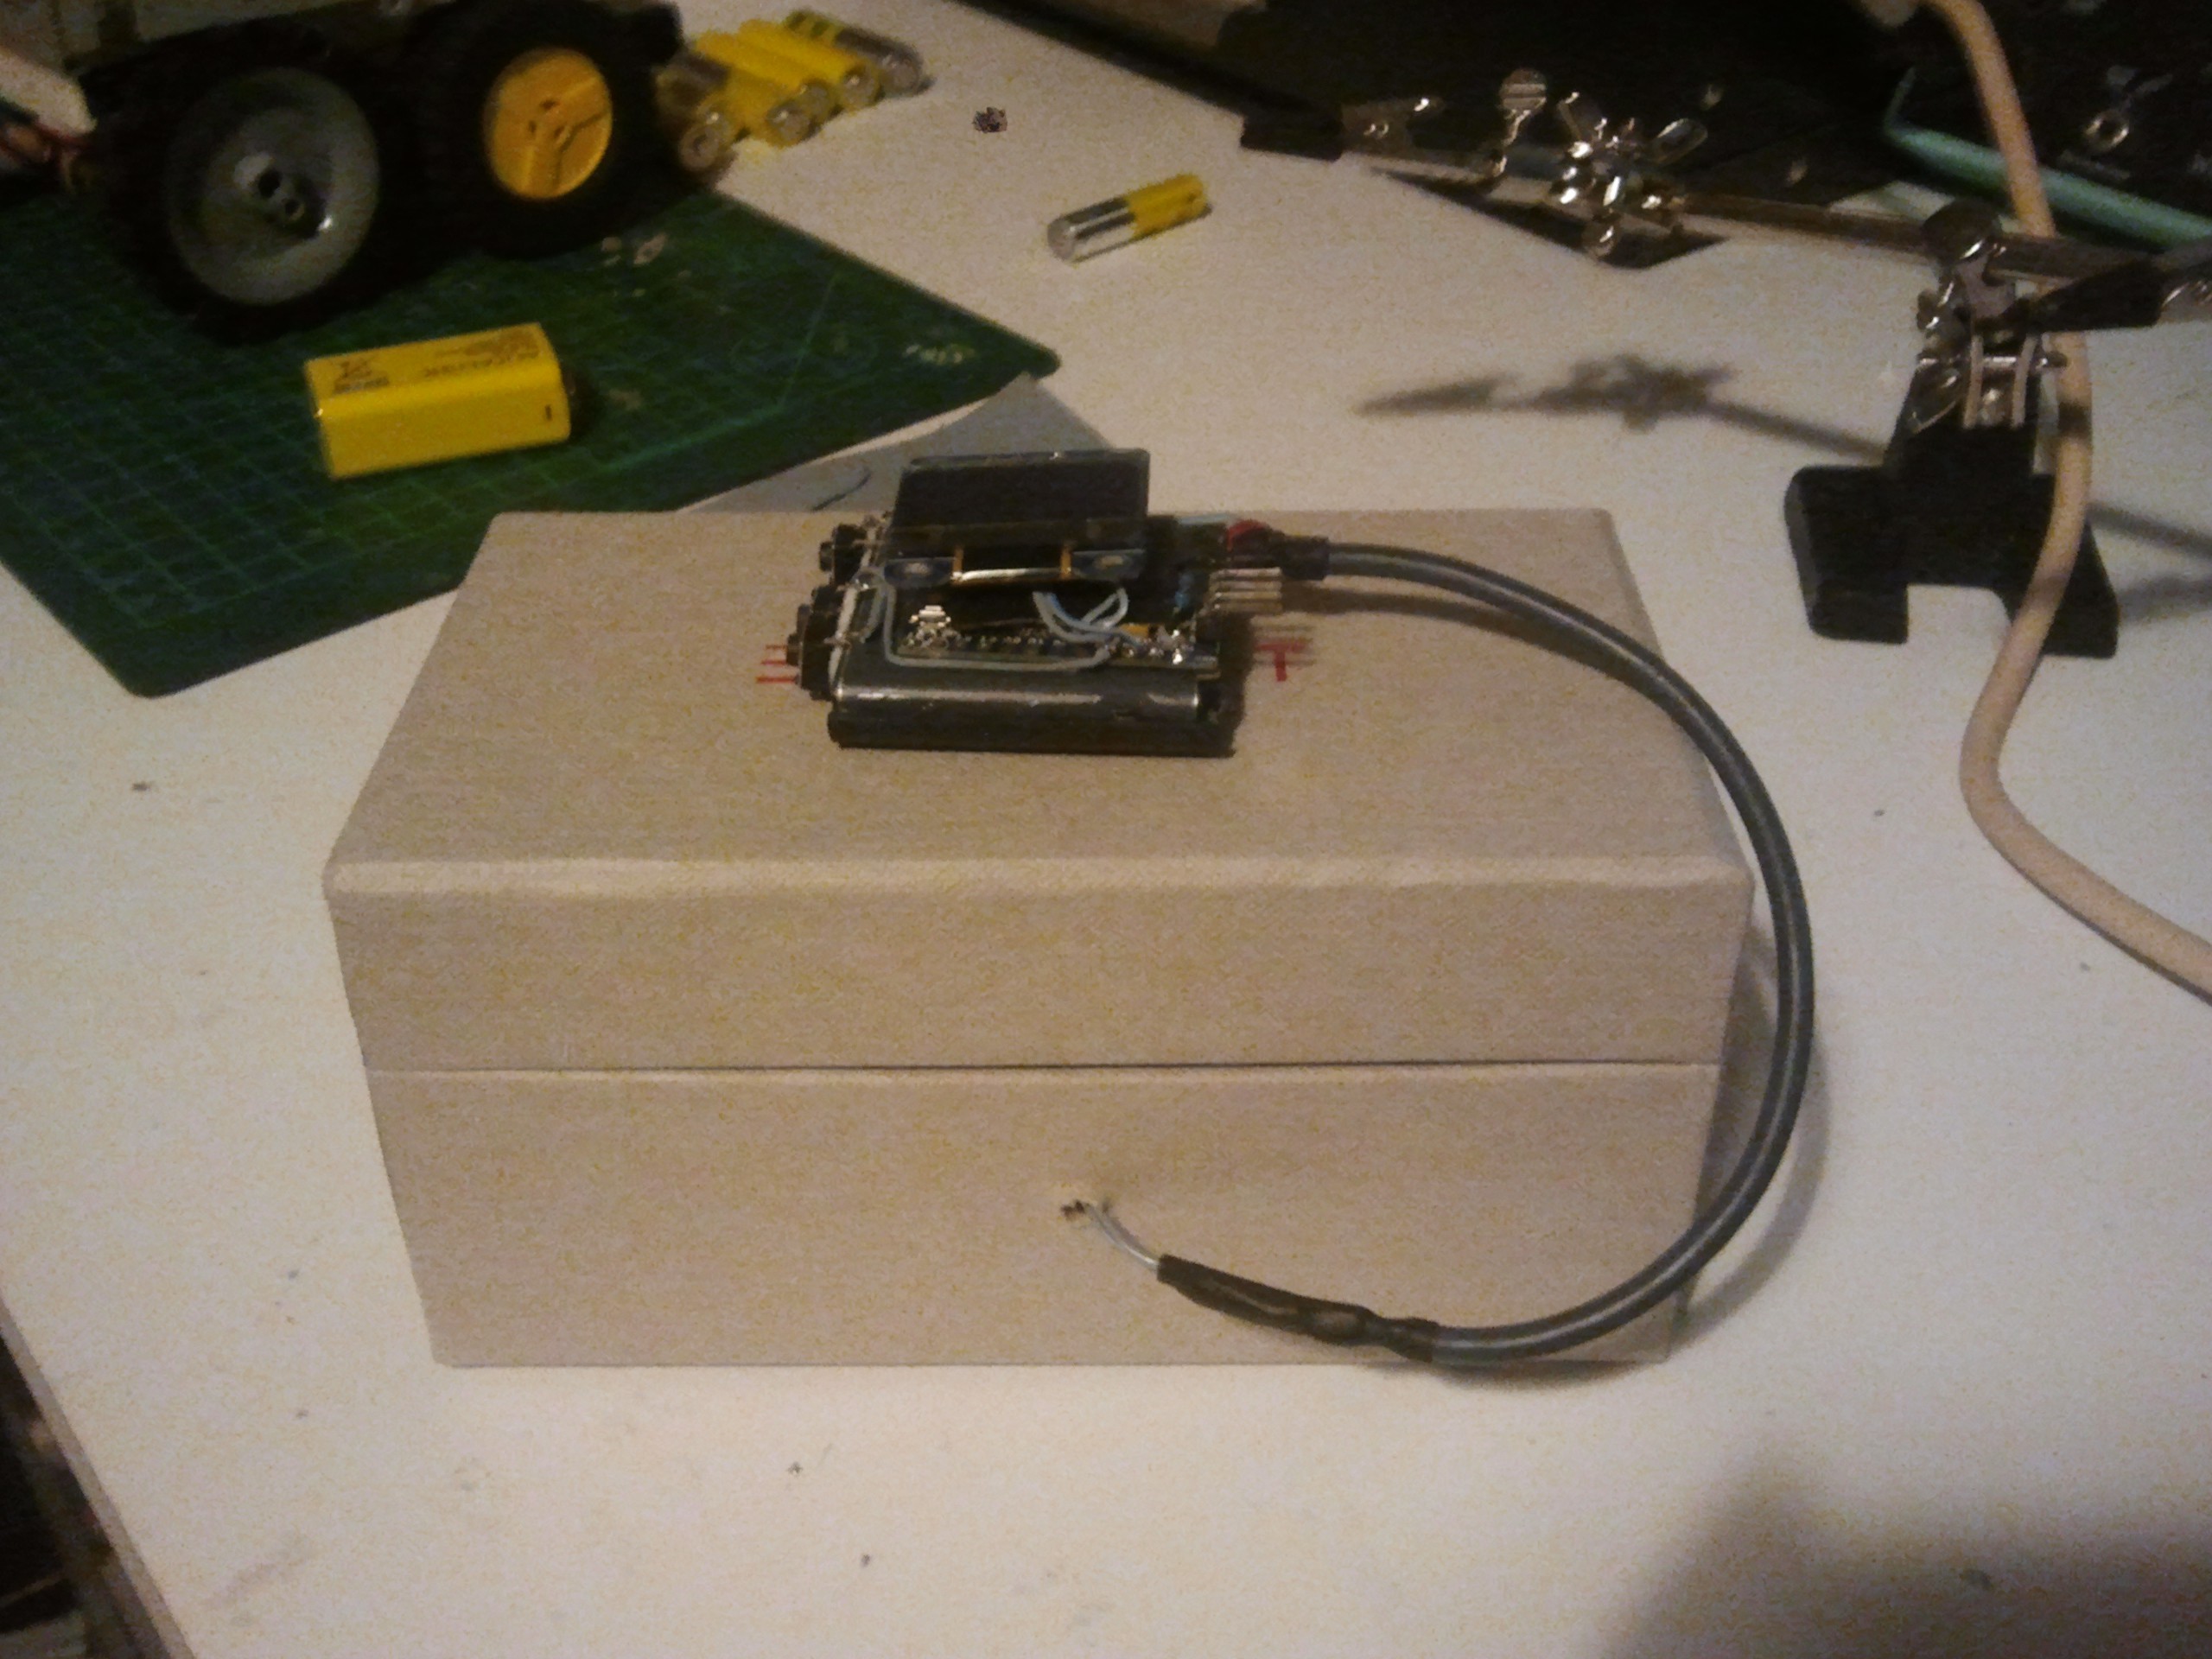
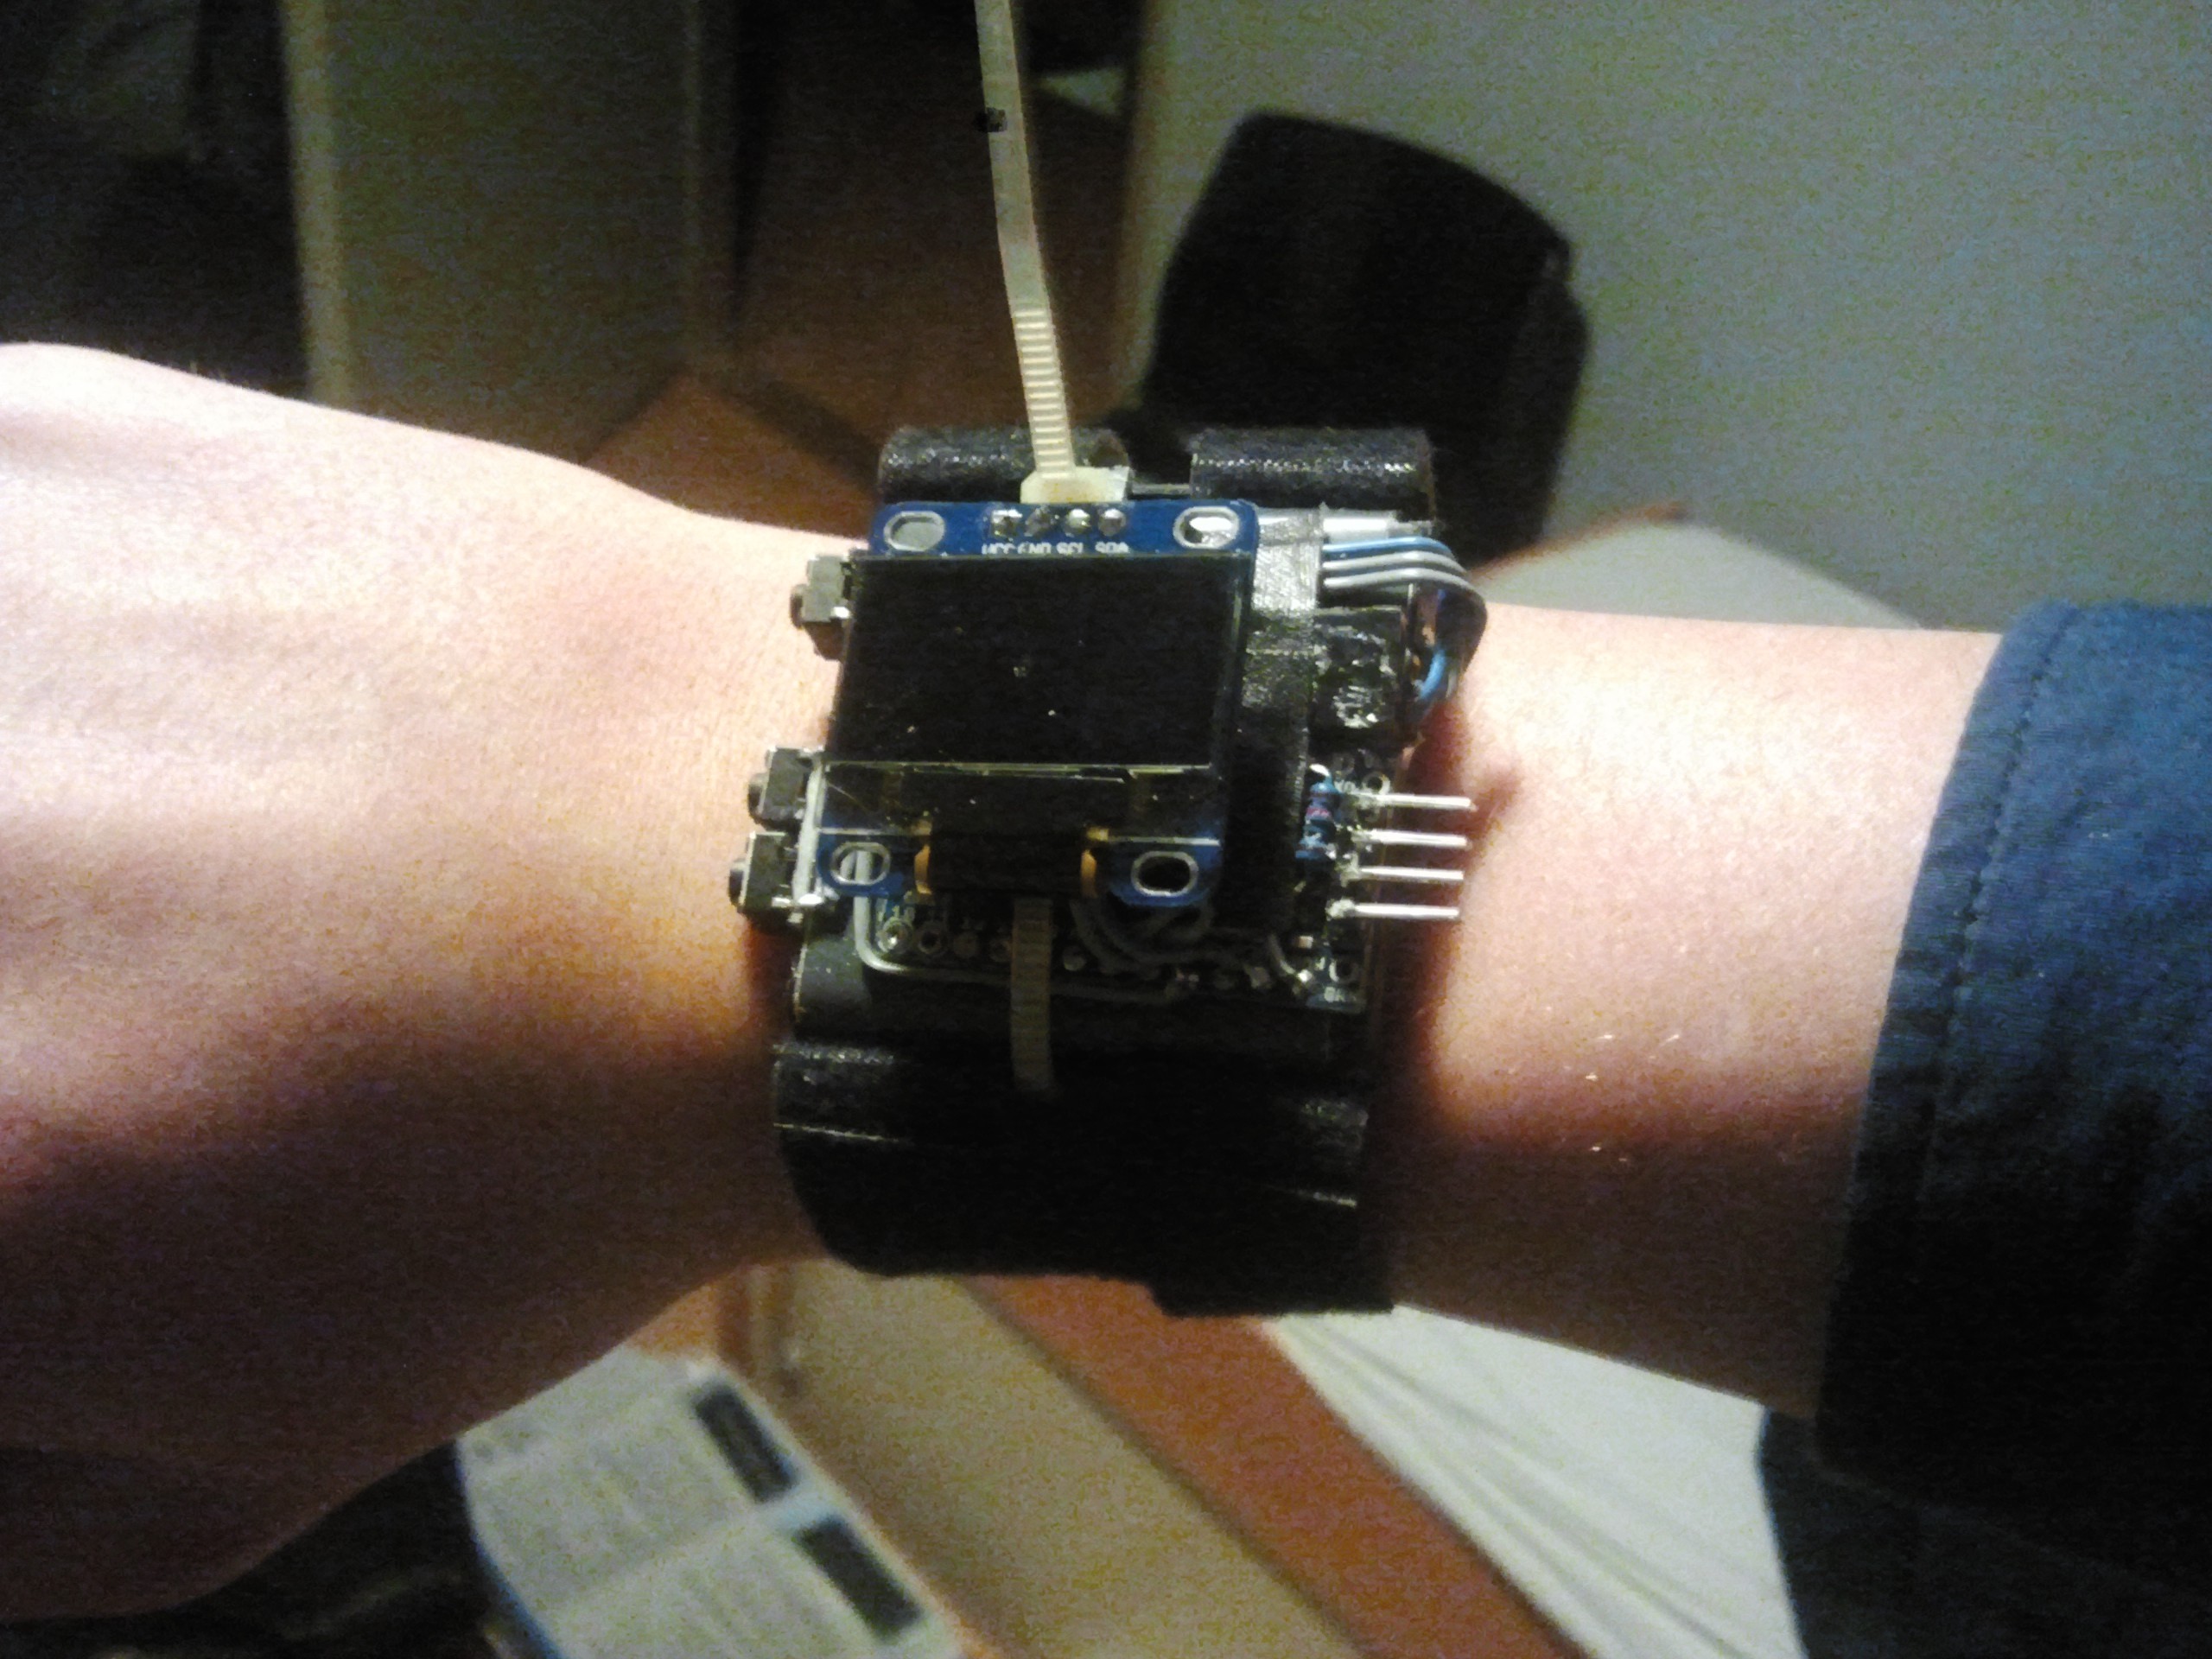
A really important part of a wearable project is a battery! In this project I got a battery out of a old Nokia phone this battery was square so it fitted well for a watch. I don't have a charger on the watch Itself but I added a connector to the connections of the battery so I can charge it with the old phone that I took apart.
Recycled Nokia battery charger
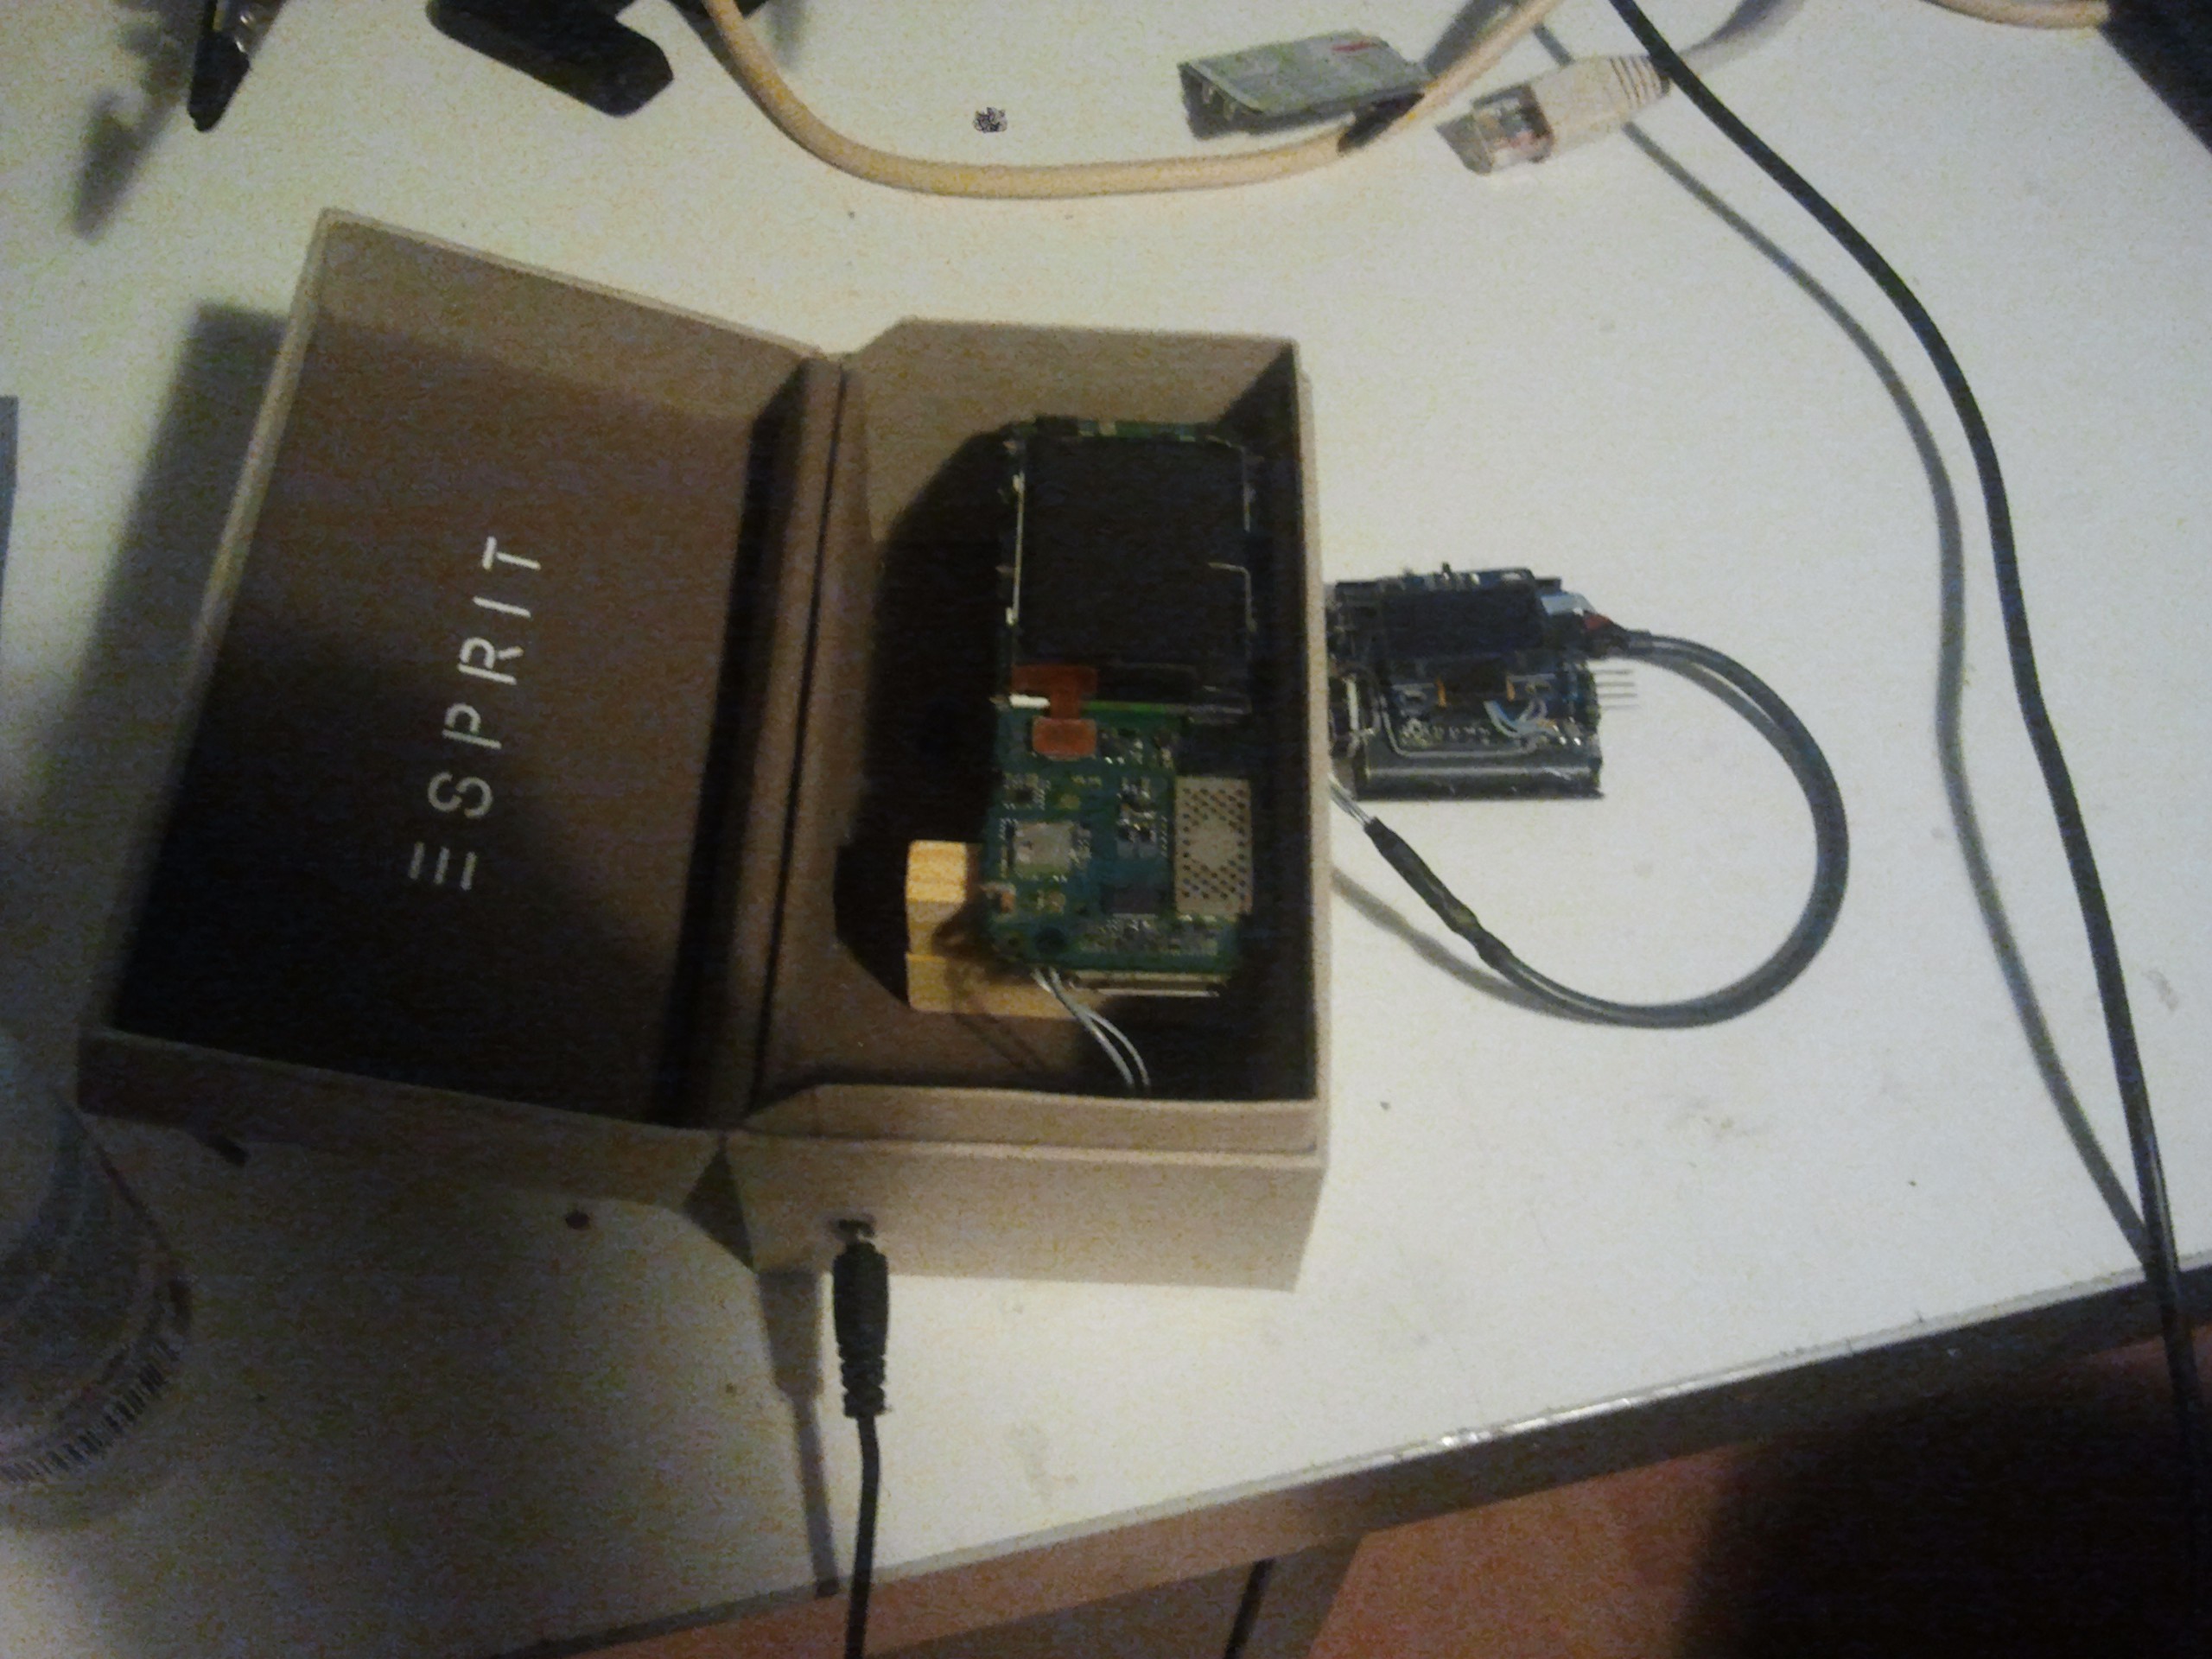 This is the old phone that I used nicely fitted in a recycled box. I extended the charger port and the connections for the battery so I can close the box and charge it.
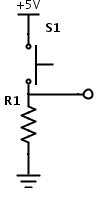 First of all solder the up and down buttons with one side together and but them on the battery. And next you need to solder the select button to the just soldered together pins. This power rail needs to be soldered to the VCC labelled pin on the Arduino.
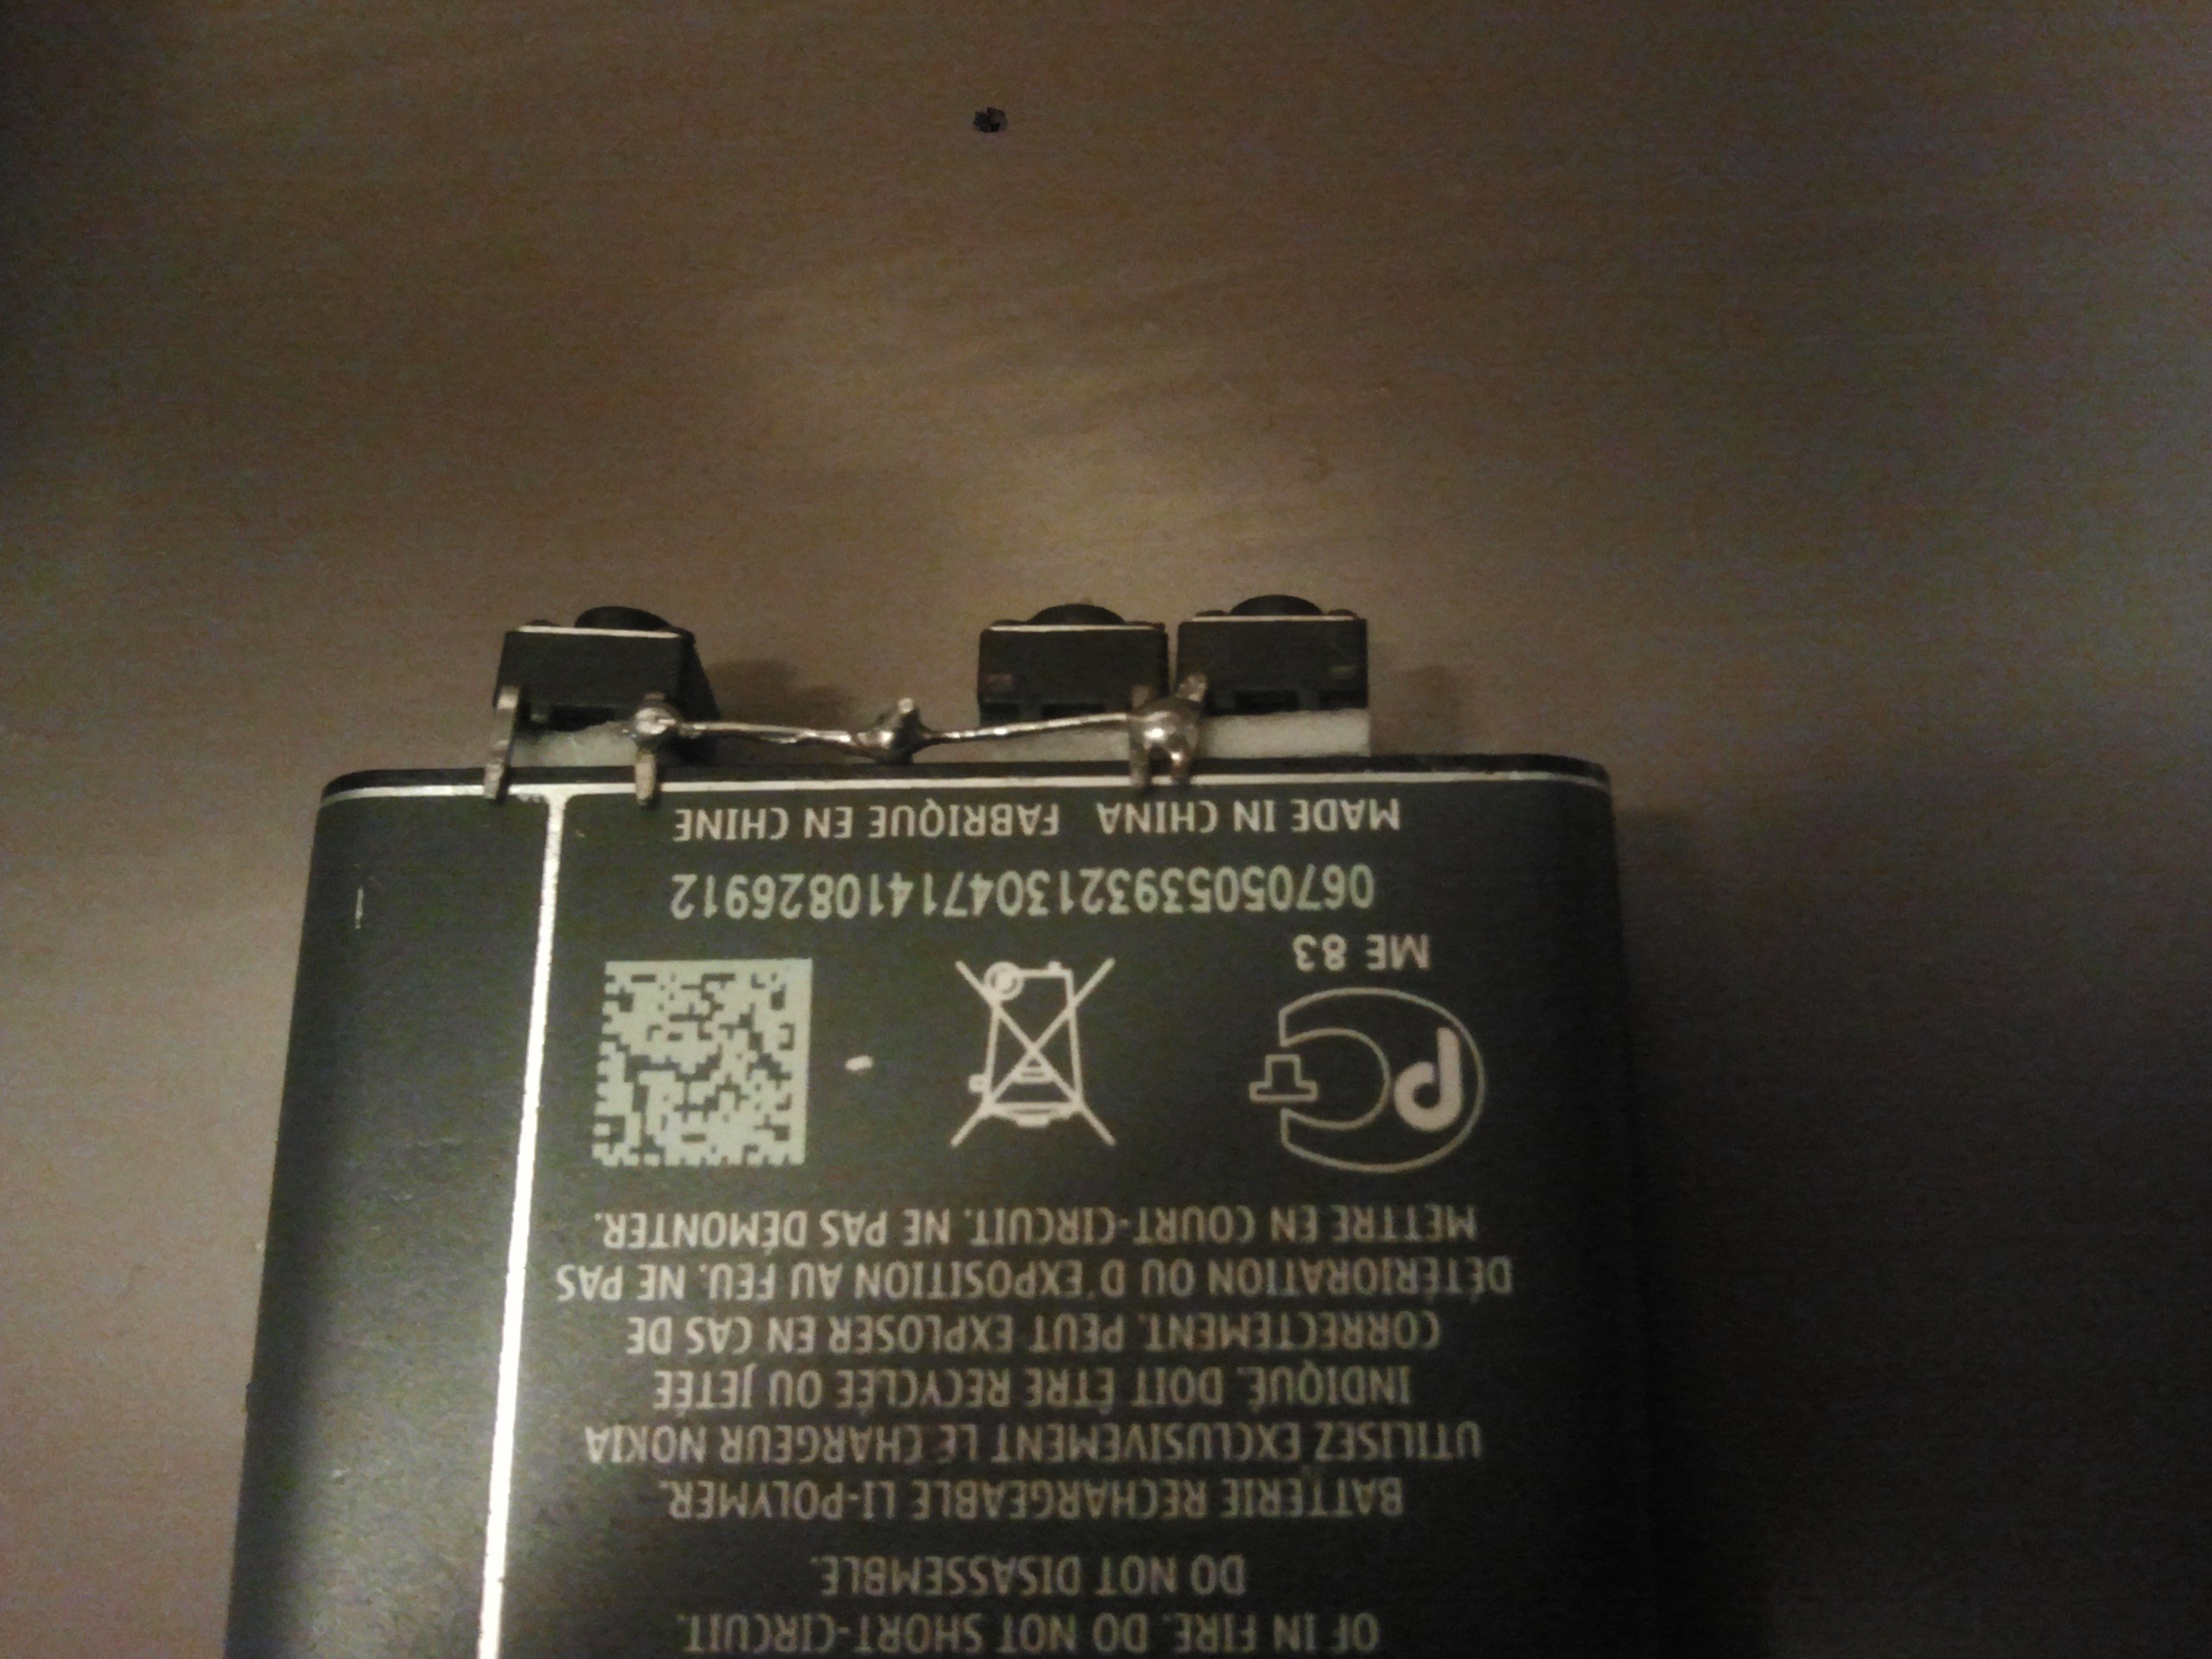

 Lex Kravitz
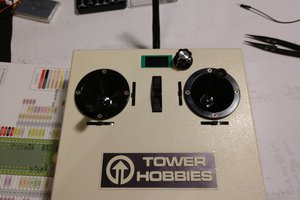
 Rudolph
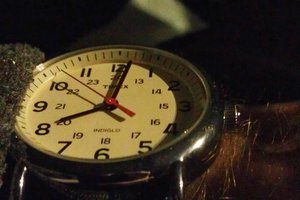
 Markus Novak
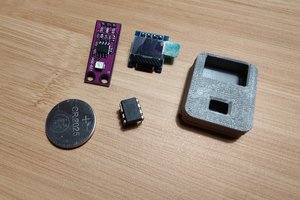
 Paulius J.