 fl@C@
fl@C@The idea...
If you're like me...you might need to make one or two boards quickly every once in a while.. and you don't care for the toner transfer method or any derivative...
The Reason...
I like this method, it's quick, easy, clean, gets good results and fast... doesn't cost much at all....has fewer steps and just makes a better board in my opinion... you don't have to worry about the crappy toner coverage and pitting, etc... this eliminates that entirely..
The Method....
It's really pretty straight forward and super easy...
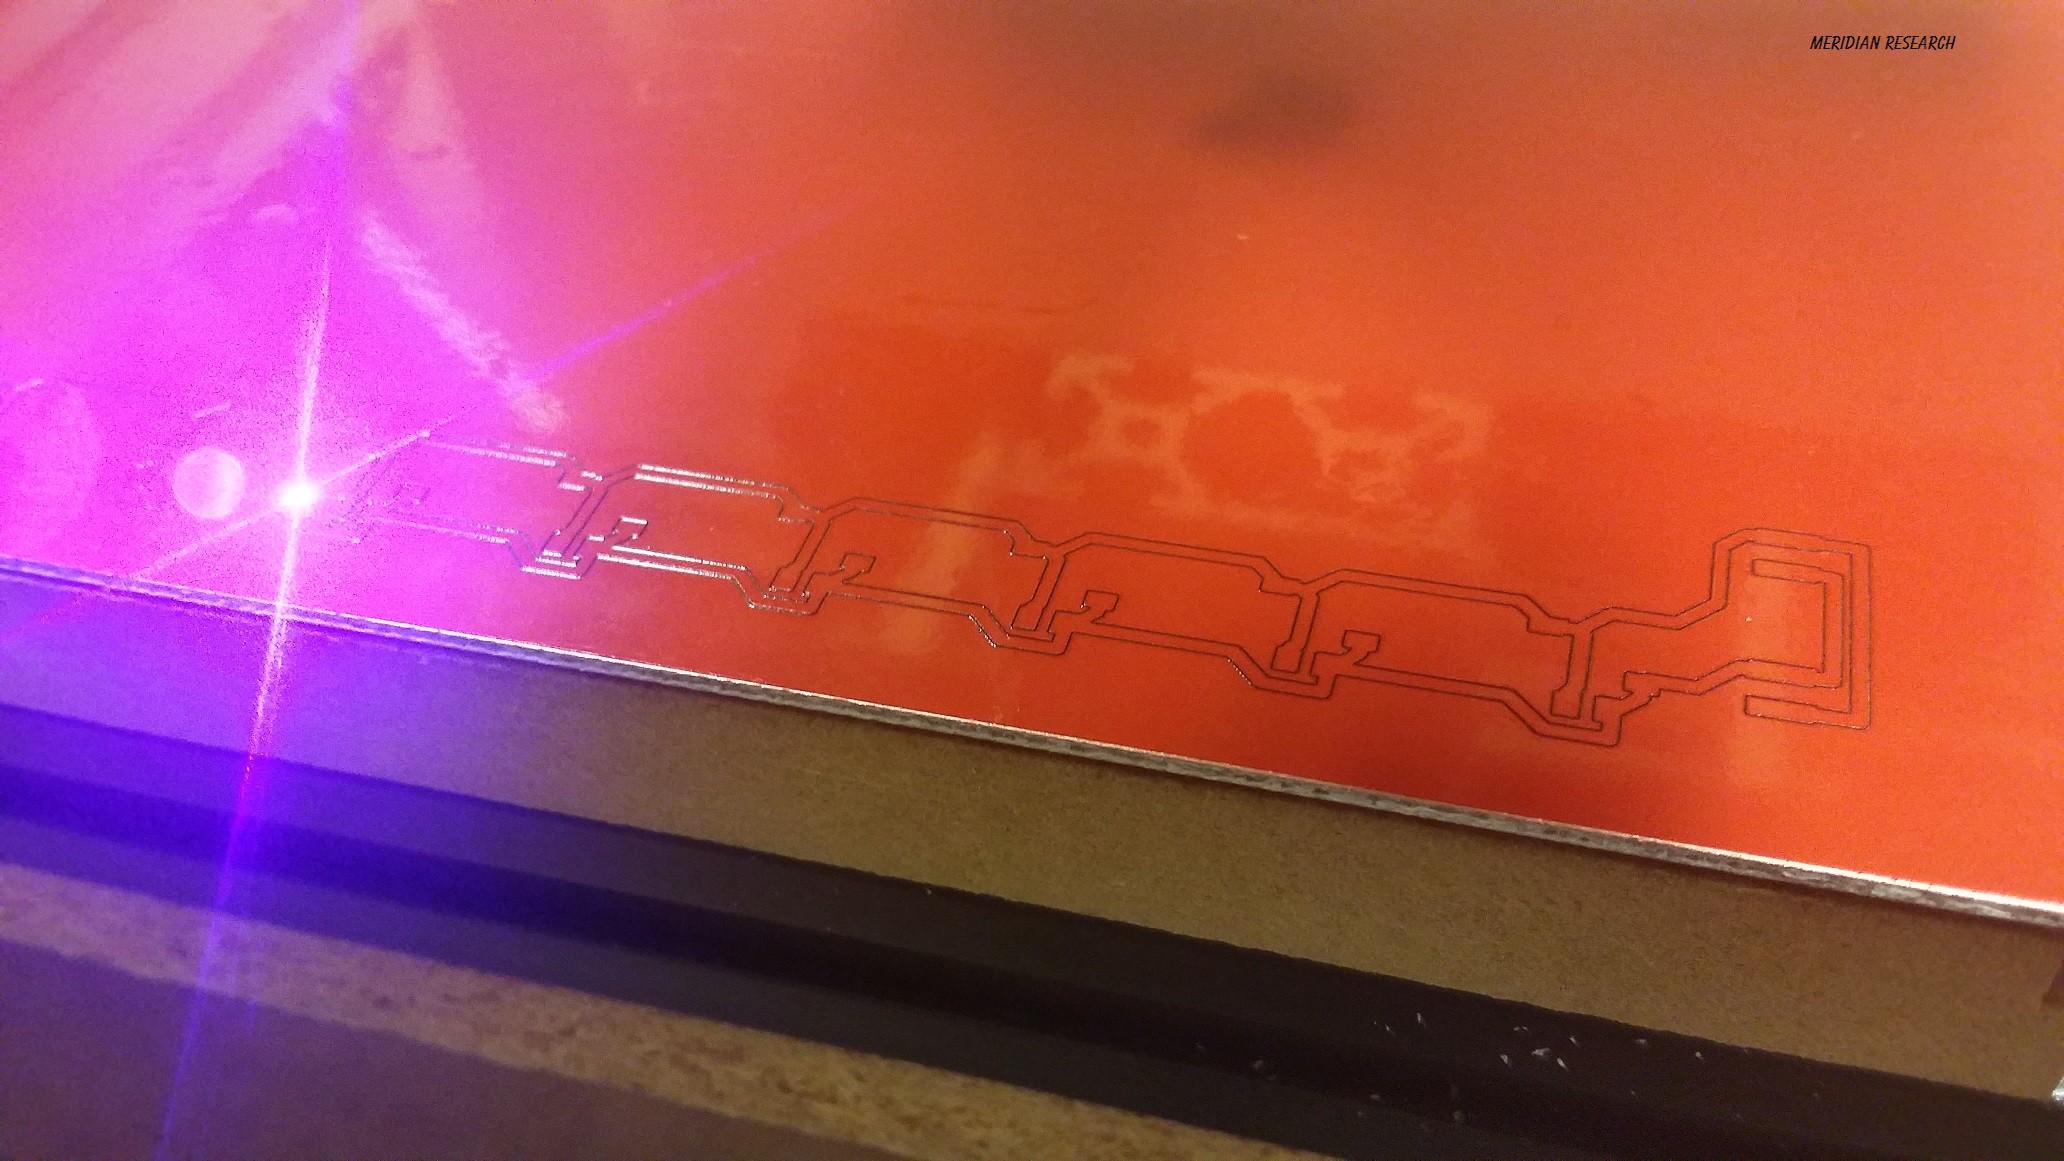
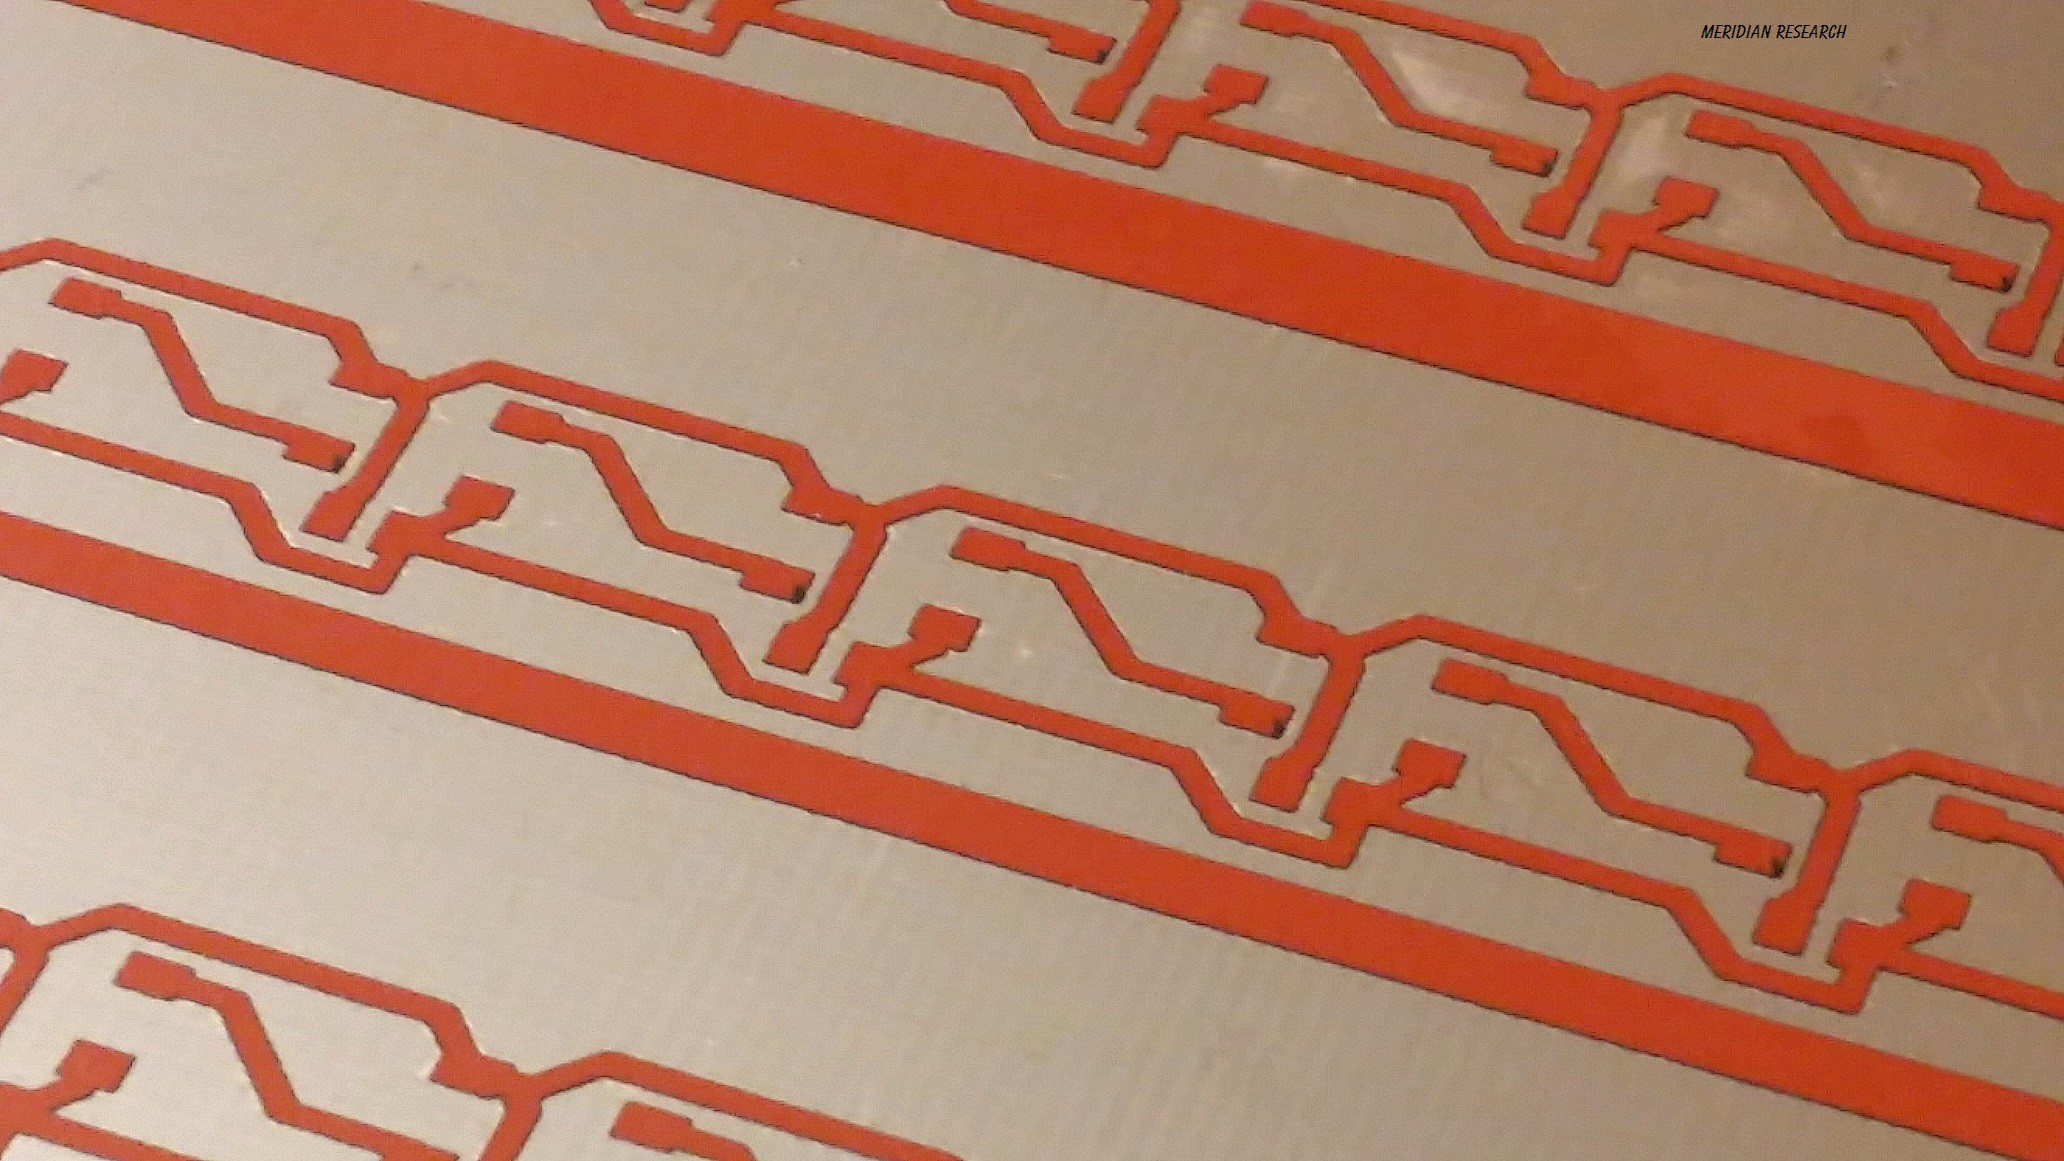
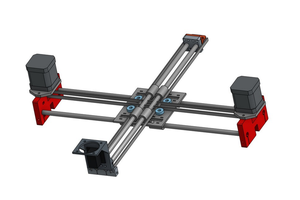
Basically, you take a blank PCBoard... some craft or sign vinyl from amazon or ebay.... put the layer of vinyl on the board... and cut the circuit pattern with the laser attached to your cnc machine, craft cutter or even your 3d printer... Peel off the middle pieces and Boom, etch the board and it's done..!
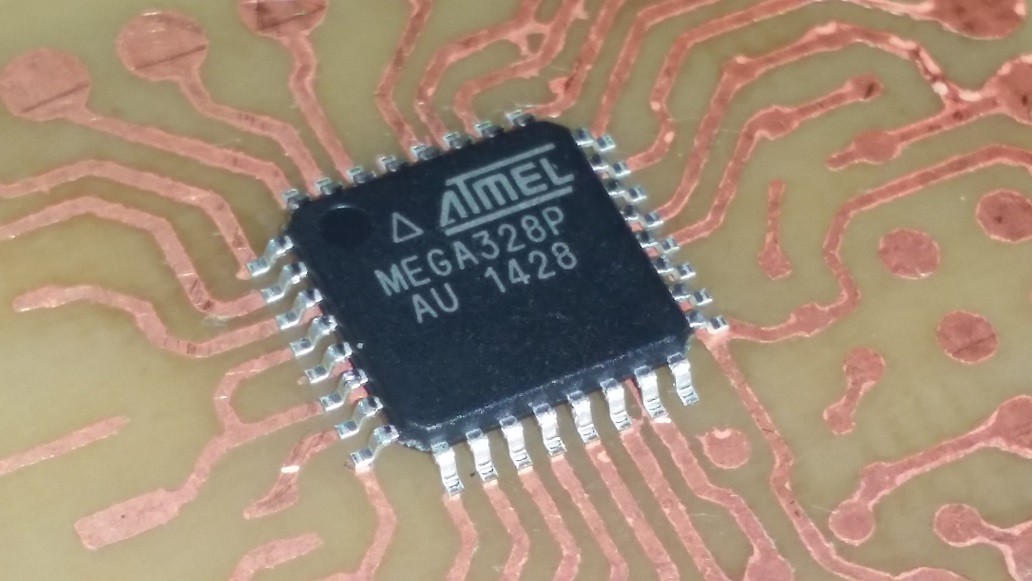
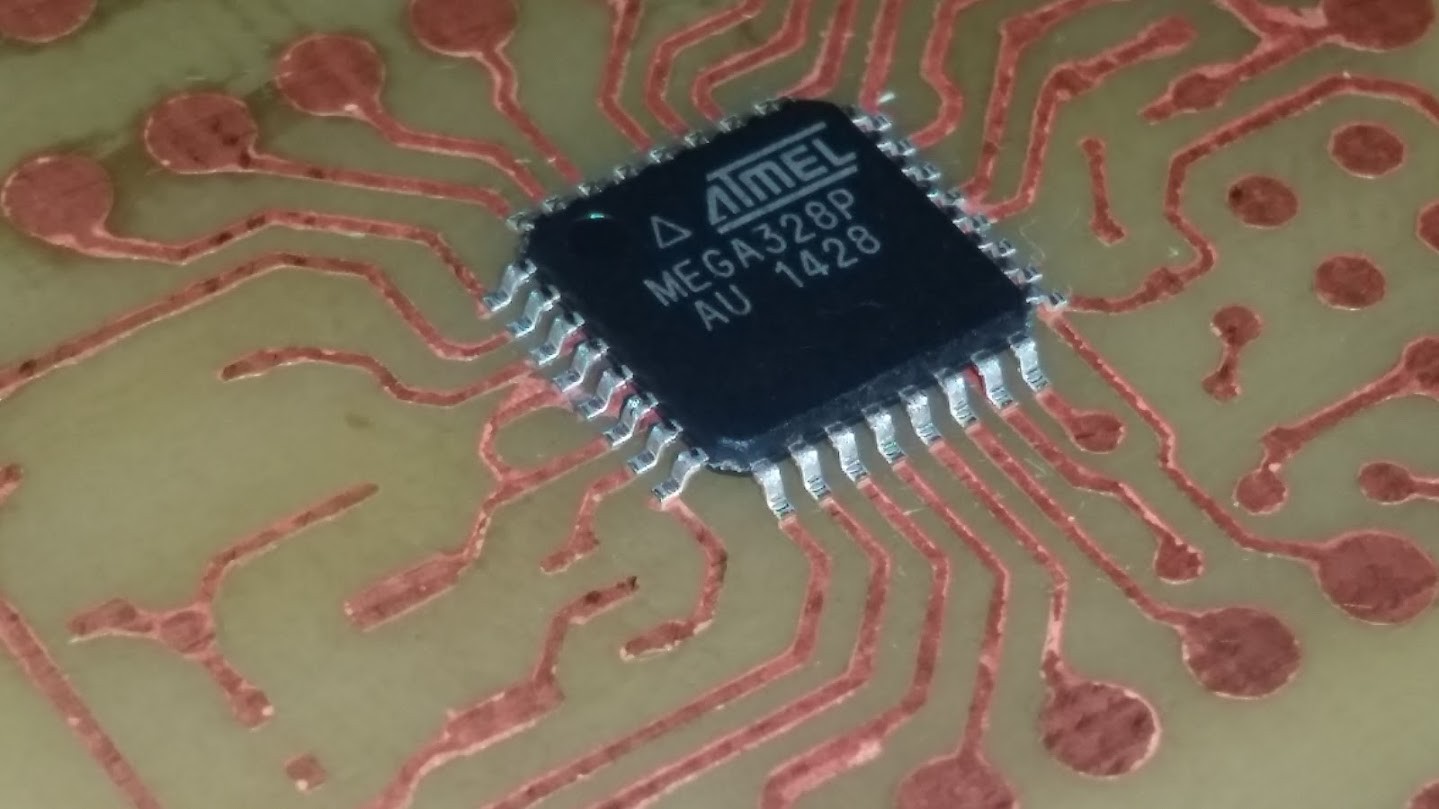
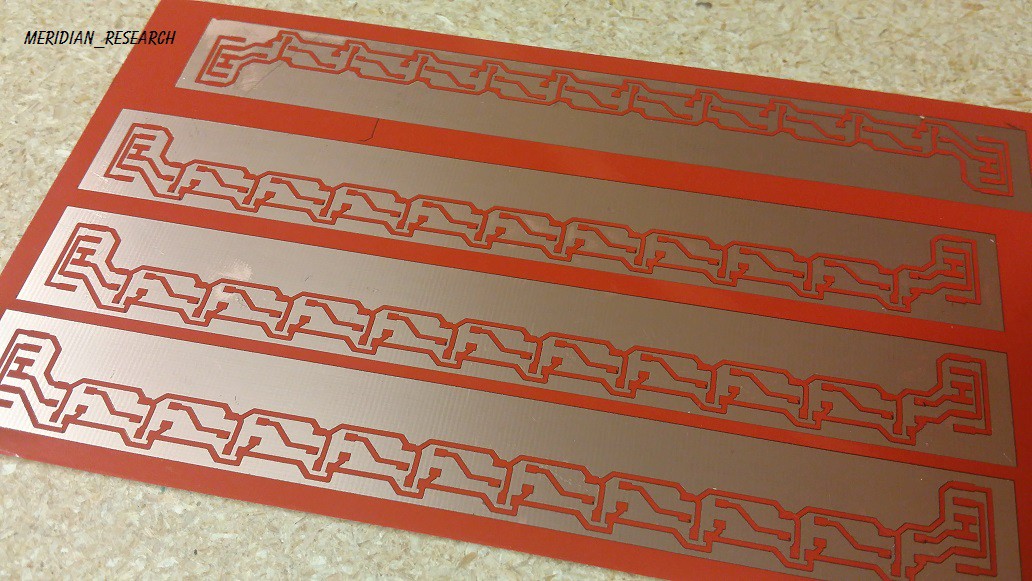
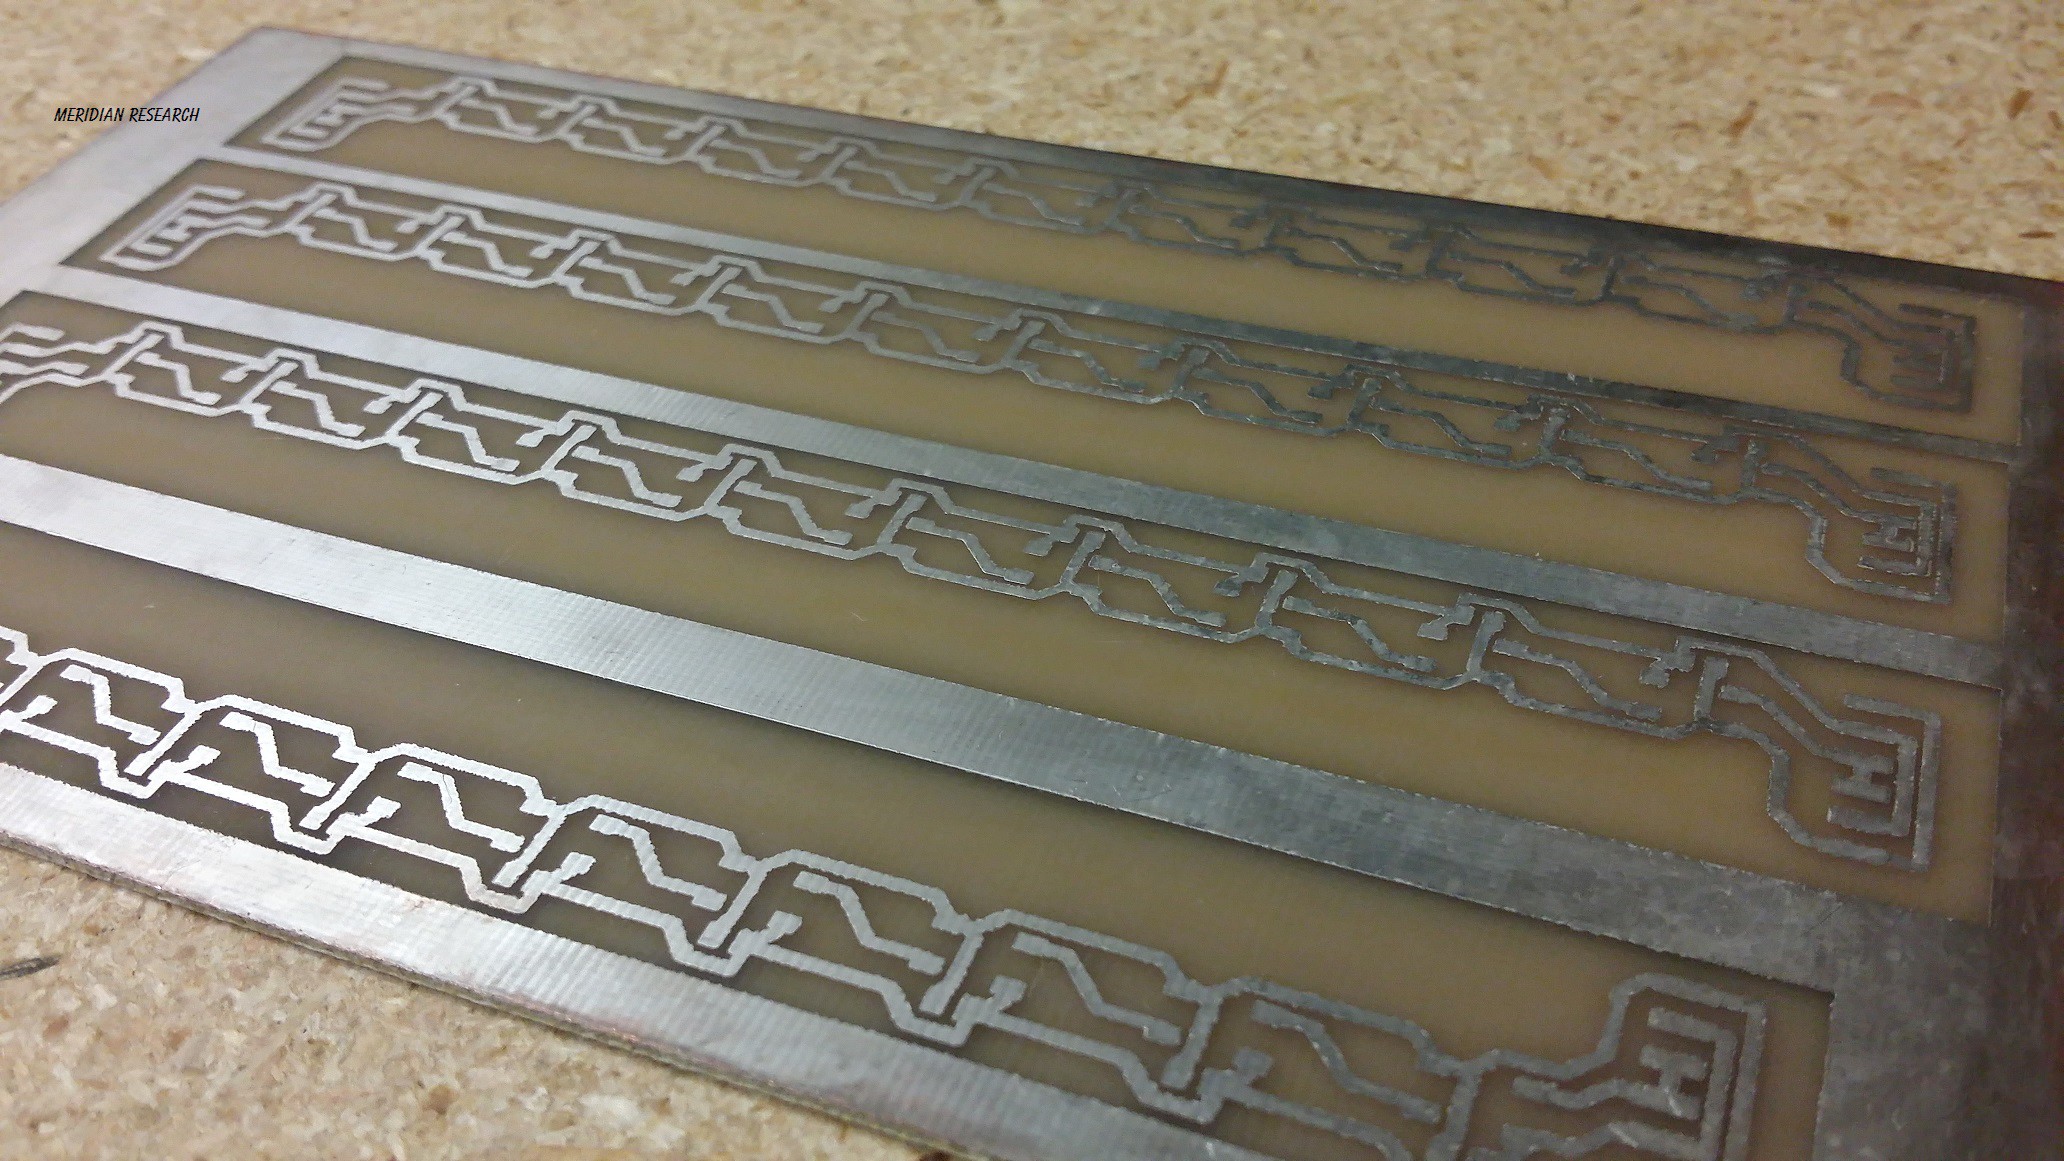
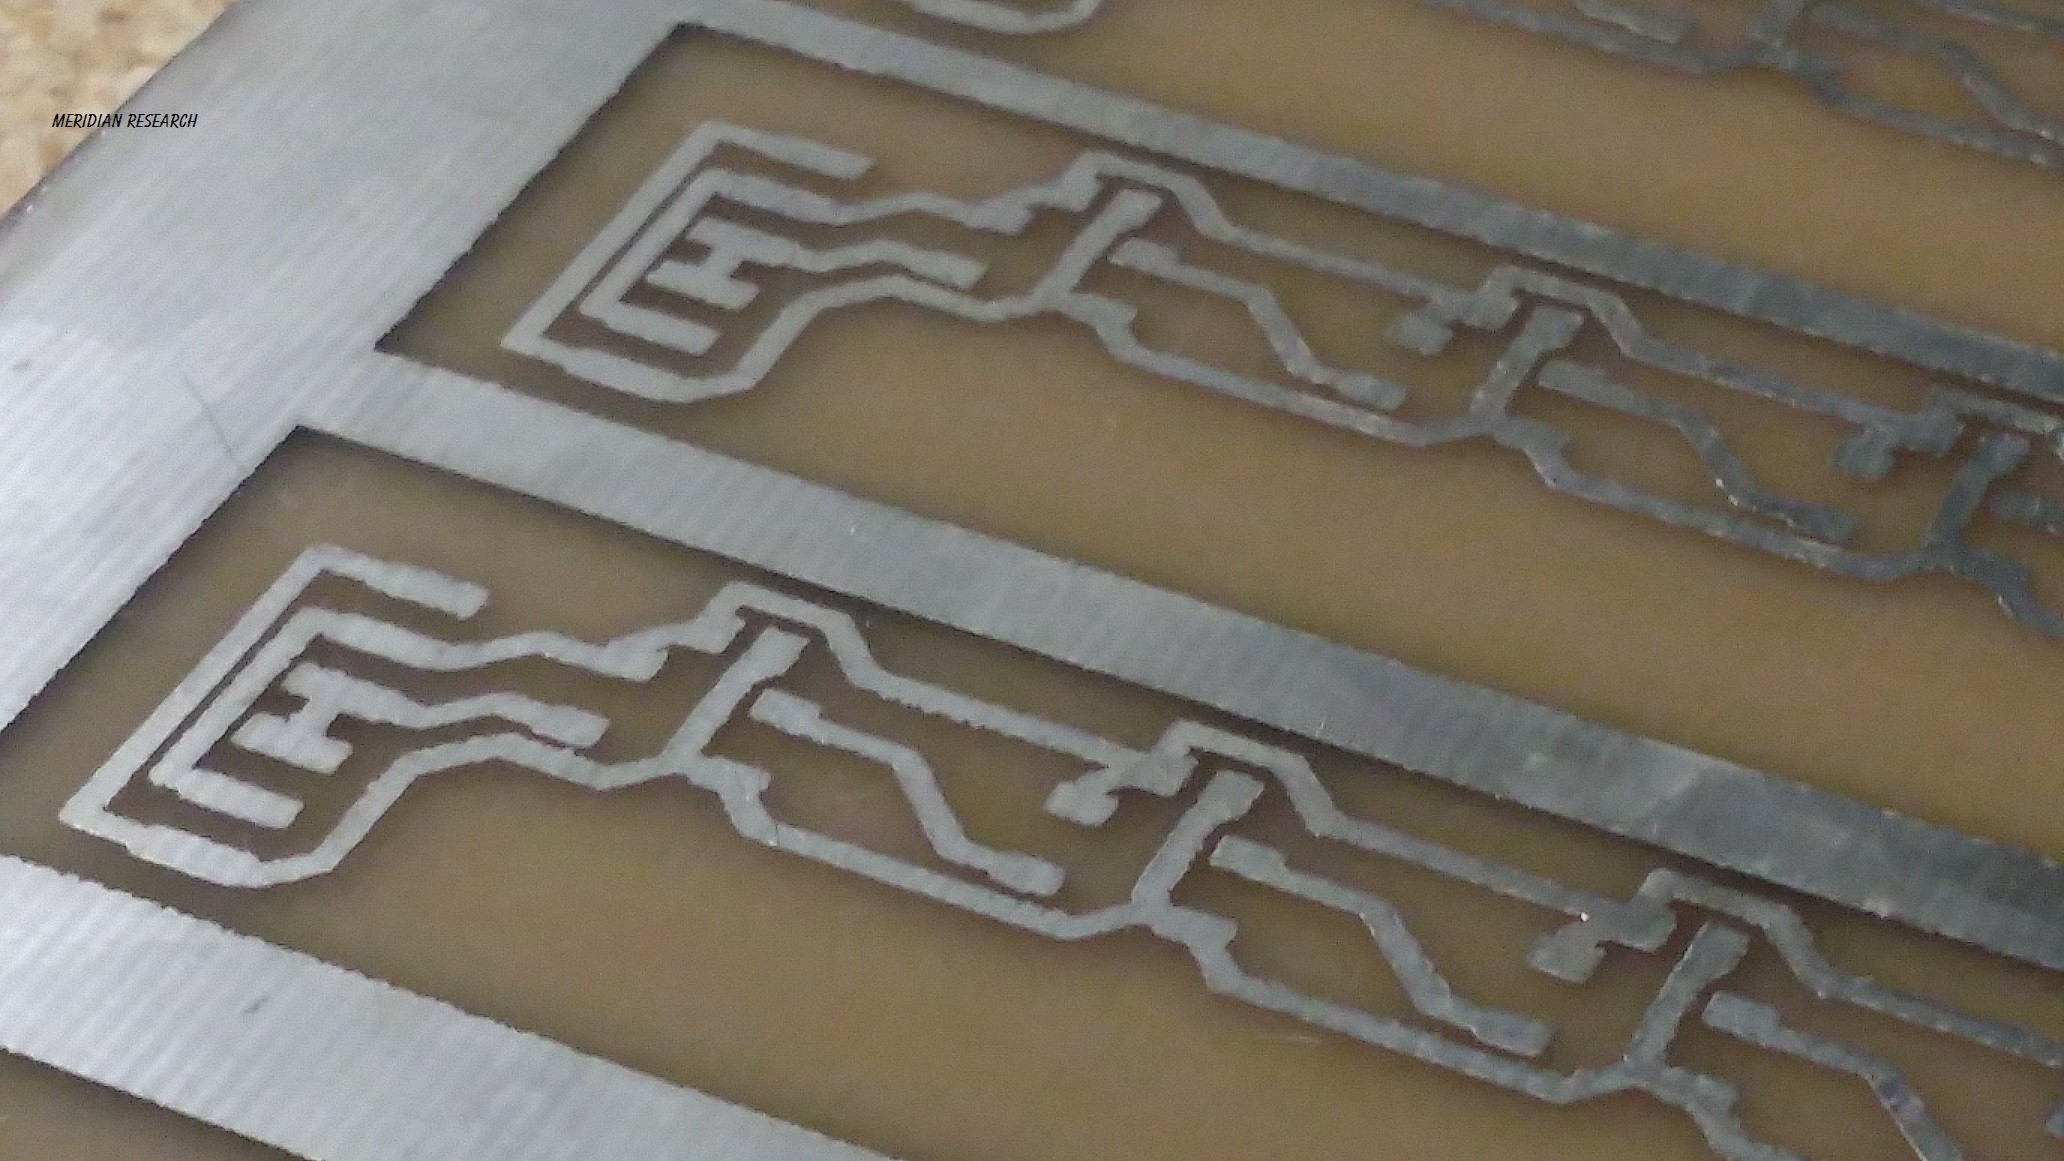
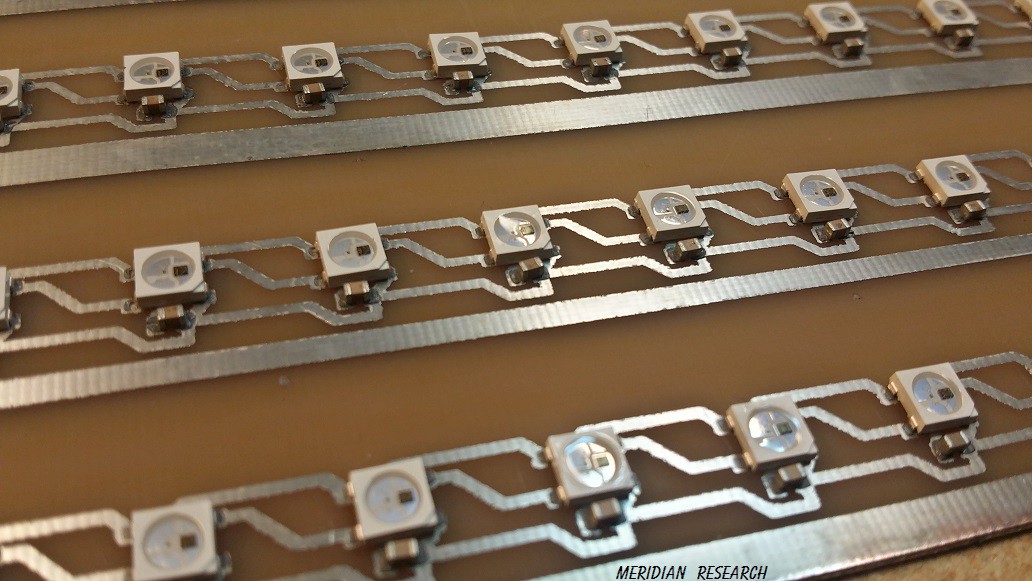
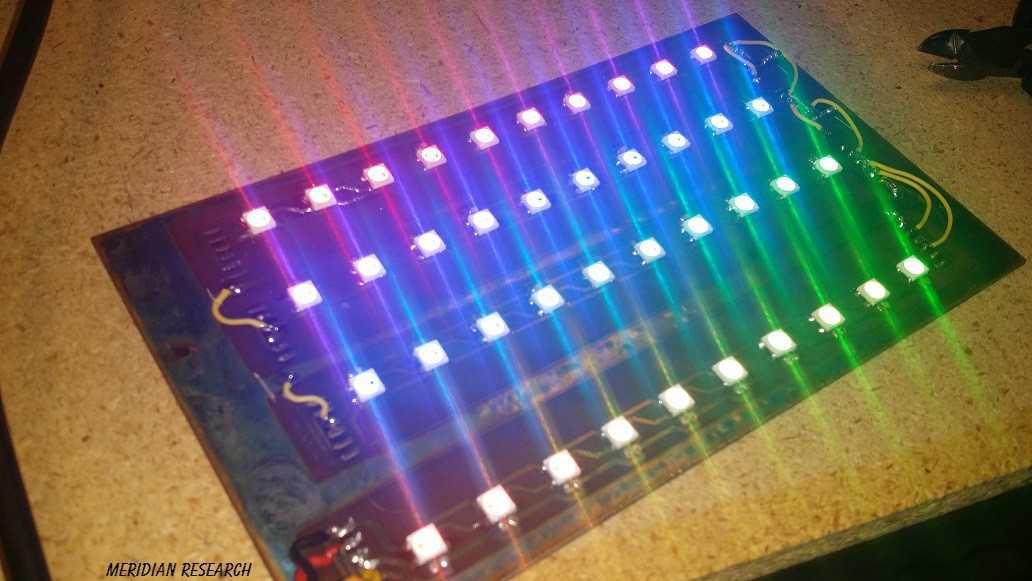
The Results...

If you like this work, you should check out the UV Templates and UV Oven I'm working on...!!
So, to rehash... that's...
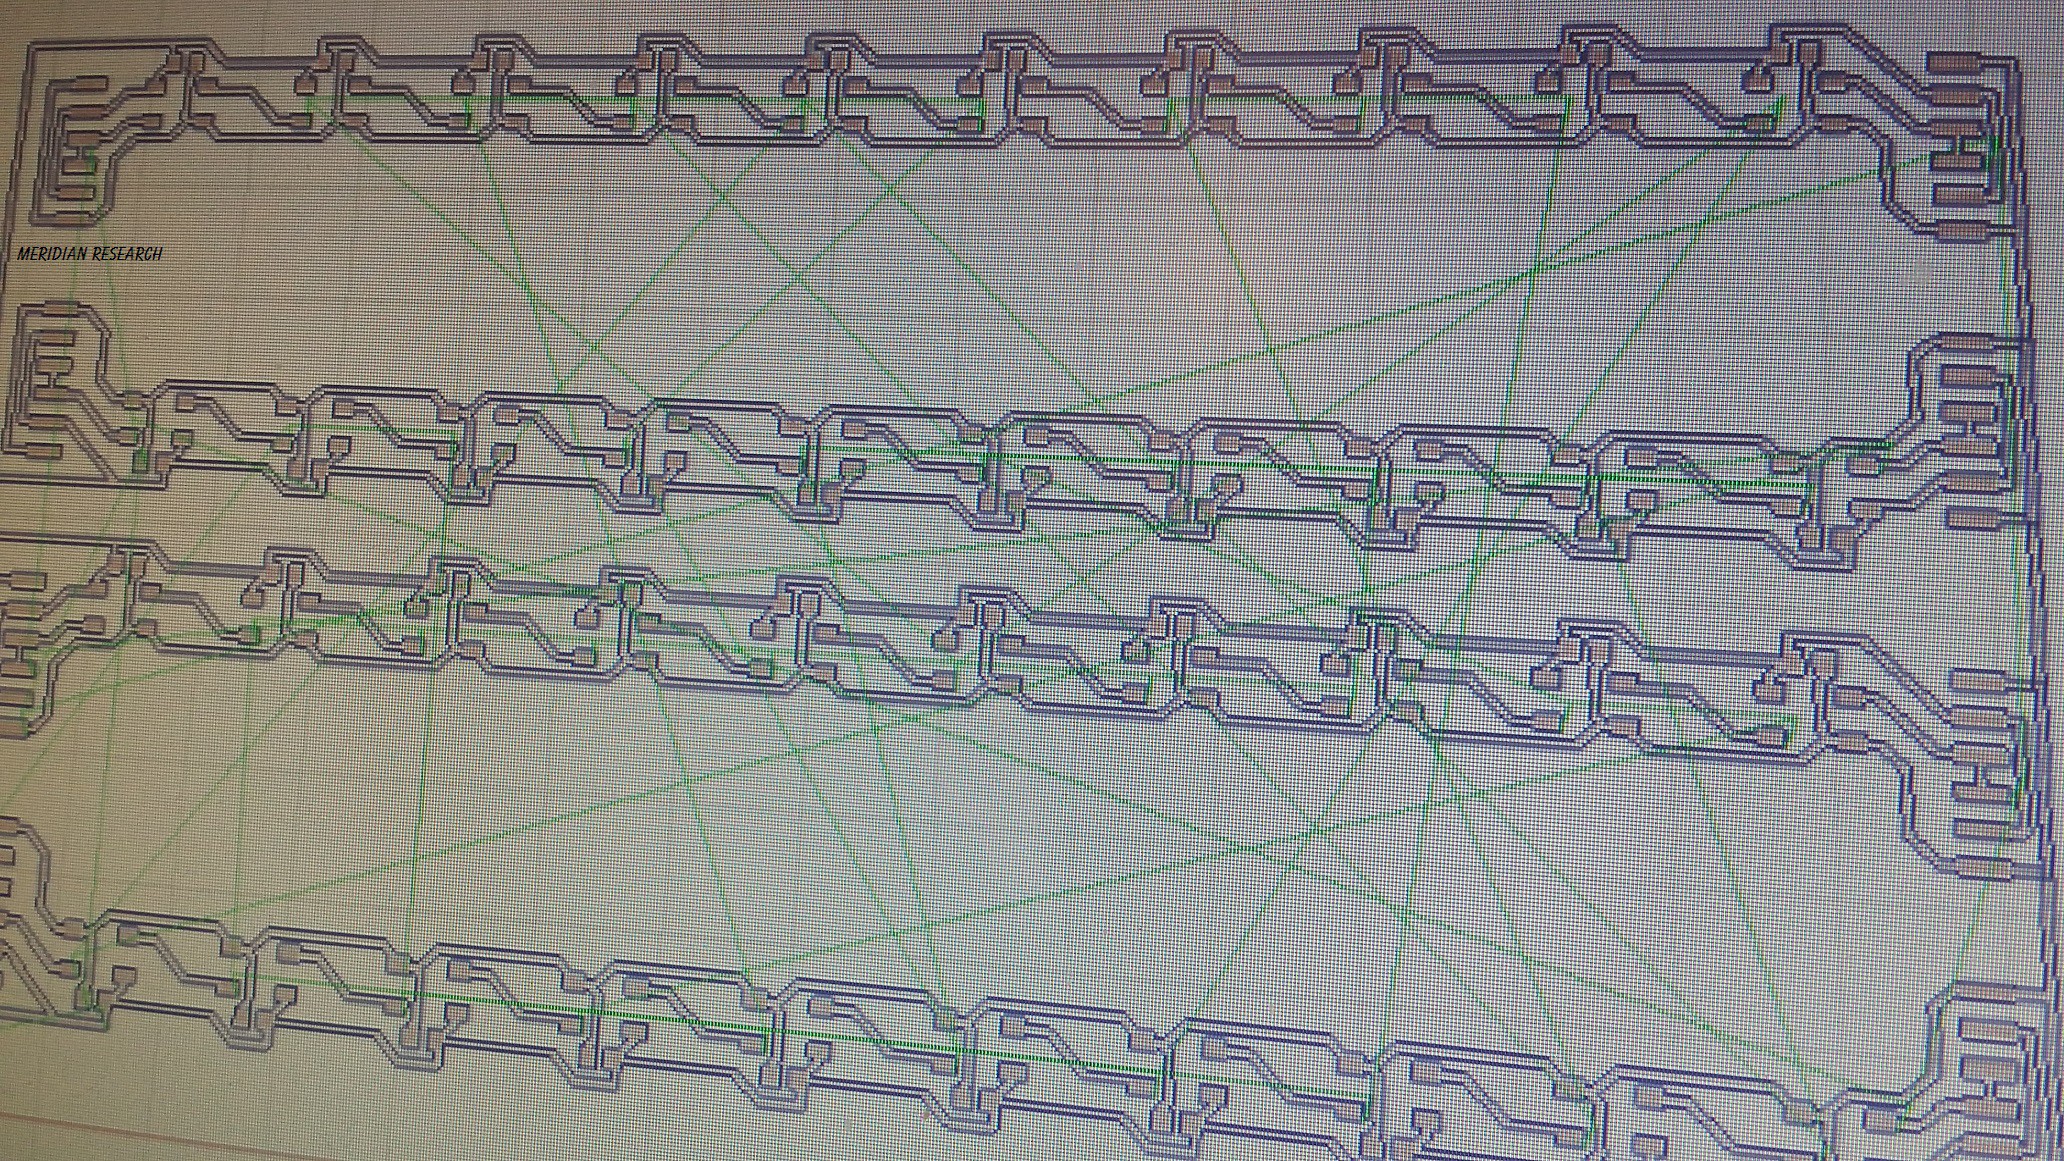
1. Create your PC Board in your favorite software... I use Eagle...
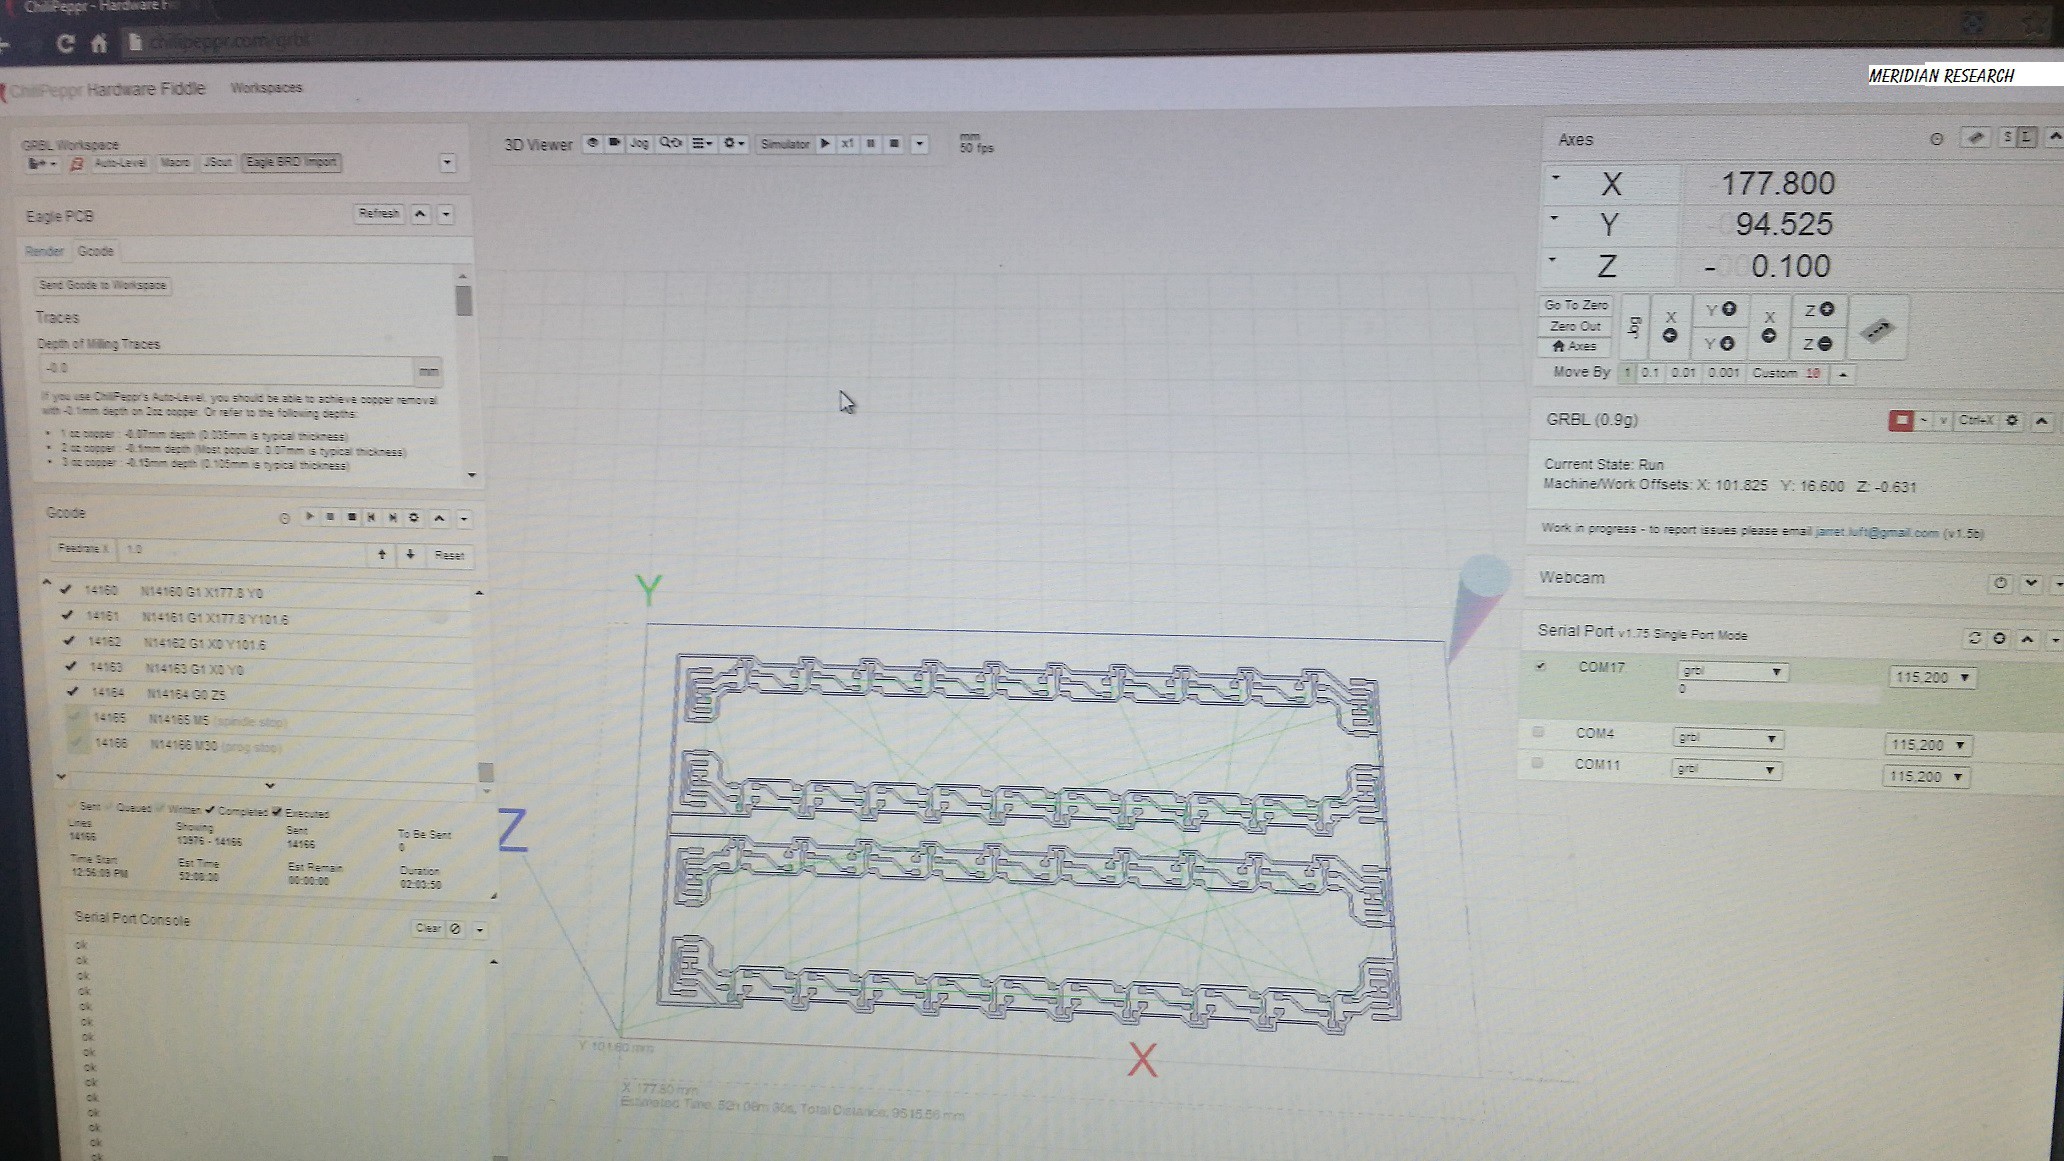
2. Export your PC Board to gcode... I now use Chilipeppr.com's Eagle BRD Import feature.... The speed setting will depend on your laser power..Mine is 1W@445nm. These are also based on using 0.4064 width traces.. So, depending on what you're doing you can play around with the inflate milling path number..
Inflate Milling Path By:
    positive 0.1

Advanced Inflating
    Inflate SMDs By
        positive checked        0
    Clip wires
        unchecked
    Remove Undefined SMDs
        unchecked
    Inflate Pads By
        checked        0
    Inflate Vias By
        checked        0

Depth of Milling Traces
    0
Feedrate for Milling Traces
    400
Feedrate for Plunge into Copper
    800

Clearance for Z Axis Moves
    0

Depth of Cutting Out Dimensions
    0
Step Down for Cutting Dimensions
    0
Feedrate for Cutting Dimensions
    400
3. Take a blank PC Board and stick a sheet of adhesive vinyl to the side of your PC Board you want to etch.. (This method will work with double sided boards, I'll explain more on that later..)
4. Place your PC Board with its vinyl coating on your machine... and send the gcode to the machine to cut the vinyl... I use http://chilipeppr.com/ ..
I'll explain here about the modified process I use for the Chilipeppr Eagle BRD Import......
First, I import the .brd file.. use the settings above.. Then I copy the gcode from the window, paste it into a txt file.. run a custom python script on it to insert M3 and M5 to toggle the laser where the Z Axis would normally have moved and then I import the resulting tap file back into Chilipeppr...
(Make note: cutting vinyl with a laser produces noxious and disgusting fumes and might harm you and/or end your days on this planet..make your family hate you and destroy your life.. Using this method means you understand the health risks and the nasty nature of the chemicals involved and their effects on your well being and peace of mind.....mostly, just make sure you do it in an extremely well ventilated area and don't expose yourself to unnecessary risks... and wear eye protection....!!! Also....most of all, understand that I won't be responsible for you losing an eye or a lung or a family member from misuse of anything involved with this project... =D )
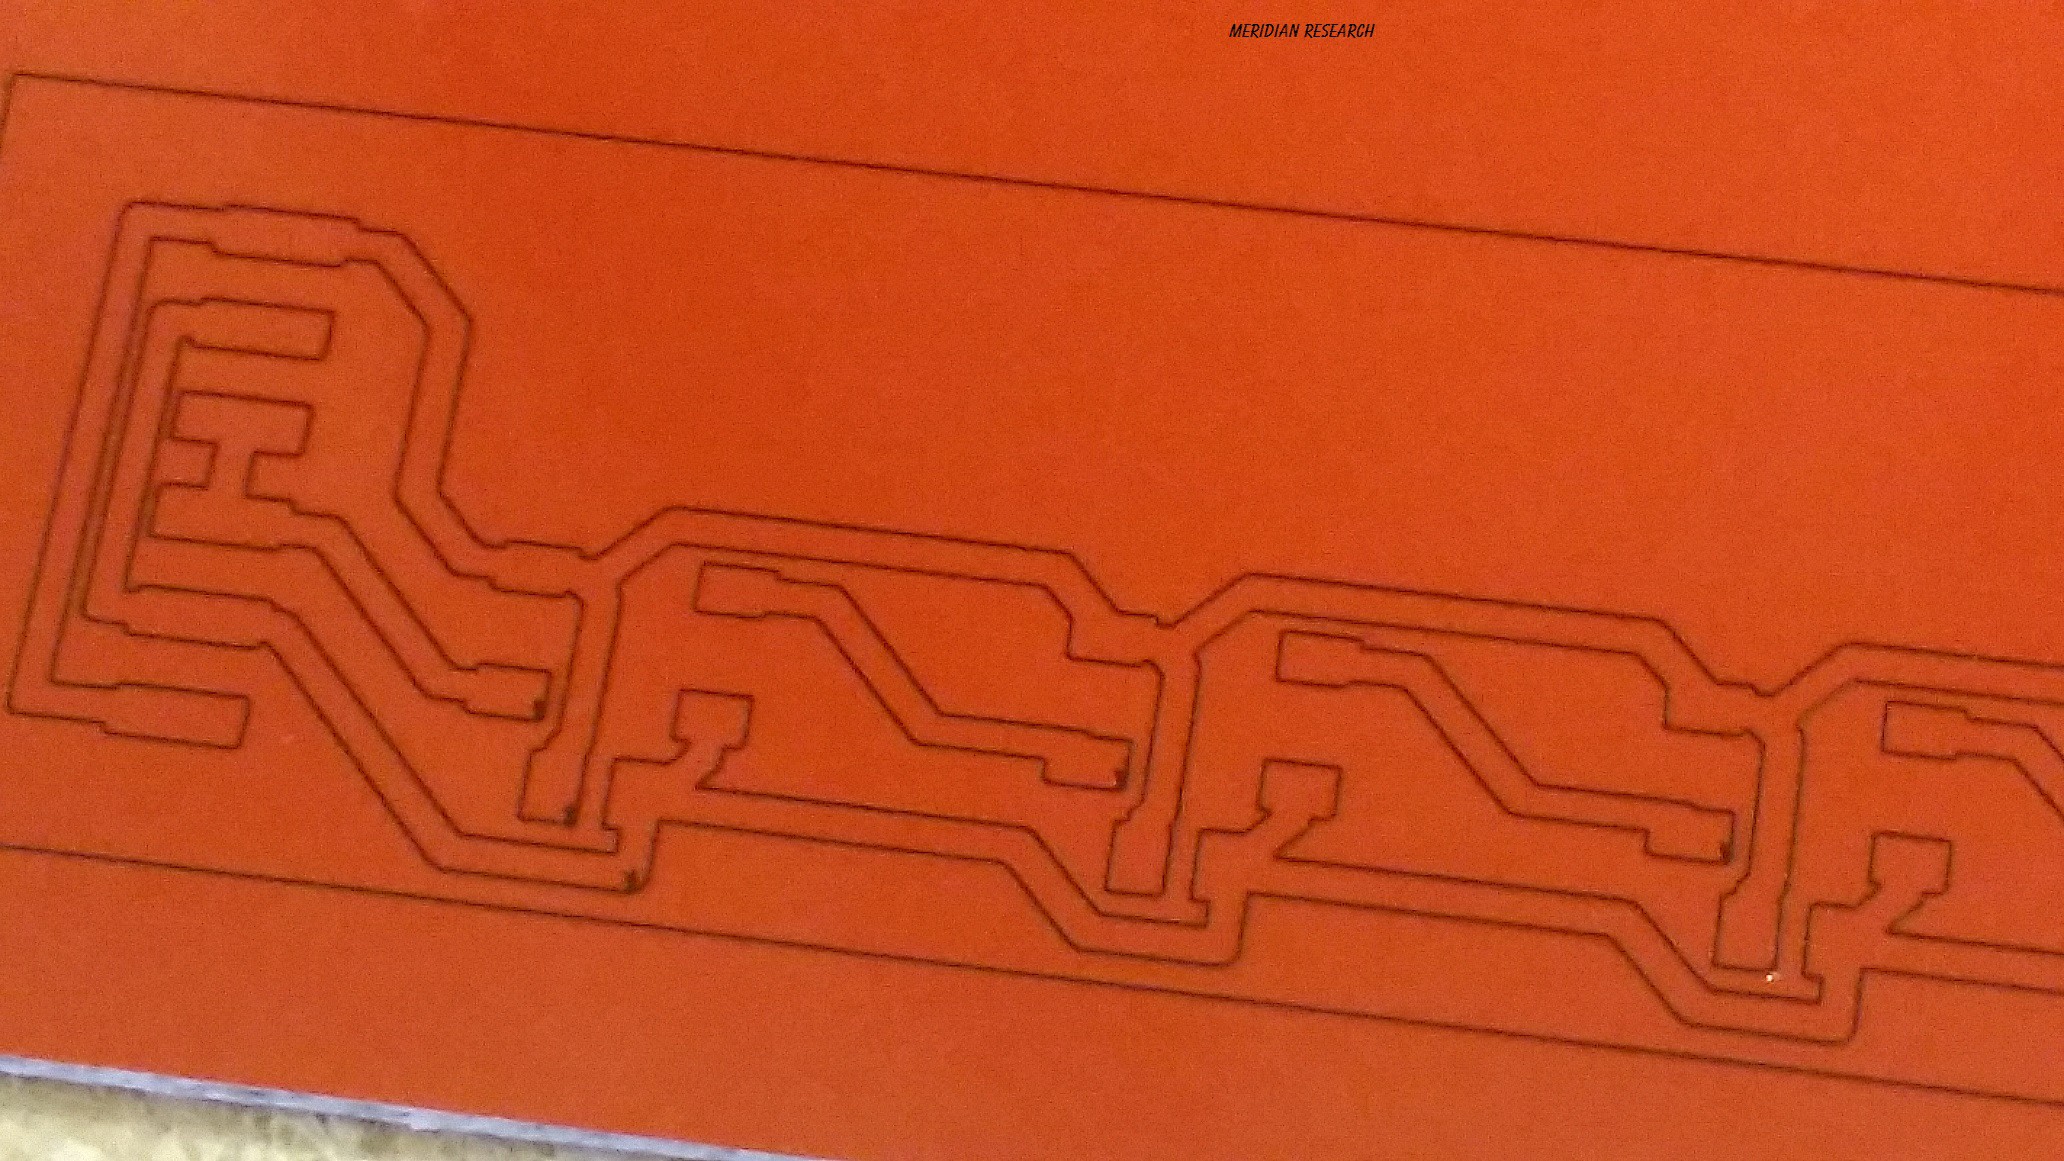
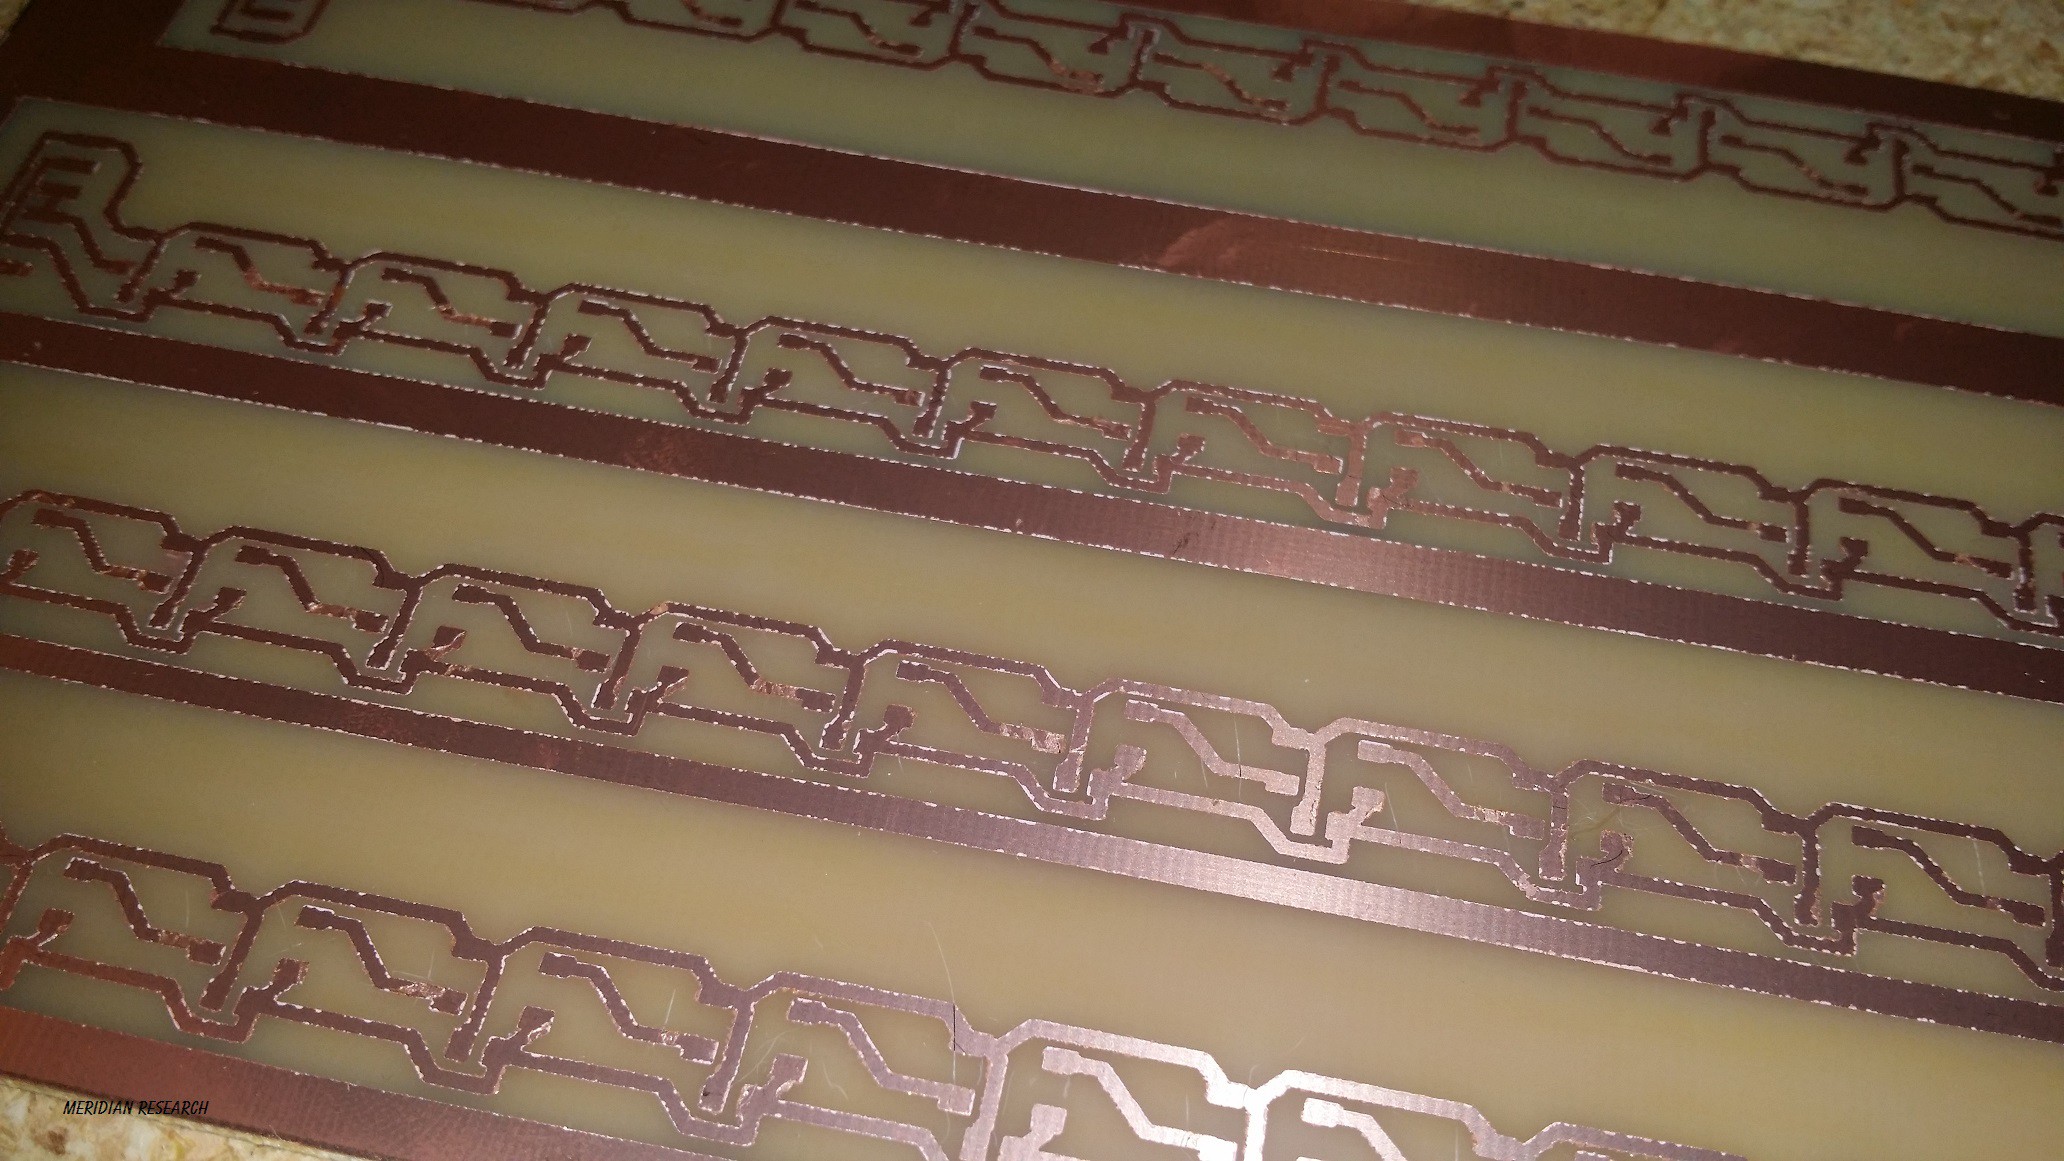
5. When it's done, pull your board out... peel the middle pieces out (the bits that you want to be etched away) and discard them.. I use some pointy tweezers...
6. Use some alcohol to clean the surface very well.. Don't rub too hard.. But make sure you get all the gummy glue goop and residue from the vinyl off and the surface is super clean... I use a PCB microscope, but you can use the camera on your cellphone to look super close and make sure it's all gone...
6. Next, just etch the board in your favorite chemical bath like you normally would... I used to use ferric chloride, but now I've switched to the hydrogen peroxide/muriatic acid mix.. Either works.
7. Wash it very well... Then remove the remainder of the vinyl.... and BAM... there's your board...! Drill if you need to...(Soon, I'll be covering...
Read more »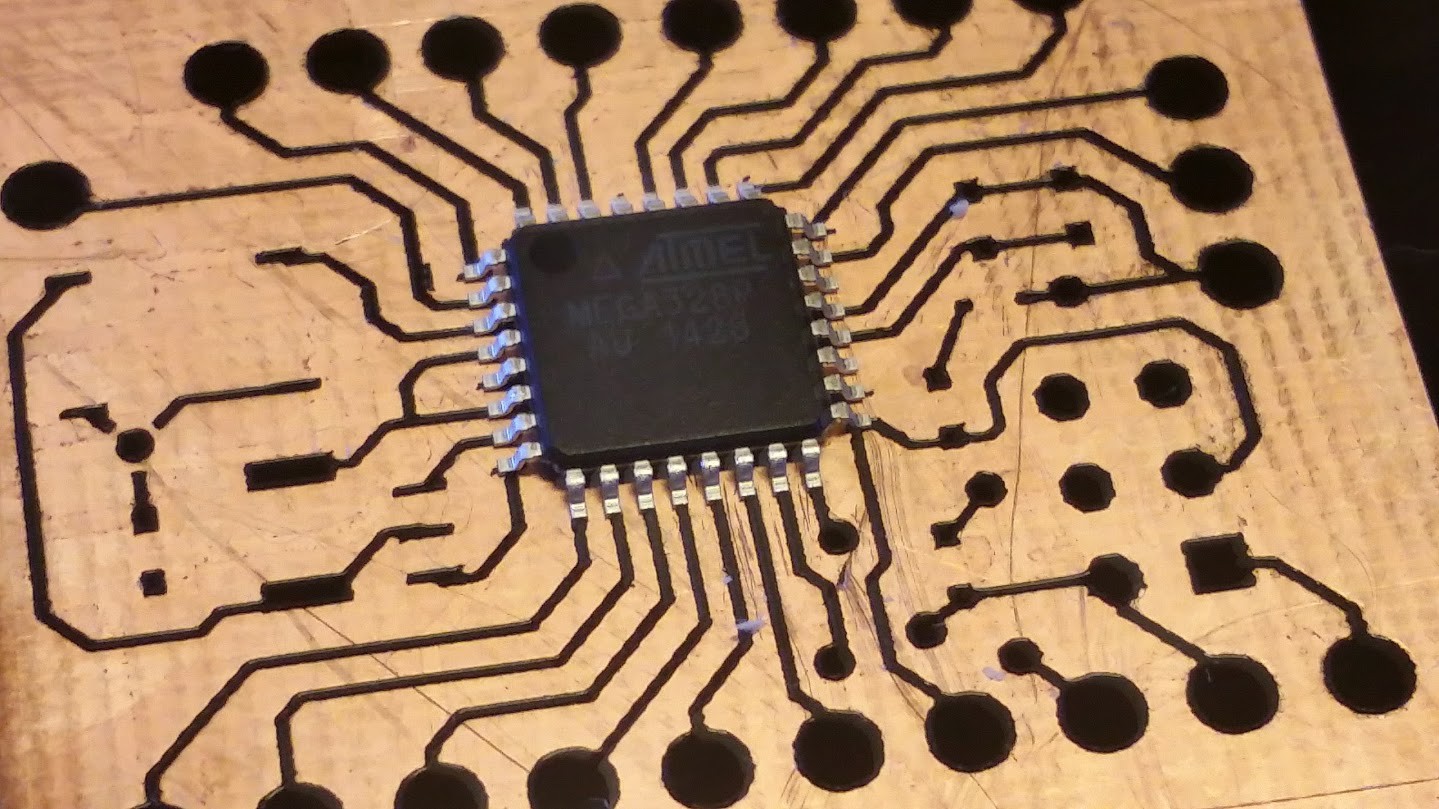

 Ariel Yahni
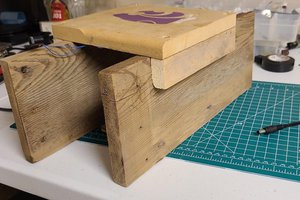
 KSUdoubleE
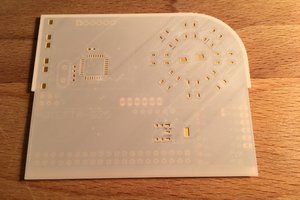
 Robert Kirberich
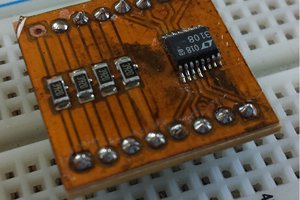
 chris.coulston