 kelvinA
I needed to go back to tap the thermistor thread in one of the Coaxial8ors and, while I was doing that, I thought "I just need a pilot thread to get started and I can be on my way", referencing to tapping the plates. I soon had the idea to print such a jig, but first I tested the idea out with an M6 bolt and learned that I'd need to consider how to keep it in place.
Me1: If only I had a plate with a bunch of starter threads. Then I could put them both in a vice.
Me2: We have plates with starter threads at home.
The plates with starter threads at home:
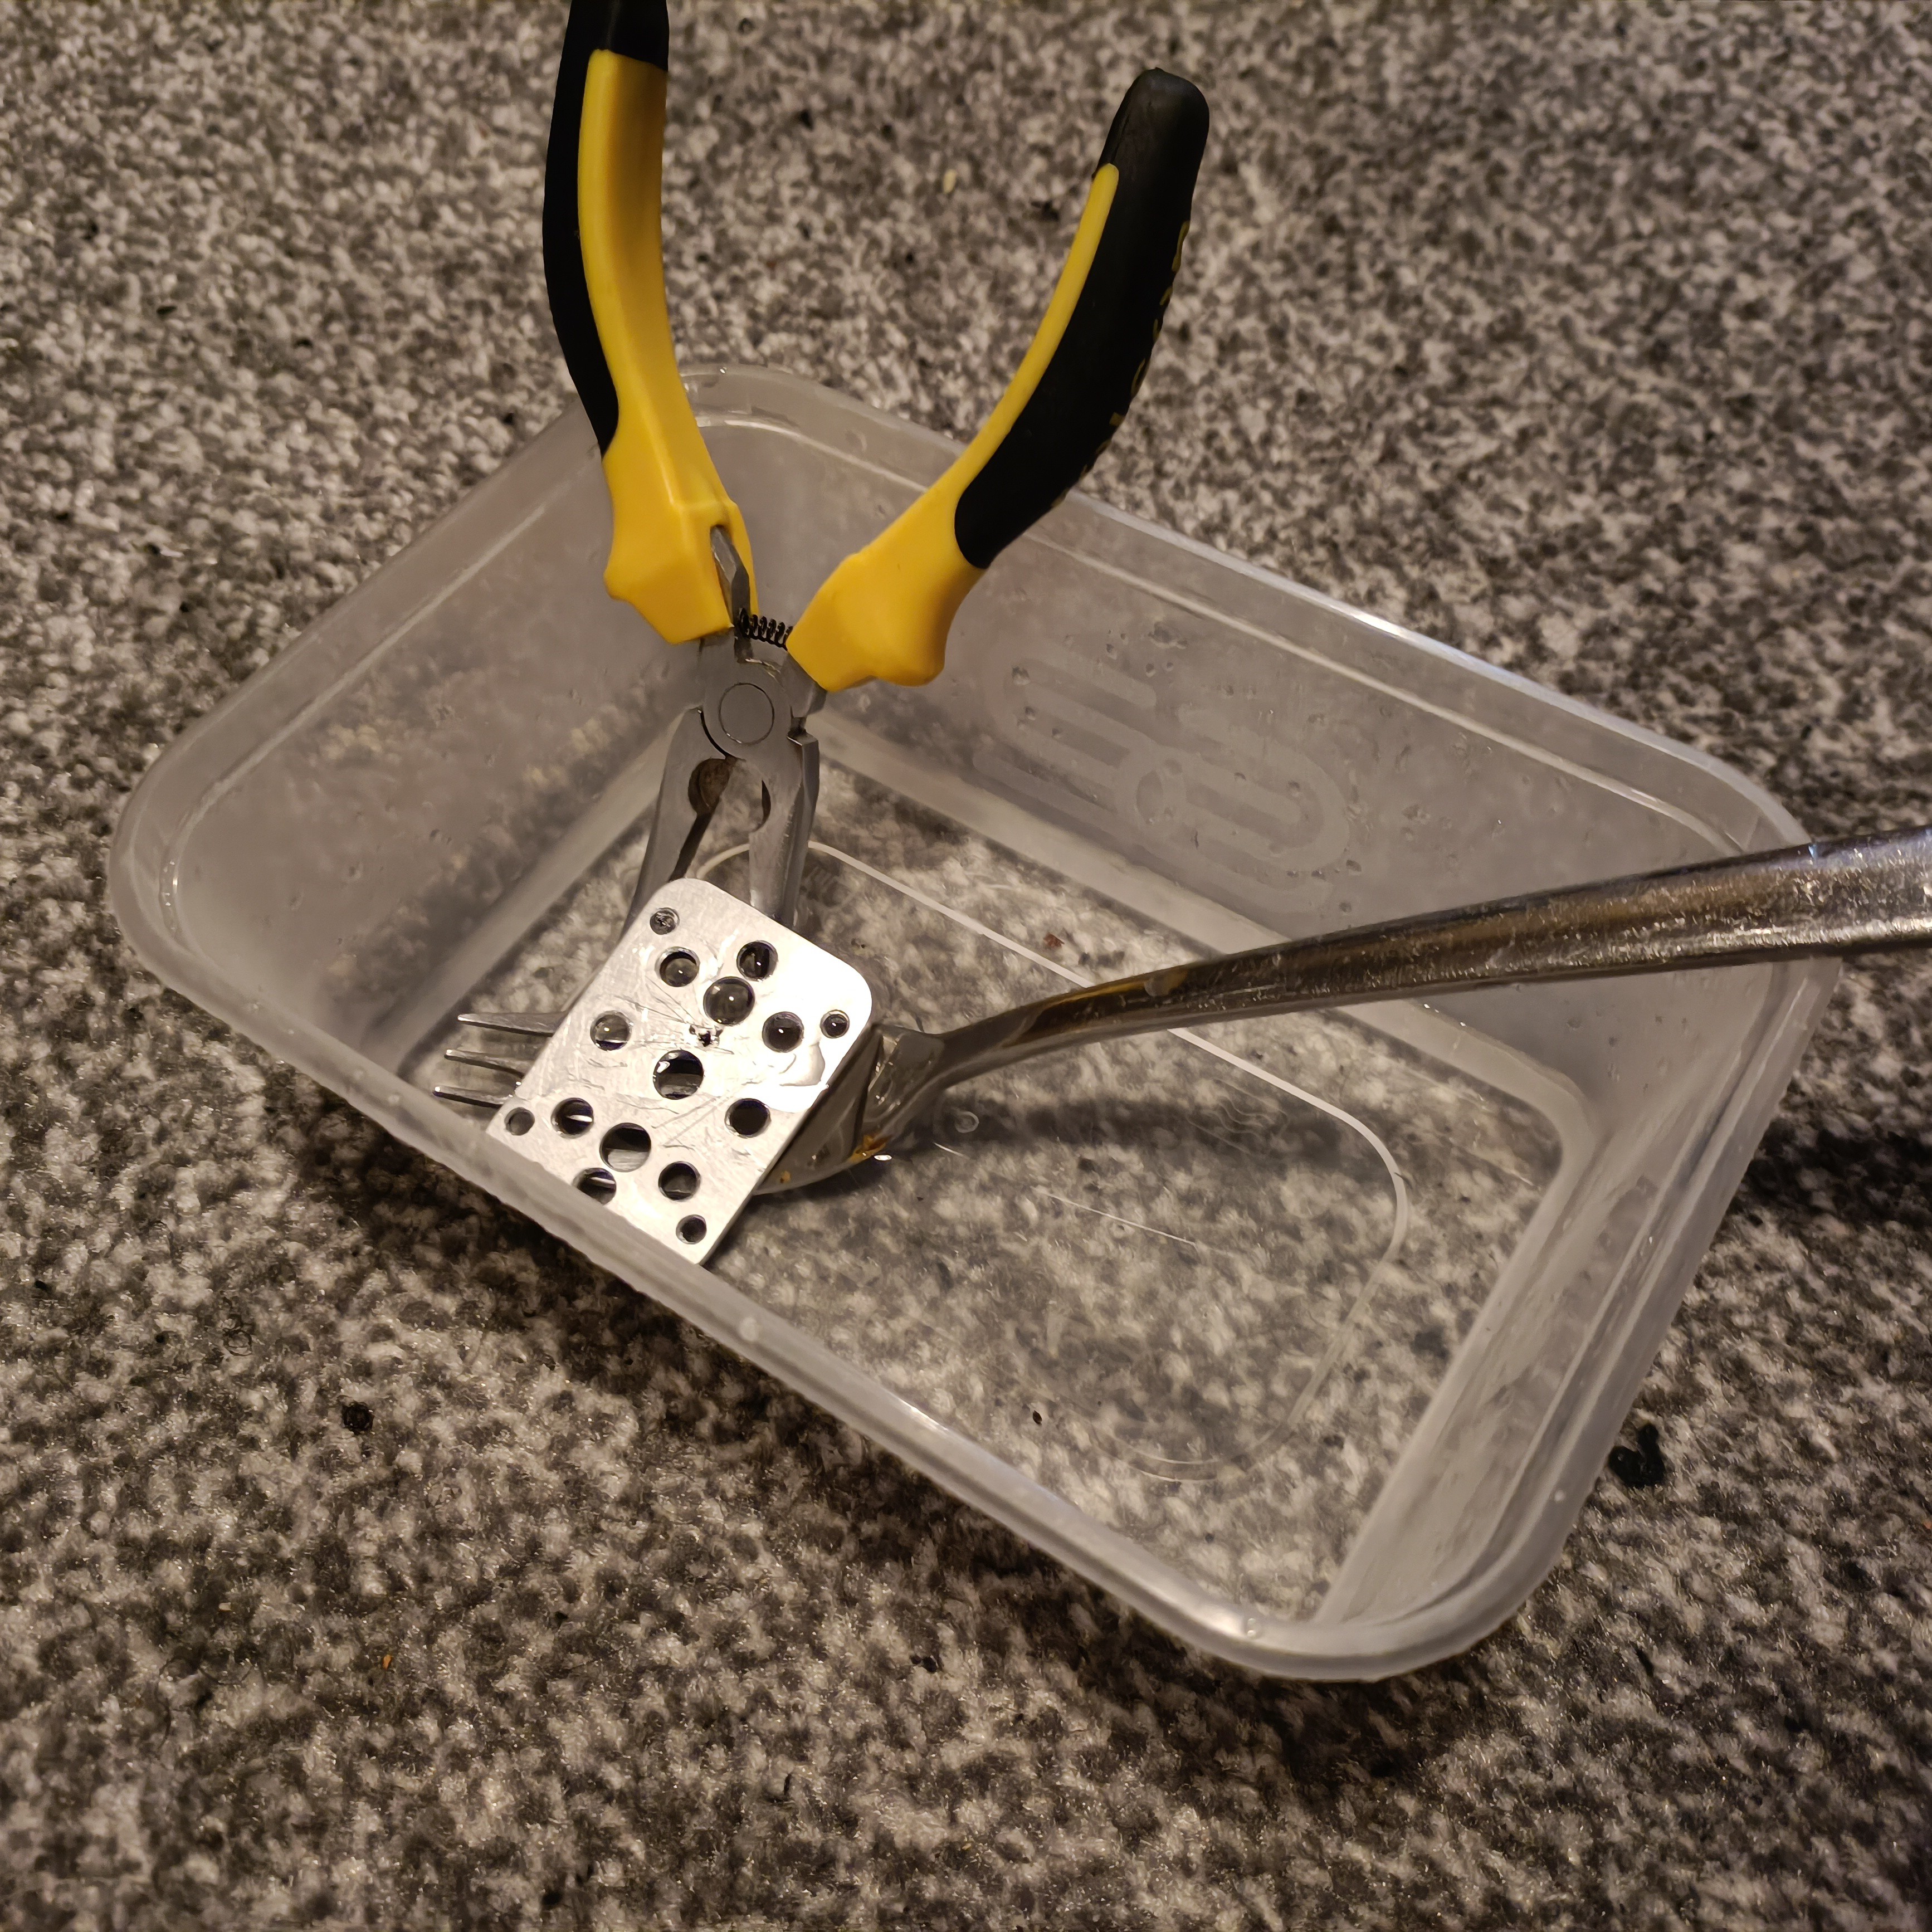 Yes, I retrieved and cleaned up the clamp plate from Coaxial8or r0. I pried off the plastic and cartridges from the clamp plate, then put it in the above tub along with a shallow amount of kettle water so that the PETG softened and I could clean off the rest.
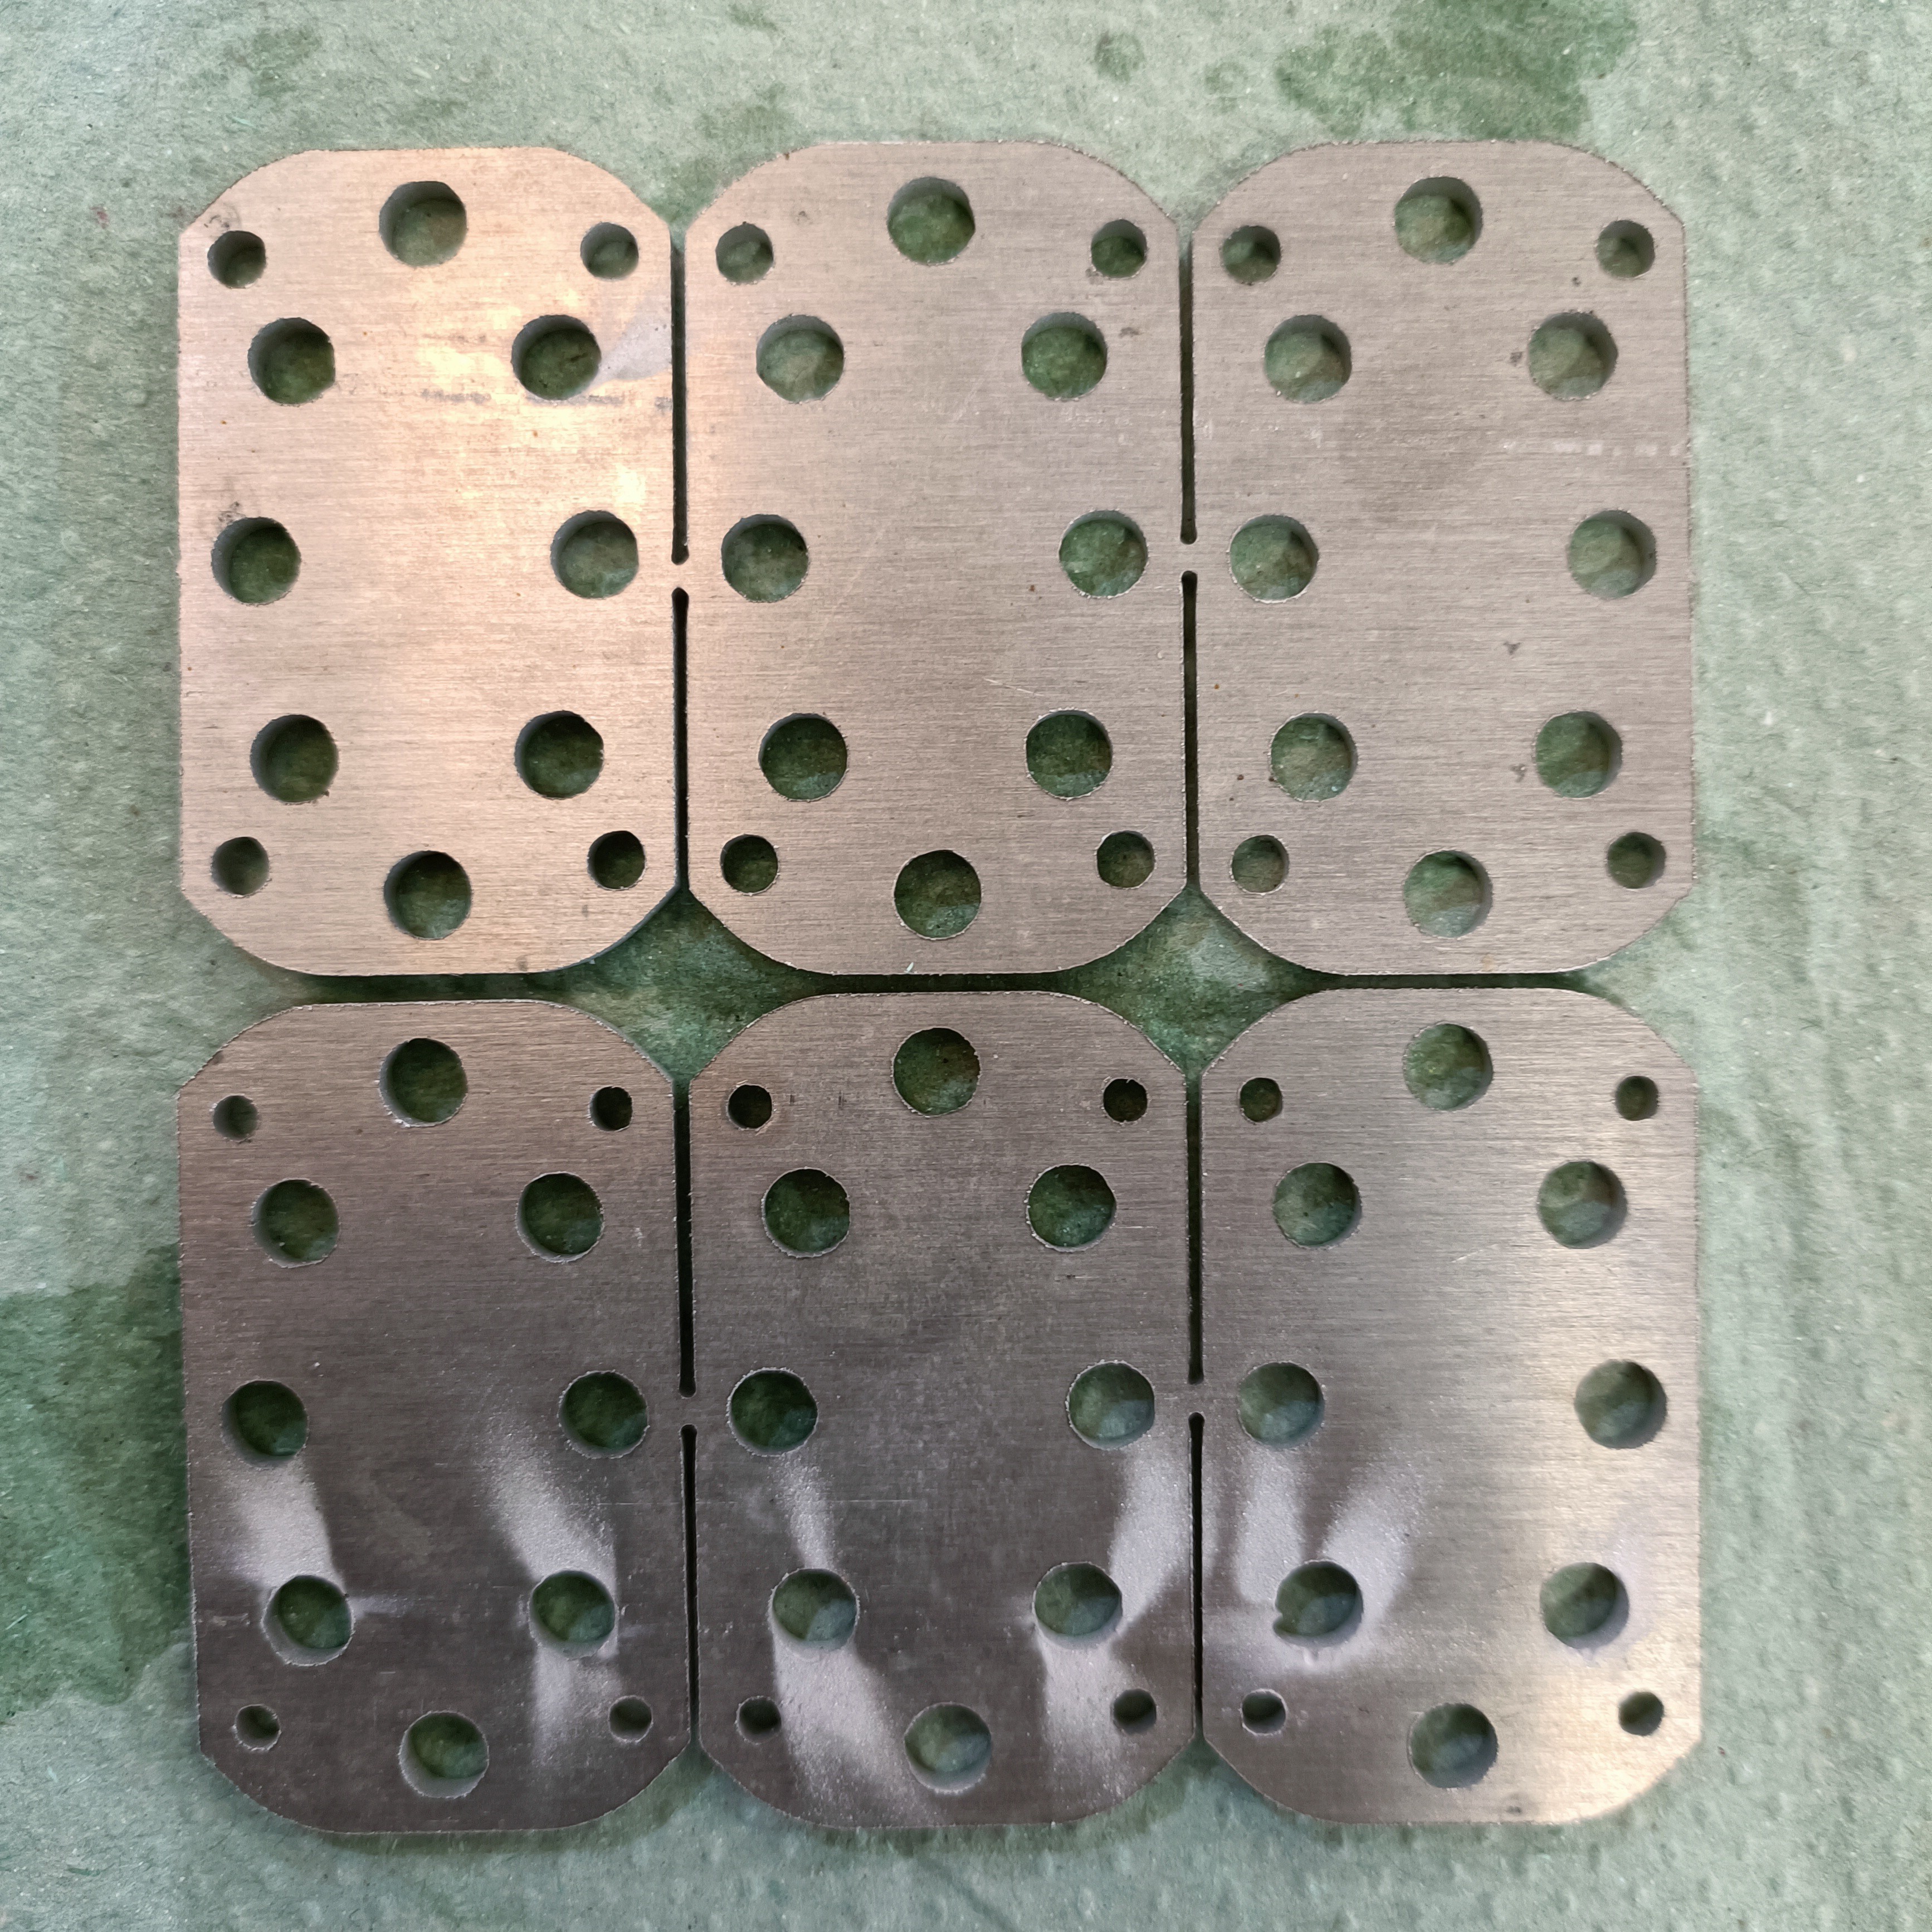
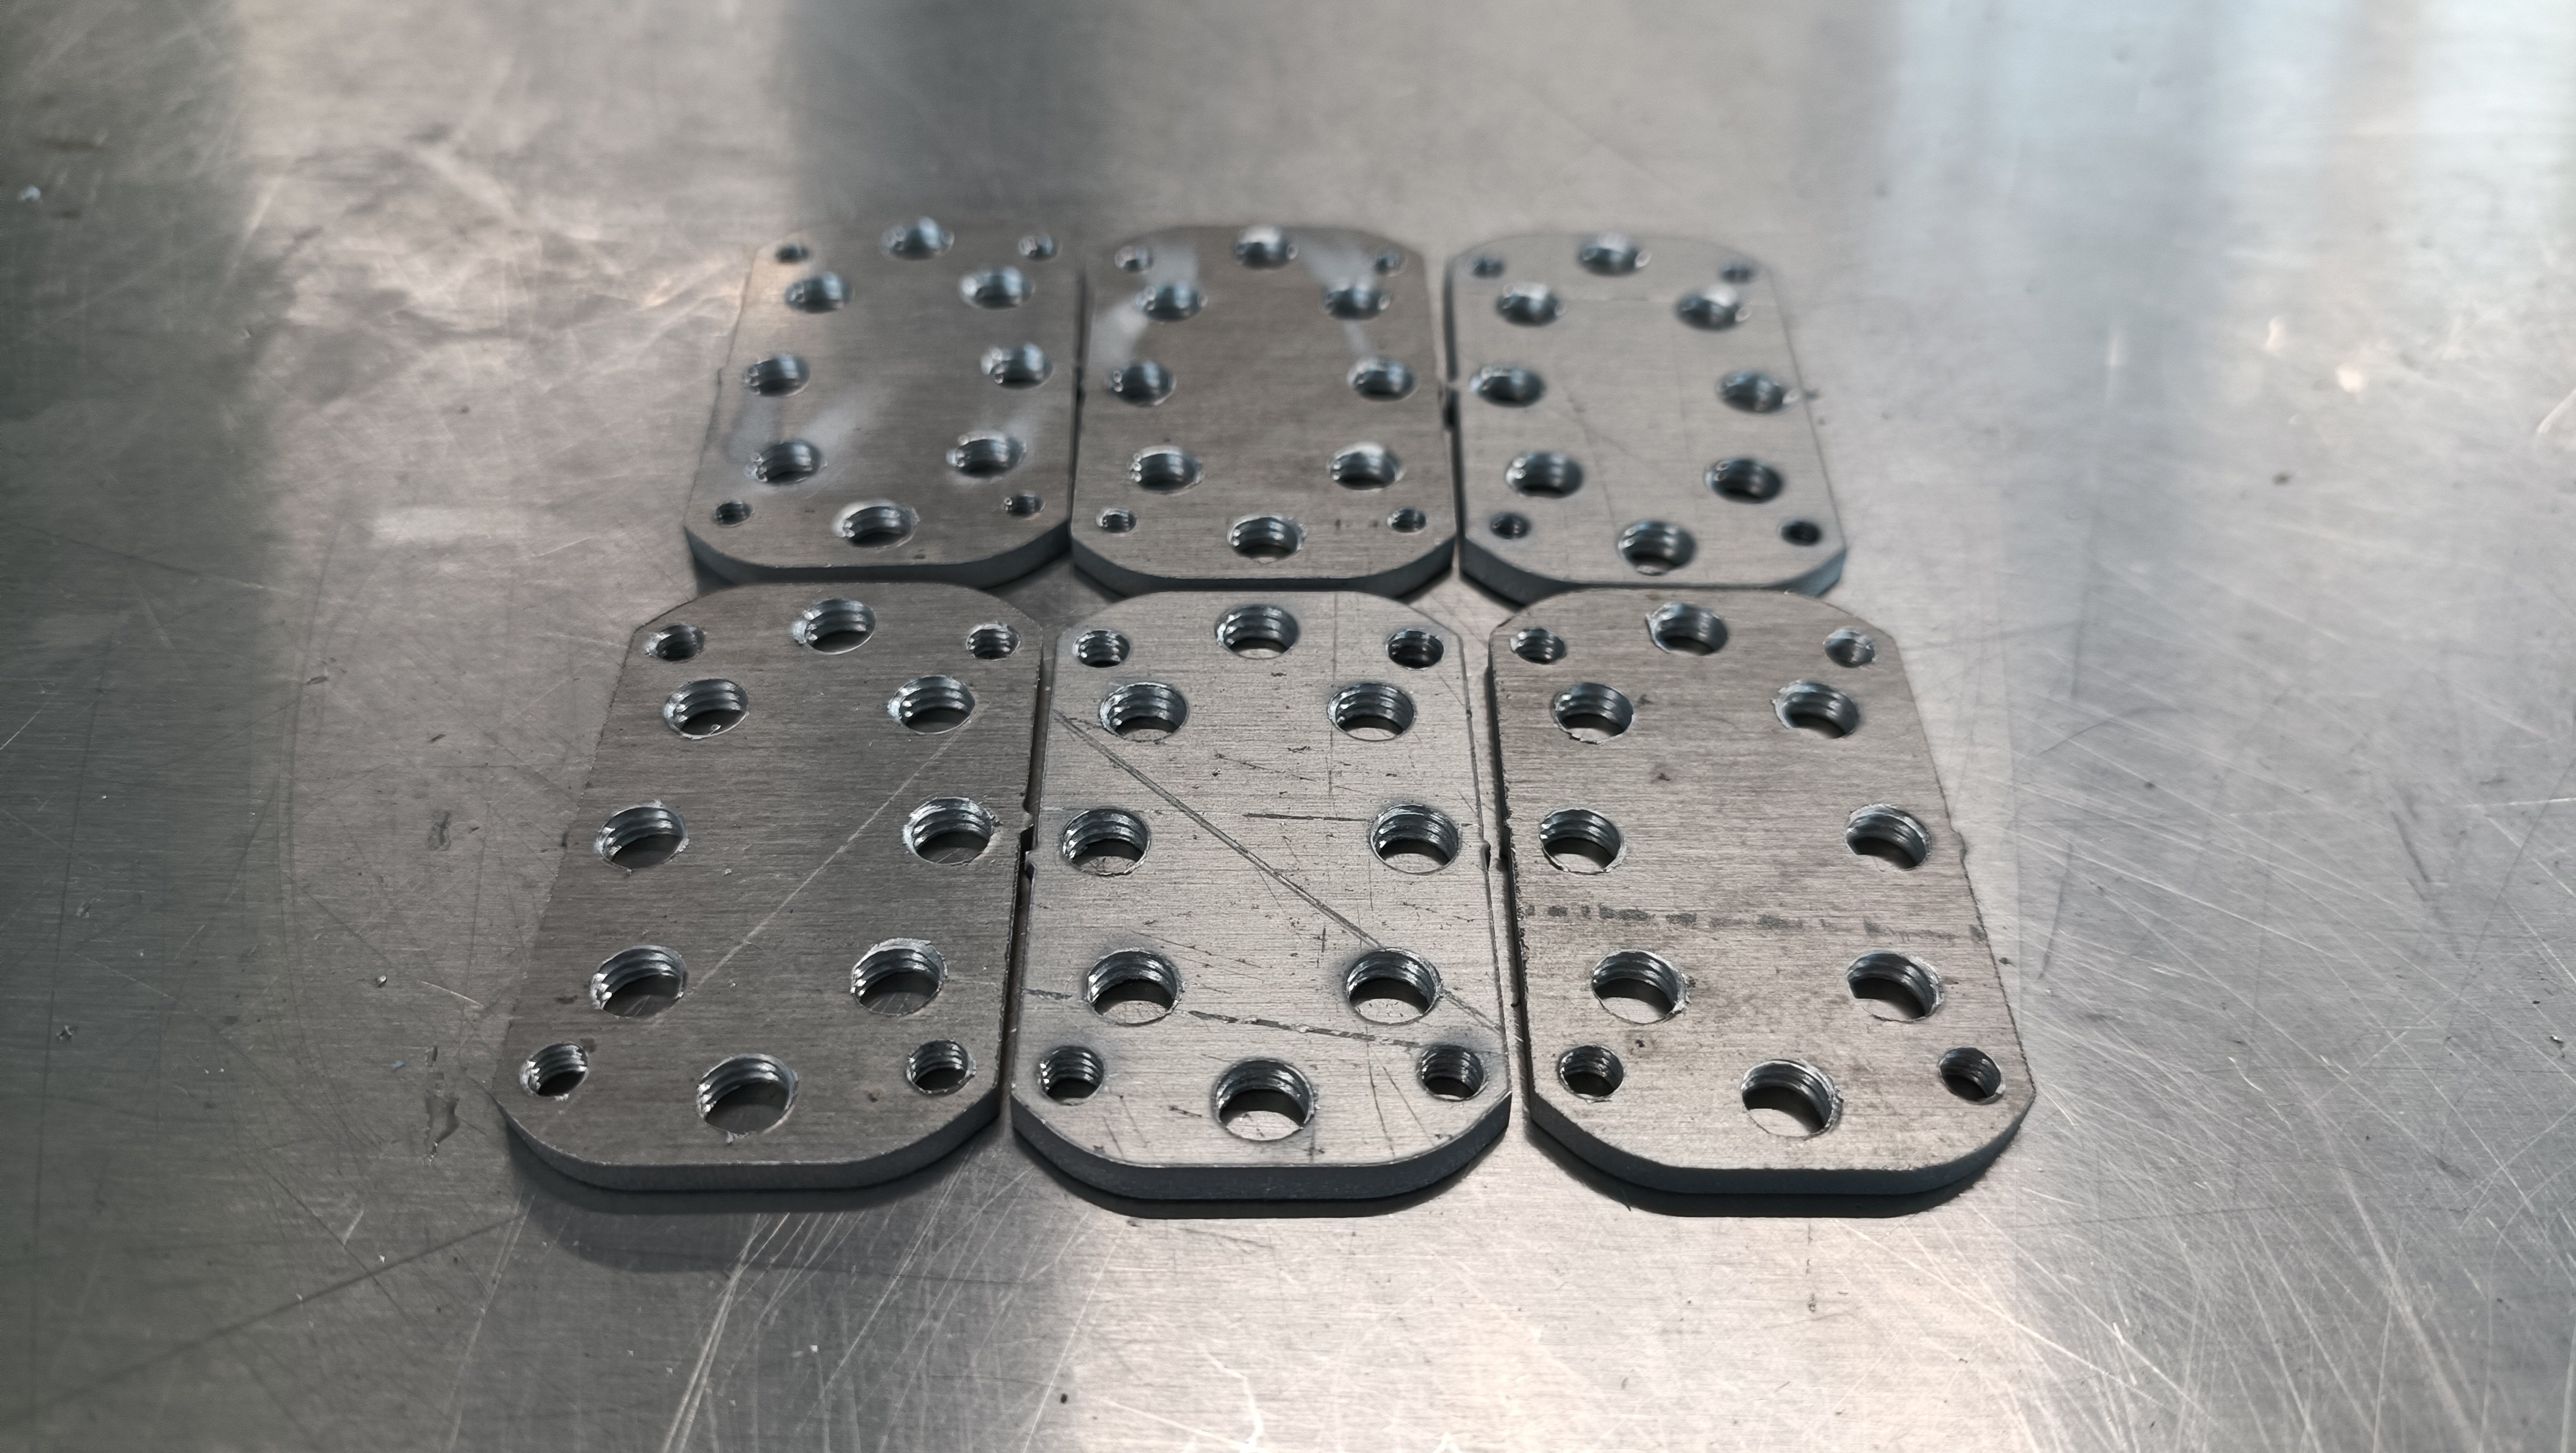
Then I asked for some new plates to be cut, where the holes in the CAD were offset by 0.05 before being exported to .DXF for the waterjet:
I started off with the M3, and seeing that worked, tried a pilot M6 which seemed to work too. Thus, I switched back to the M3 tap, broke off a plate and threaded all the M3 holes on the new coupler plate.
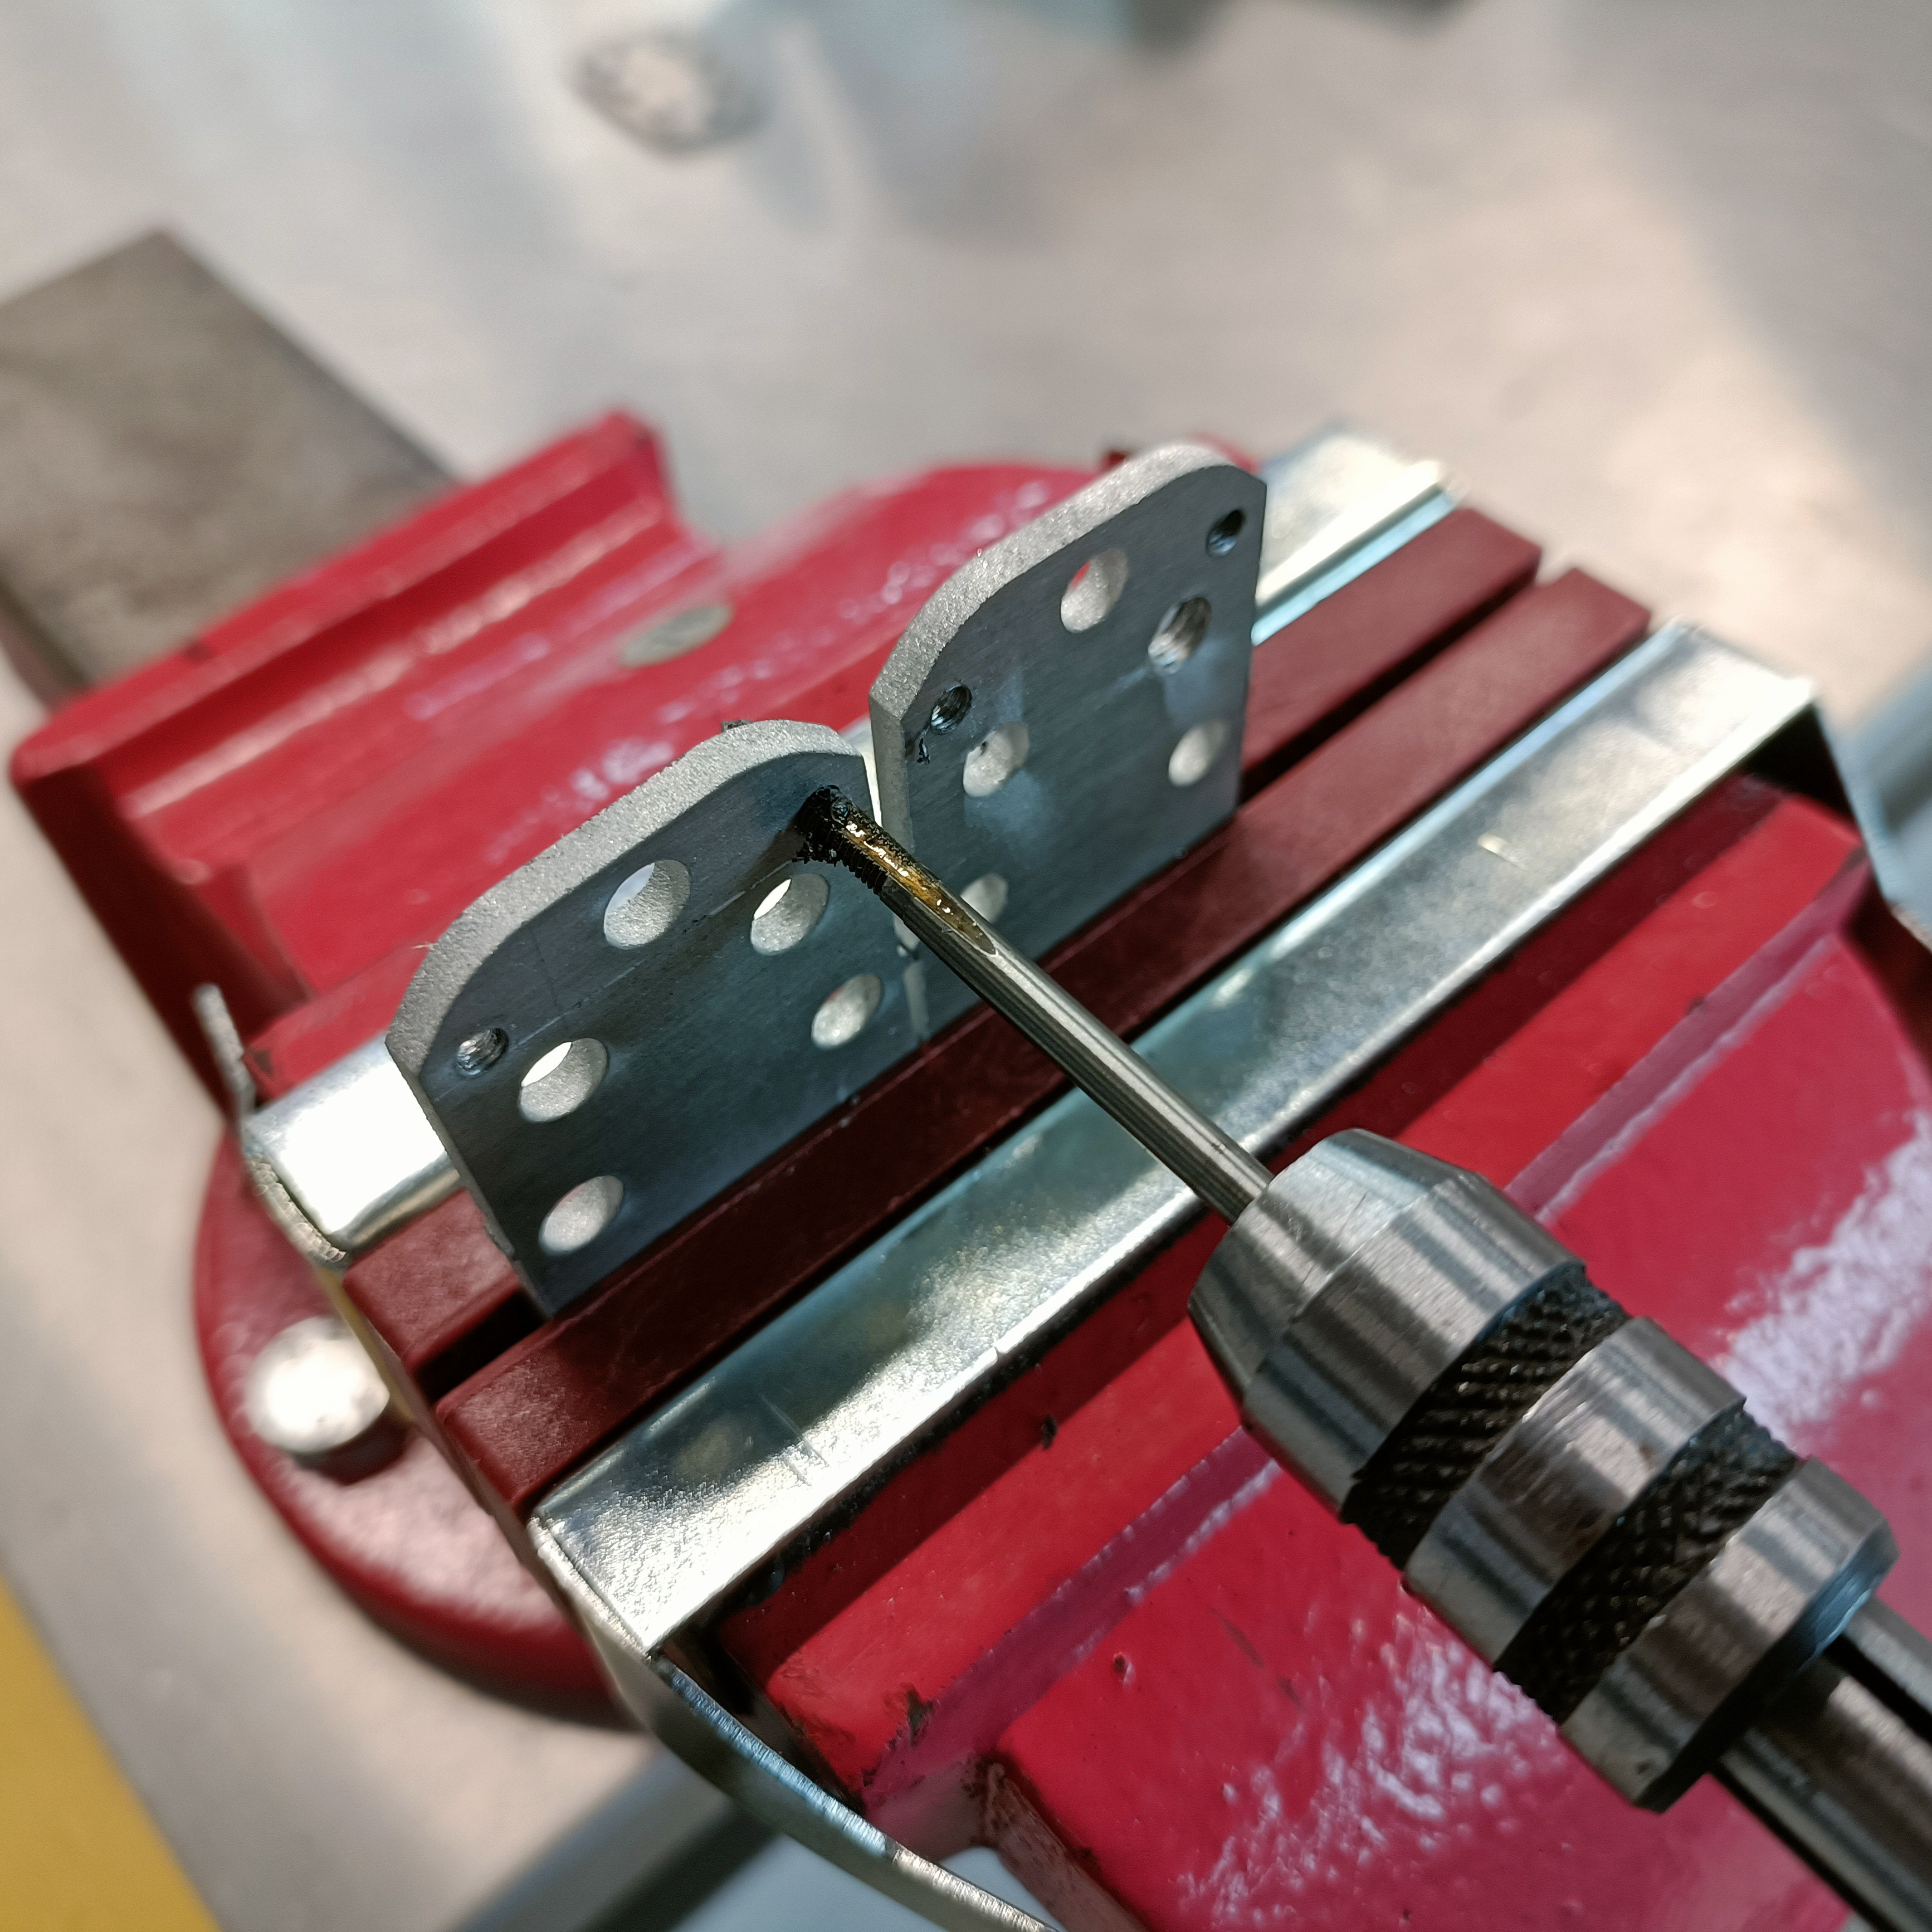
I started the threads using the old coupler plate, then went back to finish them:
This plan all changed from the M4 tap, where the starting tap doesn't actually finish the threads like the M3 one. Only the finishing tap cuts the threads fully. I couldn't even properly thread in the finishing tap into the starter threads, so I instead decided to just use the finishing tap and fully cut the threads in one pass.
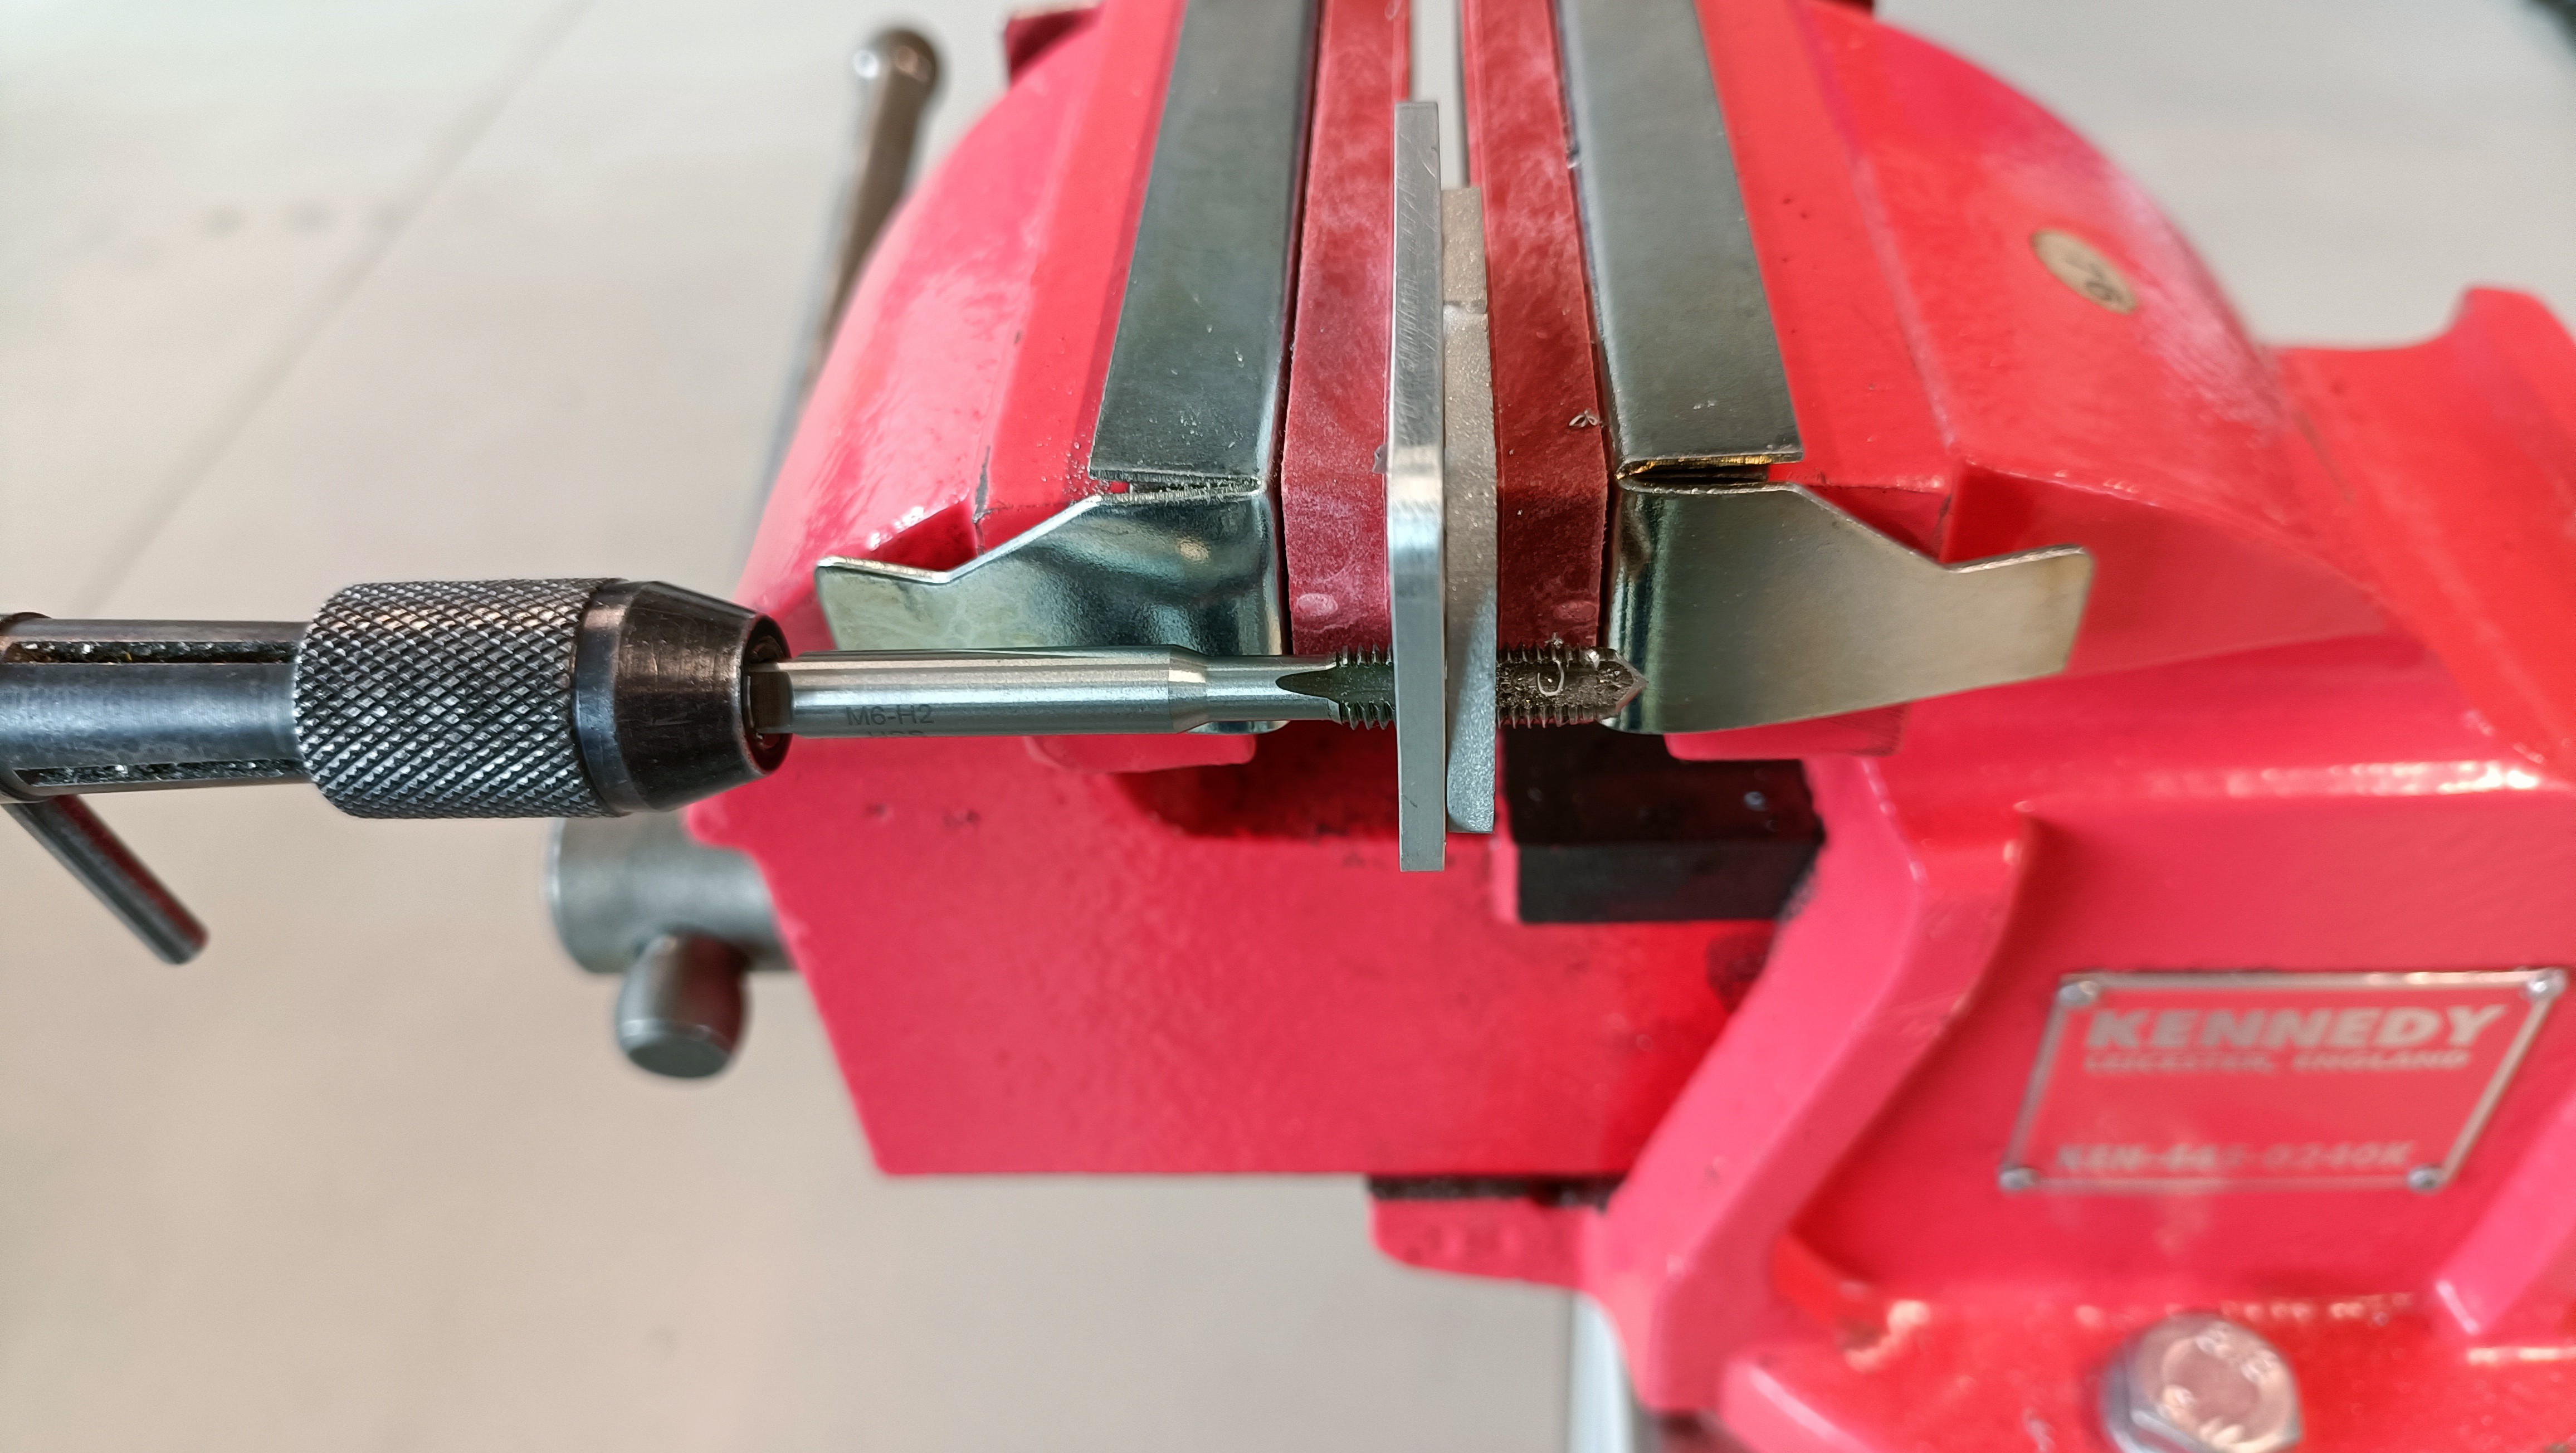
By the time I got to the all-important M6 threads, I had a strategy:
- Get the tap into the cloner plate.
- Align tap with the hole so there's no XY jiggle movement but the plates don't have a gap in them.
- Place in vice.
- Turn about 4 - 5 times.
- Turn back by a quarter.
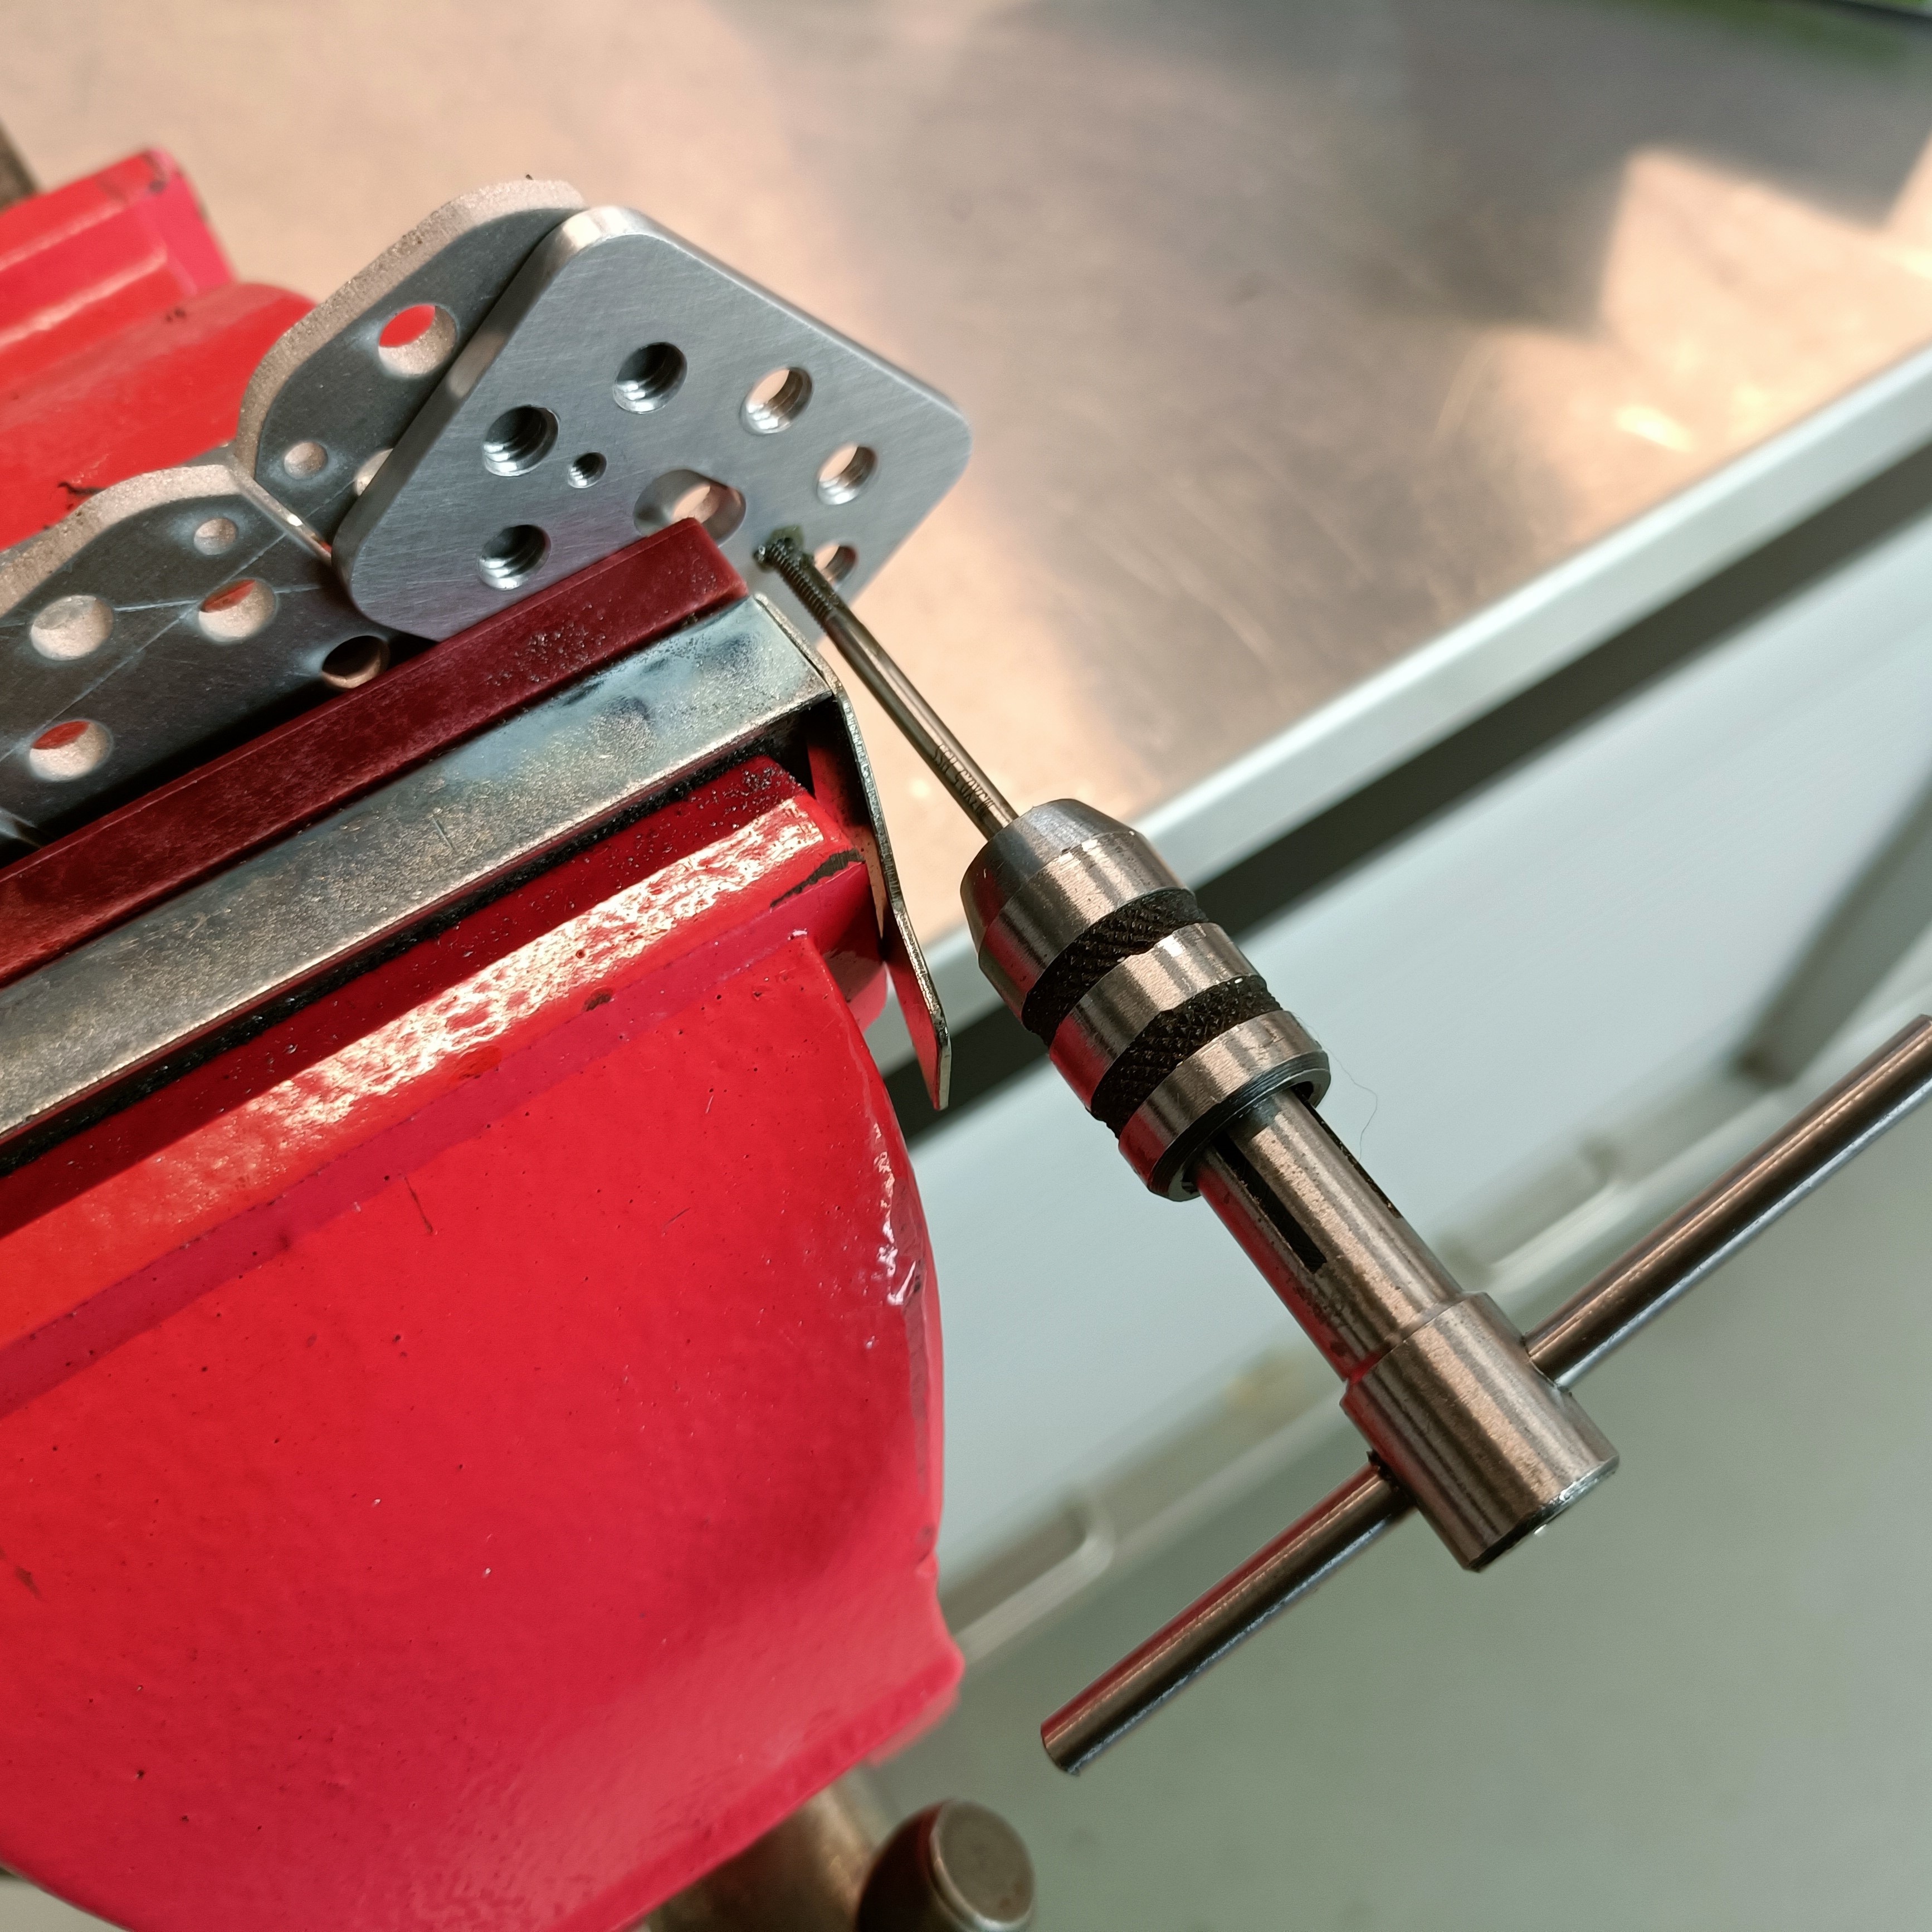
- Turn until there's like 4ish threads left visible on the tap (see image below)
- Turn back till about 2mm of the tap tip is visible.
- Then you slowly turn until the tapping plate comes off.
- It's then faster to start the next one because the tap height is approximately enough to have the two plates flush and there be no jiggle with the untapped hole.
- Then it feels like a candy crush level selector as I go though the other 7 holes.
It took me 35 mins to thread the M6es of 2 plates. I think I switched to a new cloner starter tap every 12 or so threads to make sure that the tap was still going in straight.
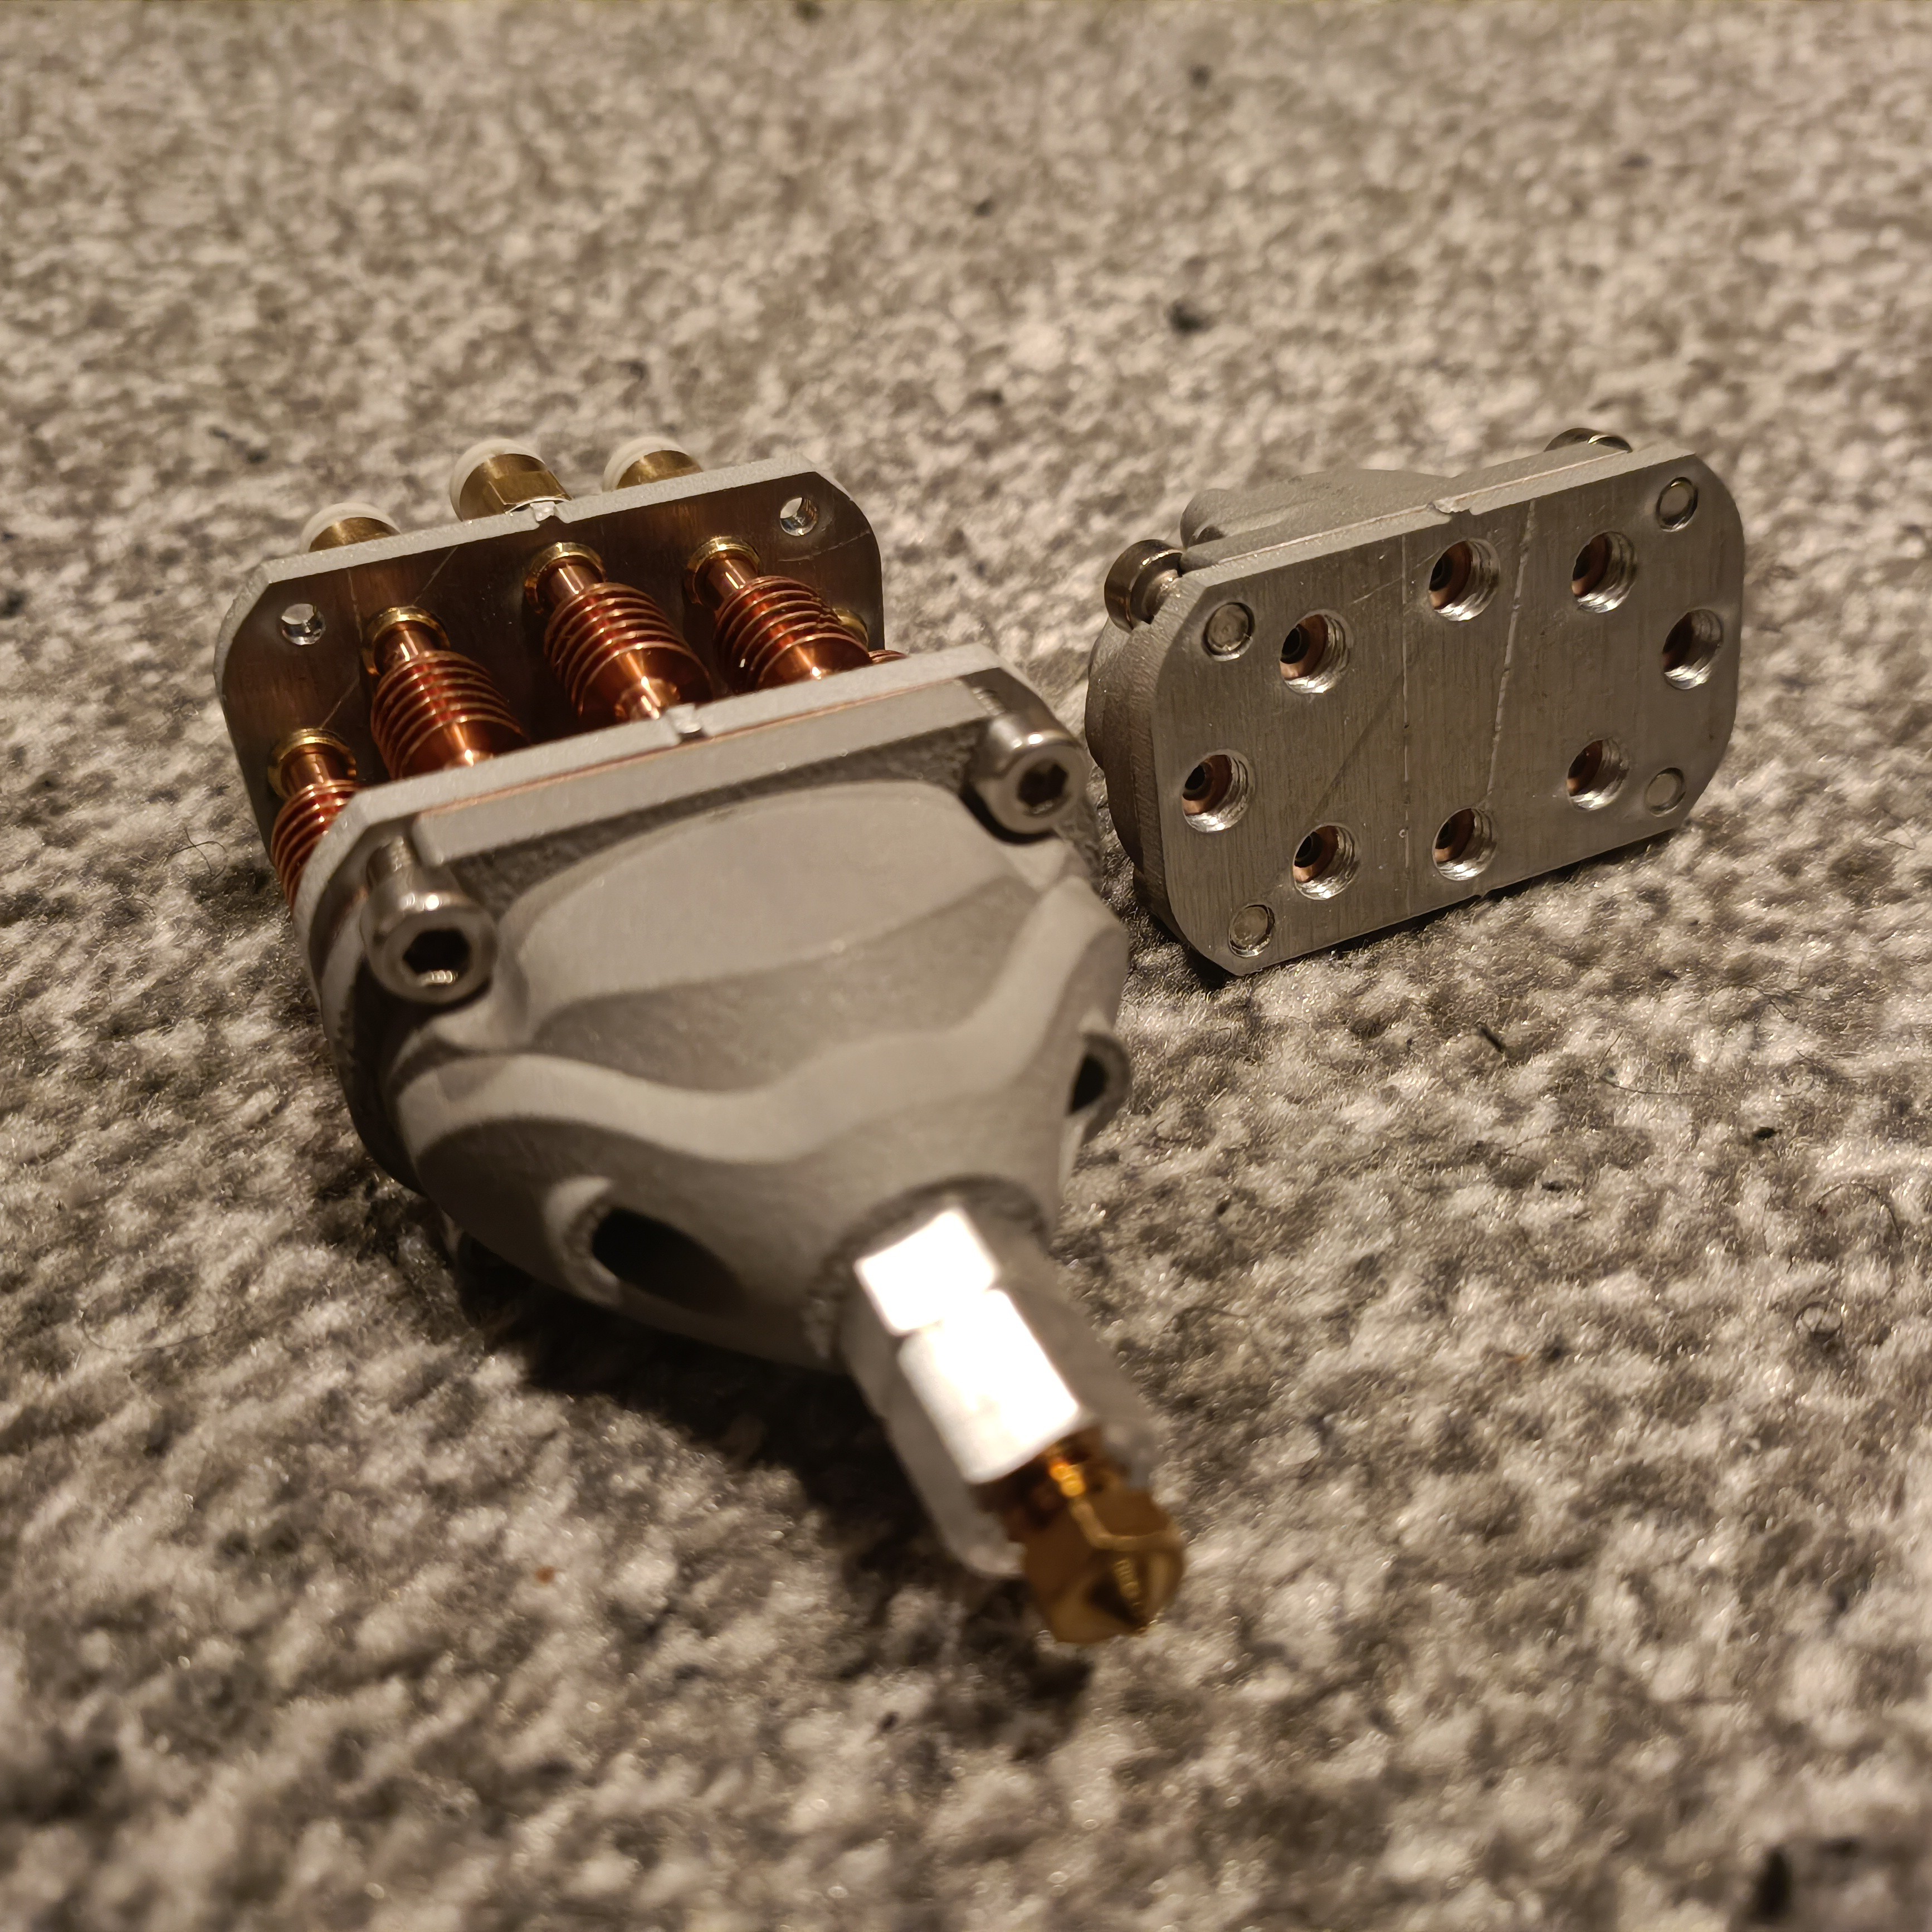
This is the result:
Surely there's probably an actual specific plate that allows one to hand tap perfectly straight, but I don't know what it's called (or if it even exists).
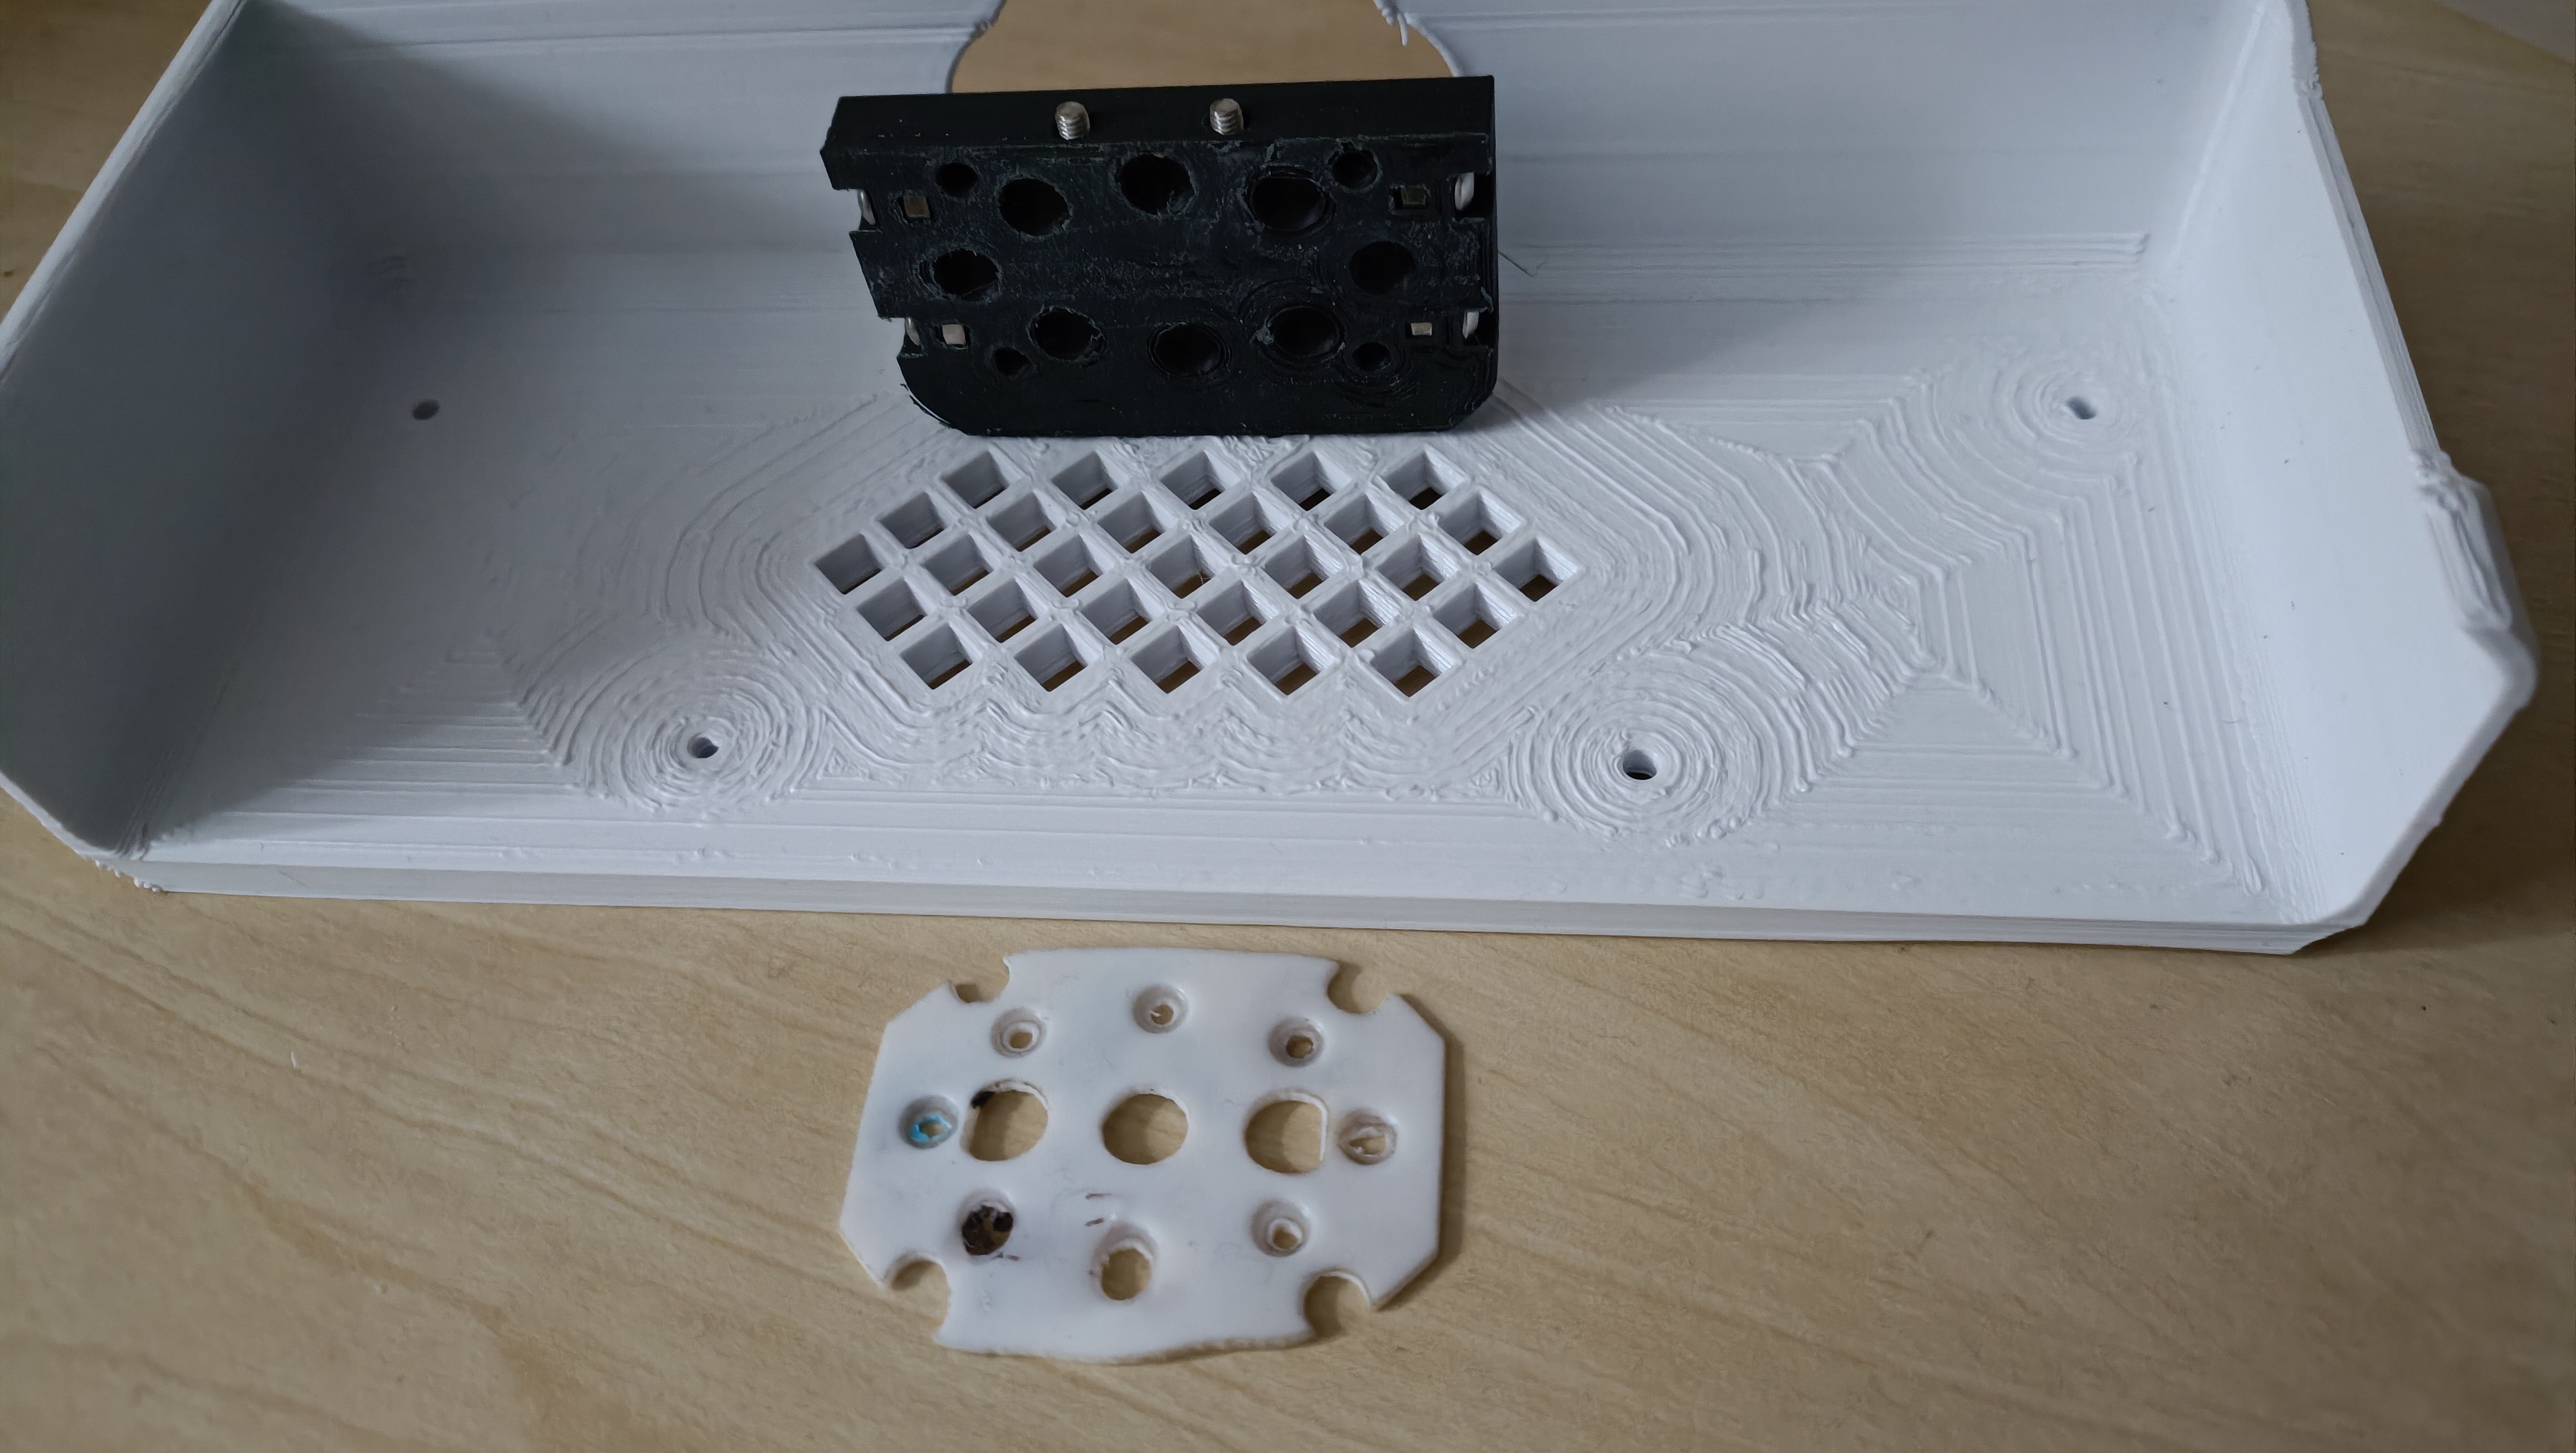
In other news, I also printed the new holder+cover, and saw that the PTFE gasket actually got squashed thin from the top side:
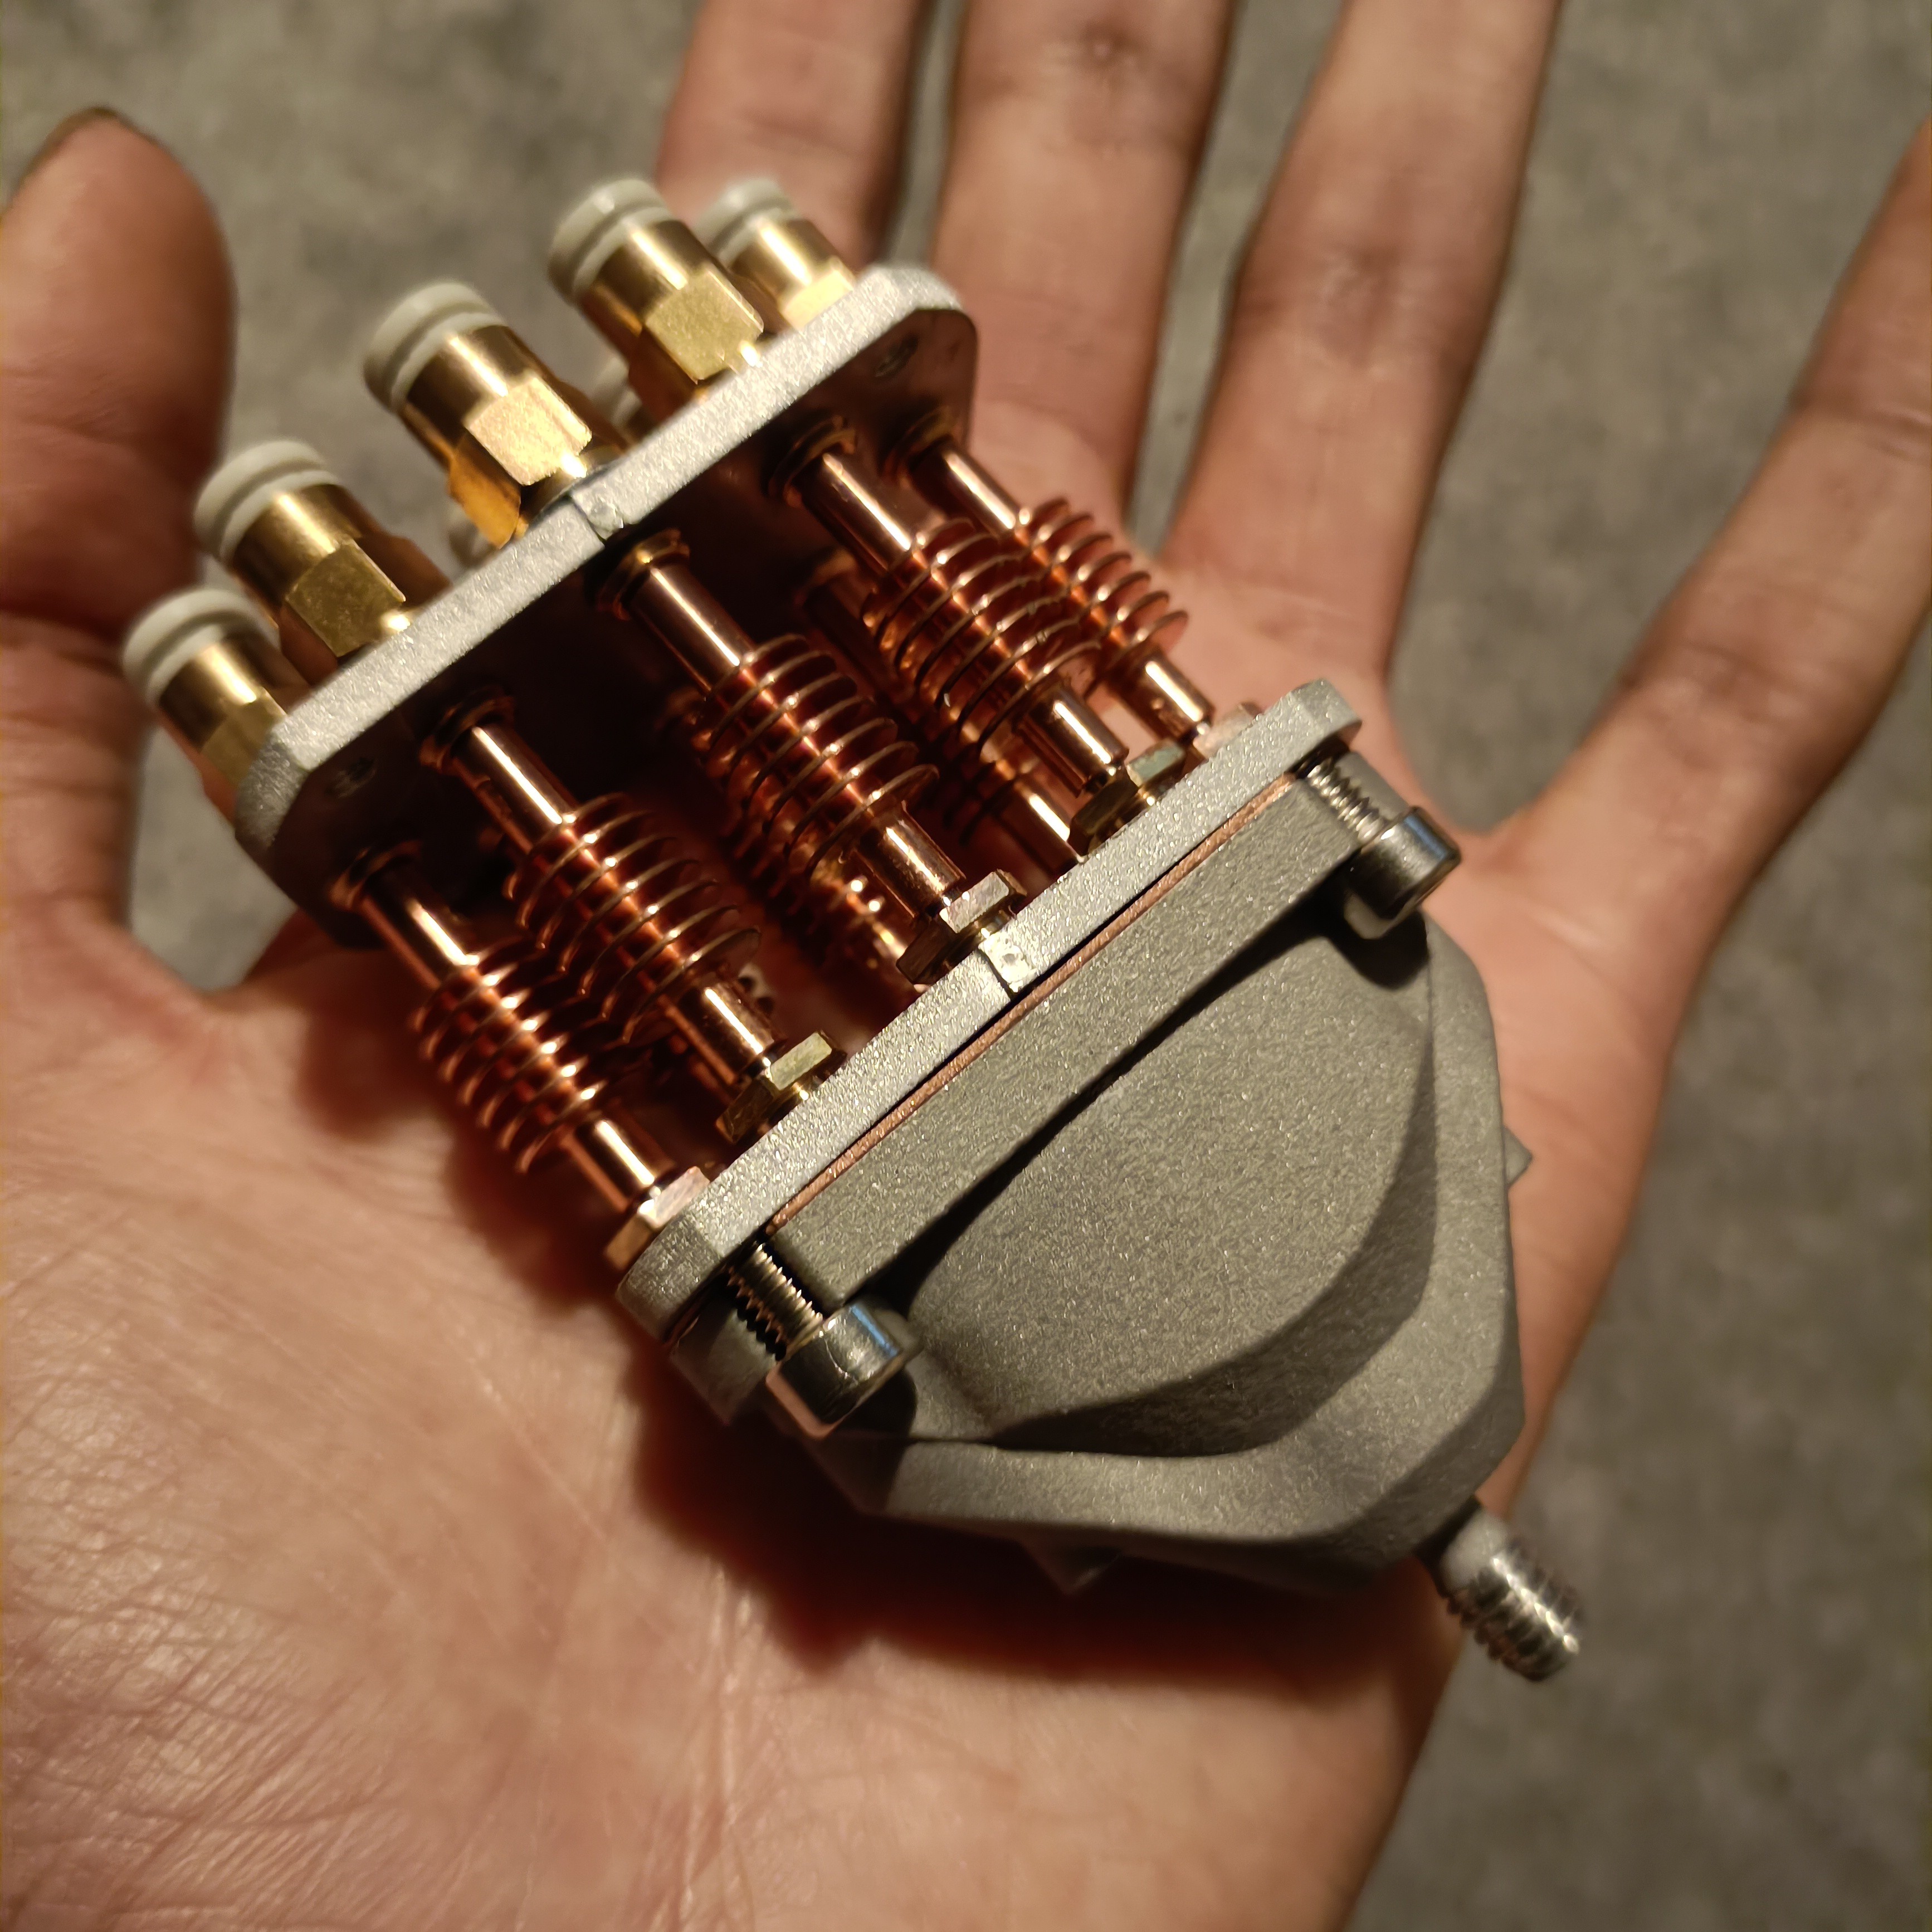
[May 22] It all goes together, so this strategy seems to work at the moment:
Discussions
Become a Hackaday.io Member
Create an account to leave a comment. Already have an account? Log In.