 Aula Jazmati
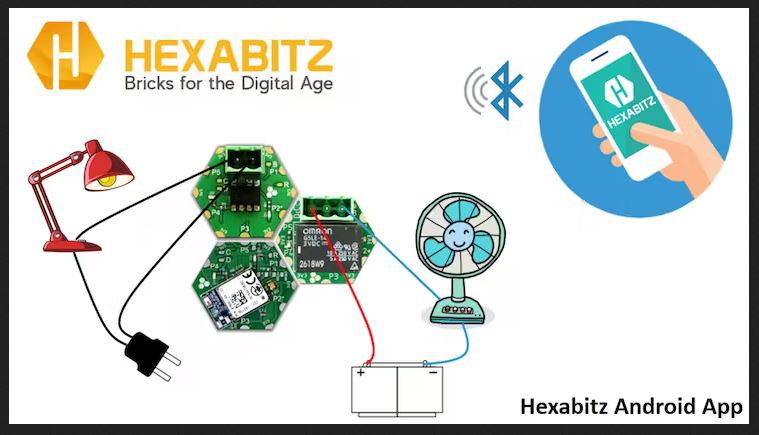
This tutorial uses the Hexabitz modular hardware system to create an all-in-one plant monitoring and watering system. Automate your way to happy plants 😀🪴
Hardware:
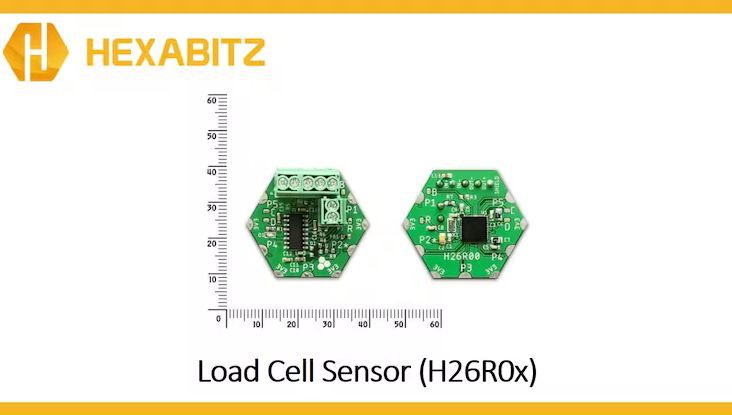
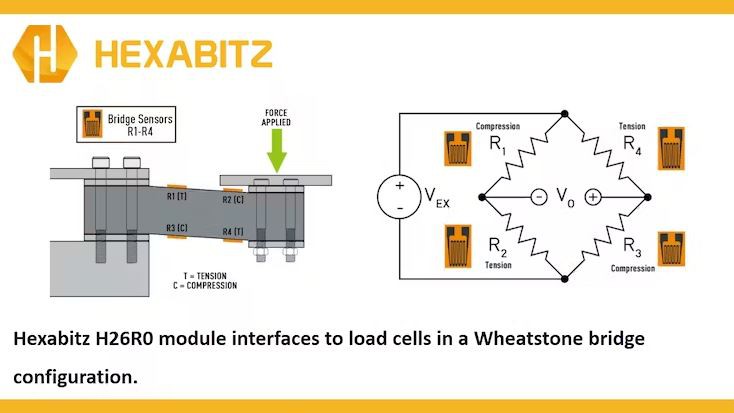
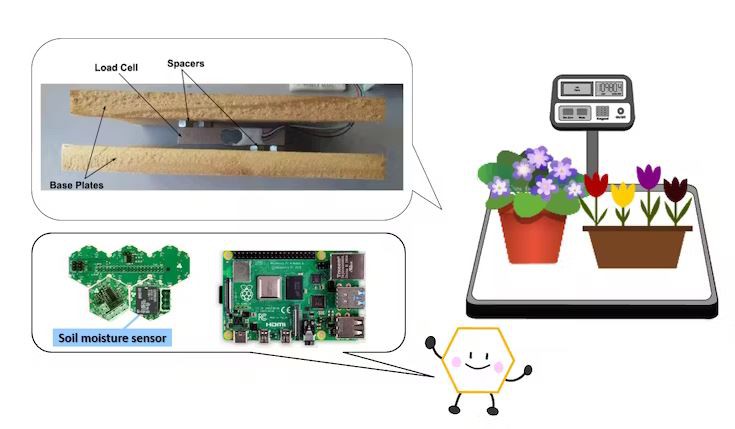
Load Cell Sensor (H26R0x): H26R0x is a load cell (strain gauge) sensor interface module based on Avia Semiconductor HX711 Wheatstone bridge ADC and STM32F0 MCU. This module is a precision 24-bit analog-to-digital converter (ADC) designed for weigh scales and industrial control applications. It interfaces to load cells (strain gauges) in a Wheatstone bridge configuration. The module accepts a full bridge (5-pin connection) as well as a secondary sensor connection (2 pins).
To use a load cell module, first you need to calibrate it. To do this add the following APIs to your Hexabitz load cell module code.
Calibration(20, 1.9242, 0.0094);
ZeroCal(1);
Note:
The weight sensor was used because the soil moisture sensor only detects plant desiccation at a certain depth. However, the condition of weight gives more accurate results to monitor the plant, especially if the size of the pot is large.
Load Cell: A load cell is a transducer which converts force into a measurable electrical output. Although there are many varieties of force sensors, strain gauge load cells are the most commonly used type.
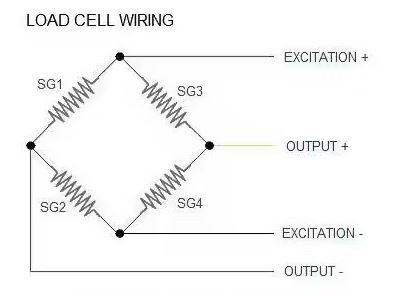
A load cell consists of a metal core and a set of electrical resistances that transform when a force is applied to it. But after the force is removed, it returns to its original state. The reversibility of this material determines the quality and accuracy of the load cell. The equivalent electrical circuit of a load cell is as follows:
Our load cell has 4 wires:
🔴 Red for Excitation+
⚫ Black for Excitation-
🟡 Yellow for Output+
🟢 Green for Output-
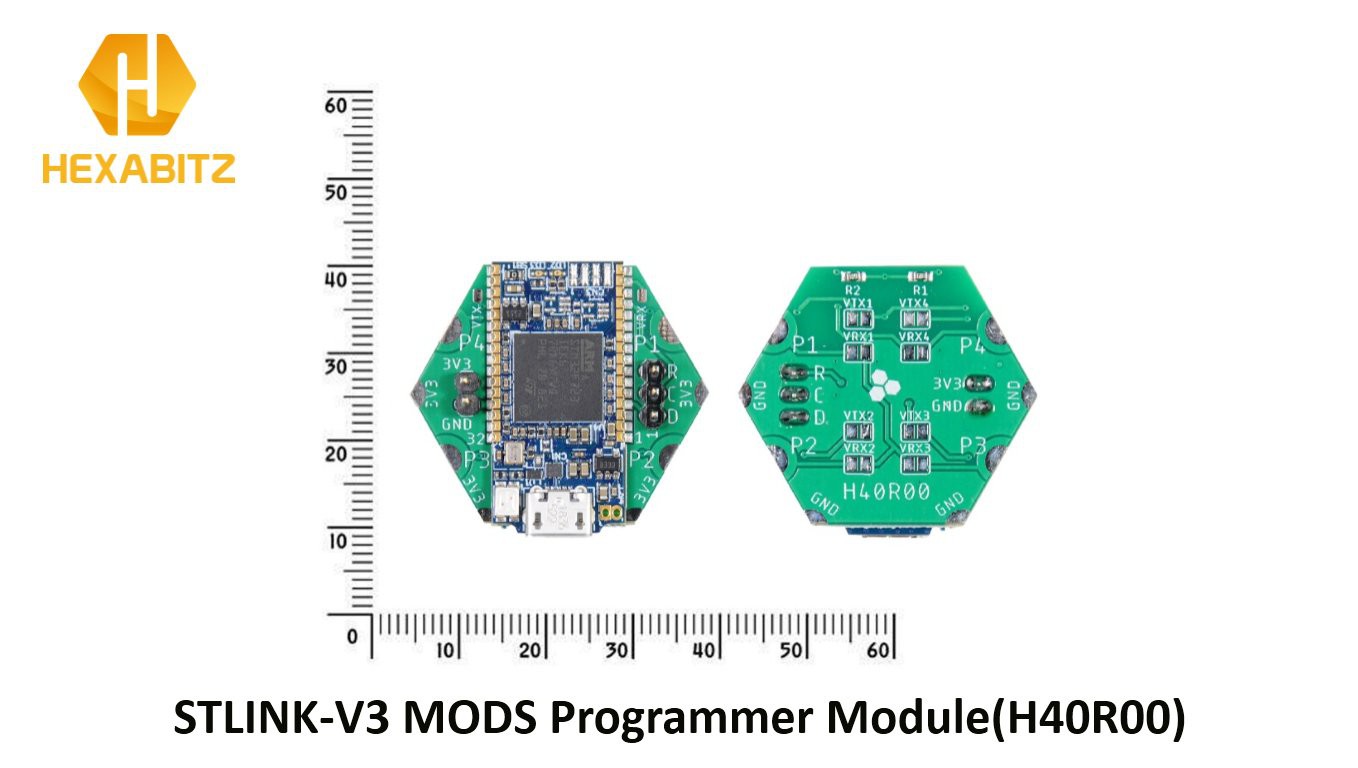
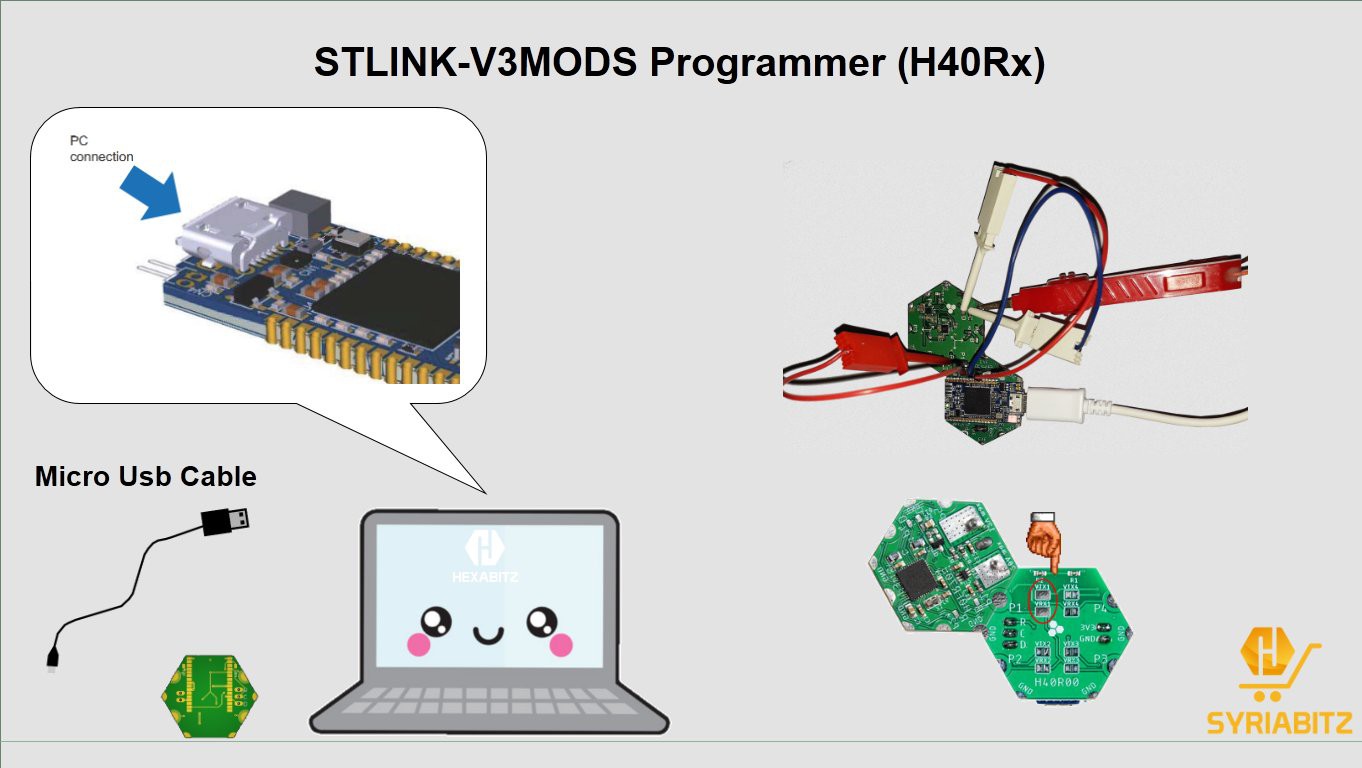
STLINK-V3MODS Programmer (H40Rx): H40Rx is a programmer module which contains STLINK-V3MODS stand-alone debugging and programming mini probe for STM32 microcontrollers (Hexabitz modules and other MCUs).
It supports the SWD (Serial Wire Debugging) interface for the communication with any STM32 microcontroller located on an application board.
It also provides bridge interfaces to several communication protocols, allowing for instance the programming of the target through bootloader.
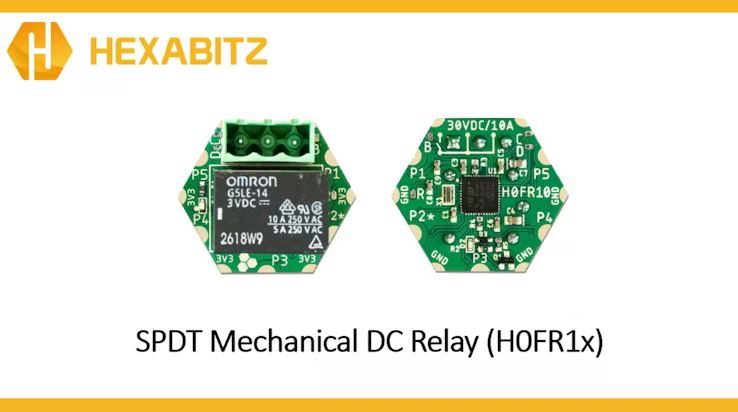
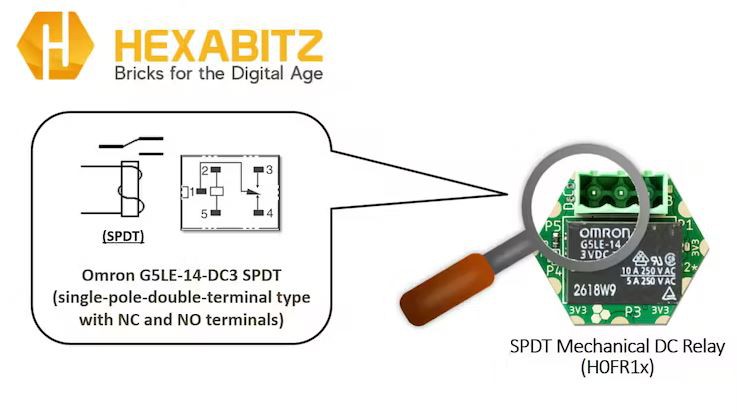
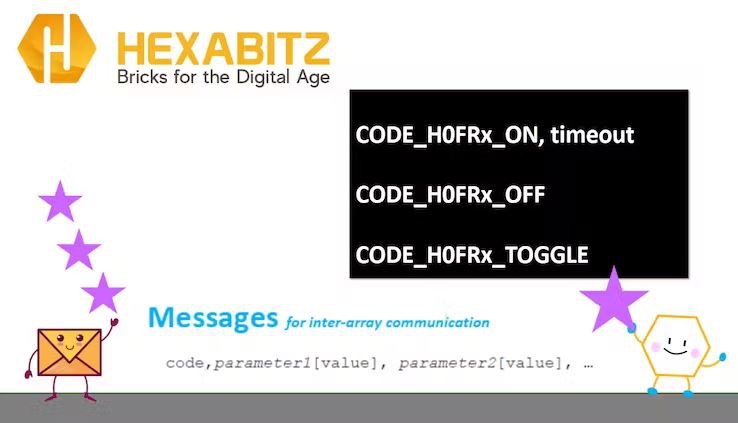
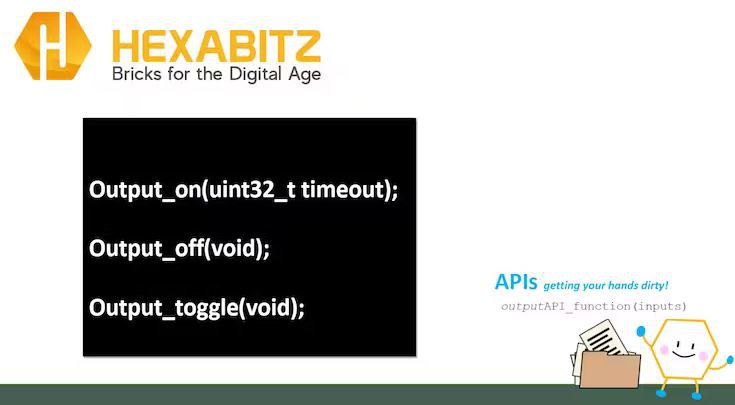
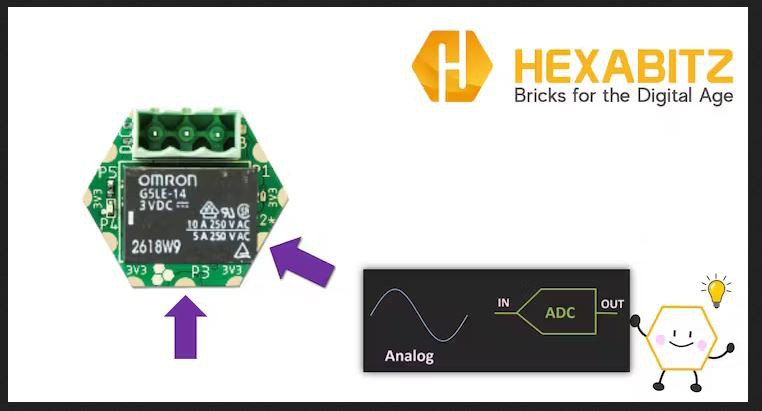
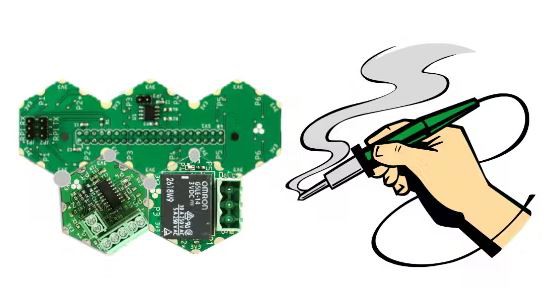
SPDT Mechanical DC Relay (H0FR1x): H0FR1x is a compact mechanical DC relay module capable of driving DC loads up to 30V / 8A.
It is based on Omron G5LE-14-DC3 SPDT relay and STM32F0 MCU.
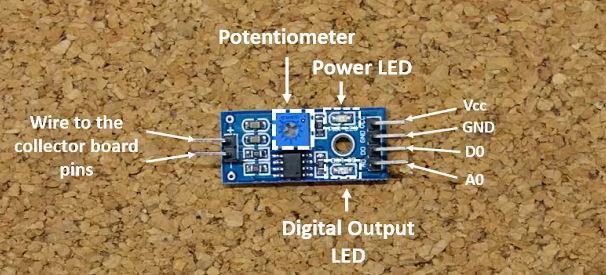
Moisture Sensor: Analog Soil Moisture Sensor can read the amount of moisture present in the soil surrounding it. It's a low tech sensor, but ideal for monitoring an urban garden or your pet plant's water level. This is a must have tool for a connected garden!
This moisture sensor uses the two probes to pass current through the soil, and then it reads that resistance to get the relative moisture level. More water makes the soil conduct electricity more easily (less resistance), while dry soil conducts electricity poorly (more resistance).
It can be helpful to remind you to water your indoor plants or to monitor the soil moisture in your garden.
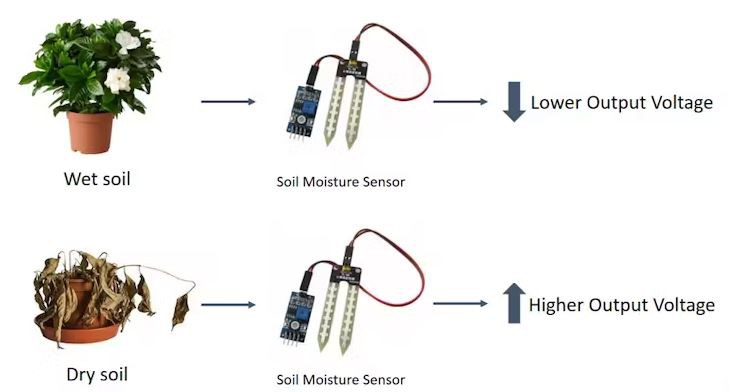
How does it work? The voltage that the sensor outputs changes accordingly to the water content in the soil.
When the soil is:
Wet: the output voltage decreases
Dry: the output voltage increases
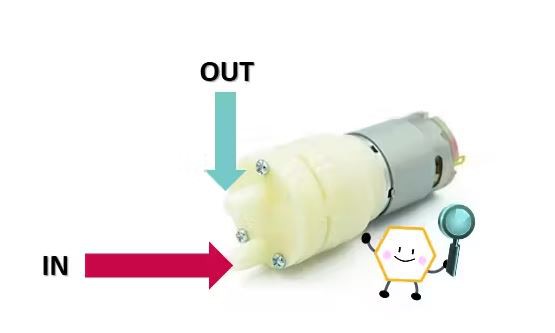
DC Water Pump Motor: DC powered pumps use direct current from motor, battery, or solar power to move fluid in a variety of ways. This diaphragm pump is the perfect choice for any project that requires liquid to be moved from one place to another. The pump requires a hose that you can cut to your requirements, the hose provides a good seal and will not leak.
DC water pump motor is a miniature water pump, operates at 6-12 volt.
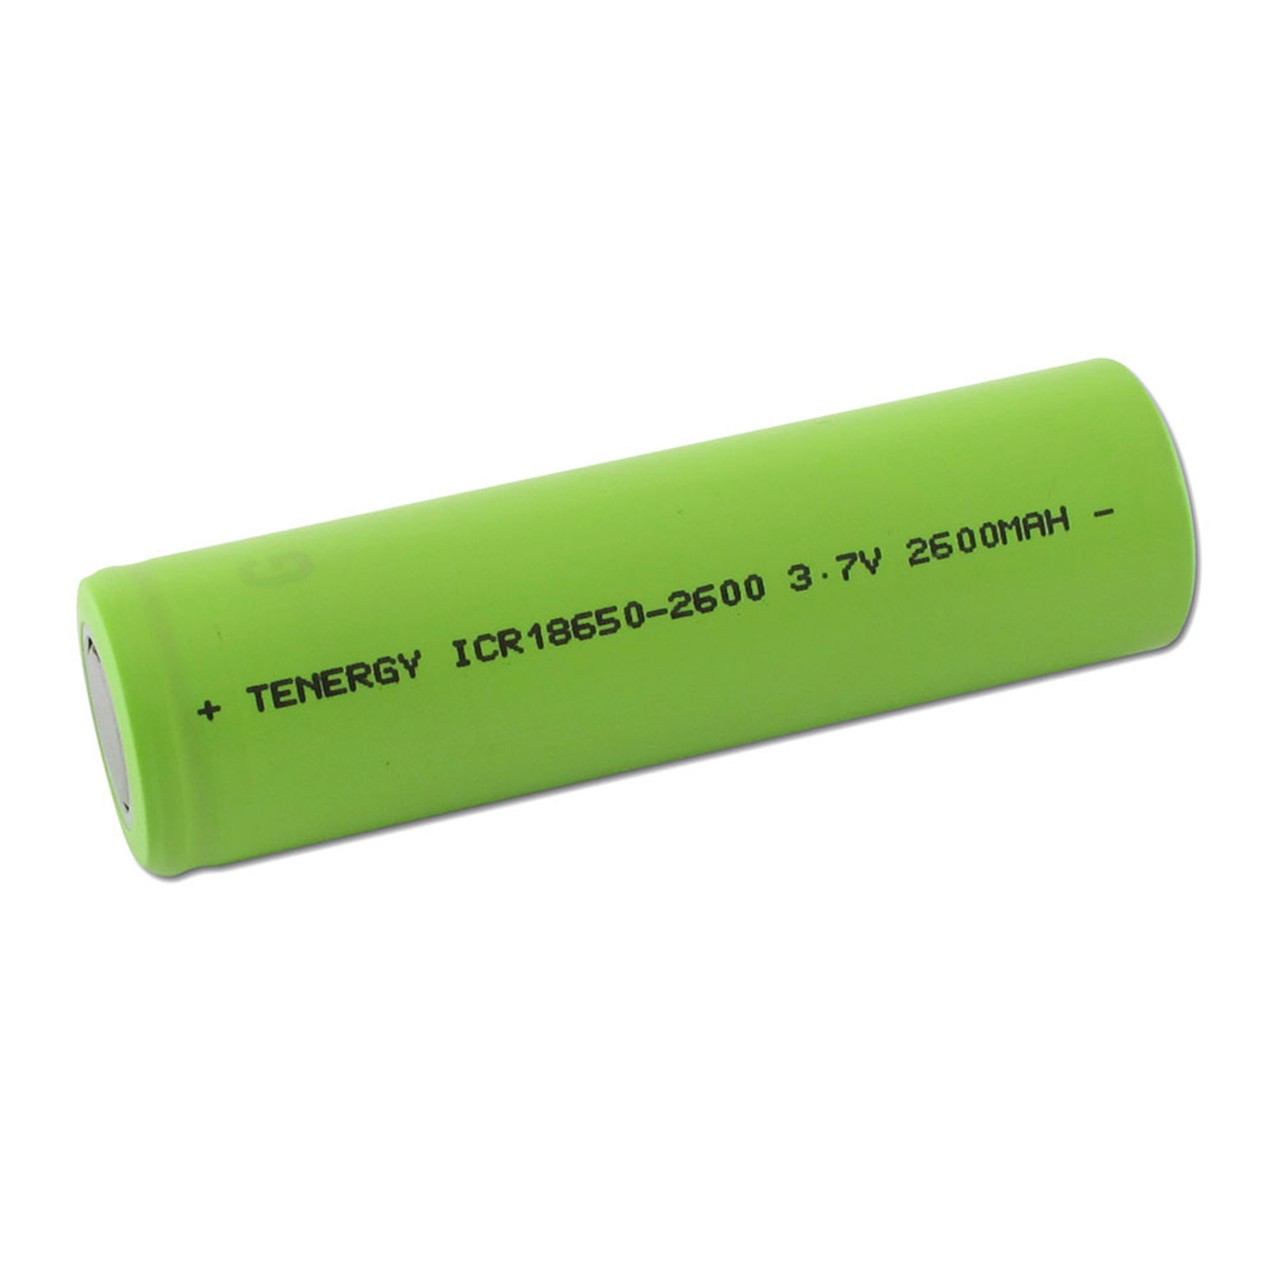
3.7v Lithium Rechargeable Batteries 🔋:
The 3.7v lithium battery is a lithium battery with a nominal voltage of 3.7v and a full-charge voltage of 4.2v. Its capacity ranges from several hundred to several thousand mAh.
And you can build a solar Lithium Ion battery charger to charge the 3.7v lithium battery🌞😎🔋
For more information here is the link.
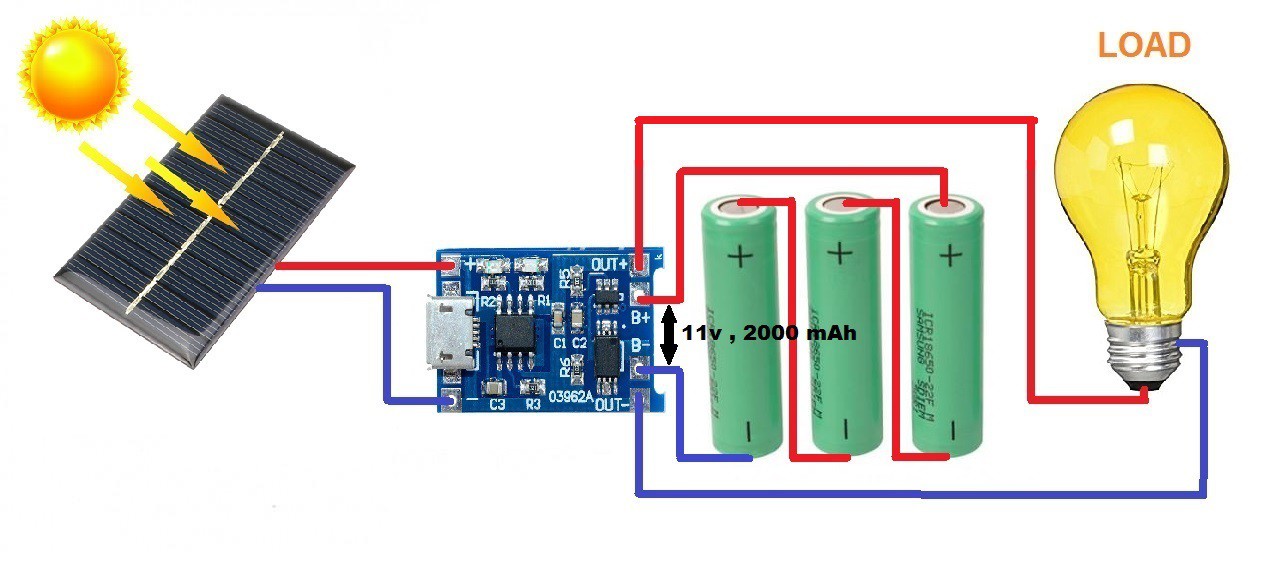
Or this product can be used.
📈 Analog to Digital Conversion 📊
Microcontrollers are capable of detecting binary signals: is the button pressed or not? These are digital signals. When a microcontroller is powered from five volts, it understands zero volts (0V) as a binary 0 and a five volts (5V) as a binary 1. The world however is not so simple and likes to use shades of gray. What if the signal is 2.72V? Is that a zero or a one? We often need to measure signals that vary; these are called analog signals. A 3.3V analog sensor may output 0.01V or 2.99V or anything inbetween. Luckily, nearly all microcontrollers have a device built into them that allows us to convert these voltages into values that we can use in a program to make a decision.
An Analog to Digital Converter (ADC) is a very useful feature that converts an analog voltage on a pin to a digital number. By converting from the analog world to the digital world, we can begin to use electronics to interface to the analog world around us.
Not every port on a micro-controller has the ability to do analog to digital conversions. On the Hexabitz module, P2 & P3 pins can read analog voltages.
ADCs can vary greatly between micro-controller. Some microcontrollers have 8-bit ADCs (2^8 = 256 discrete levels) and some have 16-bit ADCs (2^16 = 65, 536 discrete levels).
The ADC on the Hexabitz is a 12-bit ADC meaning it has the ability to detect 4096 (2^12) discrete analog levels.
The way an ADC works is fairly complex. There are a few different ways to achieve this feat (see Wikipedia for a list).
Relating ADC Value to Voltage:

To start, we need to select ADC channel.
void ADCSelectChannel (uint8_t ADC_port,char *side)
And then do the analog to digital version by using the ReadADCChannel API:
void ReadADCChannel (uint8_t Port,char *side,float *ADC_Value)
The value that is returned and stored in x will be a value from 0 to 4095. Hexabitz has a 12-bit ADC (4096 (2^12)).
And to reading the analog signal, & convert it to digital value as a percentage (0-100) you can use this API:
float GetReadPrecentage (uint8_t port,float *precentageValue)
Note: Calling Get Read Percentage API will replace using ADCSelectChannel API, if it was called then the reading will be exclusively from the "bottom" layer.
Steps 📝
1) Planning the array and assembling the hardware:
We prepare the project components and plan our array design by aligning modules side-by-side. Then we solder the modules together using Hexabitz Fixture.
2) Writing codes with STM32CubeIDE software:
Check out this article for writing code with STM32CubeIDE.
After creating the topology for the two modules and setting their configurations, we add the topology for each module. See this link for help in creating a topology file.
Based on the calibration values, the programs below define the ranges to determine the status of the soil 🪴

These values were first monitored using the STM32CubeIDE debugging function to monitor live expressions, as shown in the screenshot
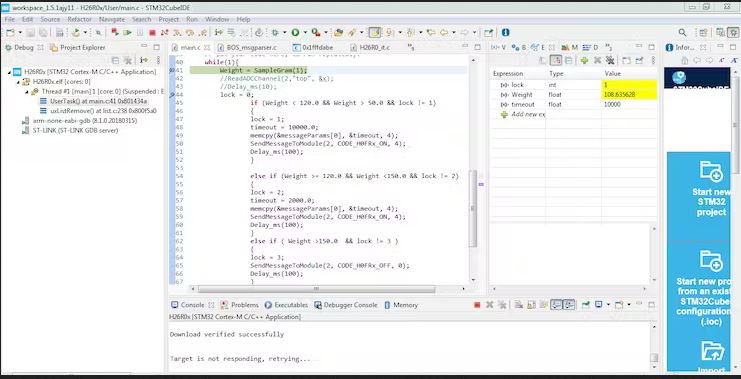
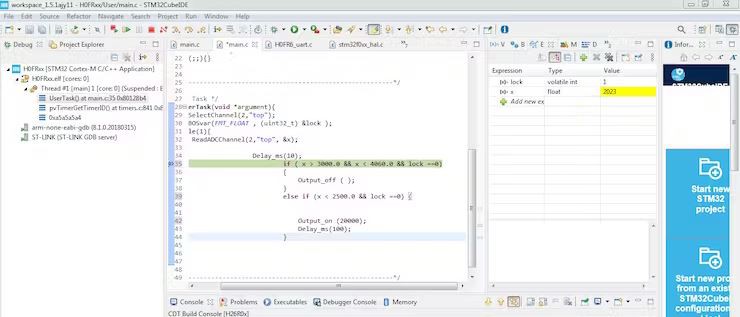
These limit values change depending on the kind of plant 🌲🌳🌾🌿🌱🌴🌵🥀🌷
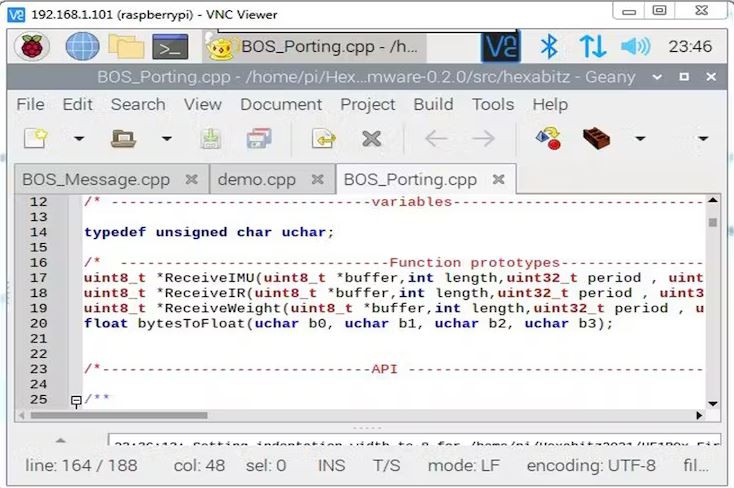
Note: You can use Receive Weight function in BOS_Porting.cpp in HF1R0x-Firmware/src/hexabitz folder to display weight values on your Pi.
3) Test the System 🪴🚿😊⚖️
Notes:
- The project can be fully functional using only Hexabitz modules.
- The project has low energy consumption and is environmentally friendly.
- I will developing this project to be an IoT system so I added Raspberry Pi to display the data on a website hosted on Raspberry Pi.
-------------------------------------------------------------------------------------------------------
Please feel free to leave a comment here if you have any questions or concerns regarding this project 😃