-
I recently took part in creating a dollhouse!
12/21/2018 at 10:14 • 0 commentsHello everybody!
A few days ago I had a chance to participate in a group activity with my friends at a crafting club. Our project was to create a dollhouse. I had a great experience being a part of making someone's childhood dream! So I decided to share with you some basic building steps we came through to achieve this goal.
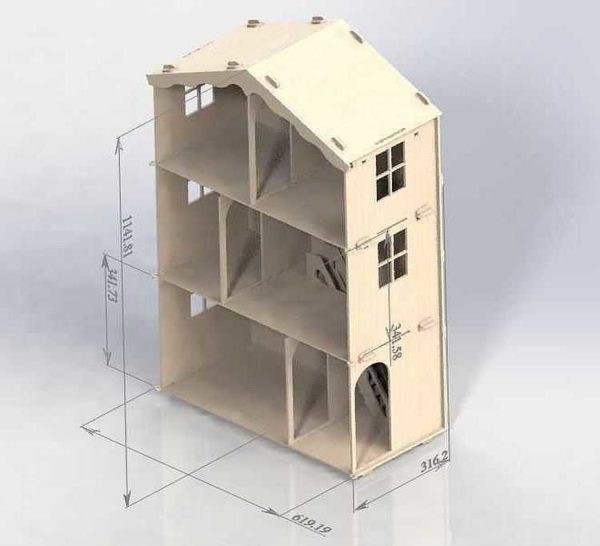
For a start we checked the building schemes on the Internet, there was a various amount of variants. So, we chose a typical one and agreed to change the proportions later .
In addition, we searched up the reviews of dollhouses on the websites just to be sure how the final accurate outcome must look like.
Here is the example of scheme we used:![]()
The option of making a dollhouse for girls from wood(Plywood, laminate) is one of the most popular. The undoubted advantages of such a house are its strength and durability. It is easy to decorate it both from the outside and from the inside. However, for the manufacture of a wooden house will require male help. We were lucky to have two men in our group, so we accepted a challenge)
The materials we used:
• Laminate or plywood, the thickness is better to choose at least 7 mm;
• an electric jigsaw;
• glue - carpentry, PVA;
• a self-adhesive film, which we will paste over the floor in our house;
• wallpaper, they are useful for pasting walls in rooms;
• a pencil;
• a tape measure.
Step-by-step instruction:
1. From the sheets of plywood we cut the walls of the house according to the dimensions on the drawing.
![]()
![]()
![]()
![]()
![]()
![]()
2. We note where the windows and doors will be located, and cut them out.
3. Using wood glue, we assemble the structure. You can use small carnations for reliable construction.
![]()
4. Make a roof. Cover it with corrugated cardboard and paint, imitating tile.
5. Glue the finished house on a piece of plywood, larger in size than the floor in the house. This will give it more stability. On plywood, which remains on the sides of the house you can make a lawn.
![]()
![]()
![]()
6. Now paste over the walls in the rooms with a film - the floors.
![]()
7. And after all, we managed to set the roof properly. As you can see, the basics are done and ready to decorate.
![]()
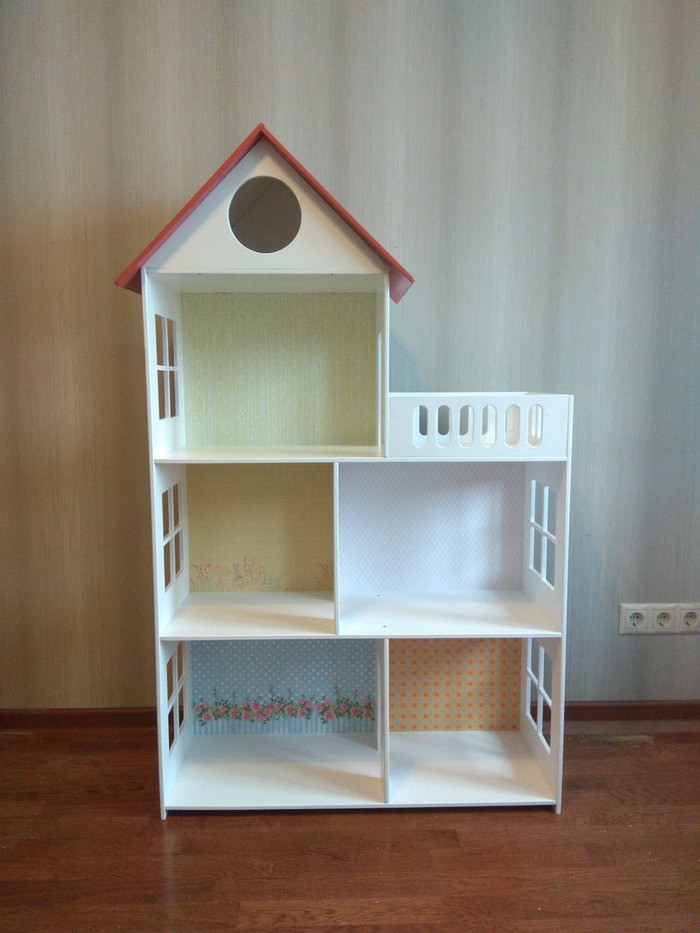
The last step of decorating the house we left to children) We were pretty satisfied with the result. To tell the truth, the whole process of building is quite exhausting, so my piece of advice if you decide to accomplish the similar goal - make sure to have a great inspiration to finish it up.
This user joined on 12/20/2018.


 Lutetium
 atltvhead
 jean
jean Edgaras Art
 Jules Thuillier
 matthewhallberg
 Brett Smith
 PixelCircuits