 Gruftgrabbler
Who I am and what I do
Hey Folks. My name is David Witulla (aka. Gruftgrabbler). I am a student from TU Darmstadt, Germany. Studying "Information- and System Technologie" (aka. Embedded Systems). I just got an amazing offer to build the Stephen Hawes Index PnP (Pick and Place) for our student hardware lab. Its of cause an ongoing project and I will try to contribute myself later on but for now I just want to catch up the project :)
You can find the original videos from Stephen on his YouTube Channel, providing all informations to understand what this is about.
The index PnP has also a project webpage where all additional informations were documented, including the instructions to build your own. And the contribution page can be found here.
First I have to say when I got the offer for the Job I had absolute no idea how I even could build such a machine. I watched all videos and was absolutely impressed how a single person can be so intelligent and do so many smart things in such a short time. At first I had no experience with electrical or mechanical CAD, no experience with 3D-Prints and of a lack of experience in "making something real". This guy really motivated me to dive in. Since then I learned KiCAD and FreeCAD with the amazing help of YouTube creators. (Thanks guys!) Of cause I am still a beginner but I feel more and more comfortable with those amazing things. It's 2 weeks ago since the job started officially and I used the previous month for preparation and learning.
I was a little lazy on writing this earlier so excuse me please that I won't go into detail of every feeling I had previously. (Sure its maybe a good thing to not spam you with everything, tho)
Since I don't have a Laptop my chosen platform to work on is a raspberry pi 400 which is just an amazing device and an excellent computer for hardware labs. My advisor Ferdinand was very kindly to just order one for me for what I am very thankful.
So my Workplace looks like this
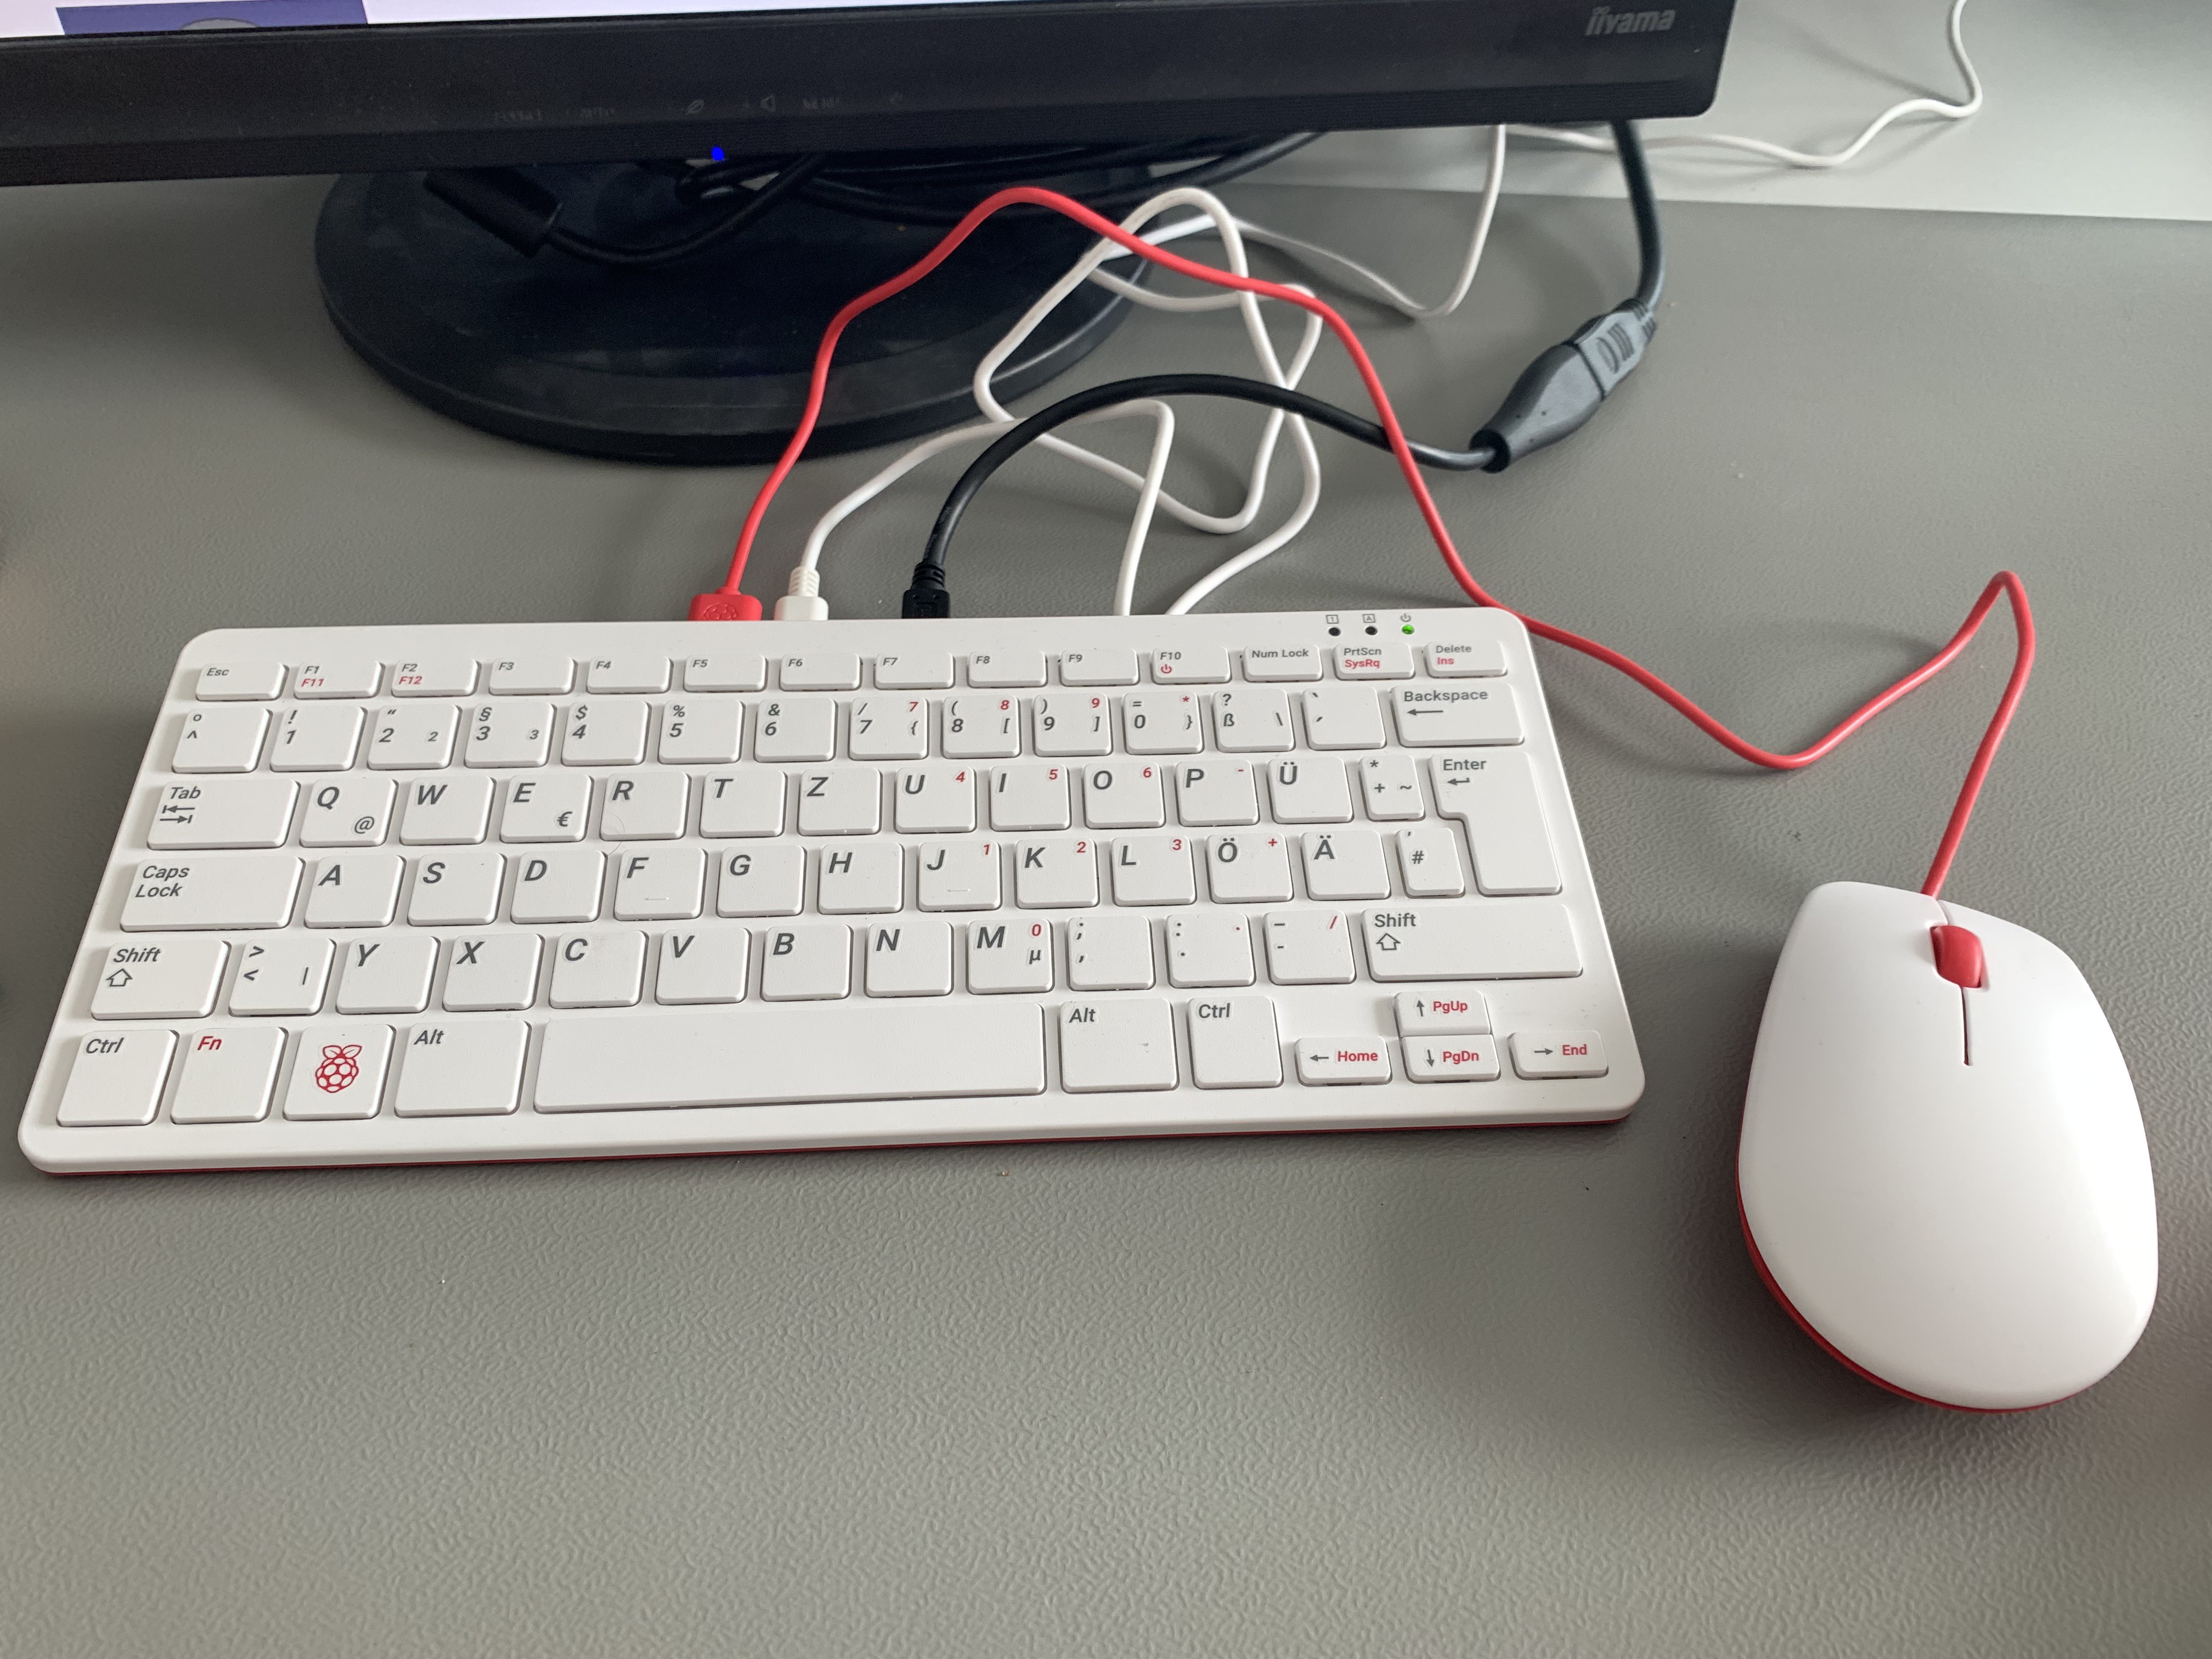
Of cause I overclocked the Pi to 2GHz to get a smoother experience. Tutorials about that can be found here.
So enough bout me. In the next sections I will show you how I build the machine.
Installing the needed Software on the RPi400
Of cause we need KiCAD, FreeCAD, VSCode with PlatformIO extension, Git LFS and Discord to be able to follow the project and communicate with others. Additionally we need a 3D-Printer and a Slicer Software (in my case Prusa-Slicer, because I have an i3 MK2.5 and an i3MK3 here in the lab)
KiCAD
In case of installing KiCAD
sudo apt update
sudo apt install kicad
just worked nice for me so this was kinda easy.
FreeCAD
Installing FreeCAD whatsoever was not that straight forward, since I needed to compile the resources myself on the Pi.
You can follow this Installation Guide. After compiling you have to navigate in the /bin folder and start FreeCAD with ./FreeCAD&
Tho. I'm not an linux expert at this point and wondered if its possible to have FreeCAD installed like every other software with a nice icon.
VSCode
There was quite a controversy about VSCode on the Pi since its an open source software but contains a little bit of code wich is closed source but I think VSCode is a great IDE and I use it a lot. So I am very thankful the raspberry pi foundation included the package in the apt install repository.
sudo apt update
sudo apt install code
Informations about installing platformIO can be found here.
Git LFS
Git Large File Storage (LFS) is an extension which helps managing large binary files like images, audio etc.. In our case we will use this for the FreeCAD and KiCAD projects included in the index repository.
I installed it via
sudo apt-get install git-lfs
git lfs install
Discord
There are no binaries for the Pi so I just use the Discord web app.
Prusa-Slicer
It was kinda inconvenient to install it and I needed several try's but the guide which finally does the job for me can be found here.
Printing all components and ordering the parts.
Of cause the next step is ordering all the components and printing the parts with our 3D-Printers.
At time of assembly the BOM was already outdated since it belongs to an older version of the index where some parts weren't listed (especially screws and nuts). Also there were lots of amazon links with parts which arent available anymore. So ordering really becomes a pain in the but. Hopefully this will be easier in the future.
I ended up making a copy of the BOM and added some local resellers. I wont go into detail because depending on where you live it wont matter anyway.
On the other hand printing all the parts was relativly straight forward and should be even clearer in the future when the documentation is fully completed. Still it tooks quite some days to print all the parts. Overall the first phase of printing the parts and waiting for the components to arrive took about 2 weeks for me.
Assembly
Luckily Dave Smith from the index development team did make a good job documentating the assembly process under https://docs.index-machines.com/. At writing time this is quite an unfinished website but sure it will evolve to a well documentated assemmly guide.
I just followed the given instructions and got the frame in a decent state after some hours of assemblembling :)
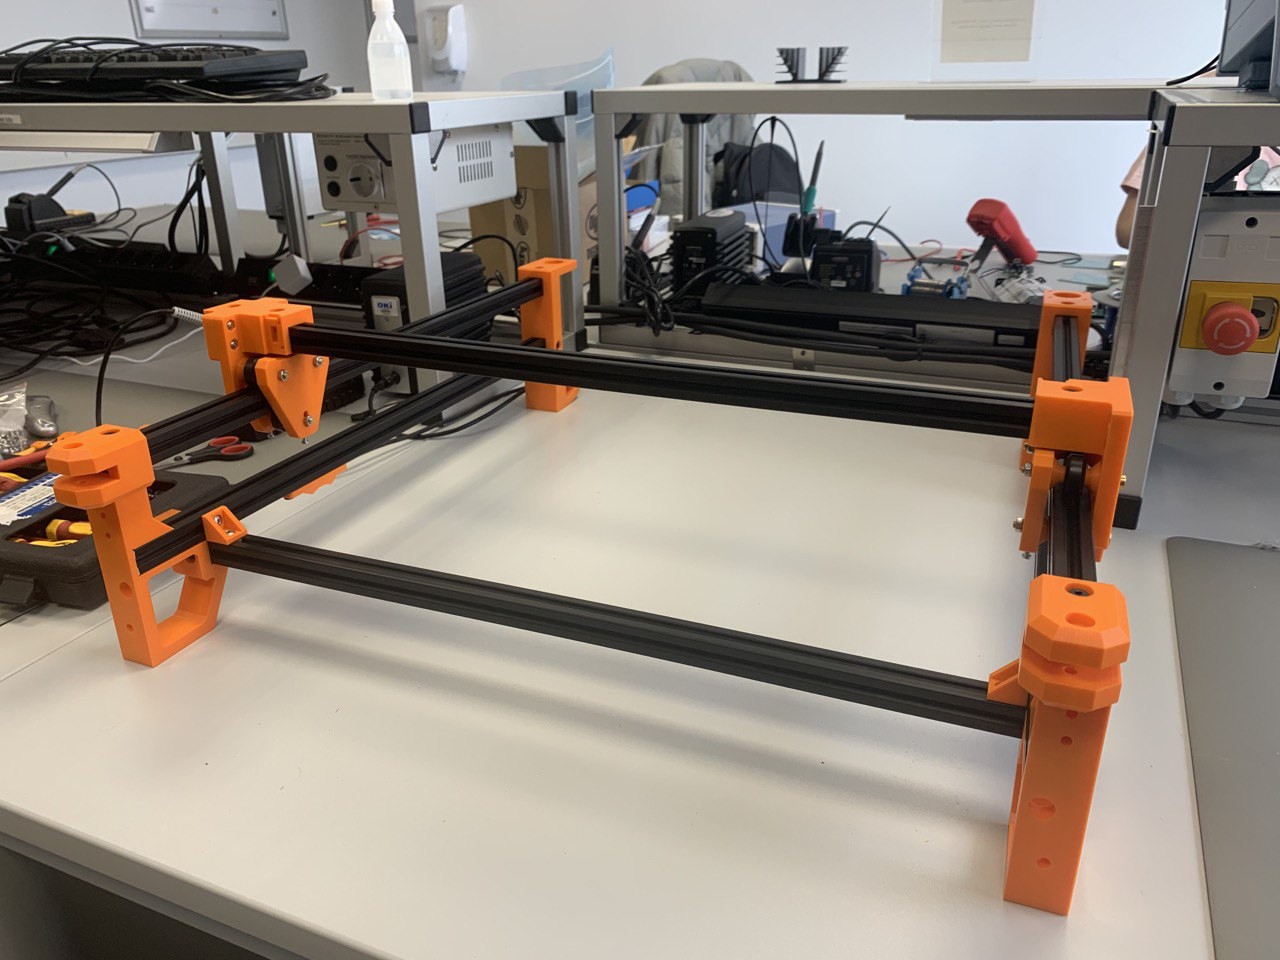
As I mentioned before lots the BOM was missing lots of screw types so I was in a constant struggle to find the right screws in our labs here in the university.
Discussions
Become a Hackaday.io Member
Create an account to leave a comment. Already have an account? Log In.