 Richie Ellingham
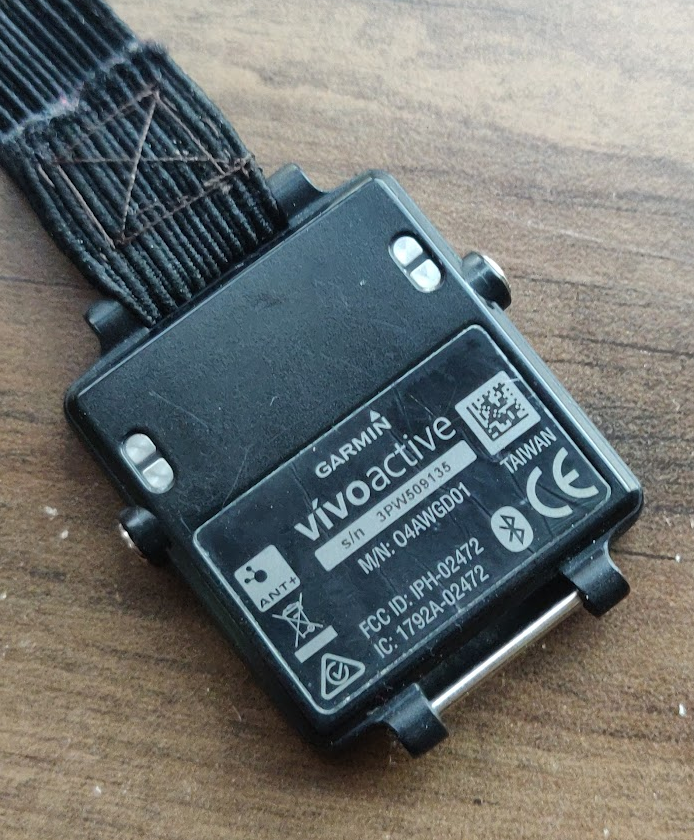
Garmin Vivoactive 1 teardown
I’ve had this Garmin Vivoactive for over 6 years now and upgraded a couple of years ago to the Garmin Forerunner 45 for running and swimming. The old Vivoactive used to have the stamina of a rabbit in bed (it had a great battery life), but the battery life rapidly deteriorated as I was starting to use it a lot less. The watch strap completely broke on one side so I replaced it with a piece of janky elastic. It still functions well, taking a reasonable amount of time to pick up some solid GPS satellite signals. Enough chit chat let’s tear in!

How do we open a waterproof watch??
The housing of the Vivoactive is very sleek and much thinner than many other current smart watches(8mm vs 12mm for my Forerunner 45), but also has much less features. After a good few minutes of inspecting the watch for any edges to pry open I noticed a change of material between the watch face and housing. I assumed like in other devices (such as phones and the Kaiser Baas teardown that the screen was simply glued on. Being a water-tight device my smallest tools could not pry the screen off, so I use an iron to soften the glue holding the screen down. I then used a small suction cup to pull on the screen, which lifted a small edge to be pryed open as seen in the figure below. This has definitely ruined the original 5 ATM waterproof rating of the watch.
The insides
After very carefully prying off the LCD/touchscreen the quite simple insides were exposed. The main visible components were the
- Lipo battery, 150mAh, 3.7v
- PCB
- Antenna
- Flex PCB interconnect
The antenna is made by TE and sits on three pins protruding from the PCB. A small connector sits under the antenna, which could be used for programming or other testing purposes. The push buttons on either side of the PCB are supported with a resin substance. The main IC seen on the right side of the PCB is a Nordic nRF51422 BLE, ANT and 2.4 GHz SoC. A great SoC for a wearable device, with plenty of computing power with its M0 core, flexible radio usage, and low energy modes. There is an external 32MHz crystal oscillator adjacent to and driving the Nordic chip.

In the centre of the PCB we can see a low profile FPC connector. All of the the components look to be 0201 as expected with a wearable device of this size. There is a farm of caps and resistors on the left side of the PCB likely a mixture of decoupling caps and peripheral components for setting up IC parameters.
The dark side of the PCB
To access the other side of the PCB the LiPo battery is gently levered out and the four conductive ‘power’ screws are removed. Upon removal and flipping over the PCB we find that the other side is completely boxed in and shielded. Half of the metal shield is covered in copper tape with the other half of the laying under the battery. Under this side we likely have an IMU, a GPS module and adjoining circuitry.


The antenna is provided by TE connectivity and has a PN that looks like 2??8462. To aid the rf part of the PCB we have a keepout copper area between the antenna and the SoC. There is a component between the antenna and the SoC which is likely to be some kind of impedance matching/ signal conditioning circuit. We can also see ground plane stitching around the perimeter of the PCB, in particular near the antenna. There are many exposed circular gold plated test points
on the PCB, likely for use with an ICT method like flying probe or bed-of-nails.

The screen used for the watch uses memory in pixel (MIP) technology where the LCD pixels required a very low power to stay ON. This is evident as the screen does not emit light but uses ambient light to illuminate the screen or a backlight on demand. The screen is also a touch screen for extra UI functionality.

The charging case
The charging case was simple to pull apart, only held together with glue. There is a single component PCB in the case with a 2A fused attached to the positive terminal of the charger. The watch can only be inserted one way into the charger - good poka-yoke! The only other major part of the charger is the USB wiring, pogo pin connections and the magnet to ensure the watch stays in place during charging and data transfer. The metal shielding for the GPS module also acts cleverly as a ferromagnetic material which sticks to the charger.

Conclusion
Overall this watch has been amazing. The battery life used to outlast any smart watch seen today. The SDK for this watch allowed me to make a drunk late night food app which could direct you to fixed GPS coordinates around the city (e.g. a McDonald’s or Kebab shop). The internals are neatly packed and the PCB design is very clean with many RF considerations required. It would be great in future to rip open the metal shielding, but this watch is still useful as a bike computer in the meantime.
Discussions
Become a Hackaday.io Member
Create an account to leave a comment. Already have an account? Log In.