 Sam
SamPrototype boards, also known as breadboards, are essential tools for beginners in electronics and prototyping. These versatile boards provide a platform for building and testing circuits without the need for soldering or permanent connections. This beginner's guide aims to introduce the key aspects of prototype boards, their setup, and usage, empowering newcomers to dive into the exciting world of electronics prototyping.
Understanding Prototype Boards
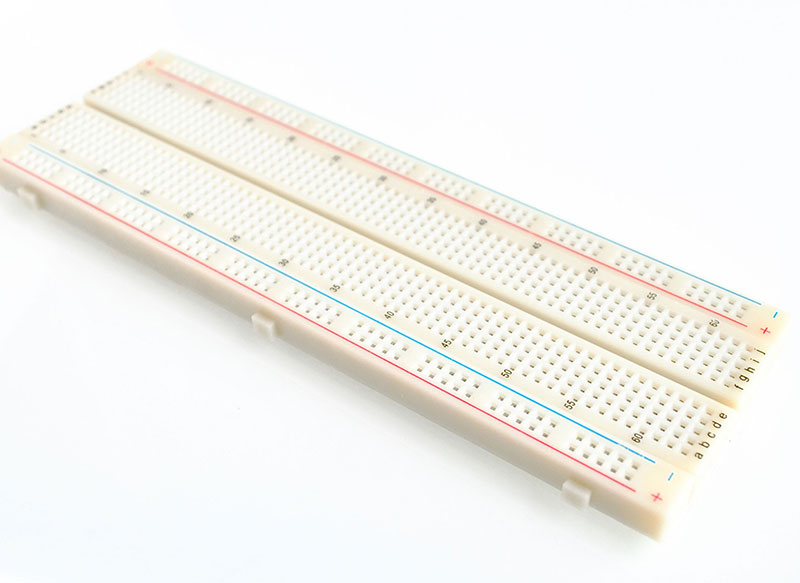
Prototype boards consist of a grid of interconnected sockets, which act as insertion points for electronic components and wires. They typically have two sets of columns for power and ground connections, while the remaining columns are interconnected in a particular pattern. This pattern enables users to create custom circuit layouts by inserting components and connecting them using jumper wires.
Setting Up a Prototype Board
To set up a prototype board, follow these steps:
- Choose a suitable prototype board size based on your project requirements.
- Identify the power rails (usually labeled as + and -) on the board. These provide power and ground connections.
- Insert components into the board, ensuring the component leads or pins make contact with the appropriate sockets.
- Connect components using jumper wires, plugging one end into a socket and the other end into another socket to establish the desired circuit connections.
- Double-check the connections and ensure there are no loose or overlapping wires that could cause unintended short circuits.
Utilizing Prototype Boards
Prototype boards offer a flexible platform for various electronic projects and experiments. Here are a few tips for utilizing prototype boards effectively:
- Start with simple circuits: Begin by experimenting with basic circuits, such as LED blinkers or resistor networks, to understand how components and connections work on the board.
- Plan the layout: Before inserting components and connecting them, plan the circuit layout to ensure a clear and organized arrangement, making troubleshooting and modifications easier.
- Reuse and recycle: Prototype boards are reusable, allowing components and wires to be easily removed and reused in different projects. Embrace experimentation and reuse components whenever possible.
- Document your circuit: Take notes or create diagrams of your circuit layout and connections to help track and reproduce successful designs.
- Gradually increase complexity: As your familiarity and confidence grow, gradually tackle more complex circuits and projects, exploring different components and functionalities.
Conclusion
Prototype boards provide an accessible entry point into the world of electronics prototyping. By understanding their setup and following best practices, beginners can quickly create and test circuits without the need for soldering or permanent connections. Embrace the versatility of prototype boards and let your creativity flourish as you explore the endless possibilities of electronic design and experimentation.
Related Article:
Discussions
Become a Hackaday.io Member
Create an account to leave a comment. Already have an account? Log In.