 TwinkleTwinkie
When we were working on the SAOv1.69bis "Standard" a primary goal was to maintain backwards compatibility. This is great for everyone who collected so many SAOs from DC26. A major upgrade for v1.69bis is mechanical stability added by using a Keyed Shroud and a matching Keyed Female connector on the badge. Based on the bulk order I recently placed I believe most of the Independent badges will have Keyed Female Badge connections. To best take advantage of these changes I've put together this Up conversion tutorial.
This tutorial will address two scenarios:
1. SAOv1 without the 2x2 Header Soldered on.
2. SAOv1 with an existing 2x2 Header Soldered on.
If you need to buy some 2x3 Headers for this project here is an non-sponsored link to the listing I purchased mine from on Amazon.
This tutorial does not require any desoldering!
Scenario 1. - No Headers
If you some how still have a SAO without any headers soldered on then the solution to your problem is easy: Remove the 2 left most pins.
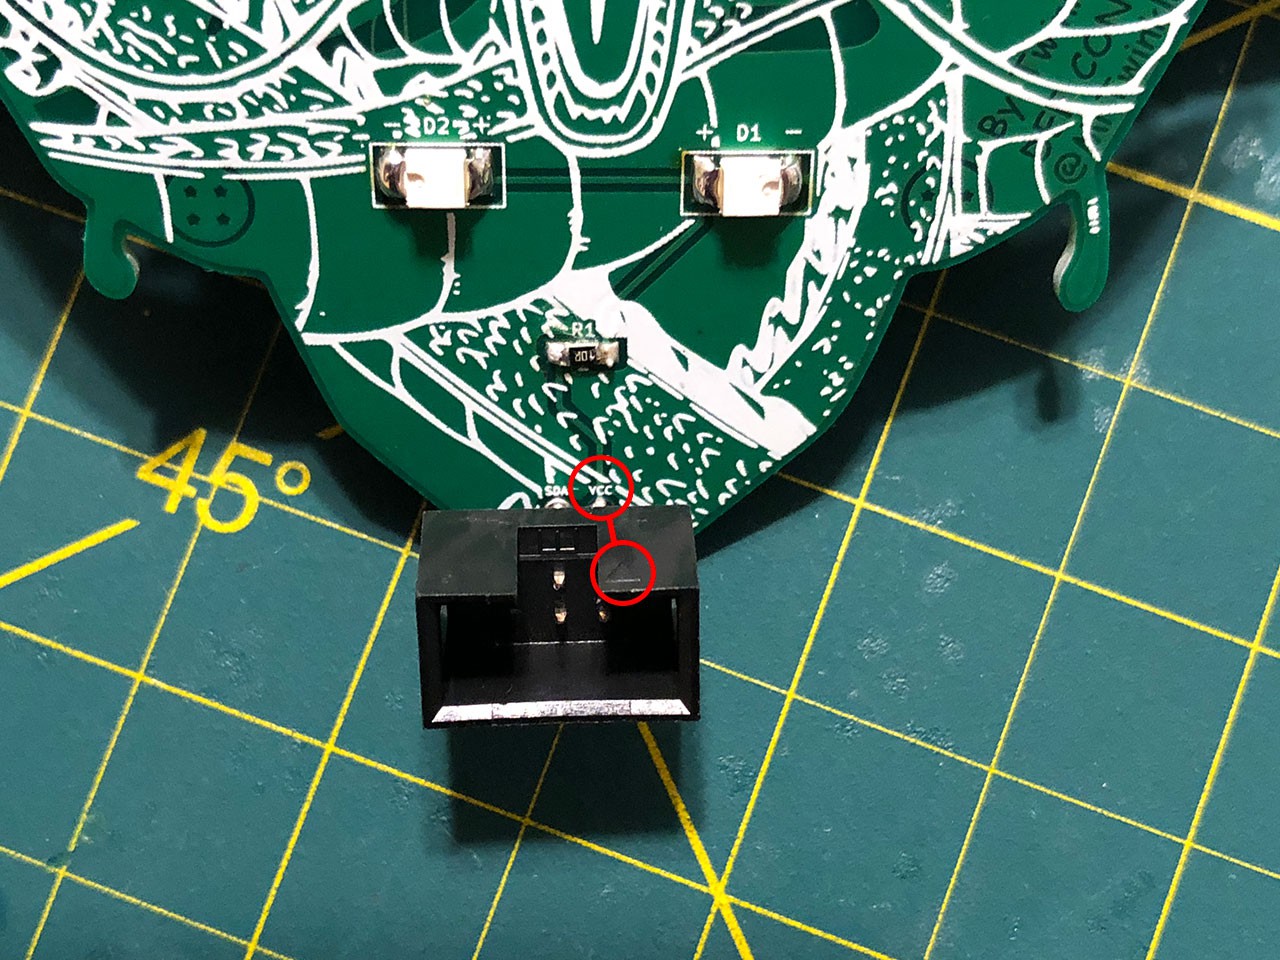
Then solder the header on with the "Arrow" on the top pointing towards the "VCC" mark on the SAO.
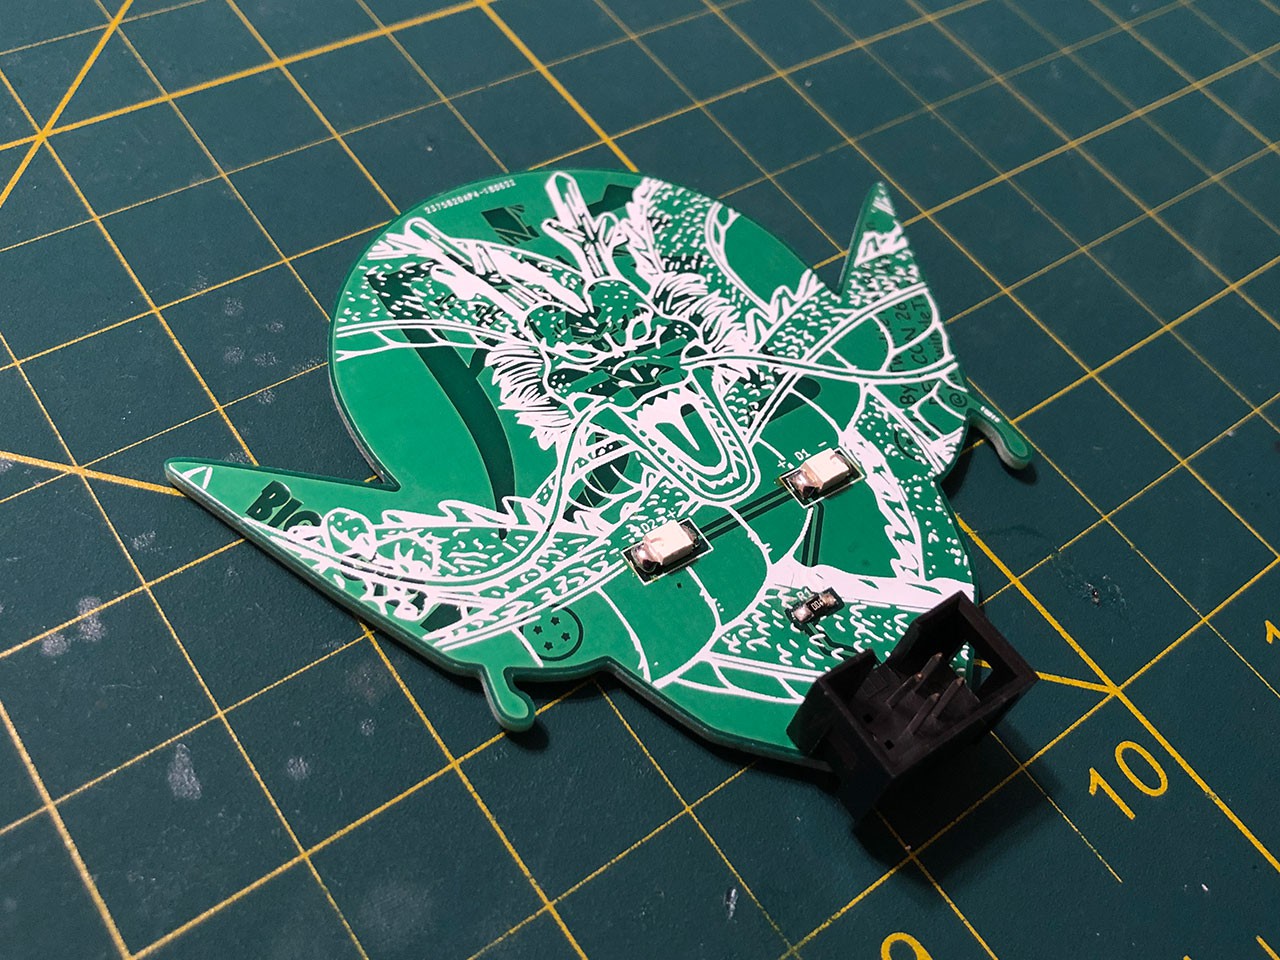
That's it, you're done.
Scenario 2. - Headers Already Soldered On
This situation involves a little more work but is still very easy and doesn't require any soldering or desoldering at all!
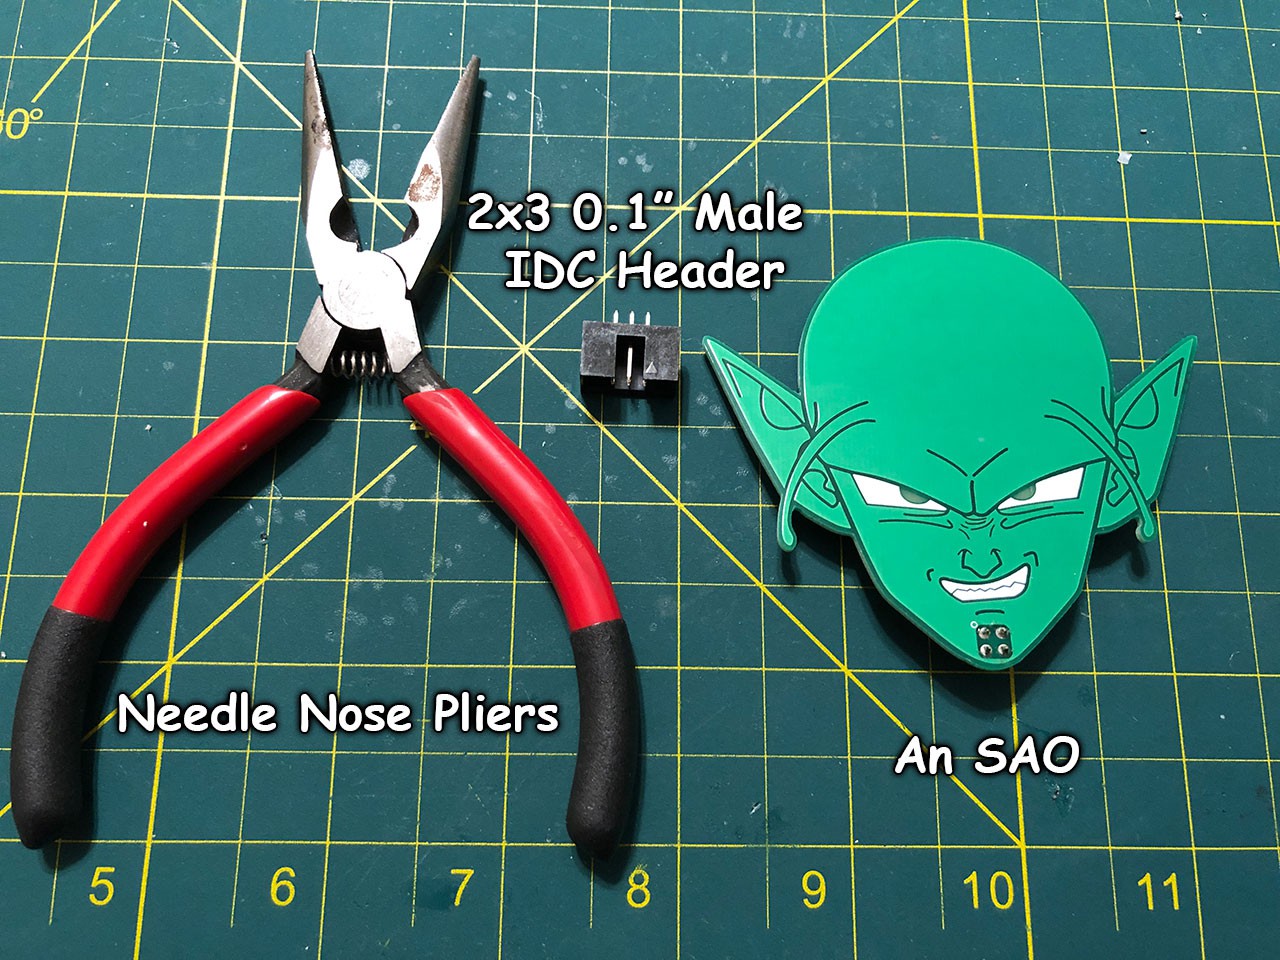
Here is what you need:
- A Pair of Needle Nose Pliers
- 1x 2x3 0.1" Pitch IDC Header (Shrouded Male Header)
- Your SAO
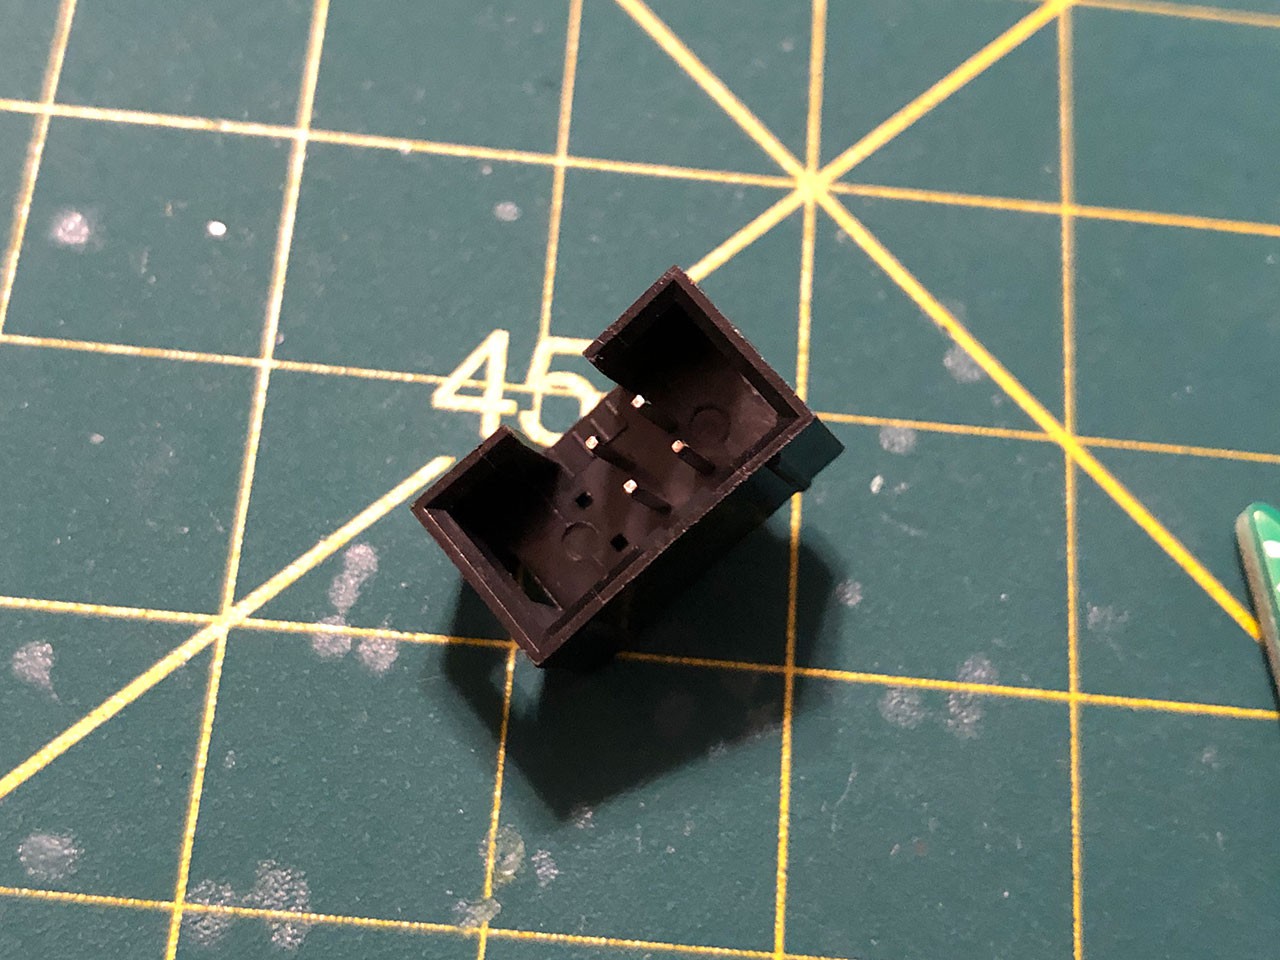
Step 1. Remove the Spacer
The first step is to remove the plastic spacer on the SAO Header. Using your Needle nose pliers clamp onto the header and just pull straight off. If you have a Surface Mount SAO Header instead of through hole you might want to use a hair dryer or heat gun to heat up the plastic first so you don't rip off the contacts.

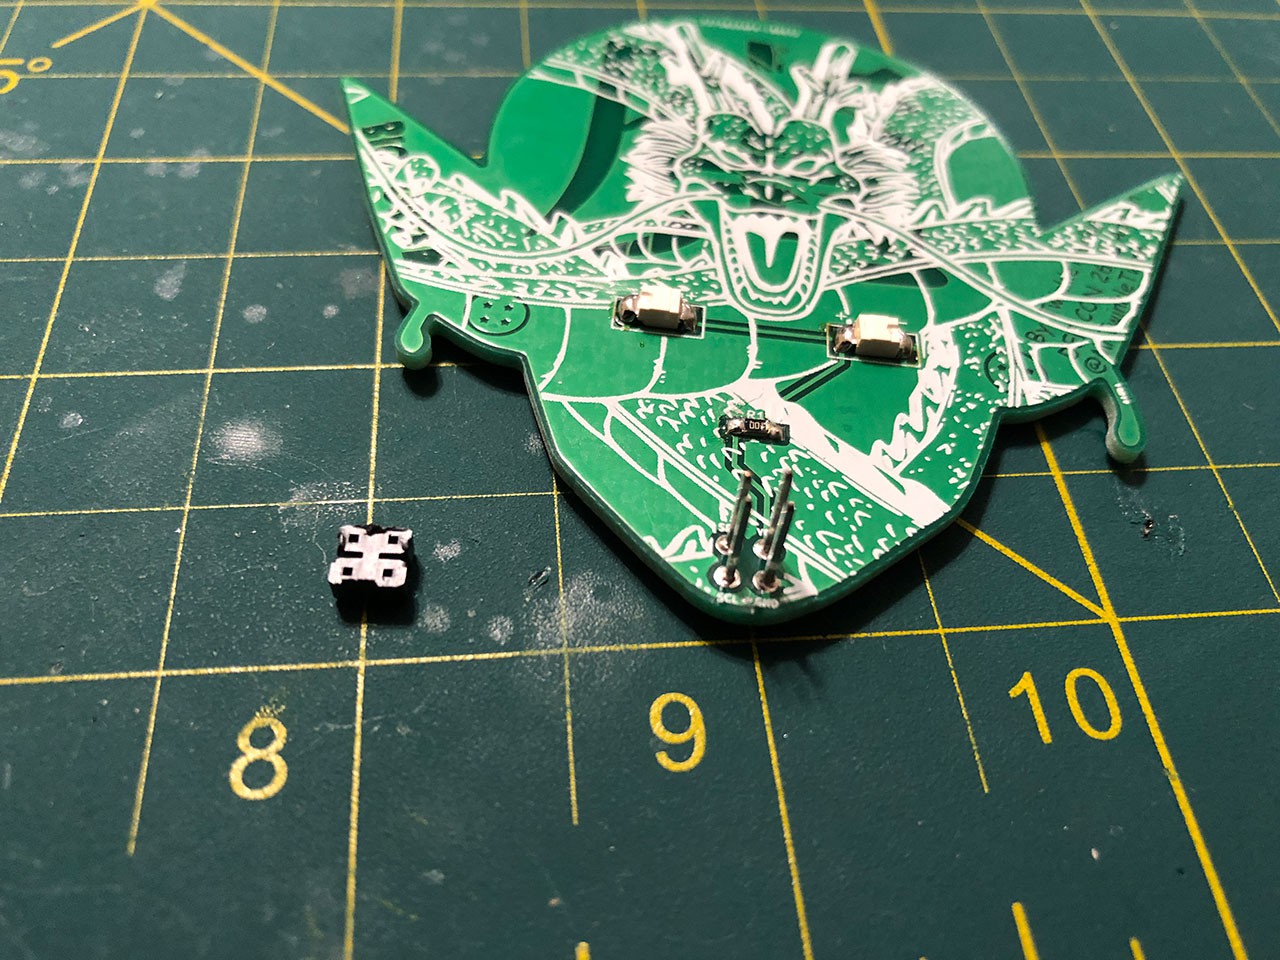
Step 2. Remove the pins from the 2x3 Header
Pretty self explanatory, Using your needle nose pliers remove all of the pins from the 2x3 IDC Header. Don't twist or anything just grip the pin tightly and pull away.
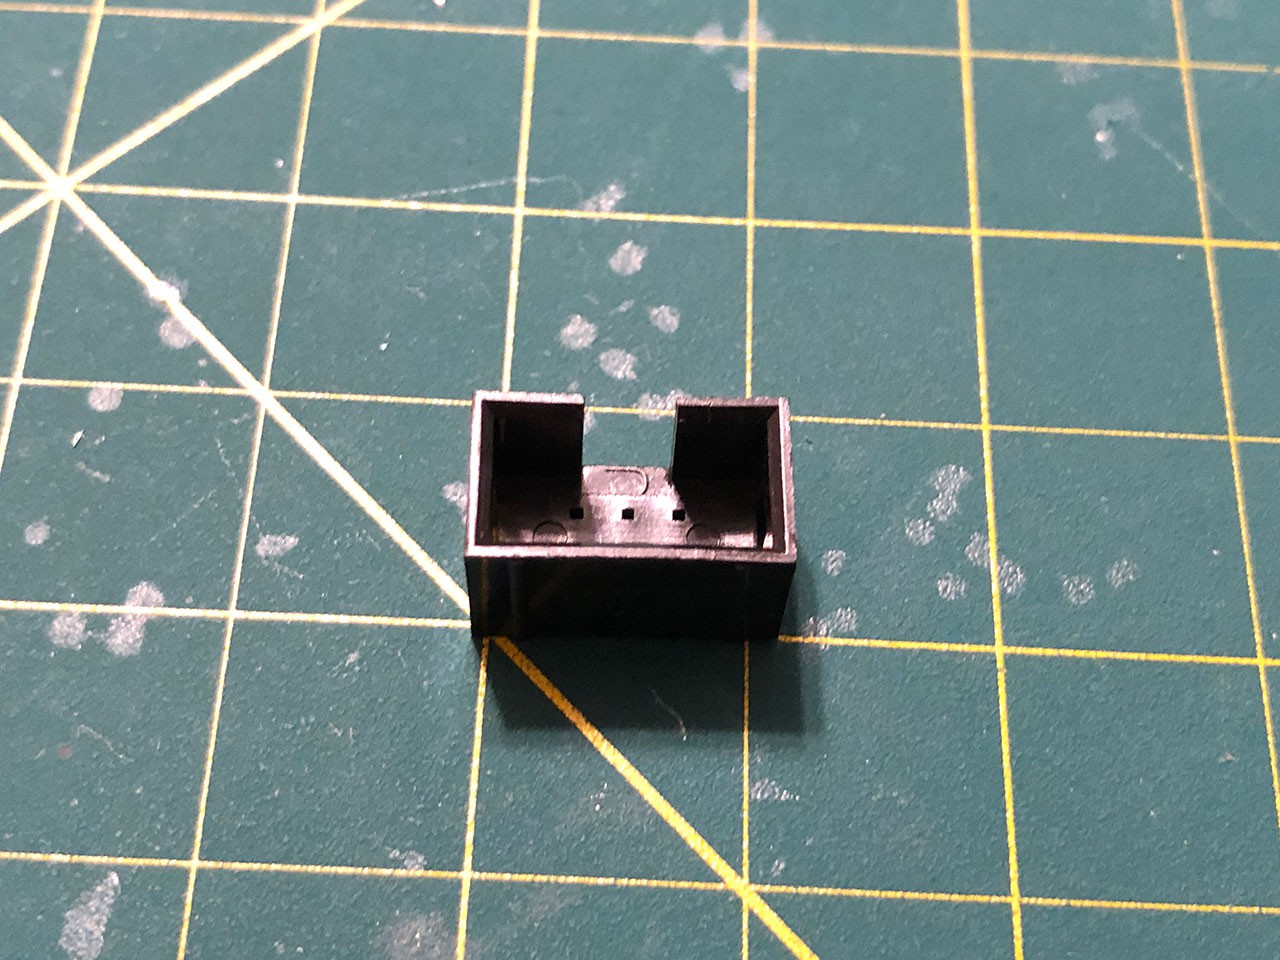
Step 3. Slide the 2x3 Shroud on top of the 2x2 Pins
Slide the 2x3 Shroud on top of the 2x2 Pins with the "Arrow" on the shroud pointing towards "VCC" on the SAO. If your SAO isn't labeled it should be the top right pin.
Step 4. Test your SAO & Enjoy
Finally, plug your SAO into your badge of choice and make sure it functions as it should. Being that you didn't have to desolder anything it should work just fine.
Discussions
Become a Hackaday.io Member
Create an account to leave a comment. Already have an account? Log In.
Very interesting idea, never thought about the way you use LEDs.
Are you sure? yes | no