 TwinkleTwinkie
Arc Badge was born out of failure. Post DEF CON or really any major conference where a lot of creative people are in the same place, you can't help but leave with a dozen sparks of inspiration. Some of those sparks never go beyond the initial idea phase for one reason or another but some sparks grow into a raging fire that will hopefully be used to forge something wonderful. Post DC26 I had "a great idea for a badge". It featured multiple PCBs, lights, sounds, and had a really popular theme. Unfortunately I barely knew how to light up an LED so I had a lot to learn to make it happen and well basically life got in the way and next thing I knew it was almost spring 2019.
The project wasn't where I needed it to be so I shelved it. I decided instead to focus on making a Shitty Add-on Totem for the SAOs I was designing for DC27. I thought it'd be really cool to have a Totem shaped like an Arc Reactor and even cooler if it lit up and could change colors so eventually that idea evolved into Arc Badge.
Here were my design goals for Arc Badge:
- Do Double Duty as a Indie Badge & a Costume Prop
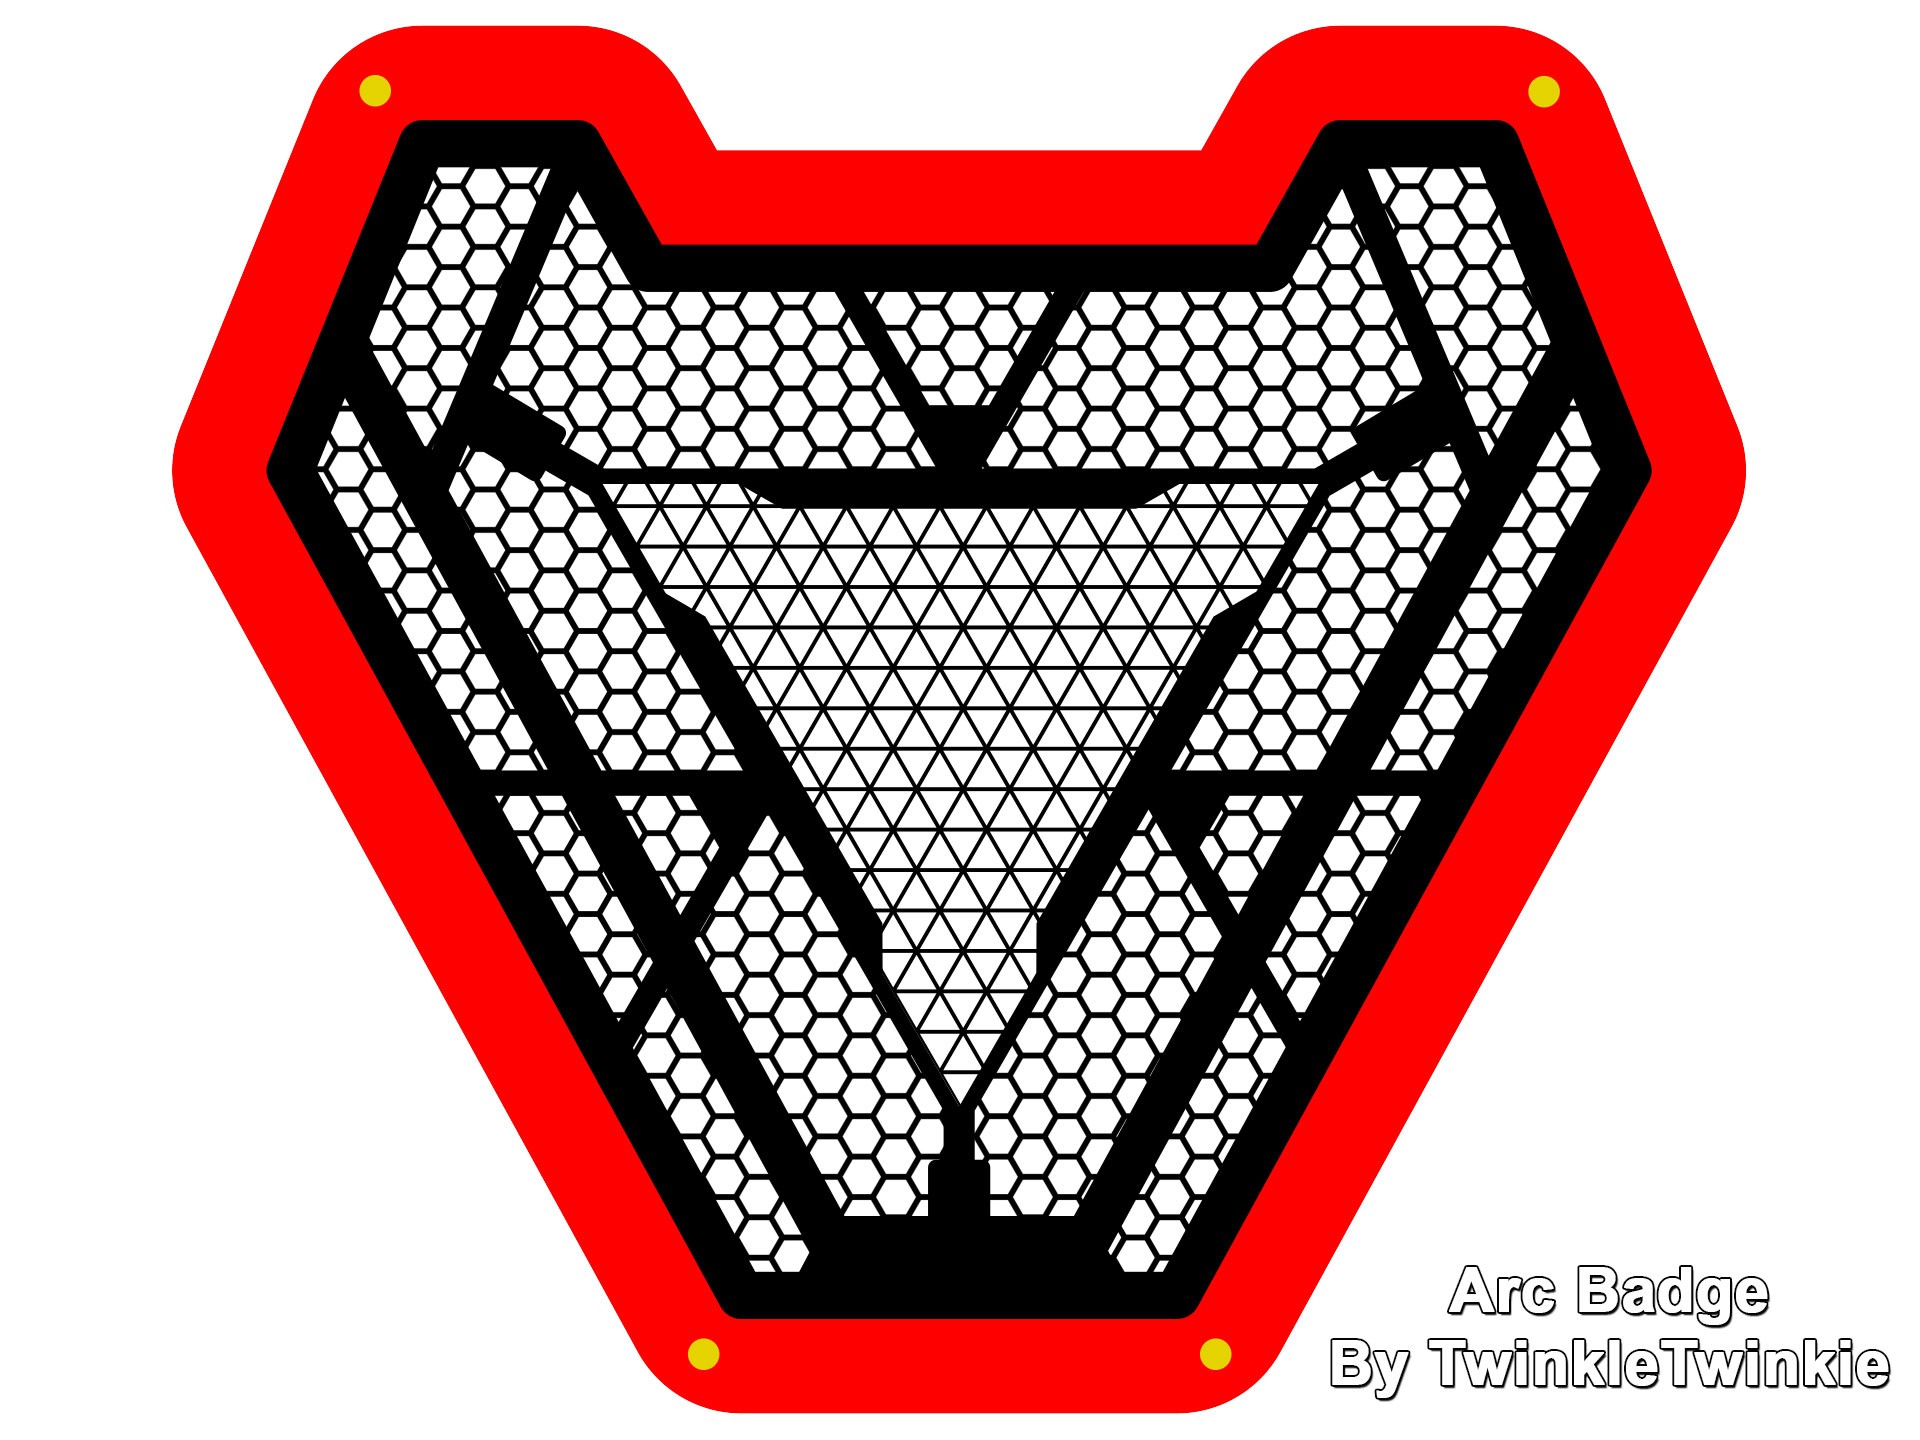
- Be instantly recognizable to anyone familiar with the MCU Iron Man
- Accommodate Two SAOs
- Make the Lanyard easy to Connect & not interfere with the SAOs attached to the Badge
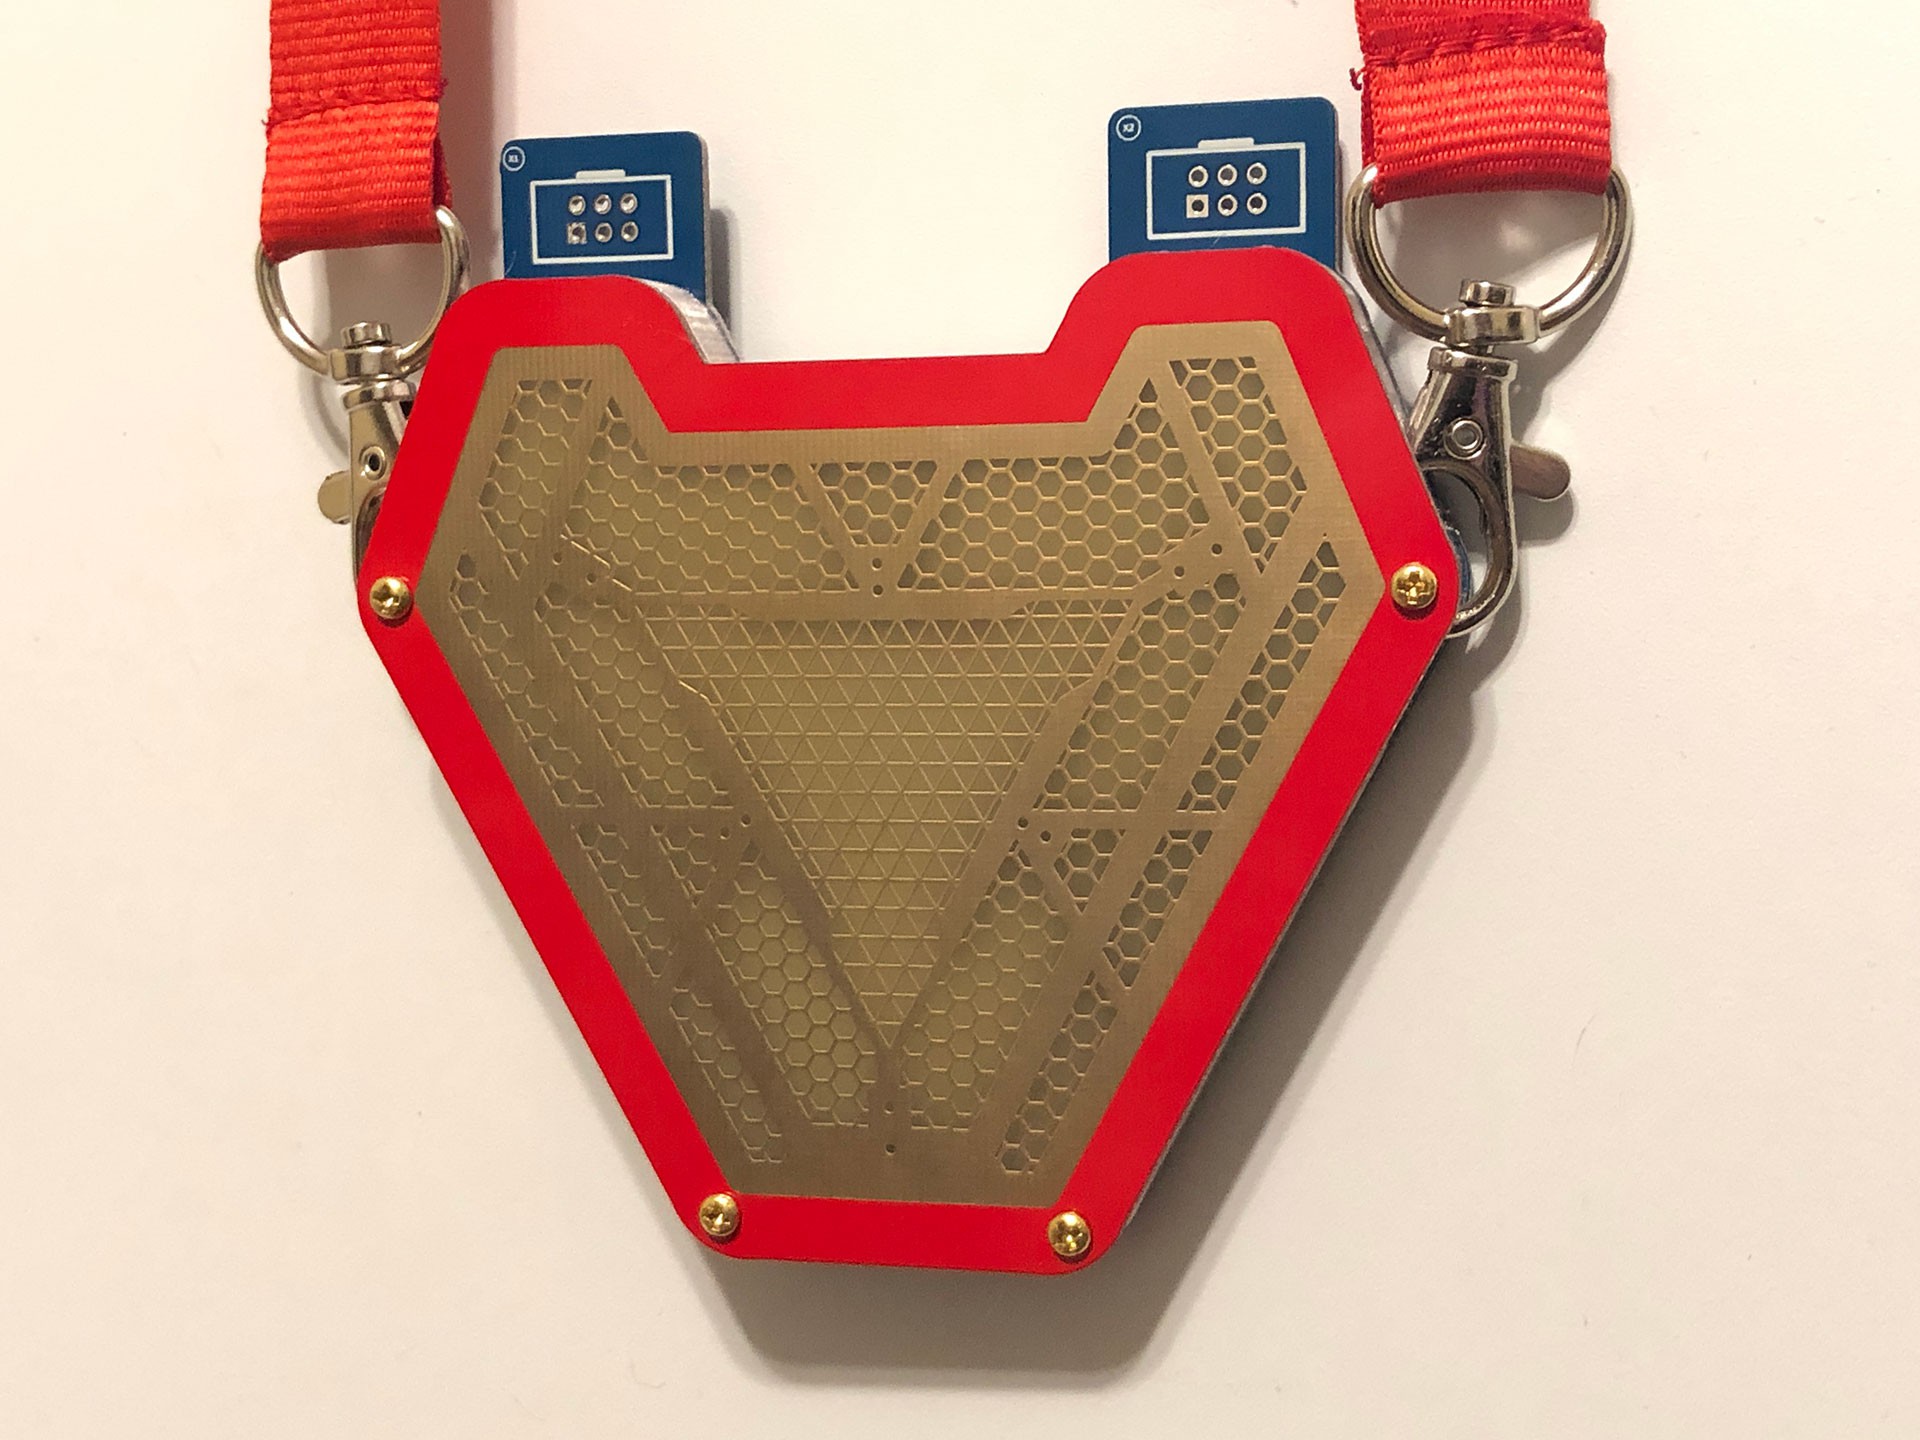
These first two goals were born out of what I liked to do before I started making badges: Making Prop Replicas. The third goal is what made me decide to go with the Avengers Infinity War/Endgame style Arc Reactor. The two "Ears" at the top of the overall triangle shape provided a natural place to have SAO headers protrude from. The final goal was born out of lessons learned from DC26. We had already made changes to the SAO standard so that it was a keyed 2x3 vs a regular 2x2 so we were going to have better overall stability but sometimes SAOs popped off because the lanyard on the badge that was hosting them would knock them off.
Lanyard Placement is very important.
A great deal of thought was put into how the lanyard would connect and where it would be placed. From the picture above you might notice that the two yellow dots indicating where screws would go are not in the correct place. This drawing is from an early concept. I knew that Arc Badge was going to be made up of 3 layers: The top "Art" board, a 3D Printed Spacer, and the bottom board where all of the electronics would actually be.
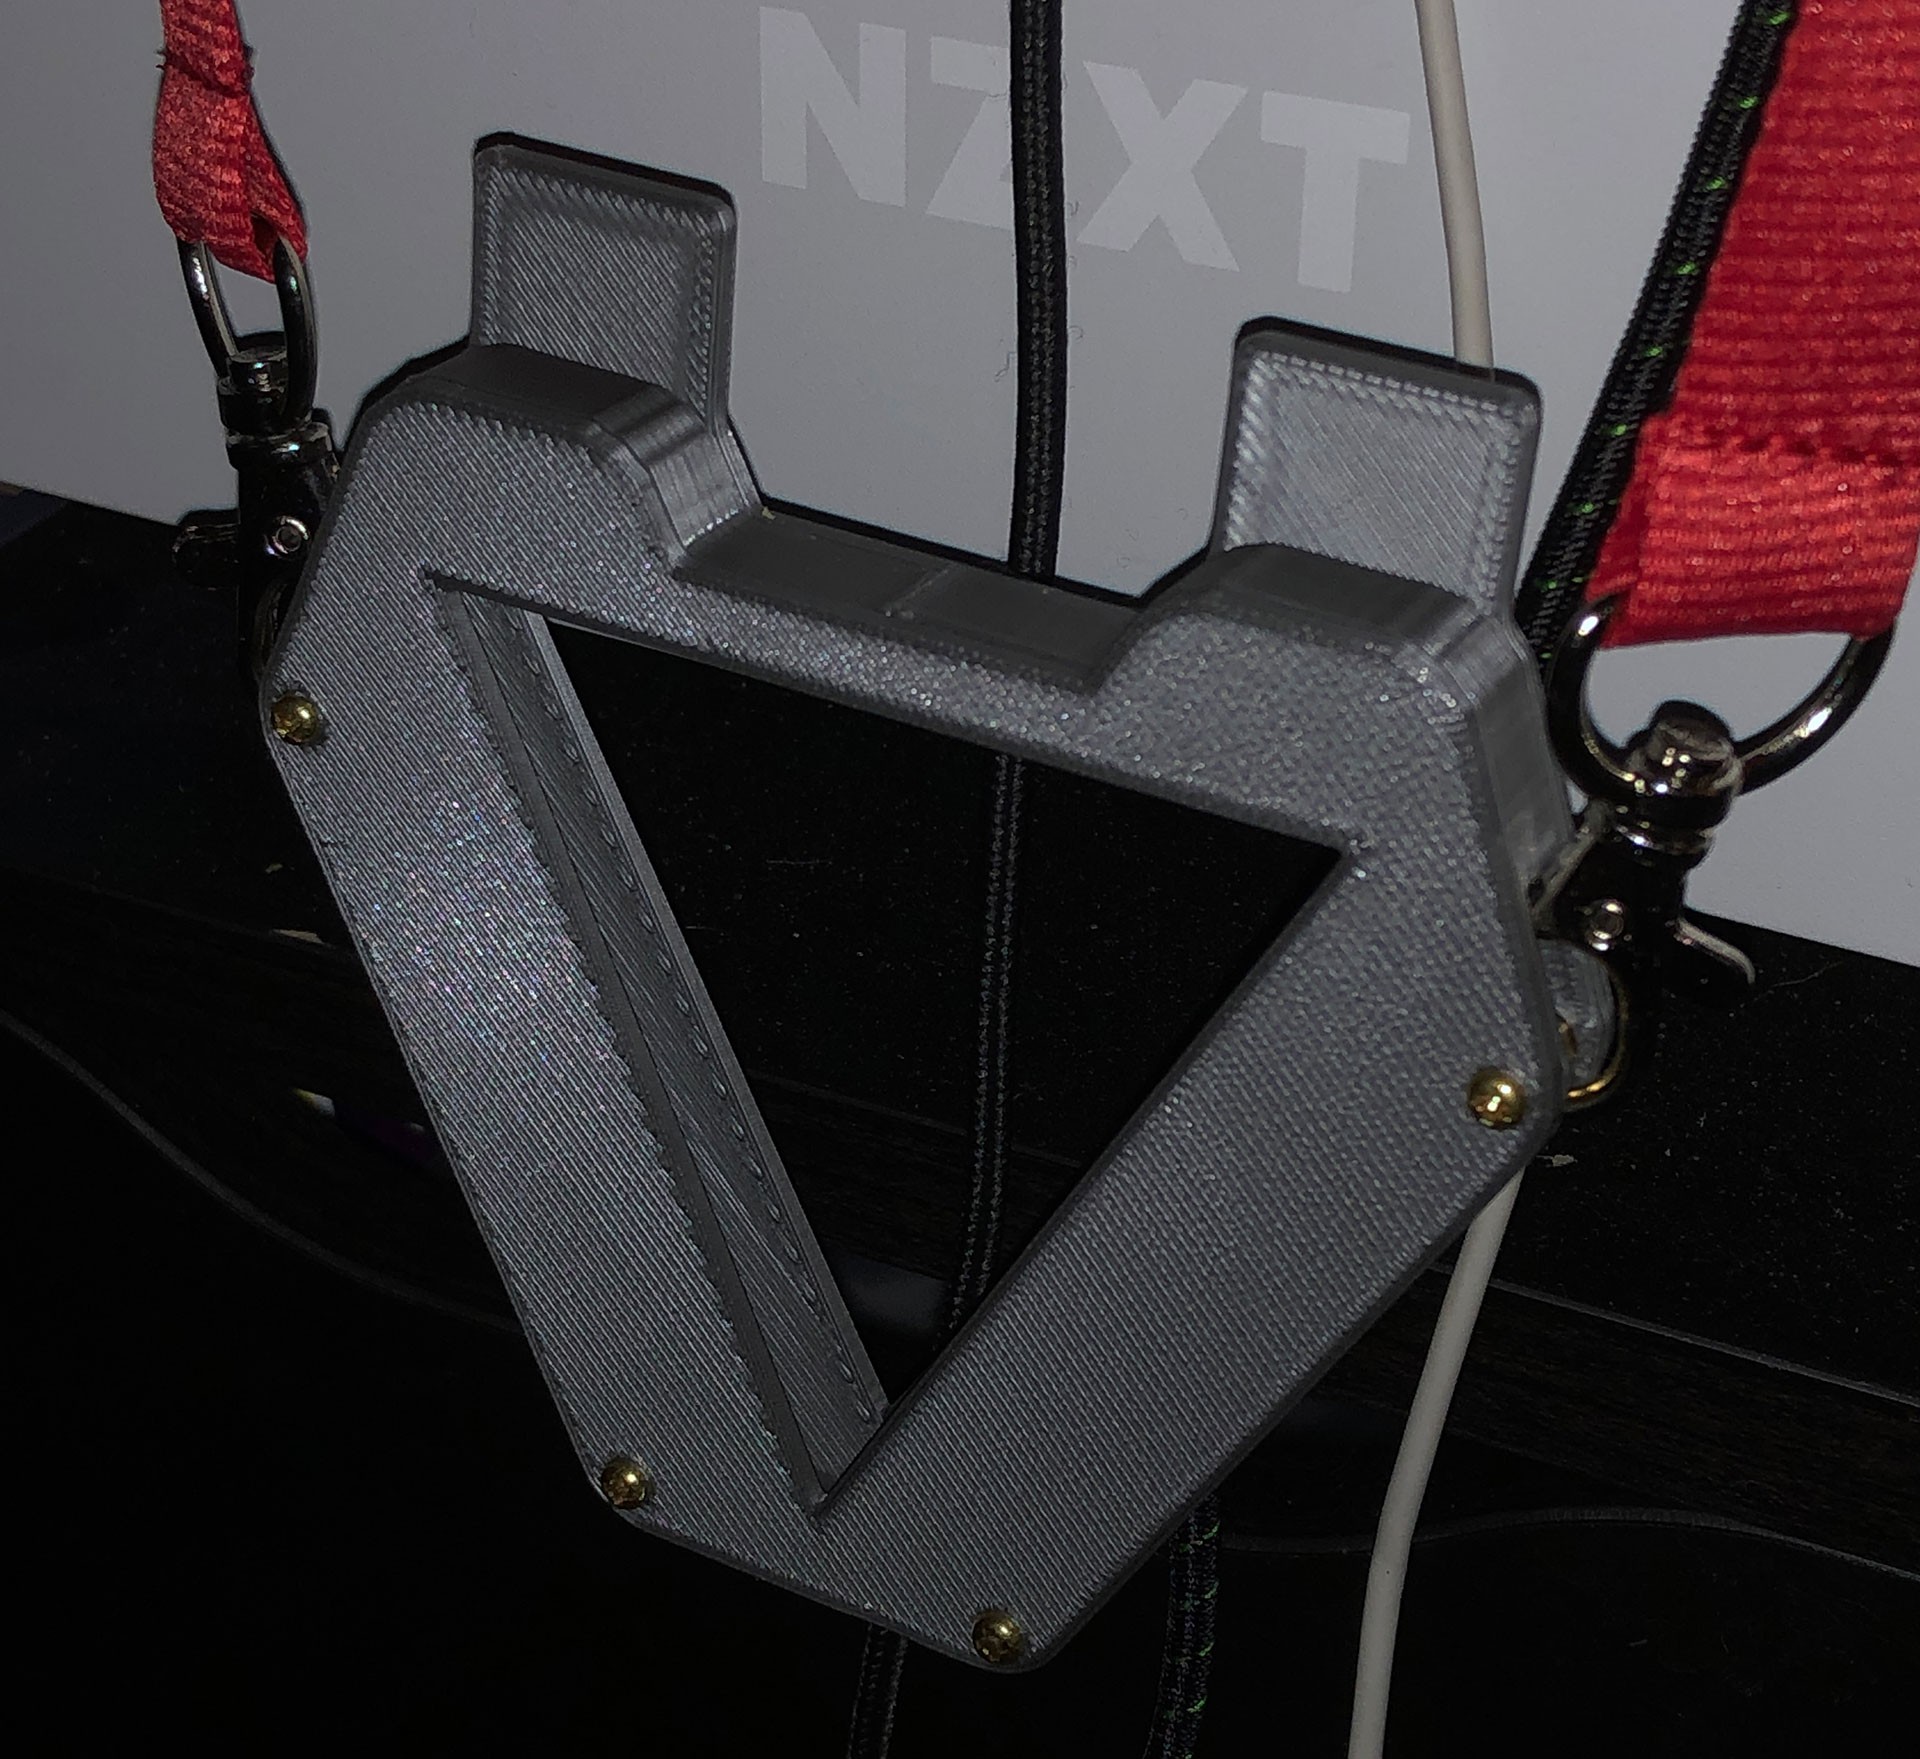
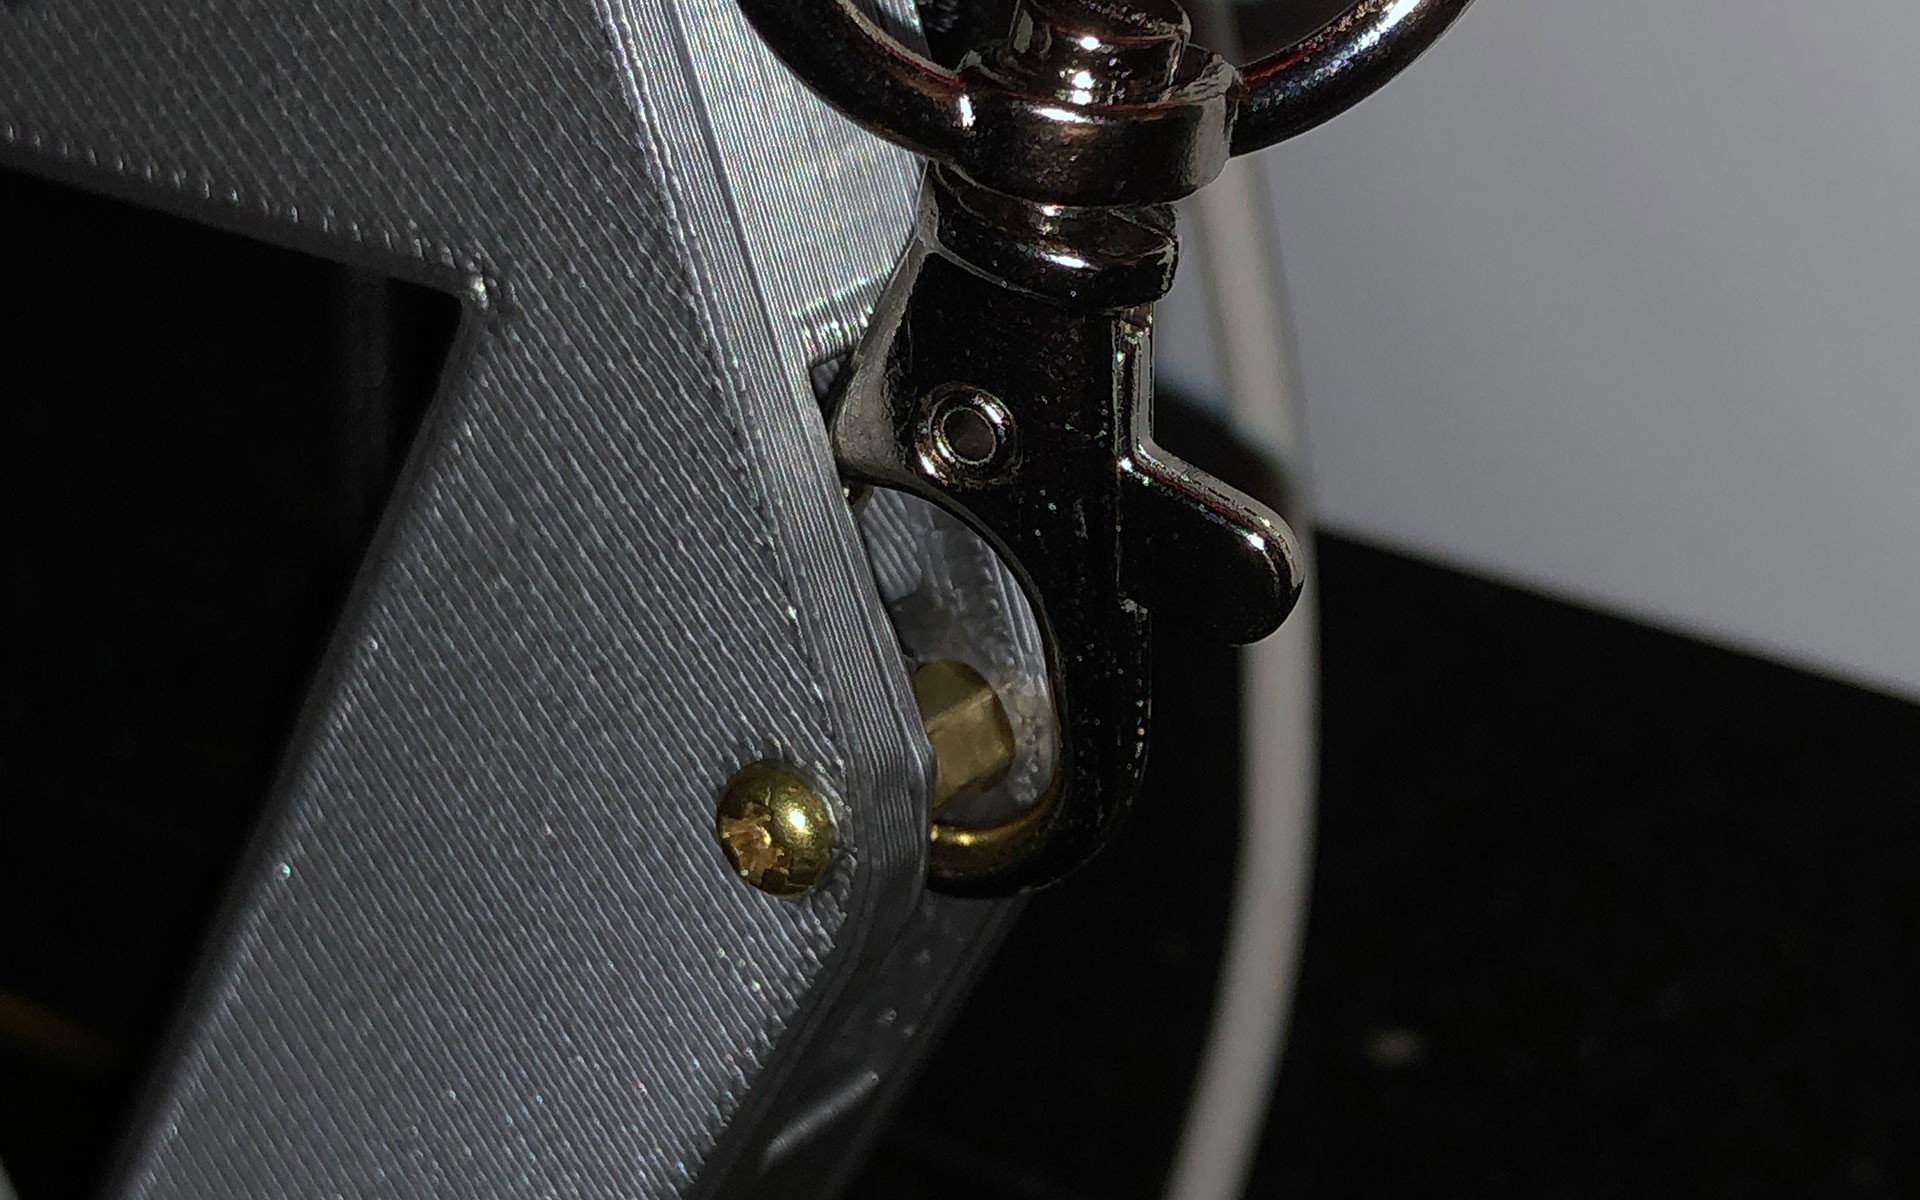
So working with that I decided the best place to put the lanyard would be on the standoffs that the top board attached to. This greatly influenced how the 3D Printed Spacer would be designed and is actually why it was ultimately 3D Printed vs being laser cut out of acrylic.
For one I could 3D Print them myself on my Prusa MK3, second I could design the model to have cut outs for the stand off so a Lanyard could easily access it and connect to it. I designed the spacers in Inkscape and then pulled them into TinkerCAD to extrude them into 3D and then to cut out the areas where I needed the lanyards to have access to the stand offs. It was important to design the gap to be large enough for the lobster claw to easily clip on and to have some room to move as necessary.

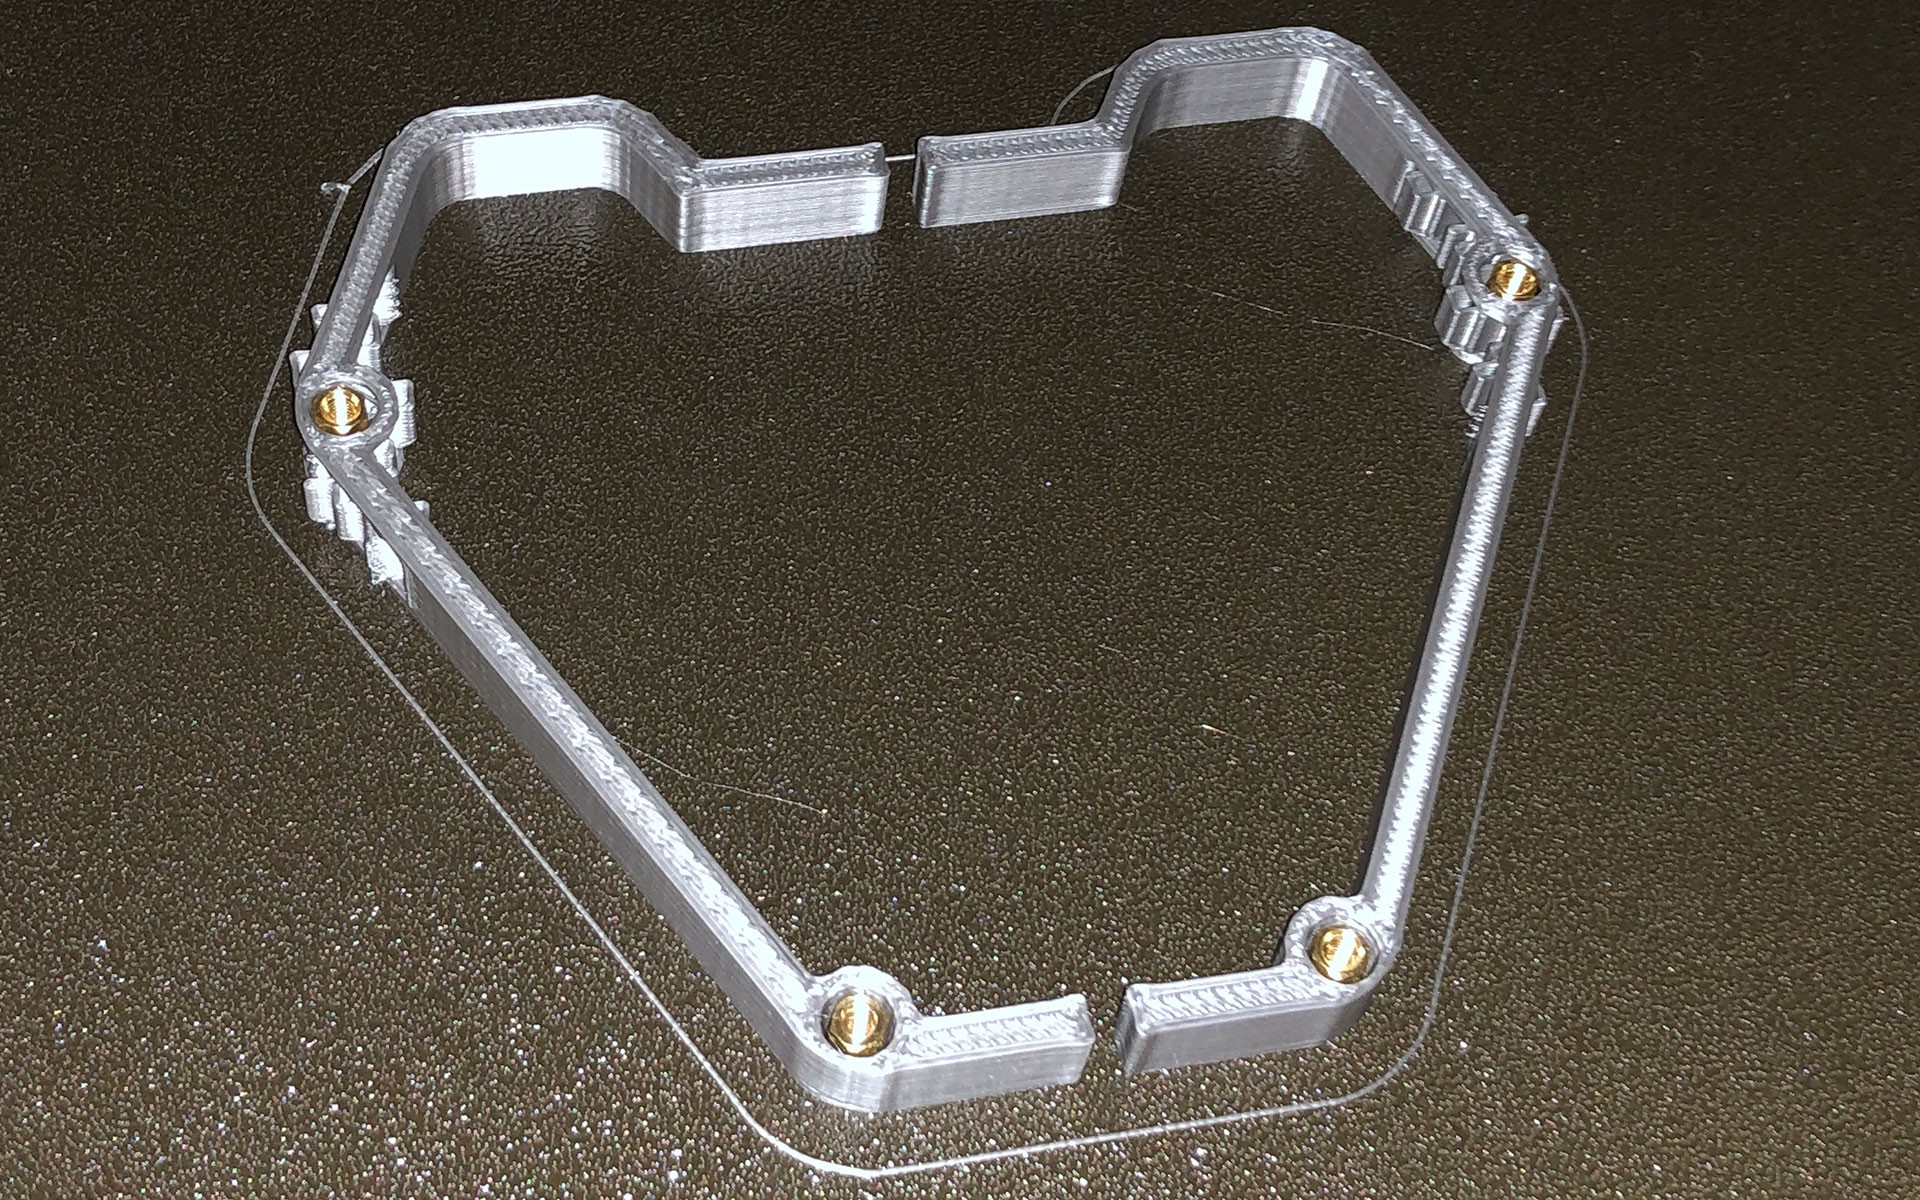
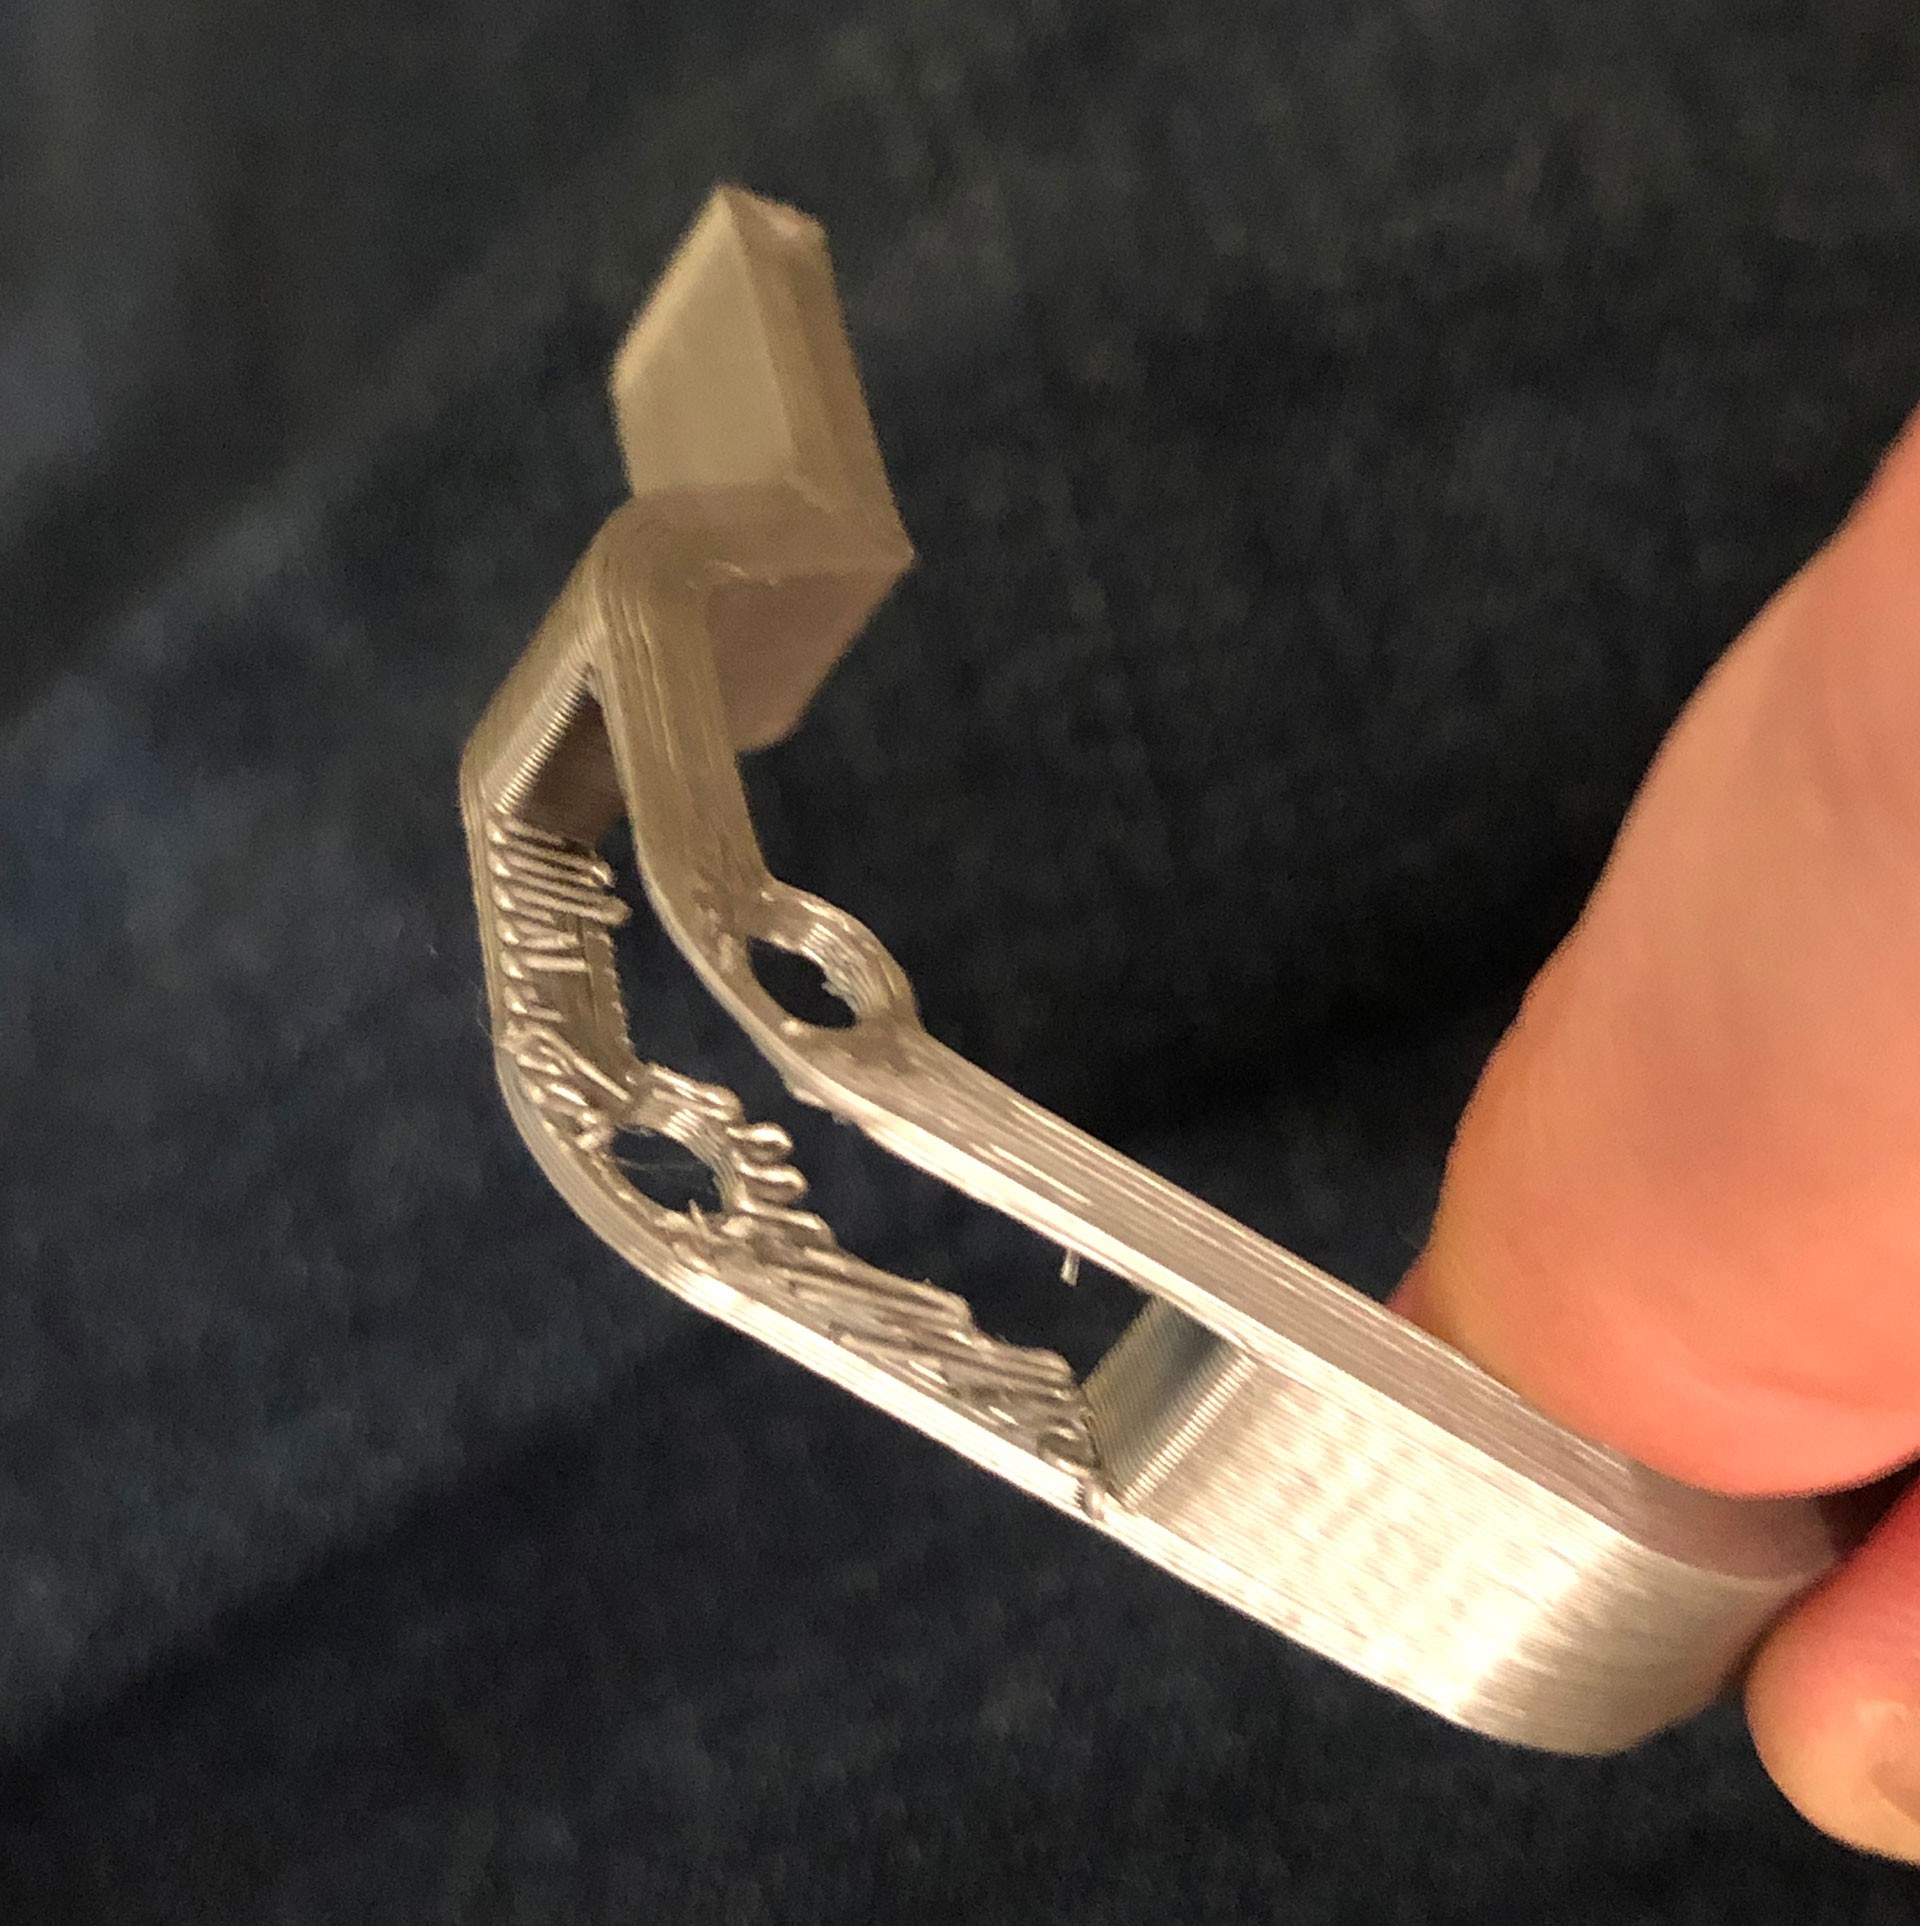
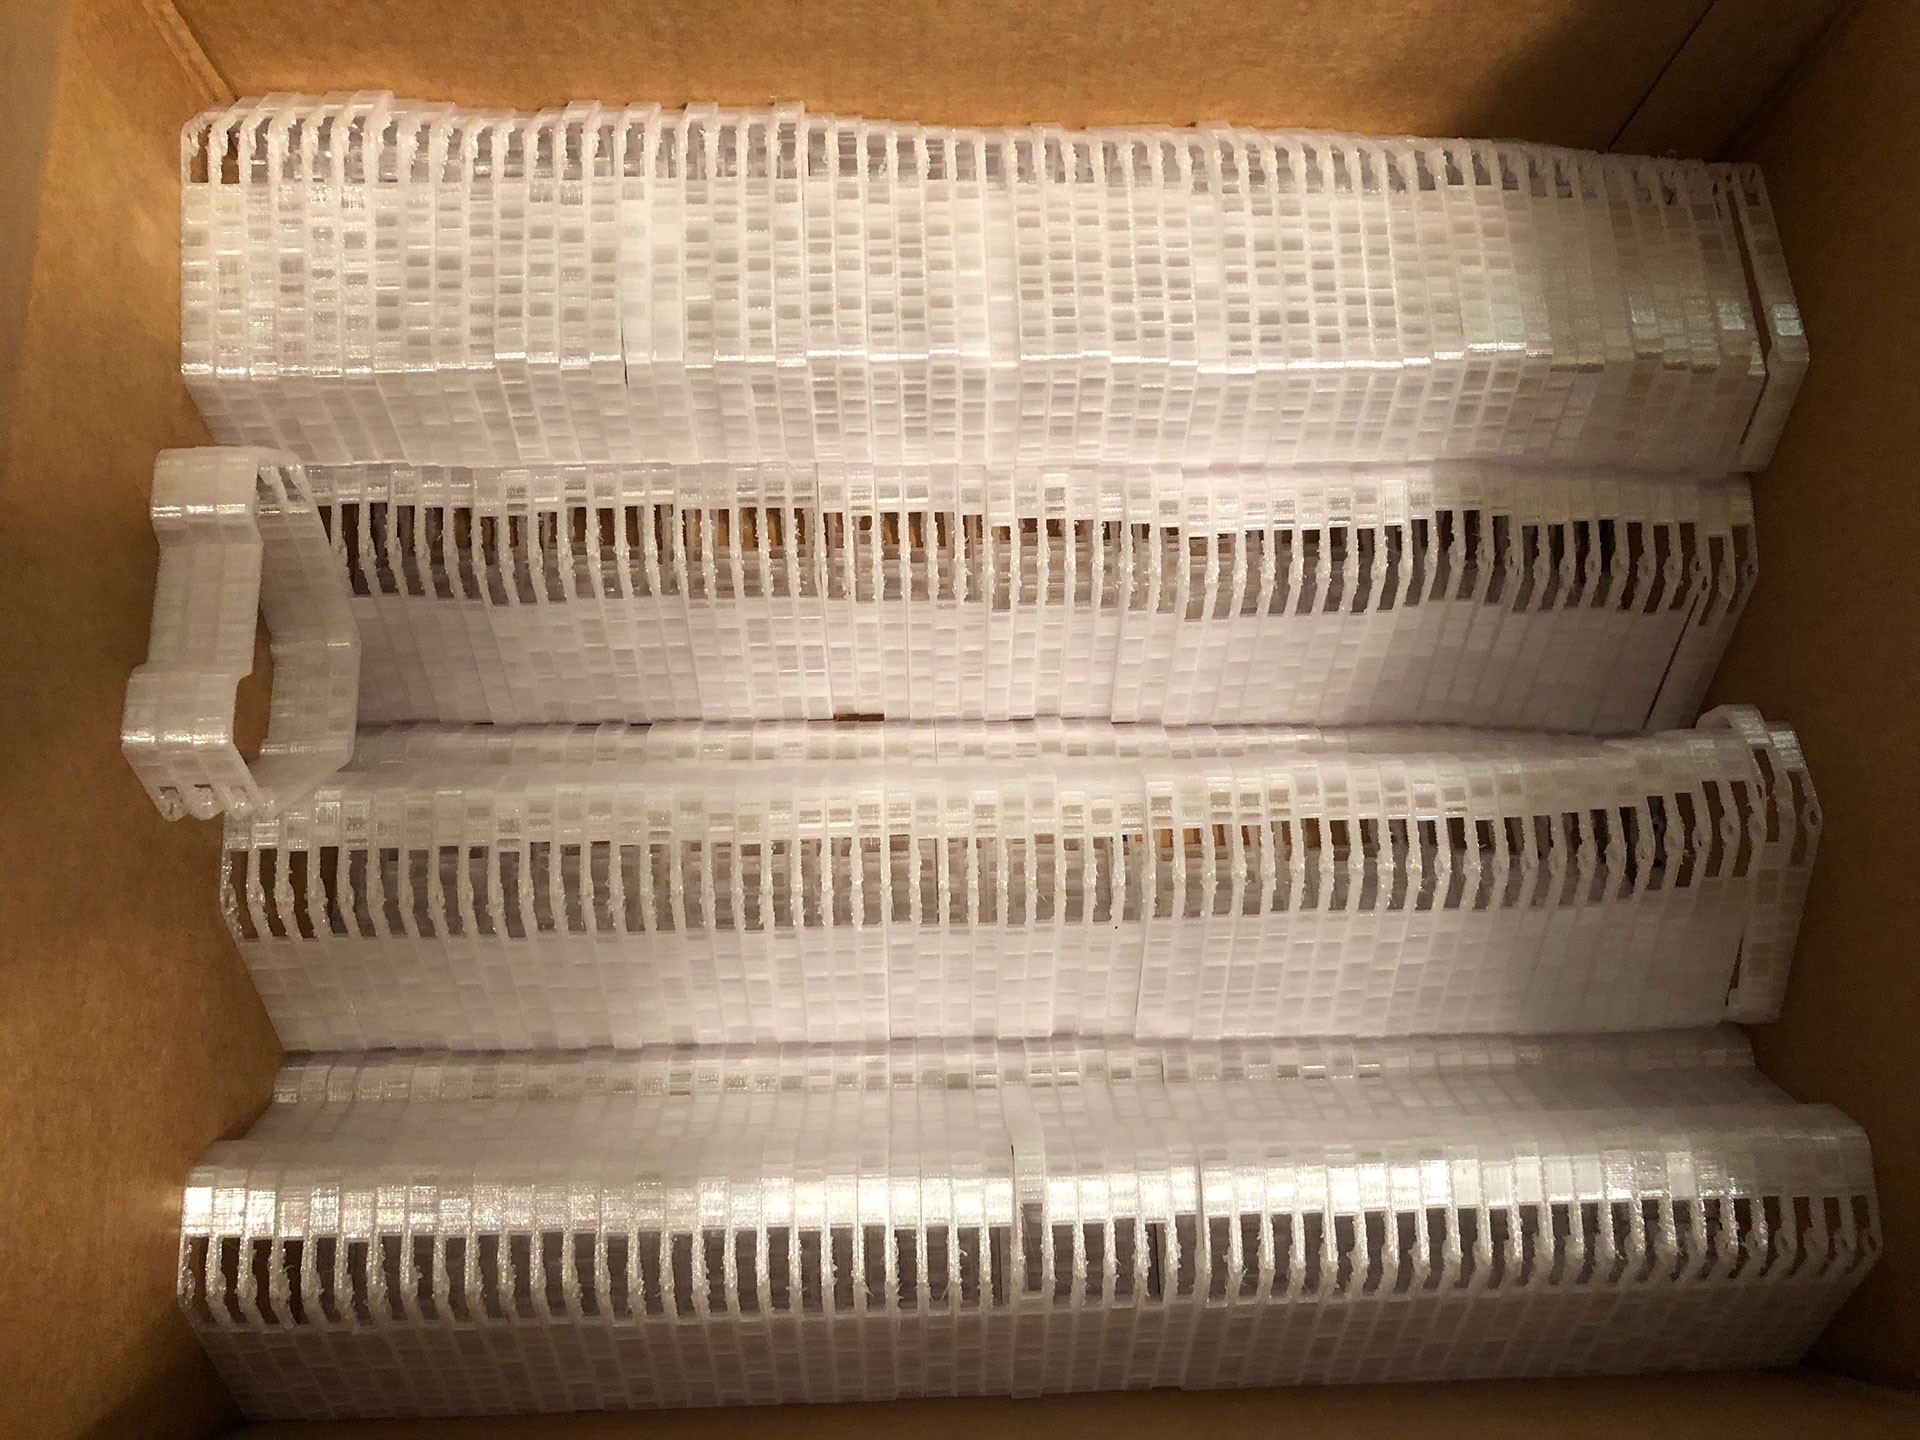
There were about 1/2 a dozen prototypes of these spacers. You may have noticed from the two pictures above that I started by printing them in halves. This was so that I could print out as many spacers as possible at the same time. I ultimately abandoned the two part design because sometimes where the two parts met they would bow out a little from between the two PCBs. Structurally it wasn't a big deal but aesthetically it really bothered me so I decided that printing them whole and only 4 at a time was the only acceptable path forward.
In the end I 3D Printed about 260 of the final design for the spacers. This took me approximately a month to do.
The design of the spacer took up the bulk of my time doing design for Arc Badge which is why this first part focuses on it. On Part 2 I'll be discussing the prototype badge and how Wire (@wireeengineer on twitter) became an important part of the making of Arc Badge.
Discussions
Become a Hackaday.io Member
Create an account to leave a comment. Already have an account? Log In.