 Erin Pinheiro
In my quest to get the last x86 version of BeOS running, I've had to spend a long time testing out different emulators to see what works. Adafruit has recently written a post about getting it to work on VirtualBox, though I suspect because I have an AMD computer, I can't get it to do anything but guru-medidate on me, so I had to come up with my own solution.
To follow in my steps, here's what you'll need:
- A copy of BeOS Professional 5.0 for Intel x86
- You'll need to create a .cue file for the image, as described in the Adafruit article
- PCem
- BIOS files for the supported machines
- A PCap setup if you want to use networking (and SLiRP doesn't work)
Setting Up the Virtual Machine
Here are the specifications that will work under PCem as best as I've found:
- Machine type: Shuttle HOT-577
- CPU: Intel Pentium Overdrive MMX 200
- RAM: 128 MB
- Display: S3 ViRGE/DX
- You can add Voodoo Graphics with the 5.0.3 update, though I've noticed no improvement in graphics rendering performance
- Sound: Sound Blaster 16
- Mouse: Microsoft Intellimouse (PS/2) for scroll wheel support
- Network: Novell NE2000
In PCem's main window above the exit button there is a "configure host" button. There you can set up networking to use PCap instead of SLiRP and choose which network adapter it uses.
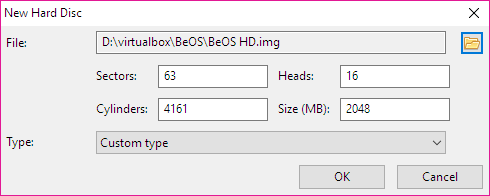
In the drives tab for your machine, create a new hard drive in C:. You only need to type in the size in megabytes, I used a drive with a 2 GB size.
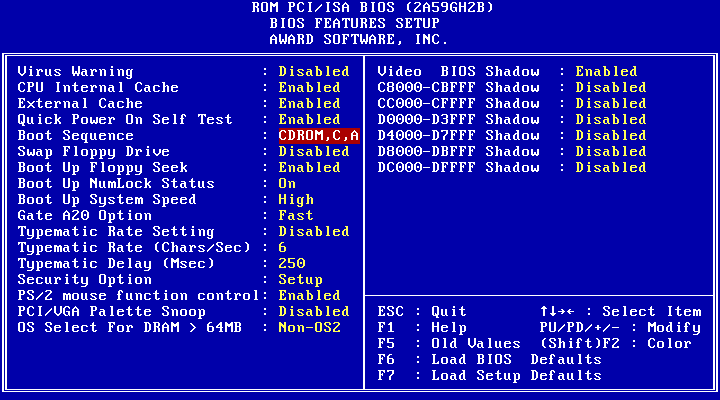
Next, start the virtual machine you just configured. Go in the CD-ROM menu at the top and choose the .cue file you prepared earlier as an image. Reboot the machine (if necessary) and hit delete to enter the BIOS. Inside the "BIOS features setup" menu, find the boot sequence option and use the page up and down keys until CD-ROM is set as the first boot device.
Save to CMOS and quit, then BeOS should begin to boot. After accepting the terms, you're met with the installer with no volumes to install on. Click on "more options" and then "setup partitions" to begin the drive setup. In that window, there should be only one hard drive, select it and under the "Setup" menu, choose "Format -> Intel".
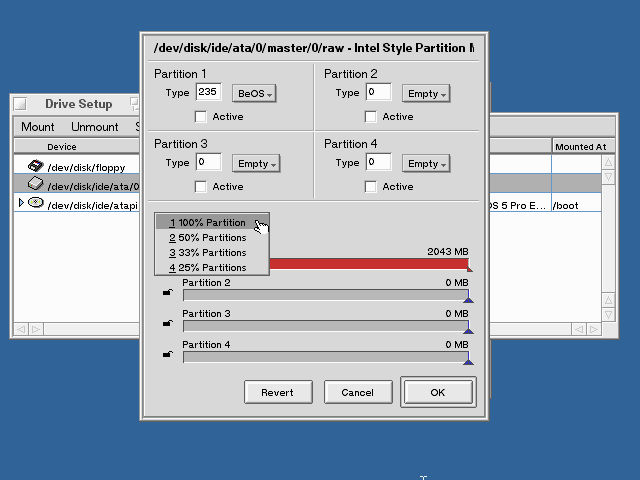
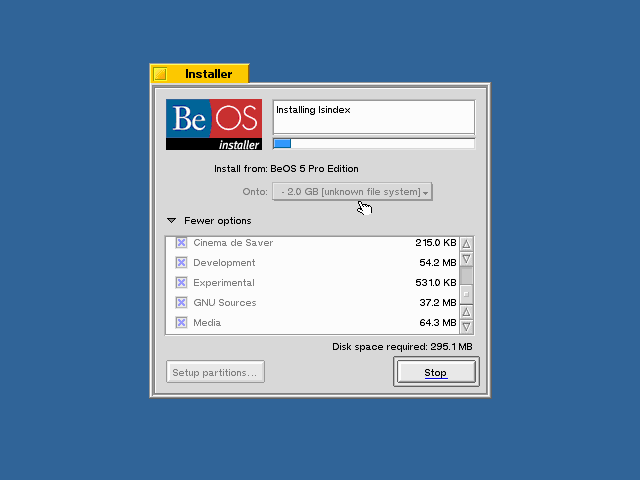
At the format window, you need to choose partition 1 to be a BeOS partition and at the bottom you can choose the partition layout to be 100% partition 1. Confirm your choices and the drive will be formatted and BeOS can now be installed in the new volume. The installer will confirm that you want to initialize the volume, and once you say yes, the system will be installed.
Once the setup is completed, you will be asked if you want the BeOS boot manager. Since you are not configuring a dual-boot setup in this VM, you can say no. The installer will quit and reboot the machine, remove the setup CD-ROM or change the boot order in the BIOS so you can boot into your new system.
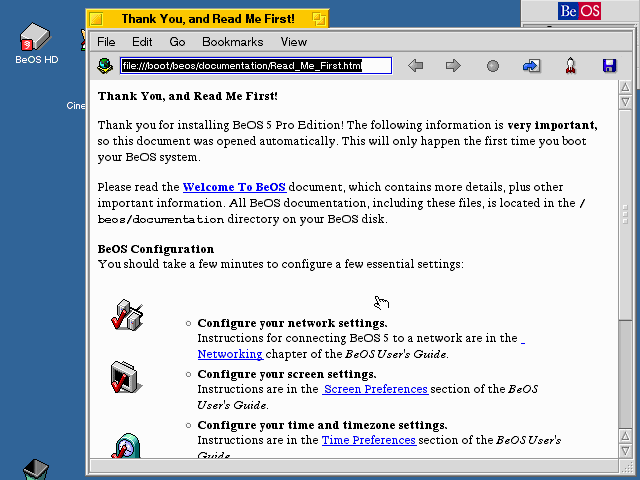
You should now have a working freshly installed BeOS system!
Getting Online
BeOS already comes with NE2000 drivers, which makes the setup simple. Go to your BeOS drive and find the preferences folder, and inside it, "Network". From there click "custom" to add a new network interface and select the Novell NE2000 interface. If you are using PCap, you can simply let the interface use DHCP.
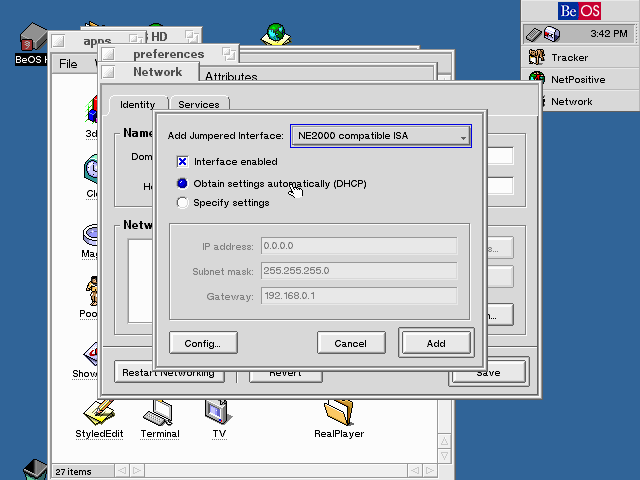
If you are using SLiRP, I have not personally been able to get it to work under Windows 10, though the PCem forums might have useful info on getting it to work. Otherwise, you should now have a working internet connection in your BeOS VM.
Quality of Life Improvements
First, you should take a look in the "preferences" folder again for more settings to customize. In the "Screen" settings, you can increase resolution and color bit-depth. Setting color to 16bpp improves the VM's performance. Next, you might want to set "Keymaps" to use the American layout (or whichever one fits your keyboard) if it isn't already. Lastly, in "Mouse" you can tweak the cursor speed and acceleration if it's too fast for you.
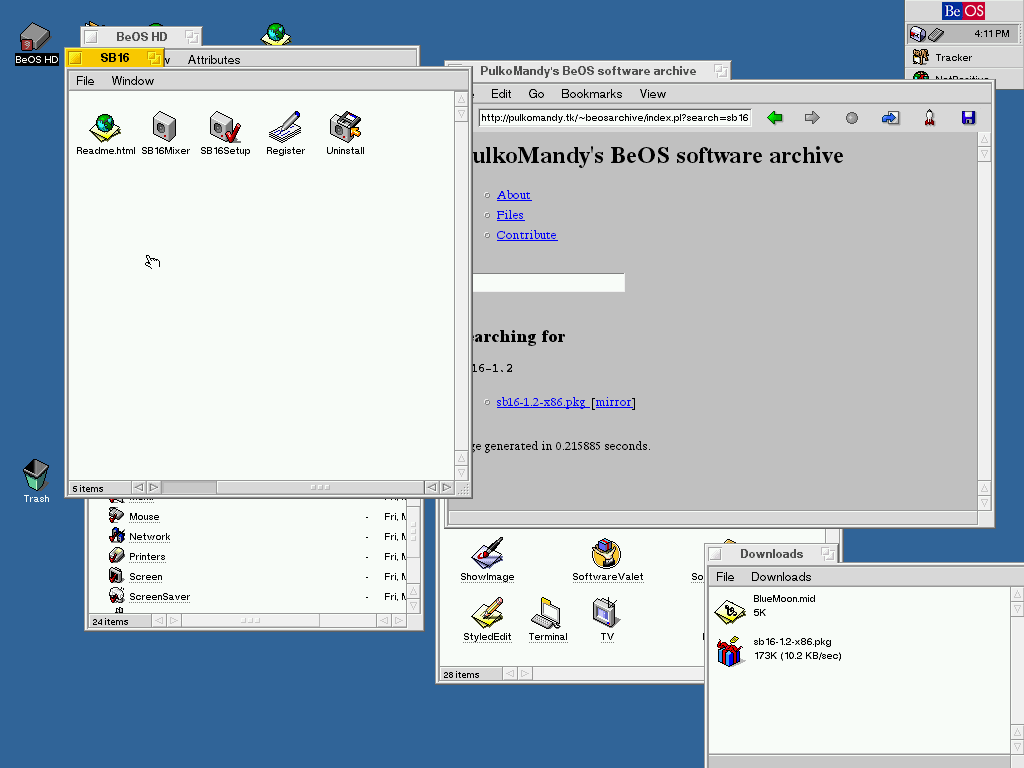
Now that your VM is online, you can also download drivers for sound support. Go to http://pulkomandy.tk/~beosarchive/ and search for "sb16-1.2" to find the package you need. Clicking on it will download and automatically execute the installation, which is straight-forward. After it's installed, sound should be working once you reboot.
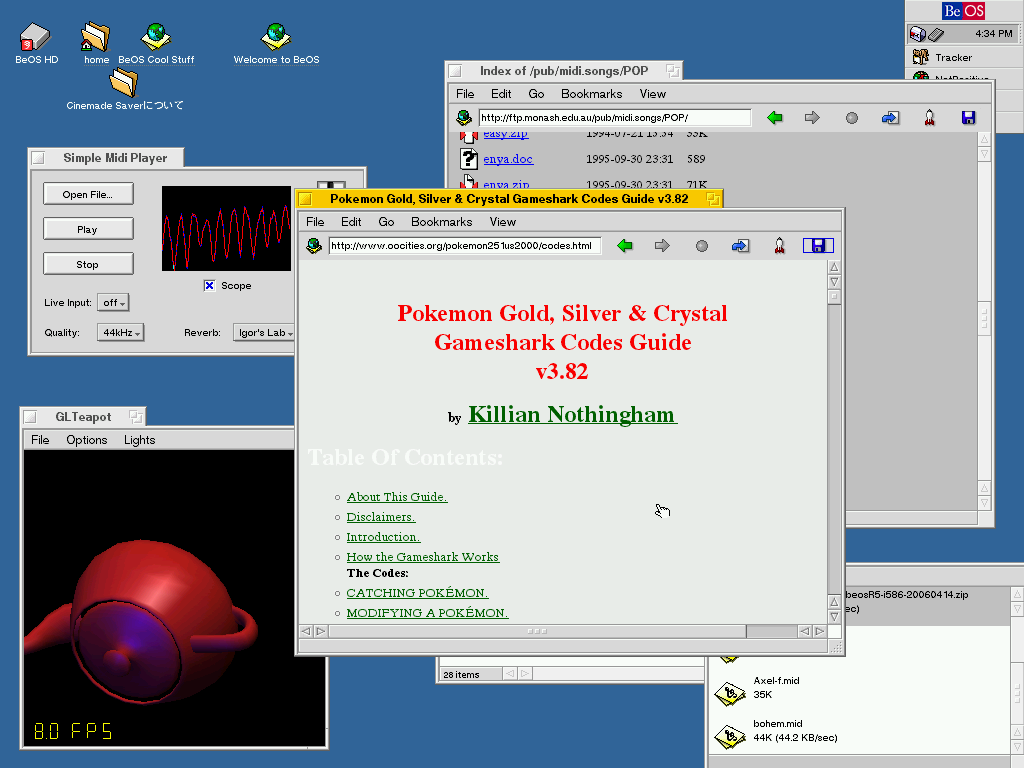
You should now be all set to enjoy a nearly fully-featured BeOS system in your computer!
Additional resources
Here are some websites with downloads to BeOS software:
Discussions
Become a Hackaday.io Member
Create an account to leave a comment. Already have an account? Log In.