 akanzler007
Ever thought of a home automated watering system in your own garden? A garden that automatically gives the measurement of the moisture content of the soil, waters plants automatically and give you the readings of the wetness of the soil, then you will definitely need a Soil Moisture Sensor. With the help of Arduino and soil sensor you can turn your ordinary garden into a smart which waters the plants automatically and keeps them and the soil in good conditions.
Through this blog we will look at how exactly Soil Moisture Sensor works and how to interface it with Arduino.
Working of Soil Moisture Sensor
The soil moisture sensor consists of two probes that measures the volume of water in the soil. The two probes allow the electric current to pass through the soil and, according to its resistance, measures the moisture level of the soil.
Most soil moisture sensors are designed to estimate soil volumetric water content based on the dielectric constant of the soil. The dielectric constant can be thought of as the soil's ability to transmit electricity. The dielectric constant of soil increases as the water content of the soil increases. This response is due to the fact that the dielectric constant of water is much larger than the other soil components, including air. Thus, measurement of the dielectric constant gives a predictable estimation of water content.

When there is more water, the soil conducts more electricity, which means that the resistance will be less. So the moisture level will be higher. Dry soil reduces conductivity. So, when there is less water, the soil conducts less electricity, which means it has more resistance. So the moisture level will be lower.
There are many different types of Soil Moisture Sensors but their working principle is the same. All of these sensors have at least three pins: VCC, GND, and AO. The AO pin changes according to the amount of moisture in the soil and increases as there is more water in the soil.
Connections
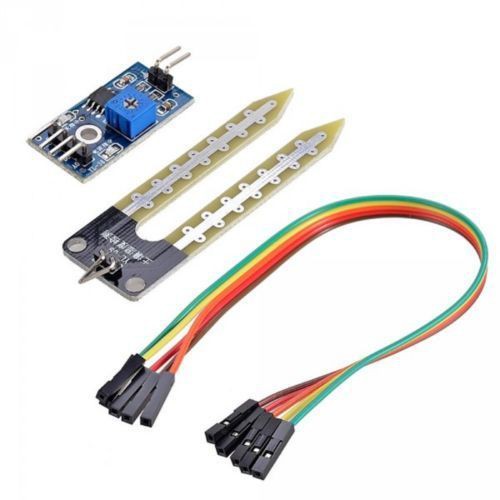
- Connect the two pins from the Sensor to the two pins on the Amplifier circuit via hook up wires.
- Connect the Vcc from the Amplifier to the 3.3V pin on the Arduino and the Gnd pin to the Gnd pin on the Arduino.
- Now connect the Analog Data Pin to the A0 pin on the Arduino.

Code
#define SensorPin A0
float sensorValue = 0;
void setup() {
Serial.begin(9600);
}
void loop() {
for (int i = 0; i <= 100; i++)
{
sensorValue = sensorValue + analogRead(SensorPin);
delay(1);
}
sensorValue = sensorValue/100.0;
Serial.println(sensorValue);
delay(30);
}
Write the above code on the Arduino software and verify/debug it. For each soil moisture measurement, we took an average of 100 sensor data to make the data more stable and accurate. You can modify the code as per your requirements. After verifying the code, upload it on the Arduino board.
You can check the working of the sensor when you dip the sensor leads in a water filled soil and in a dry one. You can keep these values as reference for future use. Also, please note that the sensor may get oxidized in the soil after 10-12 months and lose its accuracy. Thus, you will have to replace the sensor every year.
Thus using an Arduino and a Soil Moisture Sensor you can make your garden smart and a home automated watering system. If you want a Soil Moisture Sensor along with some of its accessories at the best price click on the link below. For more interesting sensors do check out our site Robu.in, the link is given below.
Discussions
Become a Hackaday.io Member
Create an account to leave a comment. Already have an account? Log In.