Hey Guys!! Are you wishing to interface U-blox NEO-6M GPS Module with Raspberry Pi? But facing some difficulty to do it? “Don’t Worry, I am here to help you out! You can start by using the following parts:
Raspberry Pi 3 Model B+ BCM2837B0 SoC, IoT, PoE Enabled
U-blox NEO-6M GPS Module with EPROM
A Computer
Step 1: Connect Raspberry Pi With PC
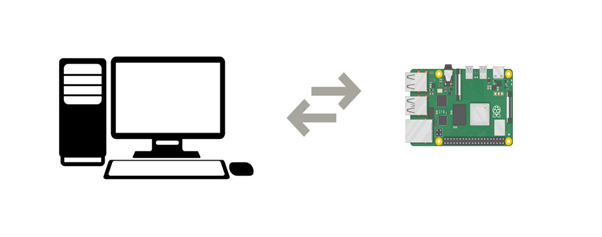
First of all, connect your Raspberry Pi Board with a PC. For the information regarding the installation visit
https://www.raspberrypi.org/documentation/installation/installing-images/
Step 2: A Brief Info. About U-blox NEO-6M GPS Module with EPROM
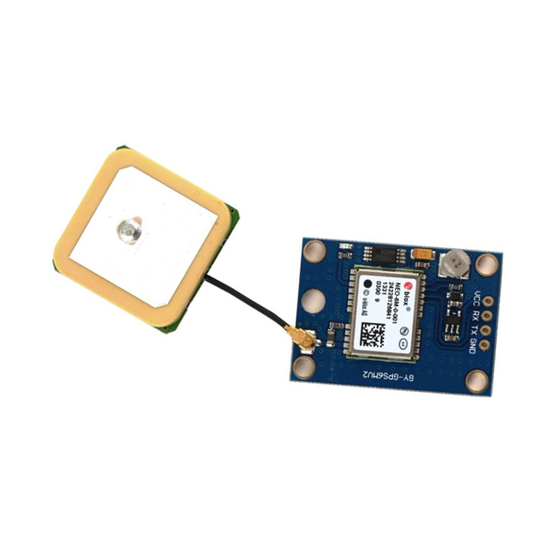
This is an U-blox NEO-6M GPS Module with EPROM with Ceramic Active Antenna. It has a battery for power backup and EEPROM for storing configuration settings. This GPS Module has a 50-channel.
The module has 4 pins: VCC (Supply Voltage), GND (Ground), Tx (Transmitter), and Rx (Receiver).
This module provides nonstop NMEA (National Marine Electronics Association) data strings to the TX pin resulting in GPS information. To know more about this module, you can download its datasheet here.
Step 3: Interface GPS Module With Raspberry Pi

For interfacing, make the connections as follows:
Connect Vcc of GPS module to Power Supply Pin No.2 (5V) of Raspberry Pi.
Connect Tx (Transmitter Pin) of GPS module to Pin No.10 of Raspberry Pi. Connect GND (Ground Pin) of GPS module to Pin No.6 Raspberry Pi
Step 4: Set Up the UART in Raspberry Pi

The first thing we will do under this is to edit the /boot/config.txt file. To do this, run the commands below:
|
At the bottom of the config.txt file, add the following lines
|
ctrl+x to exit and press y and enter to save.
The second step under this UART setup section is to edit the boot/cmdline.txt
I will suggest you make a copy of the cmdline.txt and save first before editing so you can revert back to it later if needed. This can be done using;
|
Now to edit that file open that in text editor:
|
Replace the content with;
|
Press ctrl+x to exit and press y and enter to save.
Now reboot pi using:
|
Step 5: Disable the Raspberry Pi Serial Getty Service
a. If in your output, Serial0 is linked with ttyAMA0, then to disable it use the below command,
|
b. If in your output Serial0 is linked with ttys0, then to disable it use the below command,
|
Step 6: Install Minicom and Pynmea2
Use minicom python library to connect with the GPS module and make sense of the data.
|
Use pynmea2 python library to parse the received NMEA data.
|
Step 7: Test Output
To test the GPS run the command :
|
You'll get the output as shown

Step 8: Write Python Code
import serial
Import time
import string import pynmea2
while True: port=“/dev/ttyAMAO”
ser=serial.Serial(port,baudrate=9600,timeout=0.5)
dataout =pynmea2.NMEAStreamReader()
newdata=ser.readline()
if newdata[0:6]==“$GPRMC”:
newmsg=pynmea2.parse(newdata)
lat=newmsg.latitude
lng=newmsg.longitude
gps=“Latitude=" +str(lat) + “and Longitude=" +str(lng)
print(gps)
Step 9: Final Output
If you run this python code you will see a output like this:

Click Here to explore other official Accessories of Raspberry Pi
Discussions
Become a Hackaday.io Member
Create an account to leave a comment. Already have an account? Log In.