A short video that shows the system in action.
The image below shows the transmitting arduino. This is simply an arduino uno with an expansion shield on top with the following additions:
- PS/2 keyboard connector for keyboard input
- Header for relay output used to control the solenoid valve
- Header for the speed control board (details below)
To the right of the arduino is an off the shelf relay module which controls the solenoid valve which is the big round object.

As the user types, the arduino converts the characters to morse code dots and dashes and then turns the valve on and off accordingly. This allows water to flow through the valve, up to the top of the viewing tube and pour down the center.
At the bottom of the viewing tube there is a small bucket which is the water reservoir making the system fairly closed loop. There is an aquarium pump in the bucket which provides pressure to the system.
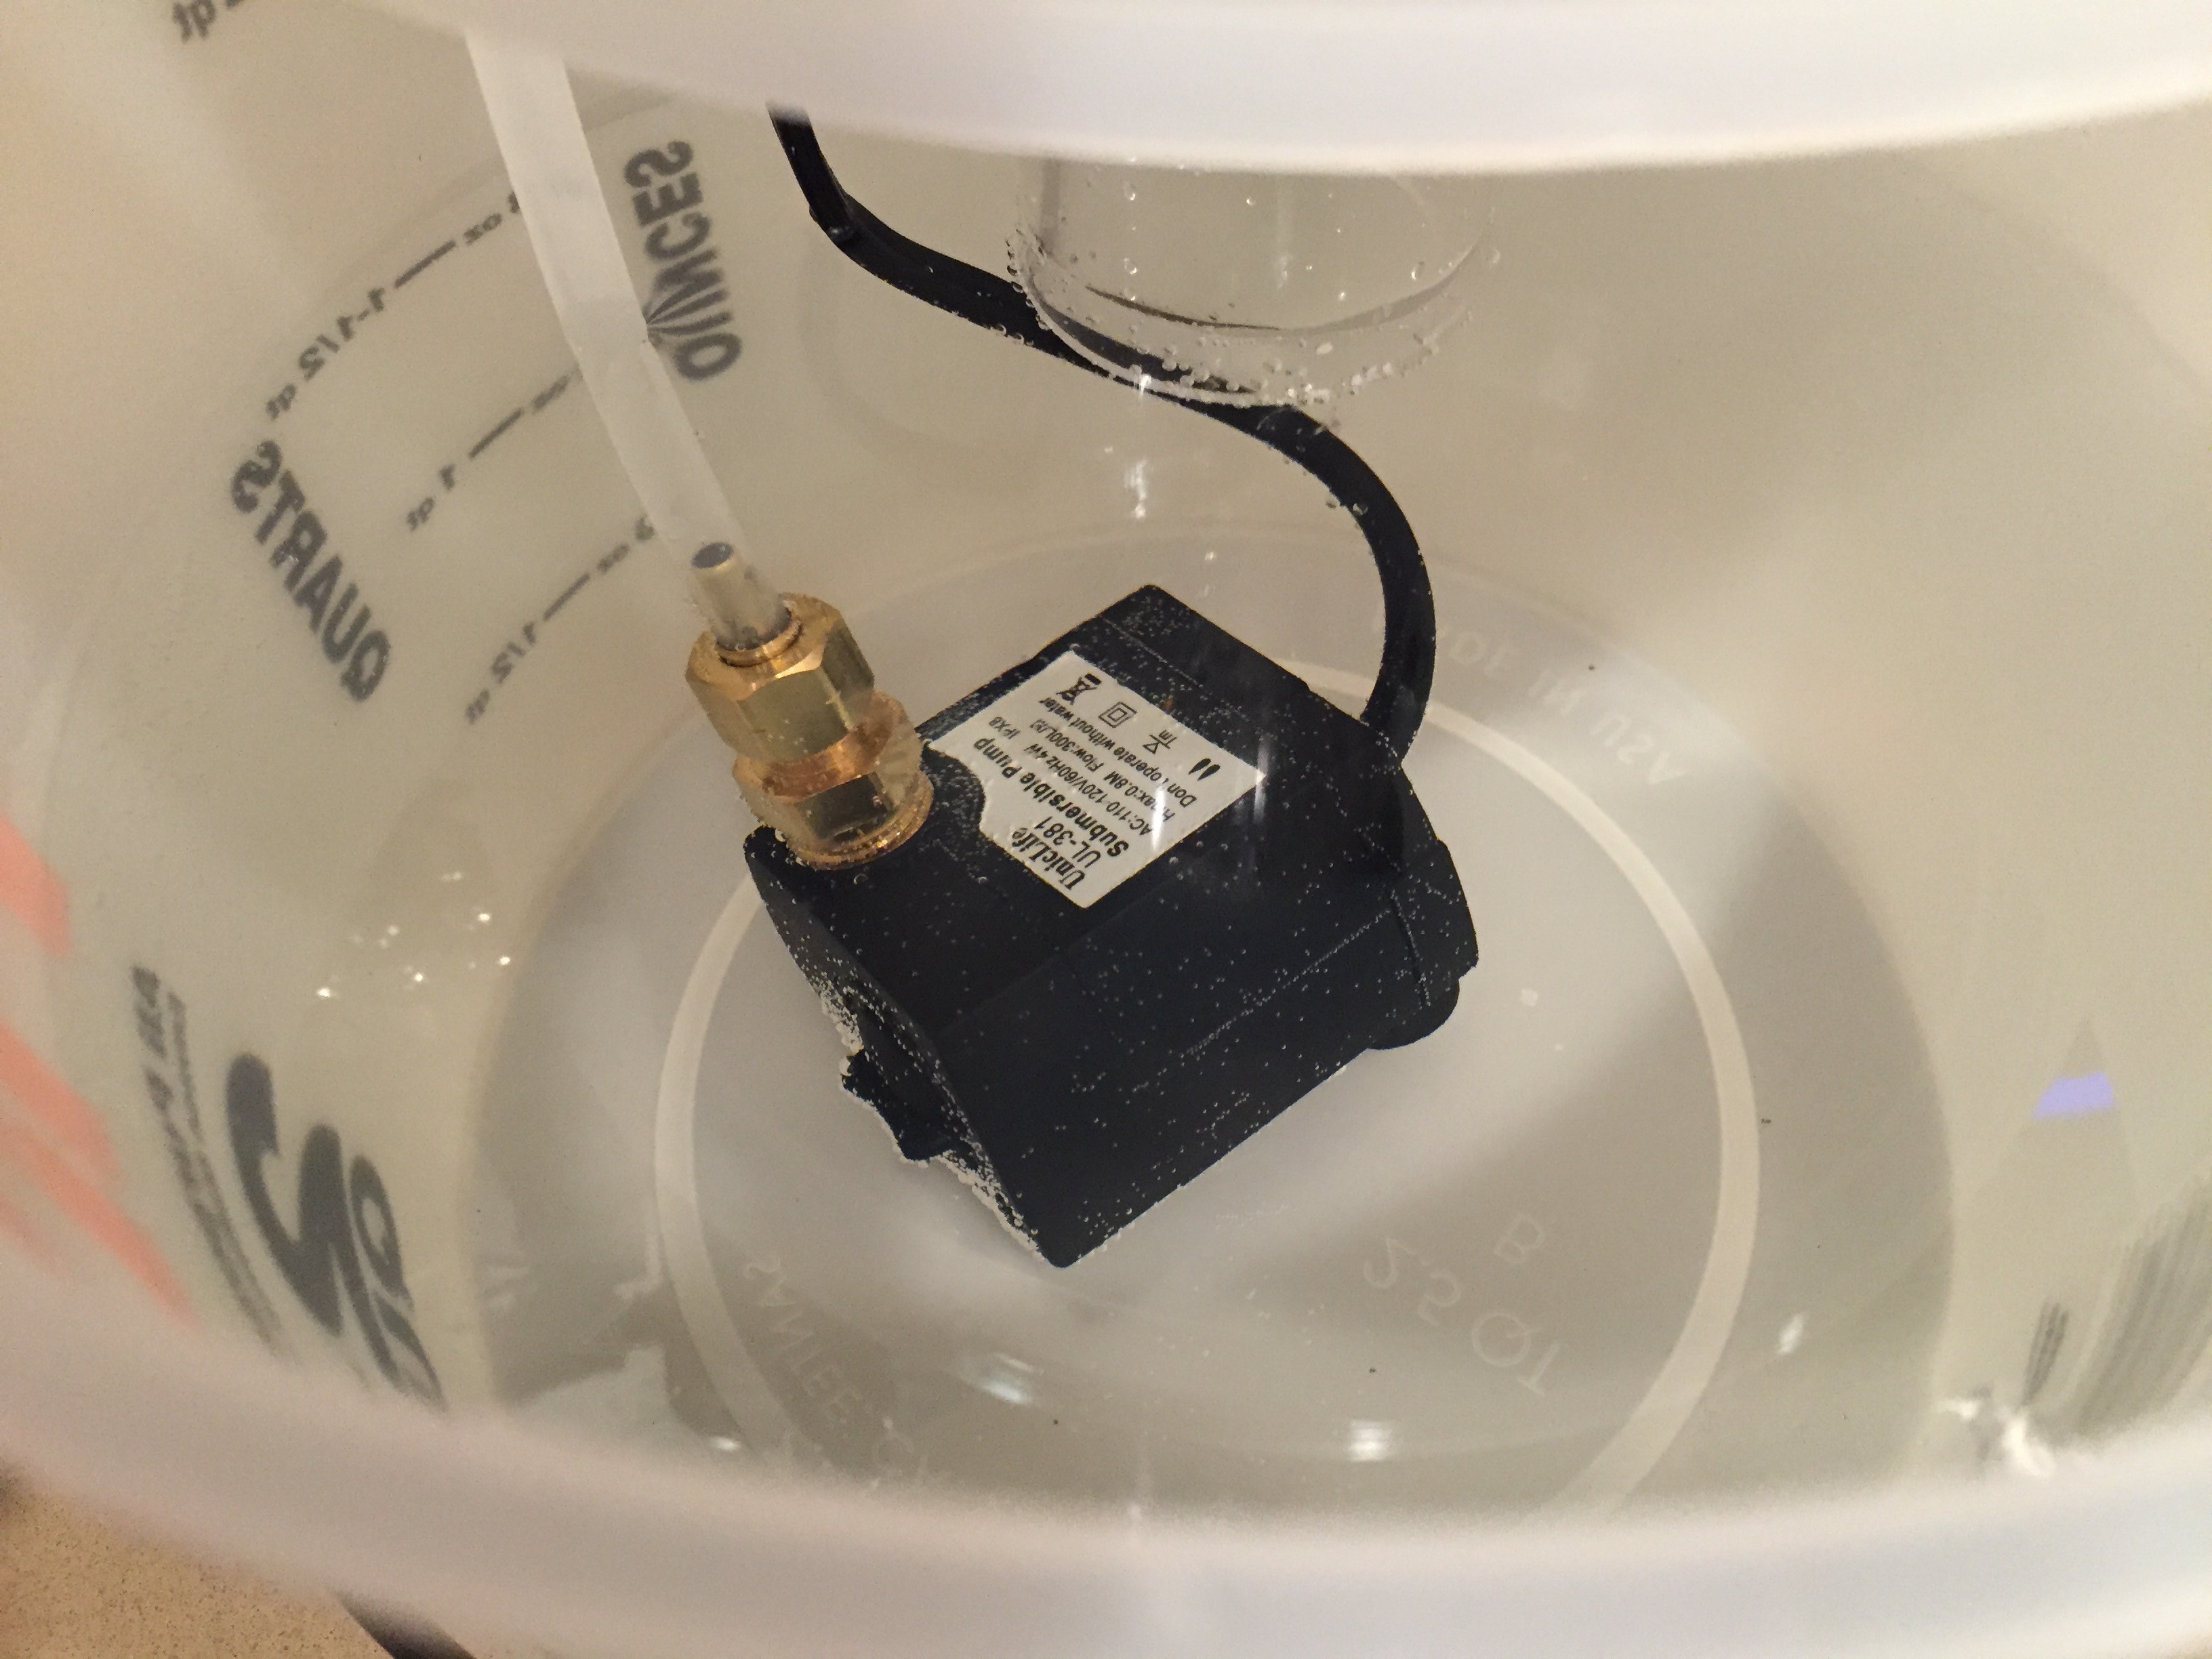
Notice that the viewing tube is far enough down in the bucket to reach the water. This ensures that as water drops down the tube, any splashes occur within the tube which reduces the mess considerably.
At the top of the viewing tube there are a couple pvc fittings along with a brass fitting in the center as shown below.
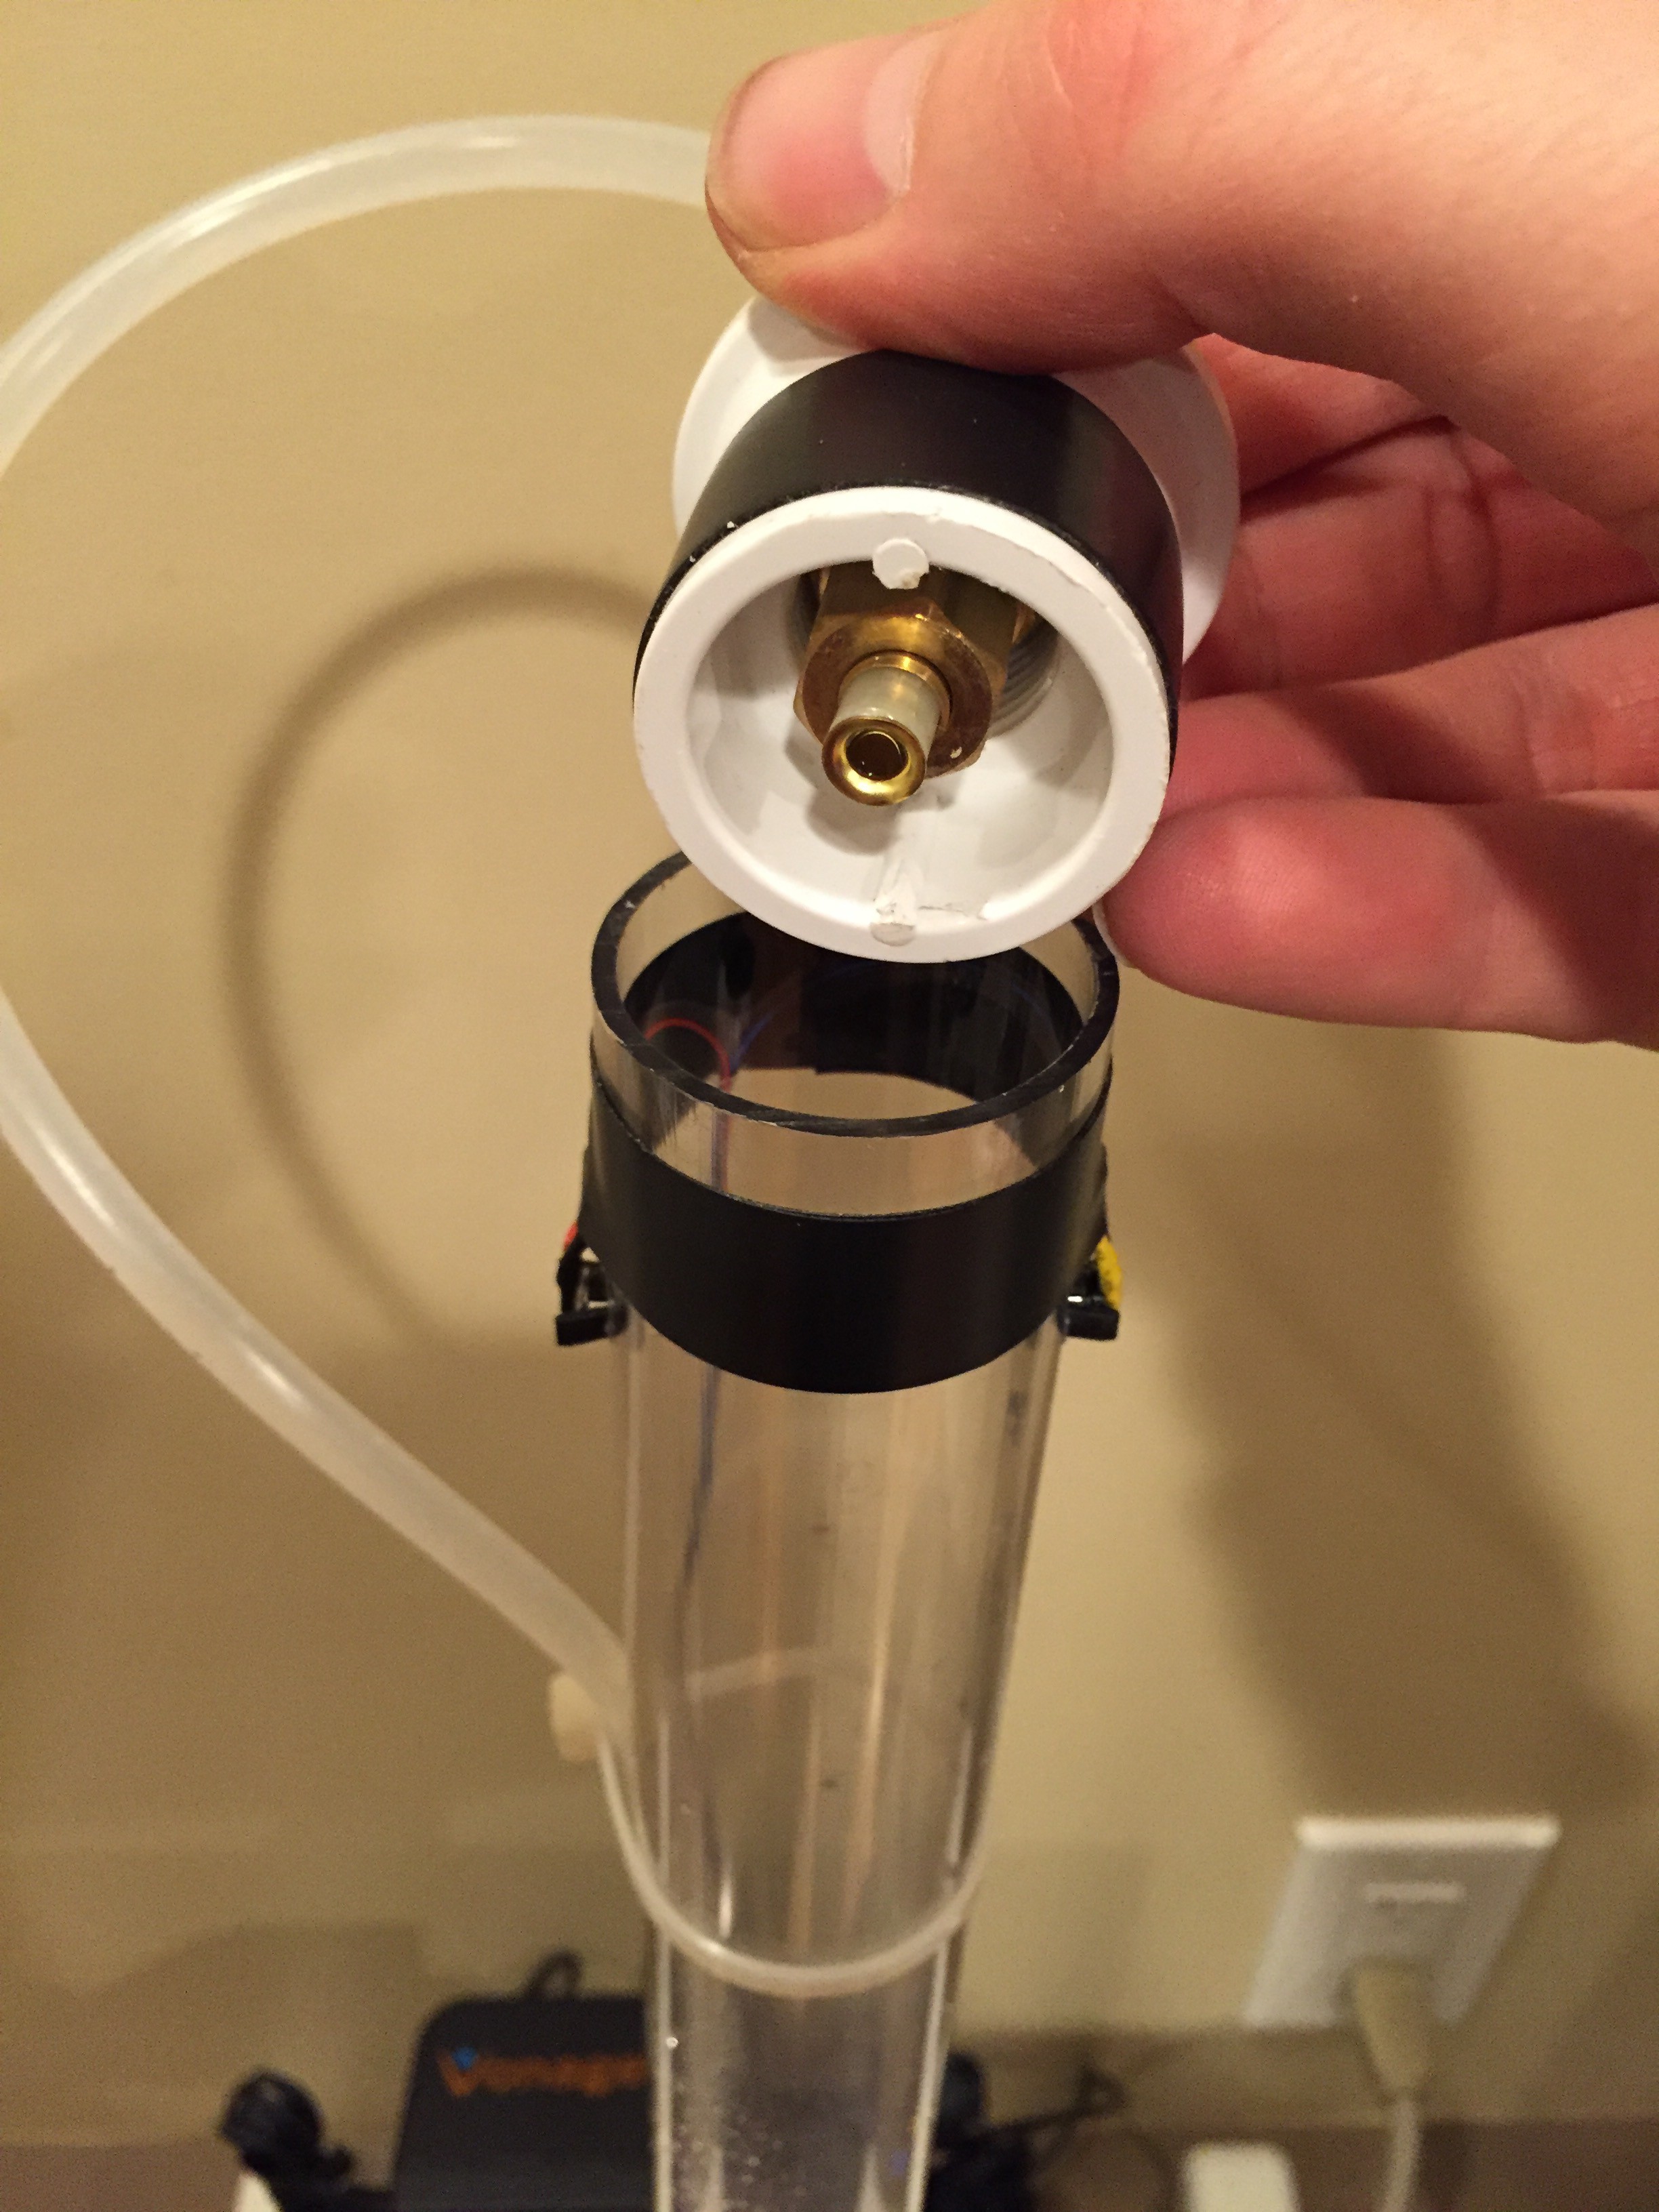
We originally used a 90 degree brass fitting at the top but that created an air pocket inside the cap which caused the streams to be bubbly and leaky. We ended up drilling out the center of the brass fitting and simply pushed the tubing through so that the water stream would start and end very cleanly and be smooth coming out of the tip. The electrical tape around the pvc is to snug up the fit inside the tube, while the tape around the tube protects the wiring for the IR LED and sensor which runs down the back of the tube to the receiving arduino.
The receiving arduino is another uno with another expansion shield with the following additions:
- Header to mount the LCD screen
- Header under the LCD screen for the speed control board (details below)
- Header + discreet components for the IR sensor portion of the circuit
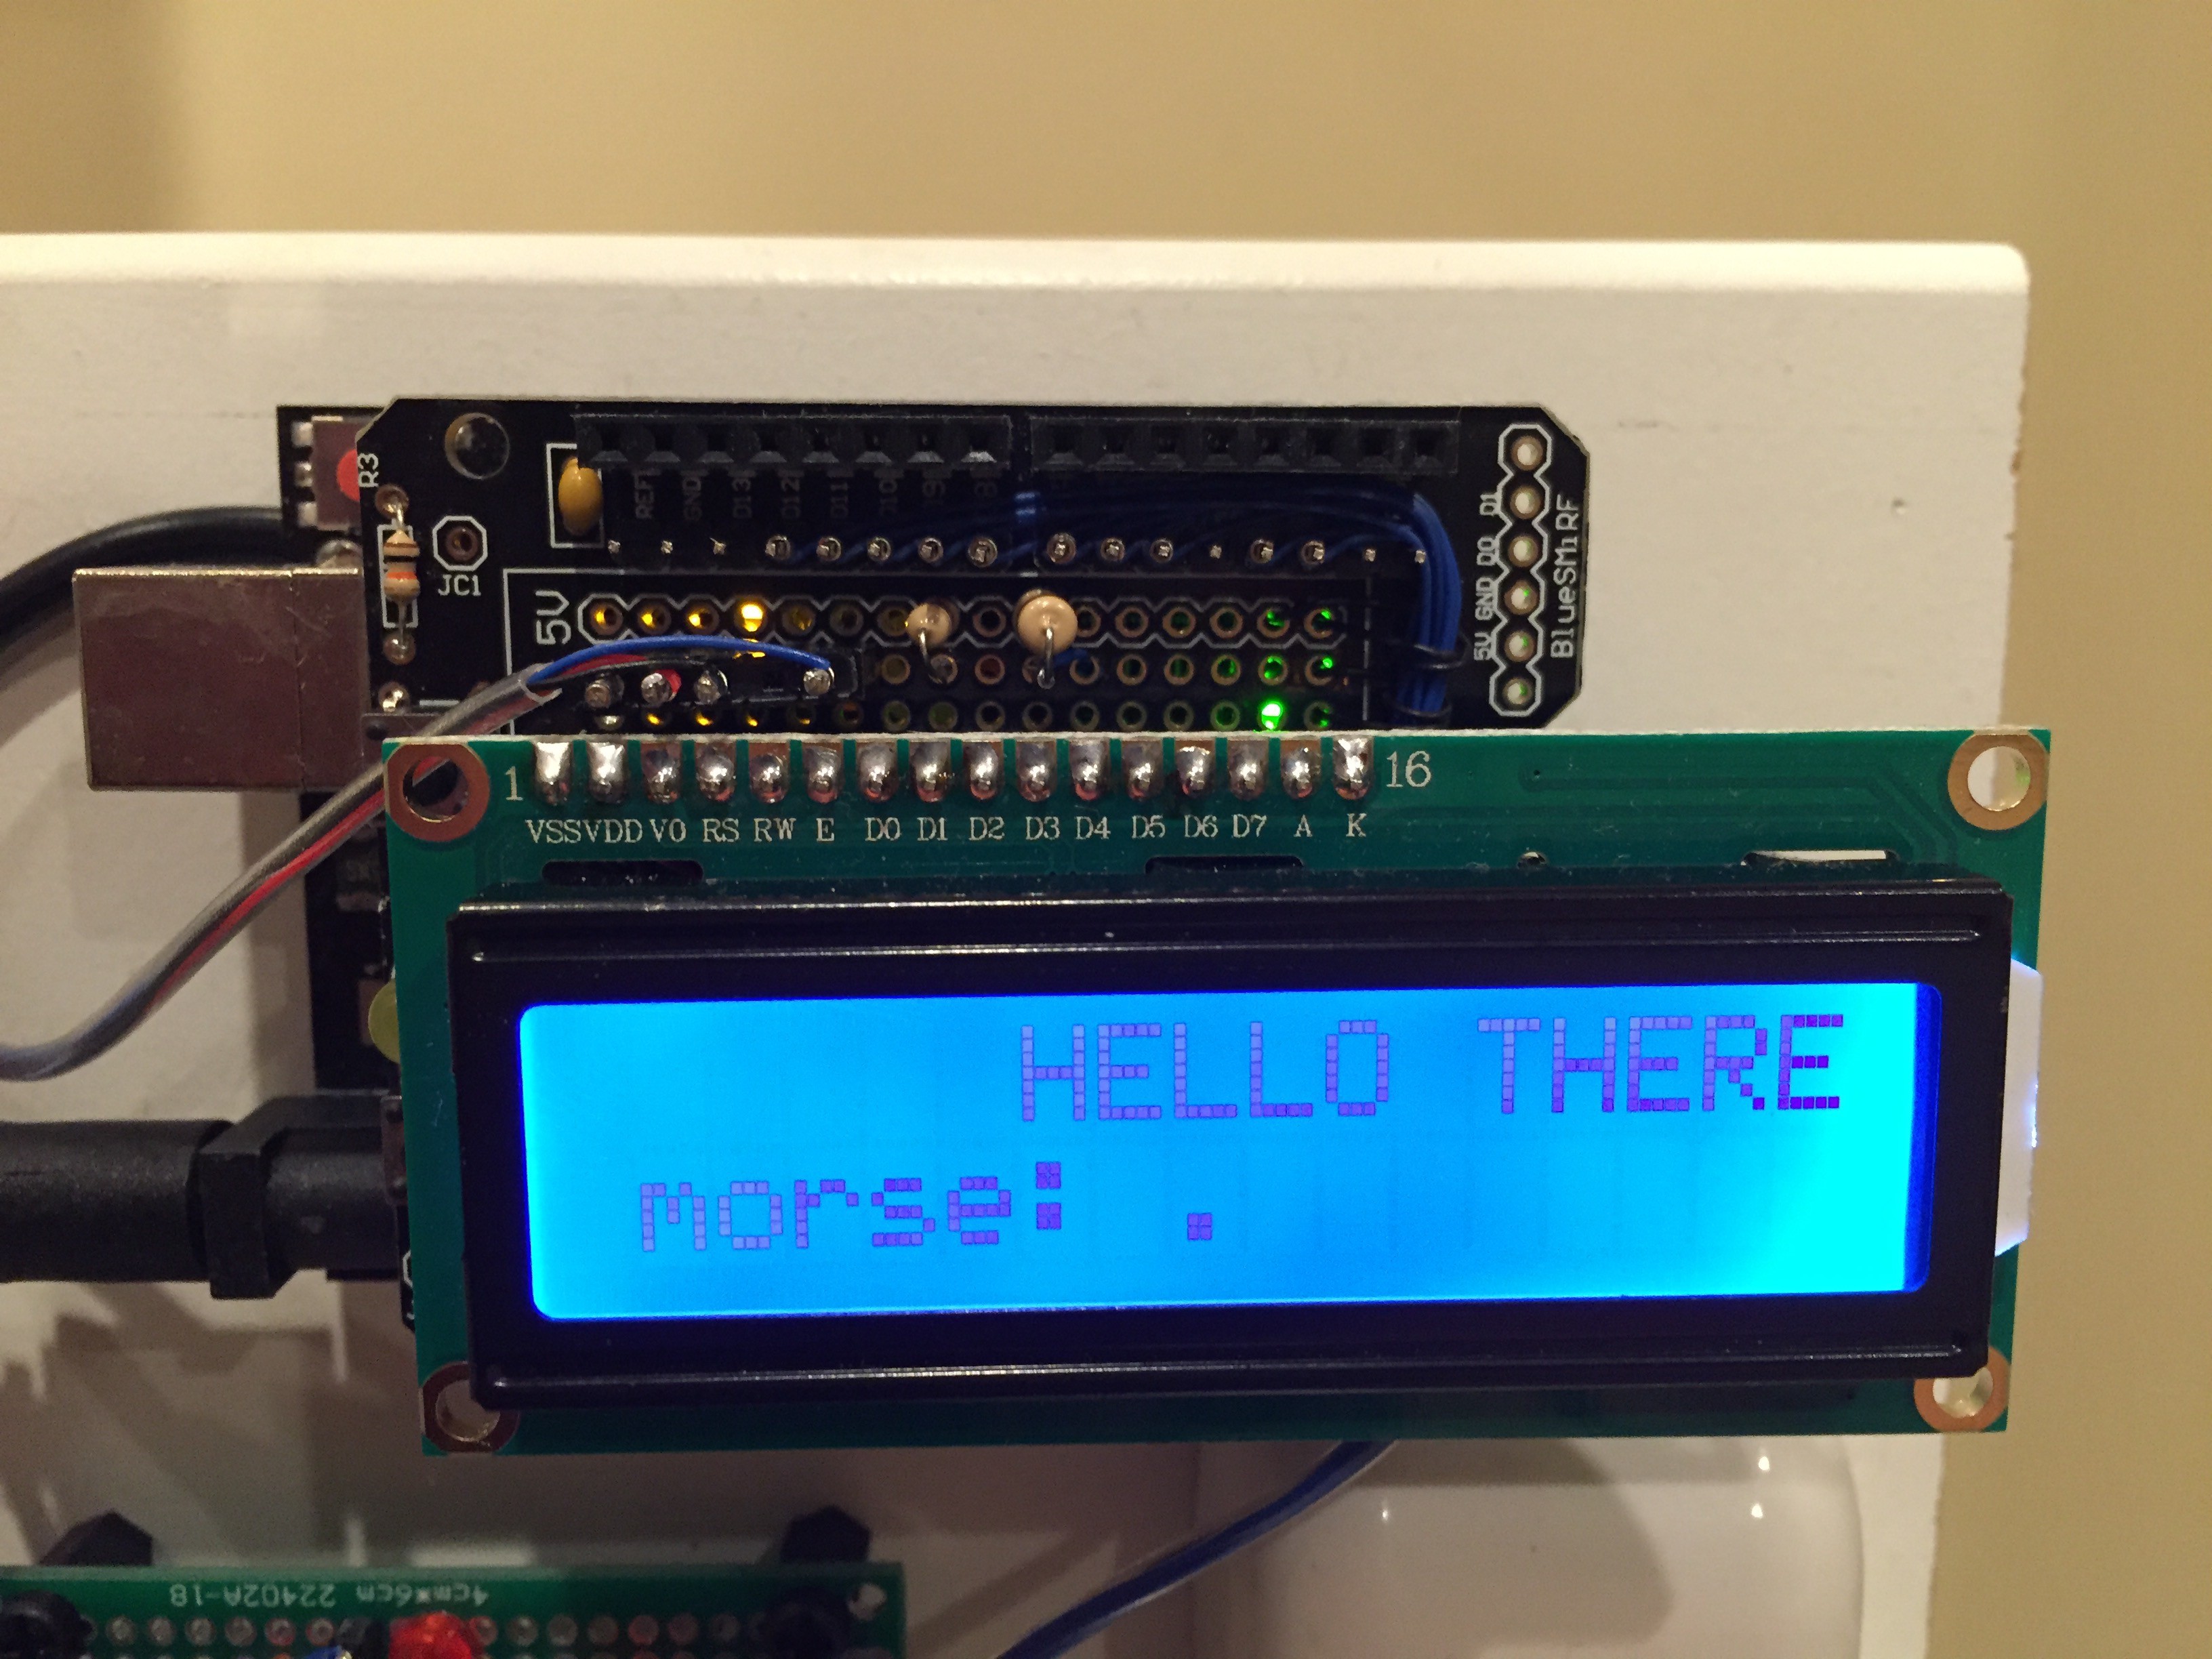
As you can see on the screen, the arduino decodes the falling water back into dots and dashes and displays the accumulated symbols after the "morse" label on the second row. Once the end of a morse code is detected, it is converted back to a character and appended to the right side of the first row. You can see the last letter detected was 'E' which has a morse code of a single dot. While in operation you can watch the dots and dashes accumulate until a letter appears which helps pass the time as you wait for your message to make it from one arduino to the other.
This raises the questions of why morse code in the first place? Originally the plan was to simply bit shift the letters out through the valve but this caused a couple problems. First, my 5th grader doesn't yet understand bitwise operations and I wanted her to design, if not write, all the software. In addition, bit shifting would necessitate start bits which is another new concept to introduce. Before I got into any of this my daughter suggested we use morse code which turns out is a great solution. She understands that morse code is made up of dots and dashes (no need for a start bit) and it's visually distinctive enough to be able to actually see the letters pouring down the tube (we all know SOS in morse, but who would be able to pick that out when bit shifted in ASCII?).
The next problem to solve is timing. Morse code requires a relative time base to distinguish the dots from dashes (and to detect junk that is neither). Trying to derive the timing from the flow was complex to design so we used a potentiometer connected to both arduinos to set the dot time. By simply reading the value of the pot and using it as the number of milliseconds for a single dot, it became trivial to describe all other timings:
- A dot is one dot time
- A dash is three dot times
- There is one dot time between dots and dashes
- There is a minimum of four dot times between characters
Since the dot time is set using a potentiometer and we needed to mount that on a board, we decided to add some LED's to indicate the position of the pot.
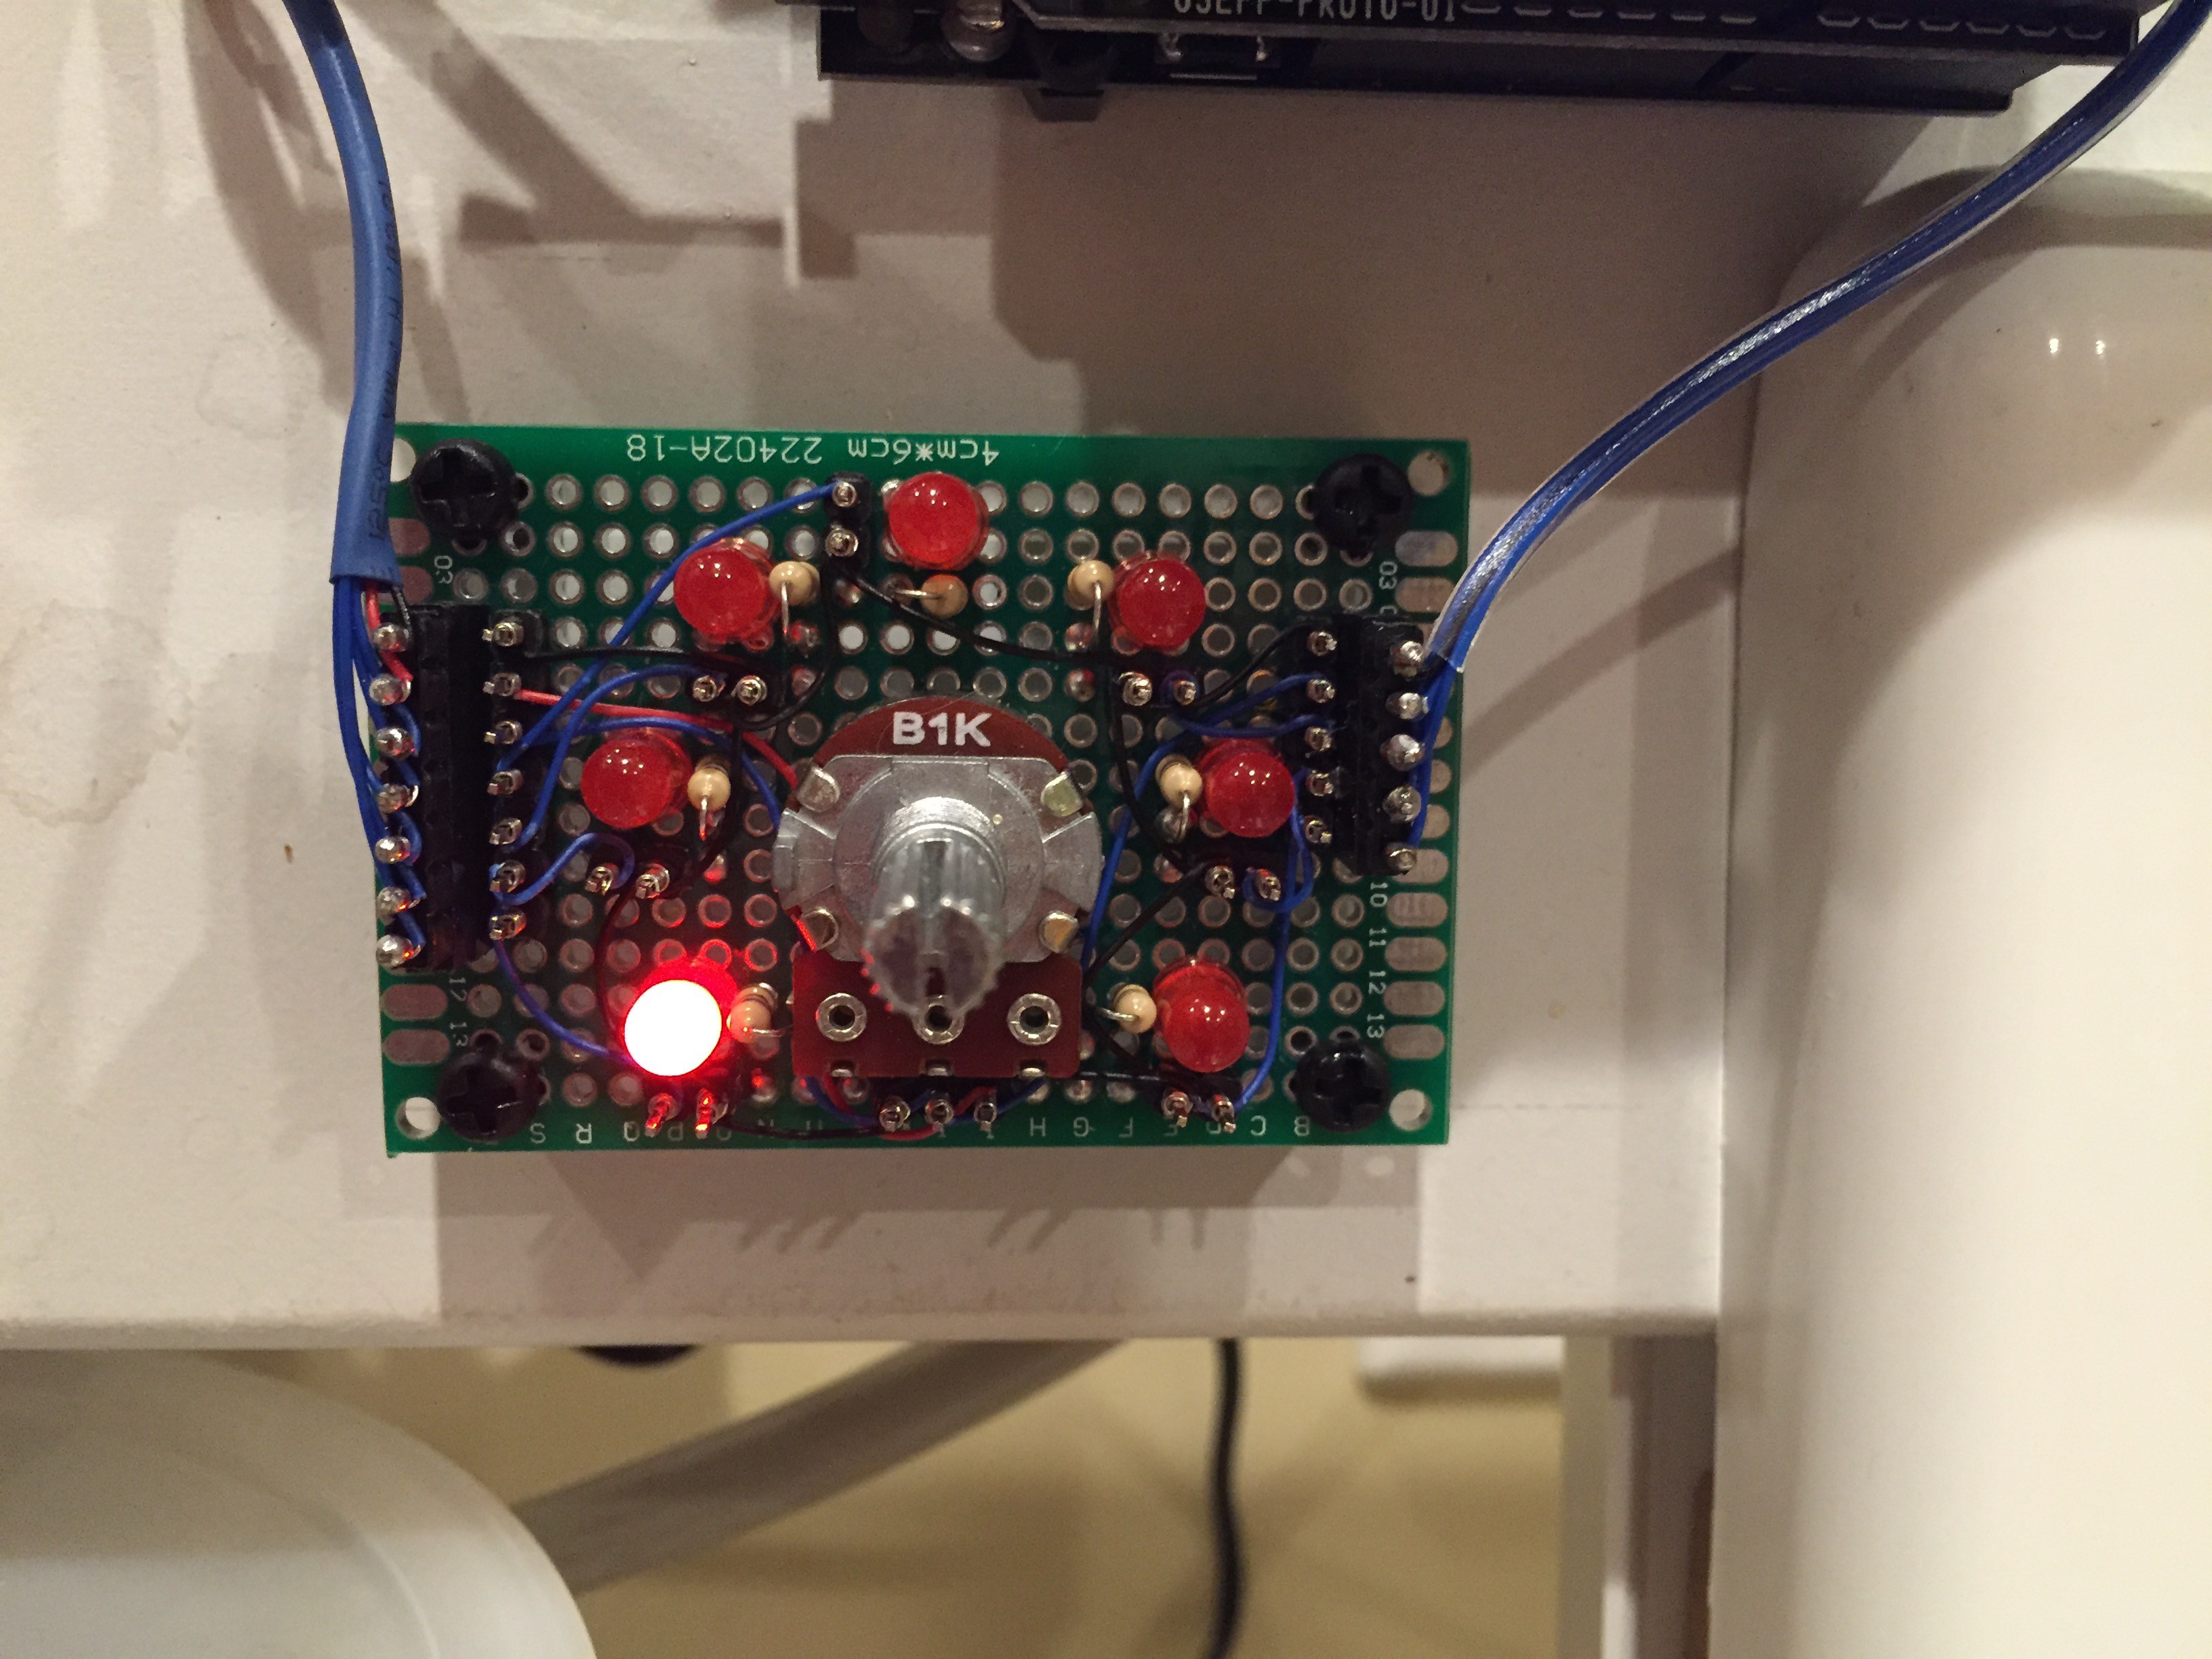
Rather than simply turn the LED's on as the knob passed the LED, we thought it would be more interesting to make them glow brighter as the knob approached the setting. We did this using PWM based on the position of the knob but this required seven PWM pins. Since neither arduino had enough pins left over, we drive the first four LED's from the transmitting arduino and the last three from the receiving arduino. However since it's the same code and the same analog reading on both, the display is seamless.
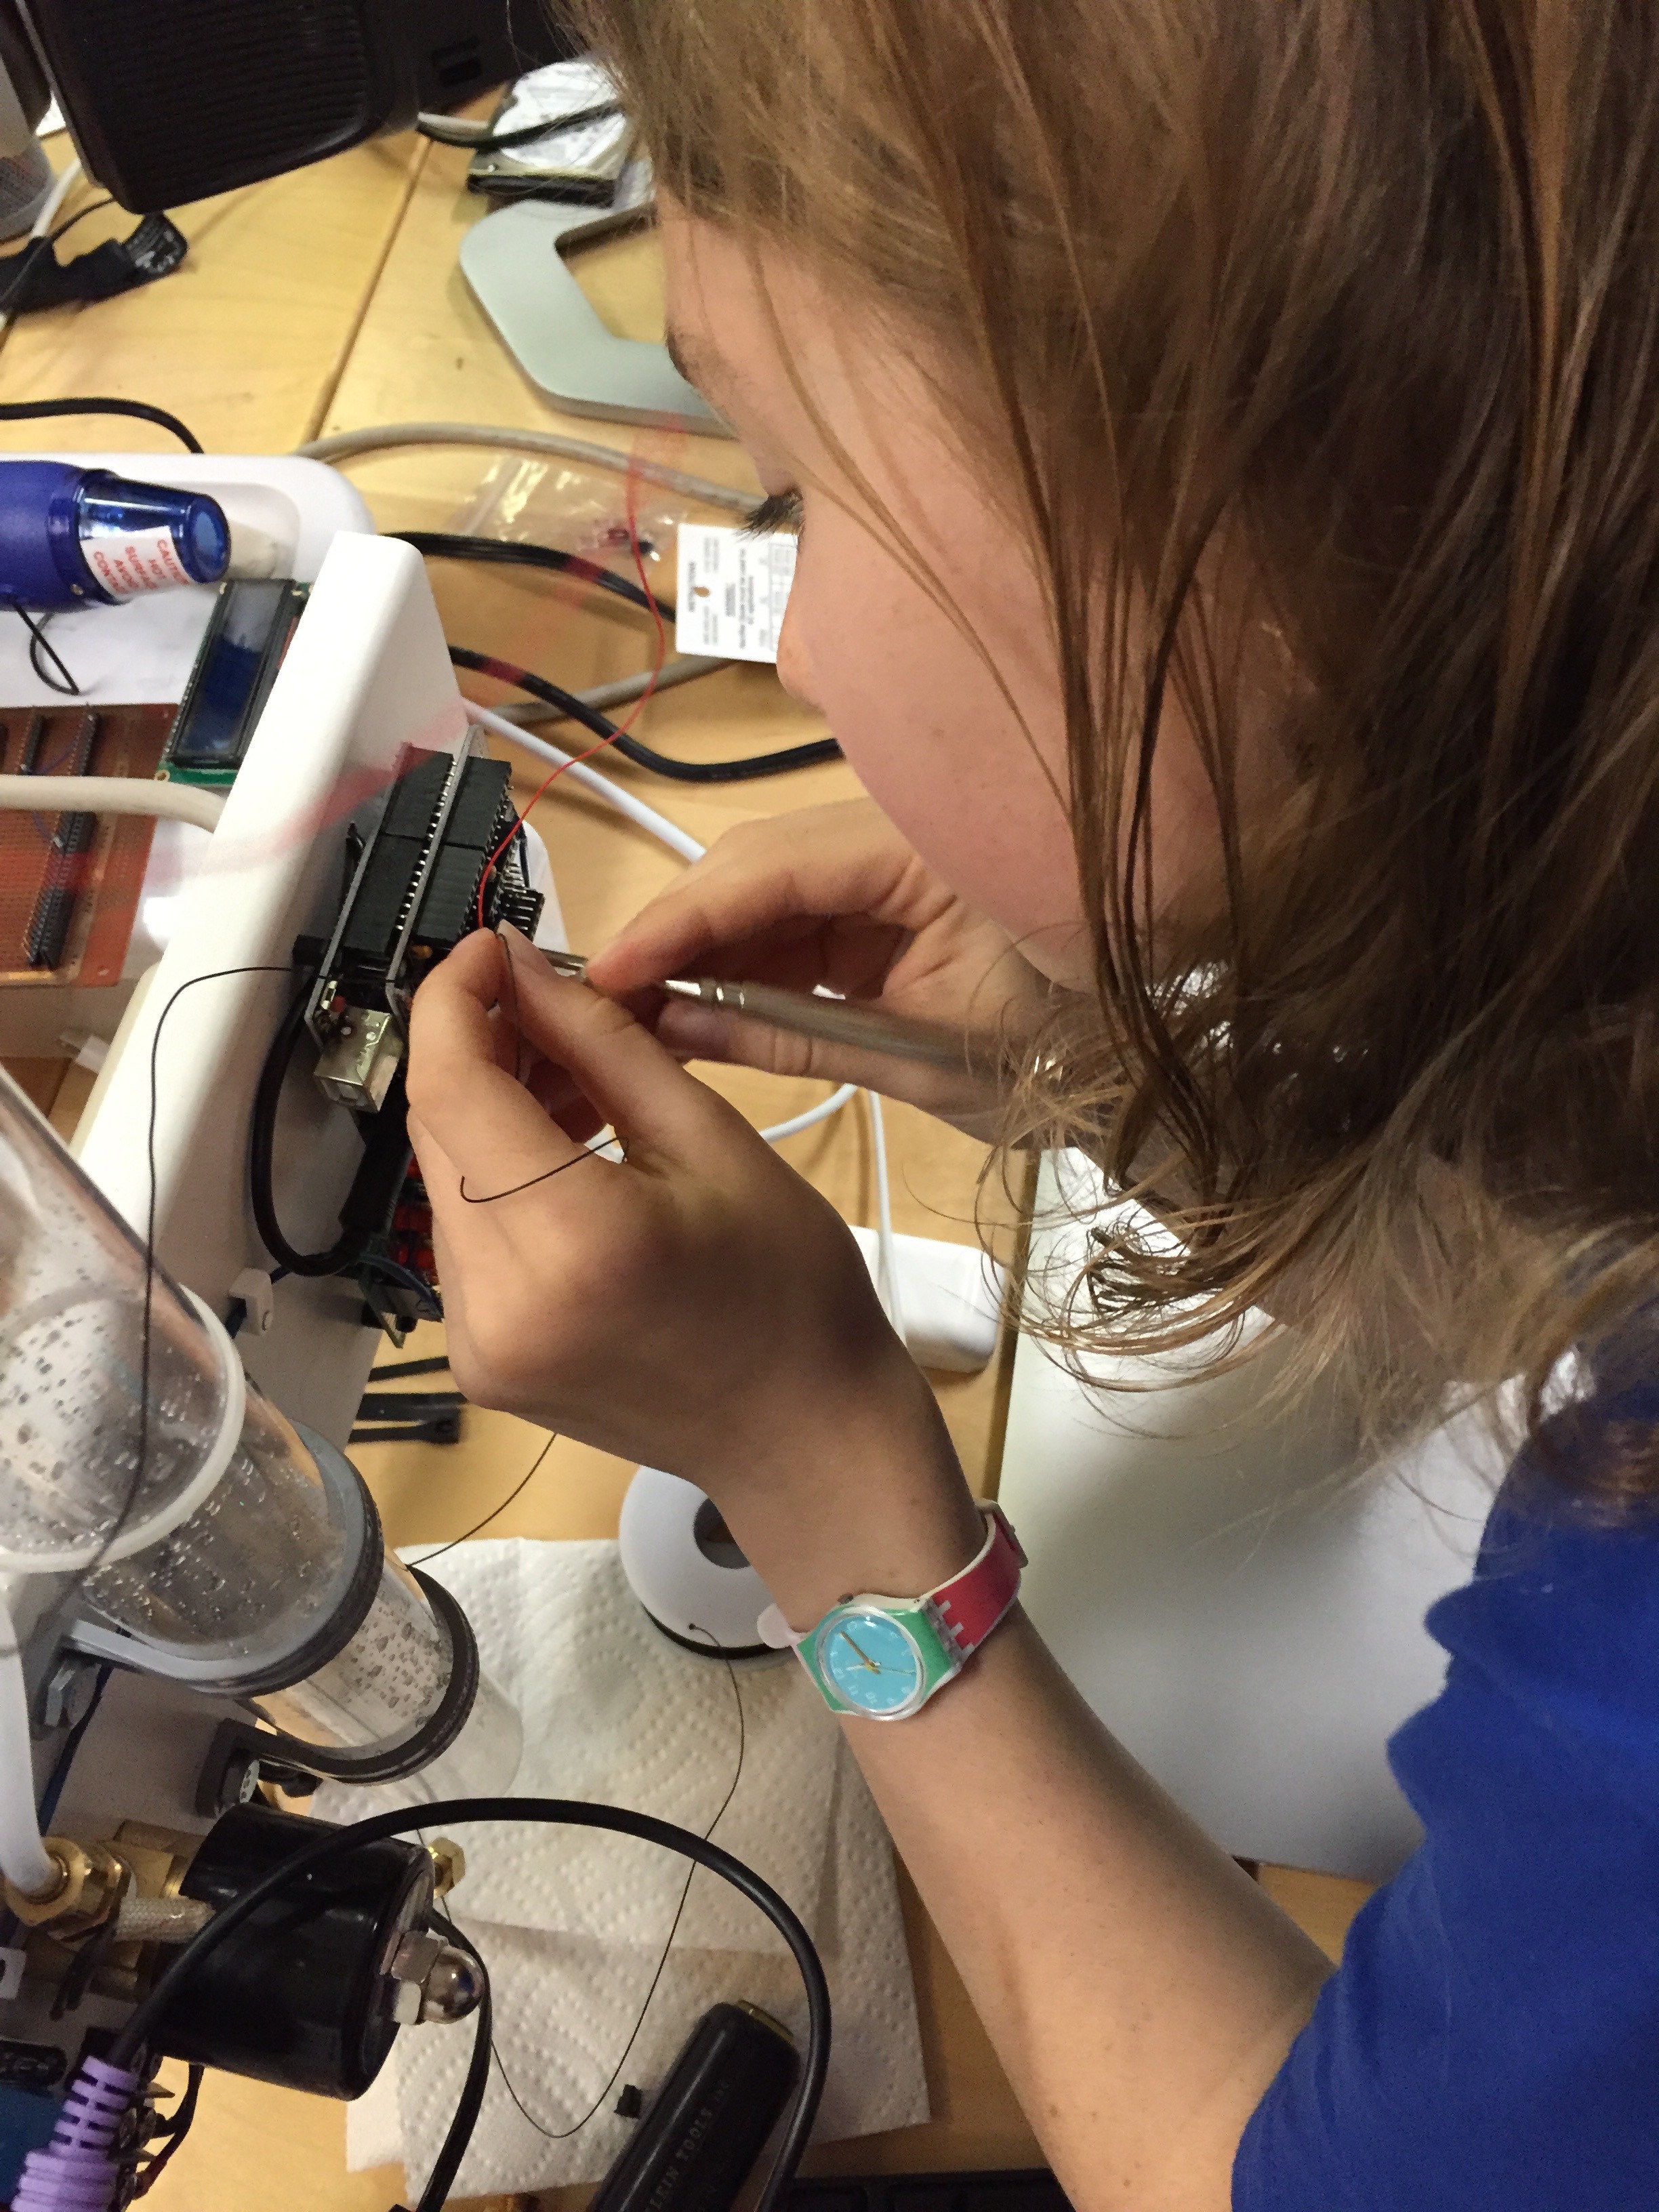
In the end it was a great experience for my 5th grader as she got to learn how to solder, wire wrap, use a drill press and a bunch of other great hacking skills!