Warren
Looking back on this project there are things I will I had understood to start with. the main thing that caused the most headaches.
But overall the project went well considering that I'd not done anything even remotely like this..
So.... here we go
Step 1:
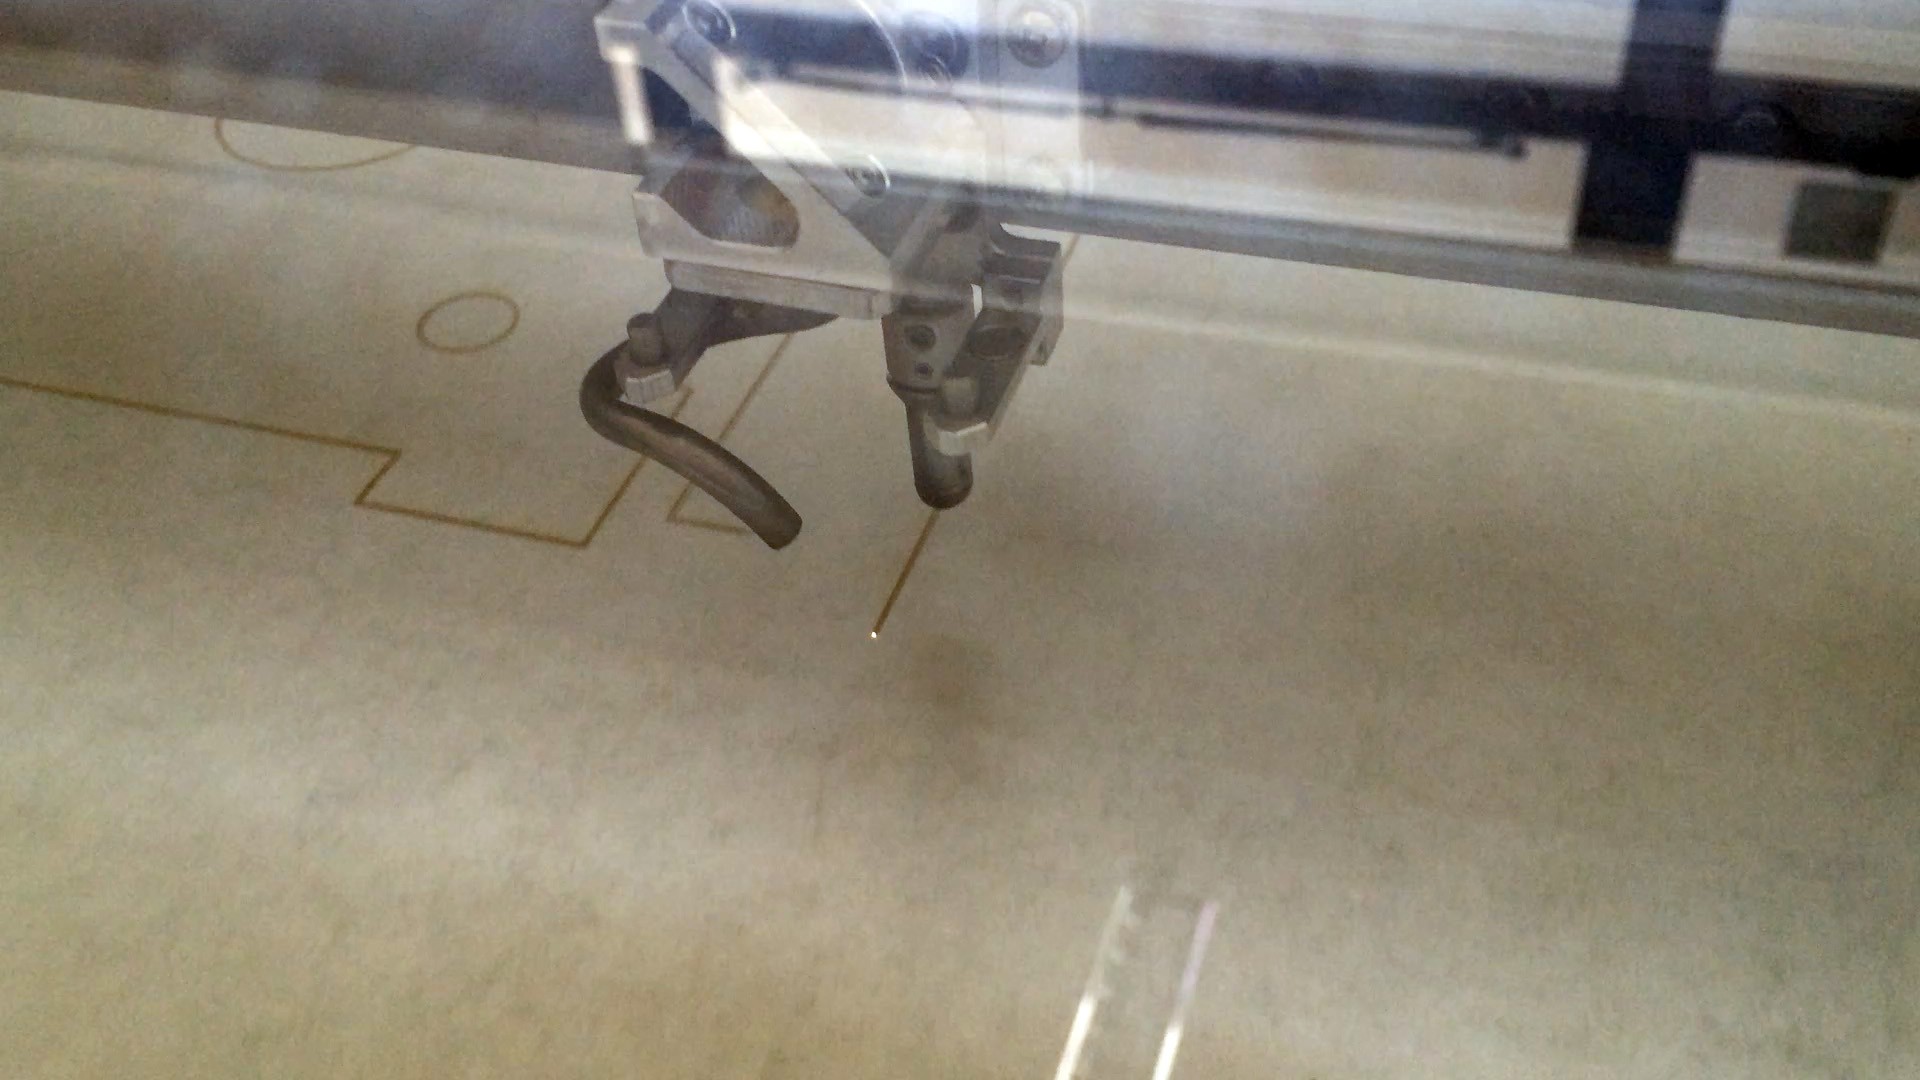
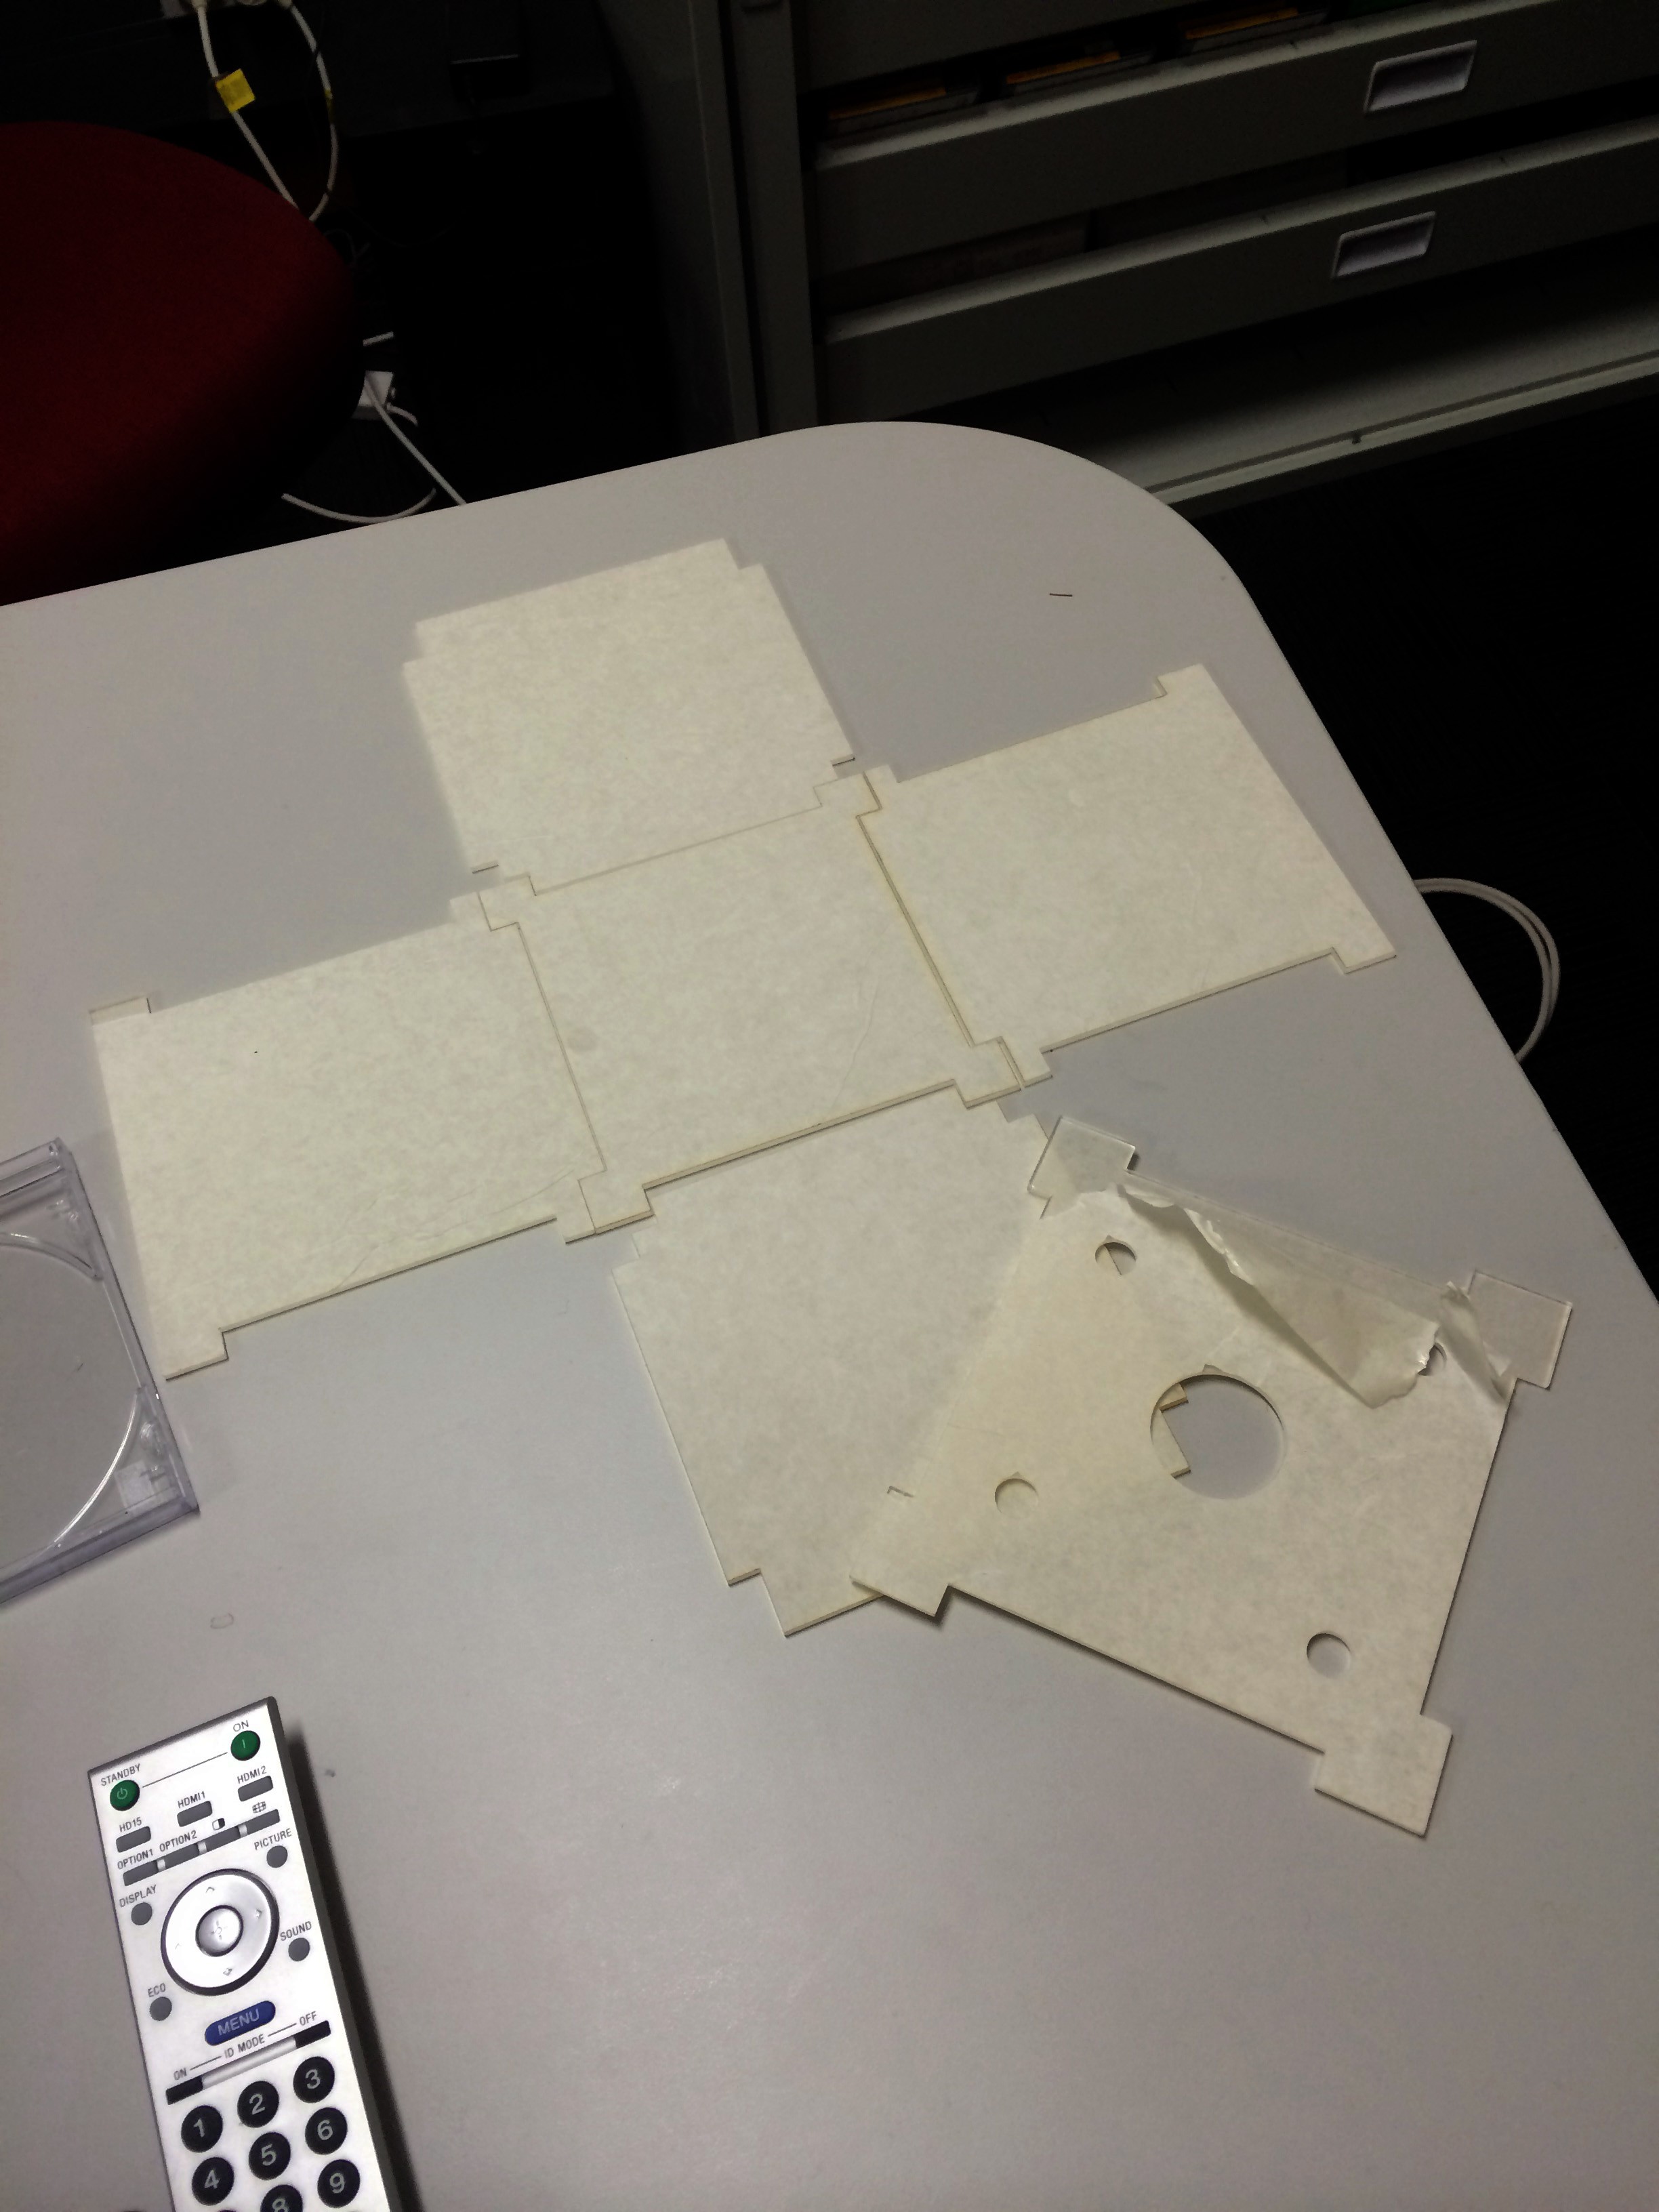
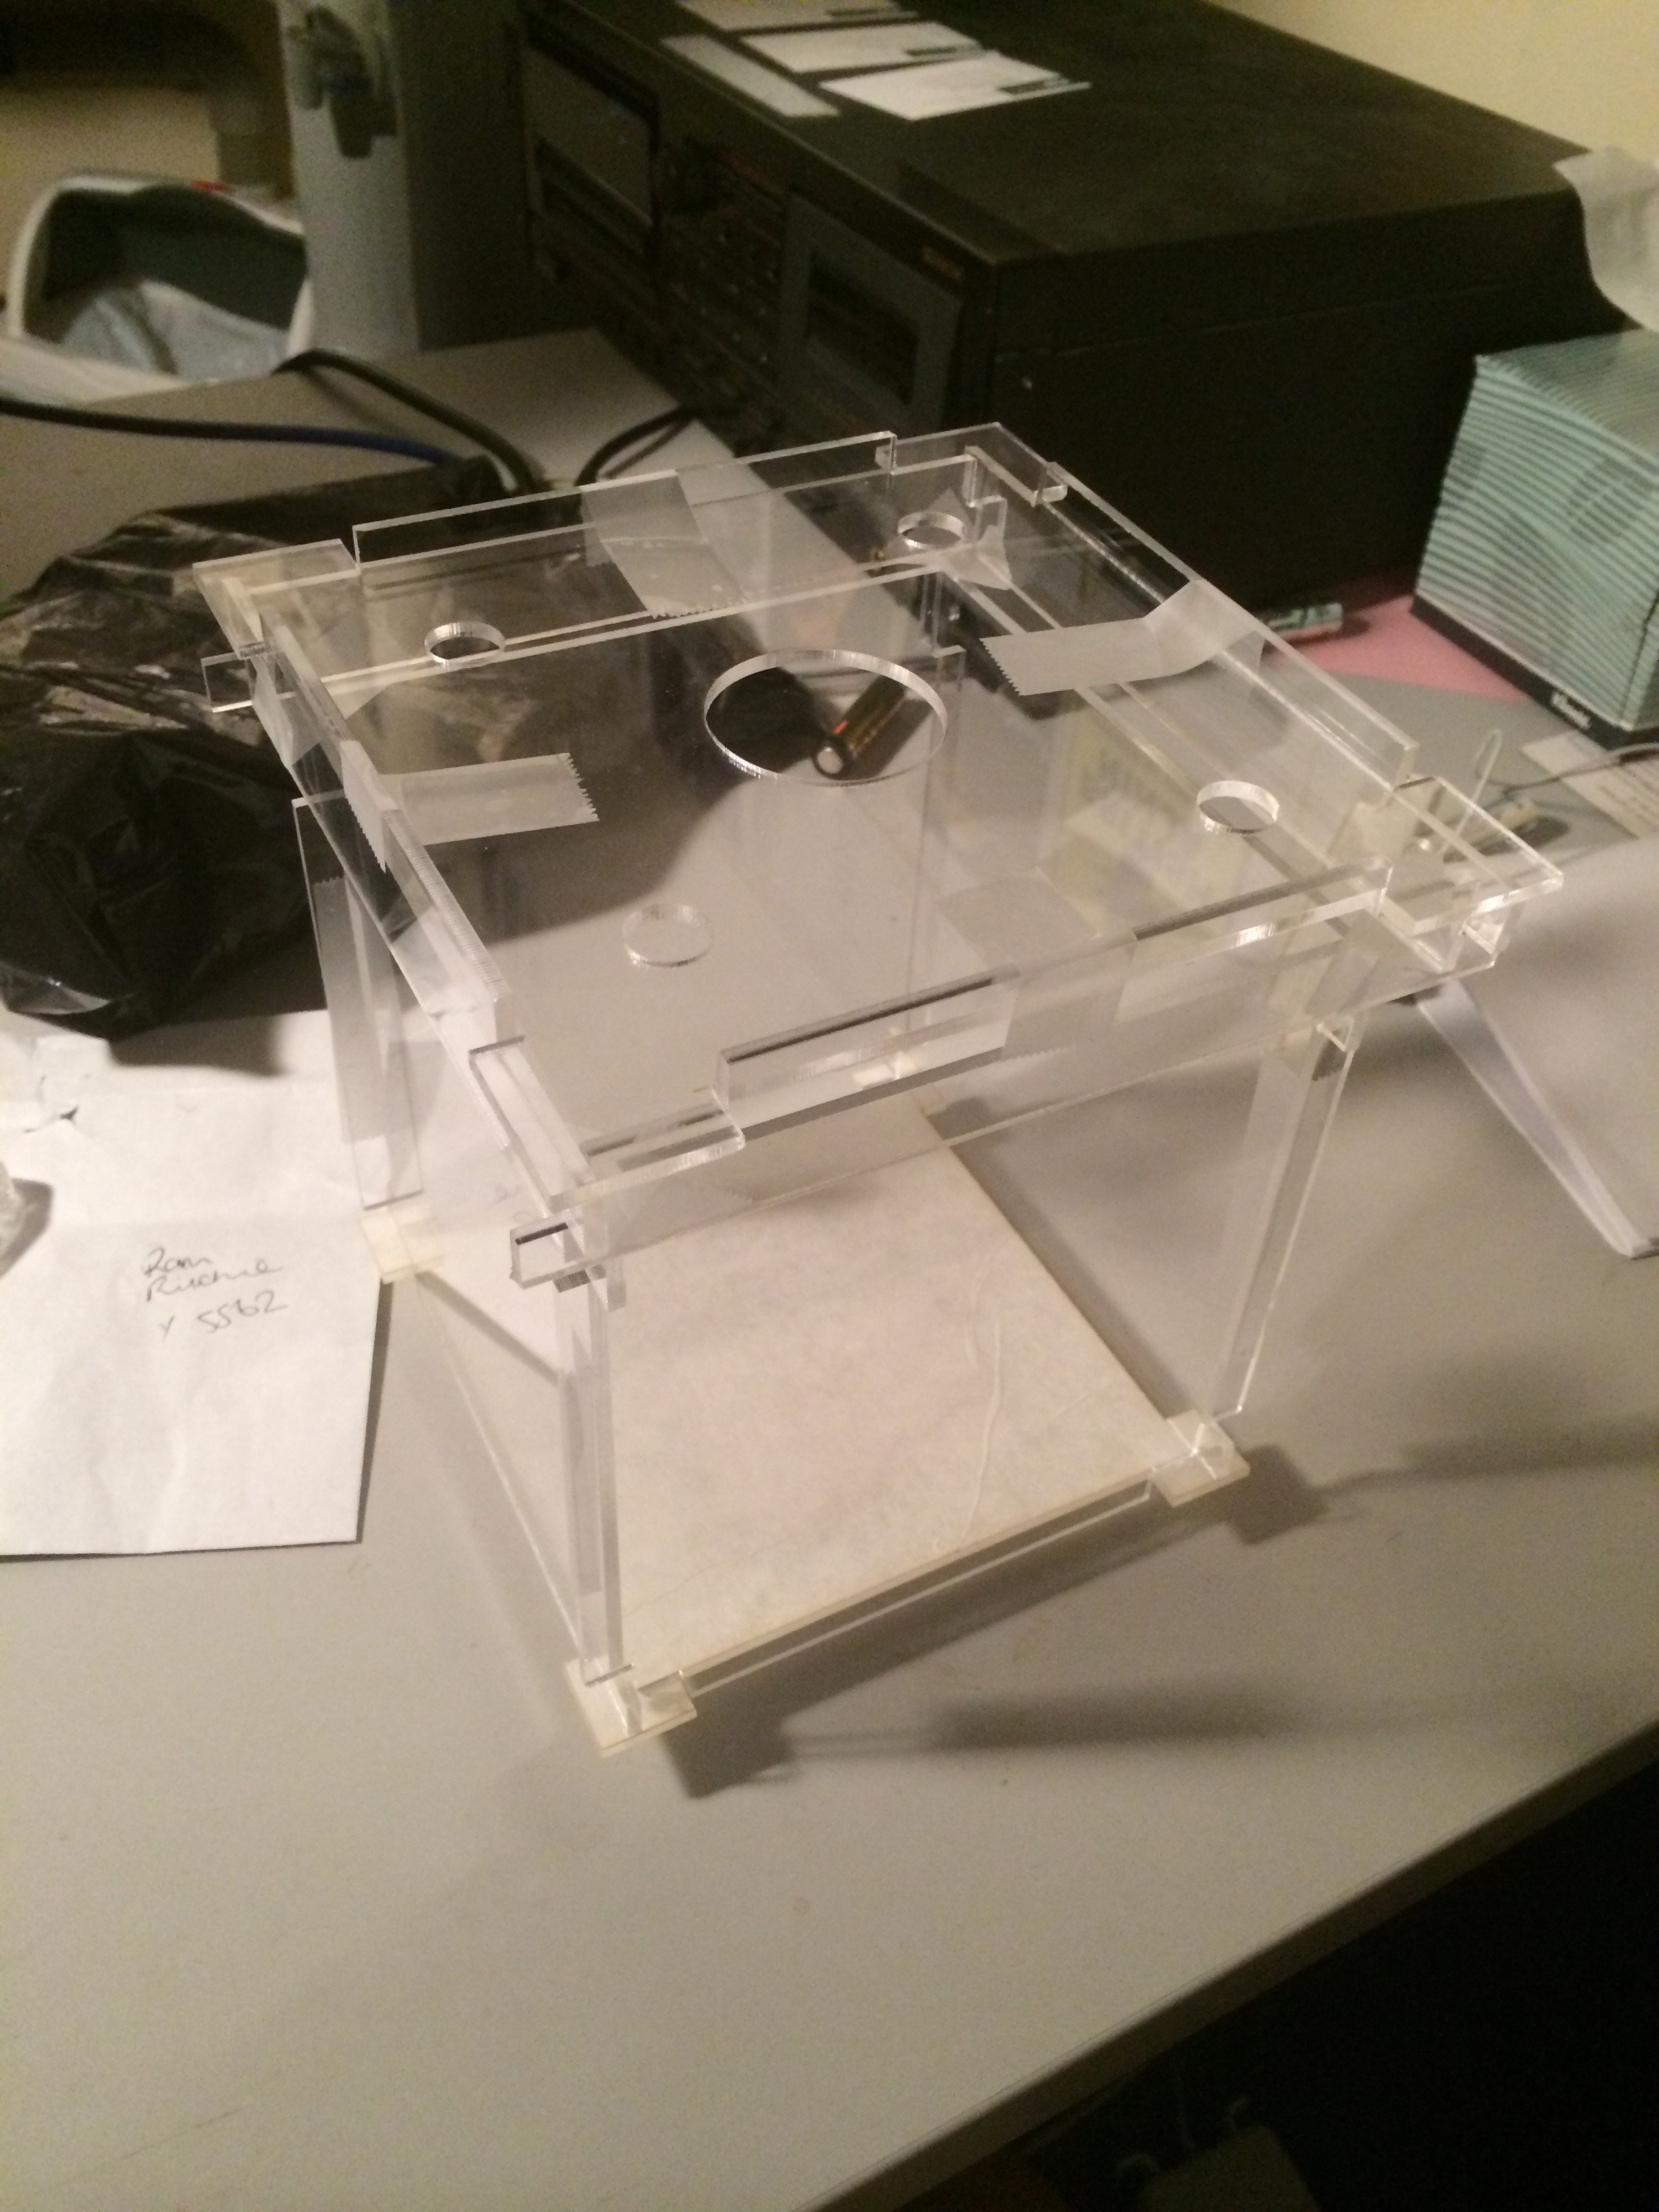
Using adobe illustrator I created the enclosure, the enclosure as cut from a 3mm thick sheet of acrylic using a laser cutter. Since often when you start this sort of project and not knowing anything I made all the interlocking parts 5mm, so there is quite a lot of over hang in the material.
Step 2:
Glue, I in this case often used too much of the horrendously priced locktite 460.
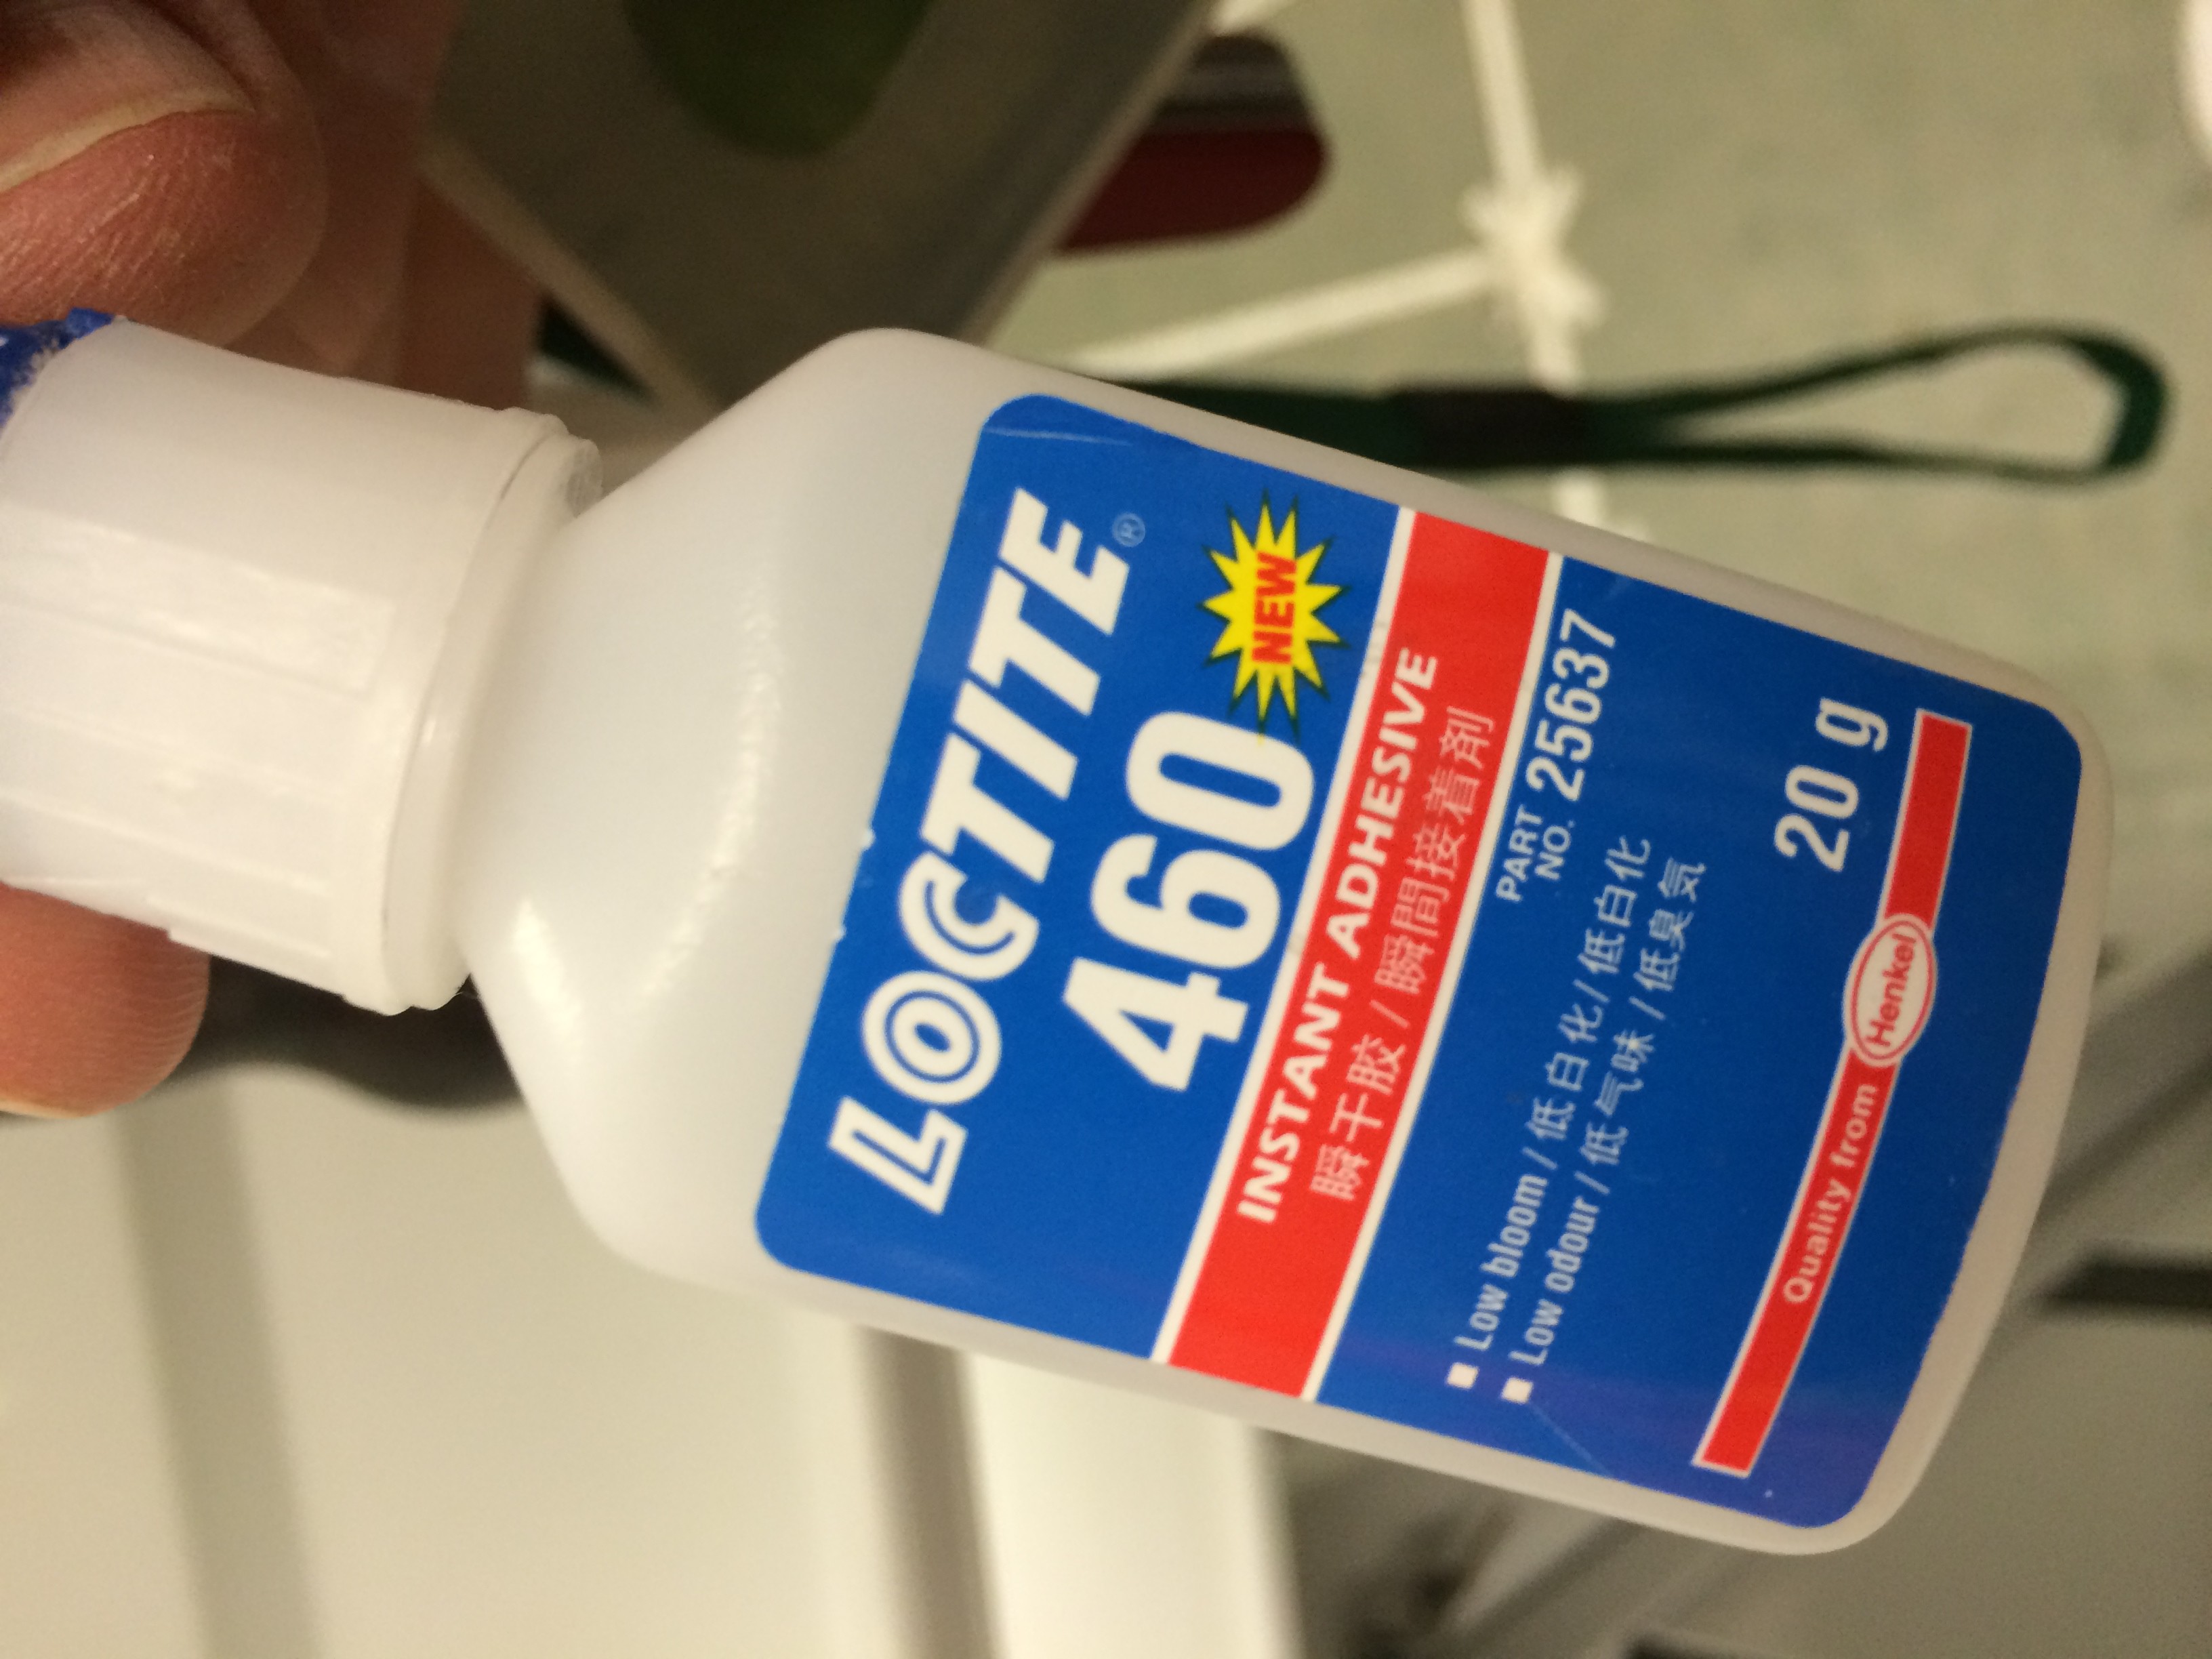
but even then it worked really well and overall provided a really clean result. What I hadn't really thought about was I had tacked the box together using invisible tape, which on reflection wasn't my smartest moment in the build. the tape had a habit of not coming off cleanly. Once the glue had set the box was really rigid, which is good . as in this particular case I used the top of the enclosure to sit the Raspberry Pi.
Step 3
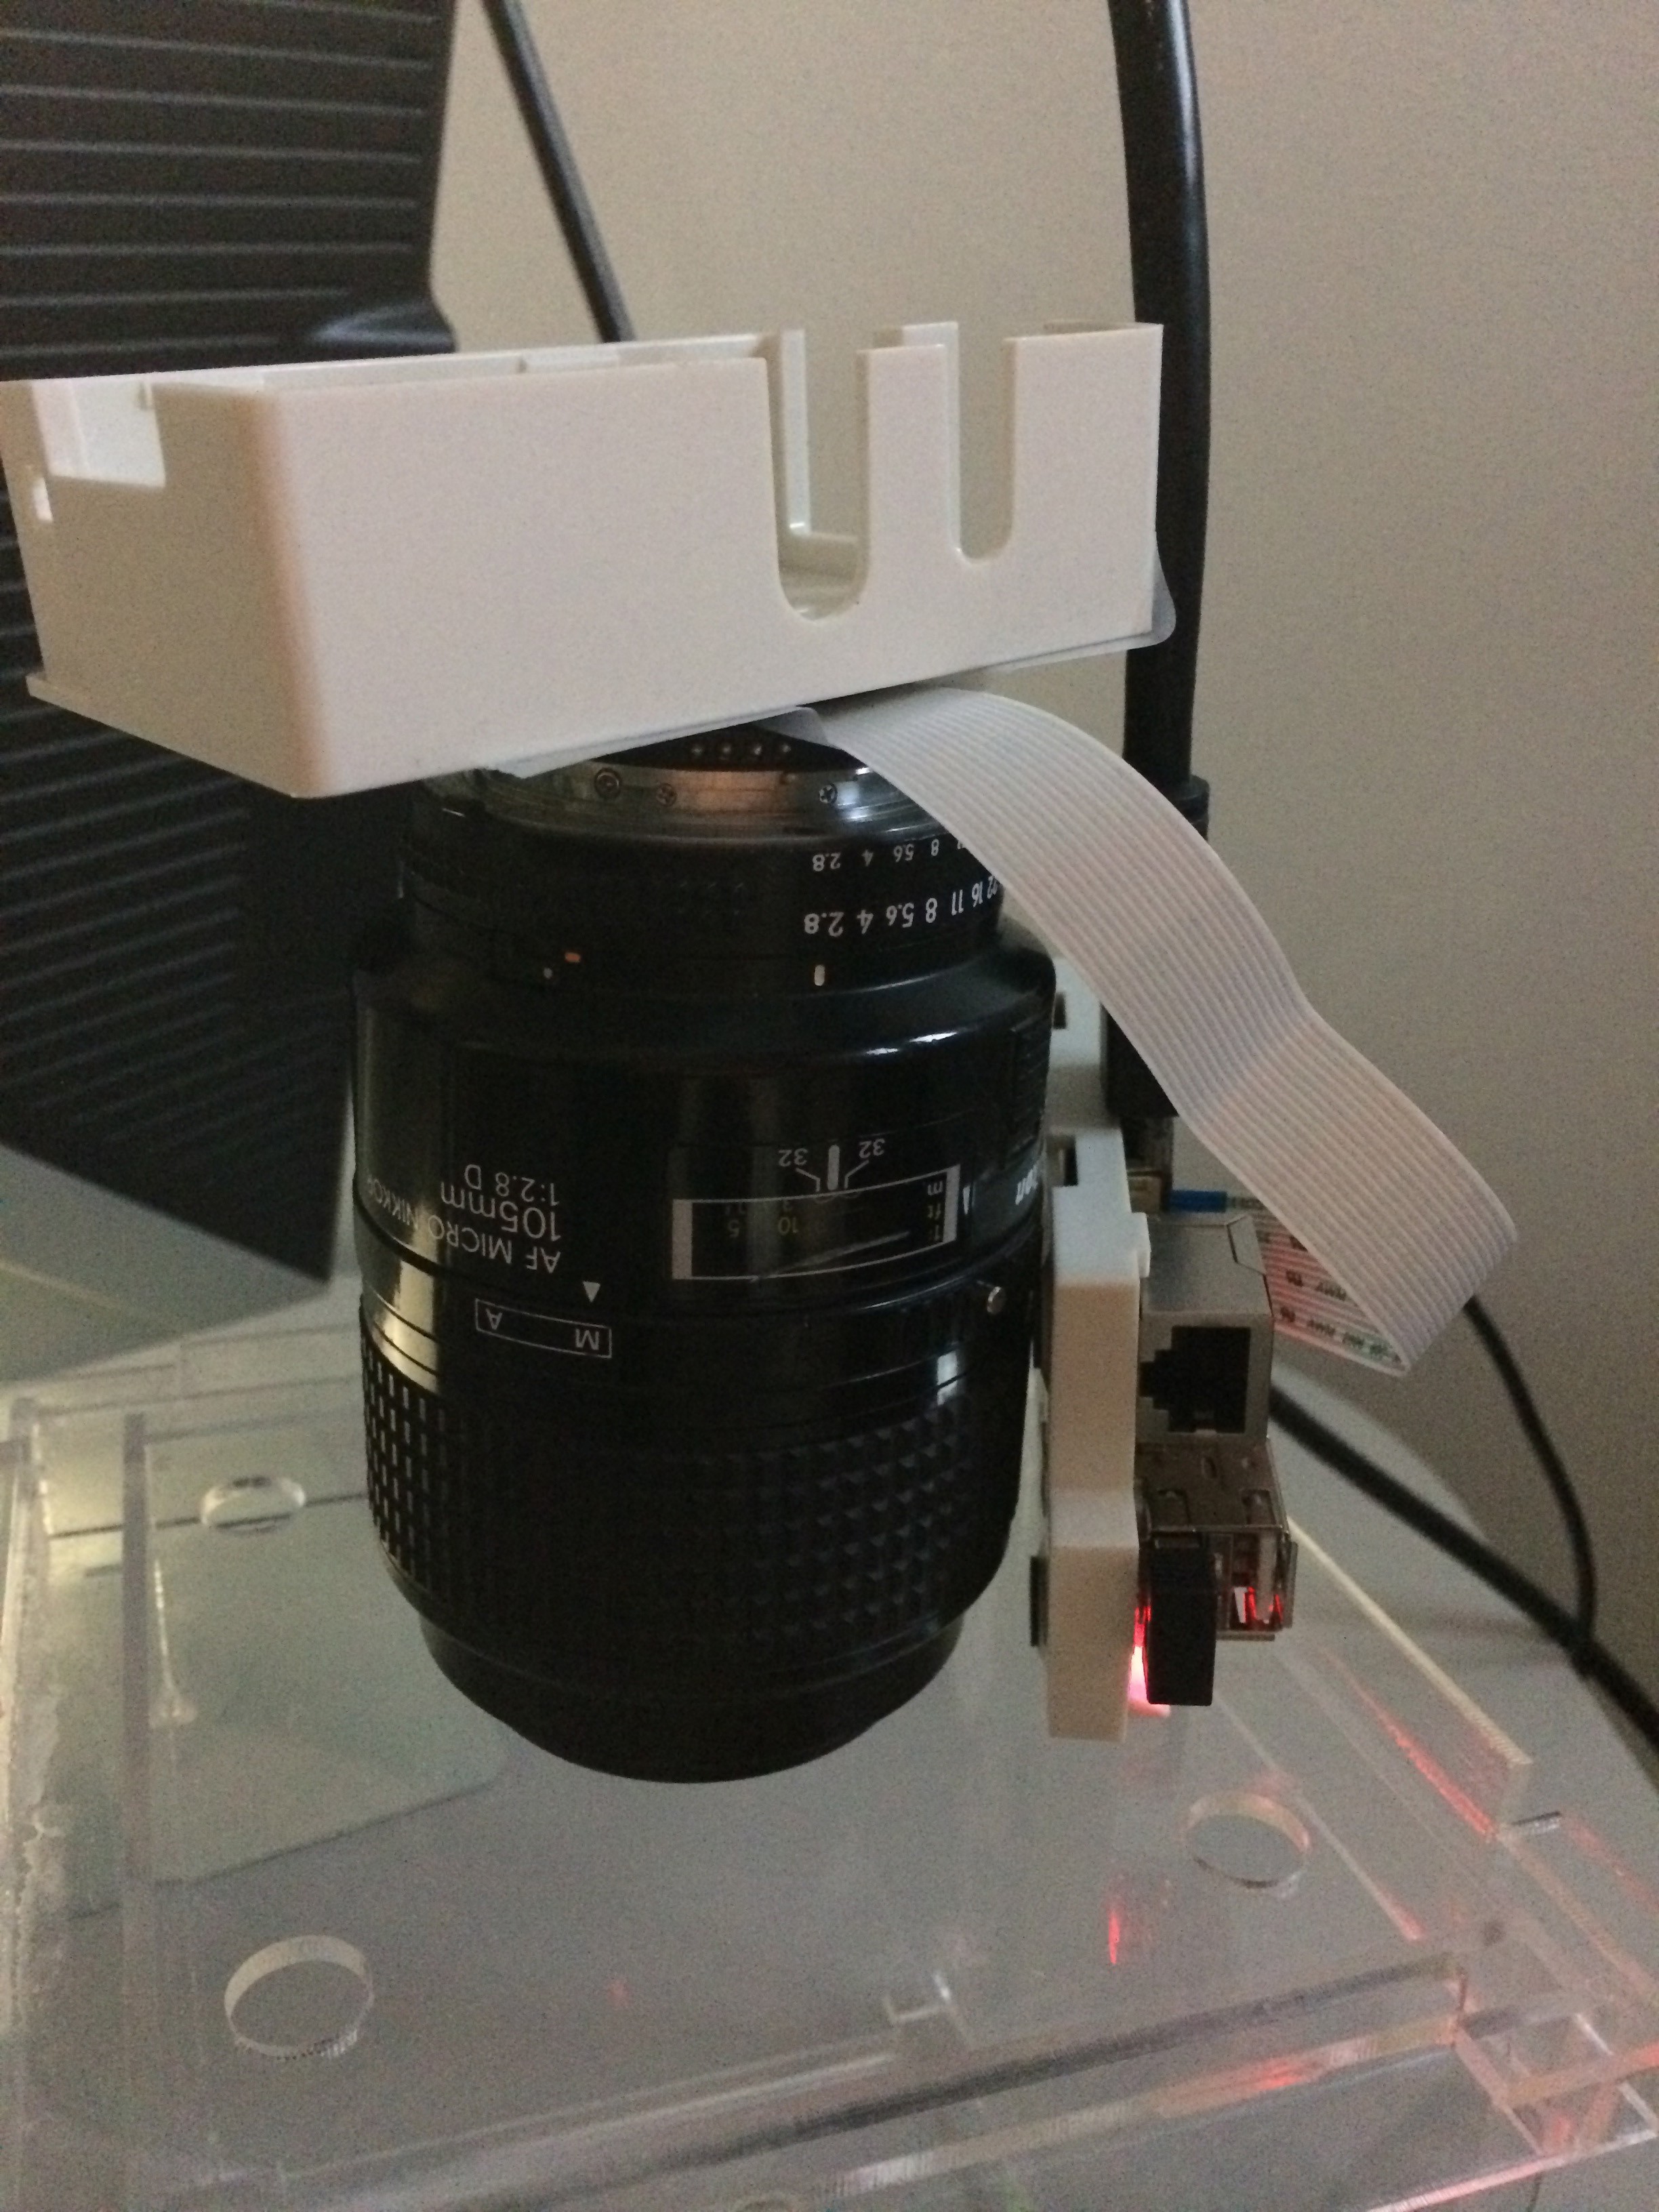
Initially I didn't know that you could "hack" the lens so I was trying to figure out how to get things to be viewable. So Raspberry PI + Camera Module + Nikkor 100mm Macro lens equals potentially super expensive fall of the desk and lots of tears from the photographer I borrowed the lens from
 But essentially it didn't work as expected... far too many hassles..
As part of the build the acrylic sheet I had laser cut to match my requirements (definitely in my case measure 2 times cut once should have been the rule). I made the hole for the camera slightly large. mount the camera in the hole in the centre of your enclosure

Adjust thing the focus of the camera module was relatively simple. please check the link here as to how to go about changing the focus of the raspberry pi camera module http://www.truetex.com/raspberrypi
I of course don't guarantee this, but it worked and allowed me to focus the camera to under 15cm from the original 1m.
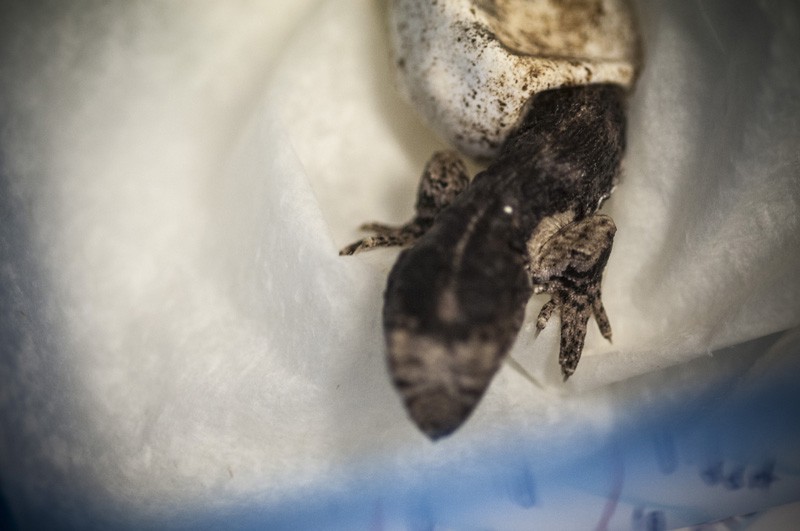
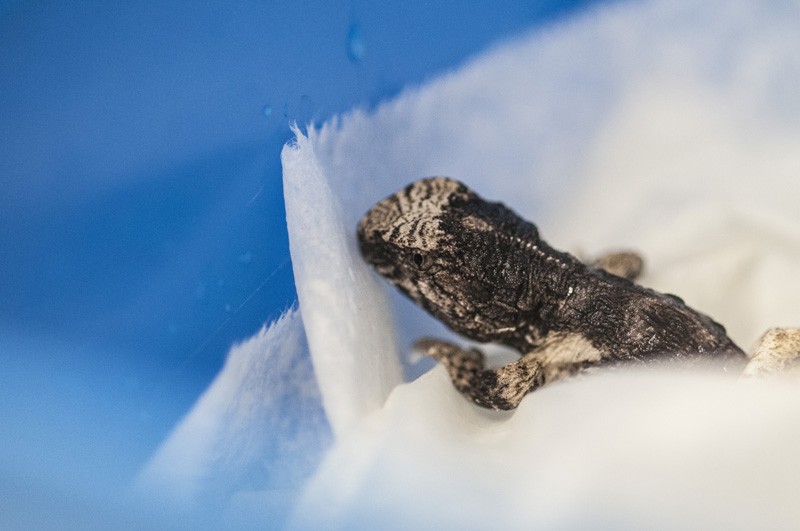
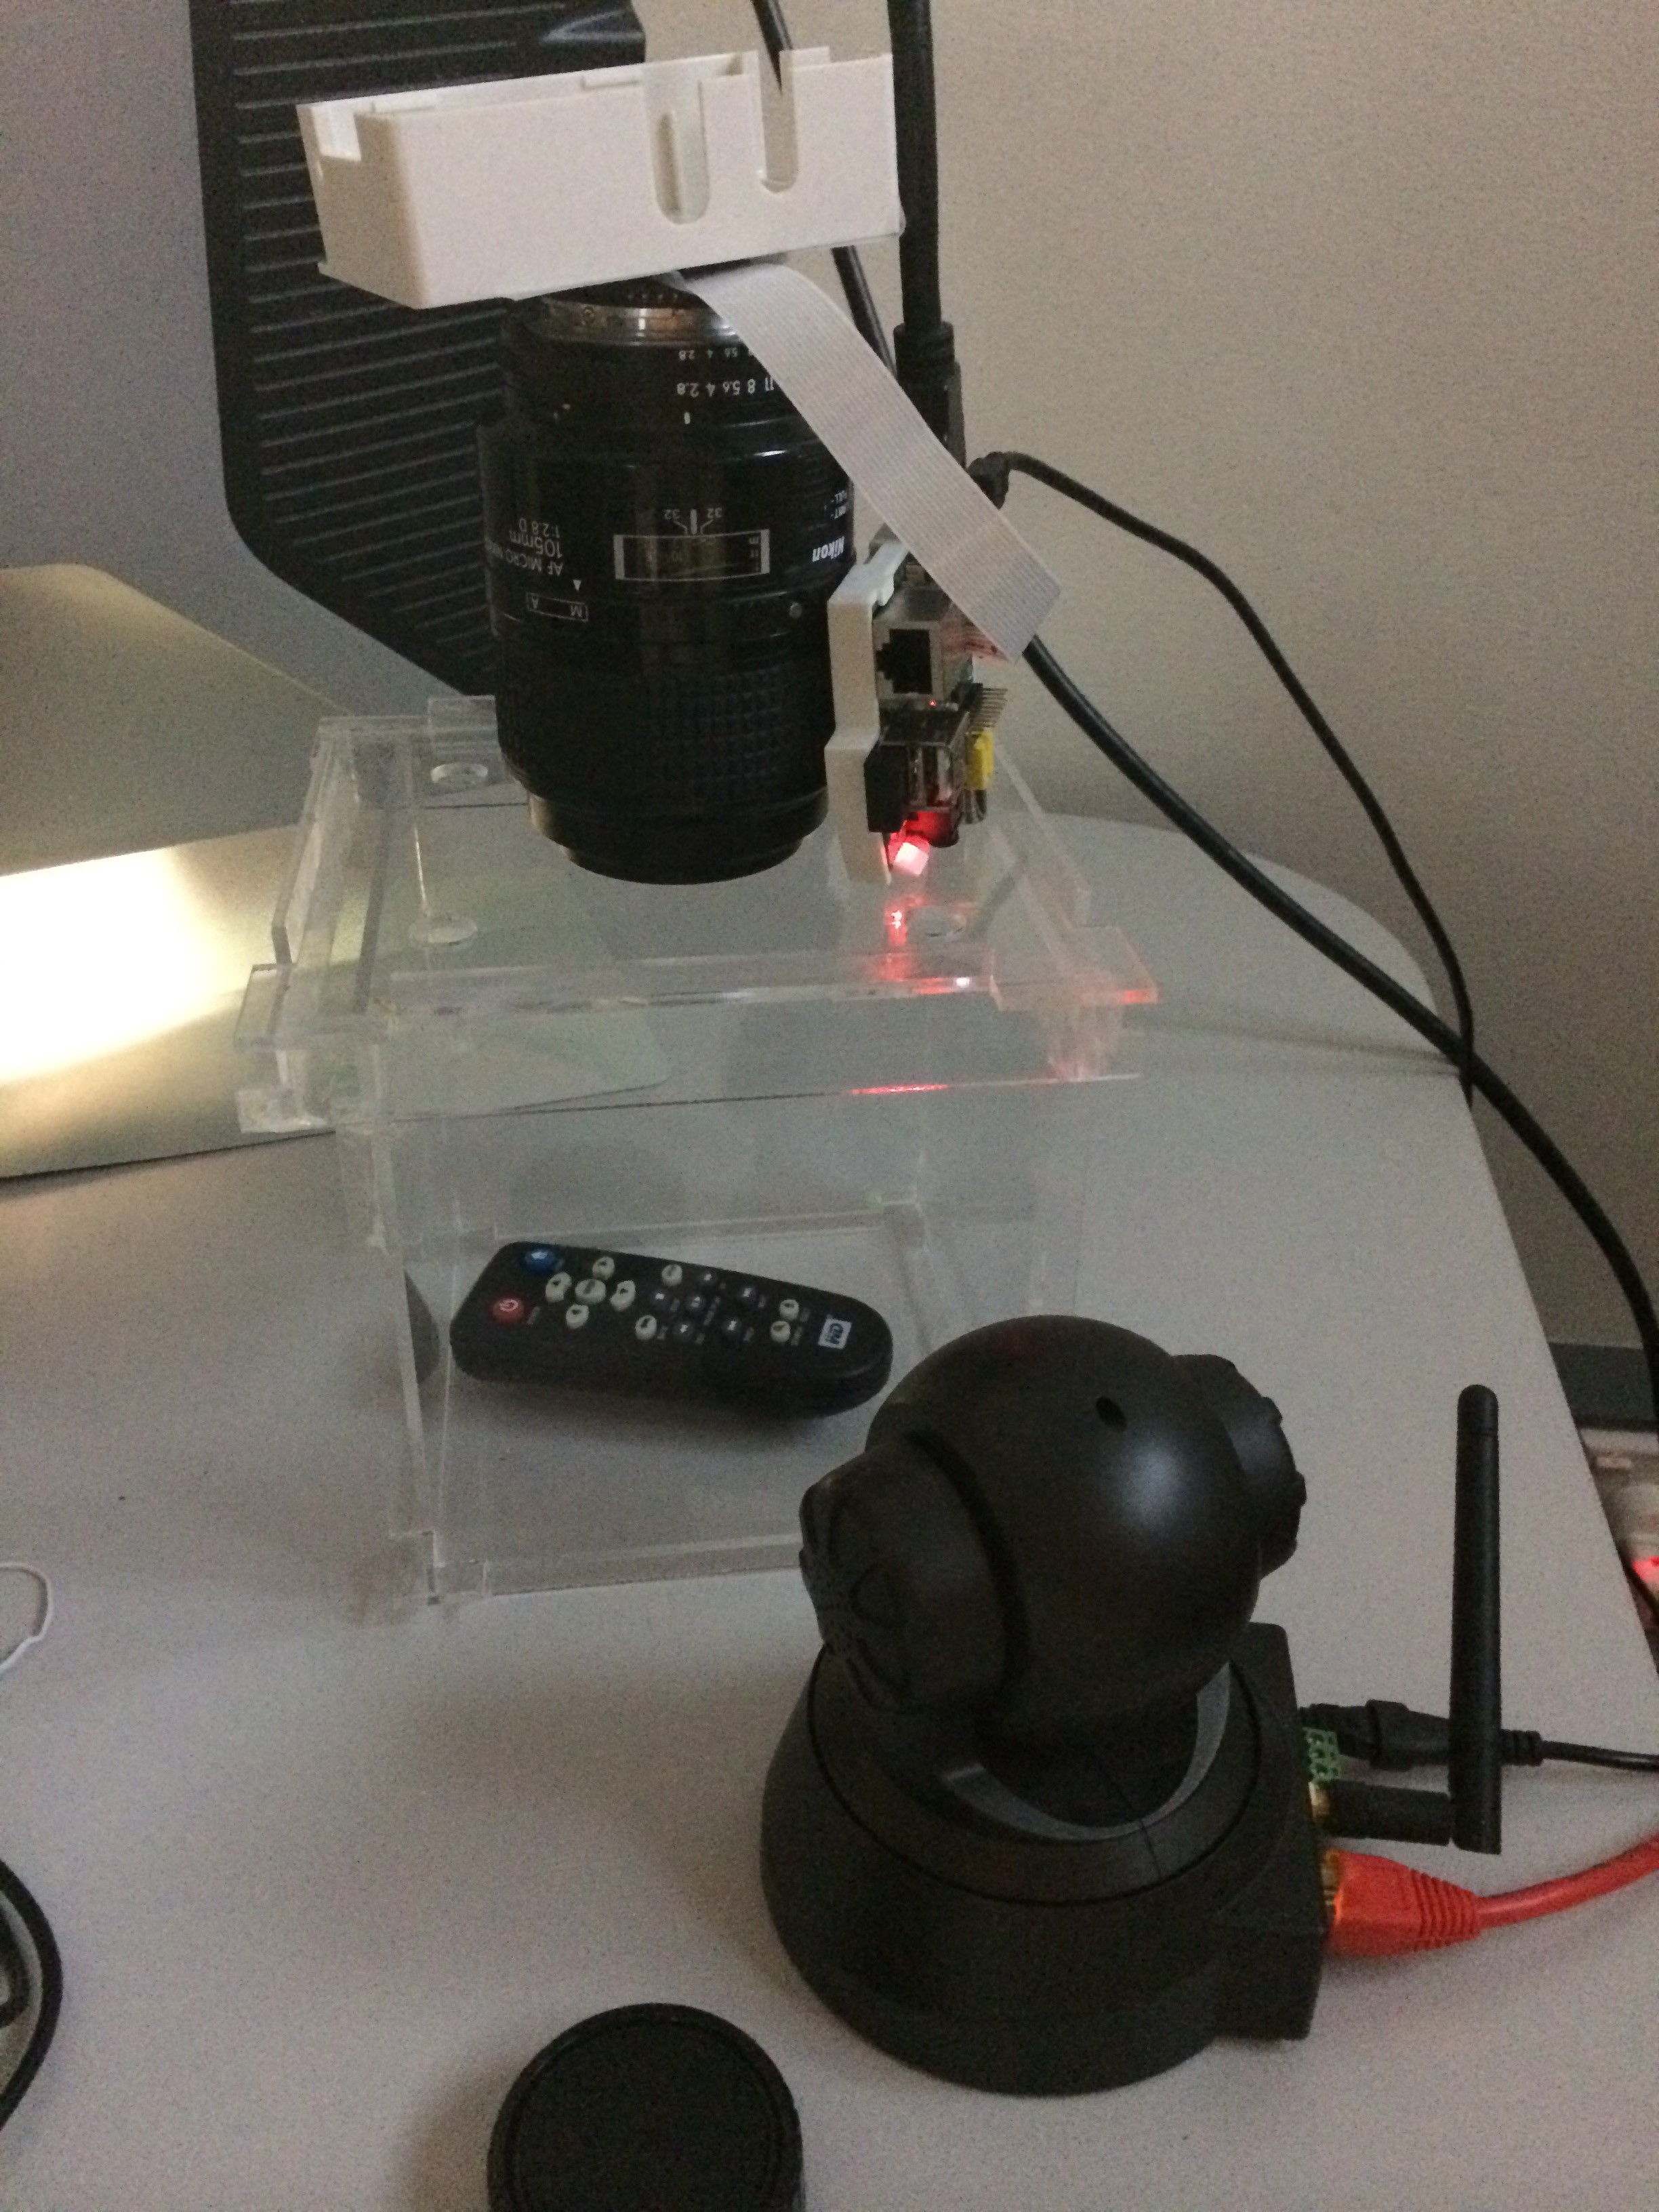
I originally intended to have an IR array with the camera, but I ran out of time to set it up. so I ended up using a IR security camera
Step 4
Dealing with the Raspberry Pi, I downloaded the image for Raspian http://www.raspberrypi.org/downloads/
I used ApplePI Baker for installing the OS onto my 8GB card (I am a OSX user so not sure what the PC options are out there).
http://www.tweaking4all.com/hardware/raspberry-pi/macosx-apple-pi-baker/
Step 5
logging into Raspbian
default administration login and password as follows
User : pi
Password:raspberry
Step 6
Installing the Camera and drivers
There are some really good tutorials for this
http://www.raspberrypi.org/help/camera-module-setup/
Step 7
Installing an externally powered hard drive to your rig (Raspberry Pi doesn't create enough power to run a external drive, So for any kind of video which will create larger files you will need an external drive.
** things to keep in mind about external drives
installing NTFS drivers on the Raspberry Pi. I needed it to be universal so that PC users could see the files if needed. had I found this early.....
Step 8
Raspbian has some things you need to change in the start up script that does that whole blank screen and power down the pi which provided a few major headaches trying to figure out why thing went wrong and nothing captures.
in the config file (use a text editor on your PC or Mac) user the terminal within the PI OS.
in terminal:
sudo nano /etc/kbd/config
edit the following values
BLANK_TIME=0 <-- screen saver
POWERDOWN_TIME=0 <-- power saver
Step 9
Right so now down tho the fun part, I decided that if I recorded smaller length files it would in the end make it easier to track down the "Money Shot".
raspivid -sq 180000 -o /media/untitled/Video04d.h264 -t 0
translation of the above :
raspivid <- tells raspian that you want to do video
-sq 180000 <-length of time each video will be
-o
/media/untitled/Video04d.h264 <- file path, video is a raw H264 format and will need conversion
-t <- Time
0 <- zero means that the sequence is infinite need
Step 10
Once you have finished filming you'll need to convert things
http://www.raspberrypi.org/forums/viewtopic.php?t=44258&p=545741
the end result video above was edited in FCPX and accelerated 28000% so that you can view the entire 7 hours of video in a relatively short time frame
if you have any questions I am happy offer advice if needed