 deʃhipu
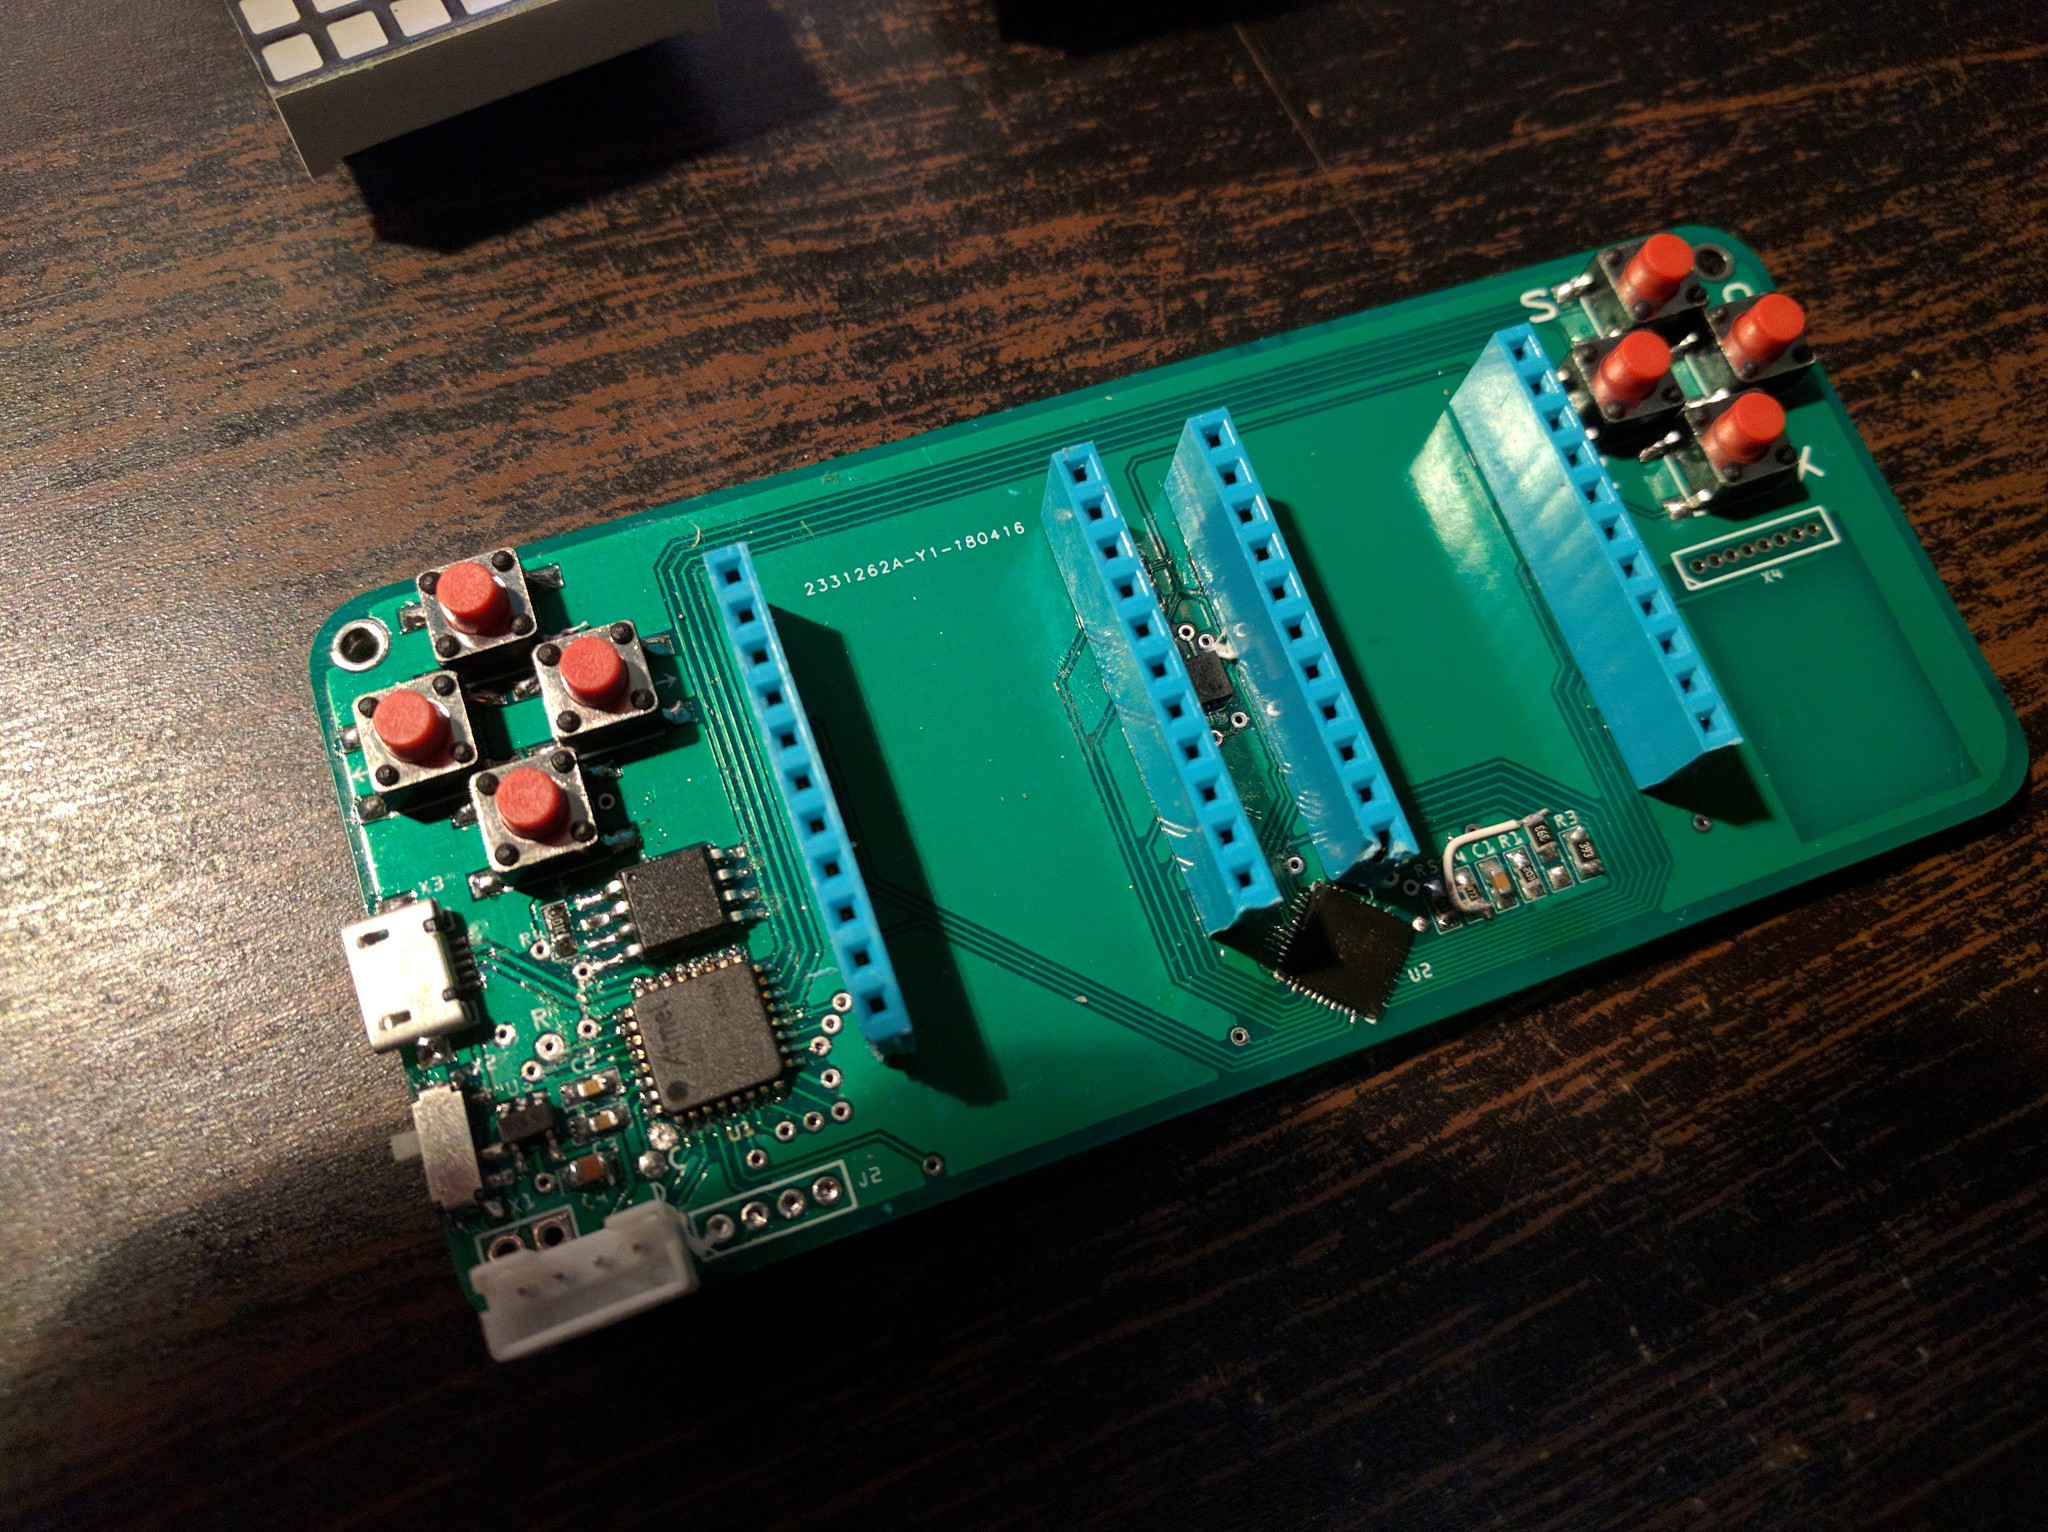
Turns out the hot air gun helps, but not nearly as much as I hoped. And putting other parts on top of your part, to make the rework impossible certainly doesn't help. Long story short, I had to desolder both matrices (suction tool helped a lot), and rework the chip. When assembling it back, I decided I don't need the sleek look for now, and instead I would like ease of debugging, so instead of matrices I soldered female headers that I can plug them into:
But even then not all the rows would light up as they should:
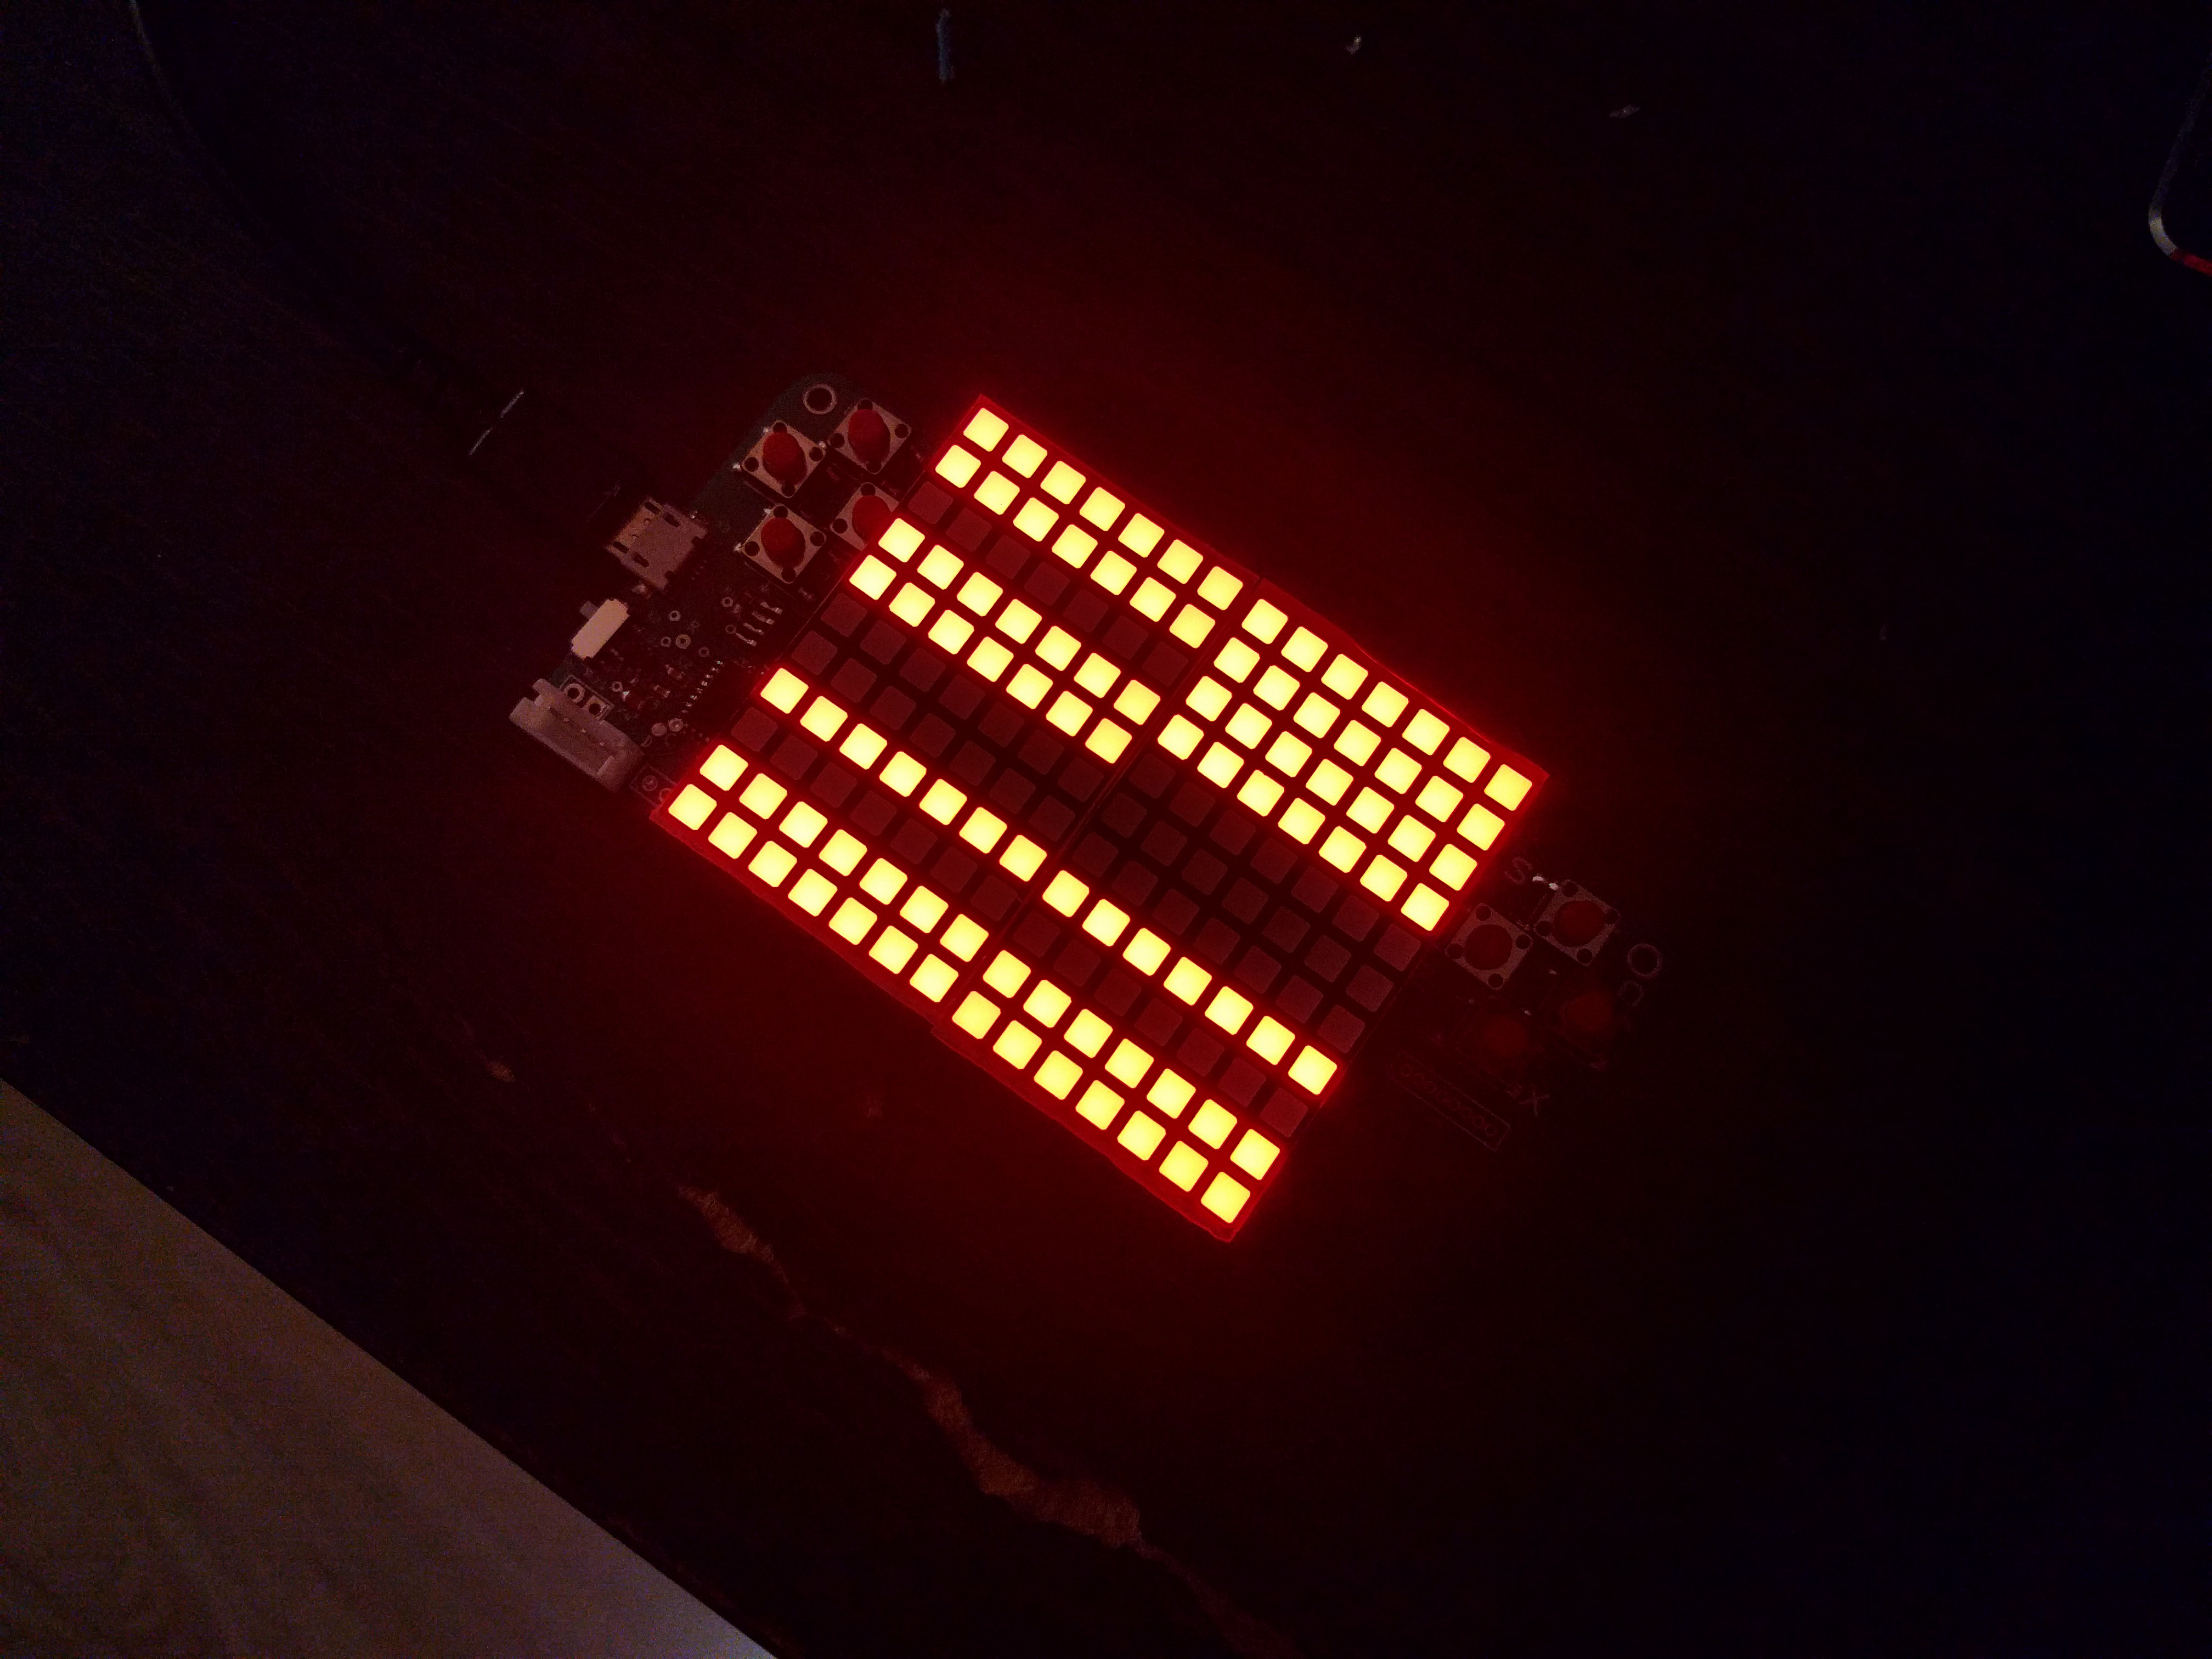
Hmm... but that can't be a bad physical connection, because only half of the row is dark... it took me embarrassingly long time to figure out that I didn't enable all the pixels in the driver! Once I got that right, it was just a matter of figuring out the row and column reordering, and I got this pretty gradient:
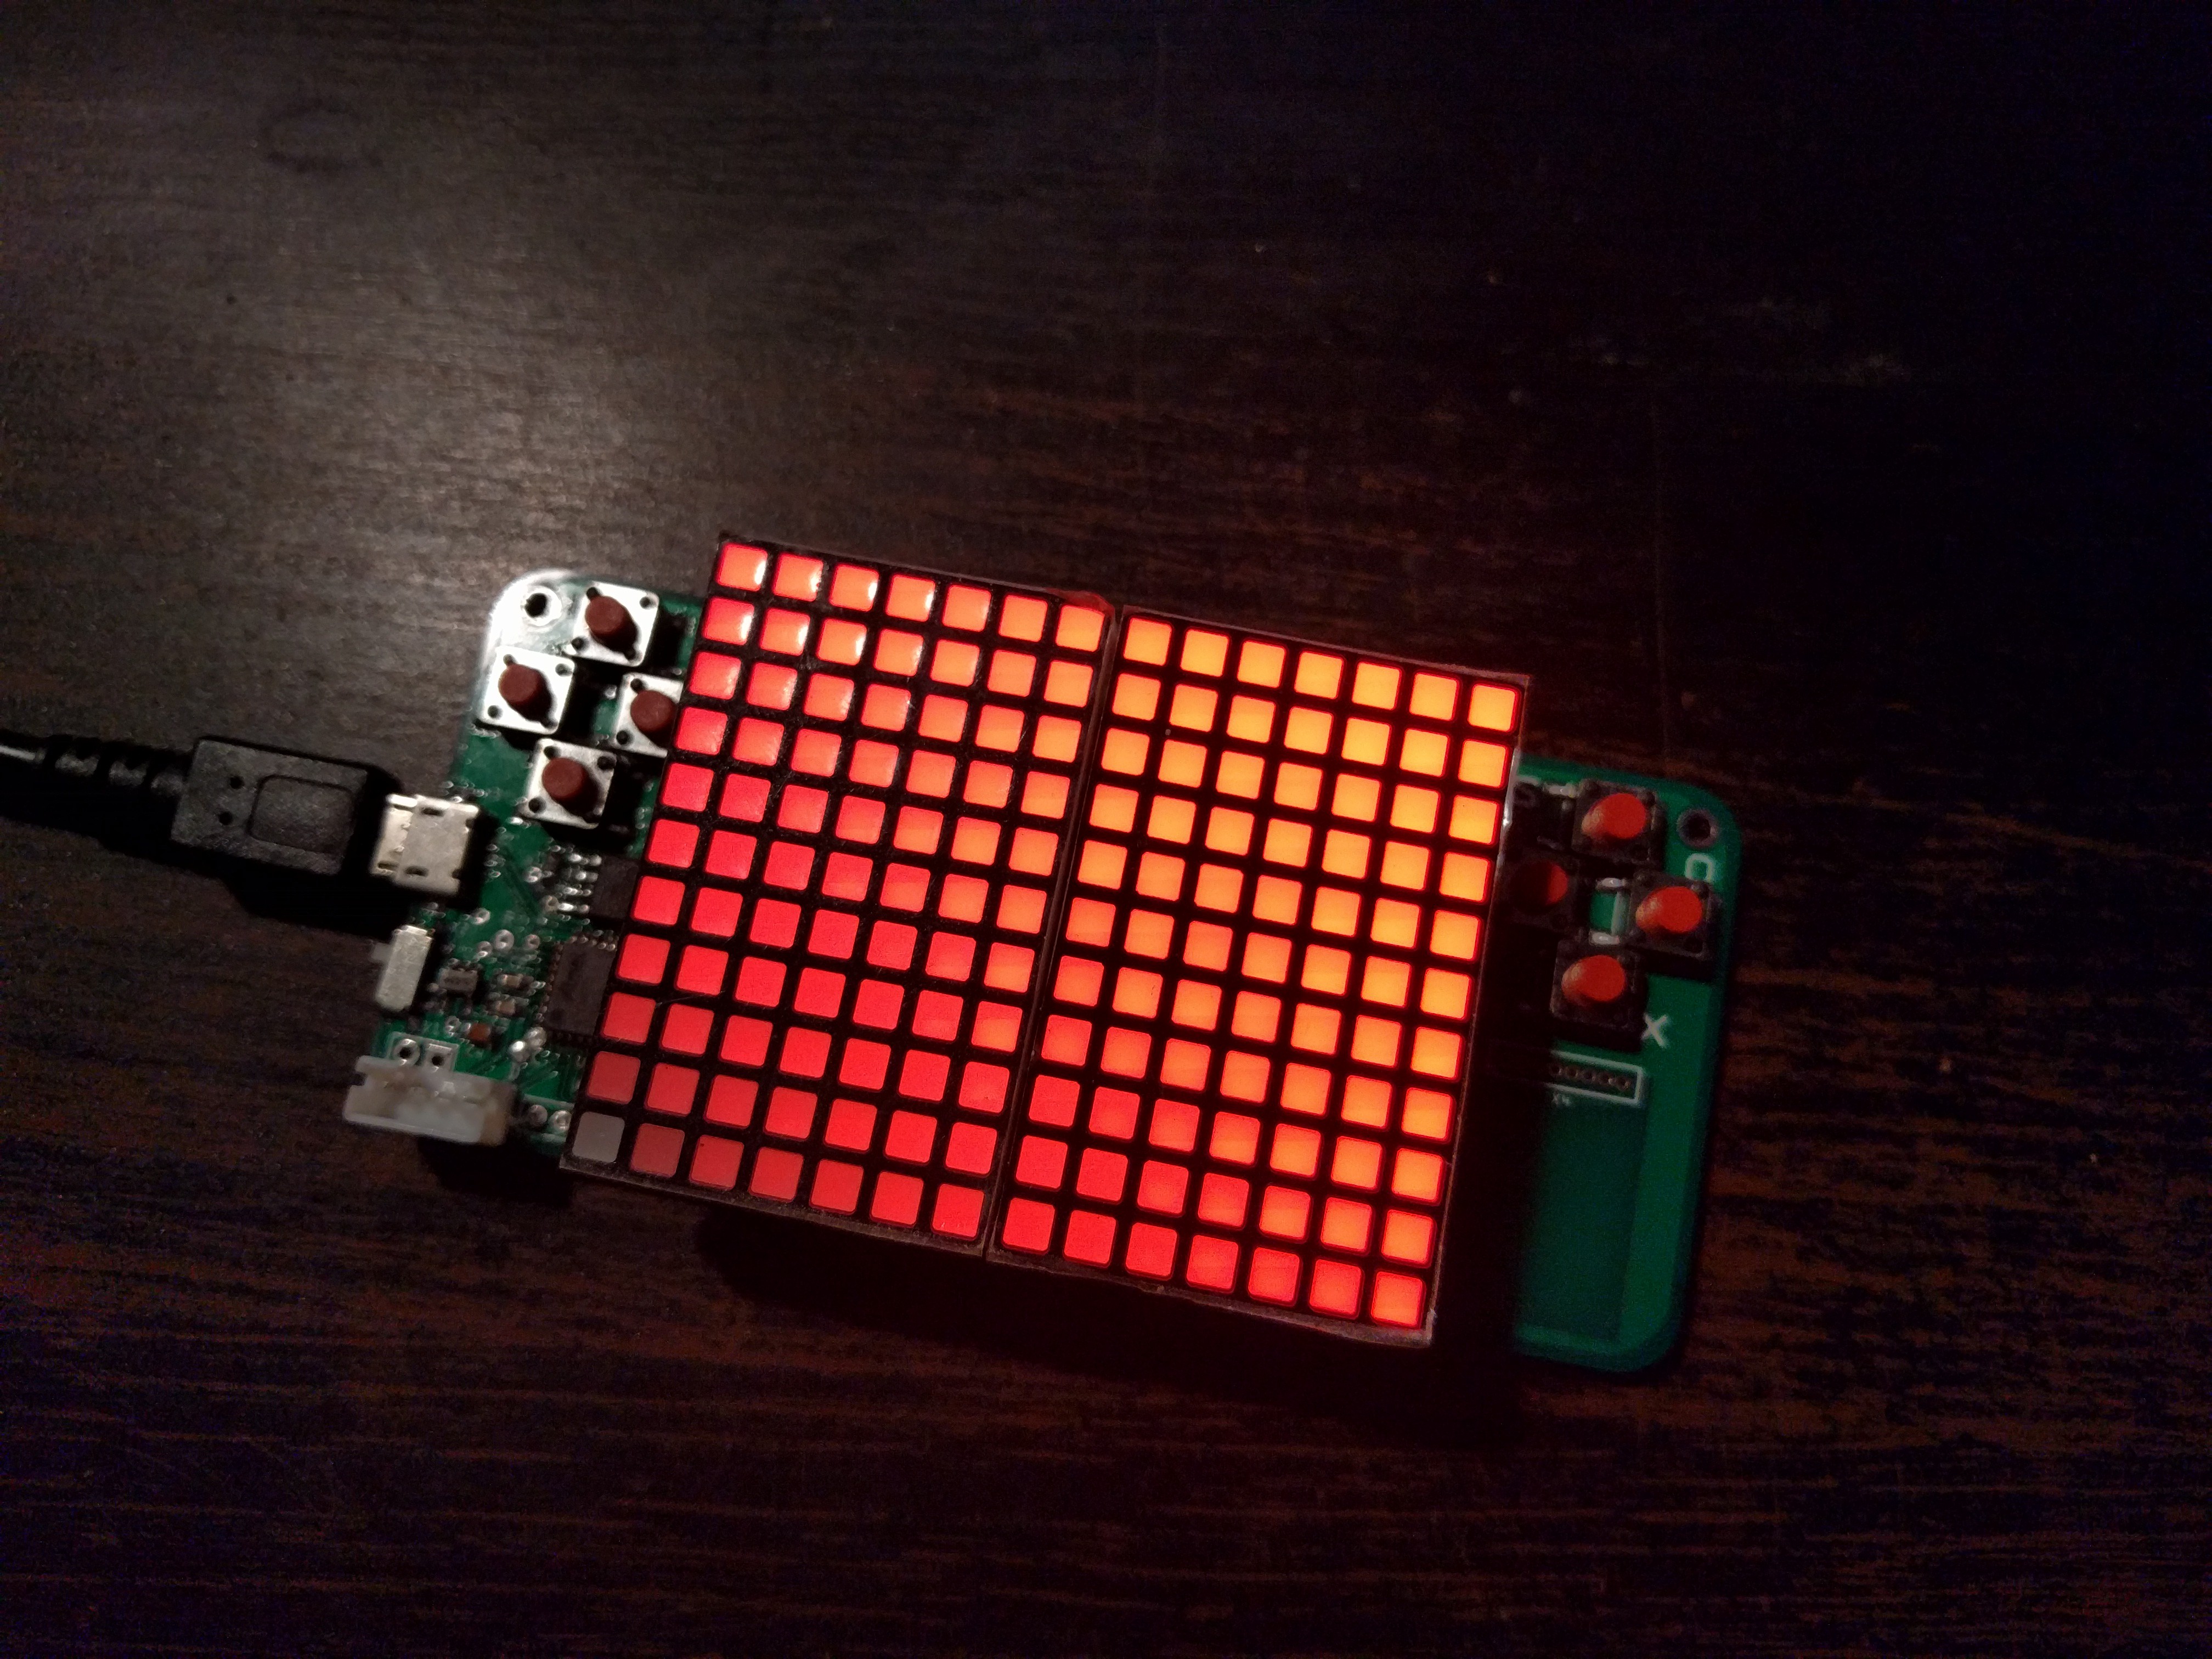
I still need to add gamma correction, so that the steps seem more equally spaced. I think a logarithmic scale will work nicely for that.
Thanks to all the code I had already for #PewPew FeatherWing, I already have scrolling text support and blitting, so I think I'm pretty much good with the display. Next I will need a driver for the accelerometer and the NRF25L01 module.
I will also need to write some example demos for it, so that people can customize them.
Discussions
Become a Hackaday.io Member
Create an account to leave a comment. Already have an account? Log In.