It seems there's a little configuration problem with "http://beestalker.eu";.
Please use http://www.beestalker.eu to avoid this problems!
So how is it planned to work? Well, it's simpler than you might think. Look at the great work the guys over at Let's Encrypt have done. Basically this will be the same but in a very small and confined space.
You'll set-up a server with SSL. So your nodes are able to verify that it is you. On deployment of your node, you'll give them an own client certificate. Using this, you can always authorize each and every node with ease.
This project will come up with all needed parts to quickly bring your devices online.
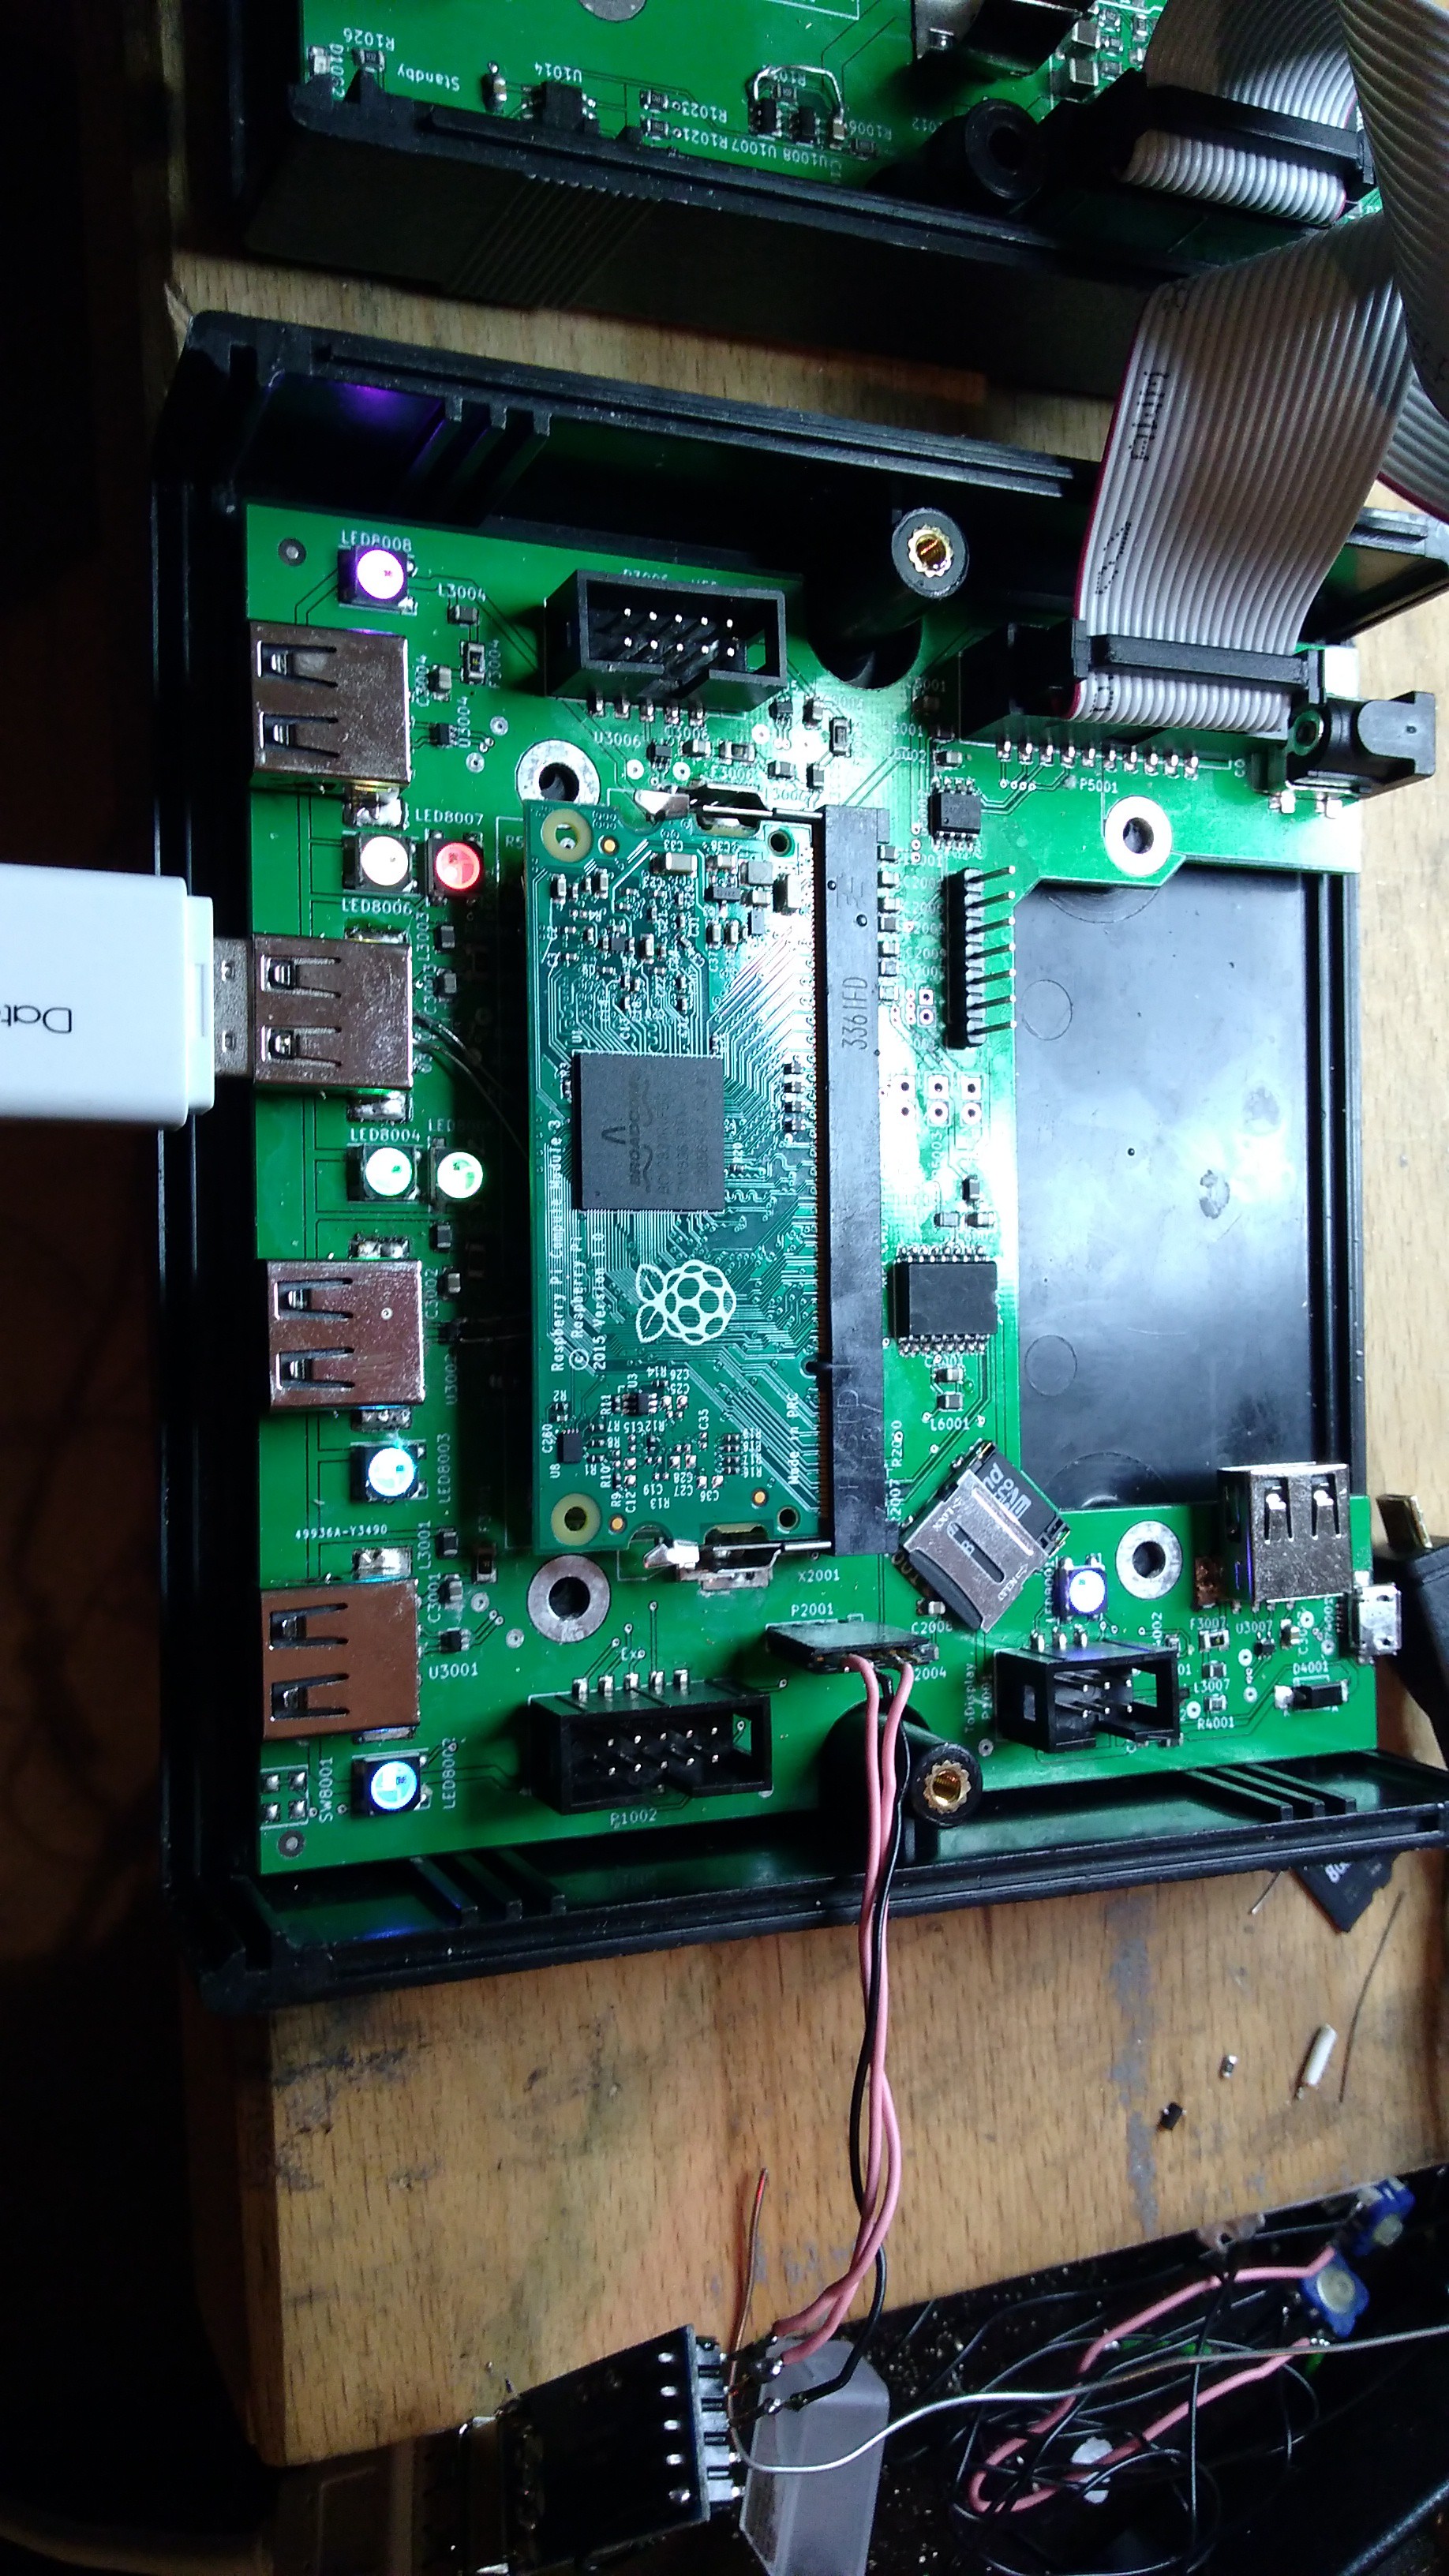
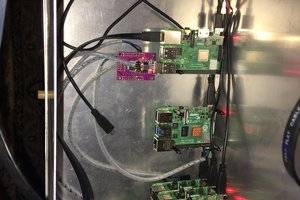
First will be a node... in my case it will be BeeStalker, a nice Raspberry Pi powered bee-hive monitoring (actually it's all about the weight) thing which urges to be part of the internet.
Second will be the basic script-set for key-generation and all the wired and wonderfull stuff needed to get everything working.
Third is a integrated, turn-key solution.
Where are we now? Well, you can see a live-demo on https://stalker.beestalker.eu/
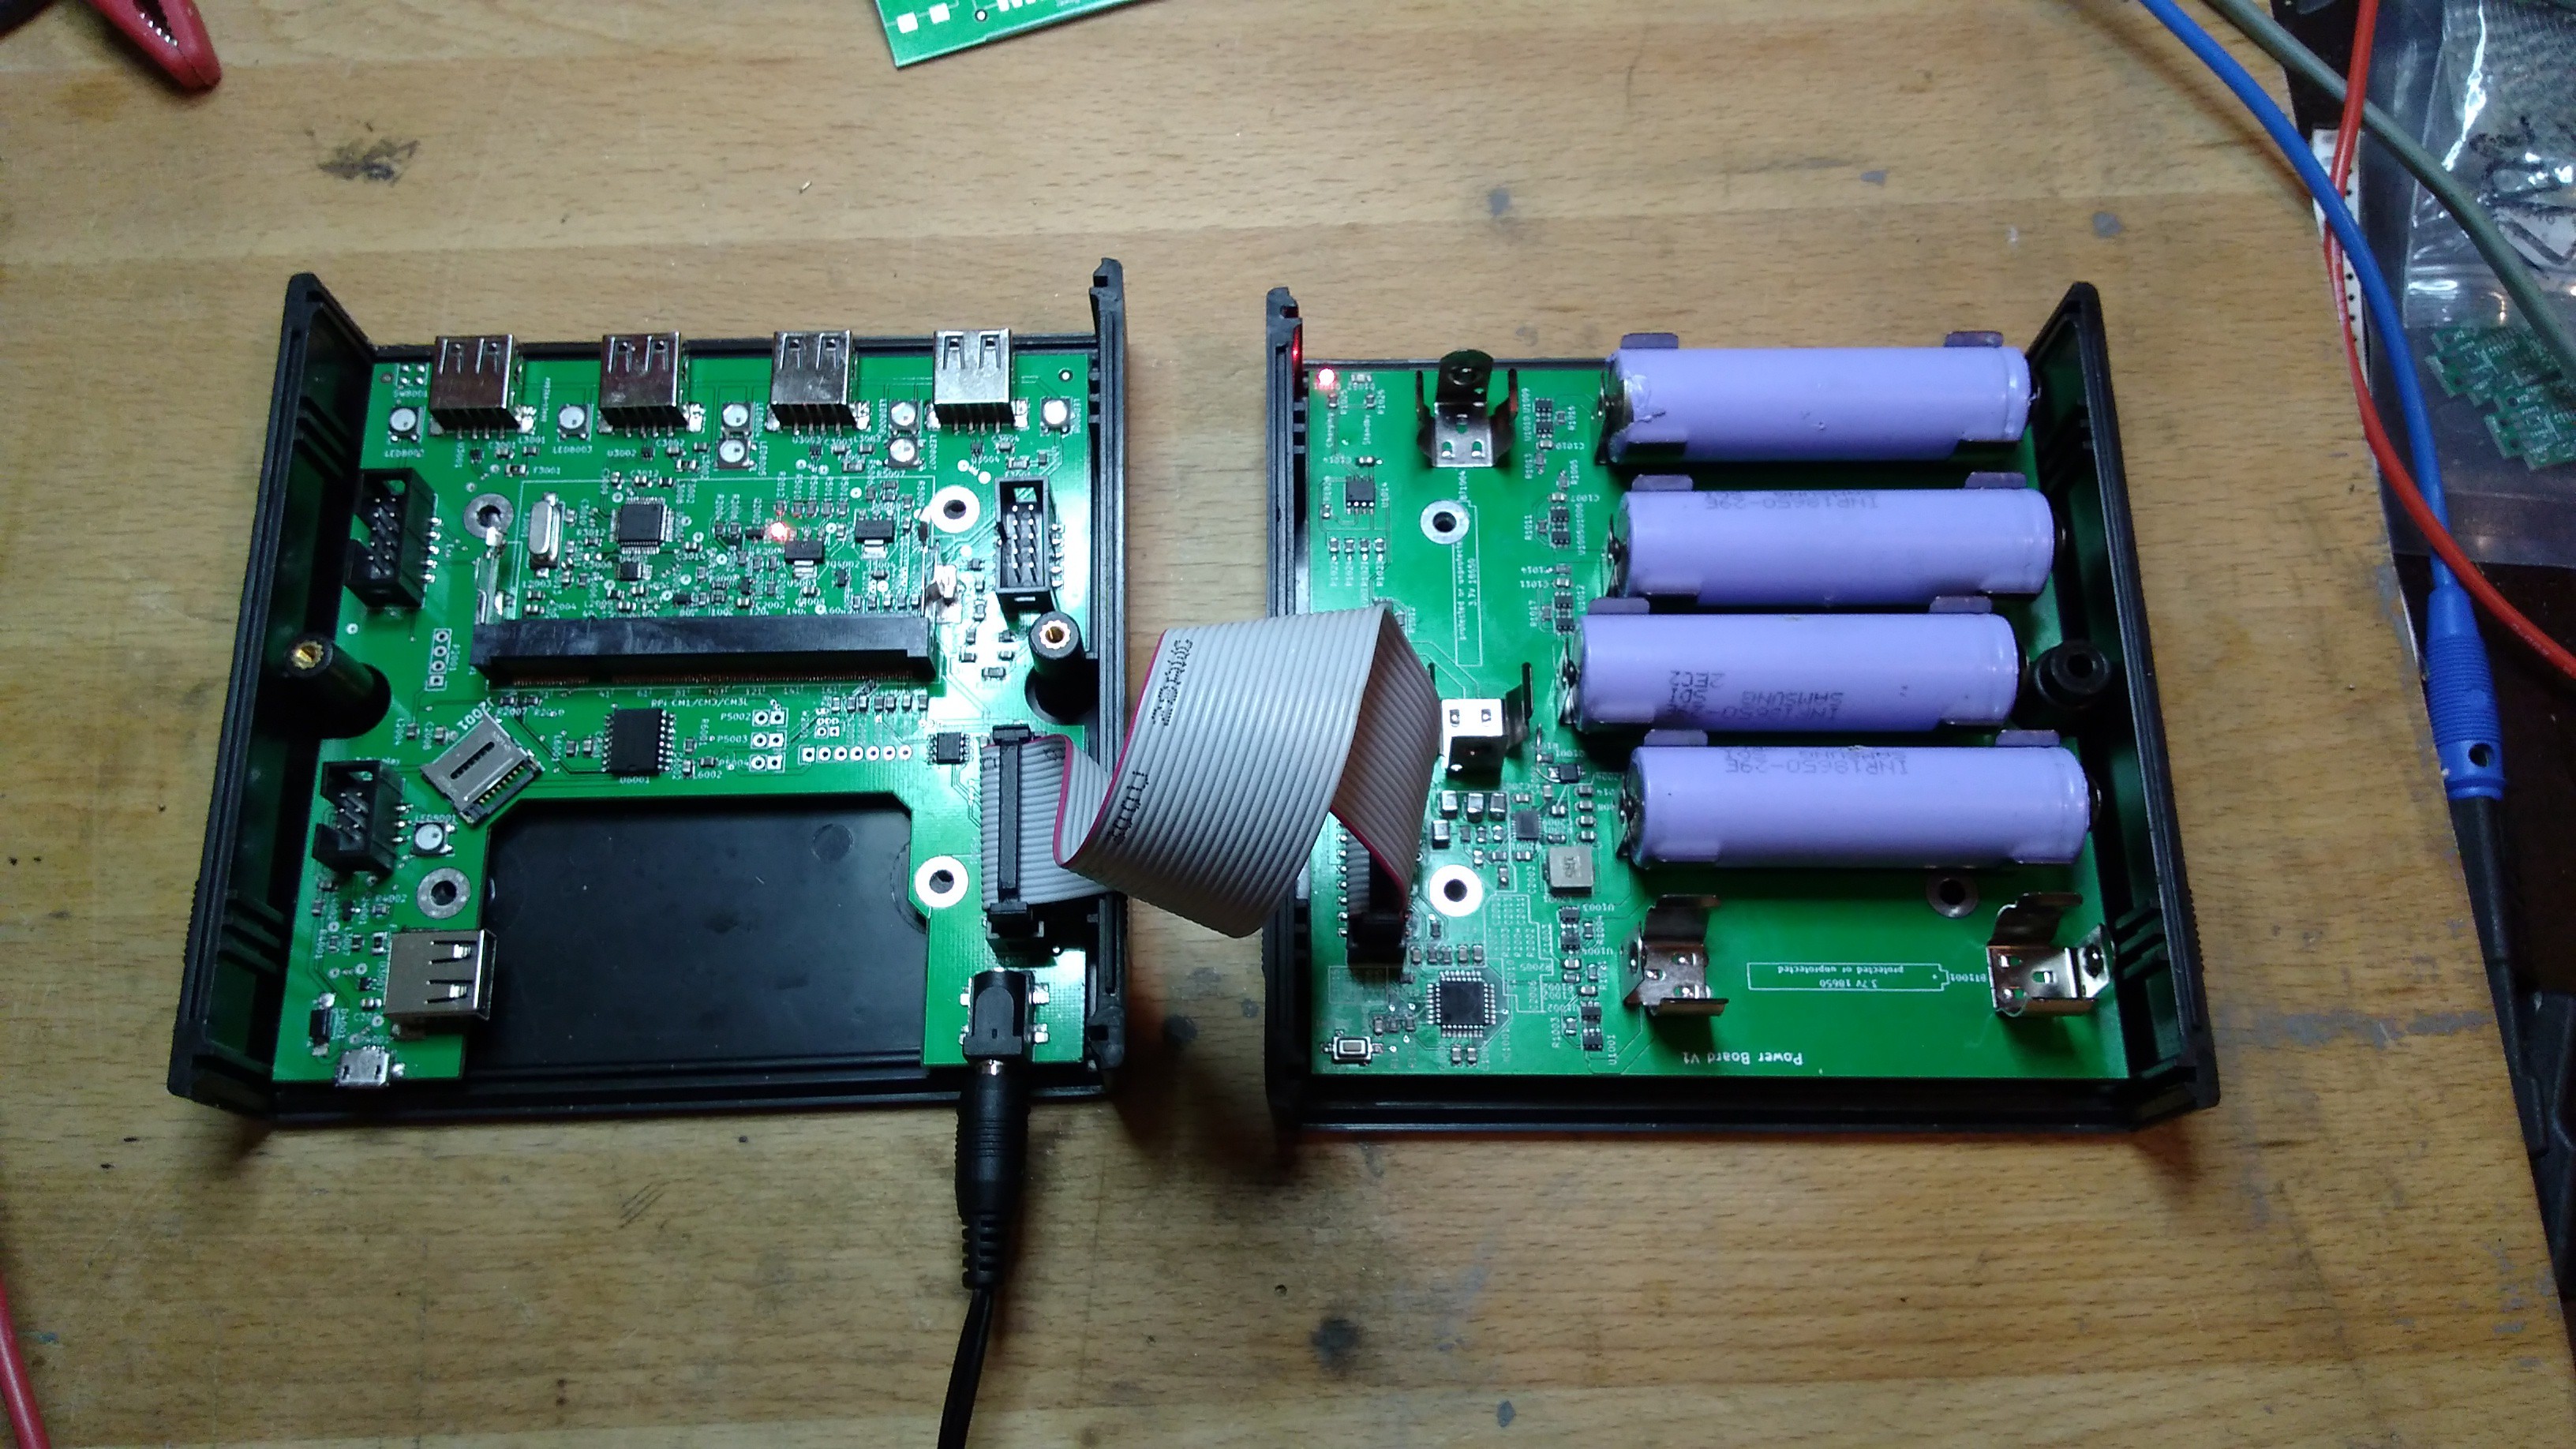
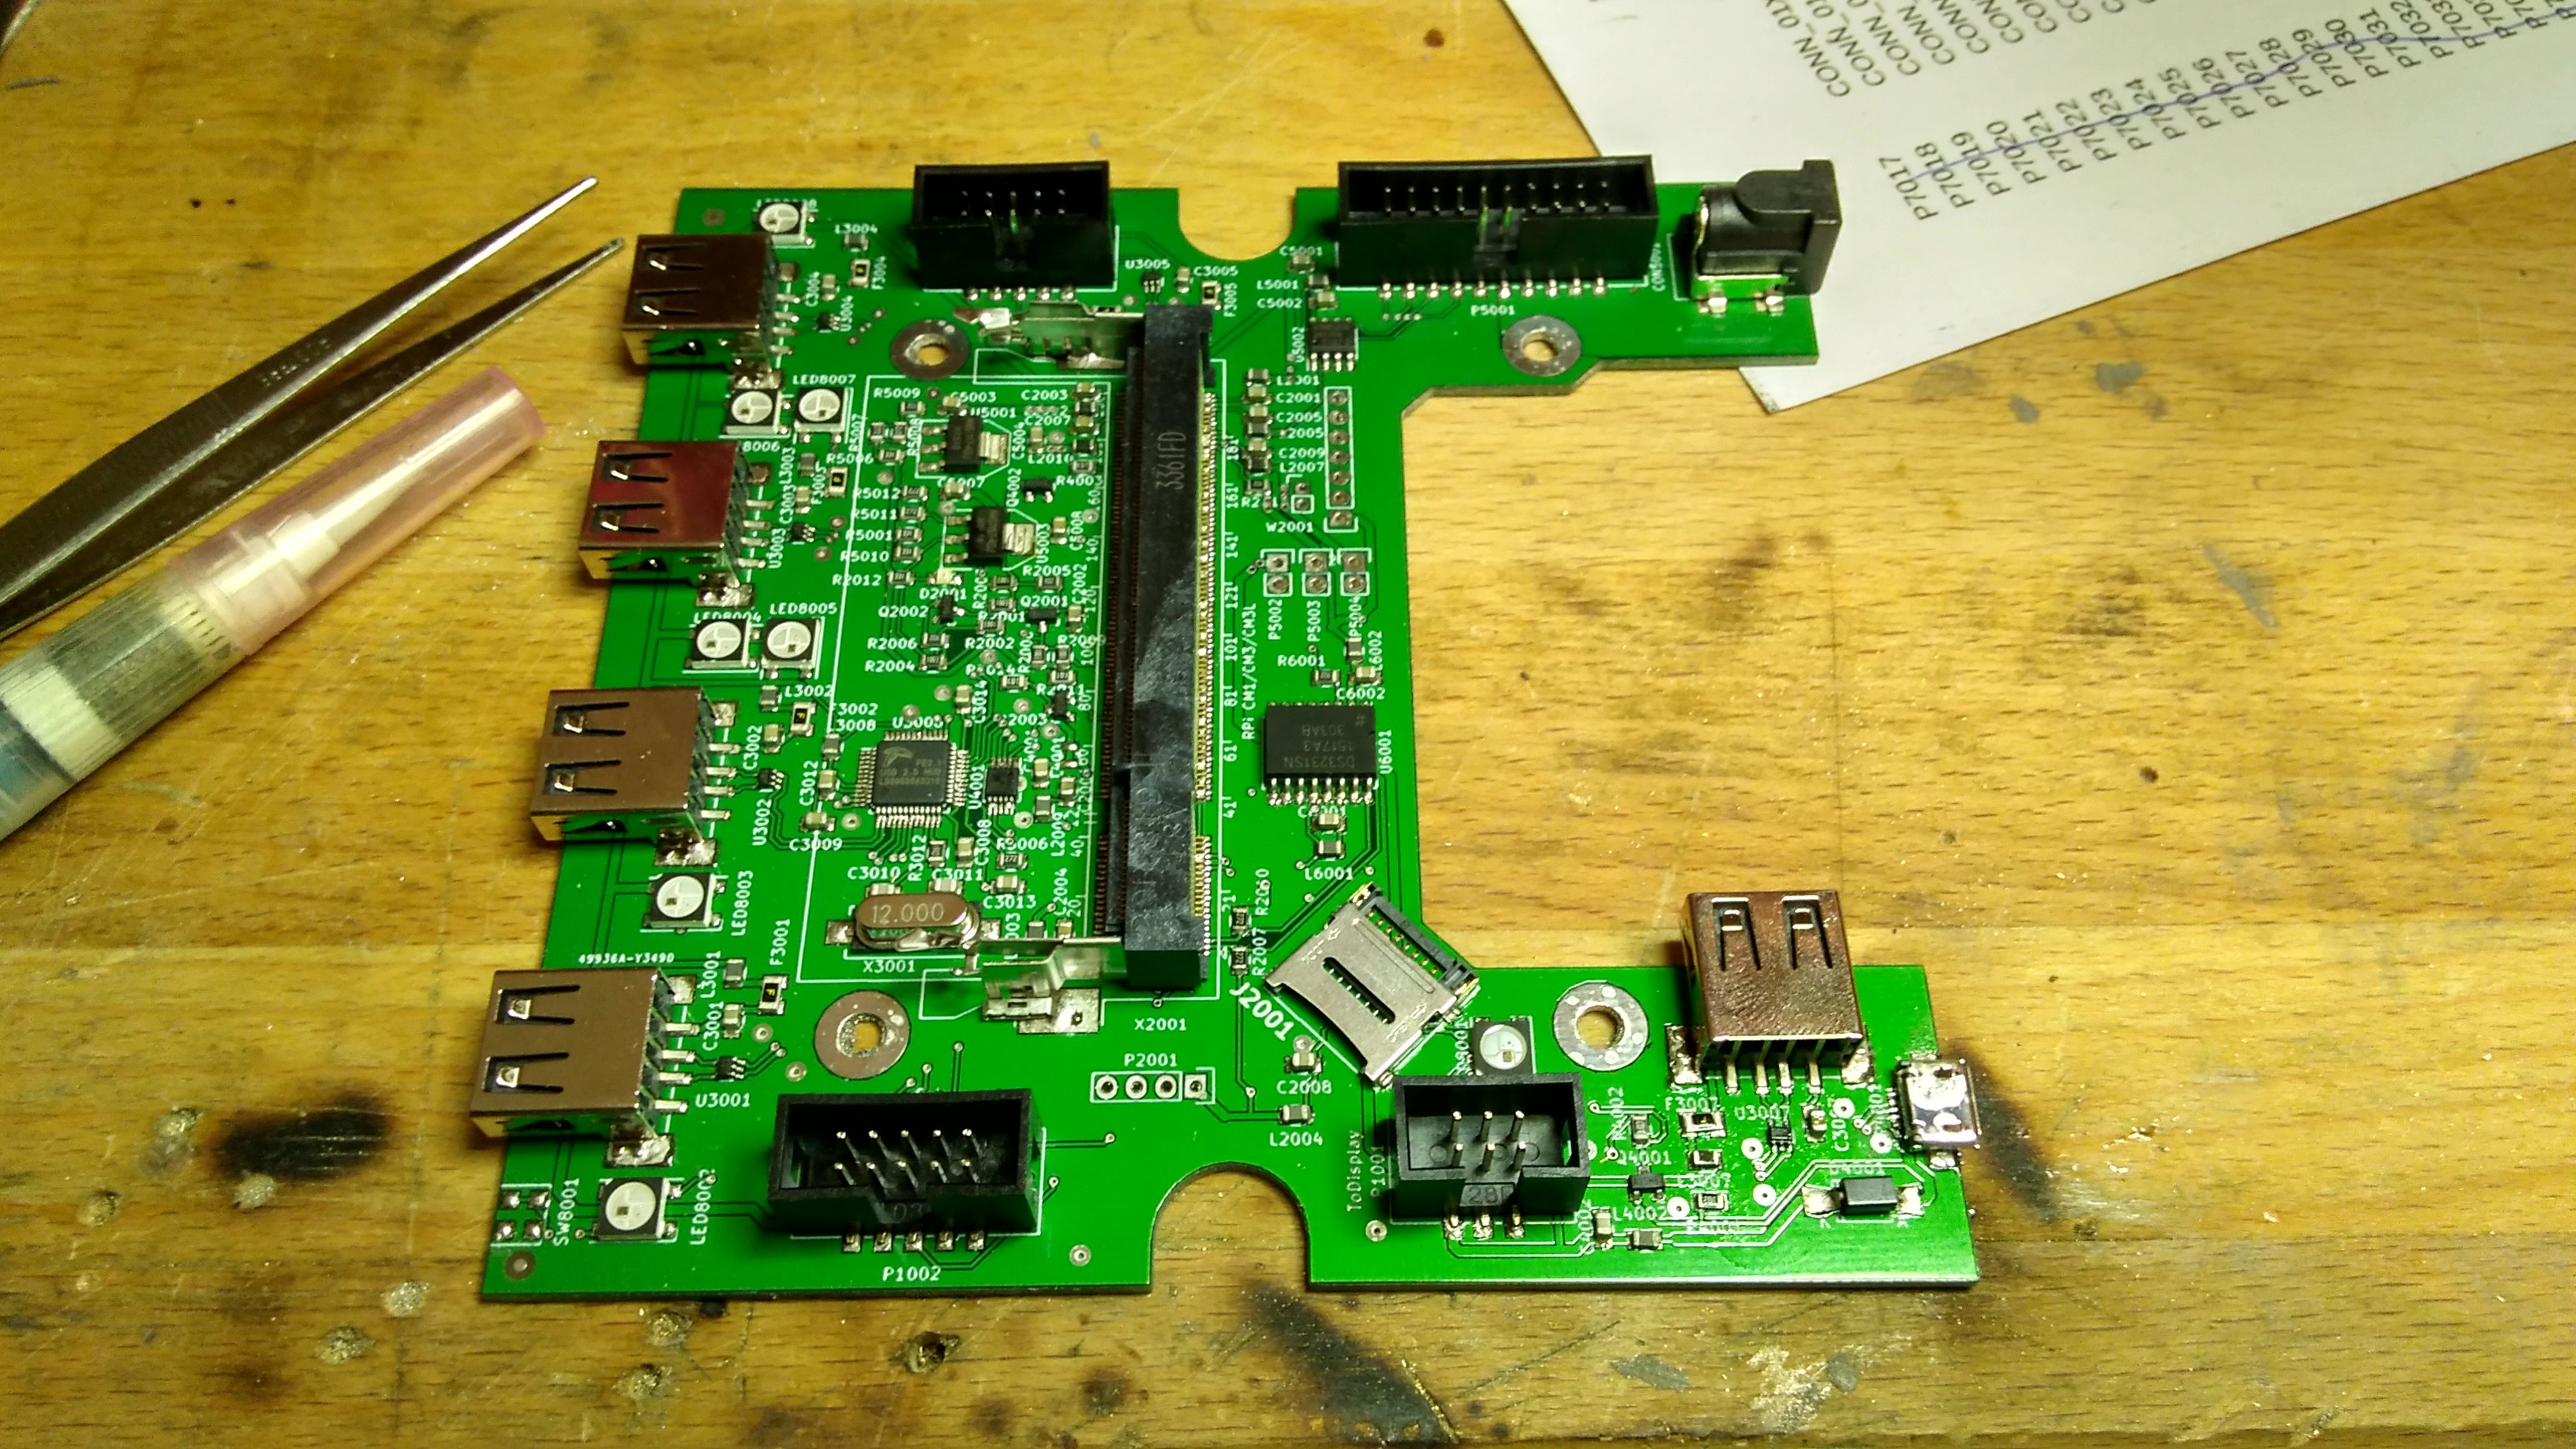
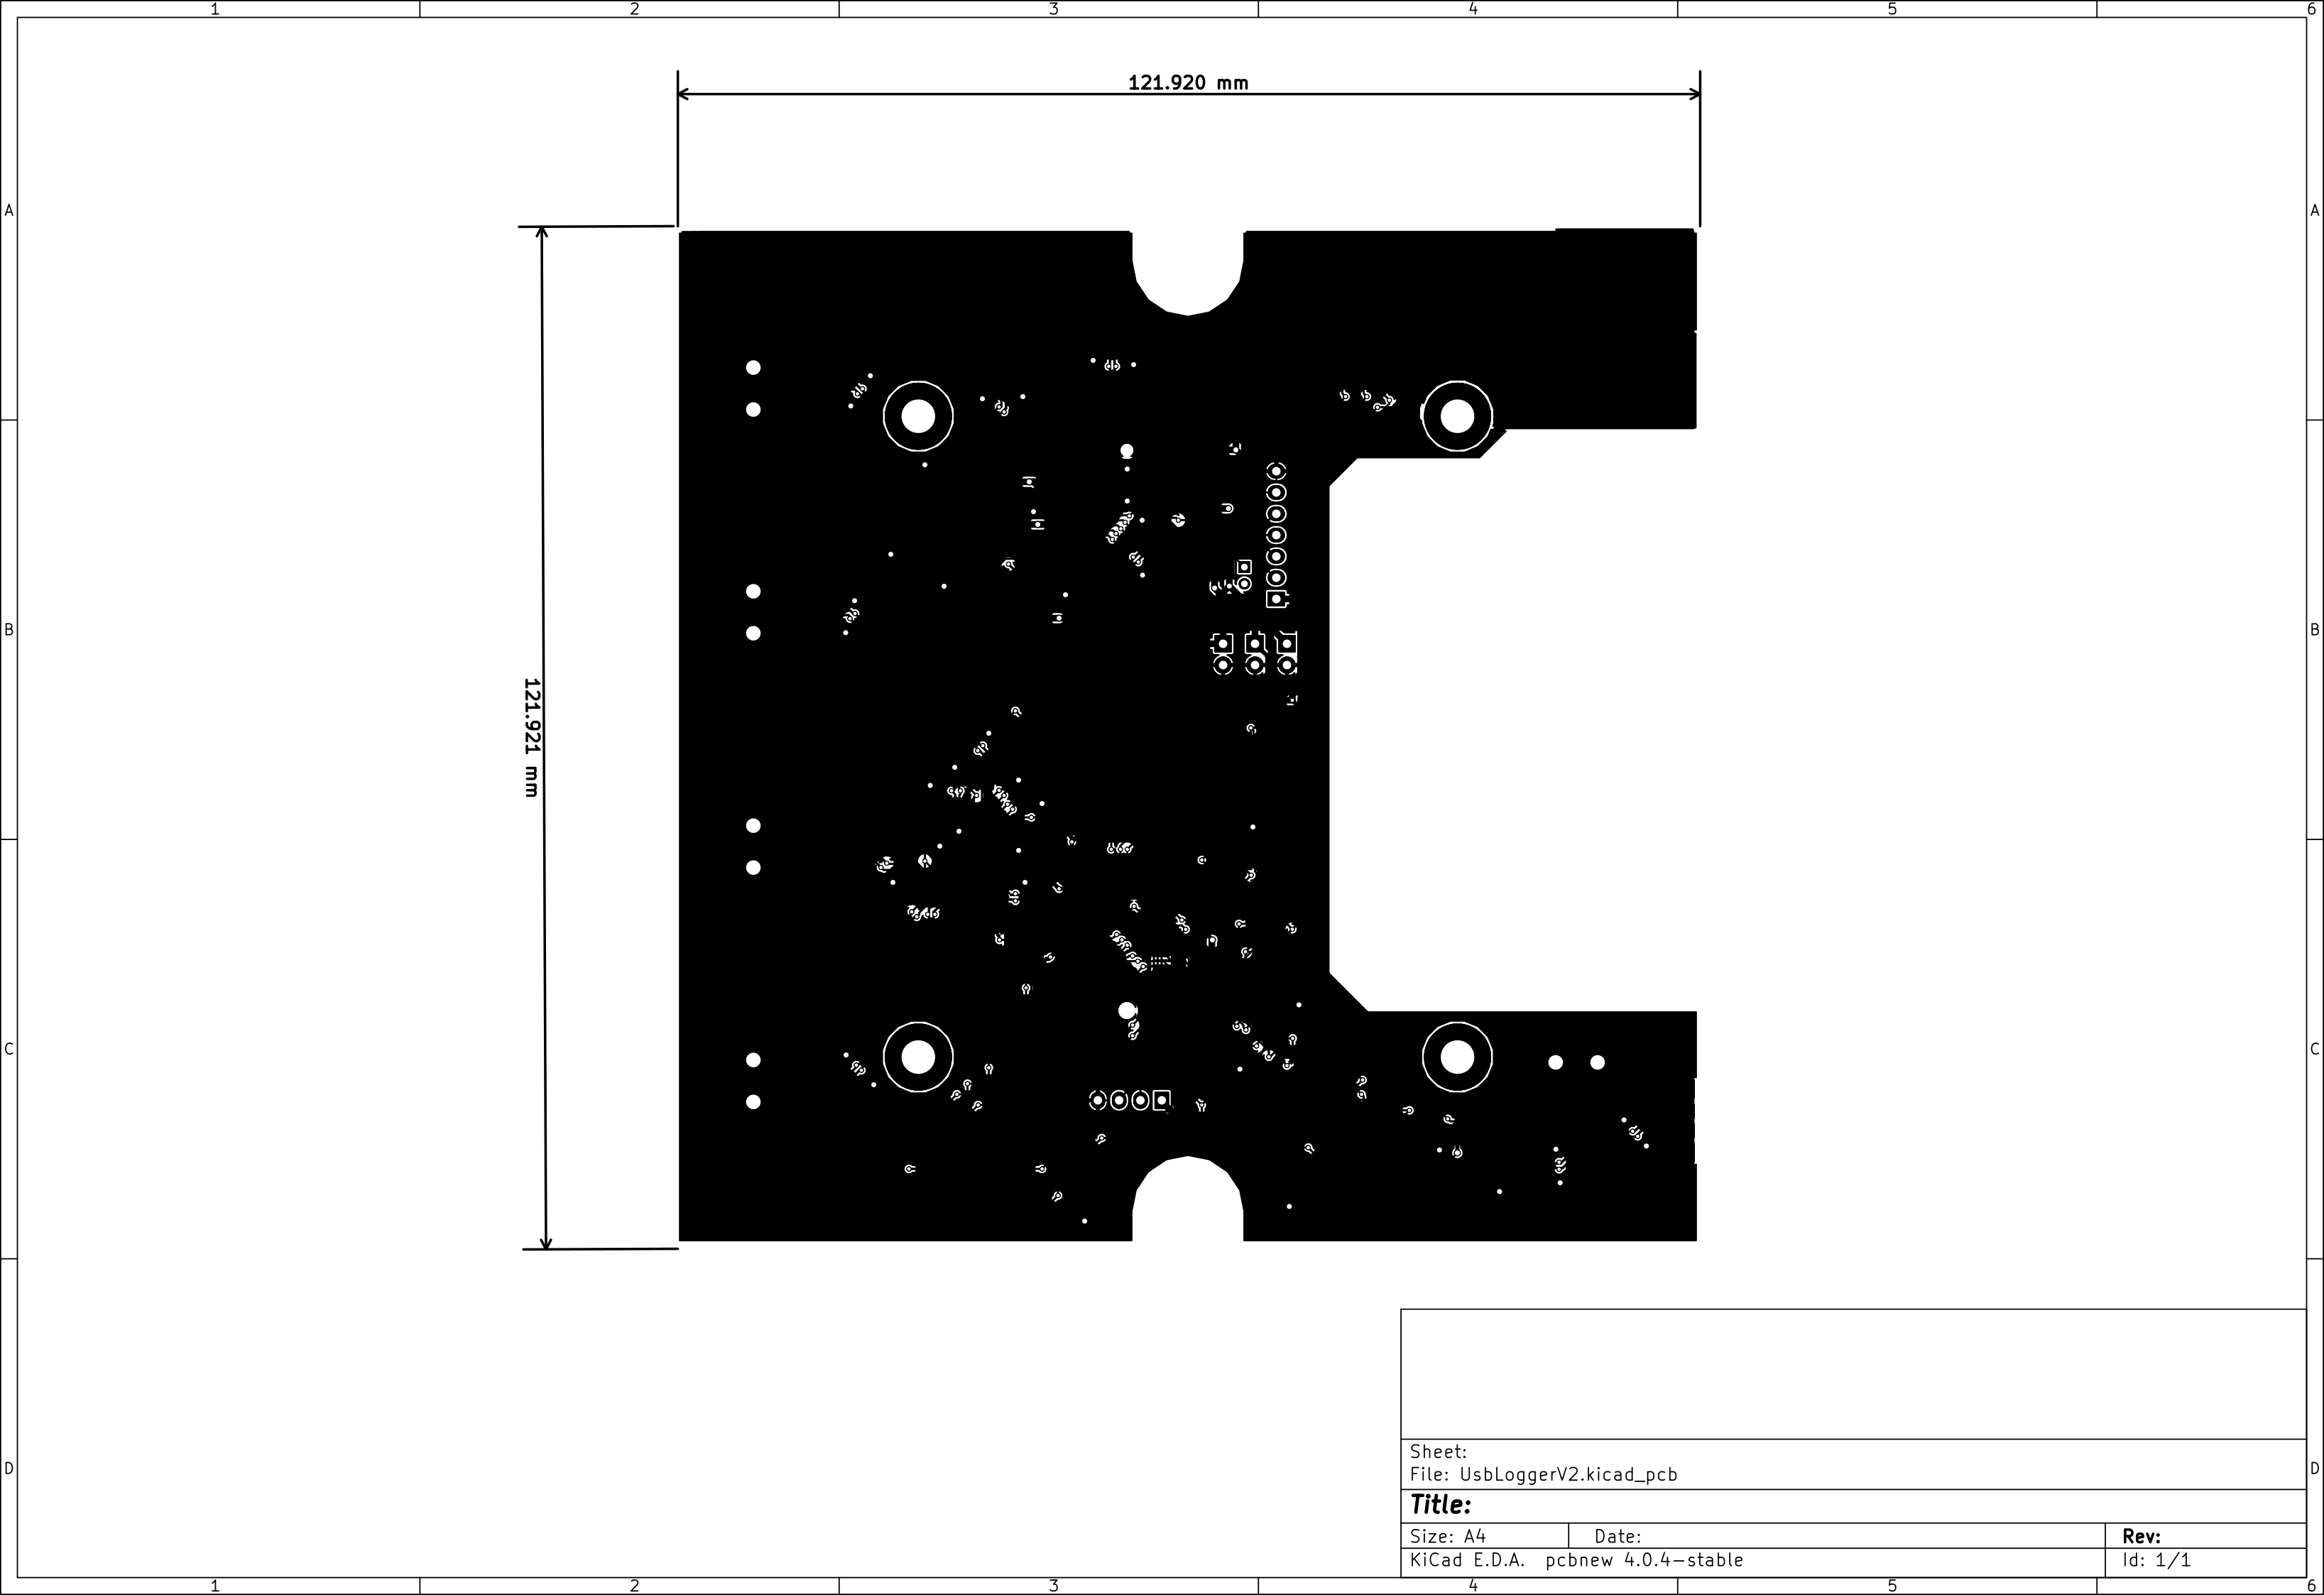
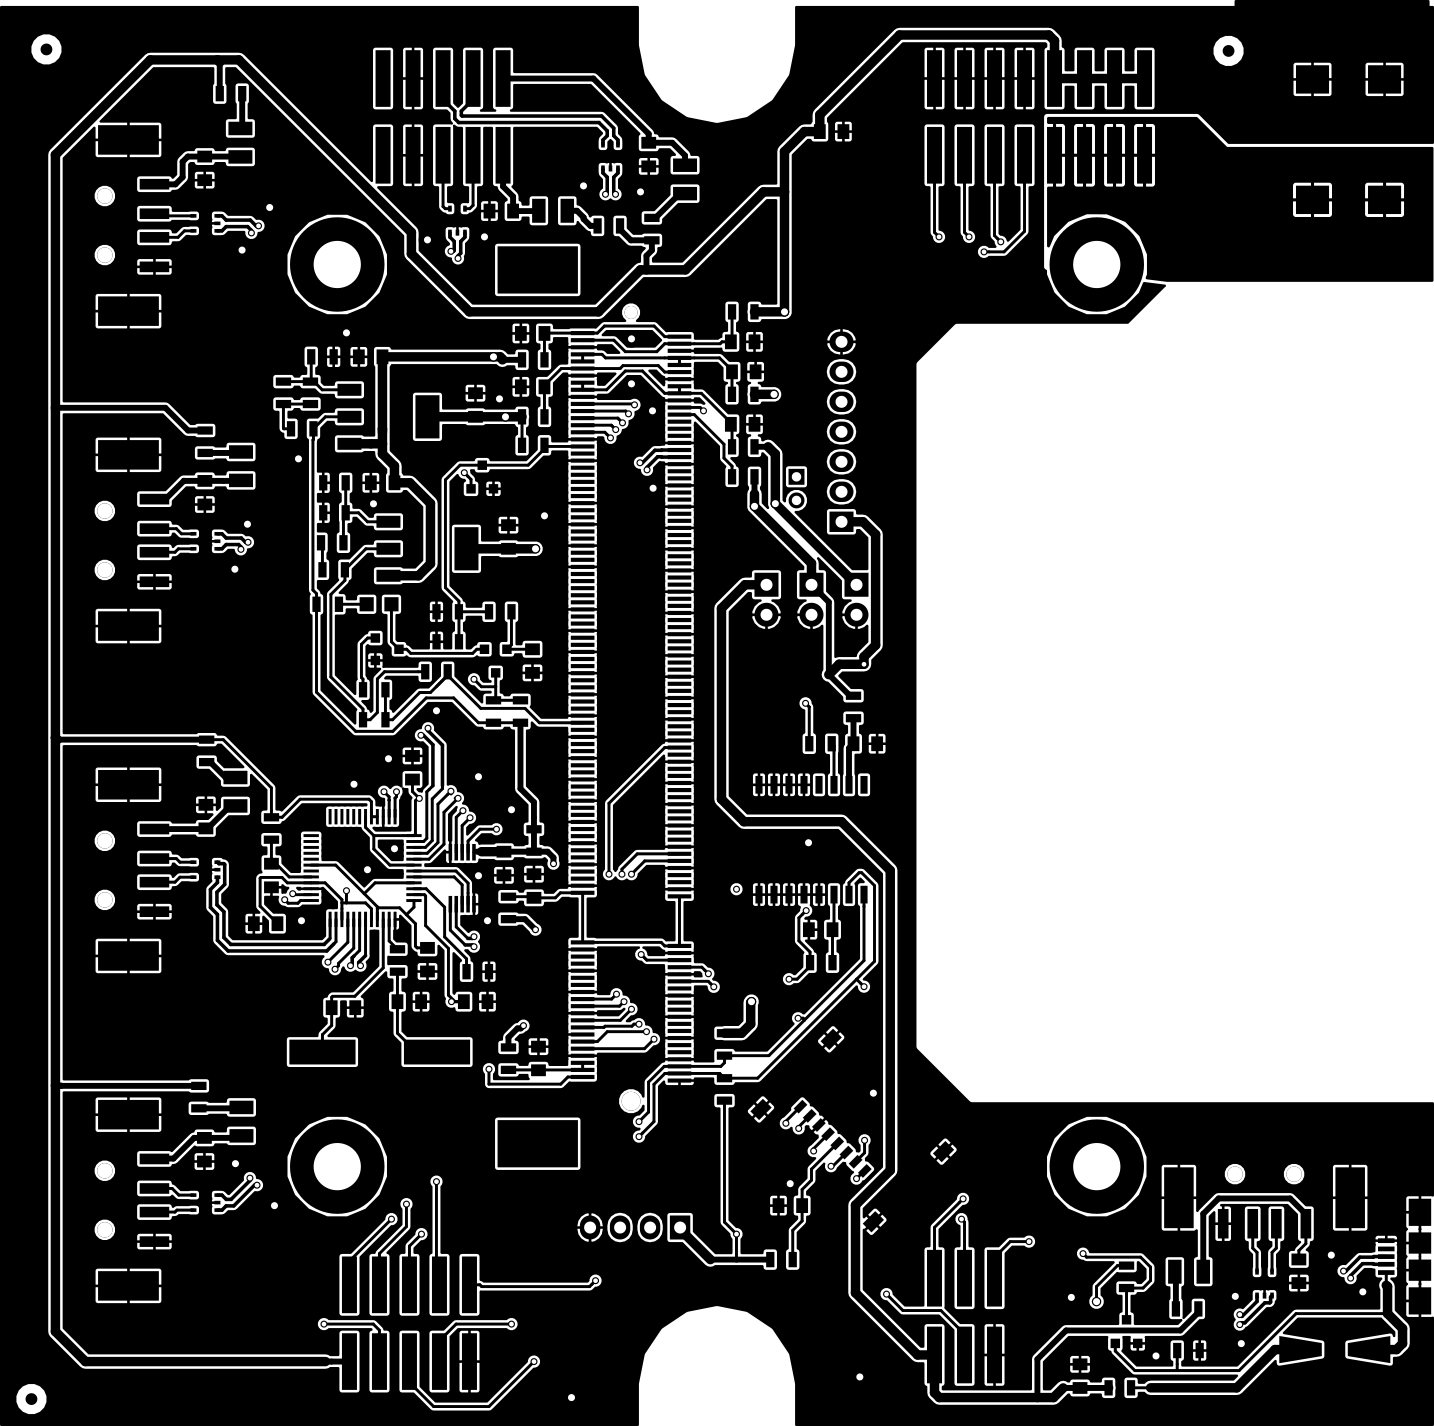
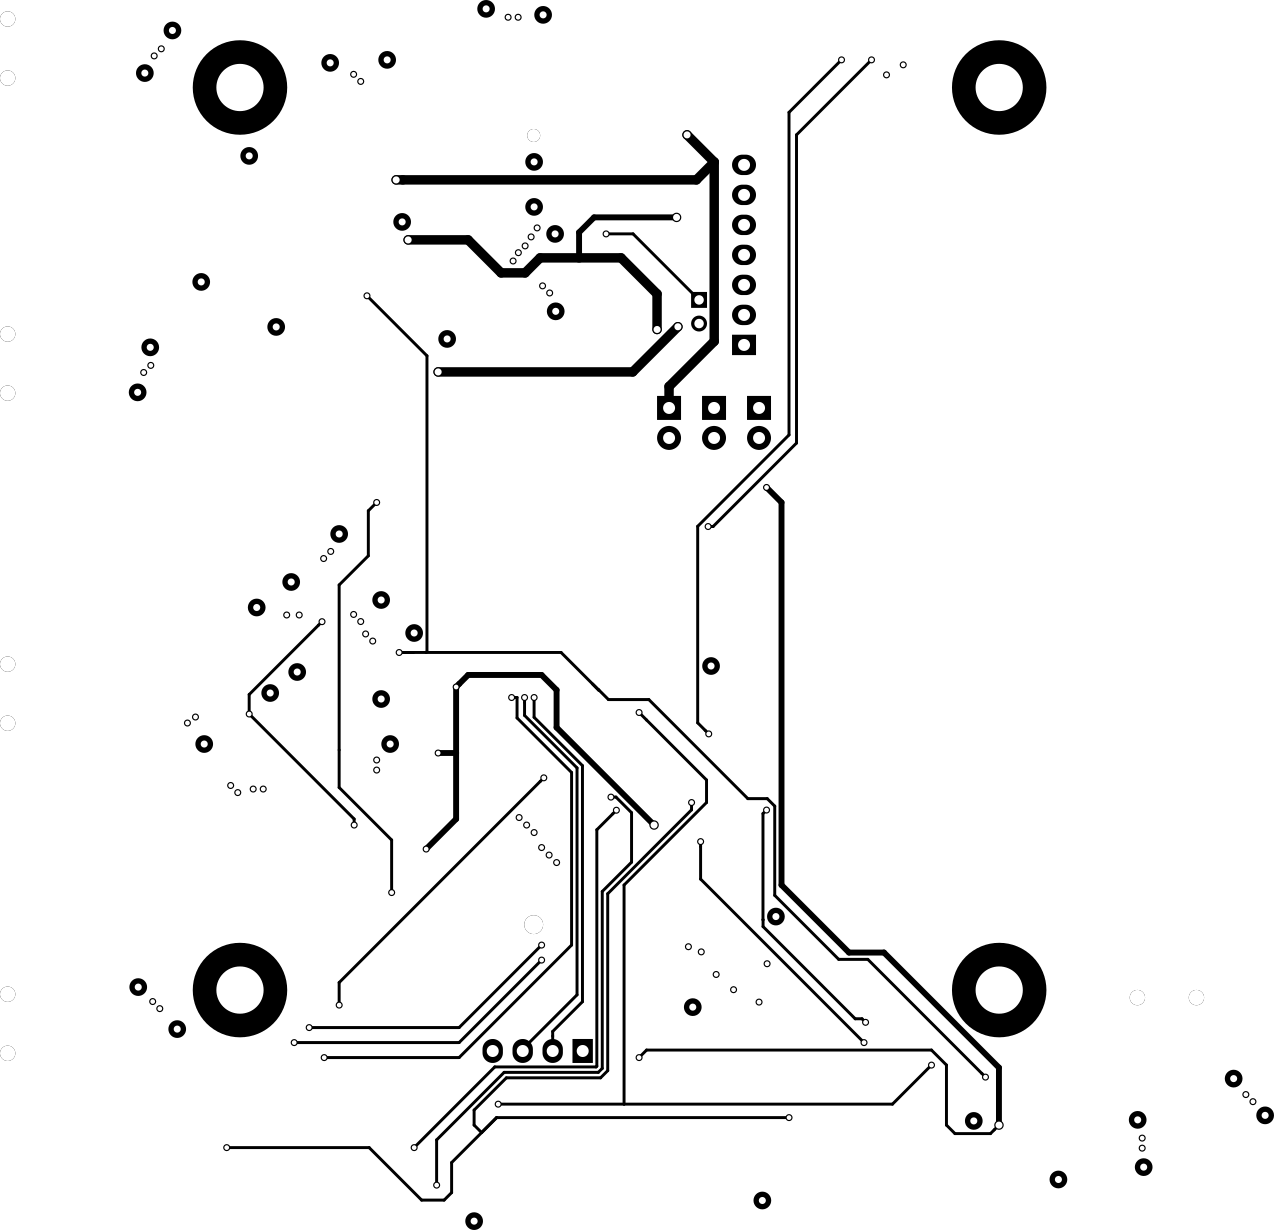
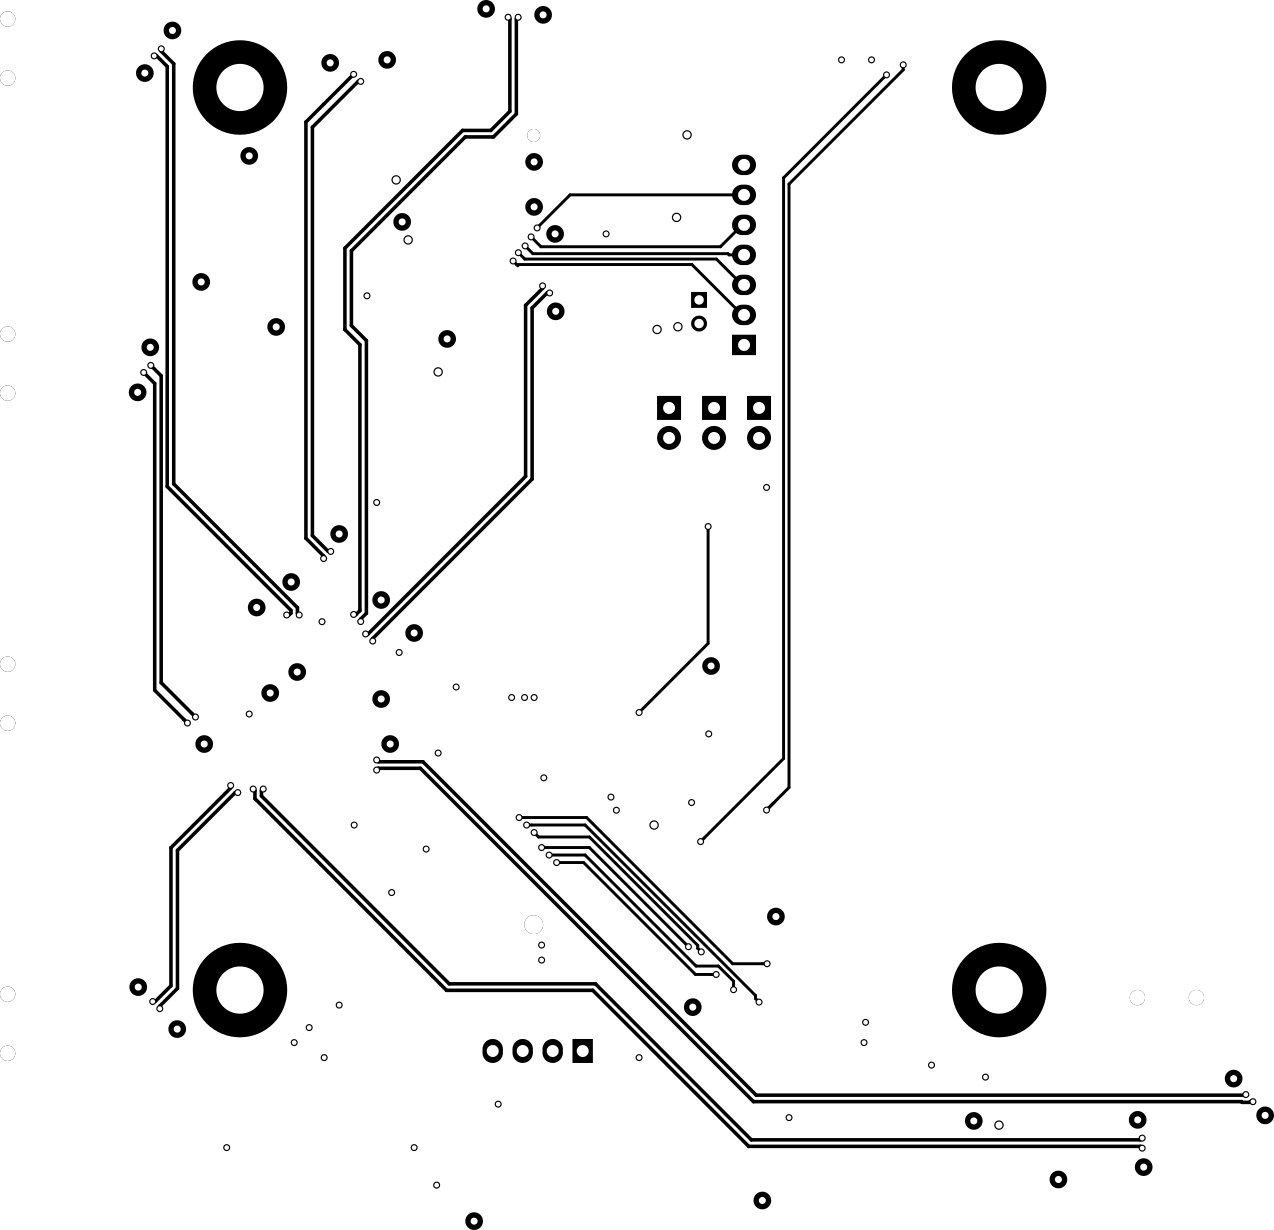
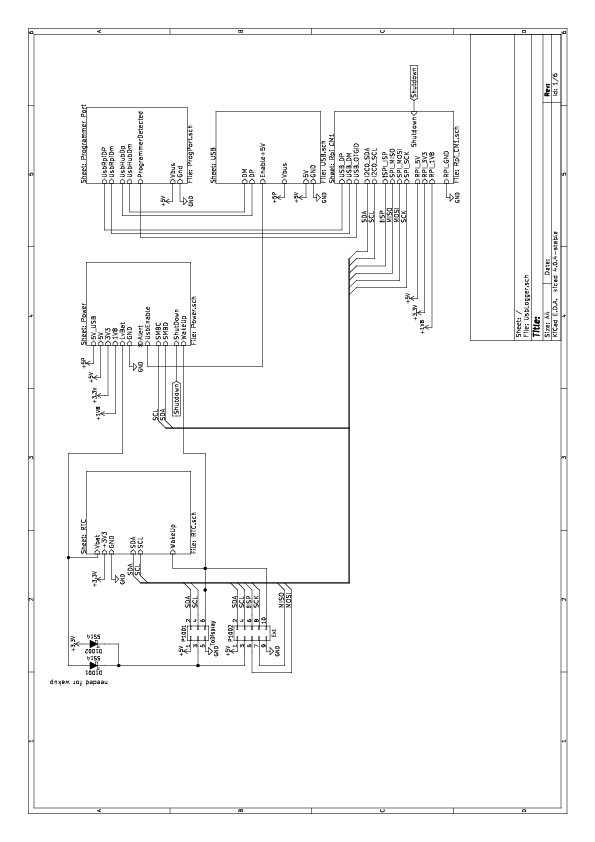
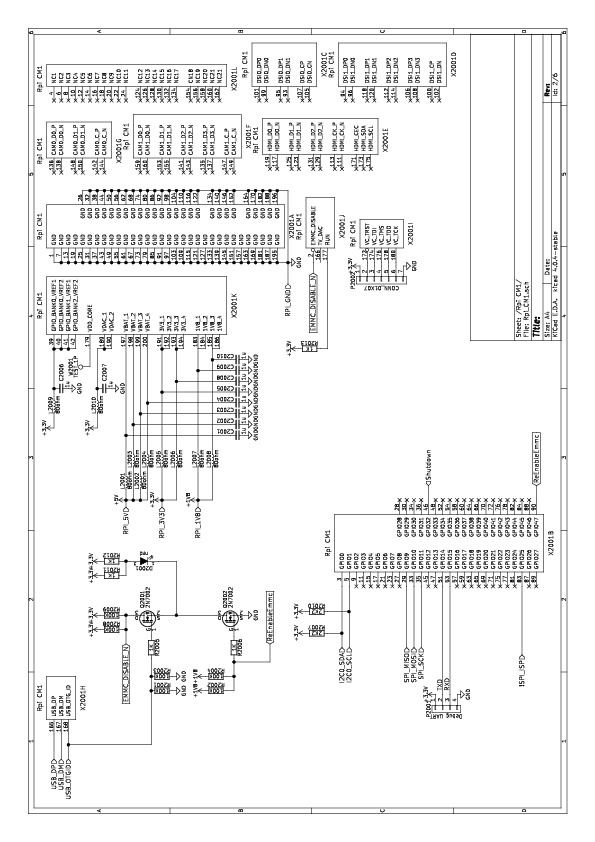
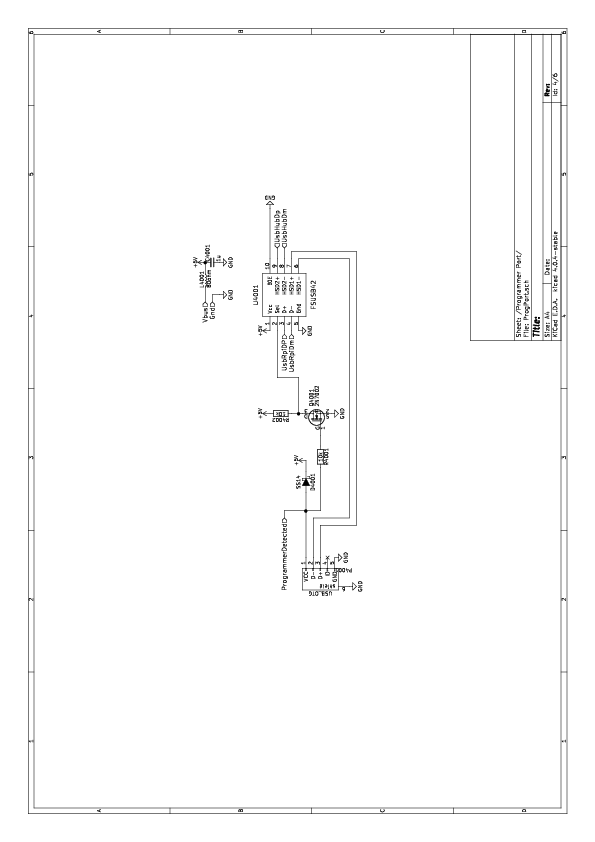
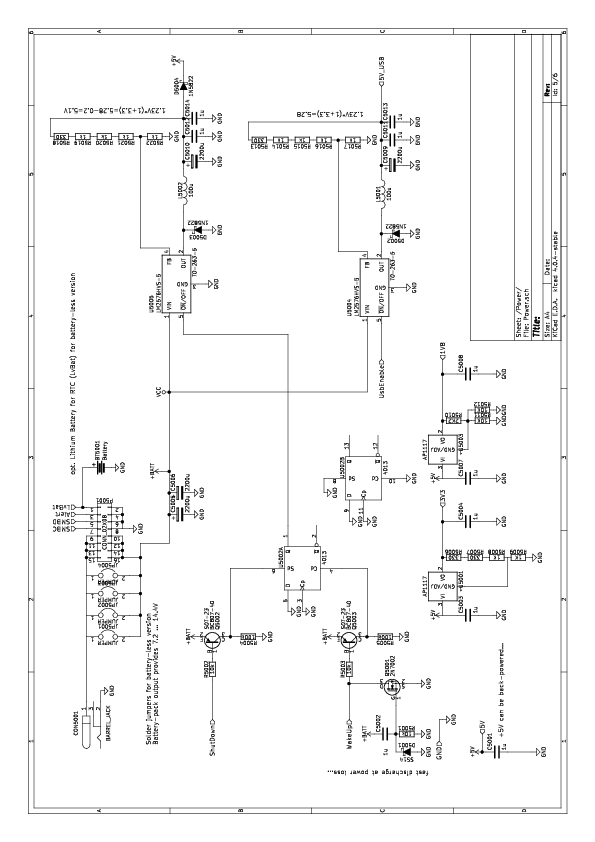
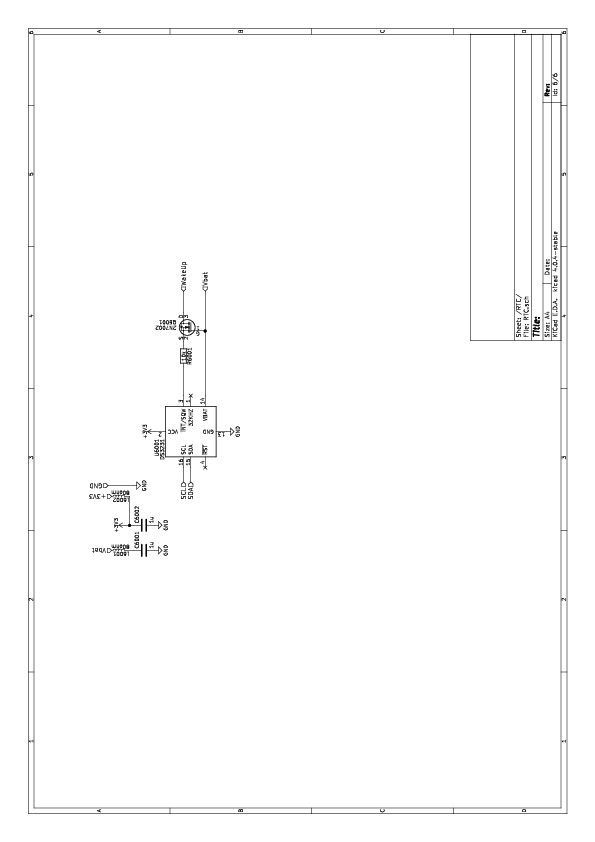
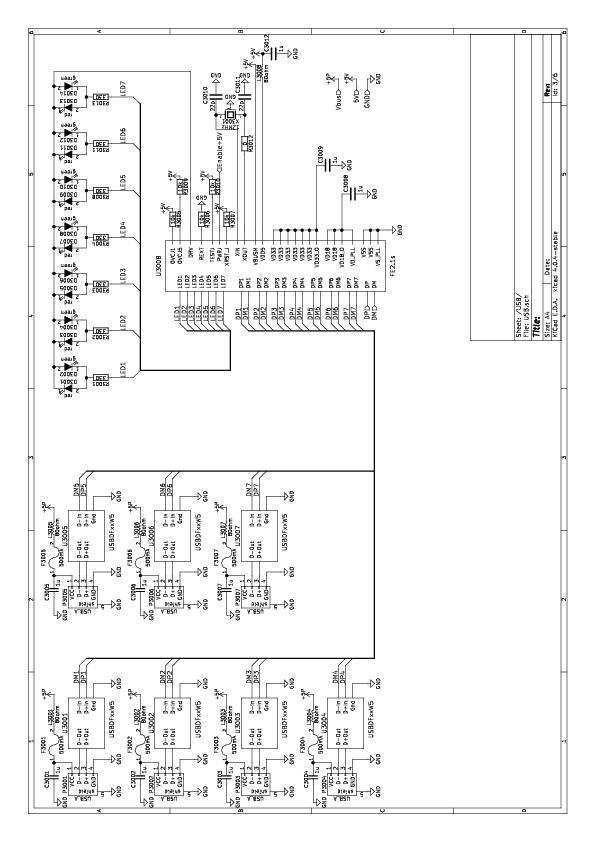
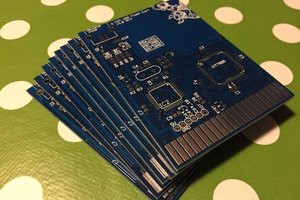
We have Mk2 of the sensor PCB ready to order.
What is now needed: SSL is missing... well, the key-chain has been created but no certificates for the nodes were generated.
But that's only half of the story. The server has his SSL certificate and the binary packages are PGP signed for secure updates. The node does check both so what's missing is the auth part :)
To be honest, I believe a lot of people will be happy with this because it enables you to run everything from a very basic (PHP + SQLite) shared hosting plan... even the cheapest ones should do!


 Stian Soreng
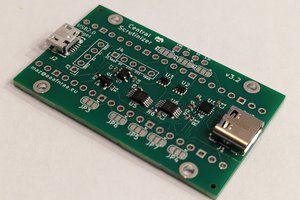
 CarbonCycle