0%
0%
Spaceship Menorah
A large blinky sculpture with 2142 RGB LEDs
 terrag
Become a Hackaday.io member
Already have an account? Log in.
Just one more thing
To make the experience fit your profile, pick a username and tell us what interests you.
Pick an awesome username
hackaday.io/
Your profile's URL: hackaday.io/username. Max 25 alphanumeric characters.
Pick a few interests
Projects that share your interests
People that share your interests
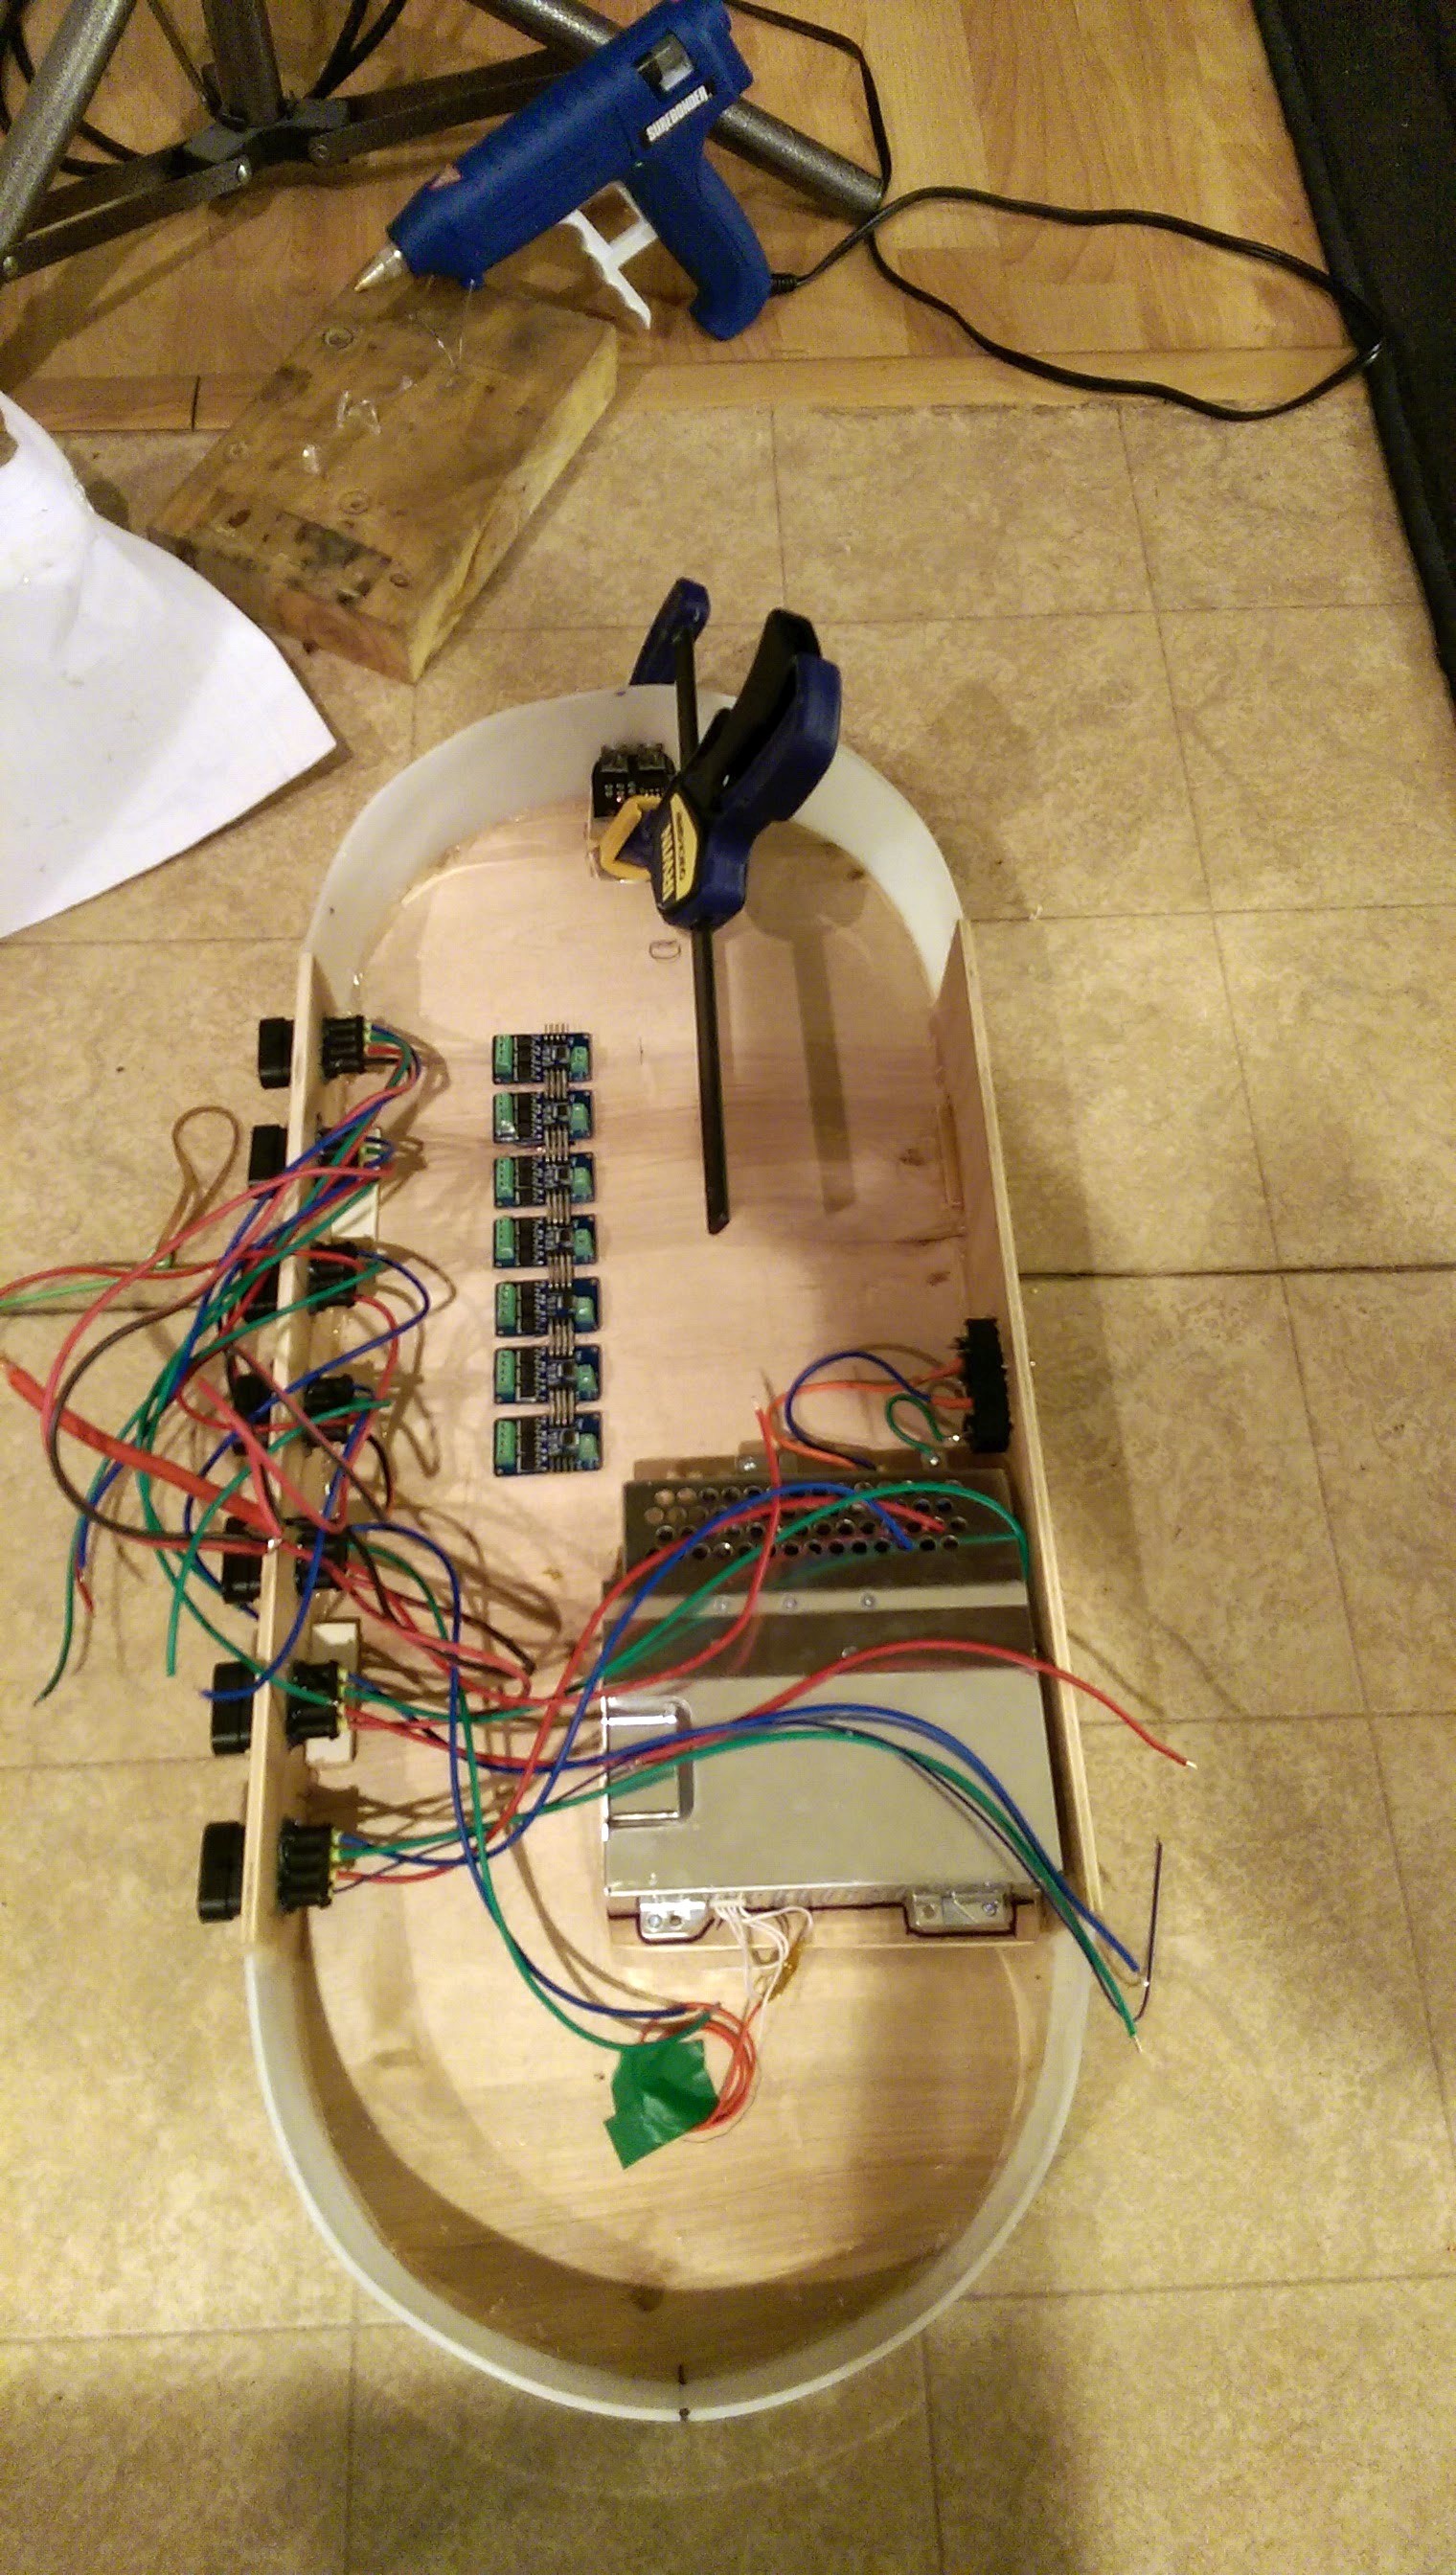

 The white paper under the power supplies is the approximate shape in which I would like to build the power / controller box.

 Steve Pomeroy
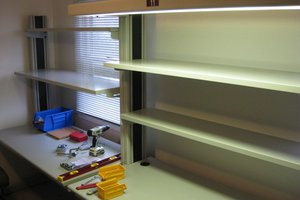
 Quinn
Quinn
 TwystNeko
 Adam Redfern
Certainly! Crafting an effective CV is crucial for career success. Assignment Helper offers top-notch <a href="https://cvwritinginc.com/">professional cv writing services</a>, ensuring your resume stands out in a competitive job market. Our expert writers understand the nuances of various industries and tailor your CV to highlight your strengths, skills, and achievements. We emphasize a professional and polished presentation, optimizing your chances of landing interviews. With a commitment to quality and a deep understanding of the American job market, Assignment Helper is your trusted partner in building a compelling CV that showcases your unique value. Secure your professional future with our specialized CV writing services in the USA.