-
Stopping When Home is Found
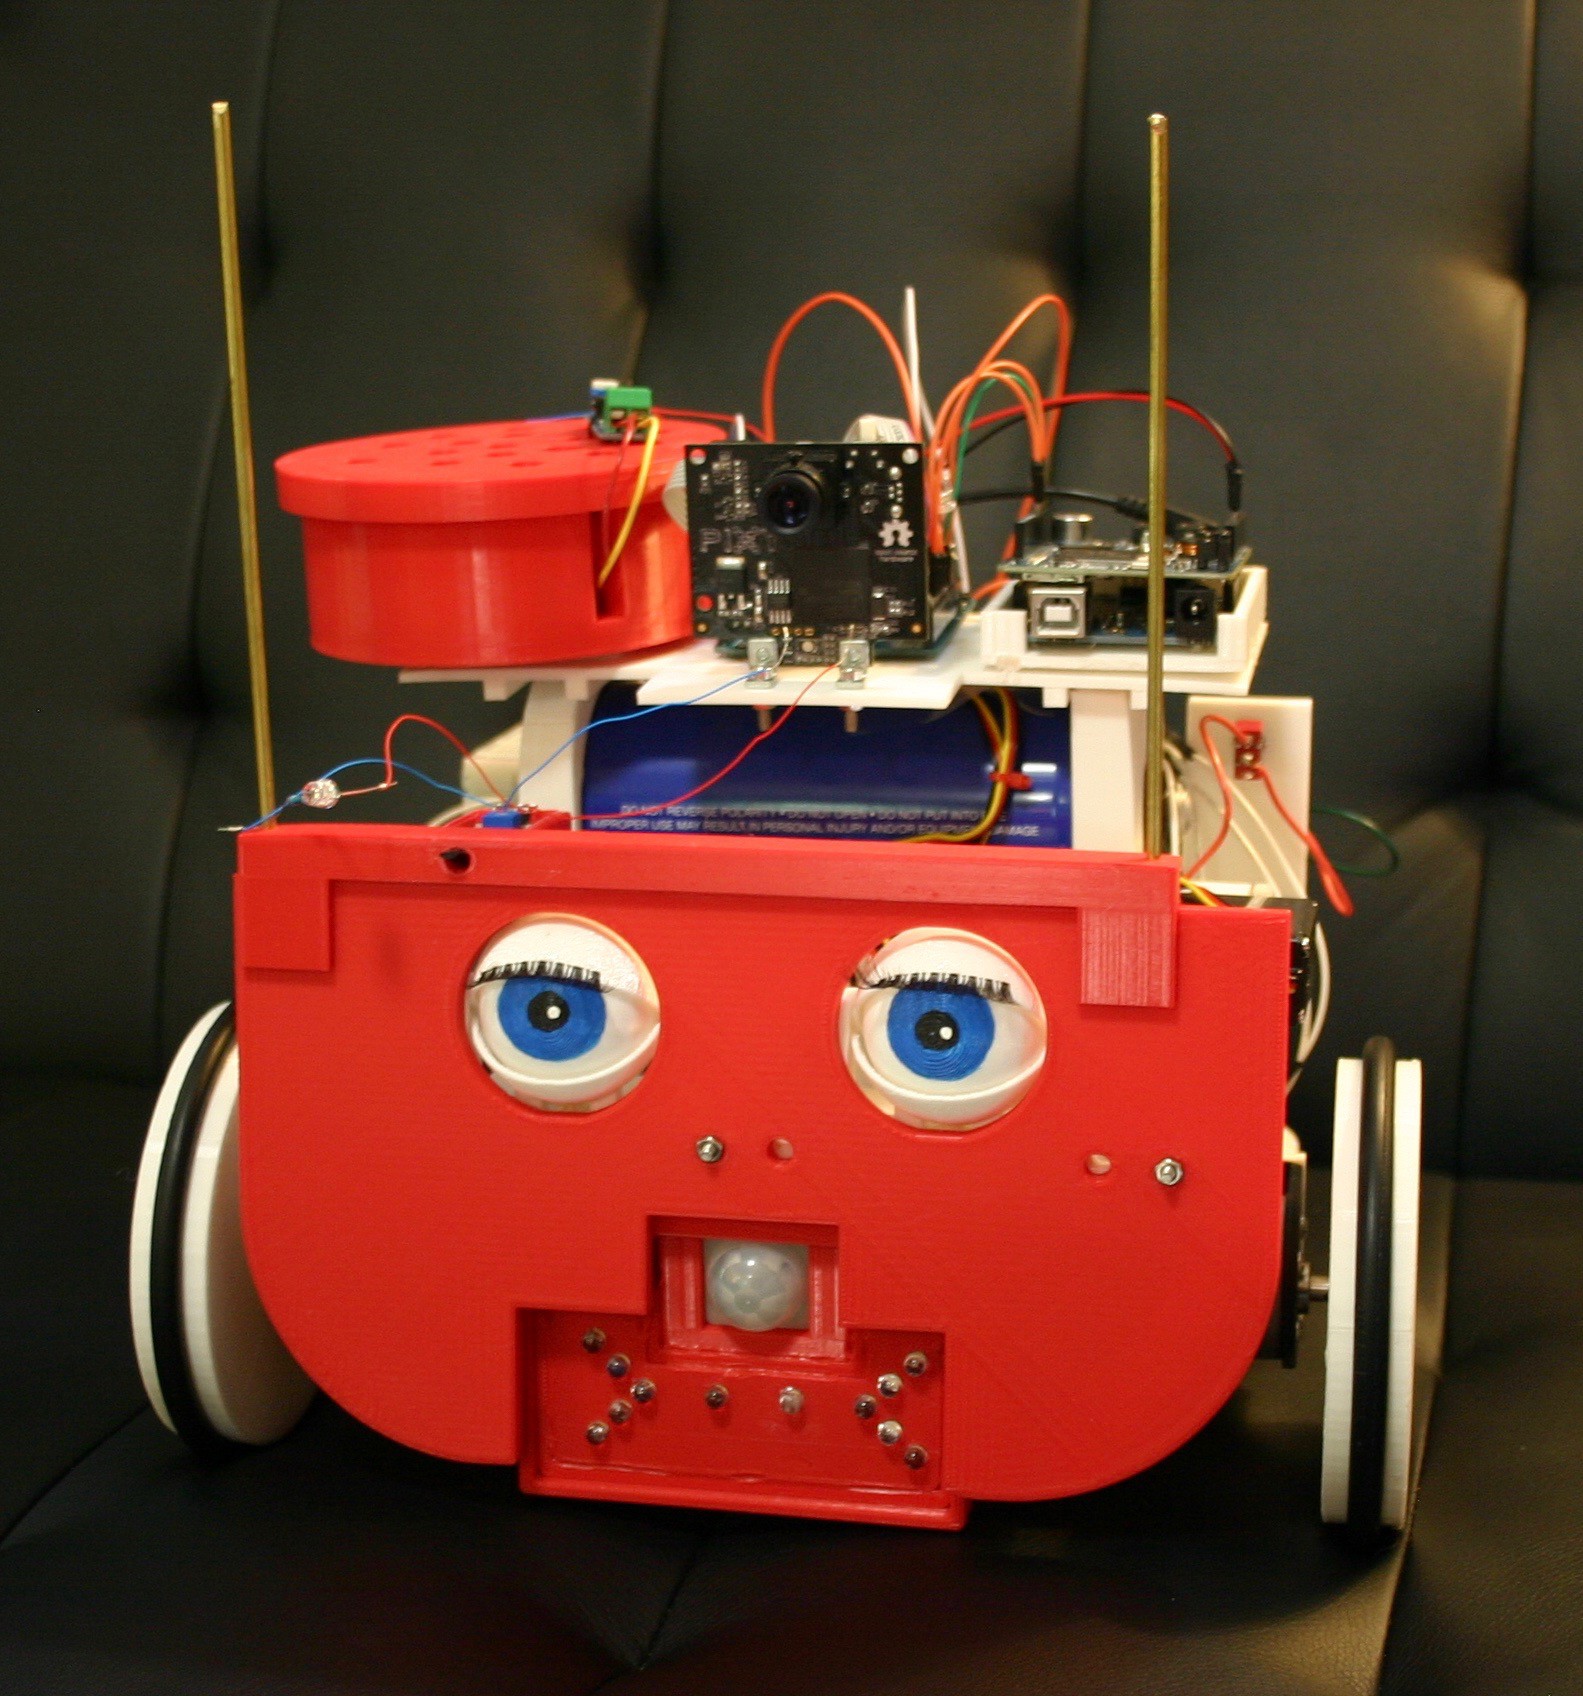
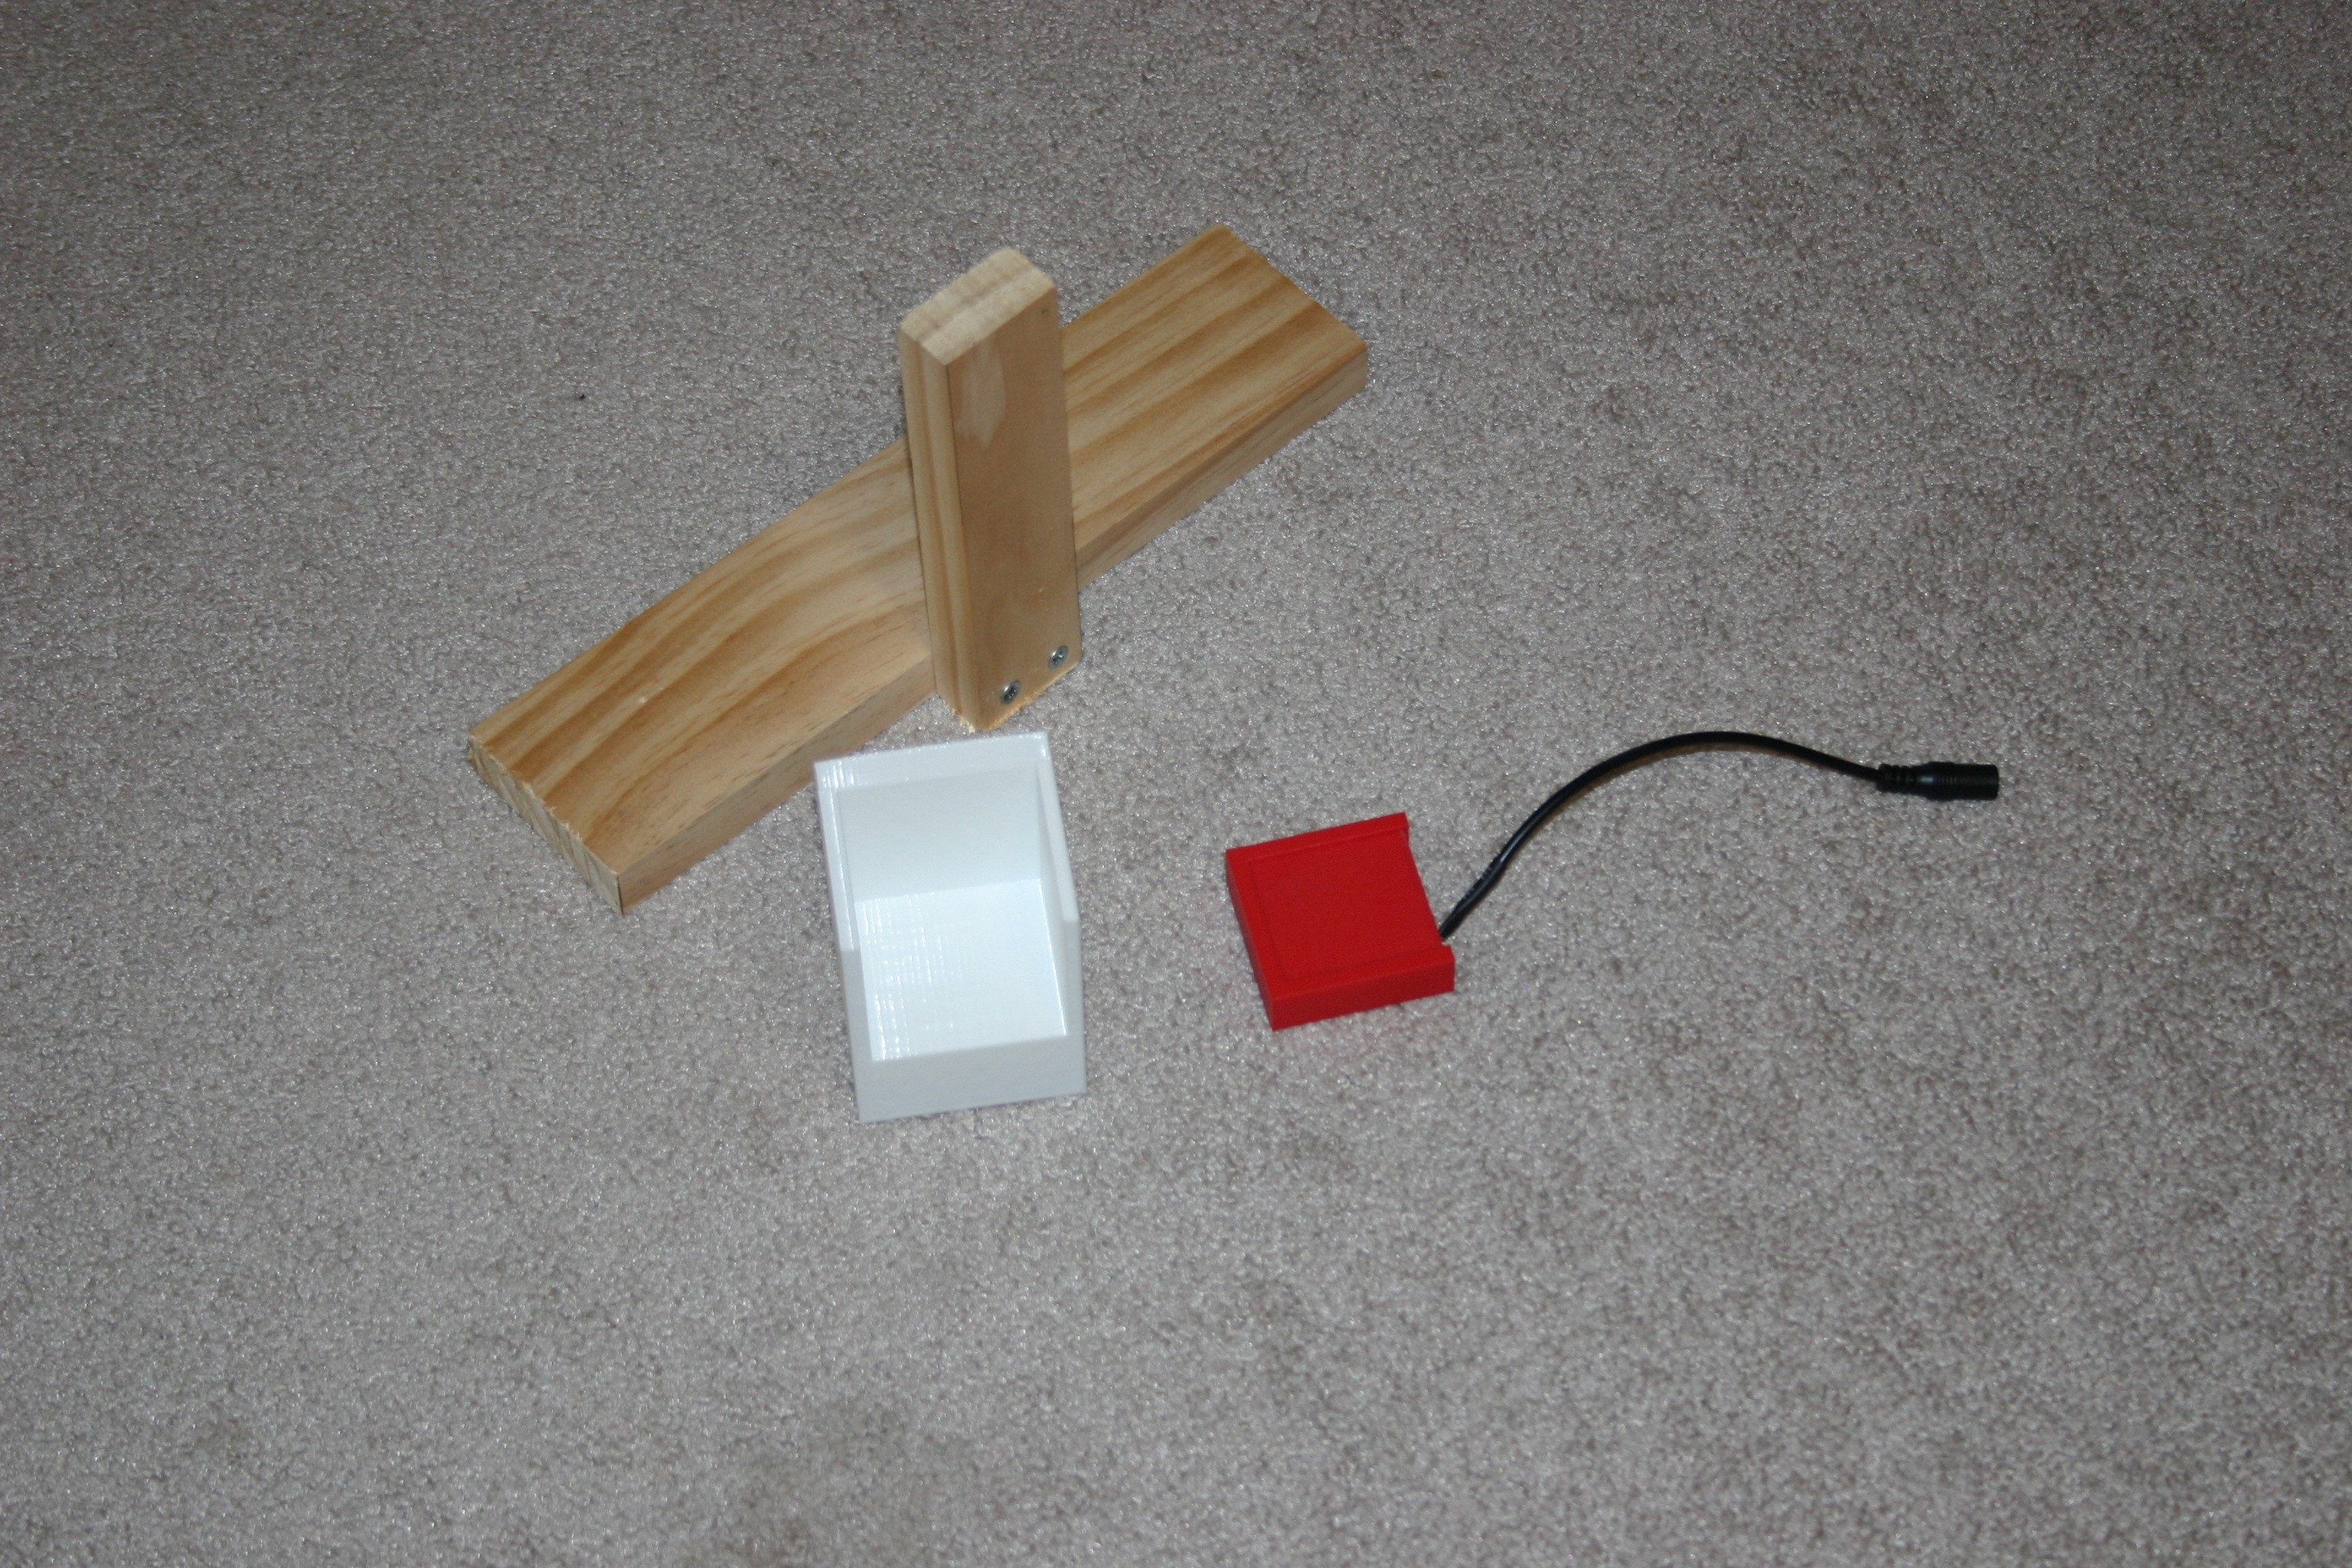
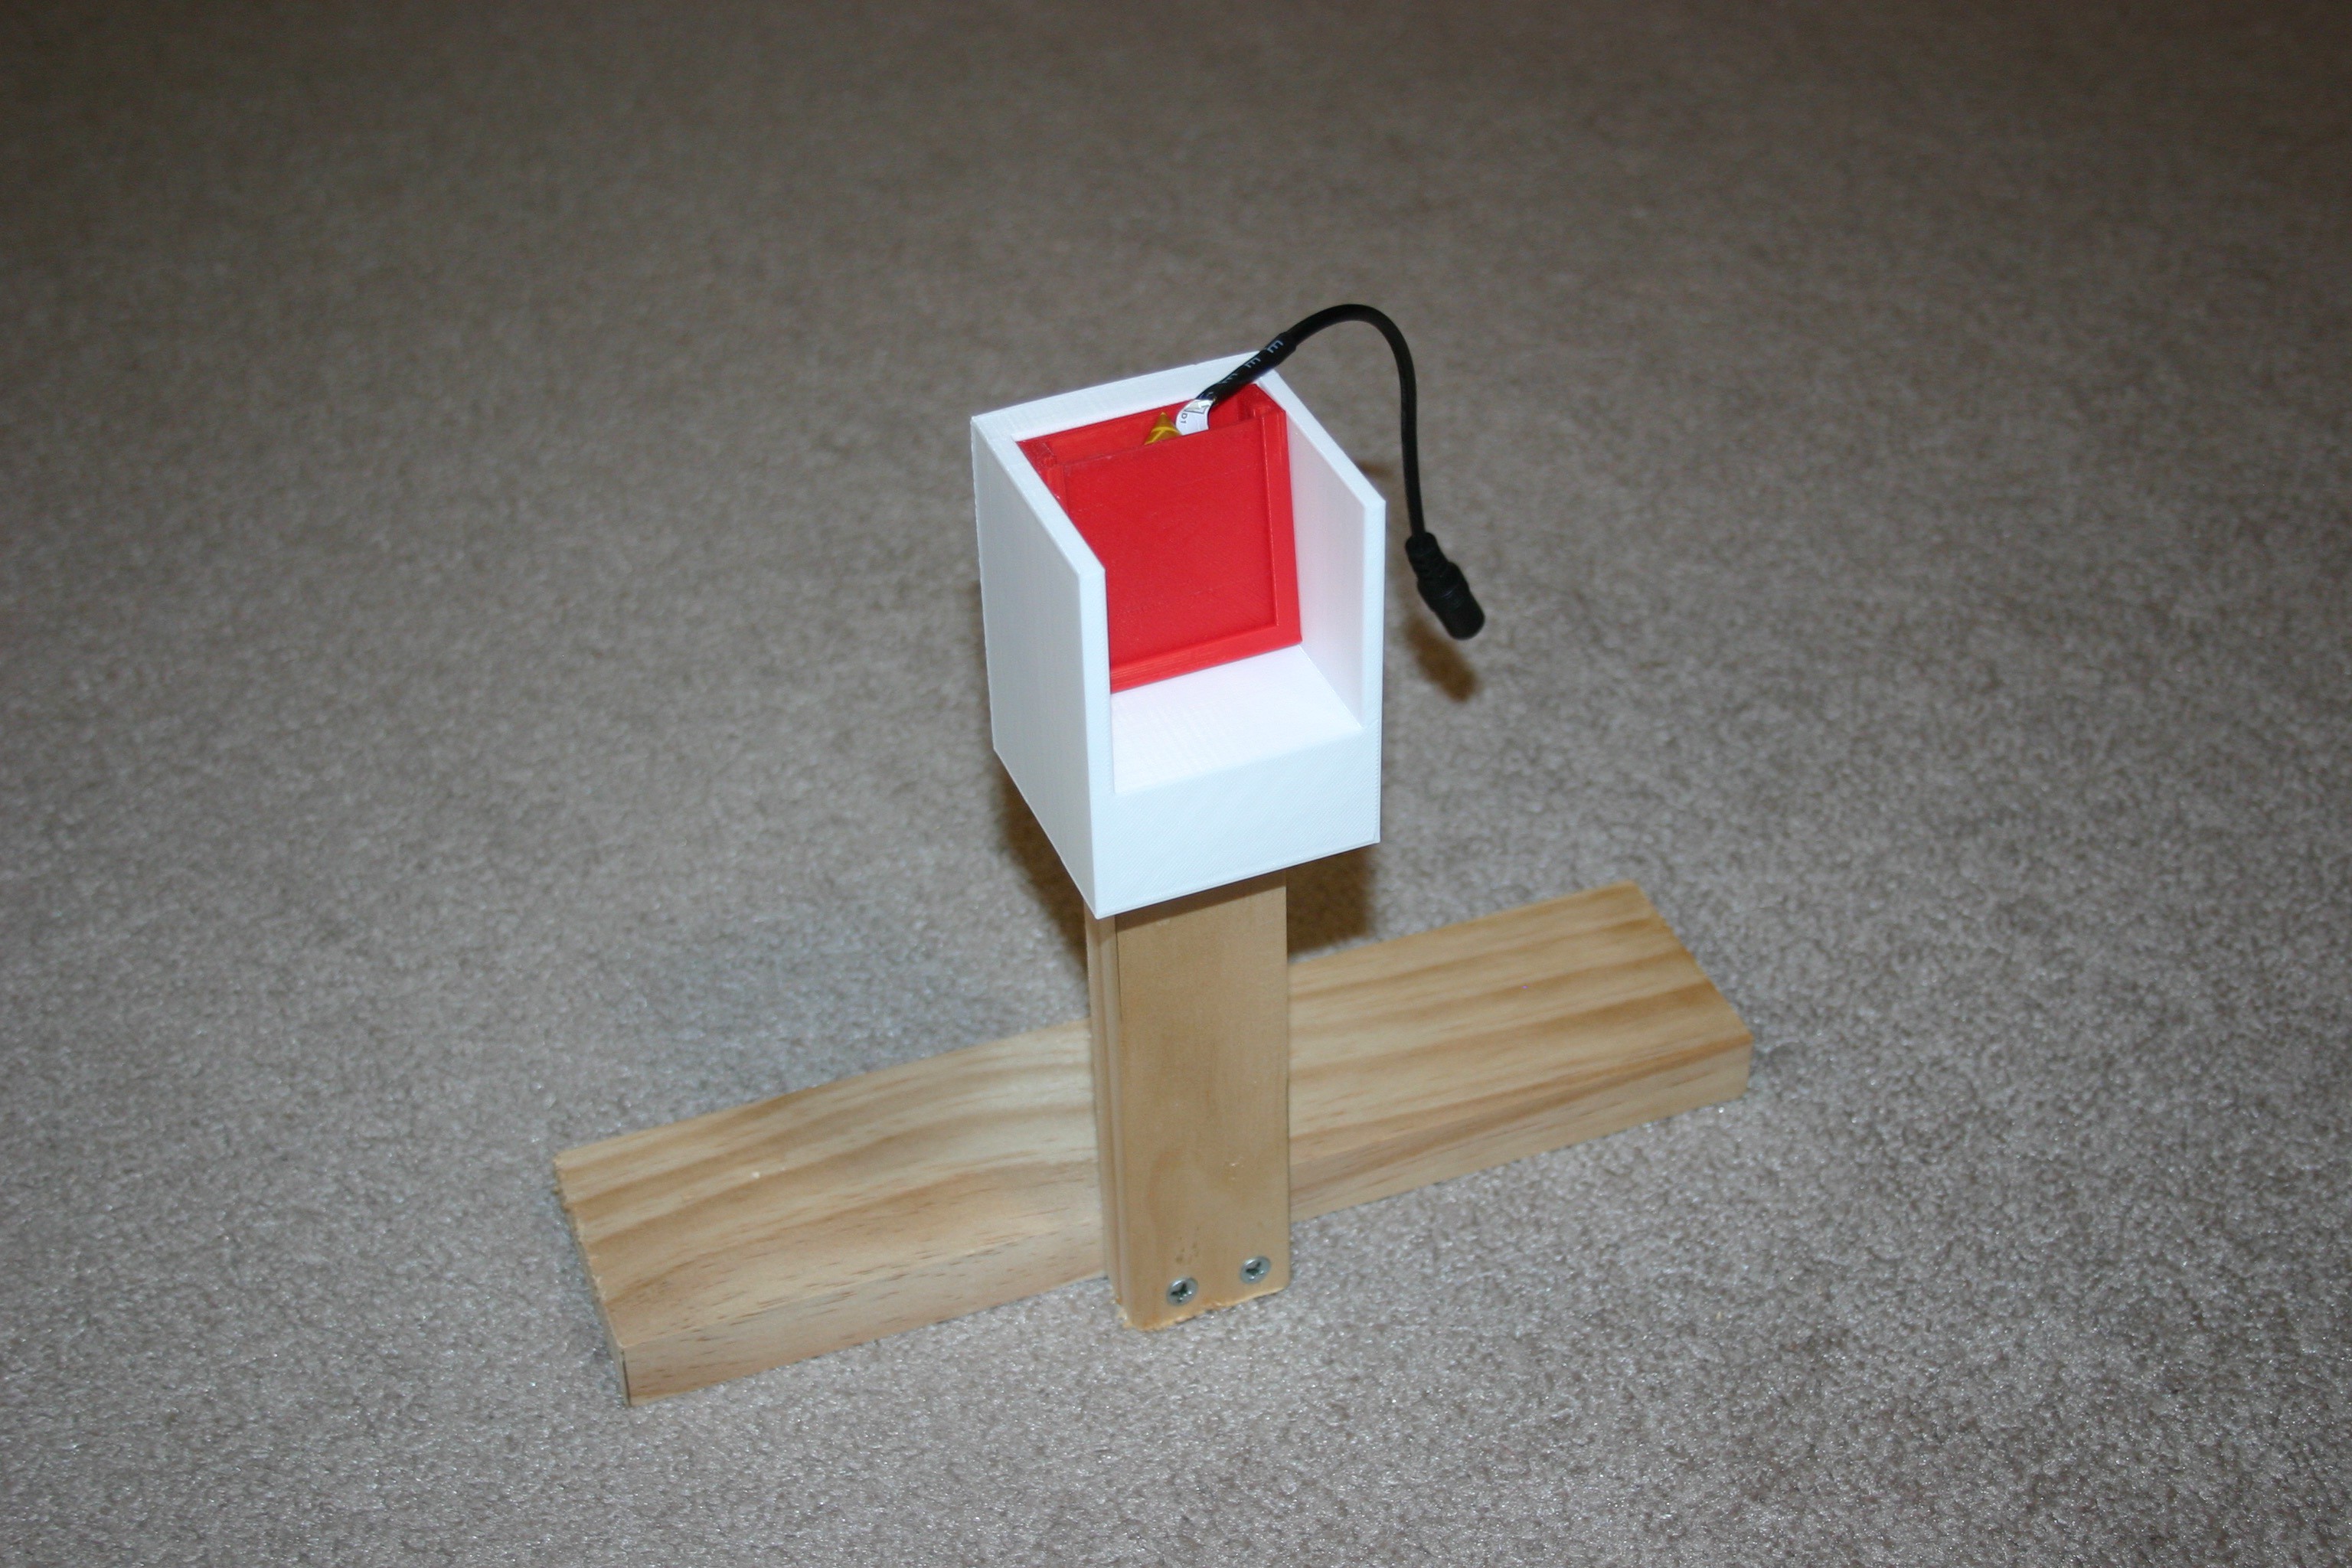
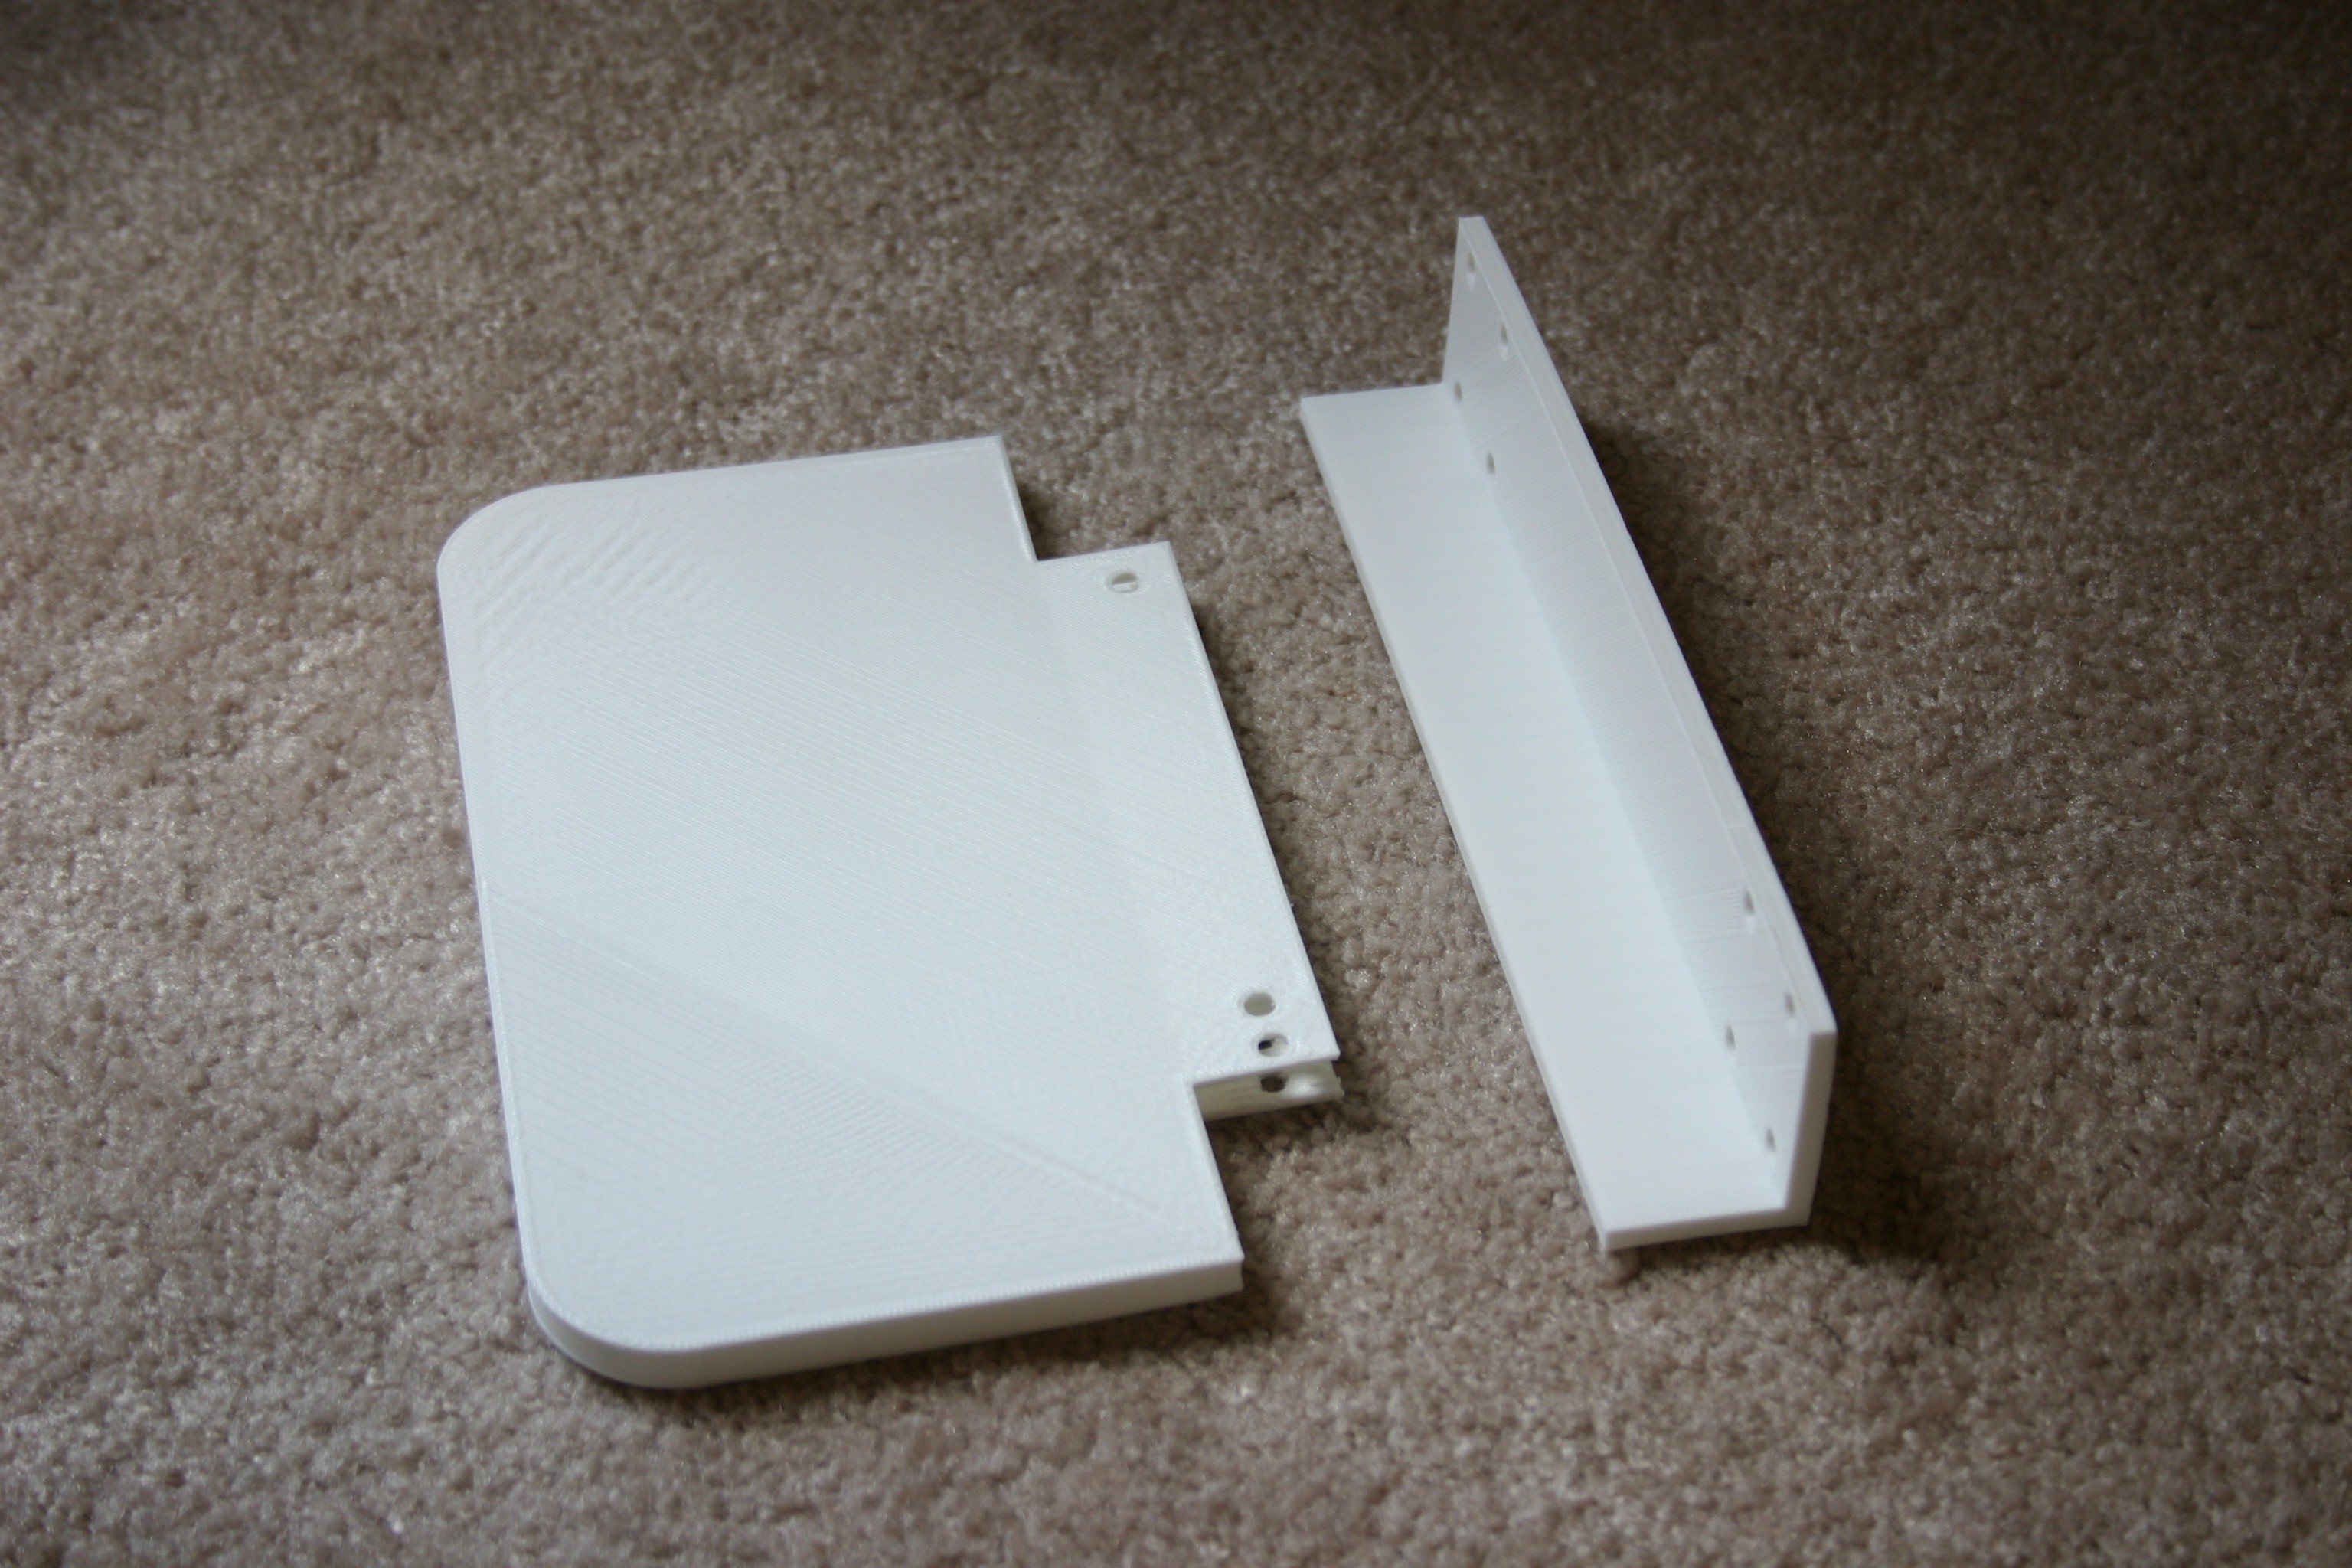
08/03/2016 at 21:47 • 1 commentOn Taco (the homing station), a magnet will be found by Mato to indicate that she has arrived. Today, the bracket that holds the magnet sensor and rods (for Taco's recharging fingers to clamp onto) has been printed (file available on this site) and installed.
![]()
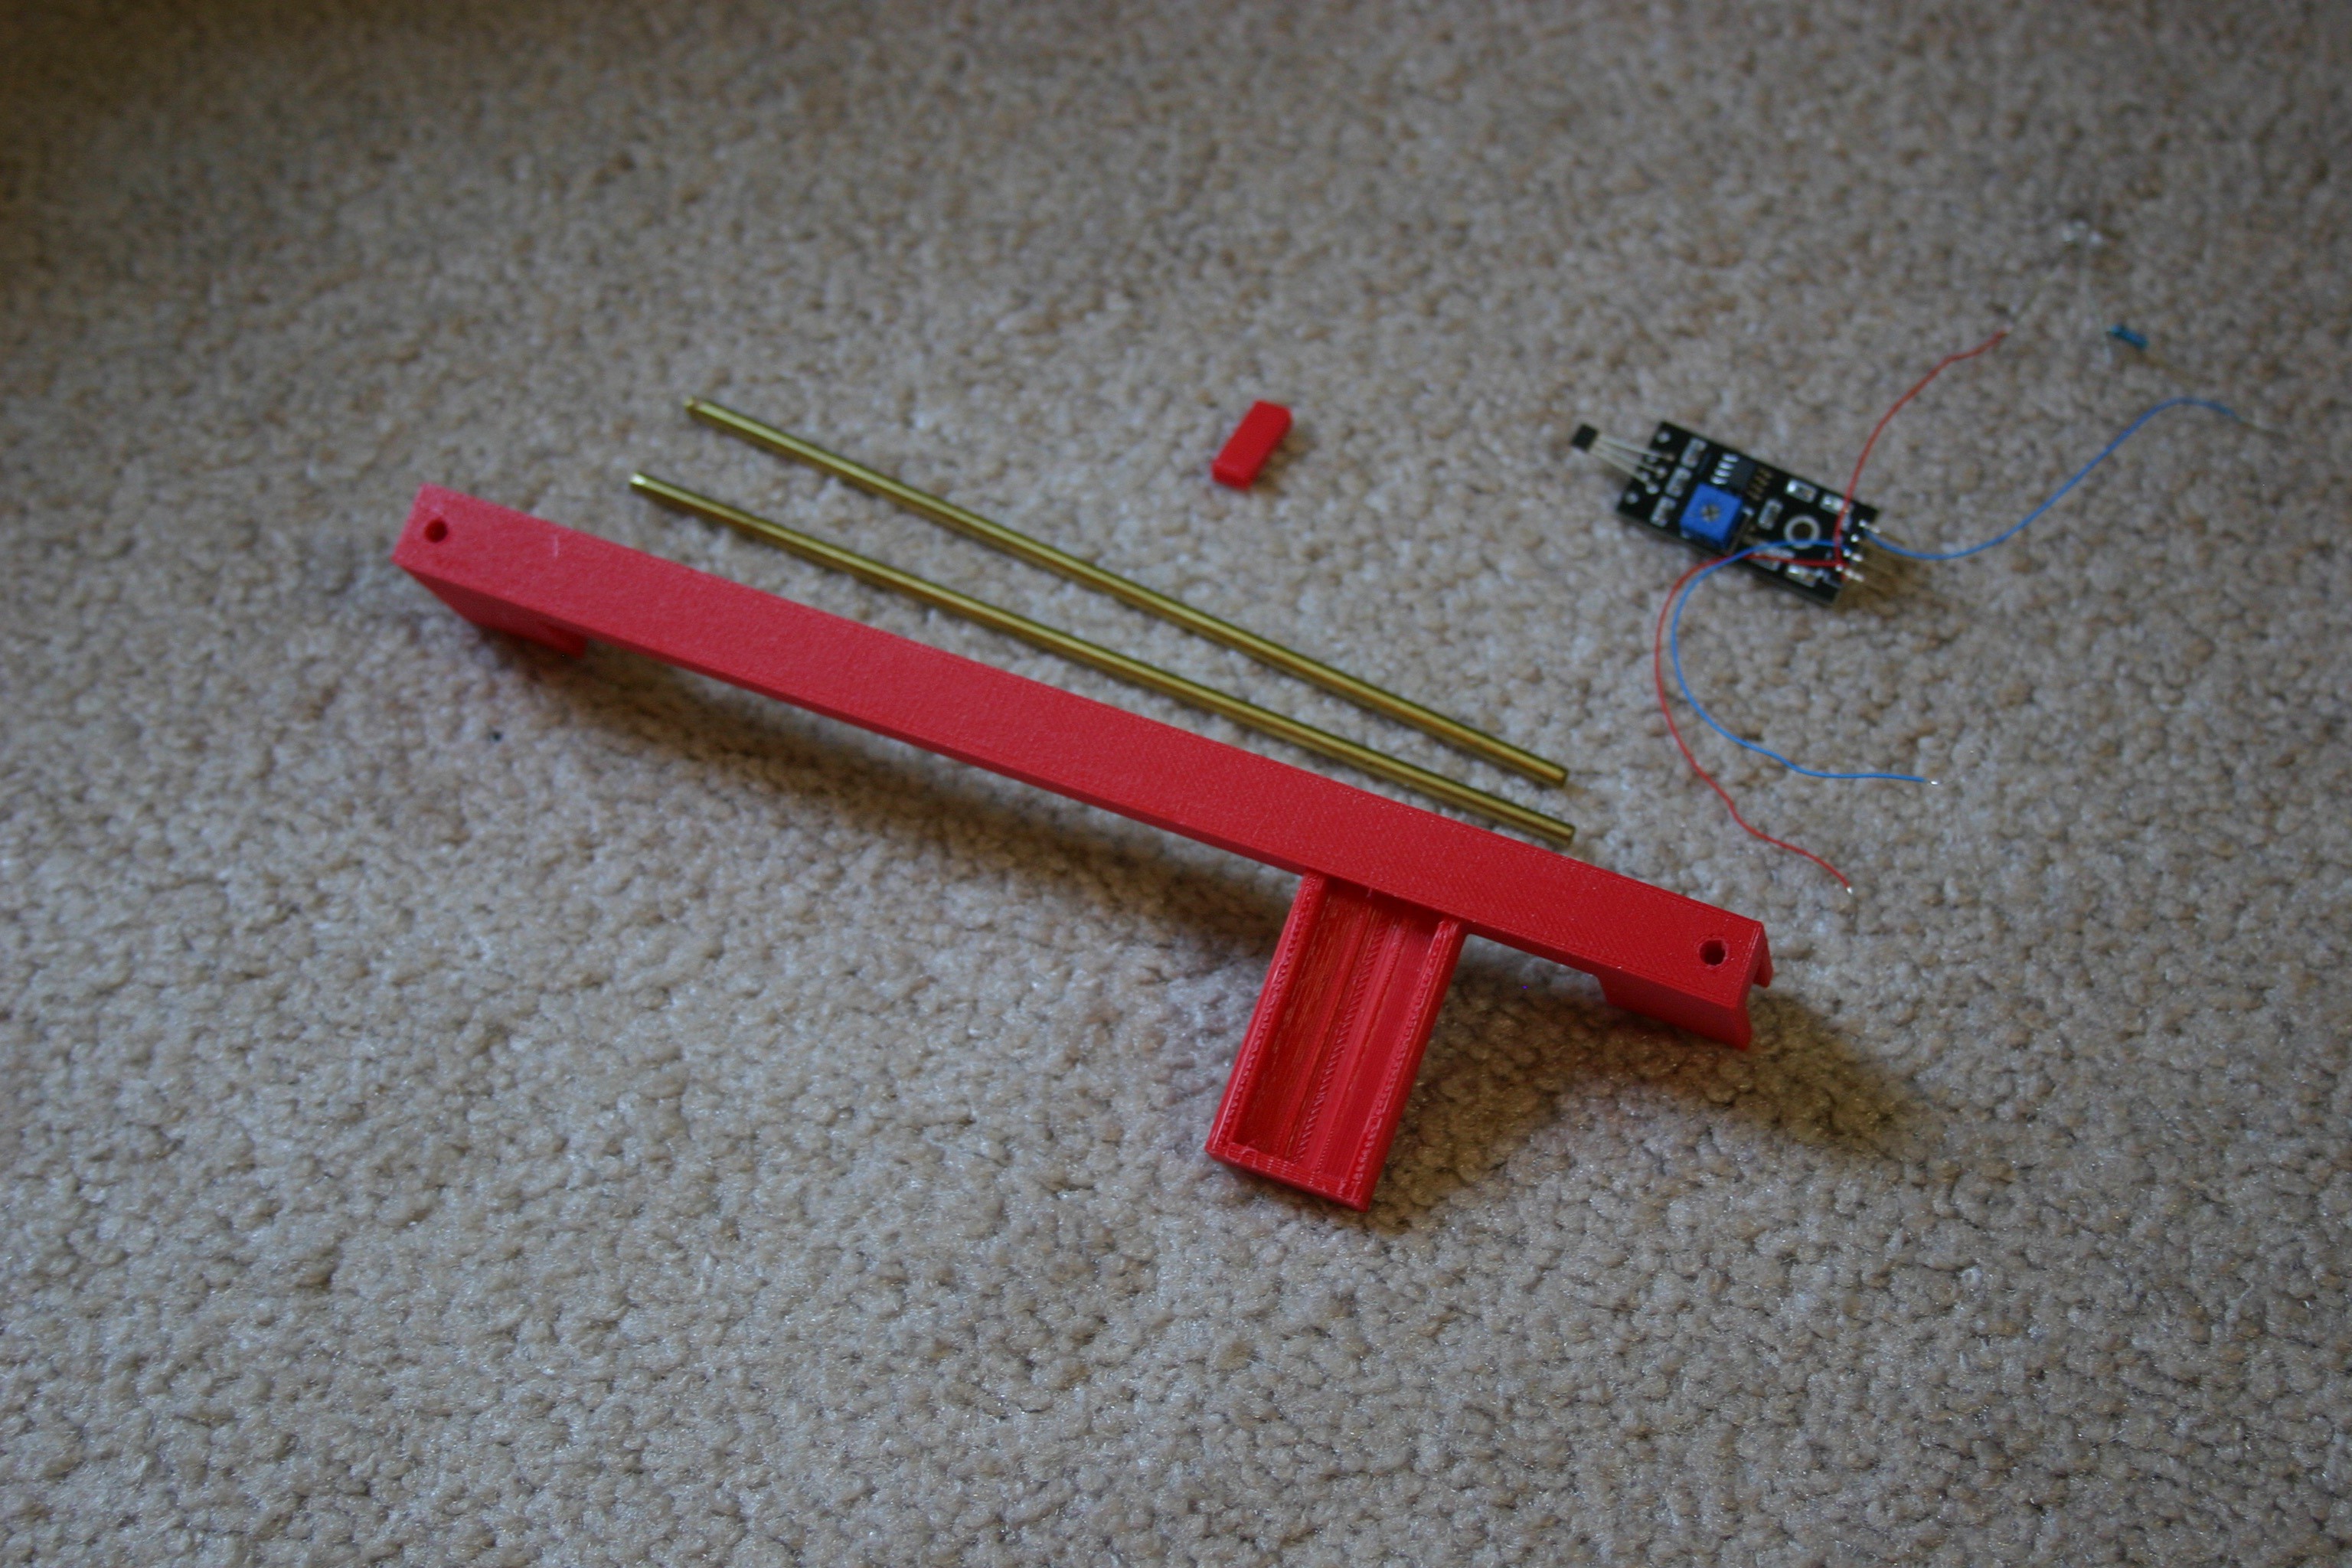
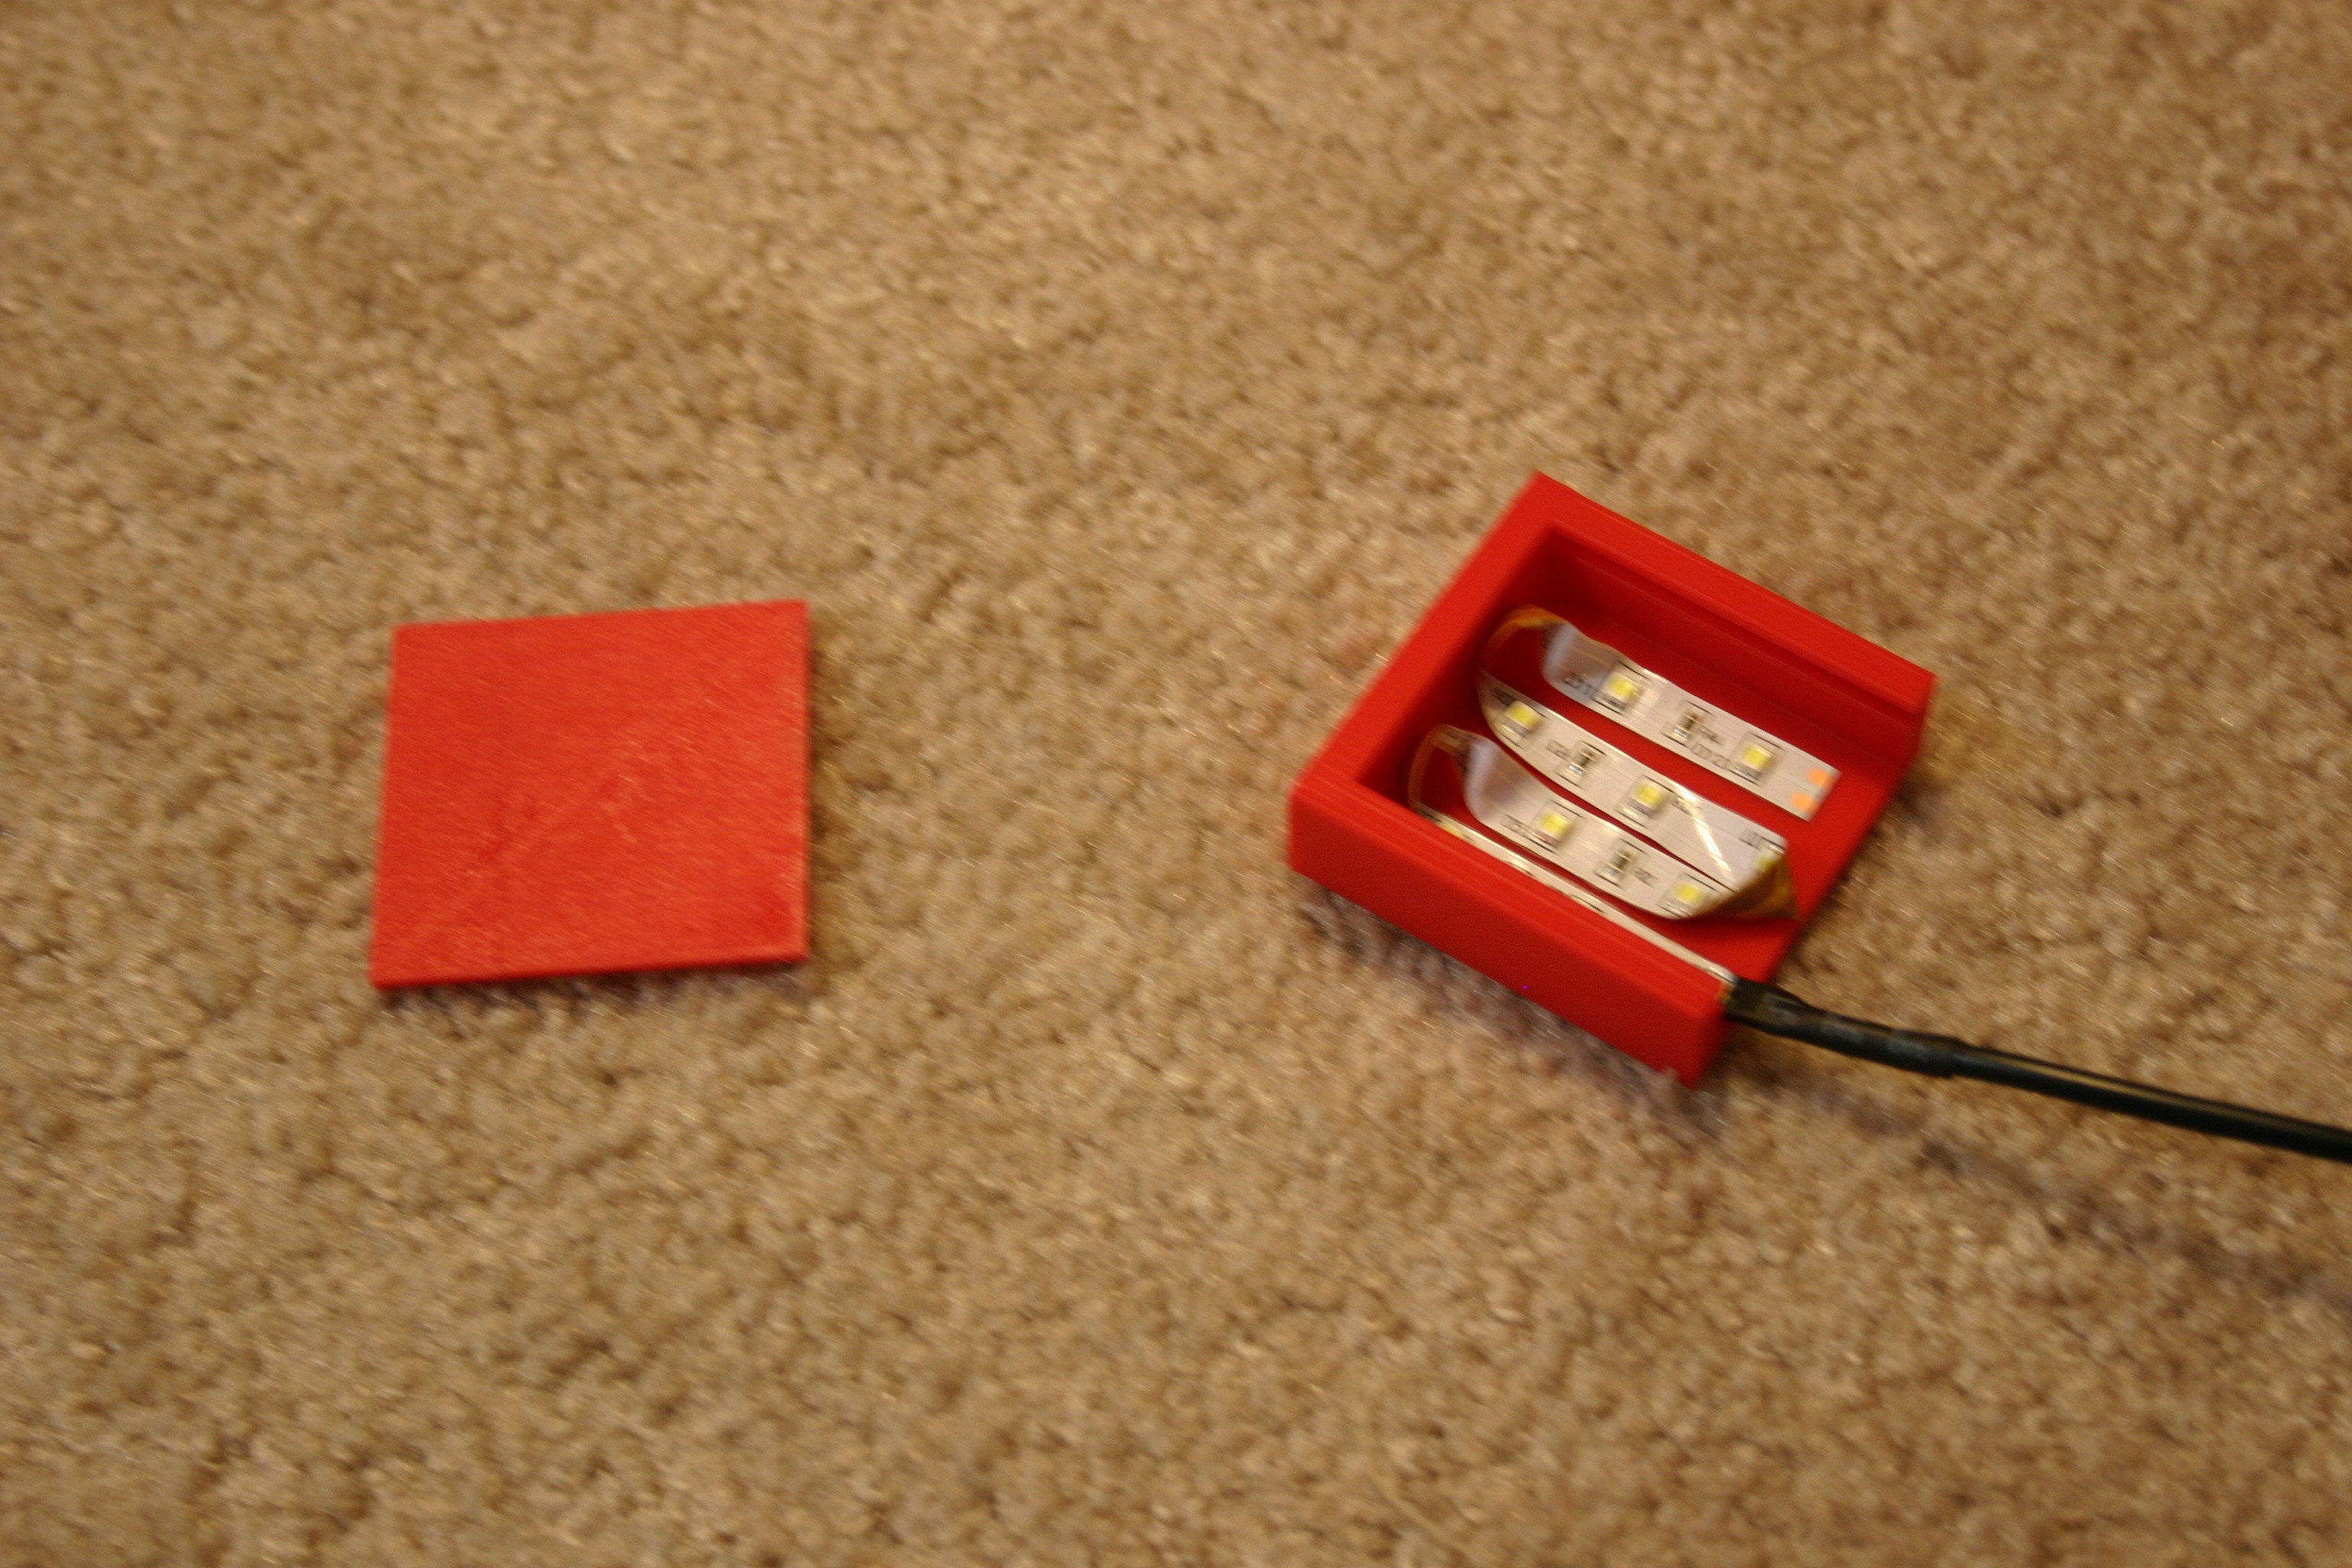
Here are the parts--3d printed bracket, rods, magnetic detector circuit.
![]()
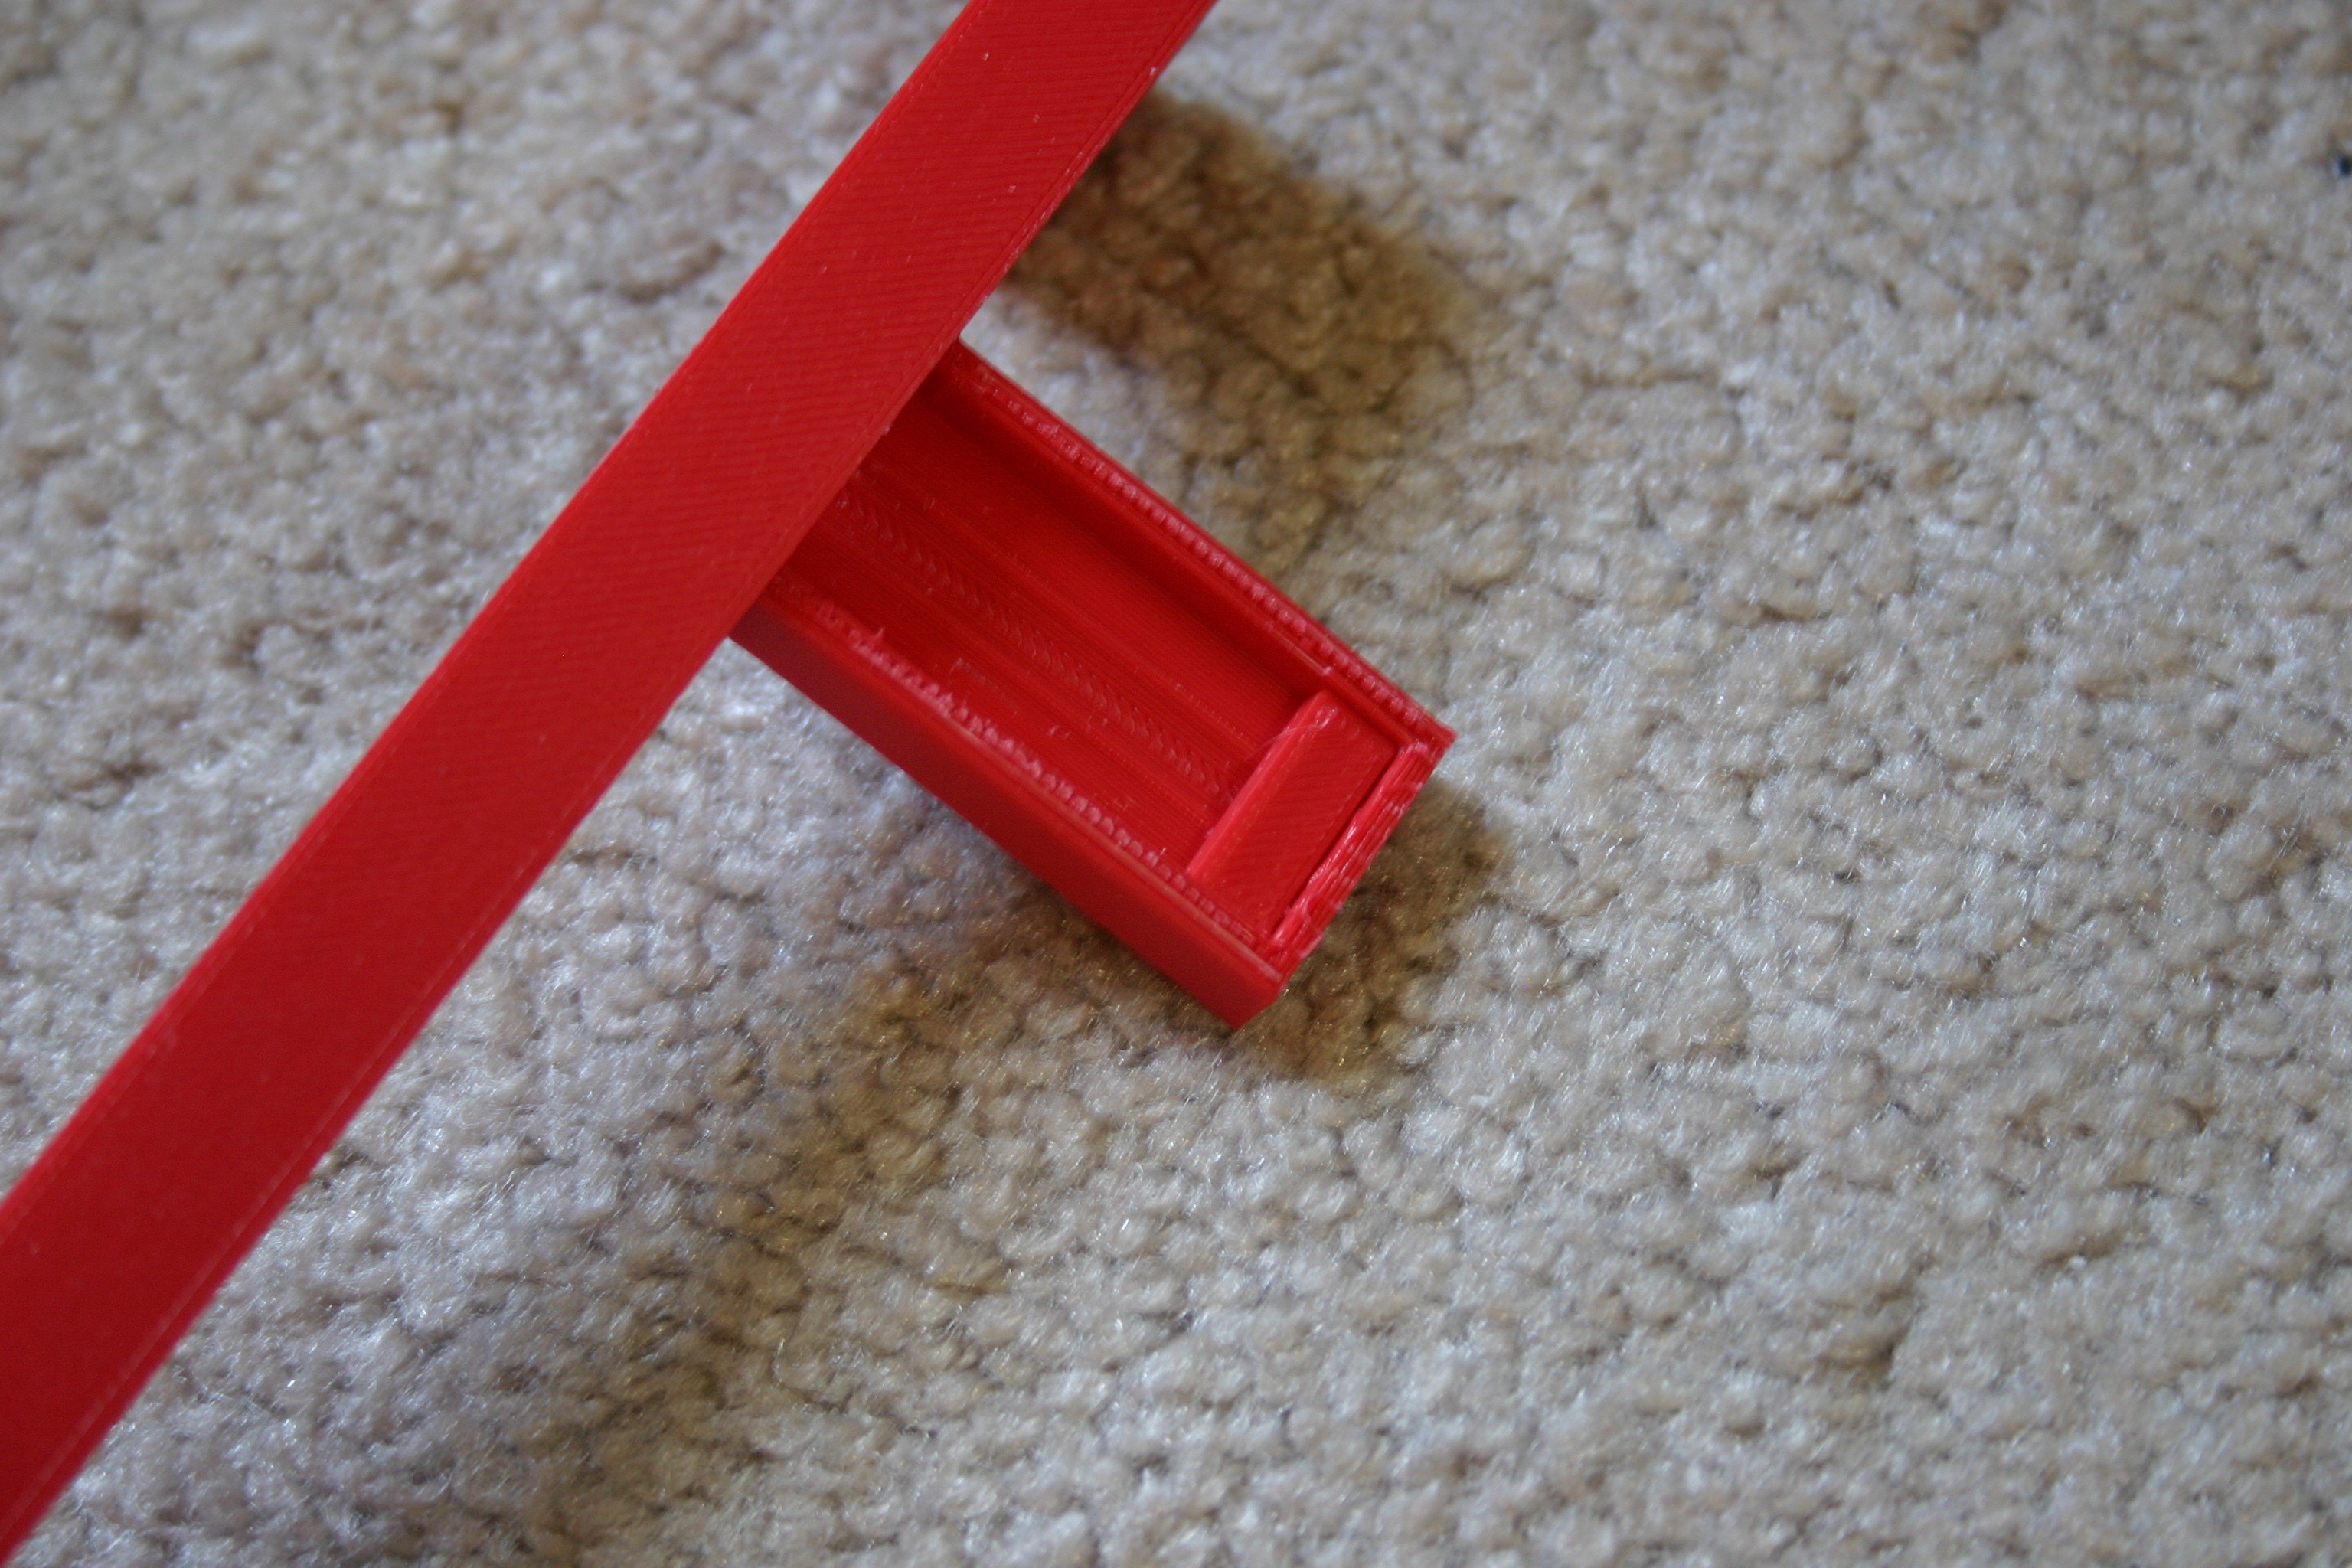
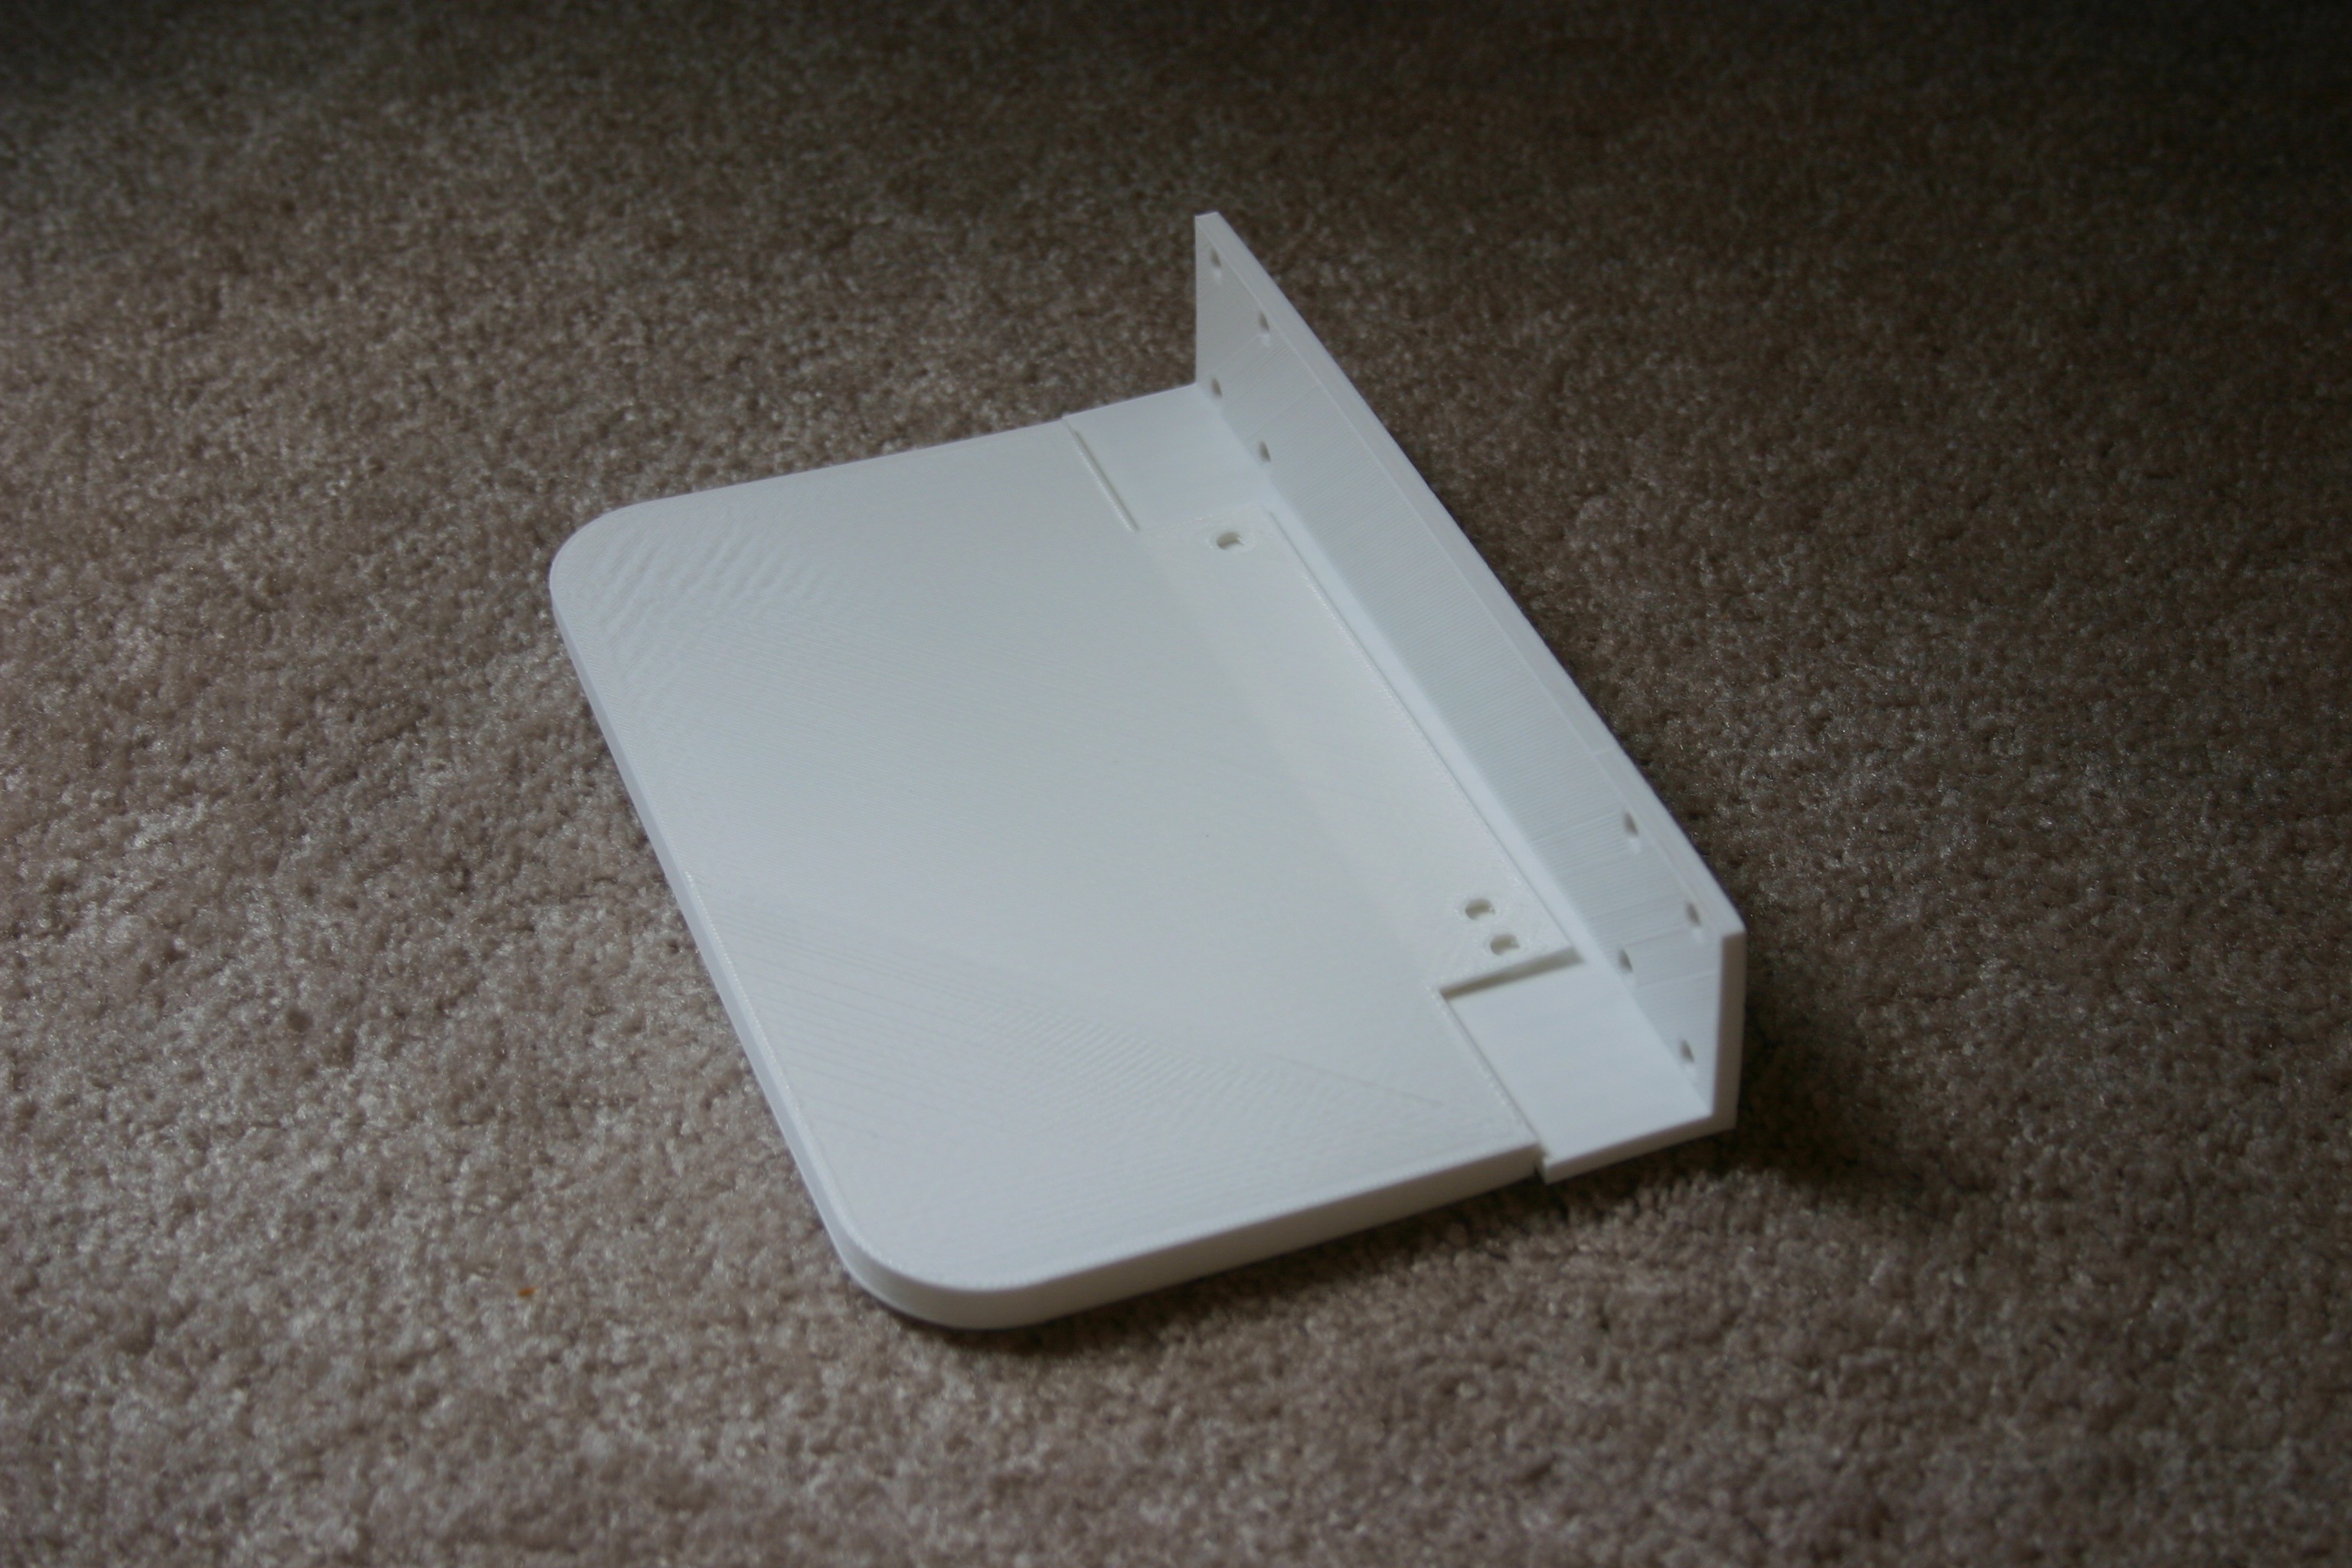
The magnetic detector circuit slides in here.
![]()
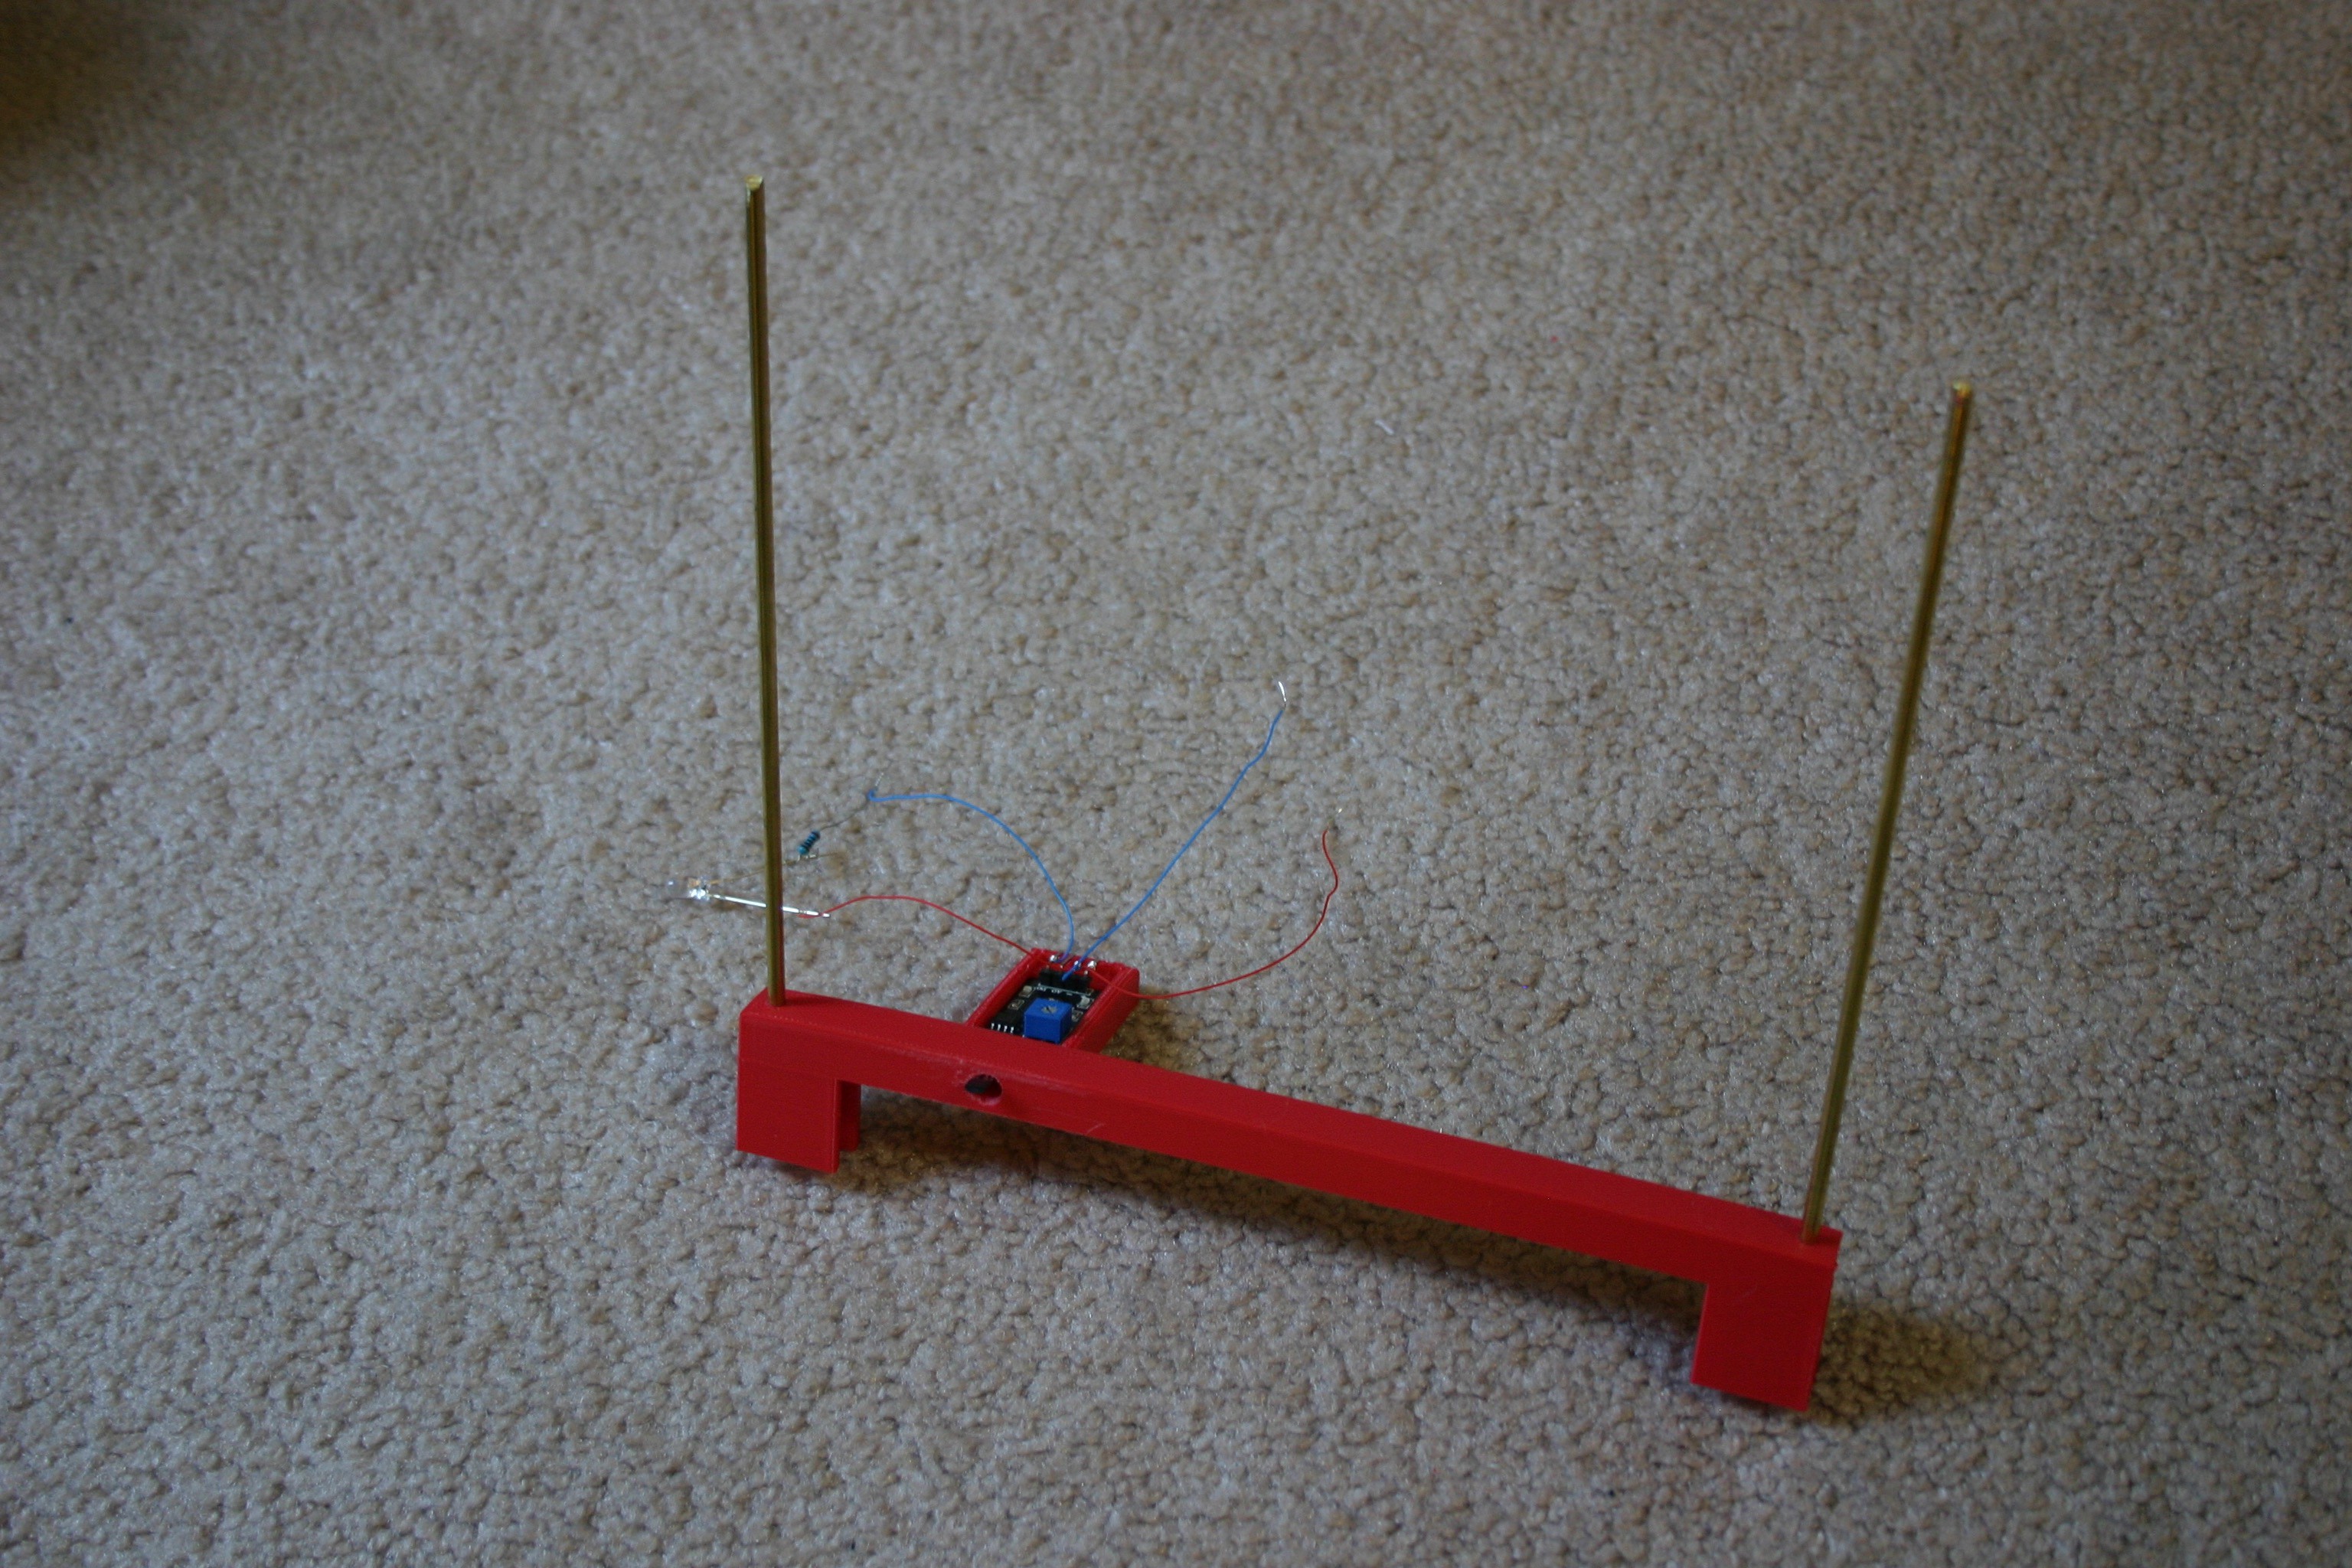
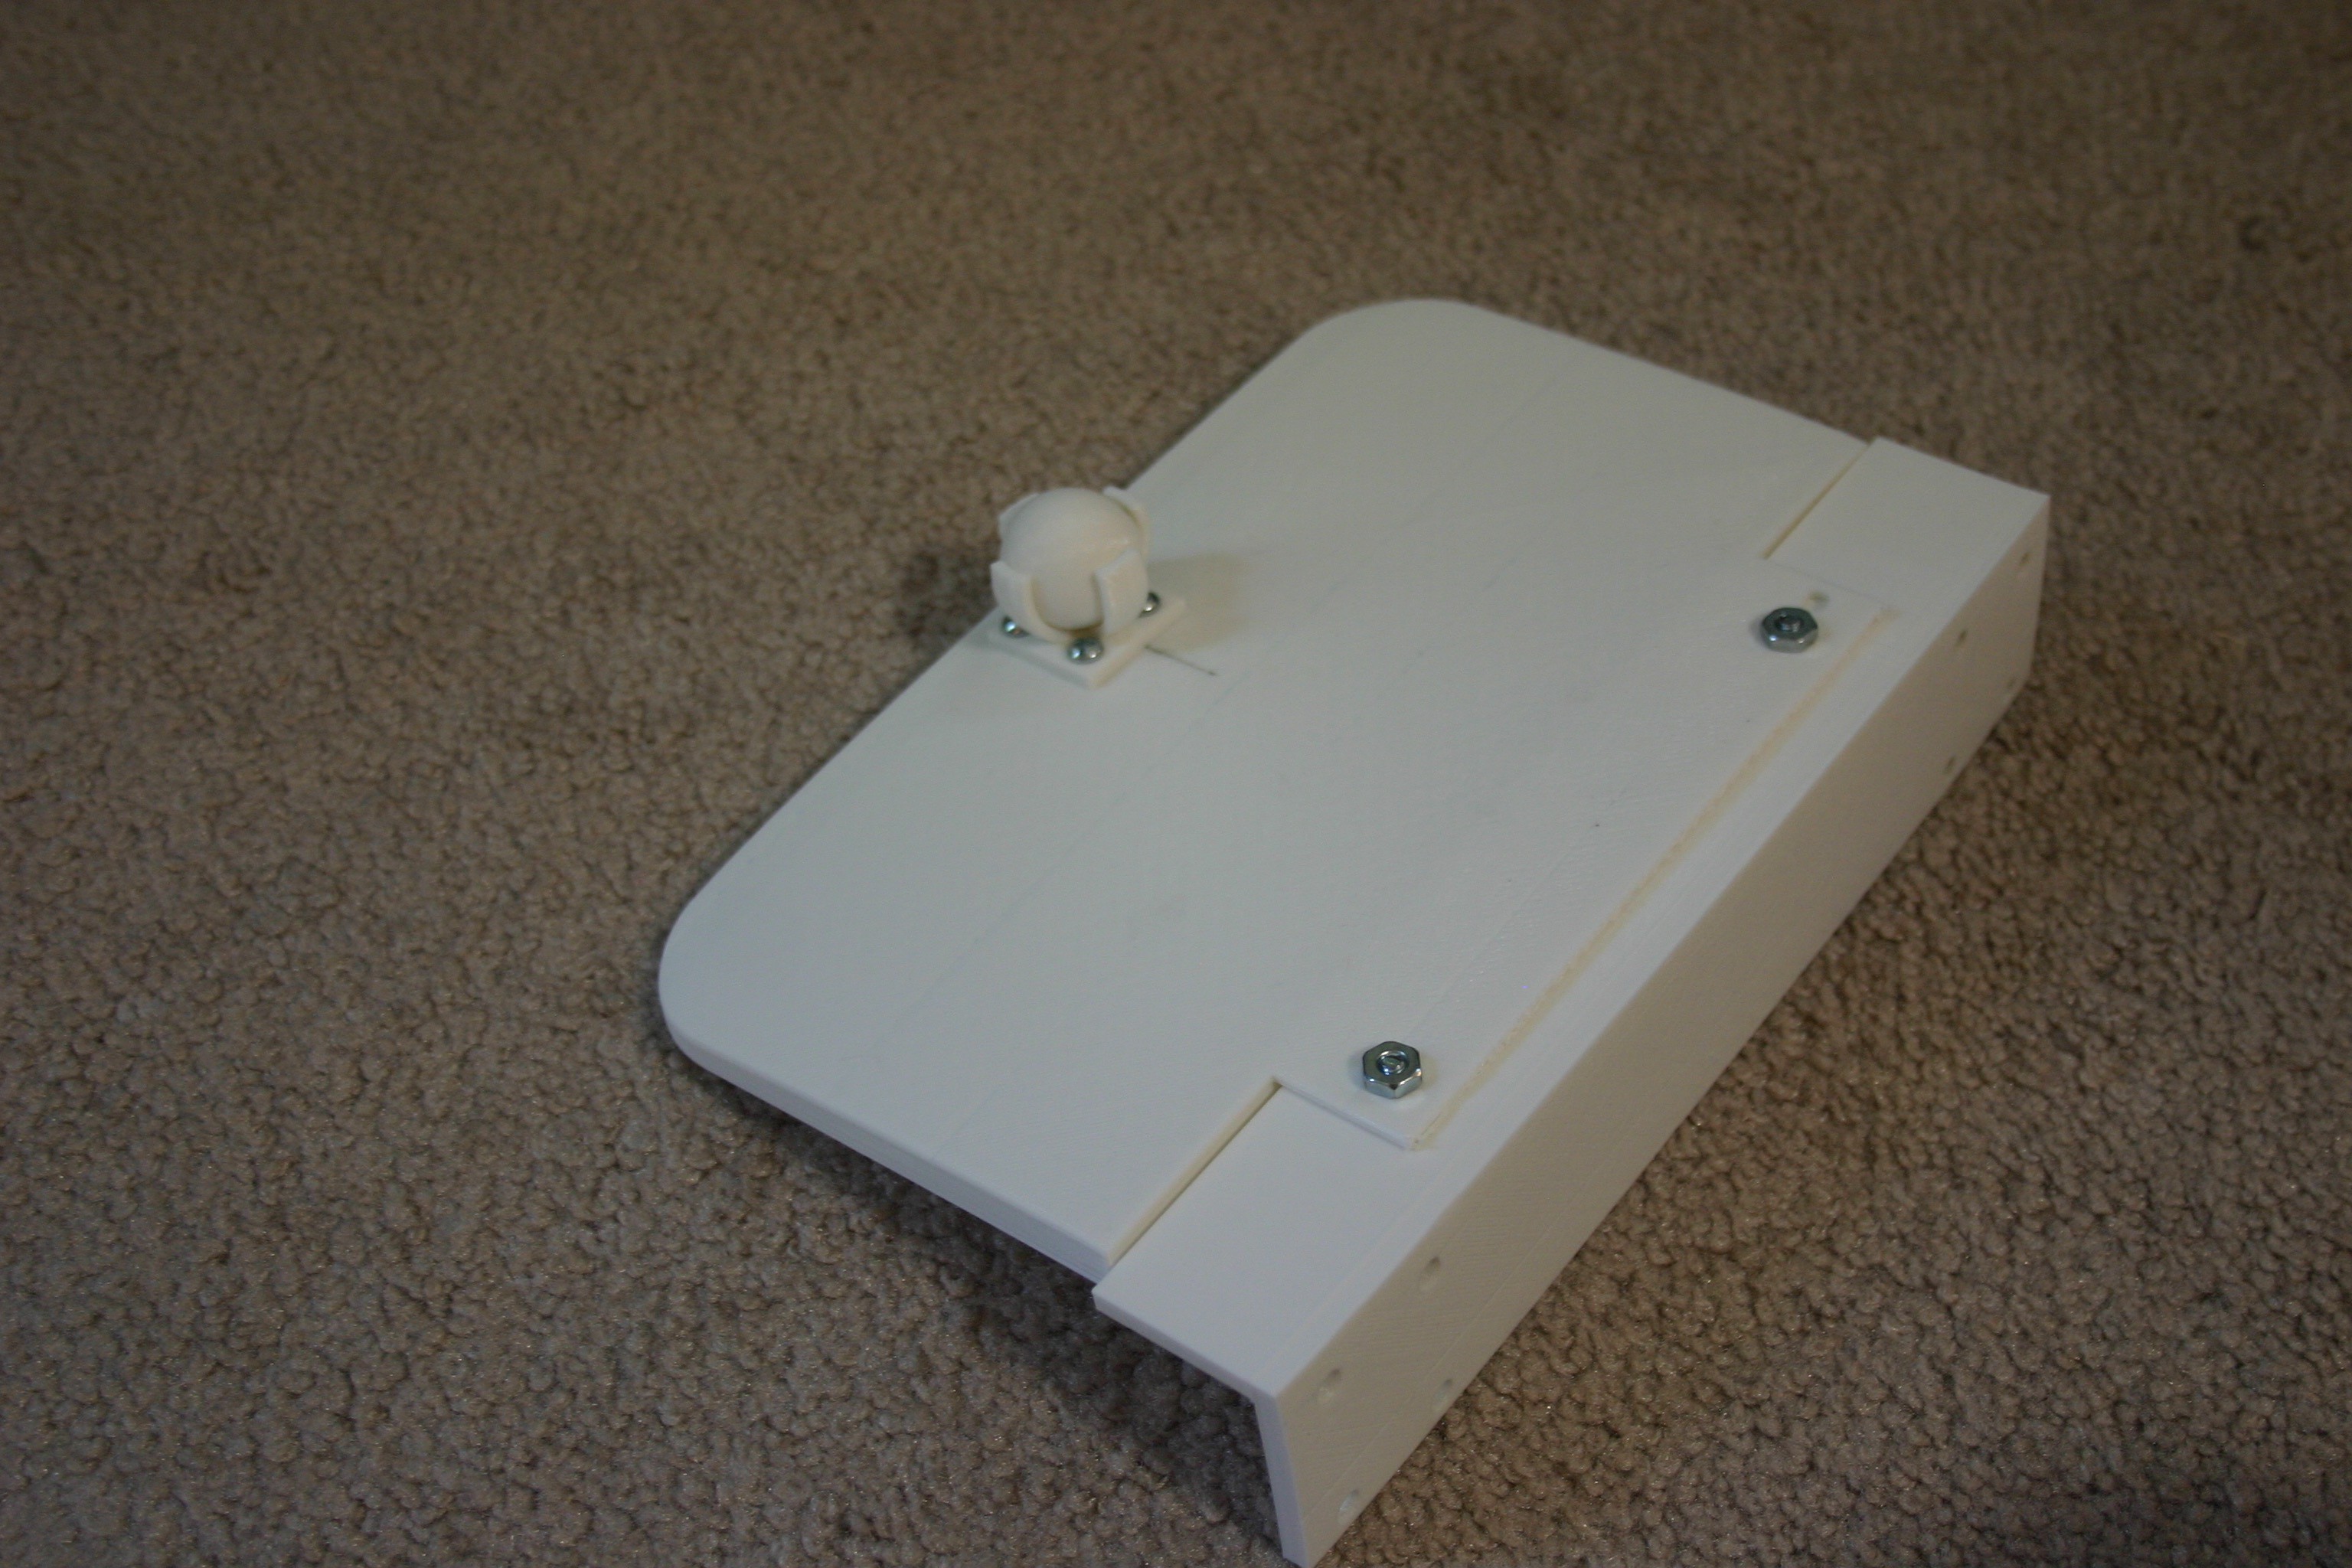
The assembly looks like this.
![]()
Of course, it will have to be wired up--matched to Taco's magnet placement and software will have to be revised. The idea is that Mato "sees" the station and drives in, then stops when the magnetic switch is activated. Taco will then clamp on the rods and recharge Mato--then release and Mato will back out and play again.
-
Mato Go Home
07/13/2016 at 15:40 • 0 commentsThis is the first phase of the "get home and recharge" project. By providing an illuminated, shielded homing light, Mato can take a "straight on" approach and come to the point light source.
I started by 3d printing a homing beacon (3d part and design files available on this site) into which I placed "stick on" led lights.
![]()
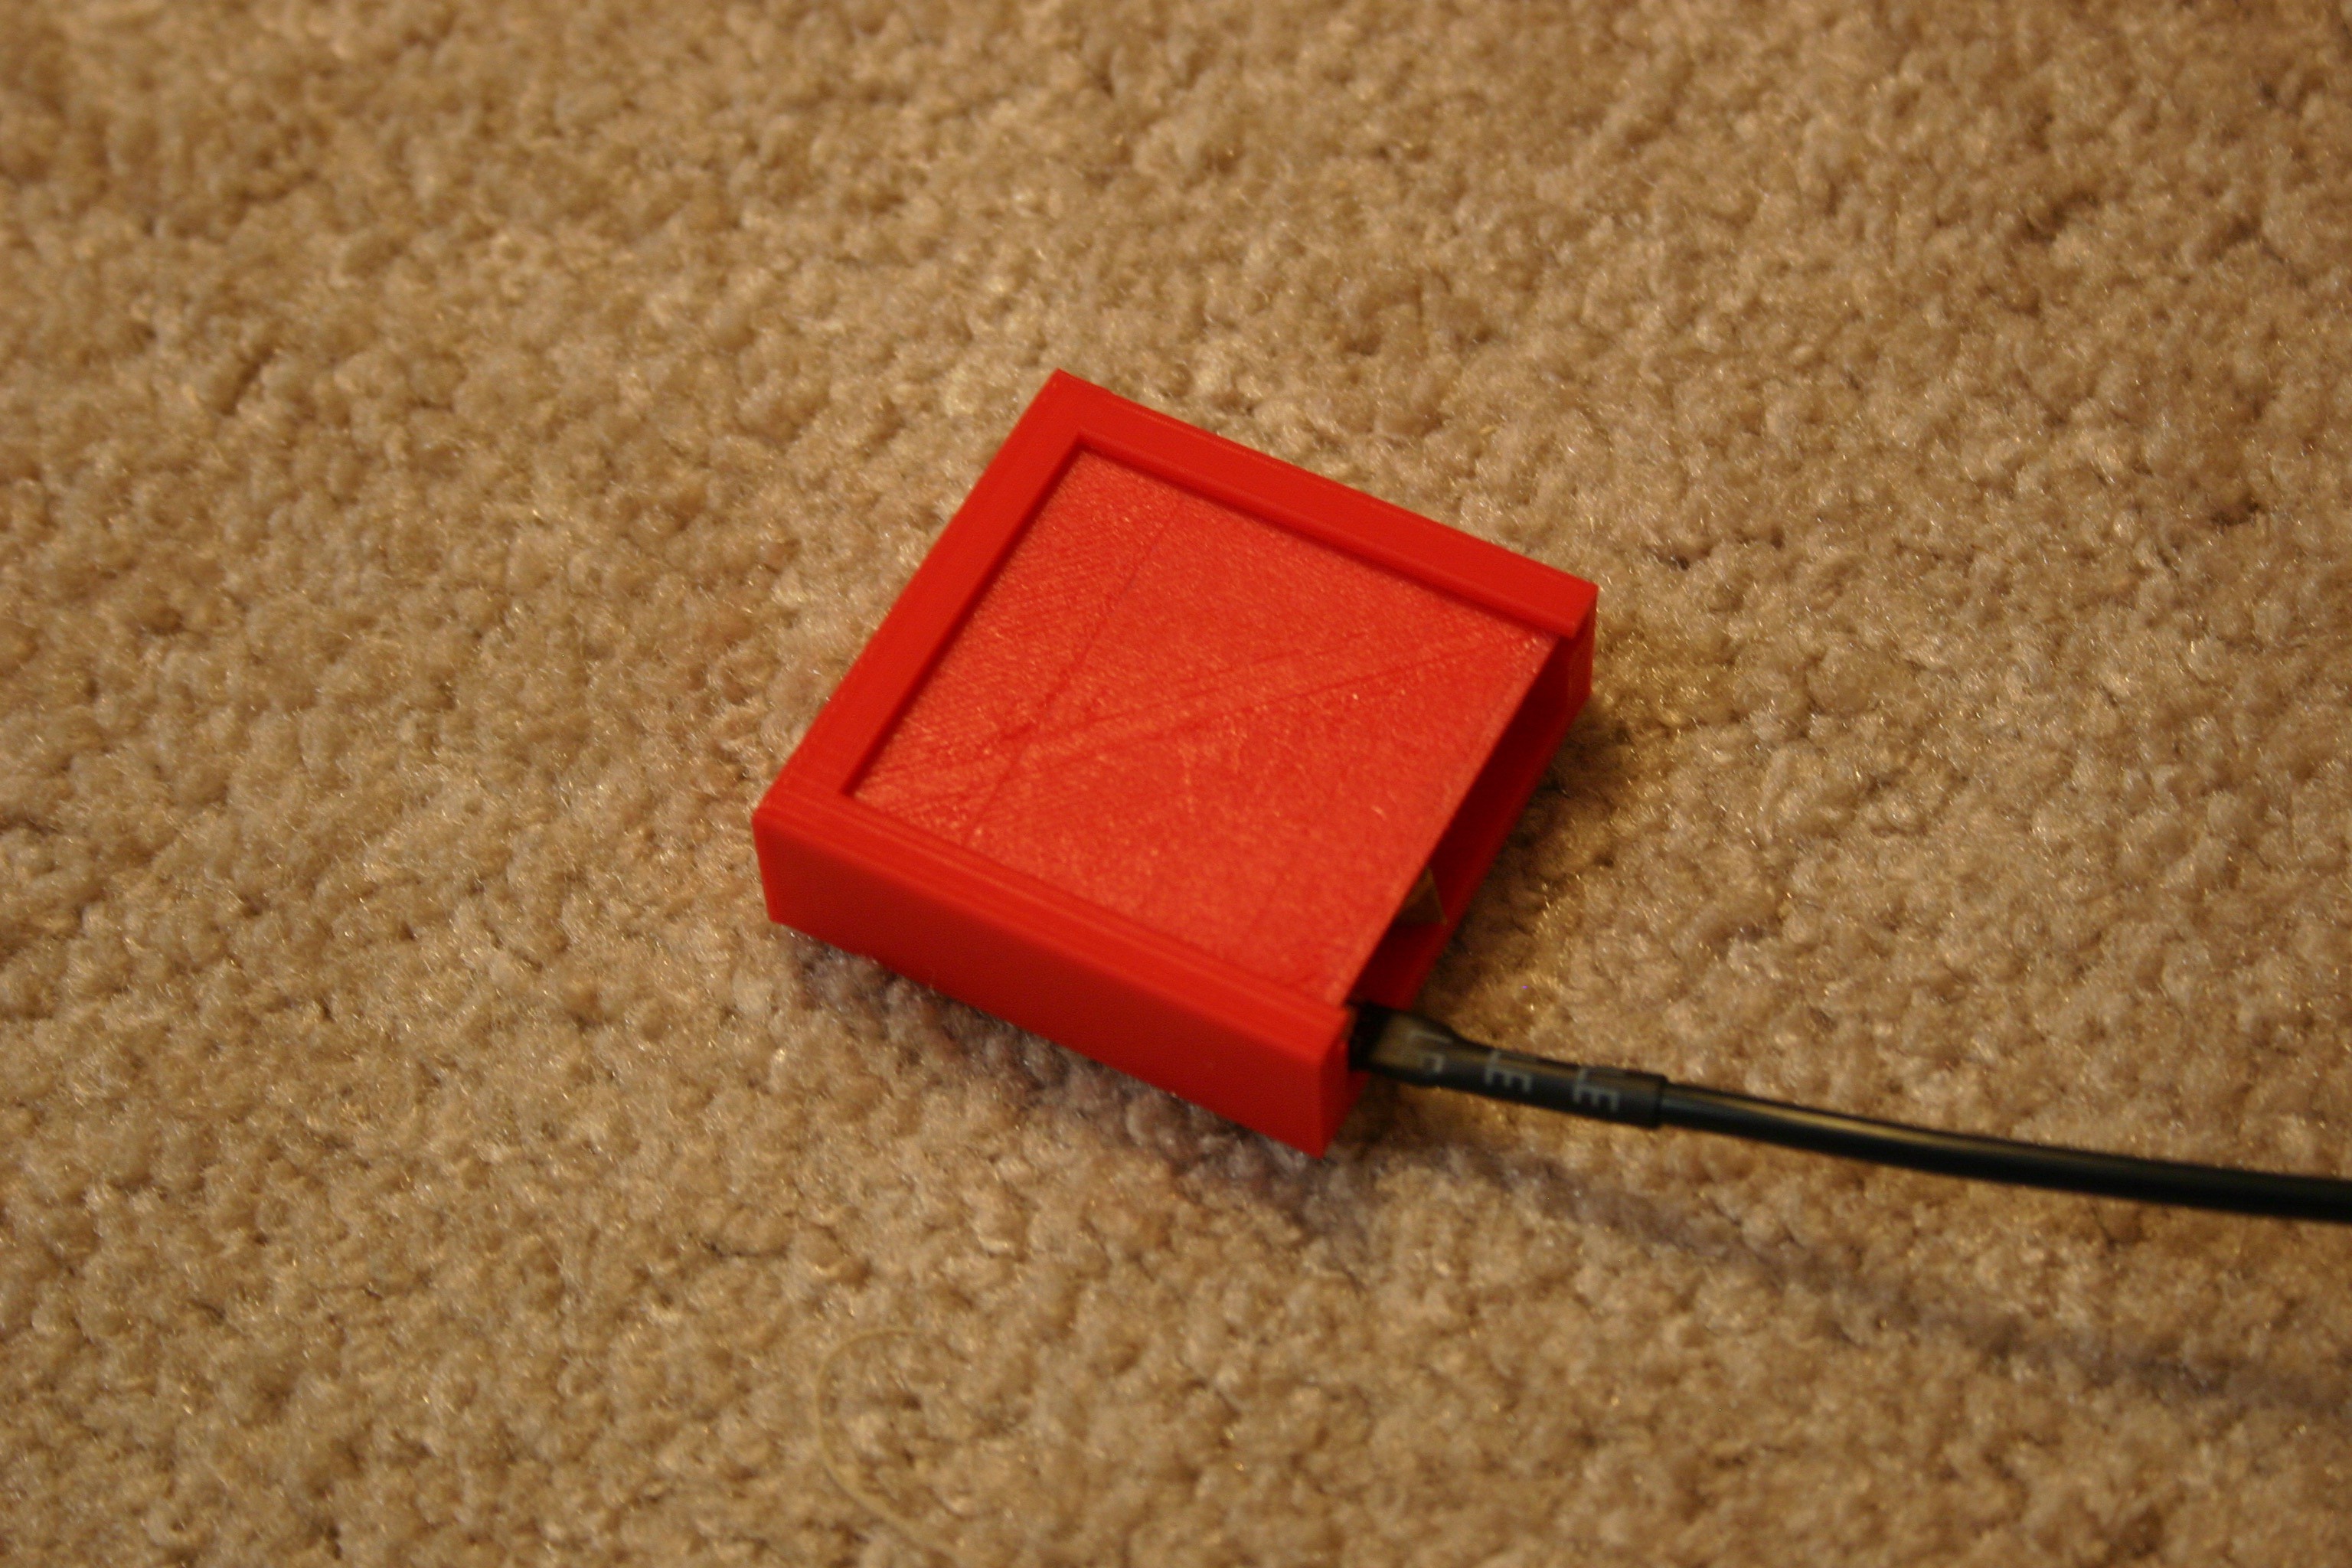
Next, I slid the cover over the led lights.
![]()
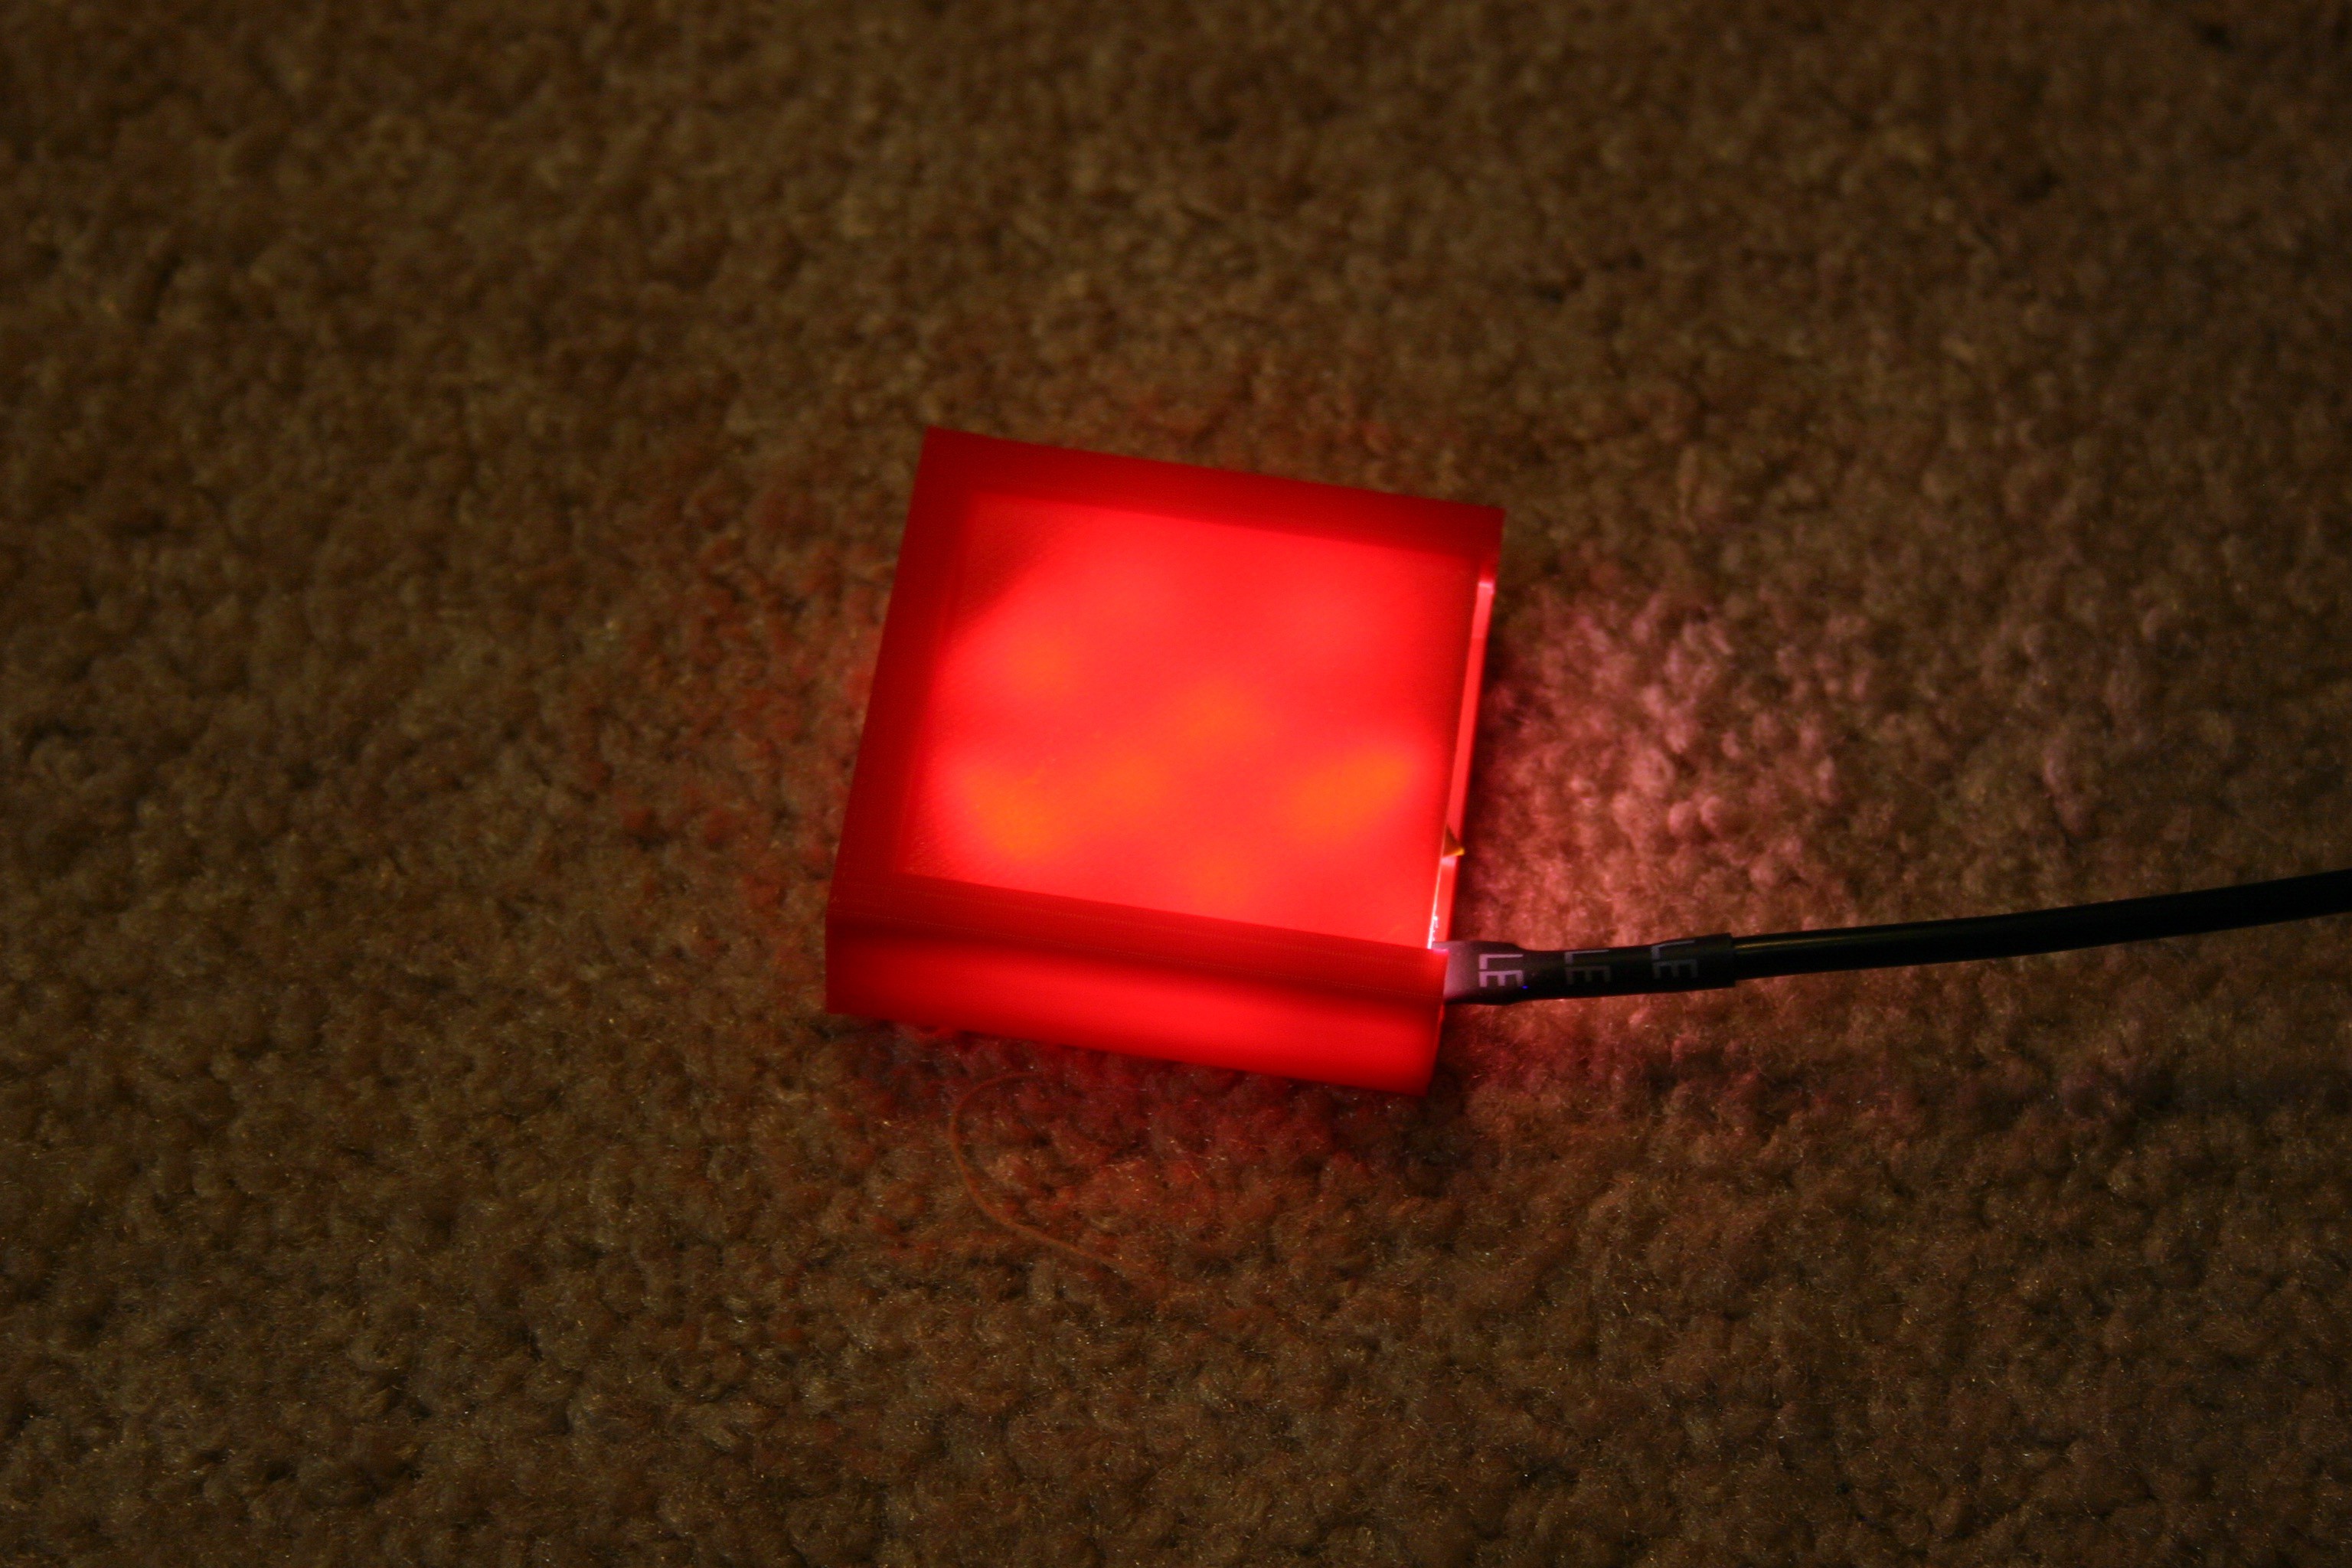
Then I tested it to see that the light could be diffused through the shield.
![]()
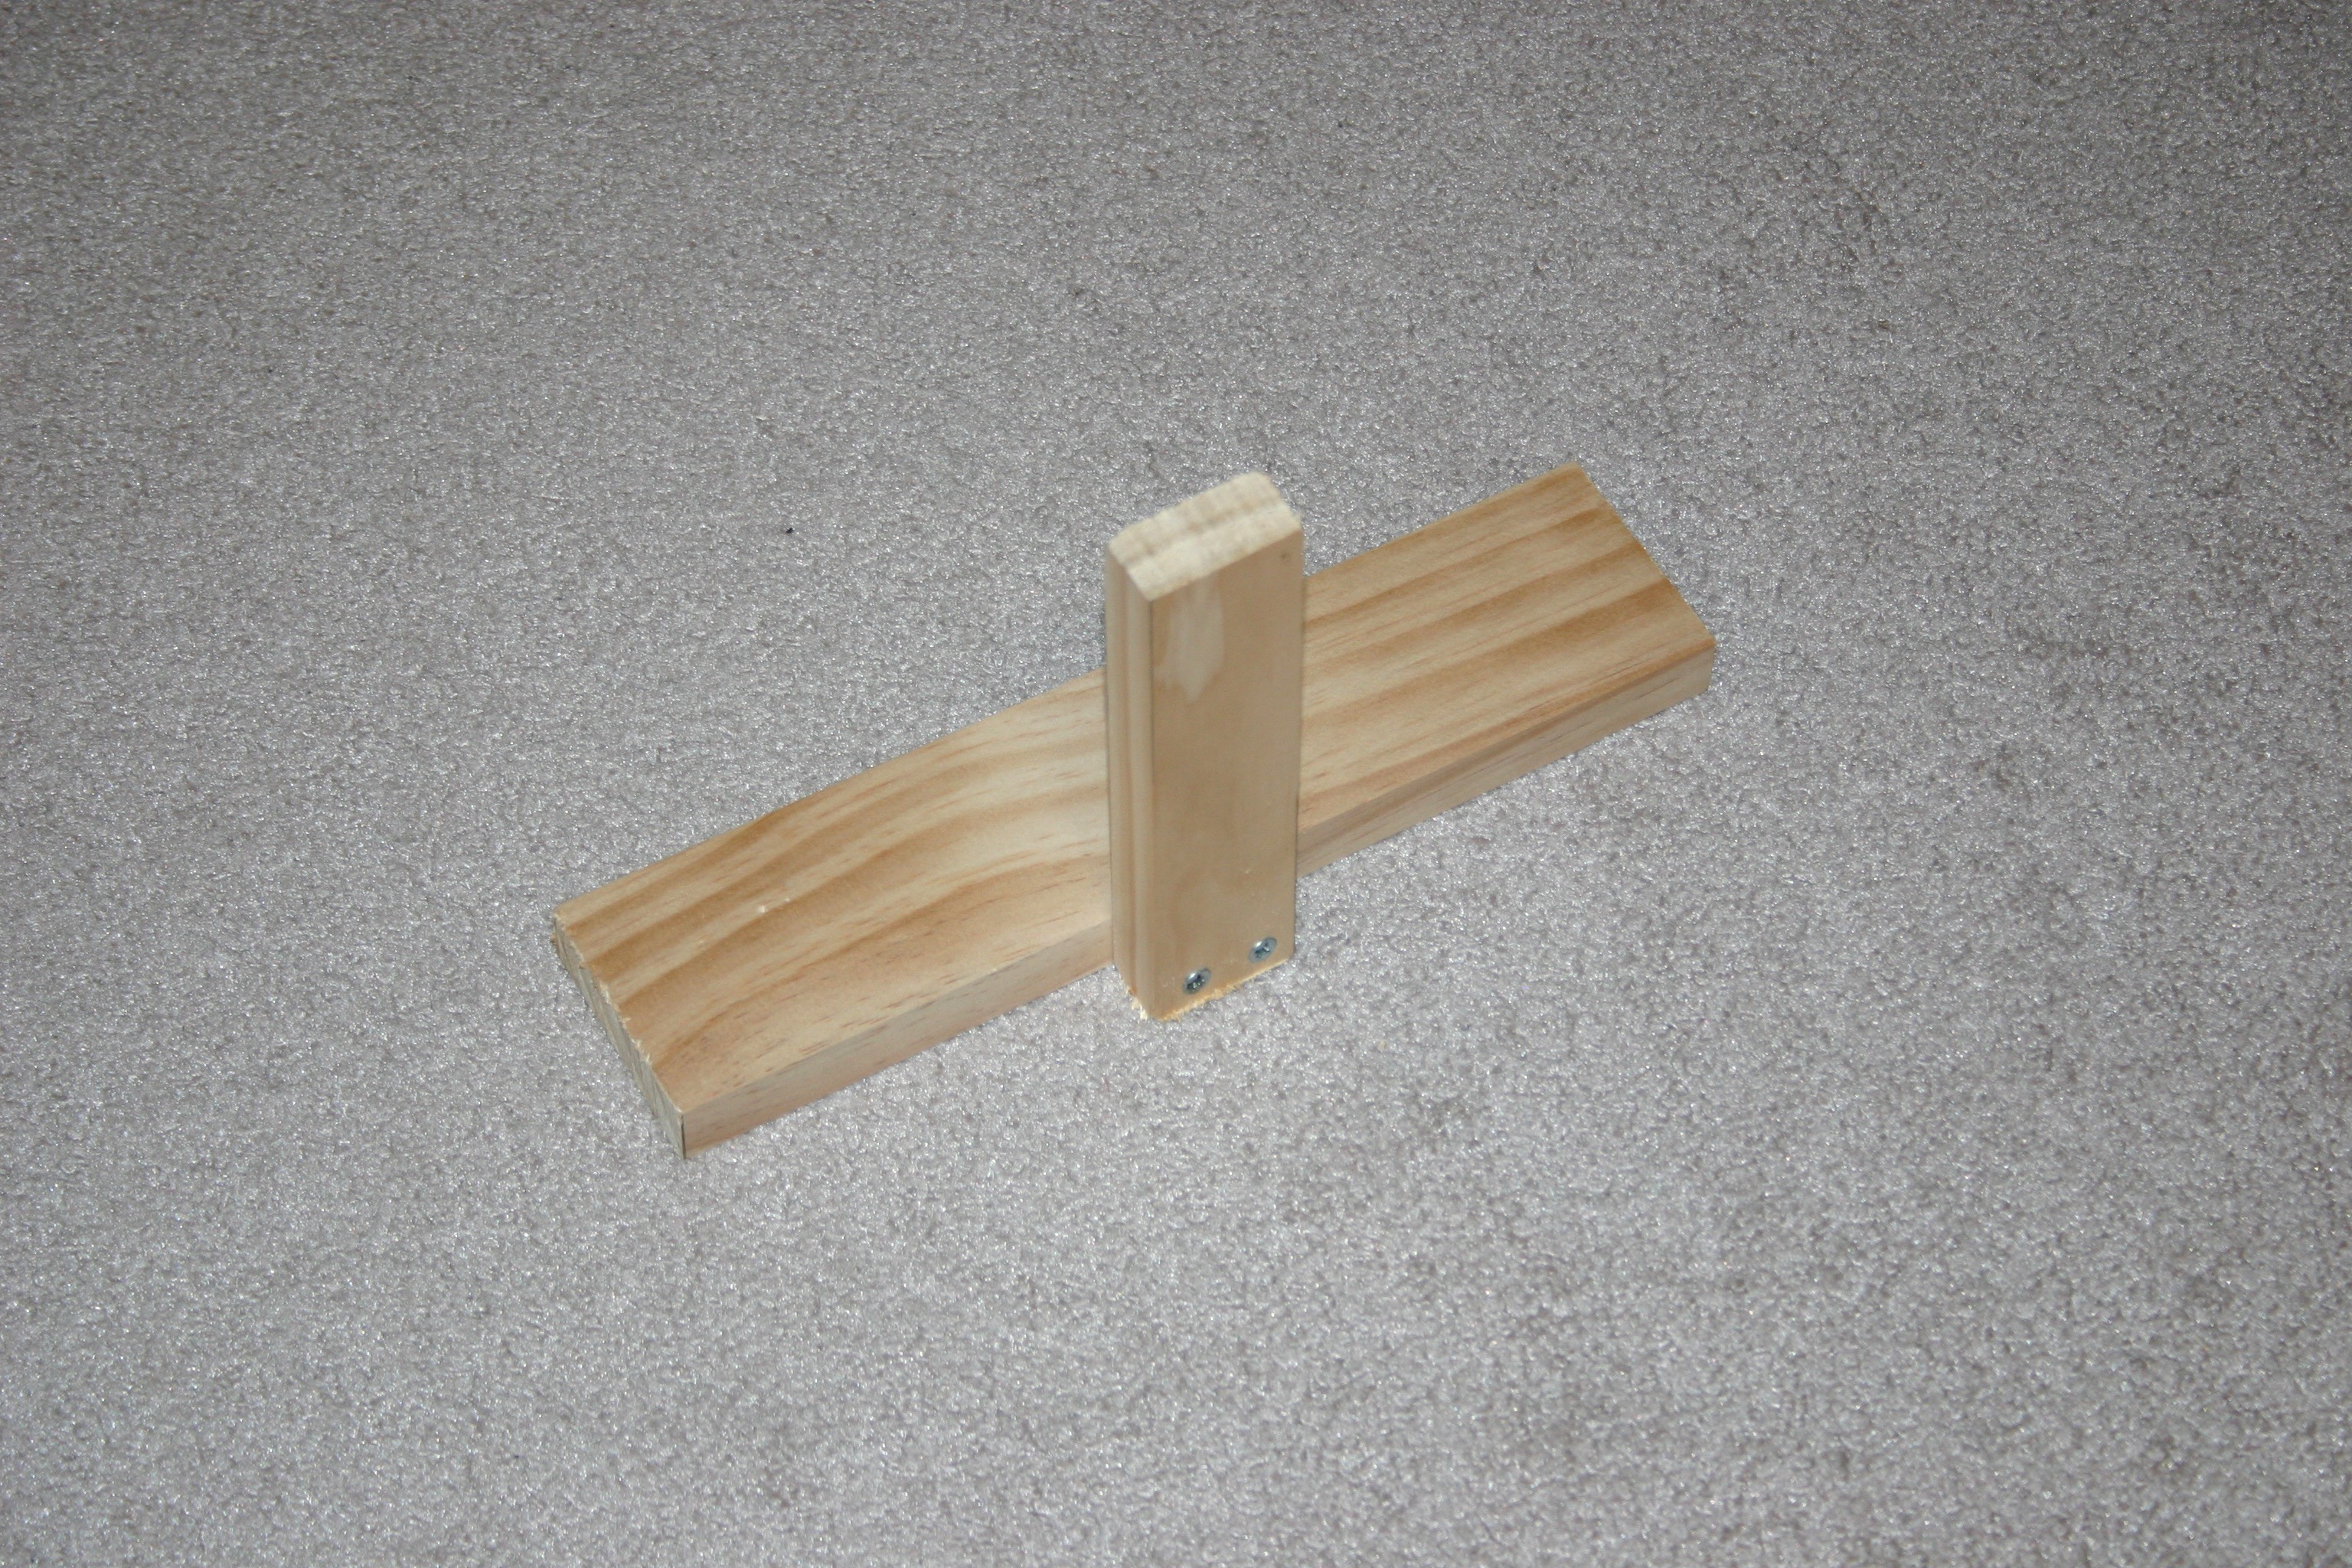
I took a 6 inch long 1 x 2 and screwed it to a 1 x 4 to make a stable base.
![]()
Now I'm ready to put the white piece (friction fit) onto the wood and place the beacon inside that.
![]()
OK--so Mato will now line up with and drive into the light source. Next, I have to get Mato to stop when she arrives at the source.
![]()
-
Adding Vision and Speech
07/05/2016 at 20:21 • 0 commentsFirst, we have to print a top bracket and drill some holes for the Pixy camera.
![]()
Next, we drill holes for the Arduino that is connected to the Pixy.
![]()
Secure the camera and the Arduino.
![]()
Print a bracket to hold the Arduino/Speech module.
![]()
Glue or melt the bracket onto the main holder.
![]()
Test the system.
![]()
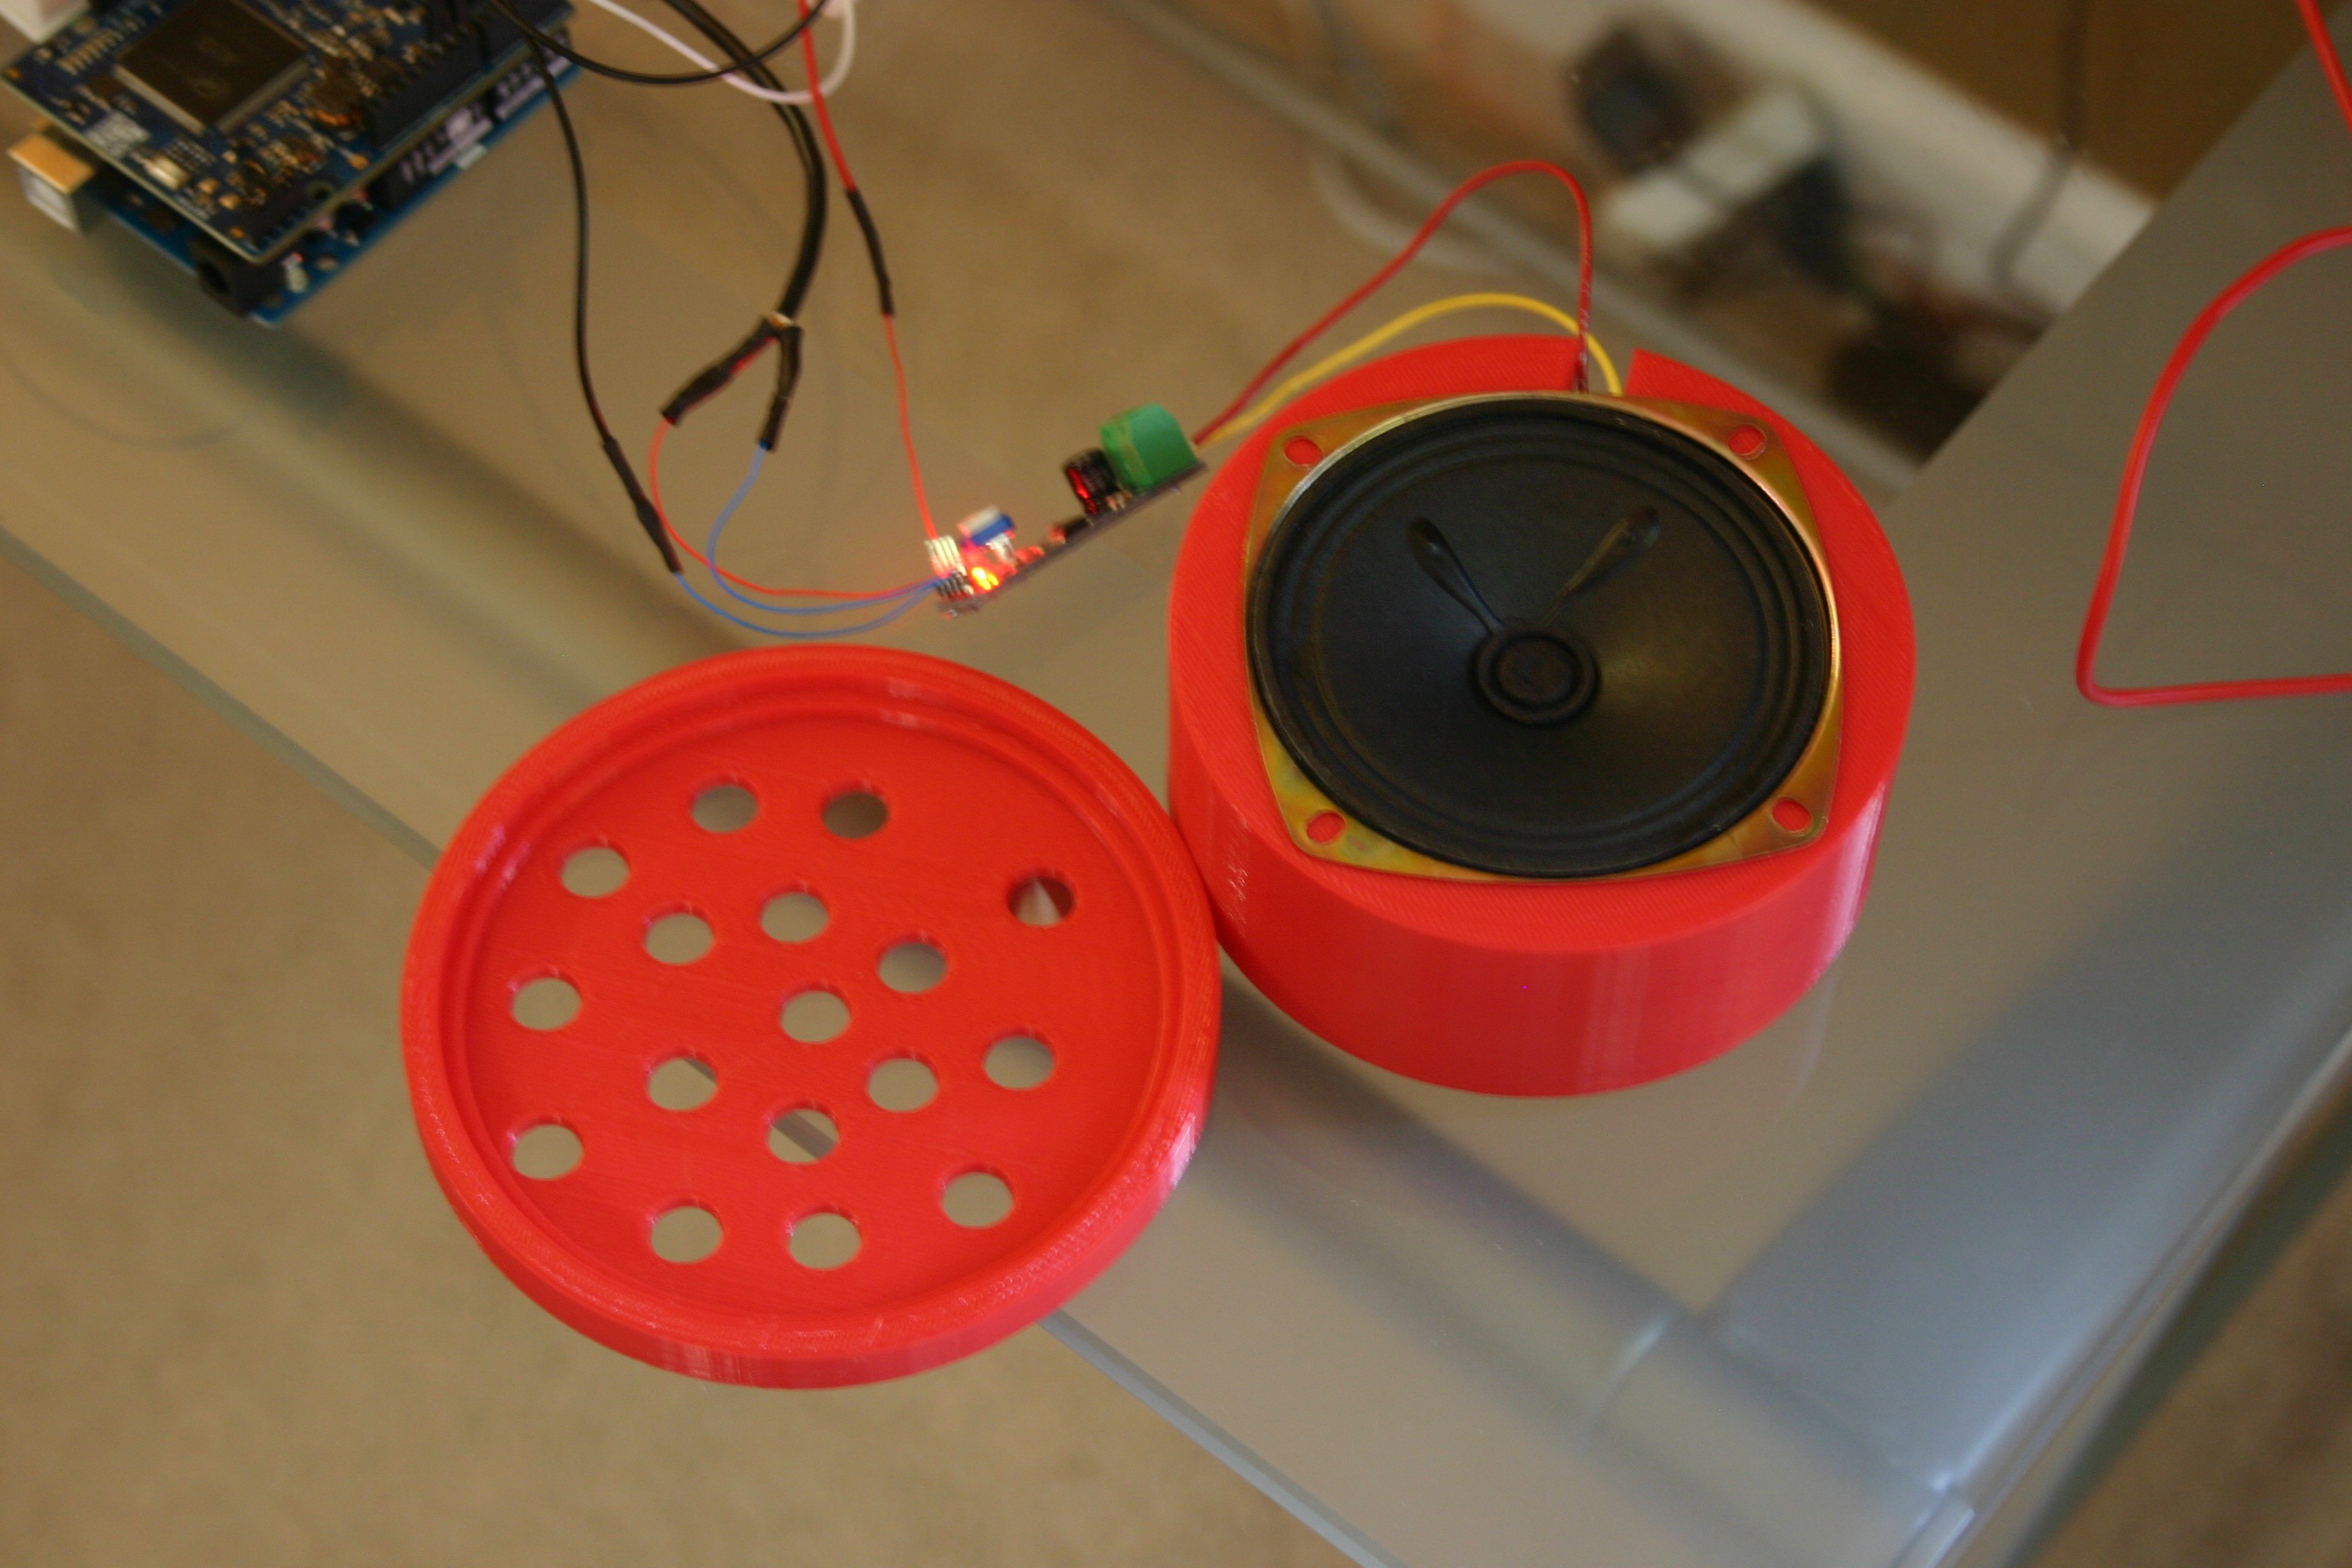
The speaker sits in the speaker holder.
![]()
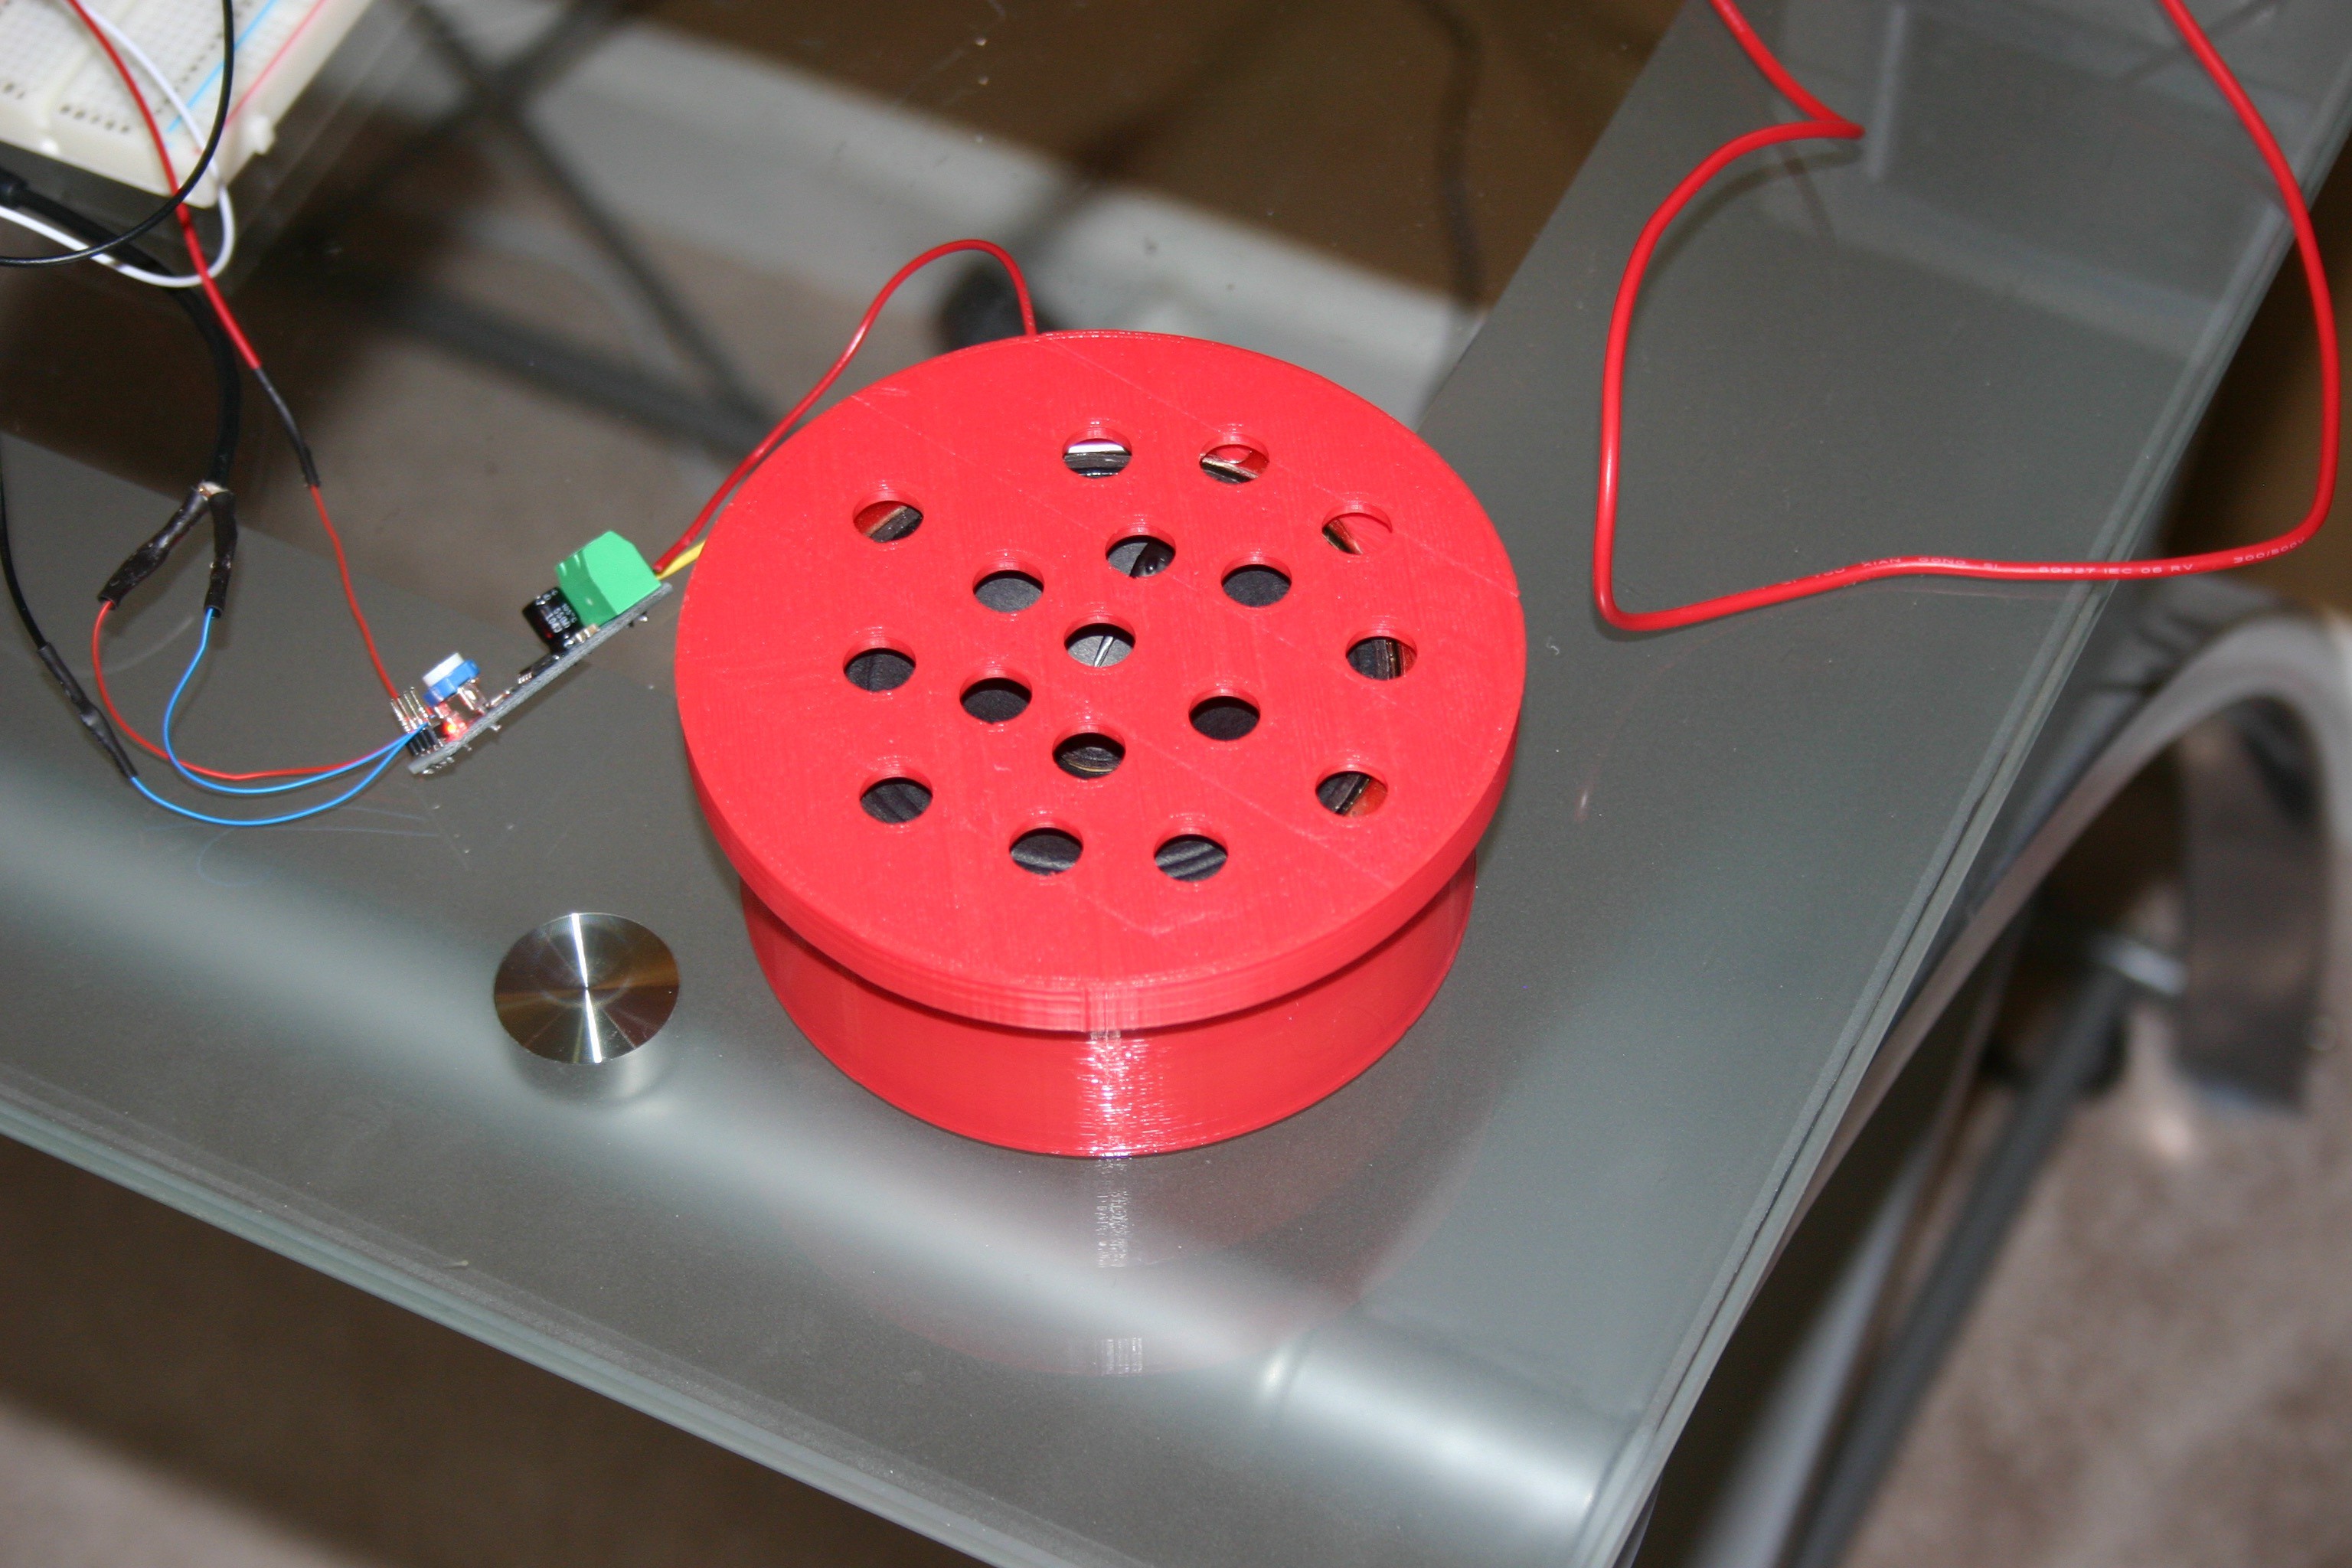
The speaker lid snaps on.
![]()
I secured the amplifier with a tie wrap through the speaker cover holes.
![]()
I attached everything using velcro.
![]()
It's now ready to mount to the top of the capacitor holder using velcro.
![]()
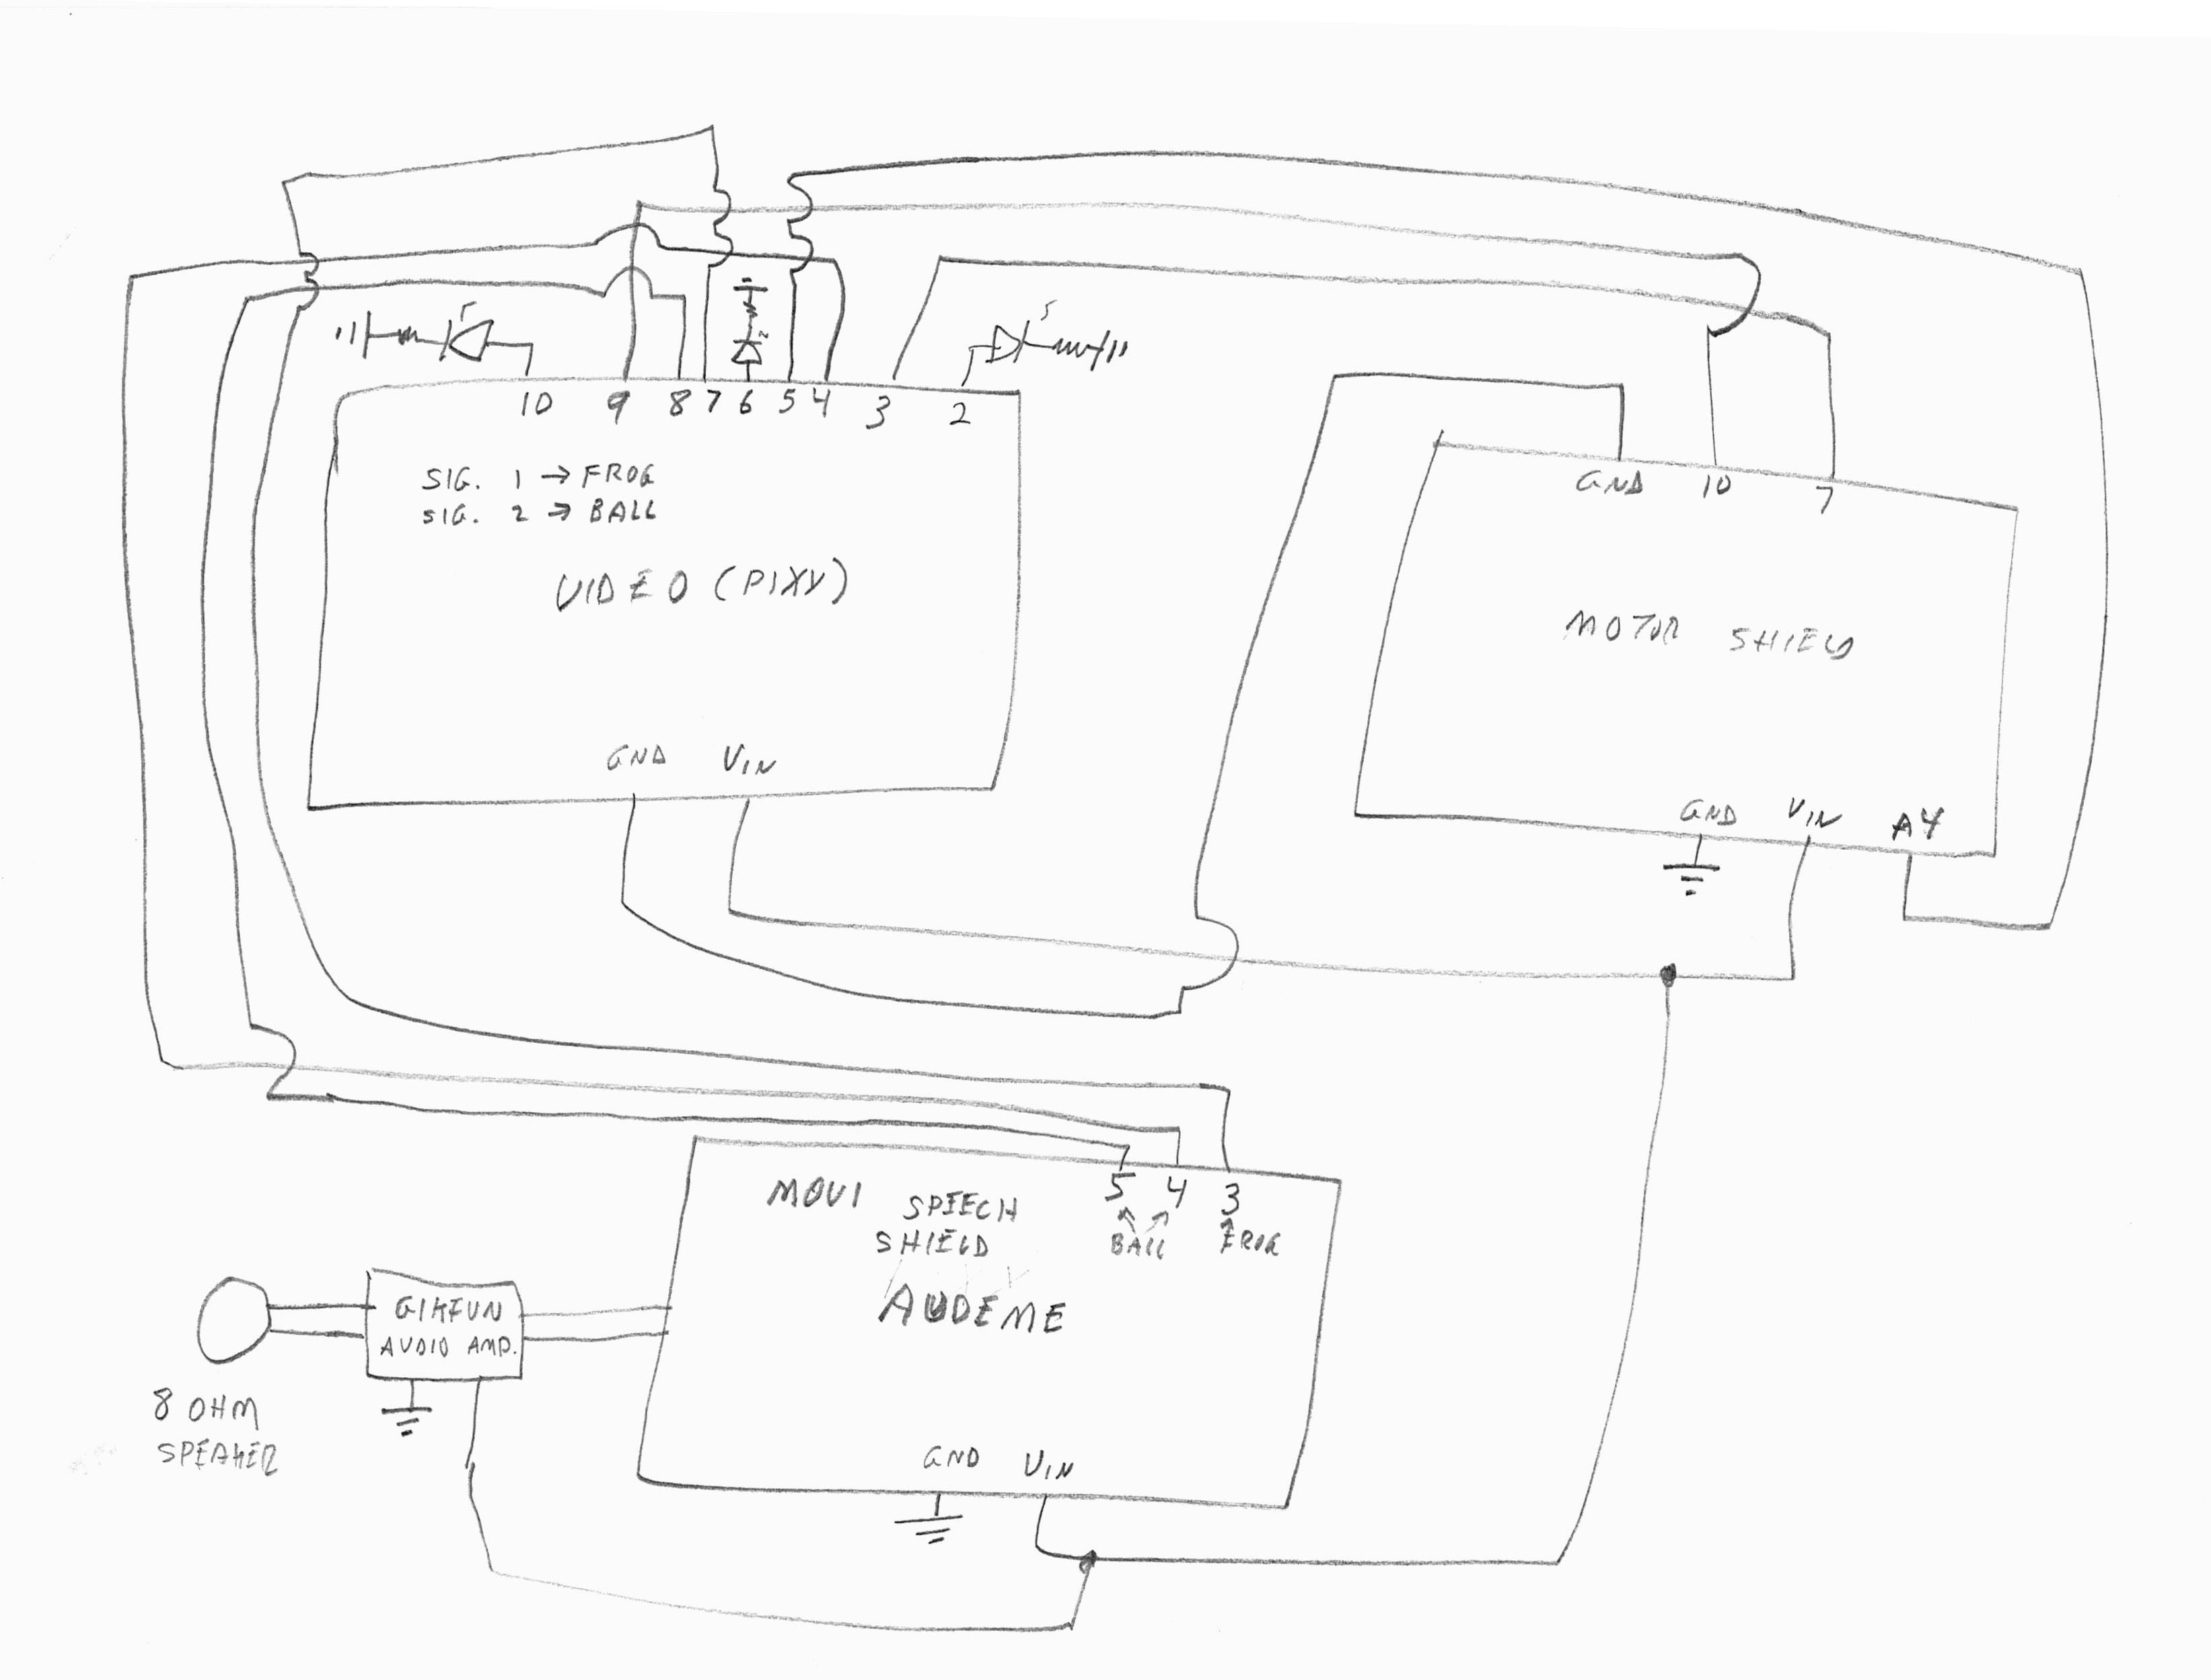
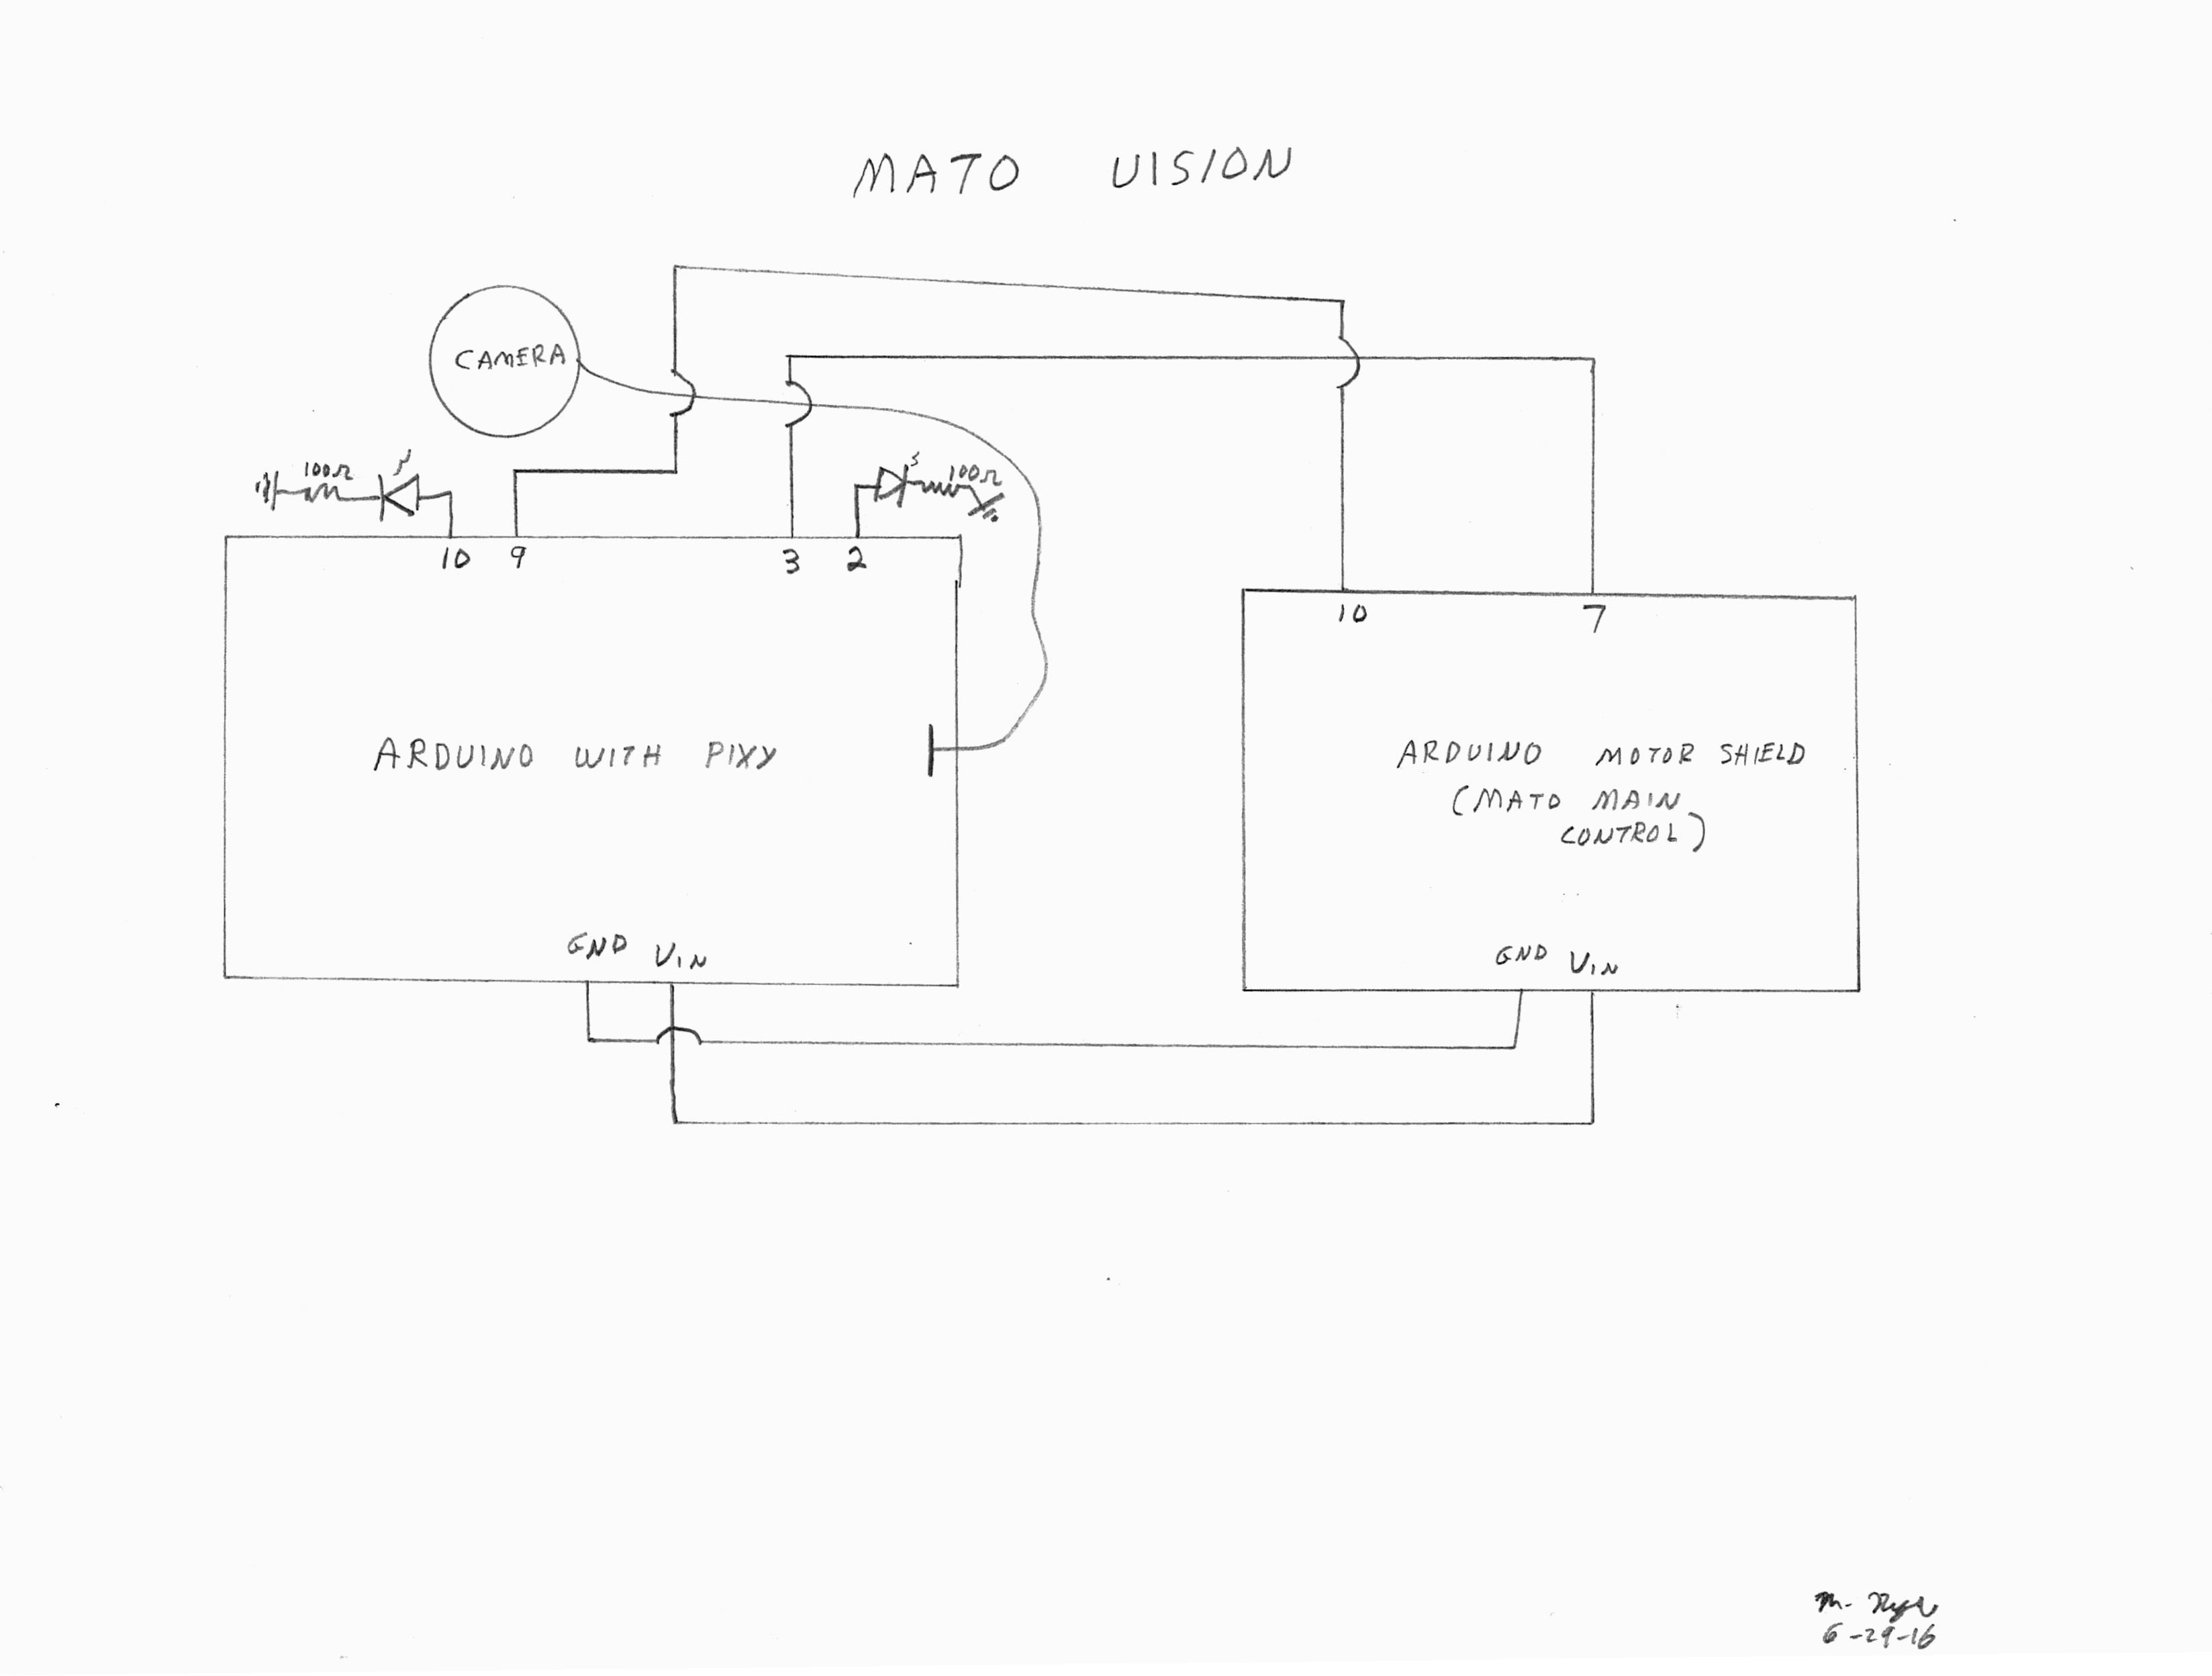
Here's the schematic that shows how everything ties together. There are a couple of minor quirks to the shields that you should know about. For the speech shield, it must be powered (by Vin of greater than 7 volts) and it must settle down (led quit flashing) before you connect the usb cable to your computer and install the sketch. The usb supply is not sufficient to power the speech shield.
To train Pixy . . . press and hold the white button on top until the led on front turns red. Release the white button. Place the frog in front of the lens and make sure that the led color is (approximately) the same color as the frog. Press and release the white button and the led on front of the Pixy will flash to acknowledge that it understood. To train Pixy on the second color (ball--the frog must be the first color) press and hold the white button on top of Pixy until the color (sort of yellowish) occurs after red. Release the white button. Place the ball in front of the lens and make sure that the led color is (approximately) the same color as the ball. Press and release the white button and the led on front of the Pixy will flash to acknowledge that it understood.
Pixy is quite sensitive to light changes, so it is best to operate in a room where the light is even and there are not light changes (daylight coming through curtains and changing throughout the day and night.)
![]()
The assembly is now getting pretty large.
![]()
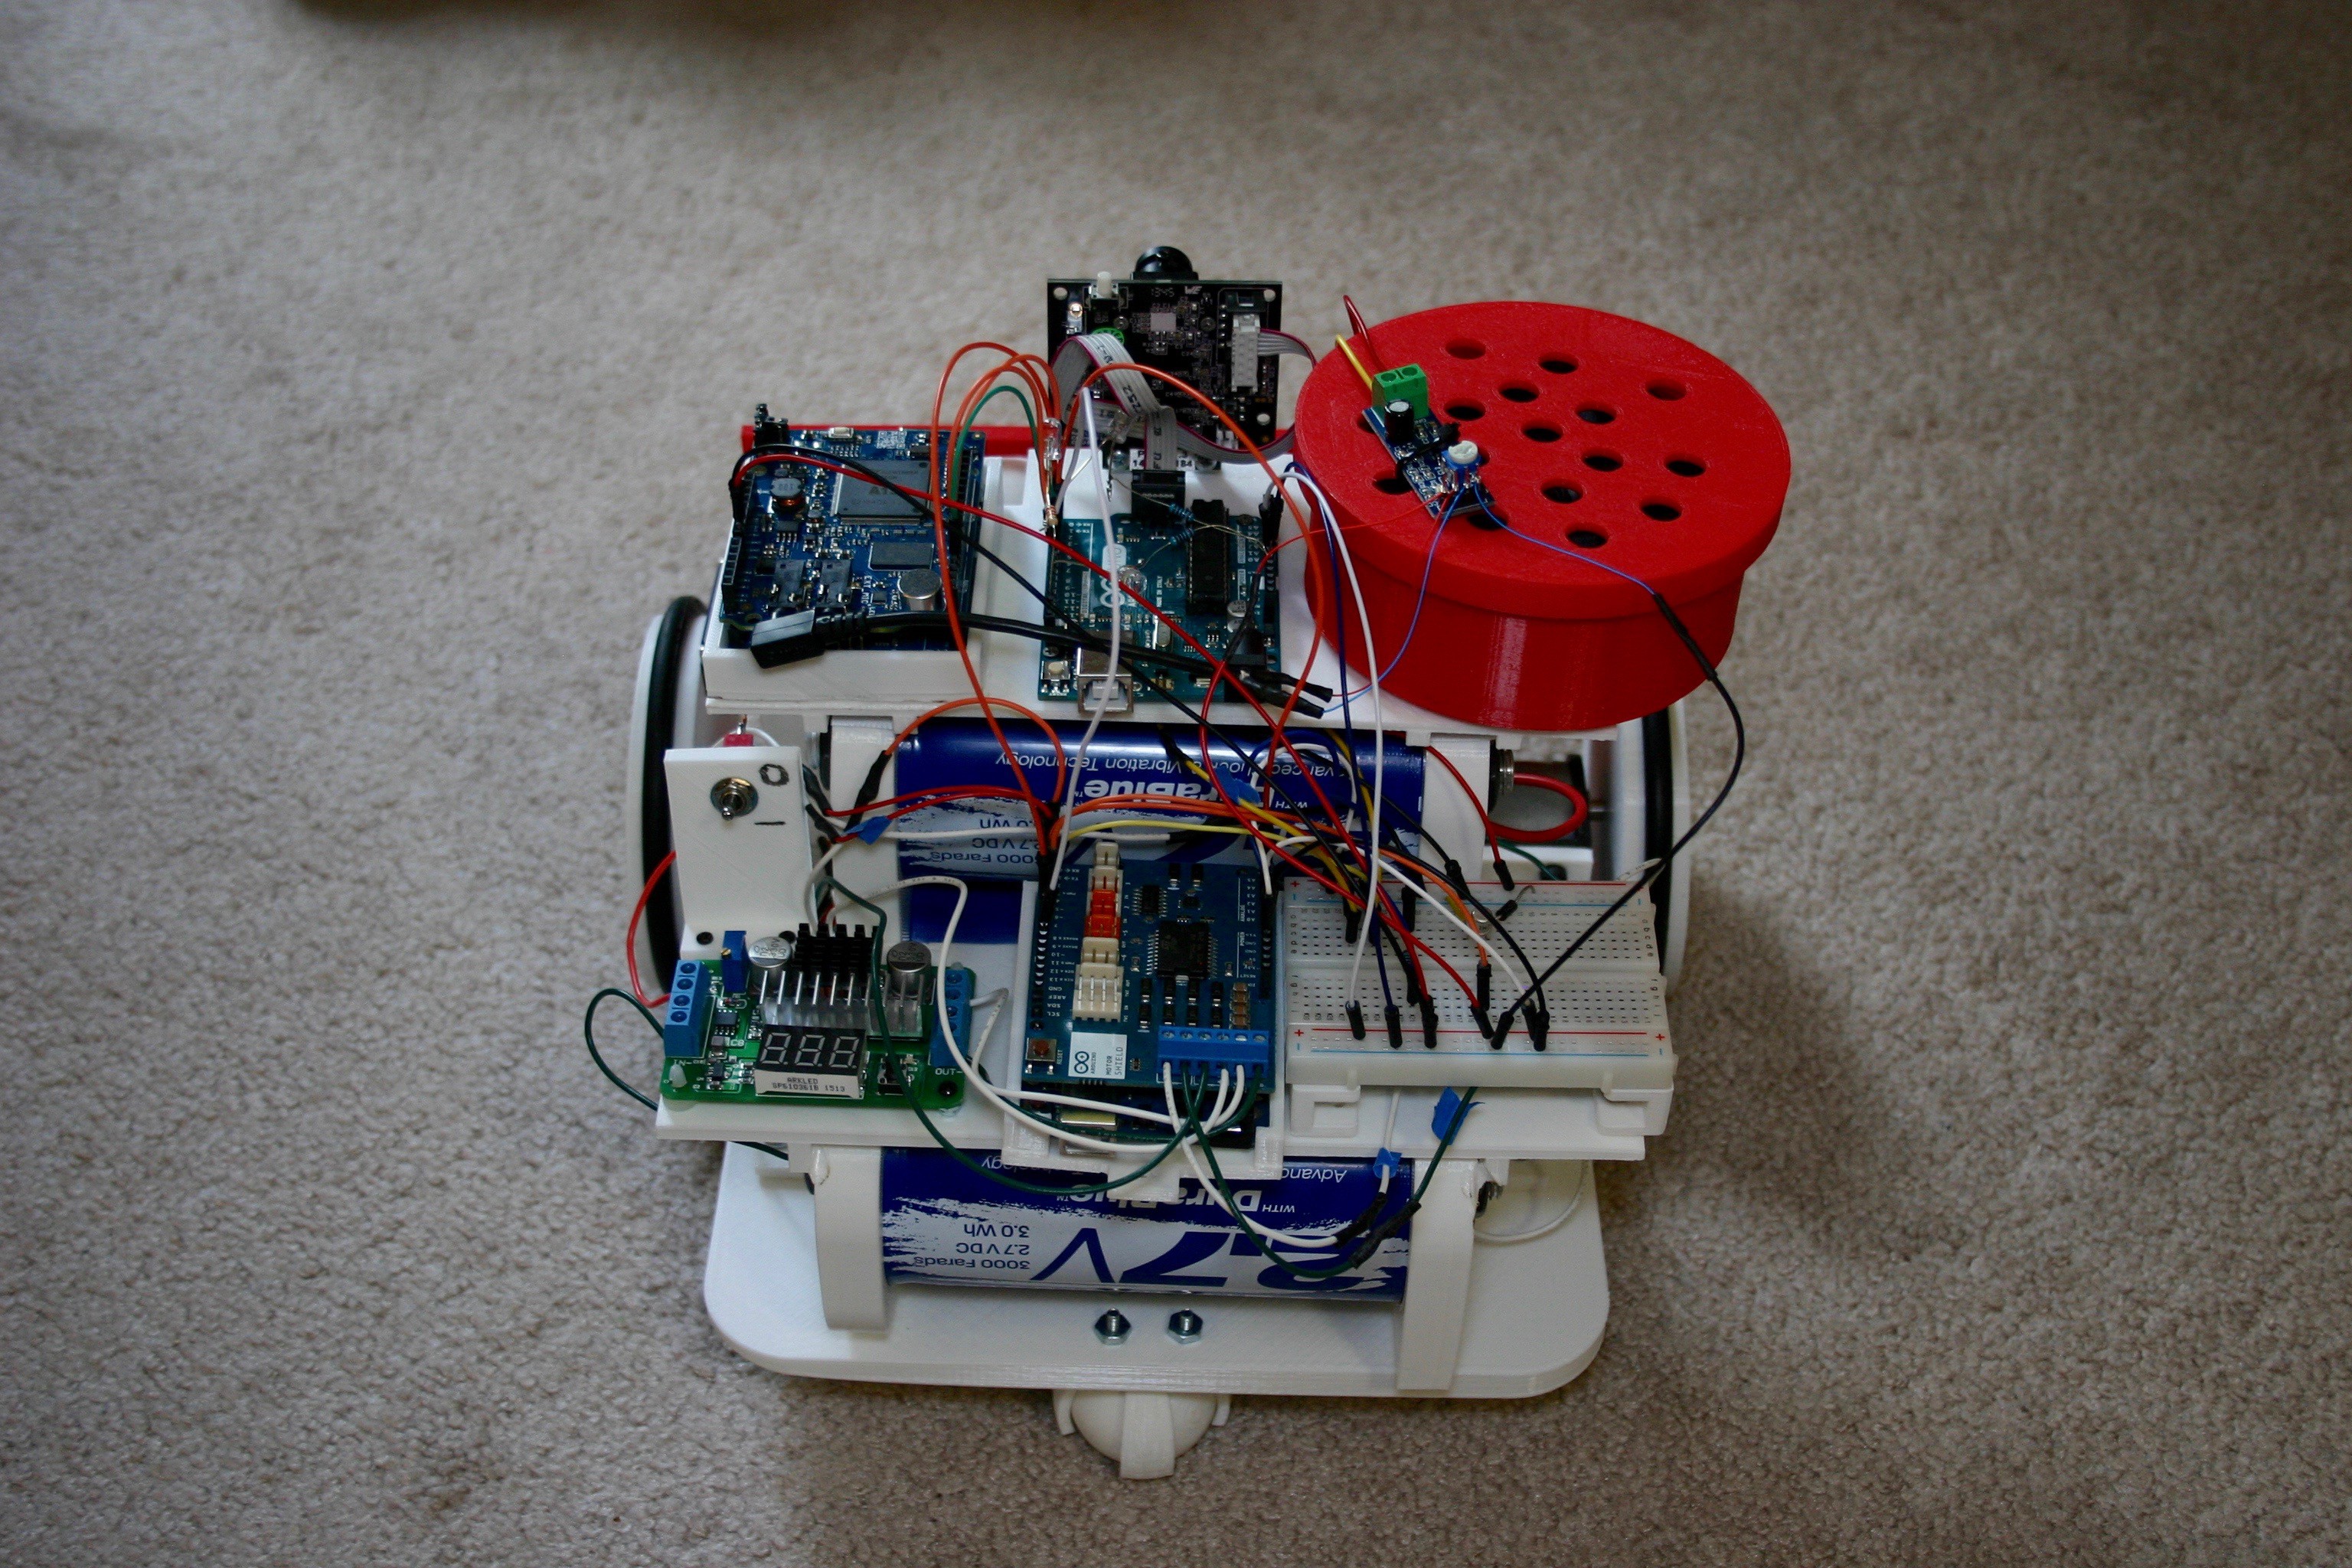
The wiring is getting thick--just pay attention and everything will work fine.
![]()
-
Mato Talks and Sees
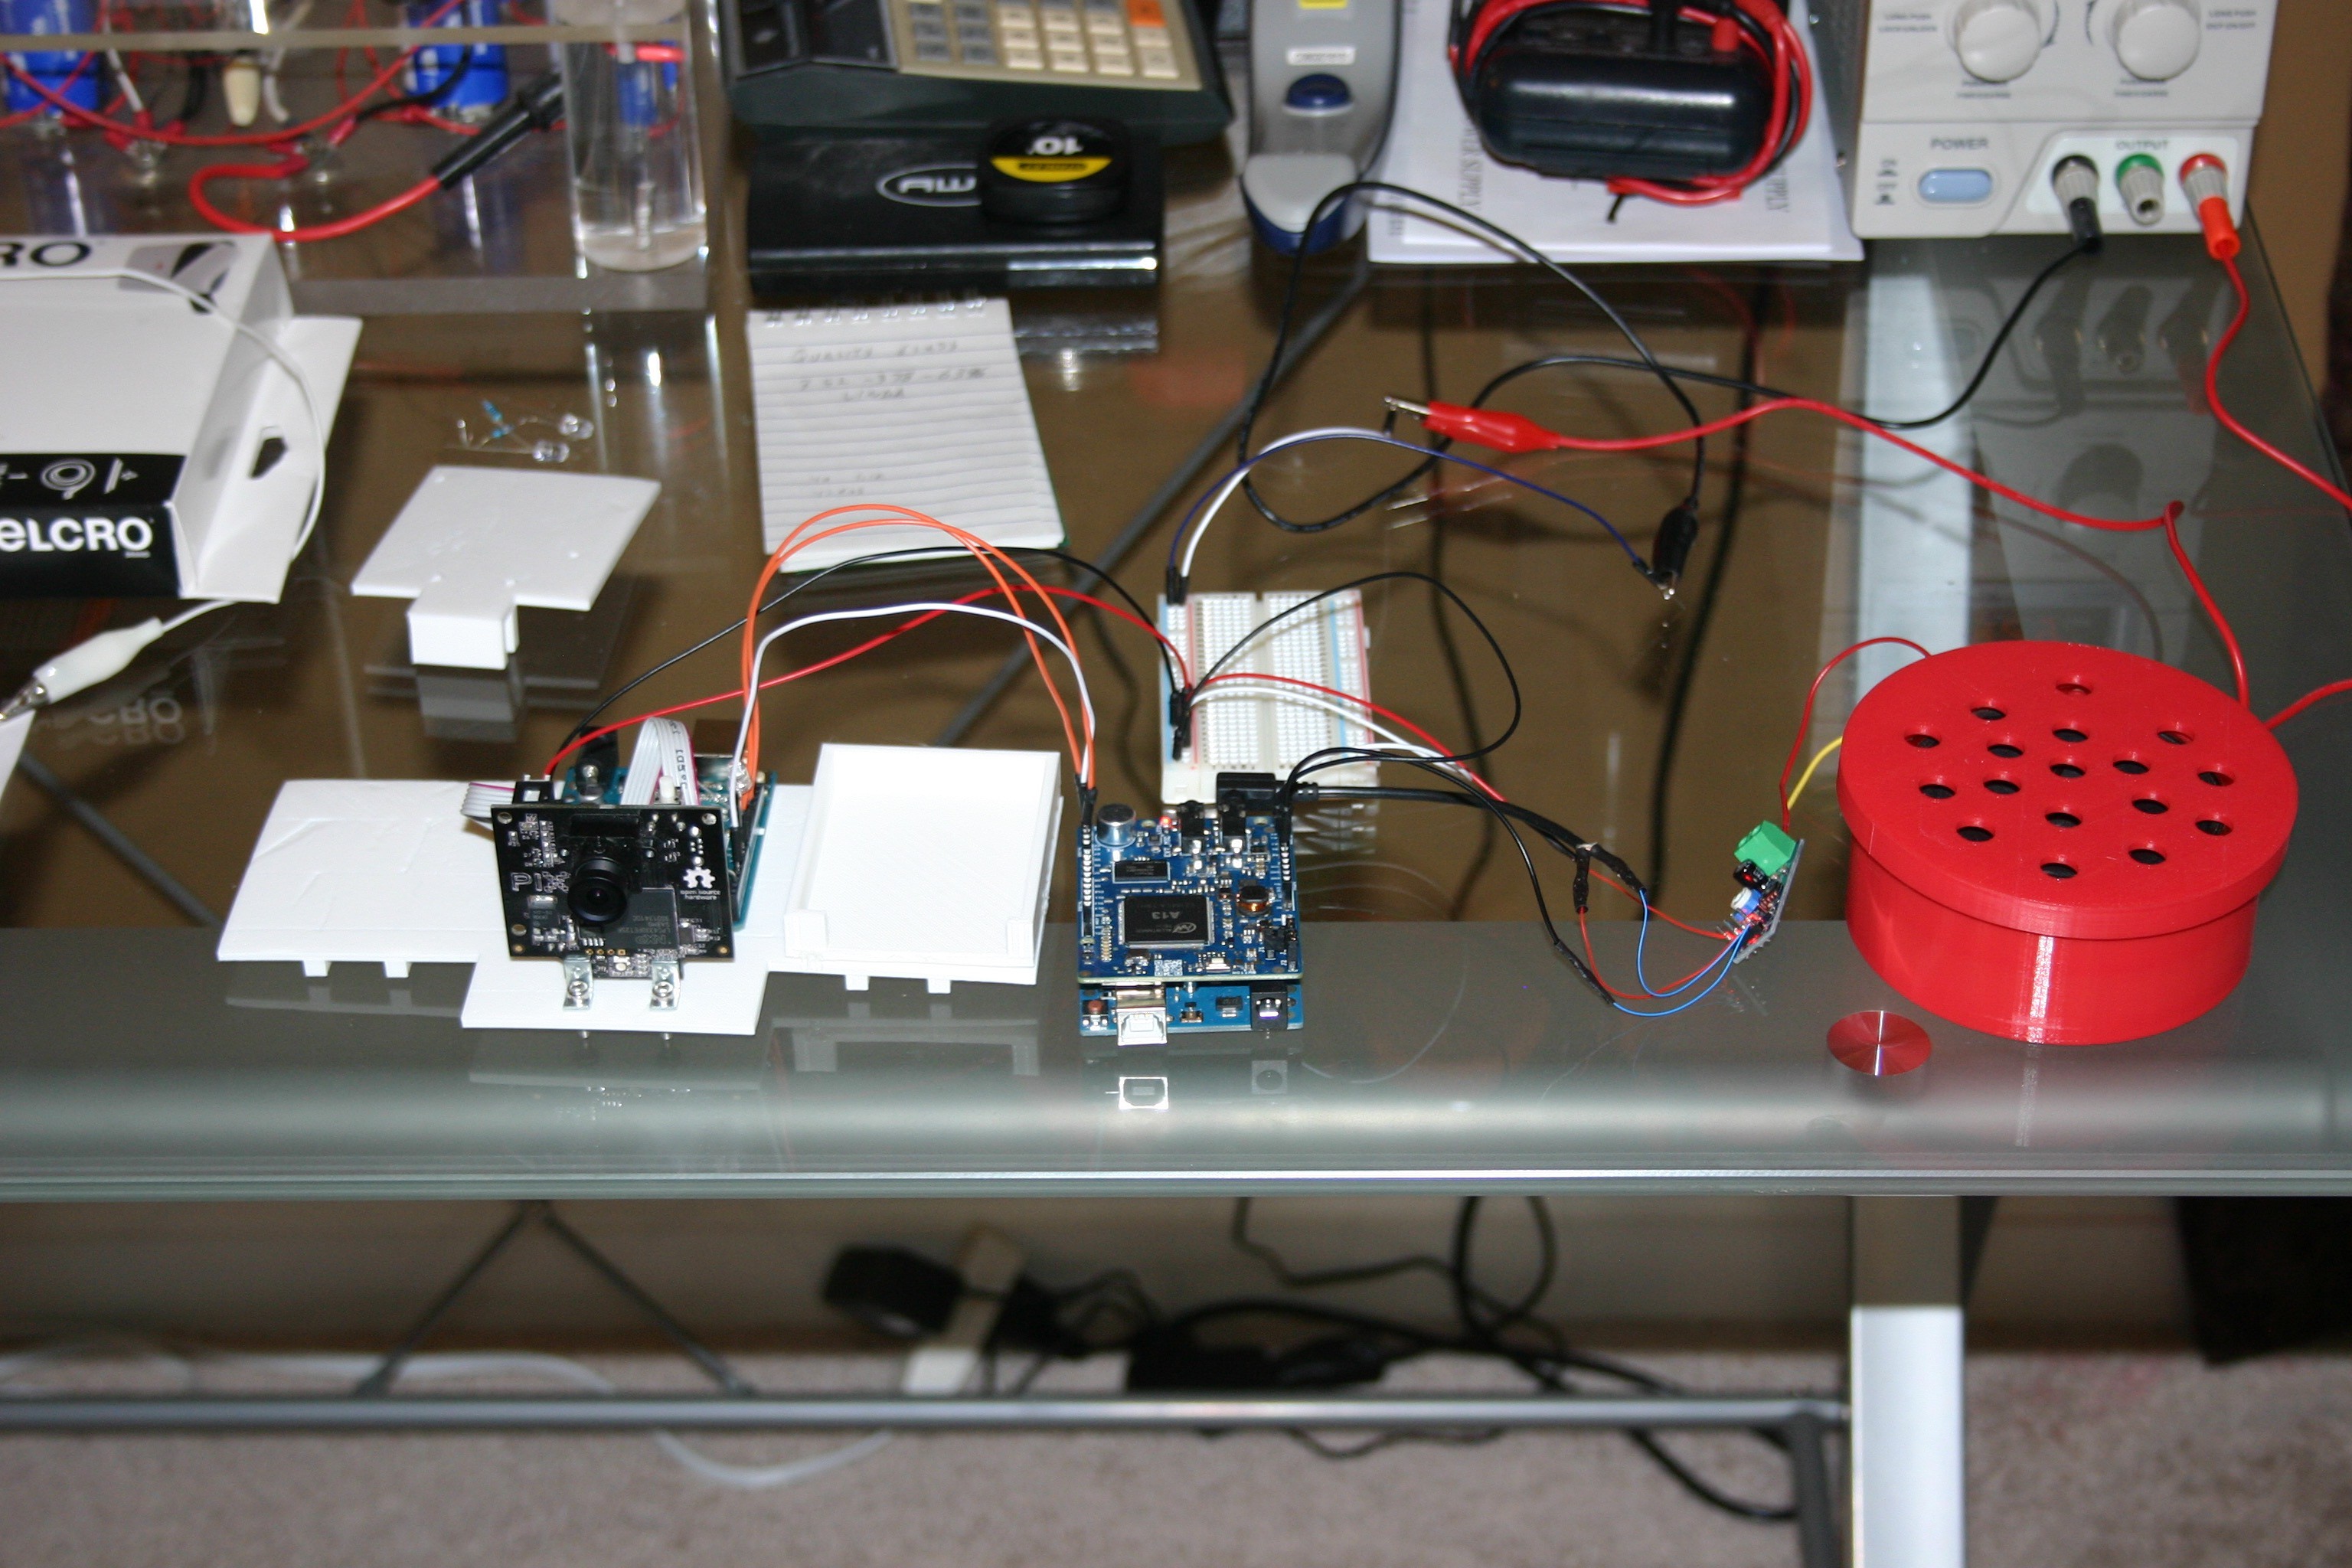
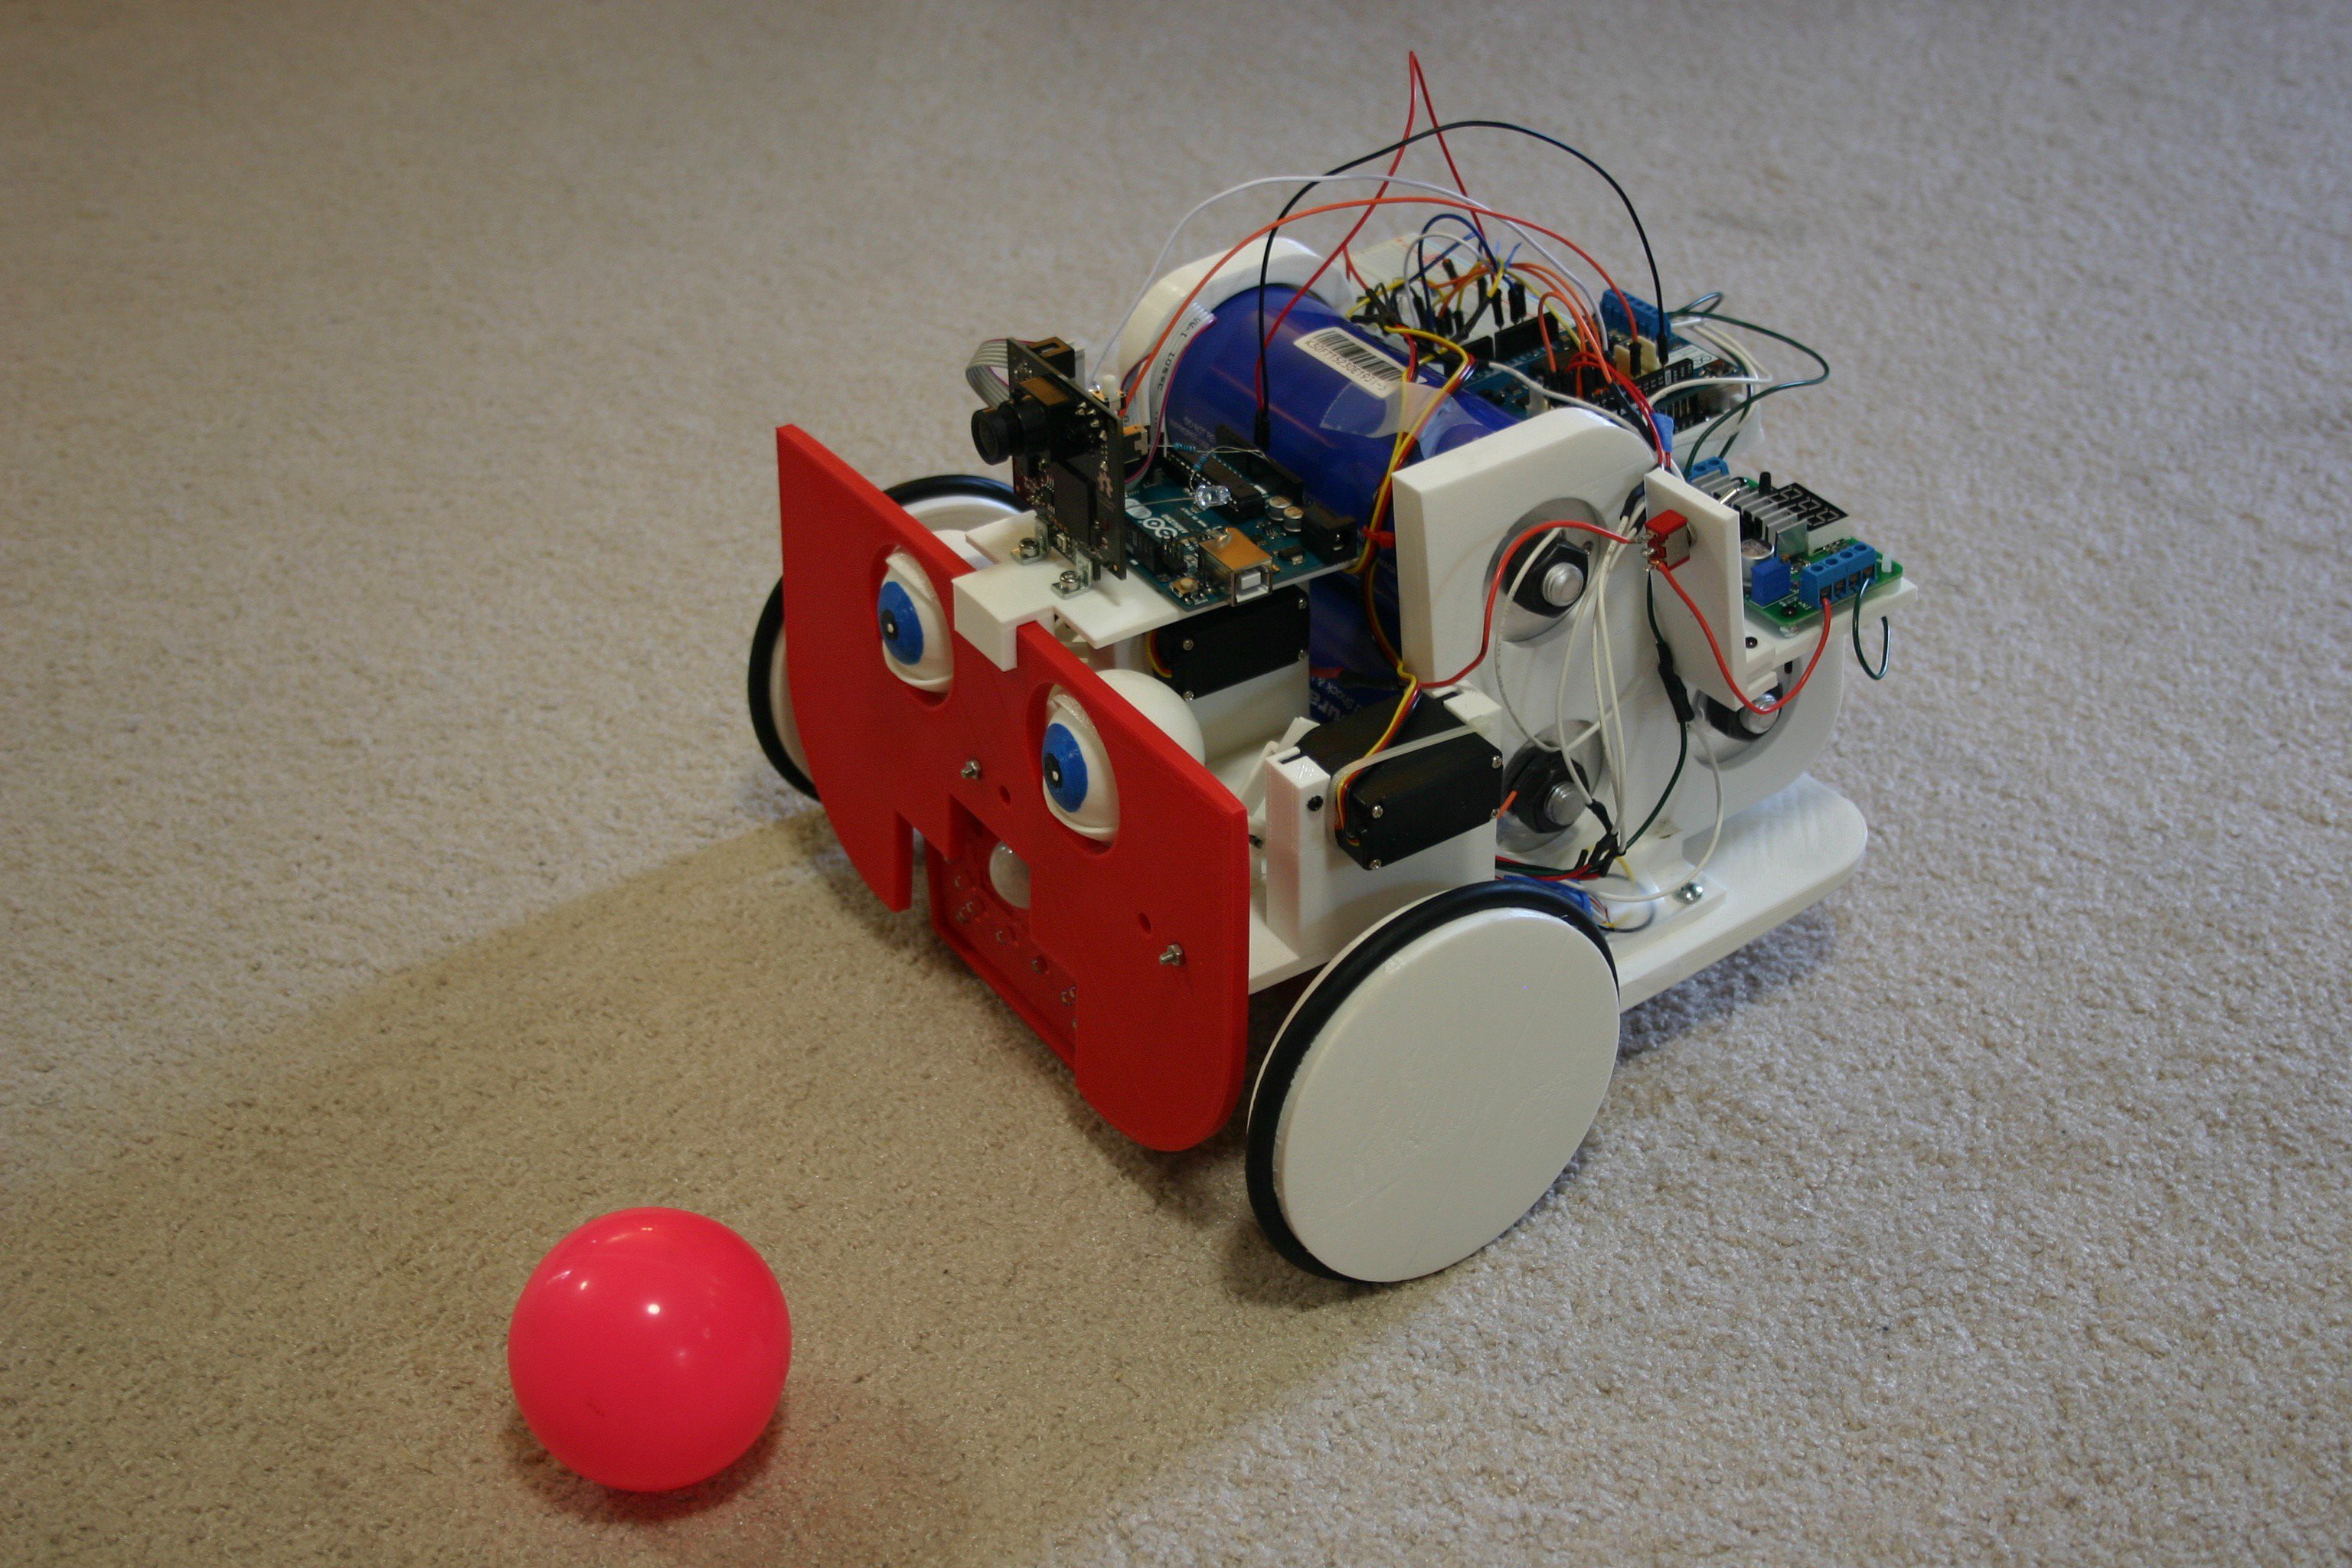
07/05/2016 at 16:42 • 0 commentsUsing a Pixy camera and an Audeme shield (for Arduino), Mato can "see" and "talk." When she sees the little frog, she stops and advises the froggy to move out of her way. If the frog moves, she thanks him. If the frog does not move, she turns and goes another way. If she encounters the pink ball, she comments about the ball (one of five statements--random) and chases it. If she sees the ball and the frog, she stops (not mashing the frog is higher priority).
Since this involves multiple 3d printed parts and Arduinos and sketches, it will take me a day or two to post all the files and details--but they will be provided.
![]()
-
Mato Receives Eyelashes
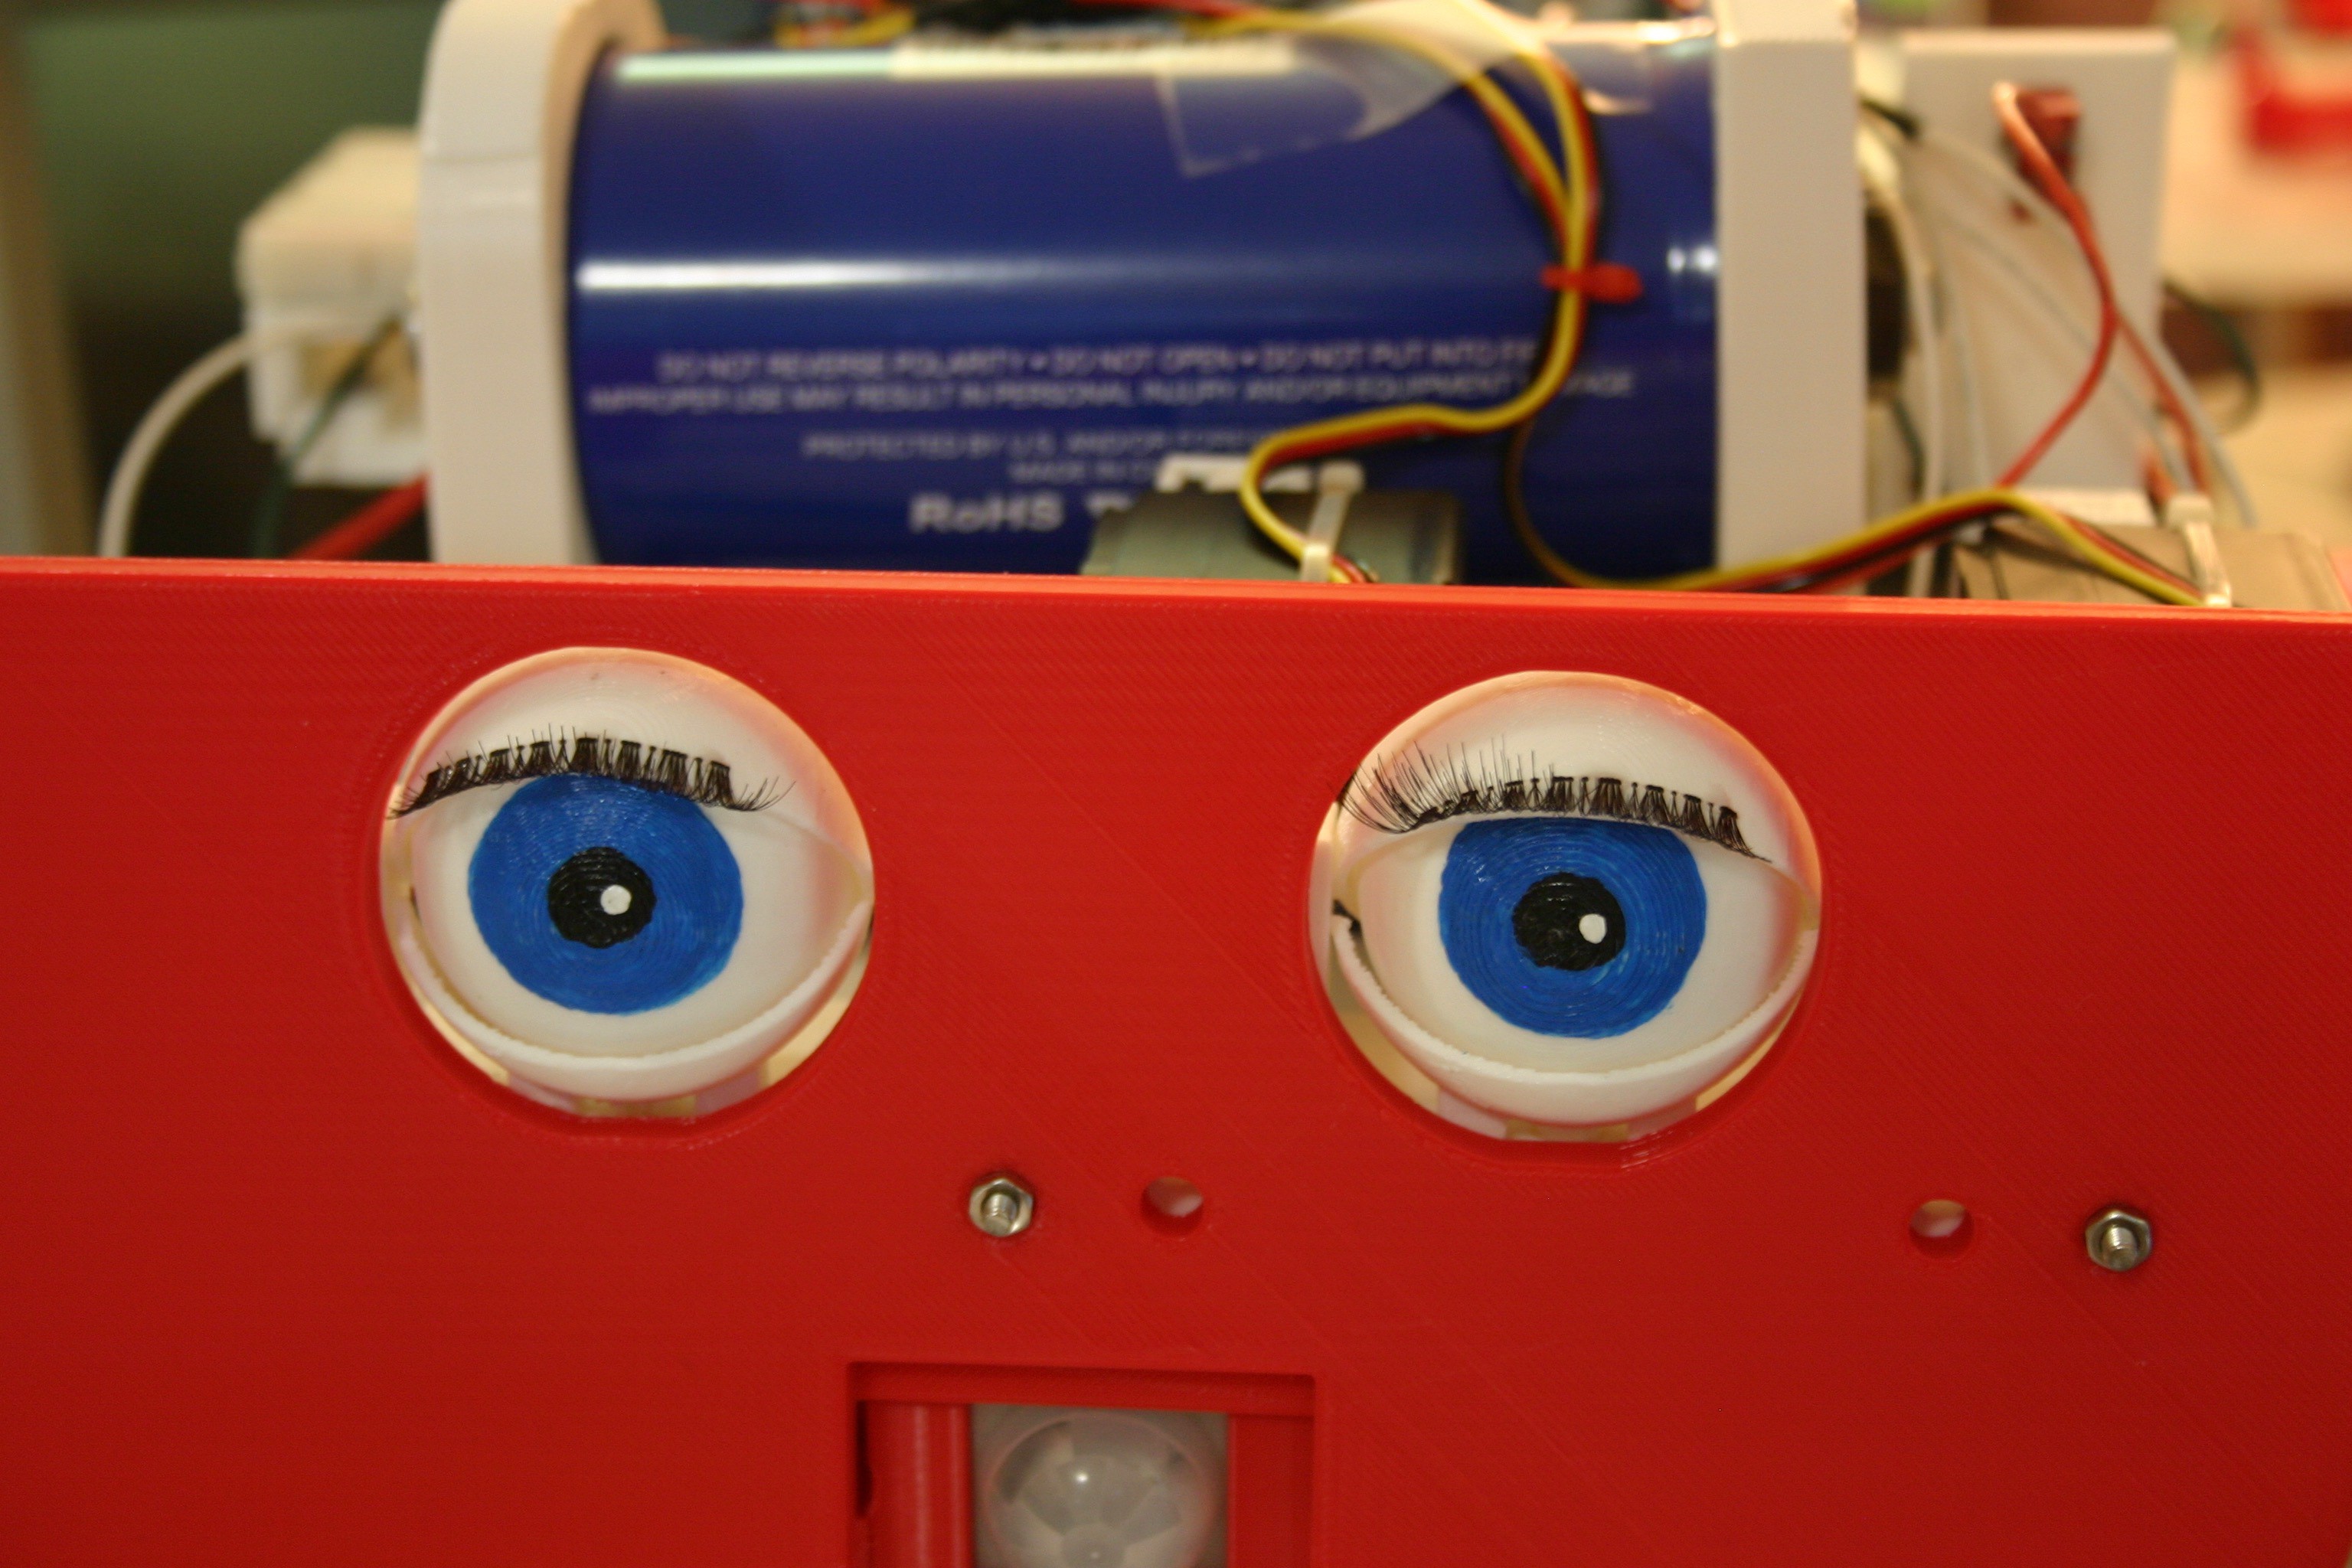
07/04/2016 at 20:18 • 0 commentsMato has complained about the look of her eyes--so she has now received a set of eyelashes. I'll also adjust (in software) the opening height of her lids so that she looks a little more friendly.
![]()
-
Finding the Ball Using a Pixy Camera
06/29/2016 at 20:36 • 0 commentsMato, using a Pixy camera, now can chase a ball.
To accomplish this, I used a Pixy camera and an Arduino. I fed the output (target color to the left or target color to the right) to Mato's primary Arduino--see the schematic below.
![]()
The Arduino sketches for Pixy and Mato are available on this site.
The camera and wiring (temporary setup--may become the tomato stem) are shown below.
![]()
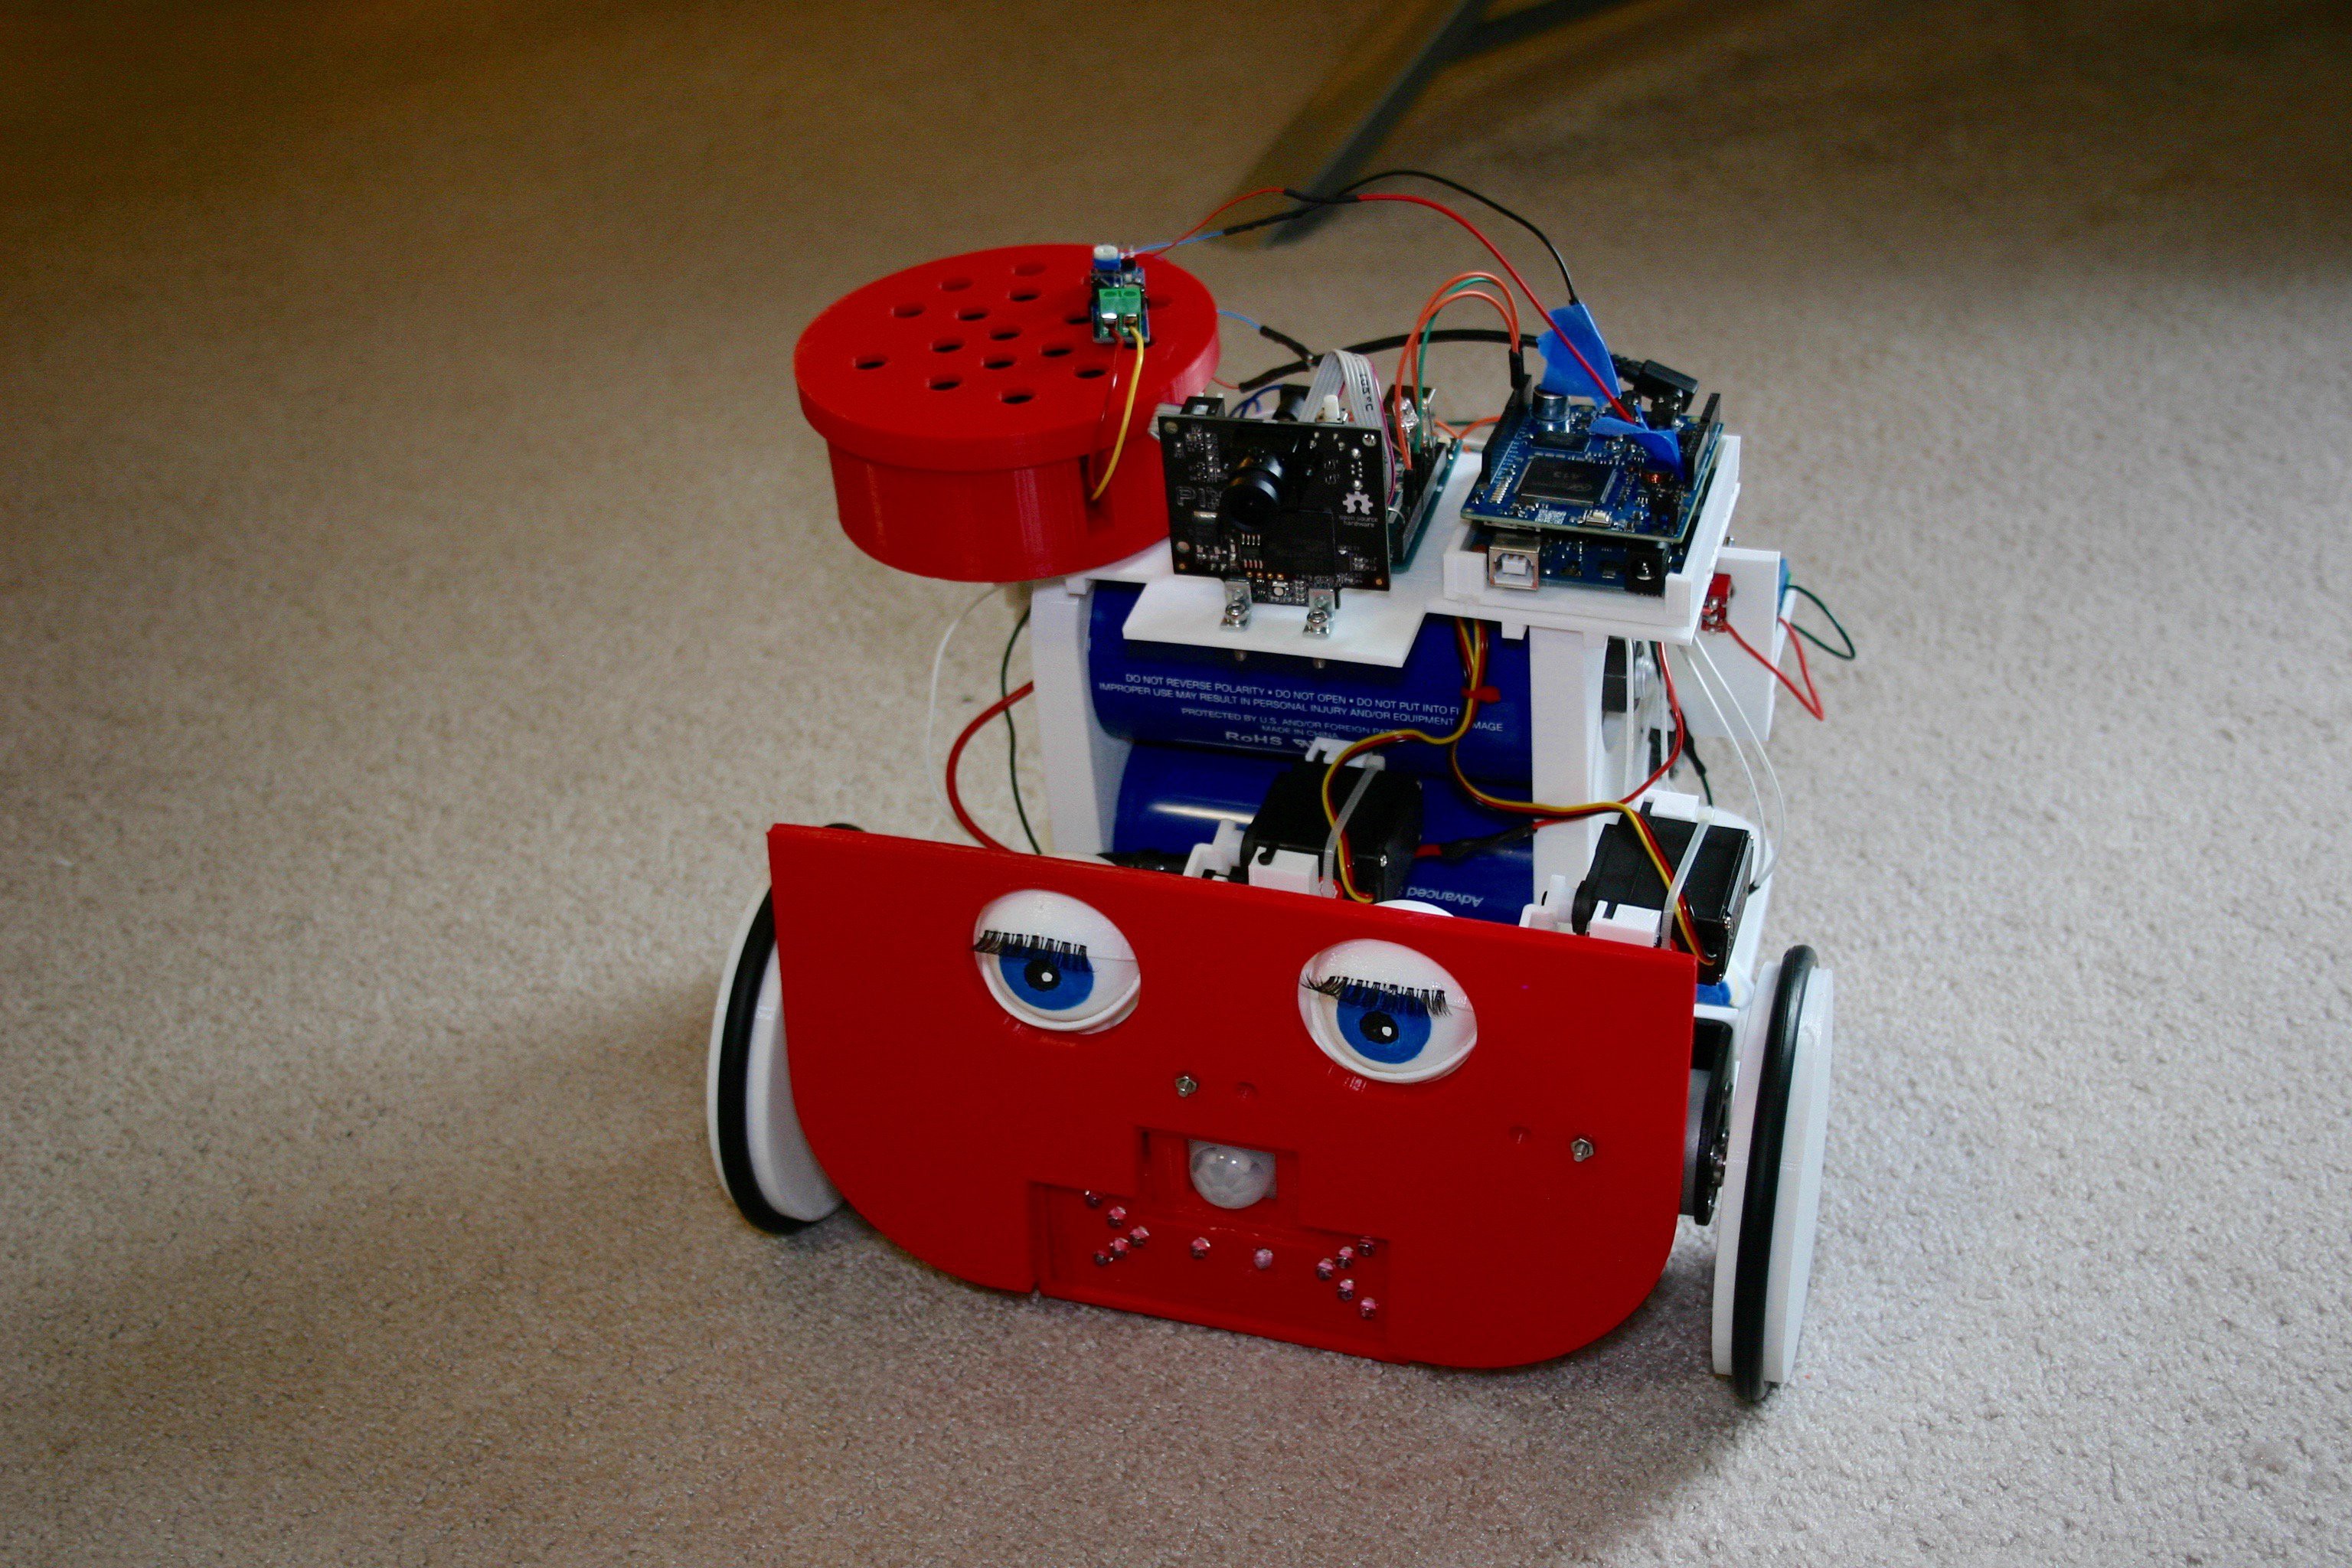
Here's Mato ready to fetch.
![]()
-
Run Time Using 9000 Farads
06/28/2016 at 17:59 • 0 commentsIt's getting a bit time intensive to watch Mato drain her capacitors--and that's a good thing. Here's some results from a test this morning.
Starting at 6.8 volts (remember, she can charge to 8.1 volts), it took 19 minutes of run time to reach 5.8 volts.
From 5.8 volts to 4.8 volts took 16 minutes.
From 4.8 volts to 3.8 volts took 12 minutes.
That's 47 minutes of run time not starting from a full charge and not finishing on empty.
The output voltage from the boost converter is 12 volts, thus the amp drain on the low side increases as the capacitor voltage decreases.
-
Vision Using a Pixy Camera
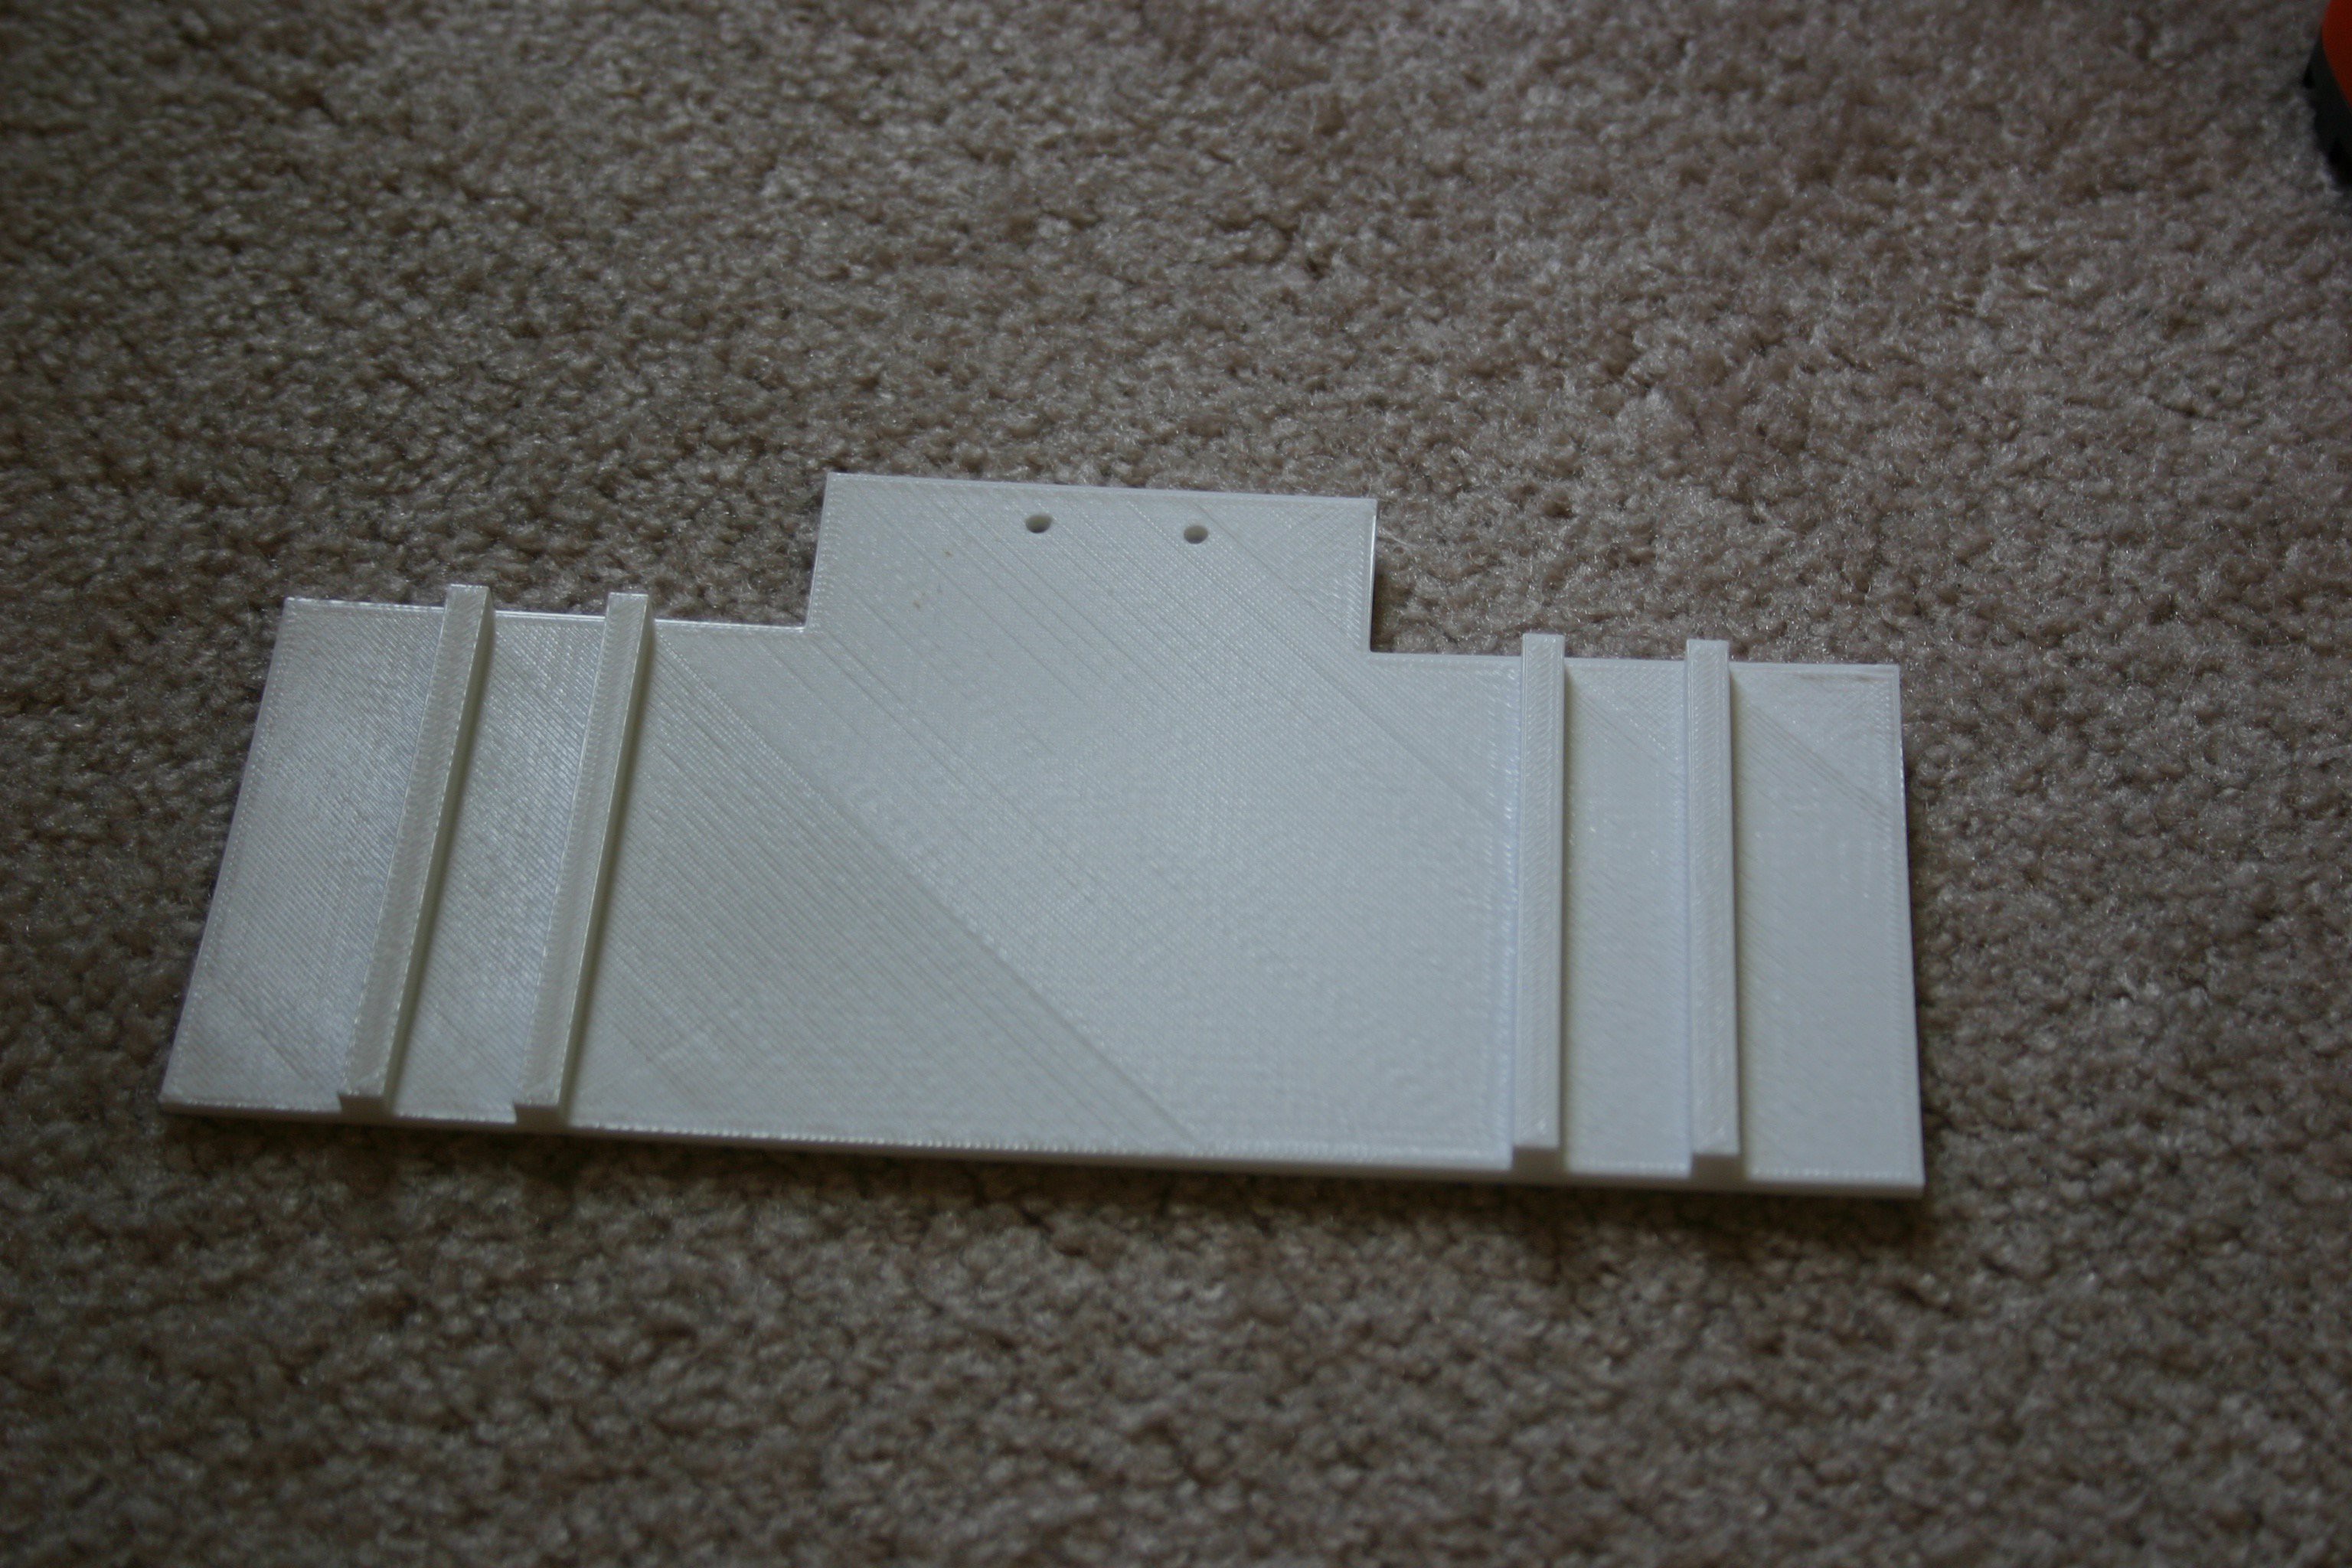
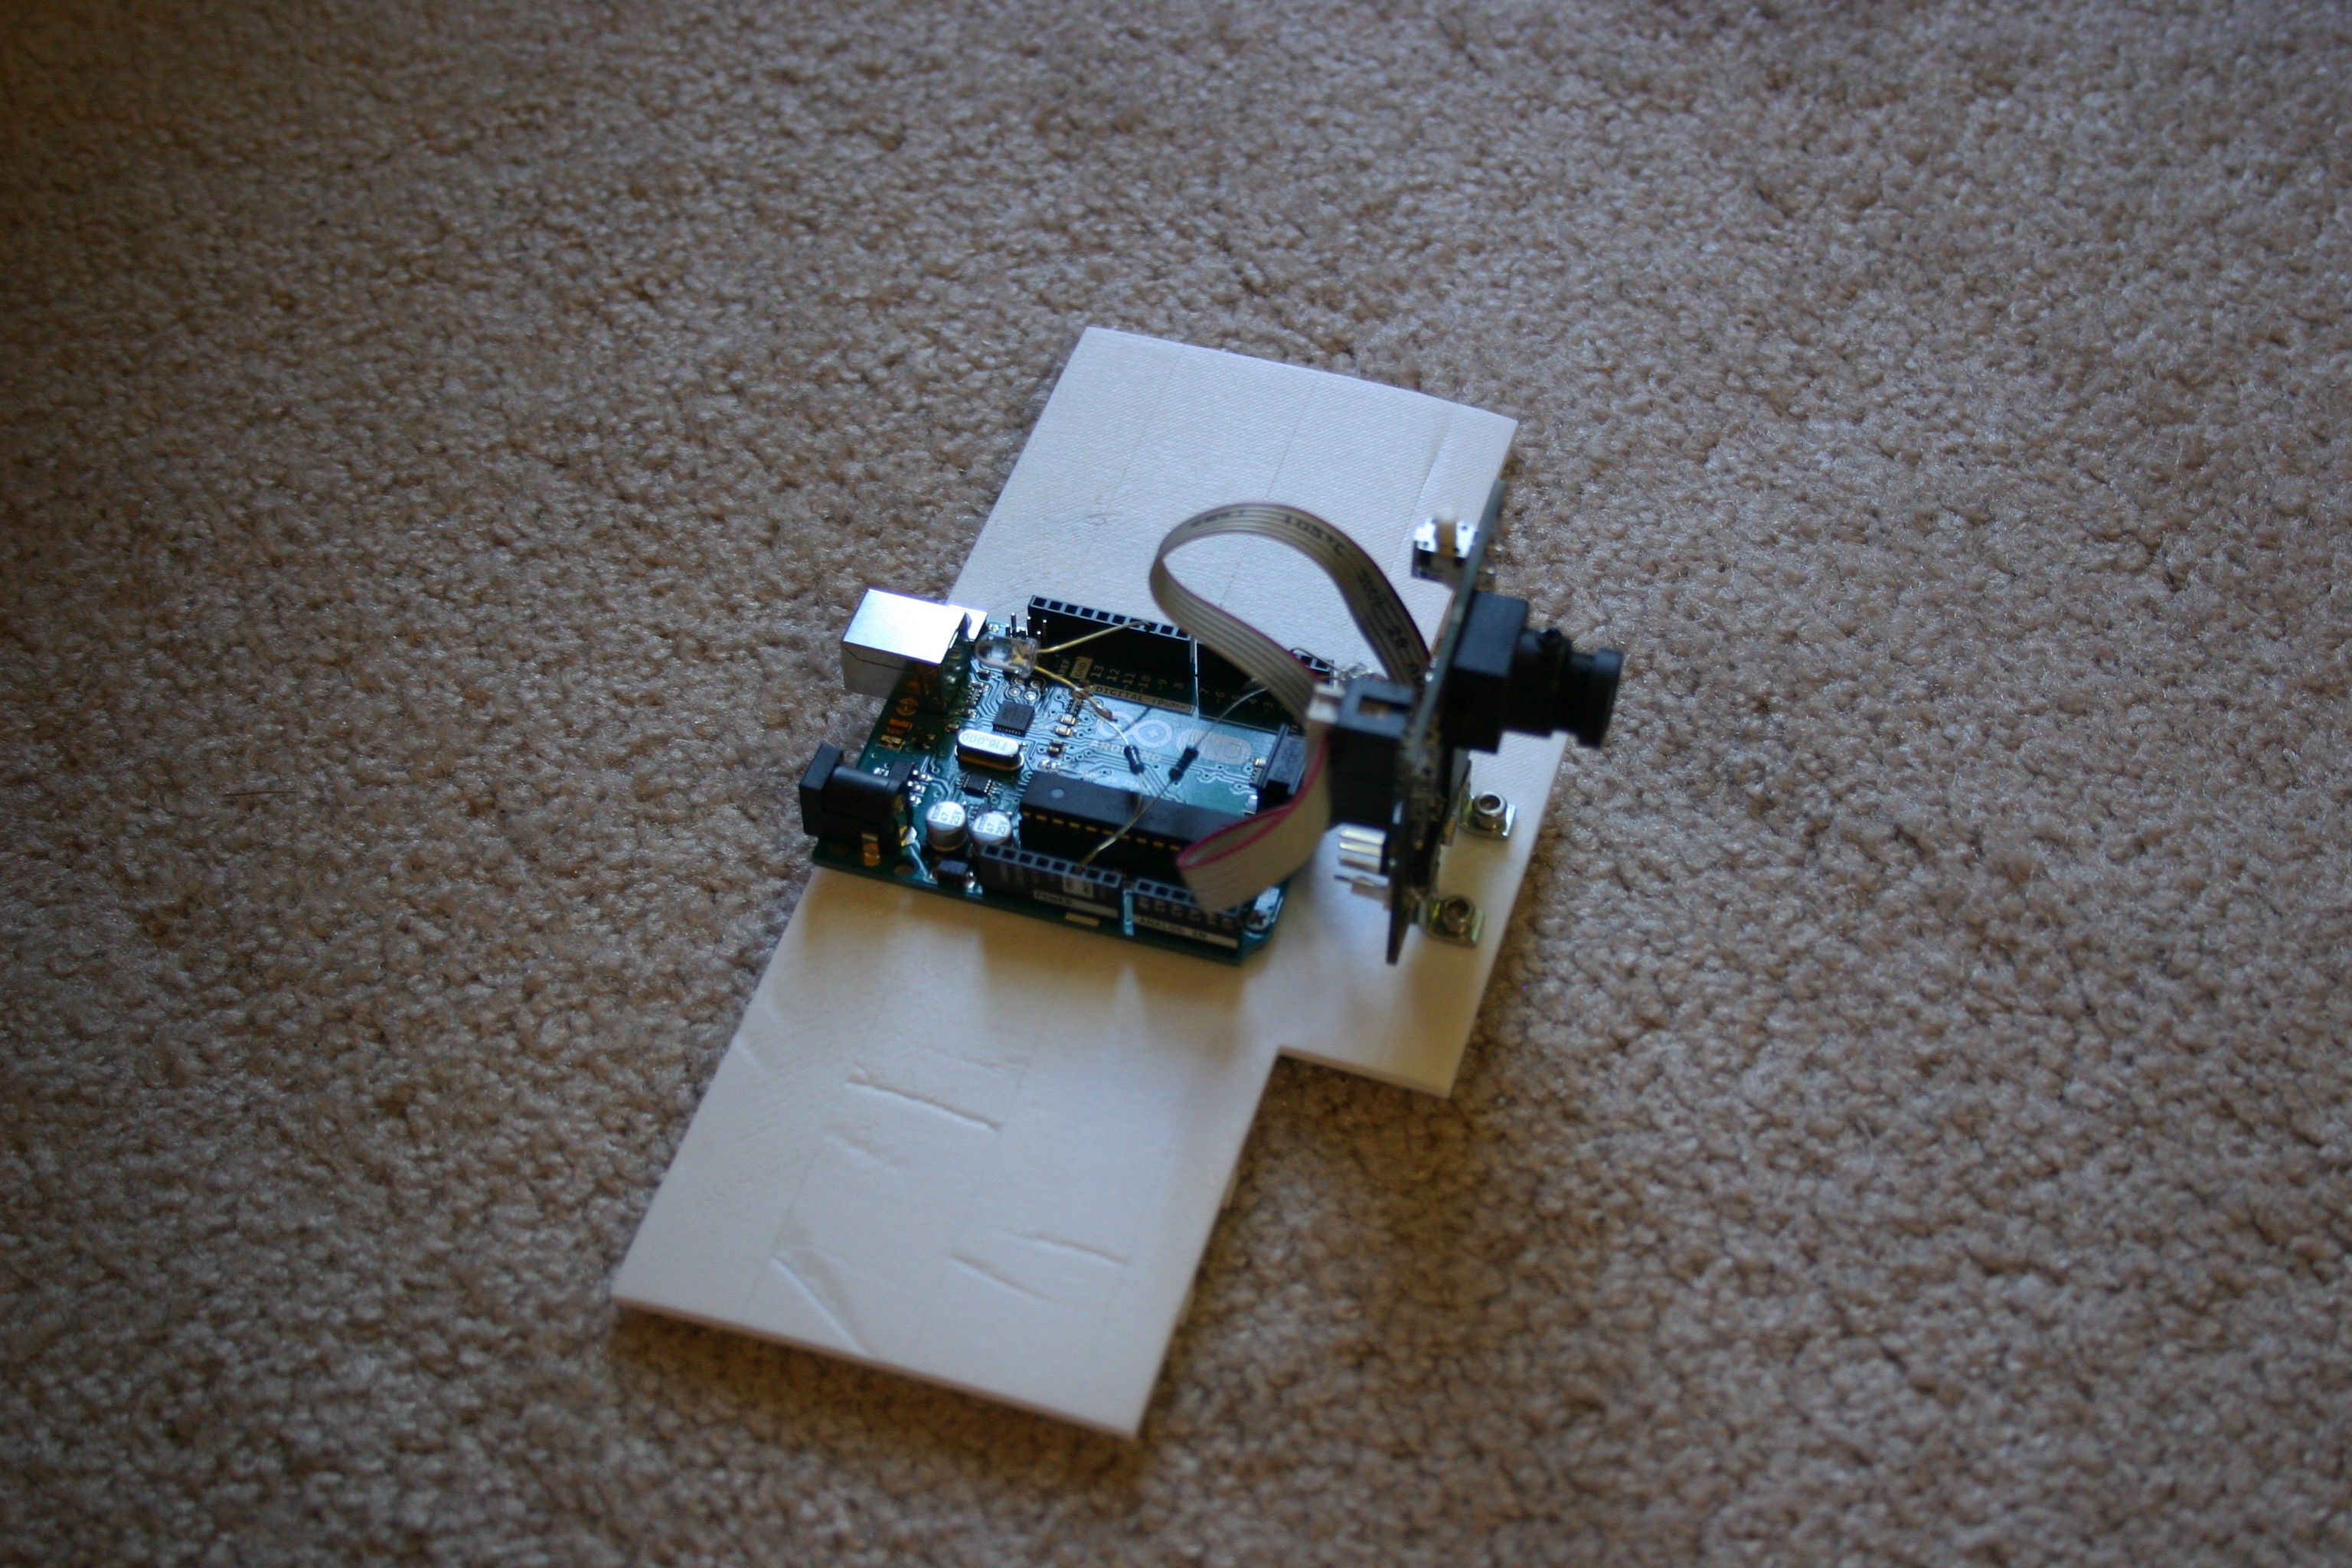
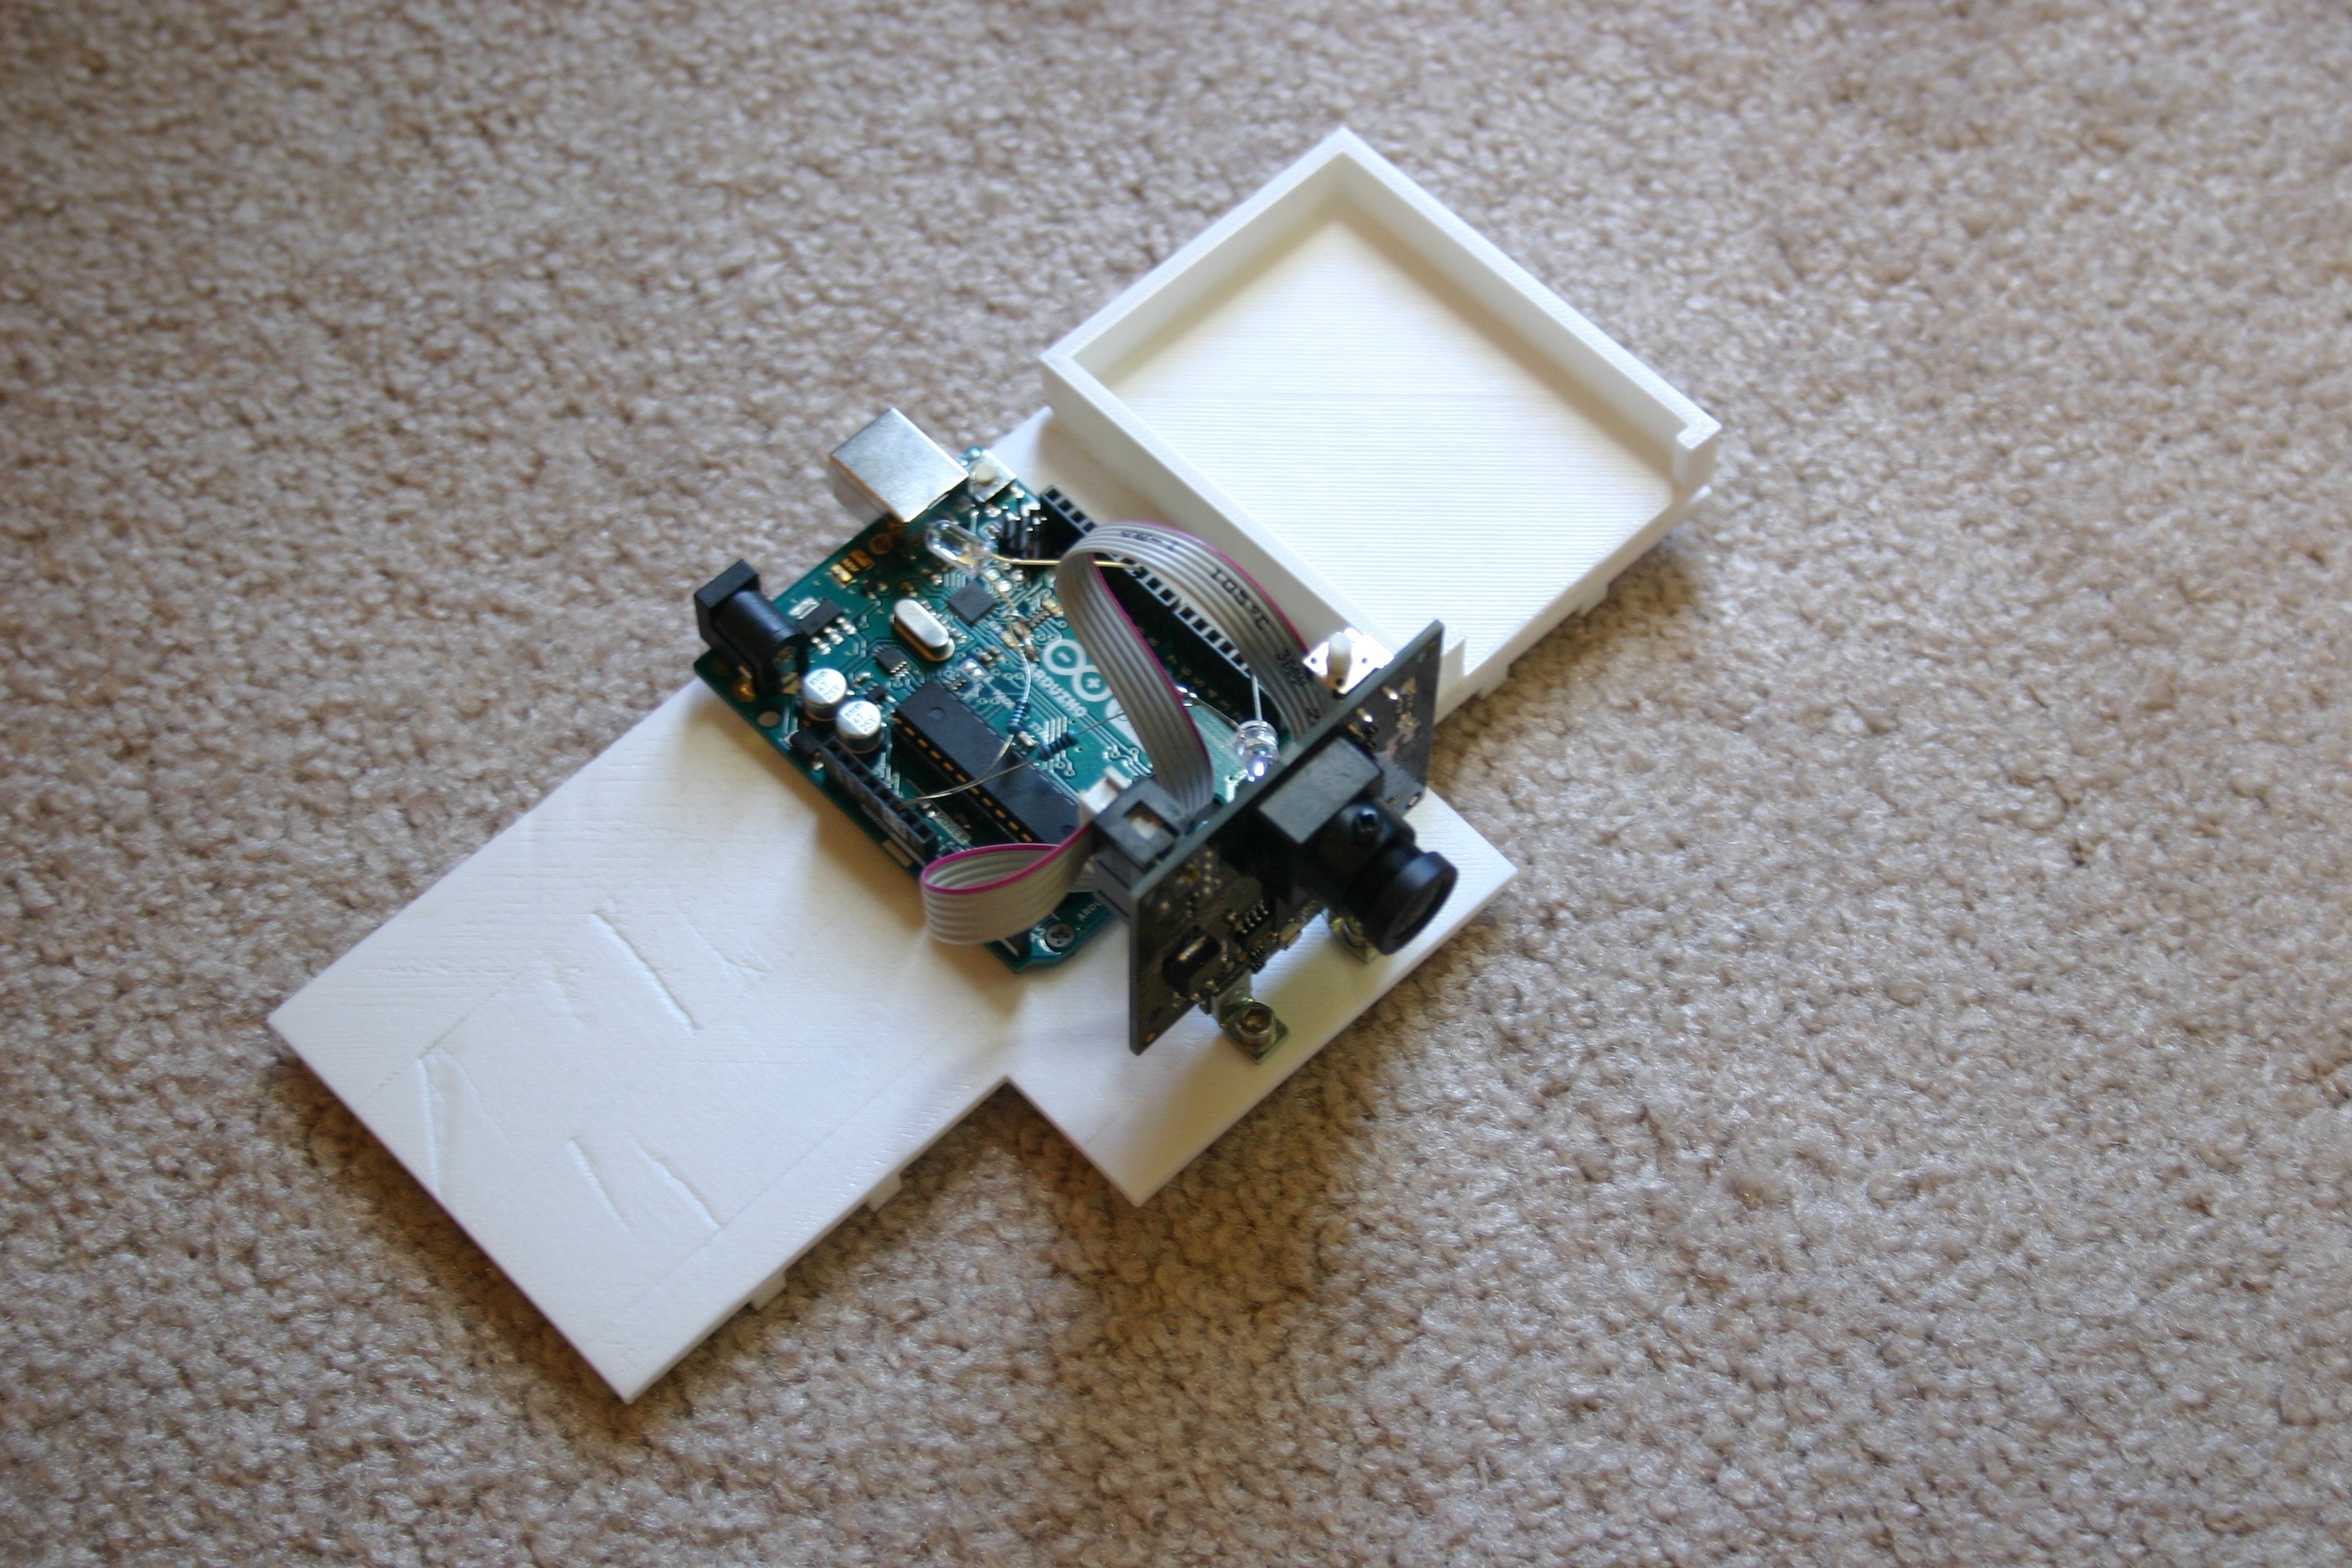
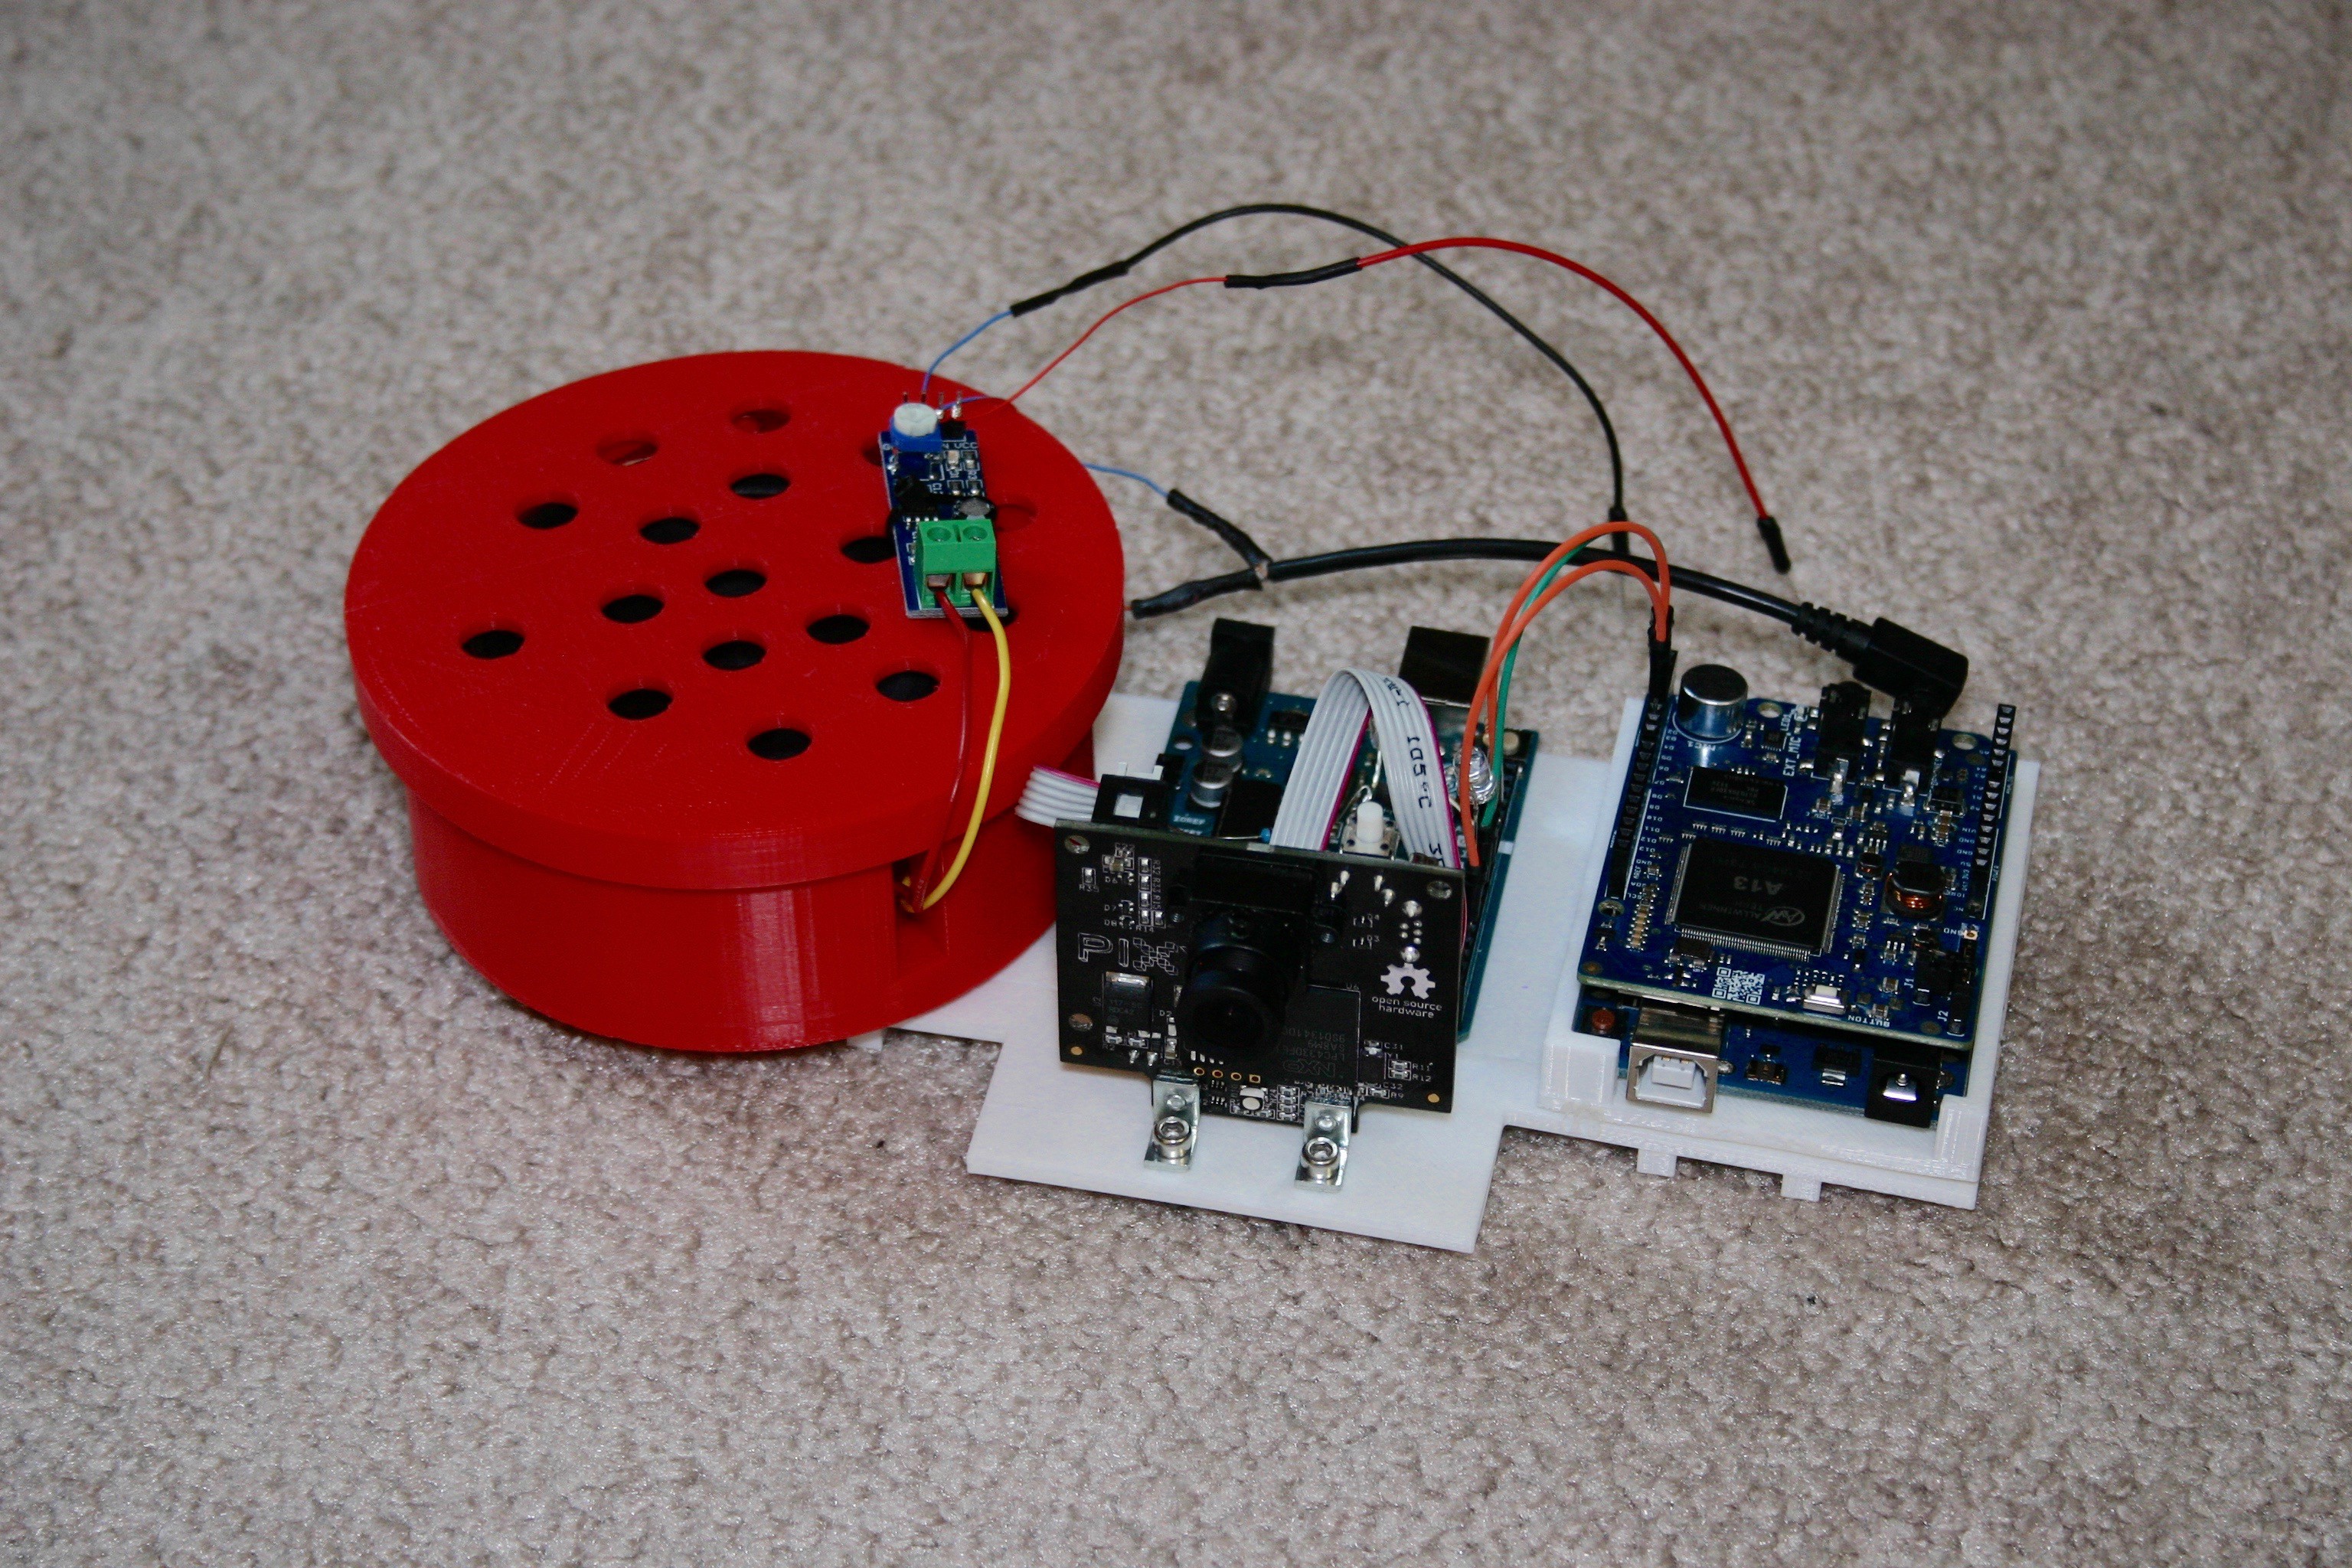
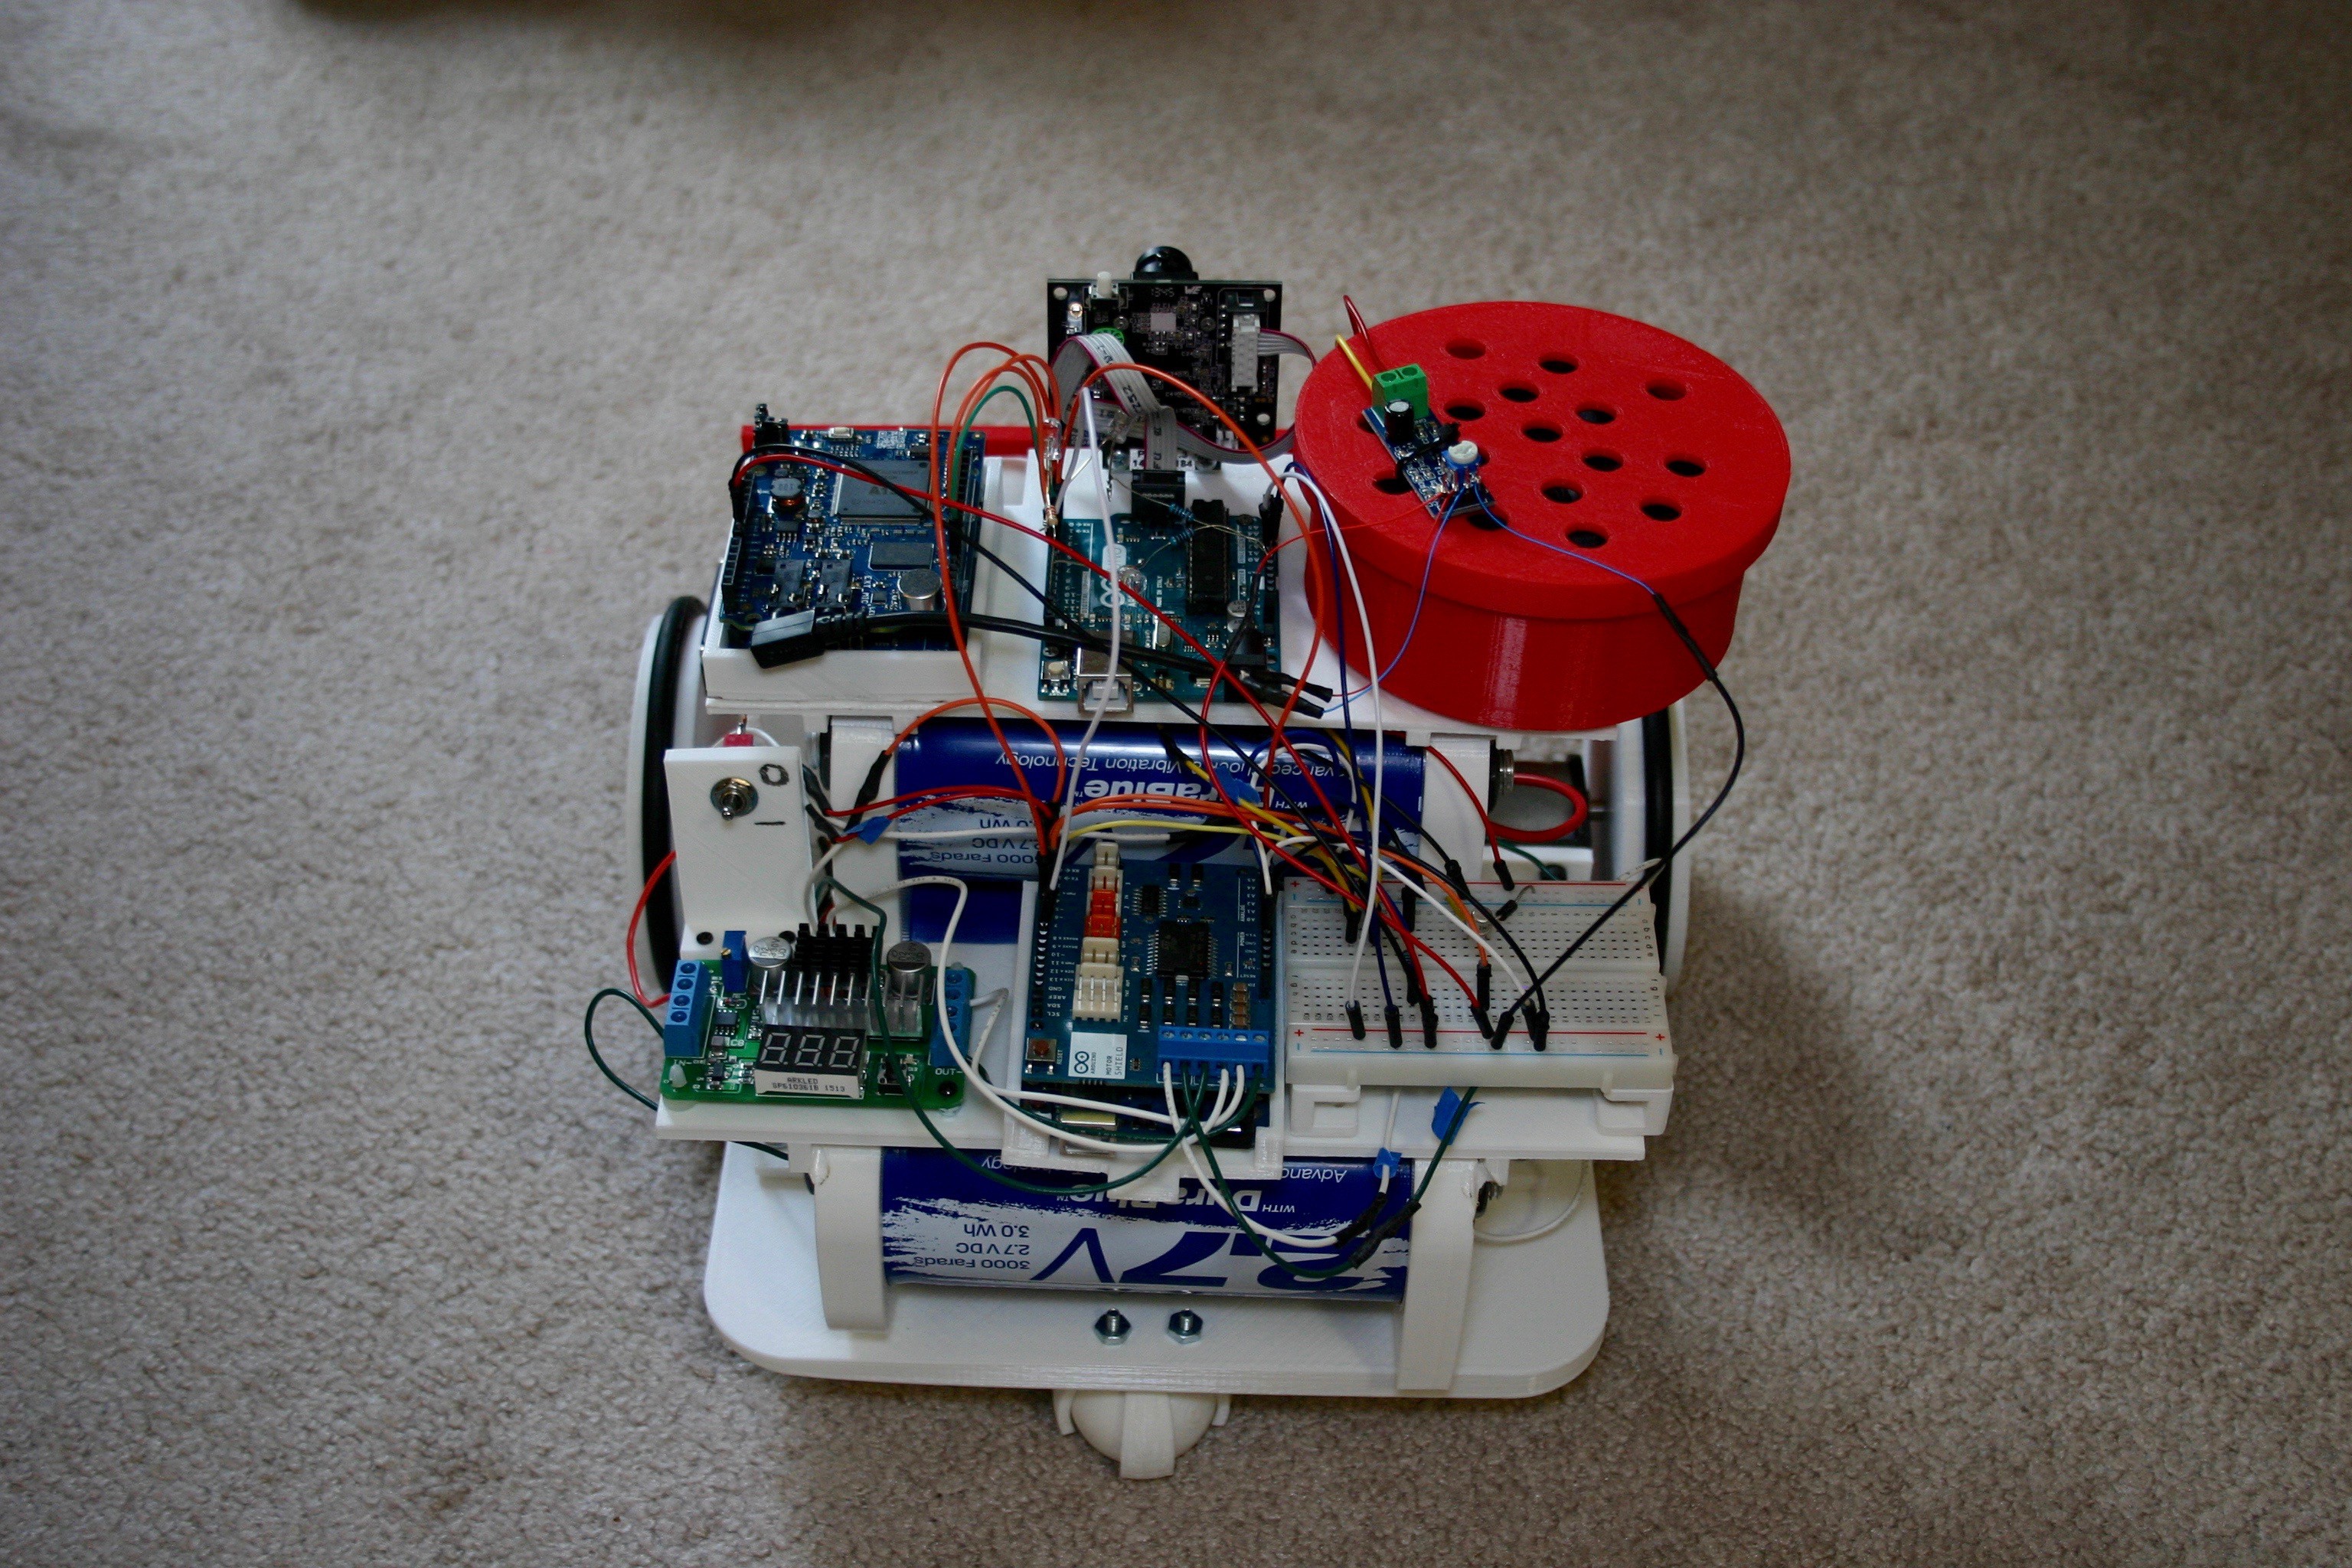
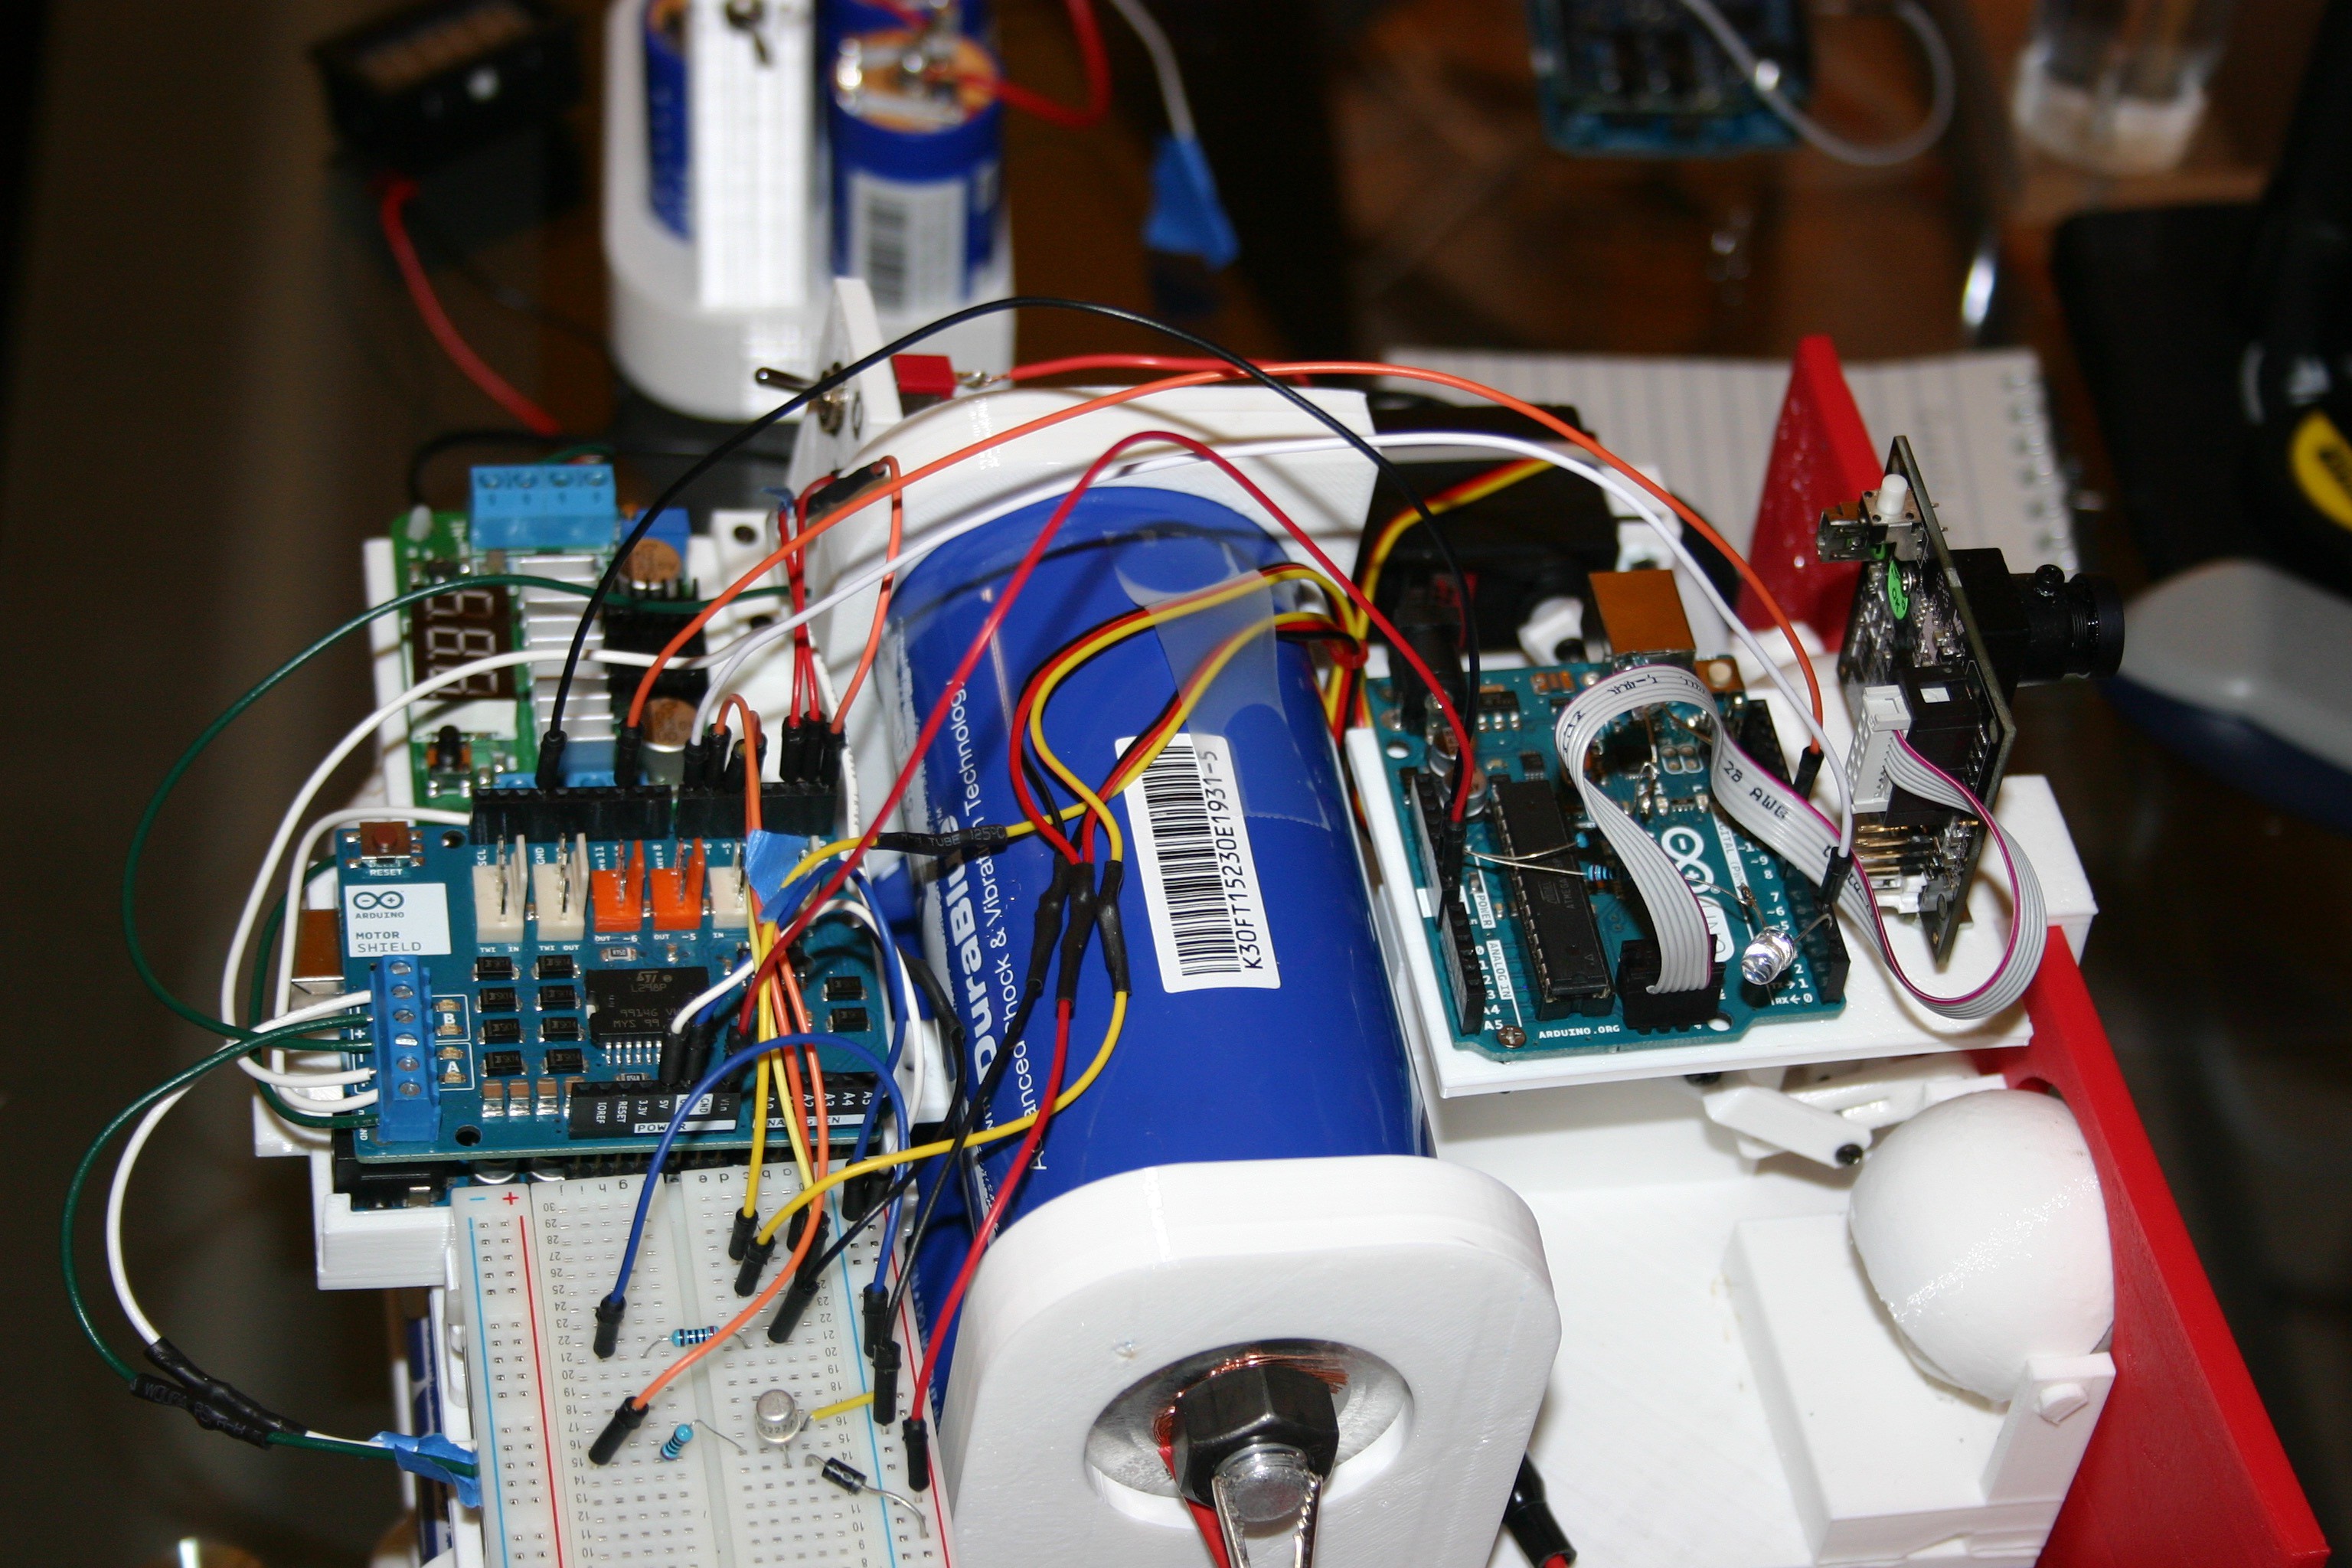
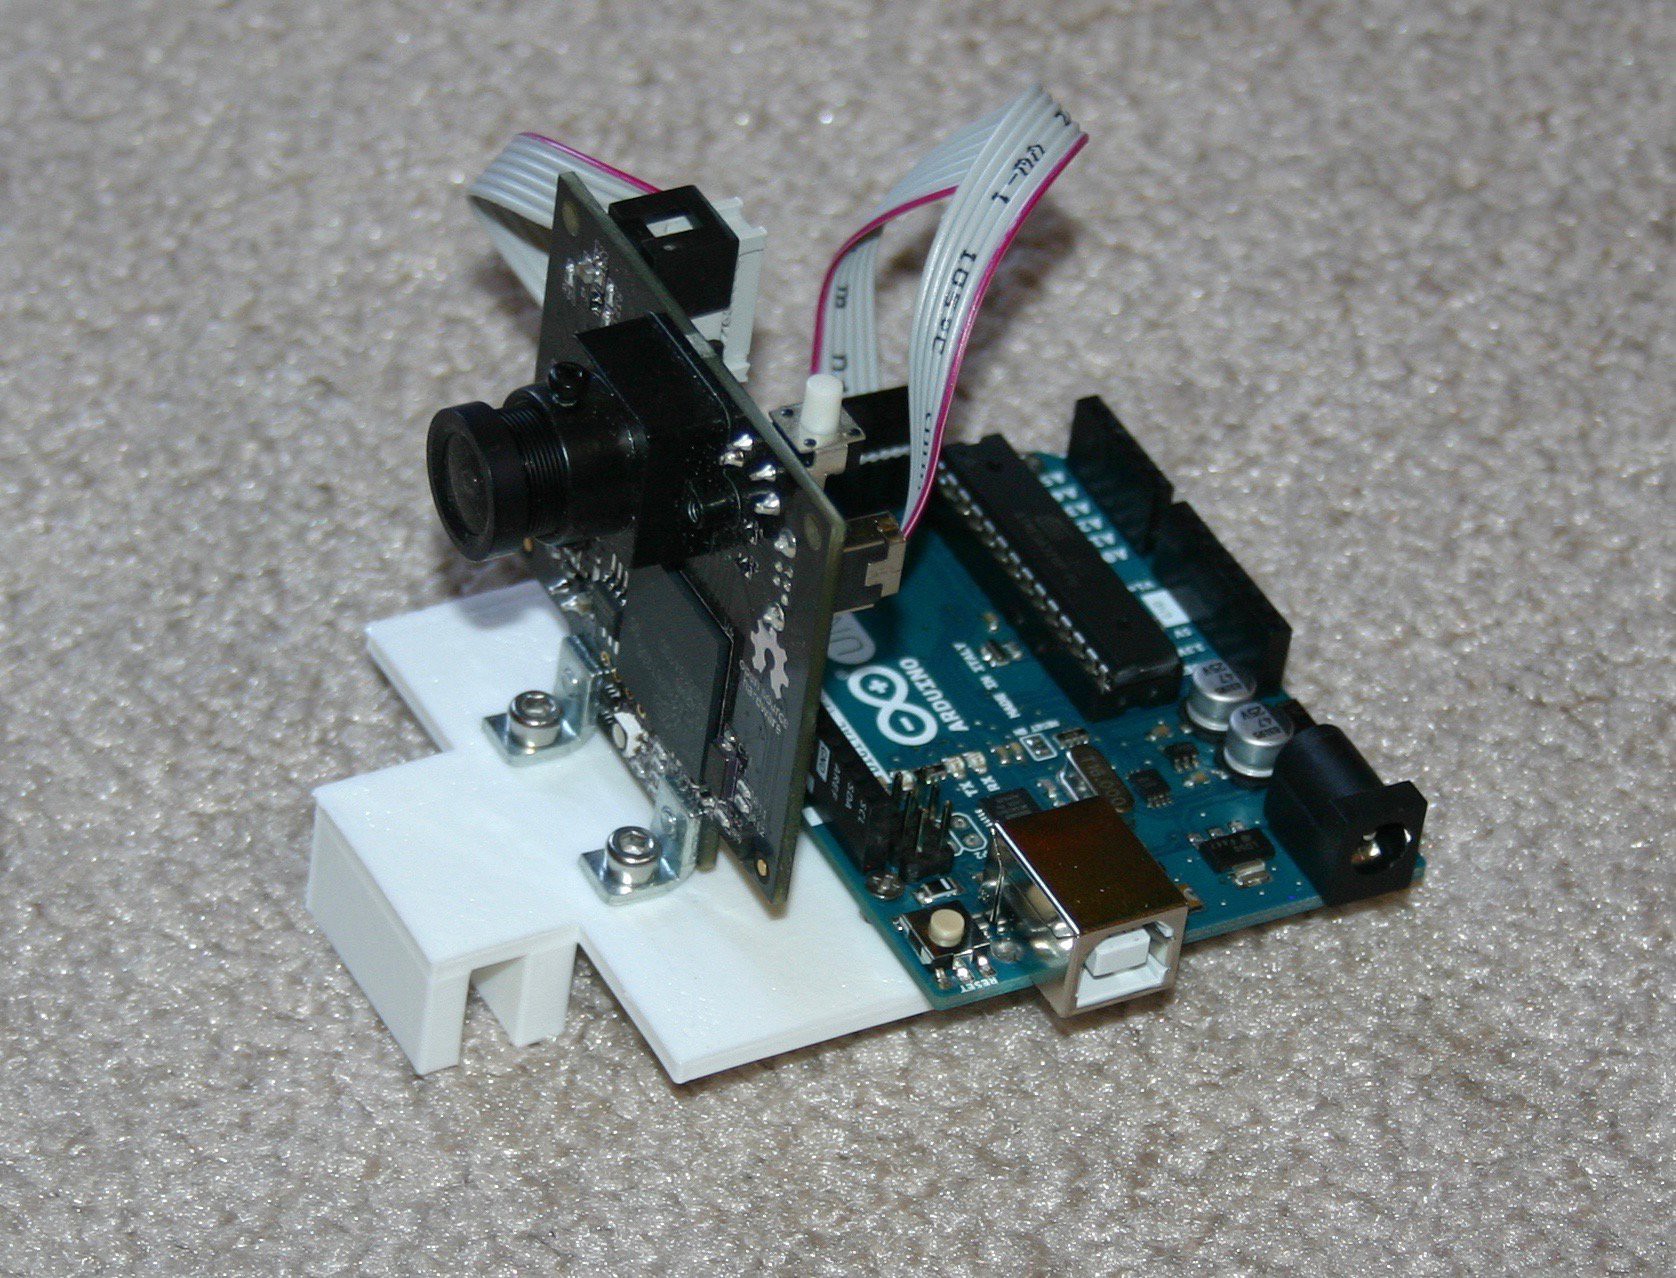
06/25/2016 at 23:27 • 0 commentsMato needs to be able to find her home station to recharge and the Pixy camera (charmedlabs.com) will enable her to locate a particular color (or combination group) to get home. The camera and Arduino draw 225 mA when active, but they can remain off until she needs them. When the target color is ahead, the center of the color "blob" can be defined as "left, right or straight" and those instructions can be used on the drive wheels to home in on the base. First, I mounted the Pixy camera and an Arduino on a 3d printed platform. The platform (3d print file available on this site) friction fits on Mato's forehead.
![]()
![]()
For testing purposes, I installed led/resistors on pins 2 and 10 of the Arduino. I trained Pixy to the color of a bright pink ball and I used a test sketch for the Arduino (included in the files section of this site). I powered the Arduino from a usb source (this is just a test) to see if the "left," "right," and "straight ahead--left and right together" code works. It does--next I'll have to send that information to the main control board and power the Pixy from the boost converter.
-
Digging a Hole in the Carpet
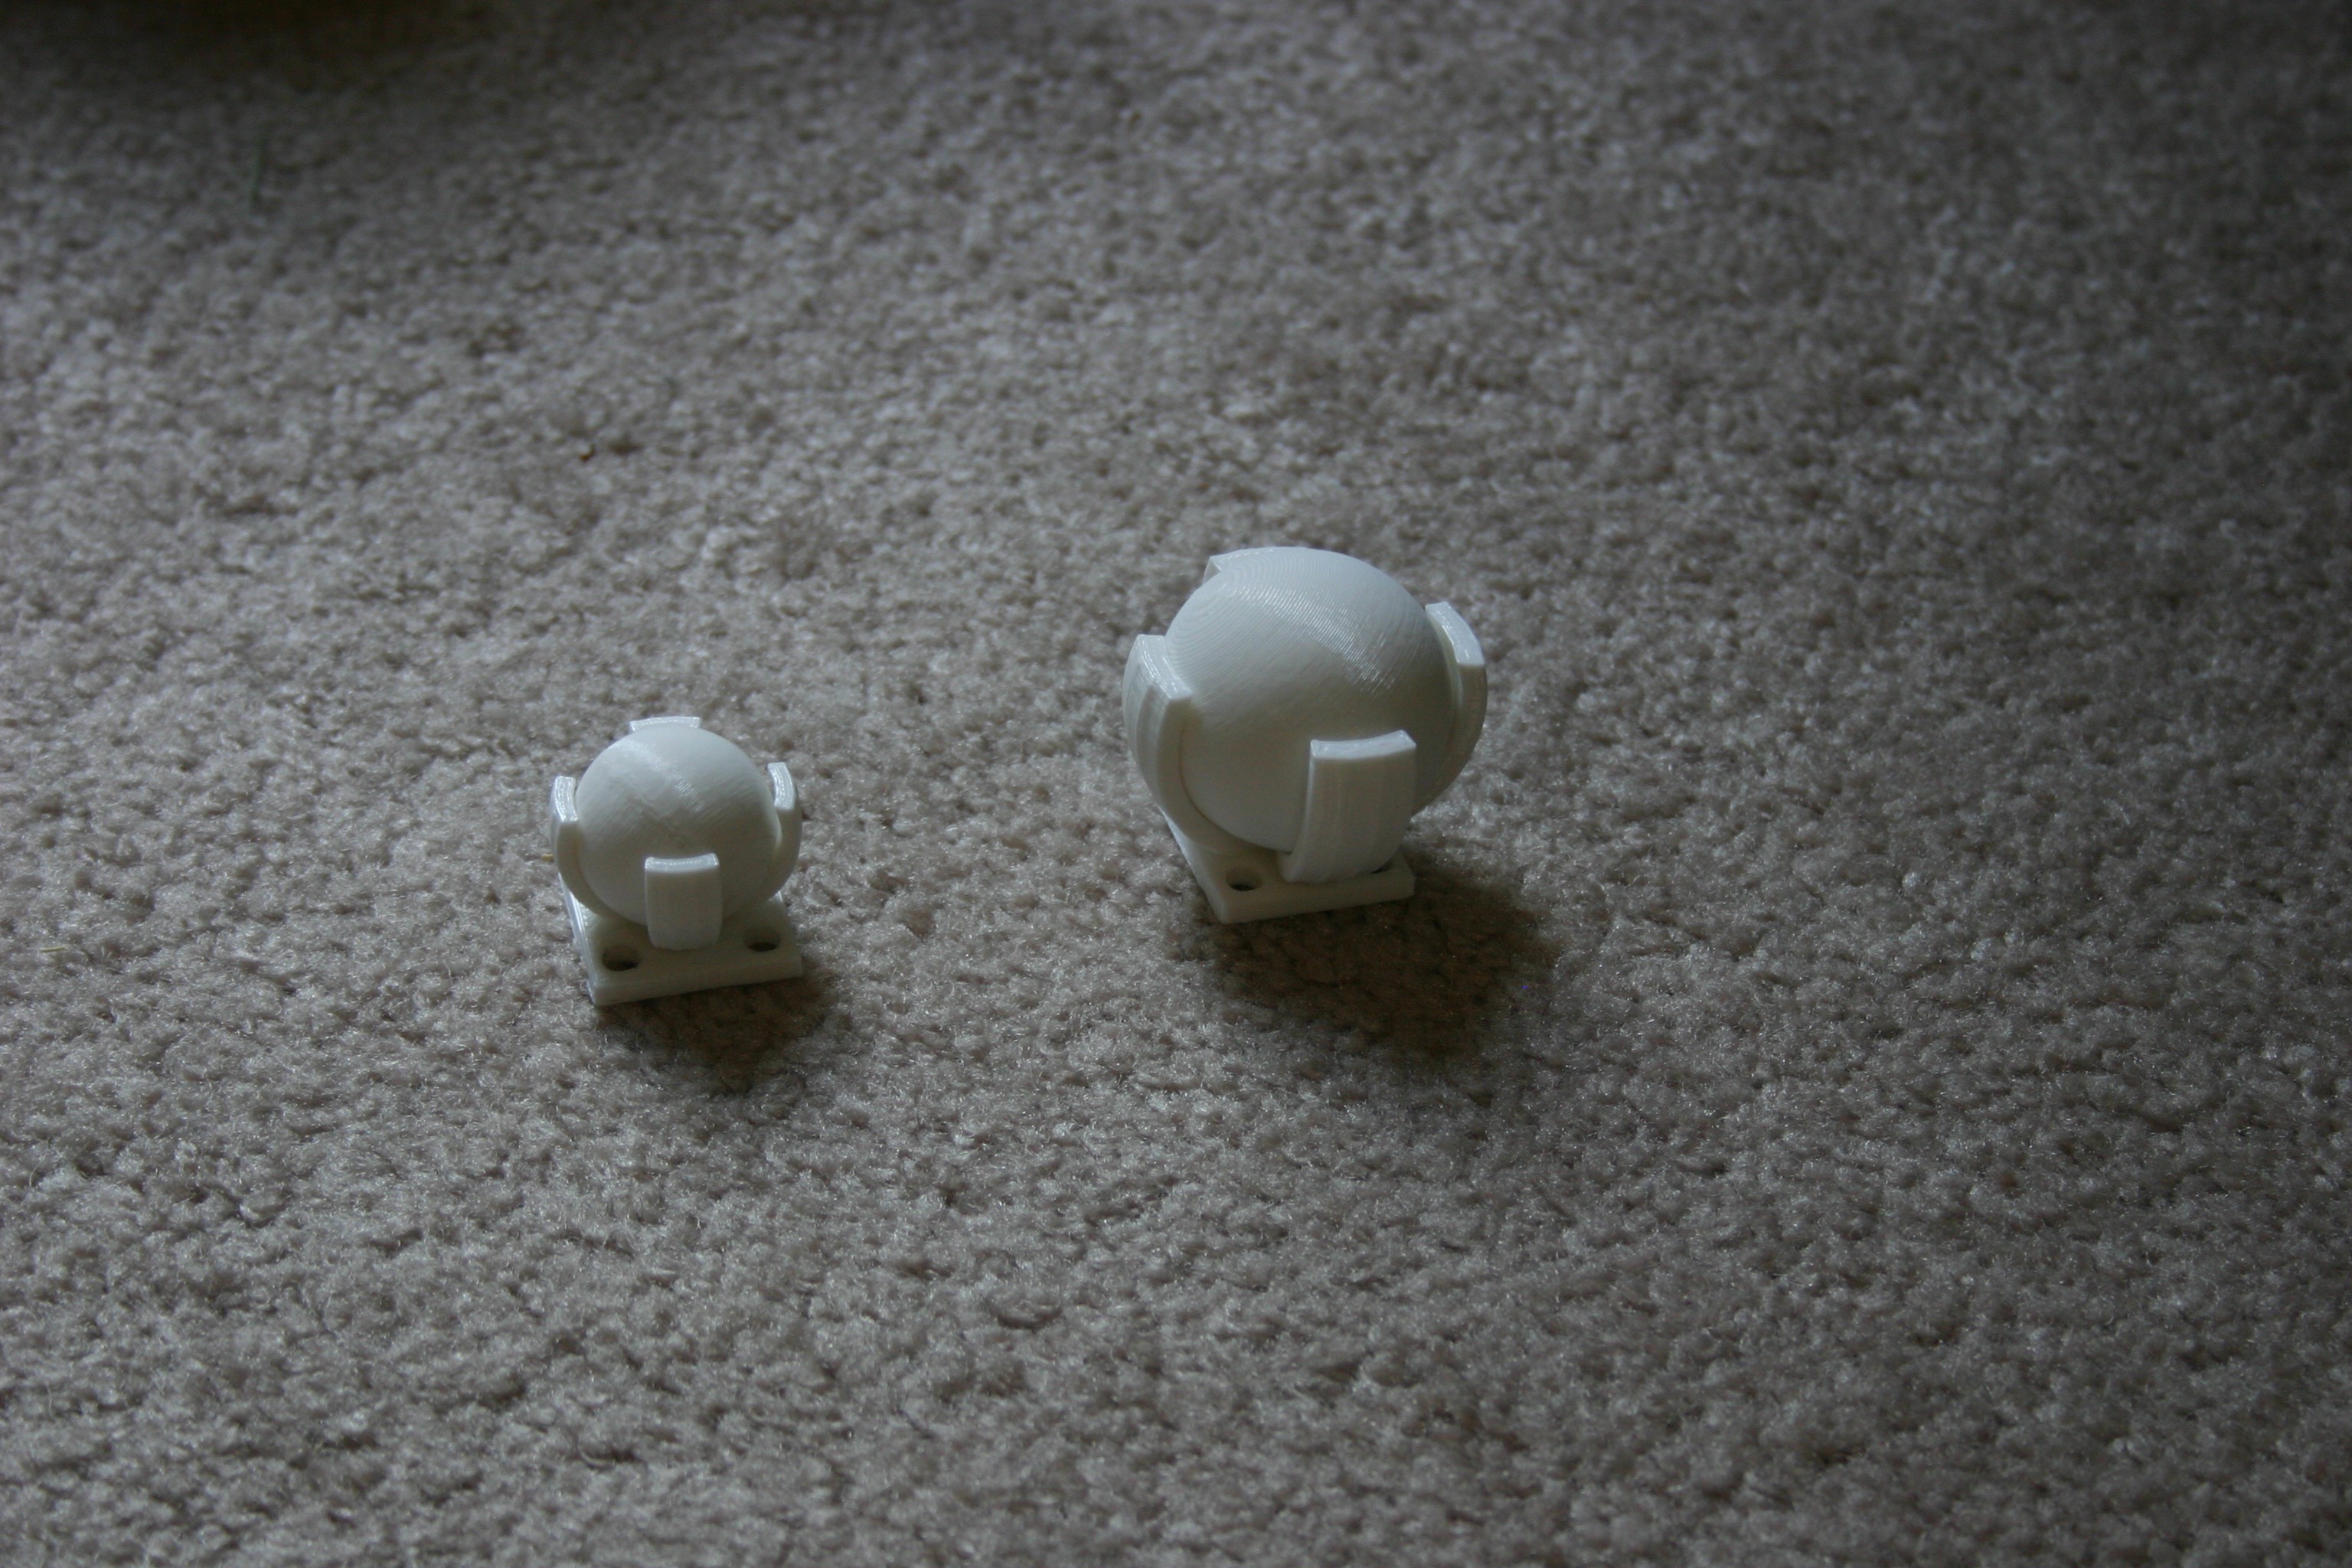
06/24/2016 at 22:54 • 0 commentsMato, with her 9000 farads of capacitance, (translation, add about 3 pounds of weight) was leaving a trail in the carpet with her small caster wheel. Something had to be done, so I enlarged the caster base (not the bolt to frame pattern) and enlarged the caster wheel. The larger caster base file is available on this site in the files--the caster ball just needs to be printed at 155% size. The interesting thing about enlarging things in the 3d printing world, is that total size is cubed (length times 1.5, width times 1.5, height times 1.5--volume and print time more like 1.5 cubed).
![]()
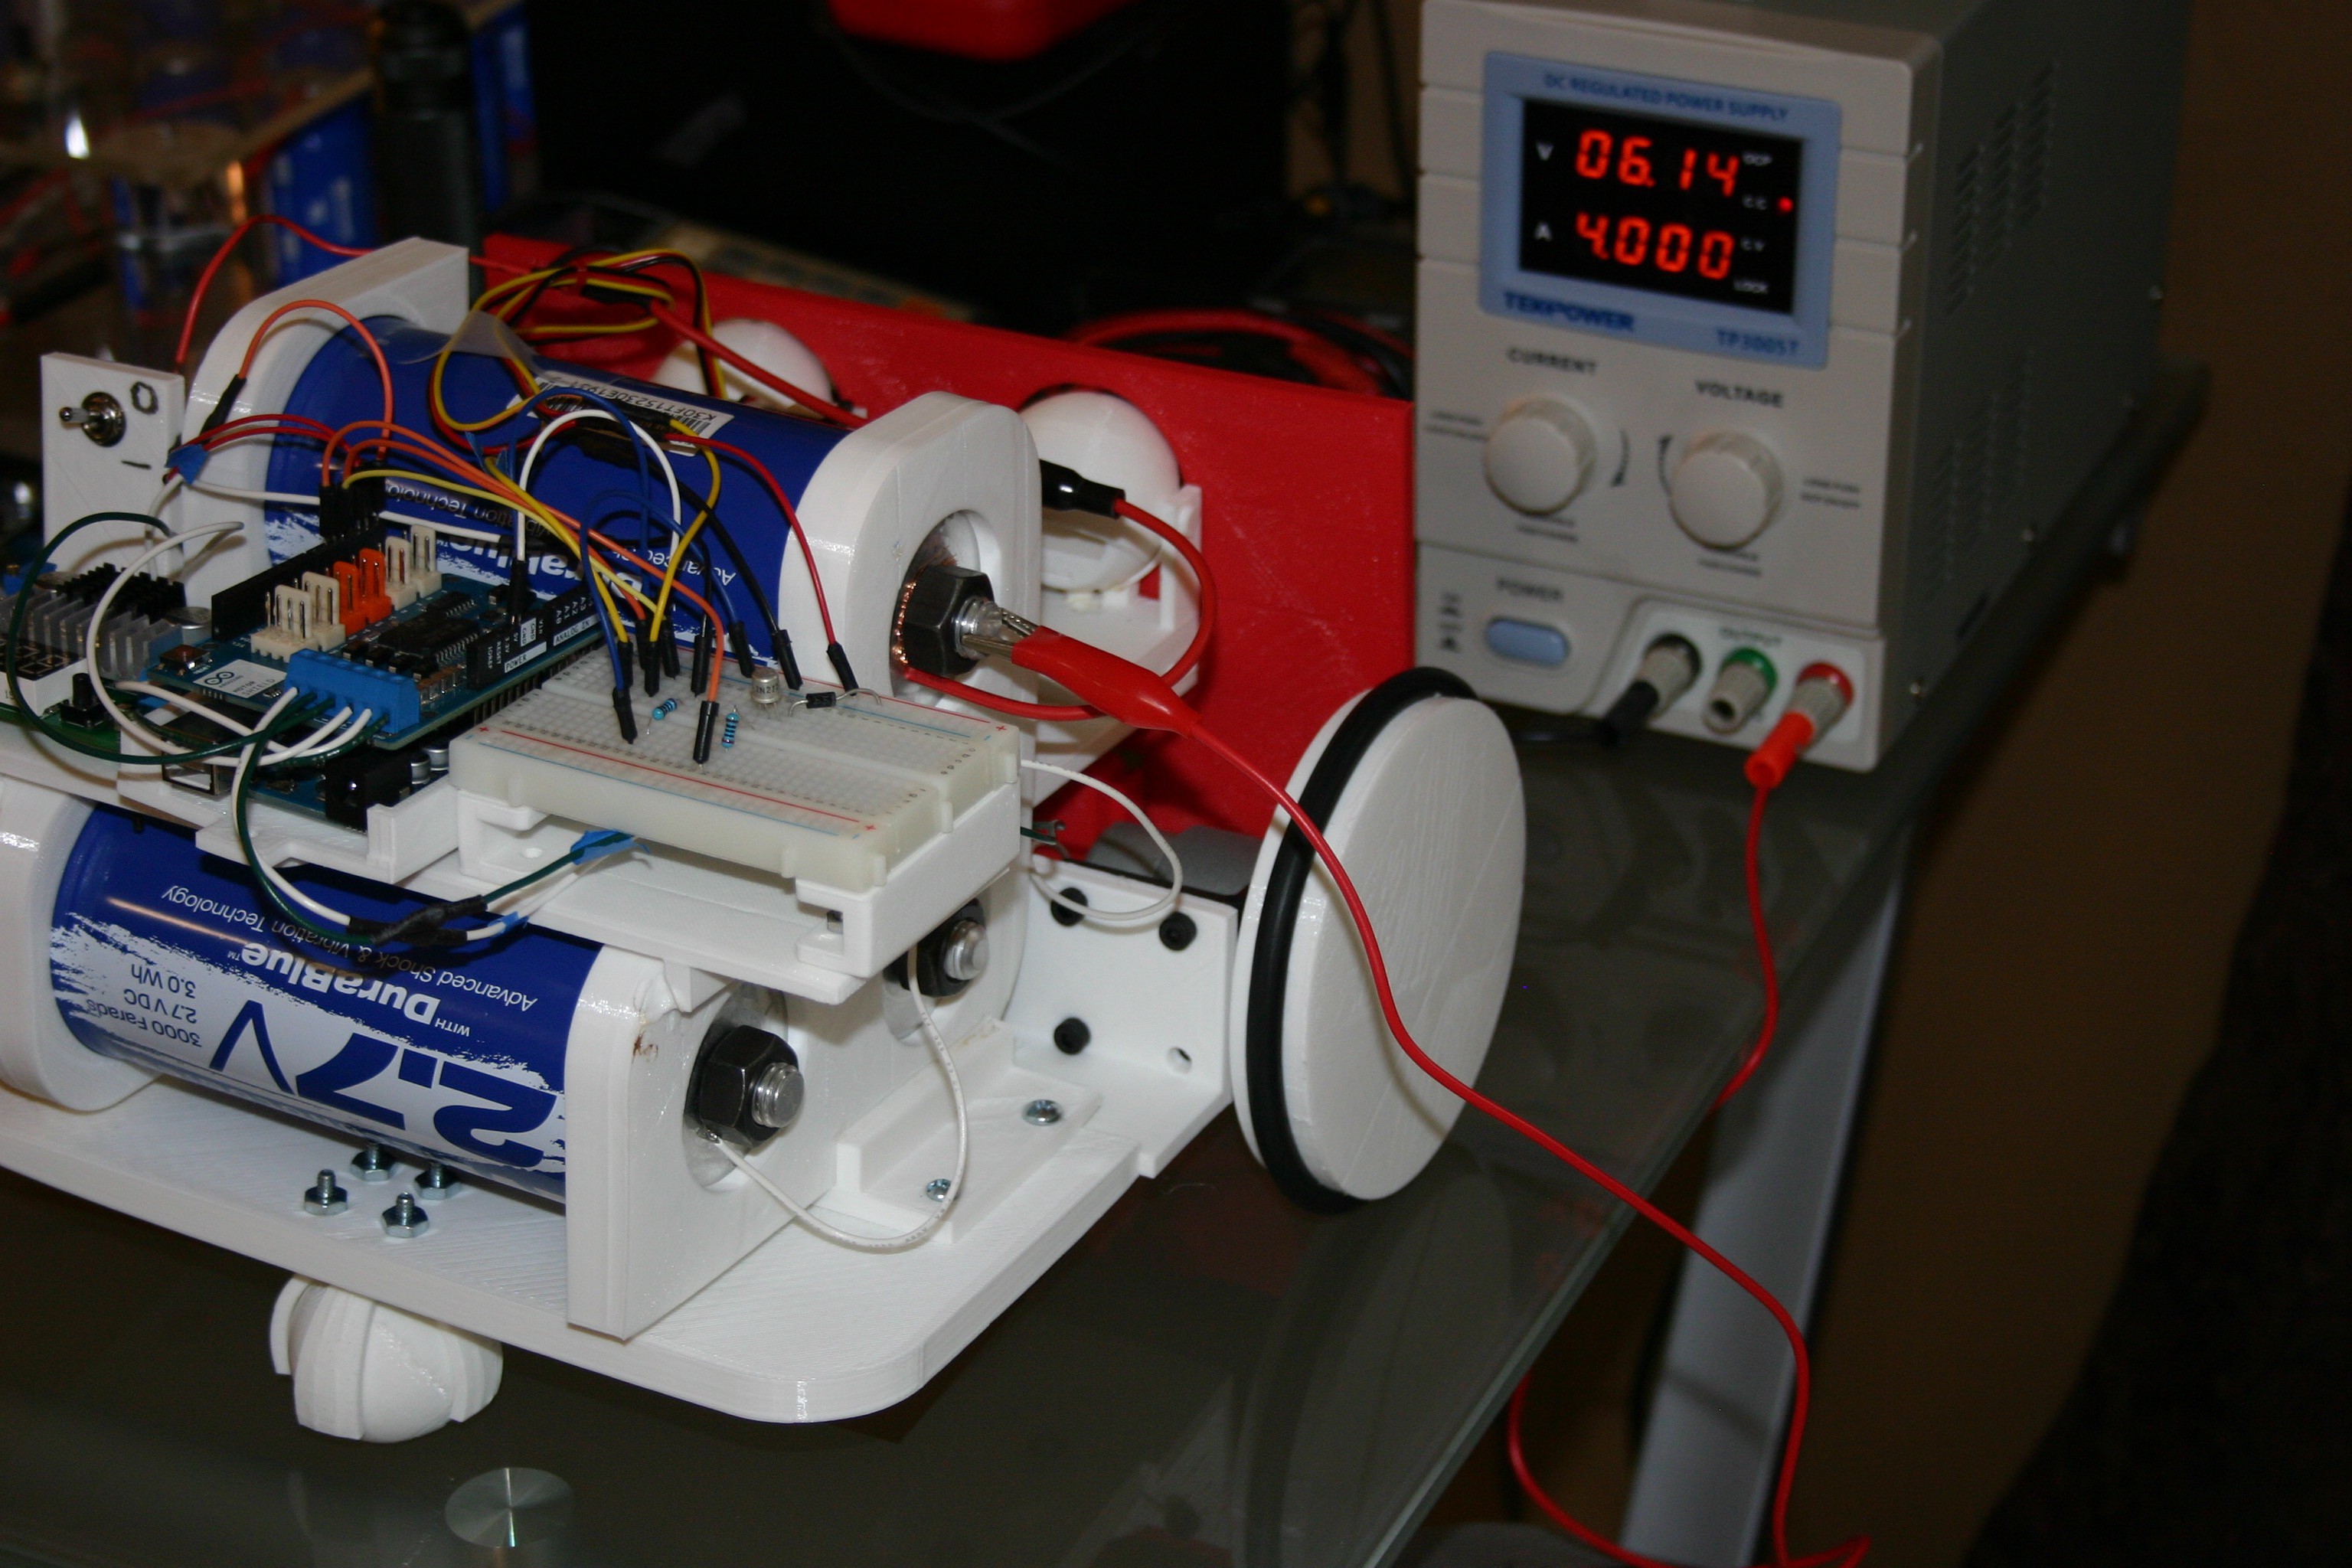
Next, I charged the capacitors up to 8 volts.
![]()
With the new caster wheel, Mato takes on more of a "racing" look--back end elevated.
![]()
Here she is running around on the carpet (using 31% less energy with her larger caster wheel) and not leaving a visible trace.
-
Converting Mato from 1750 to 9000 Farads
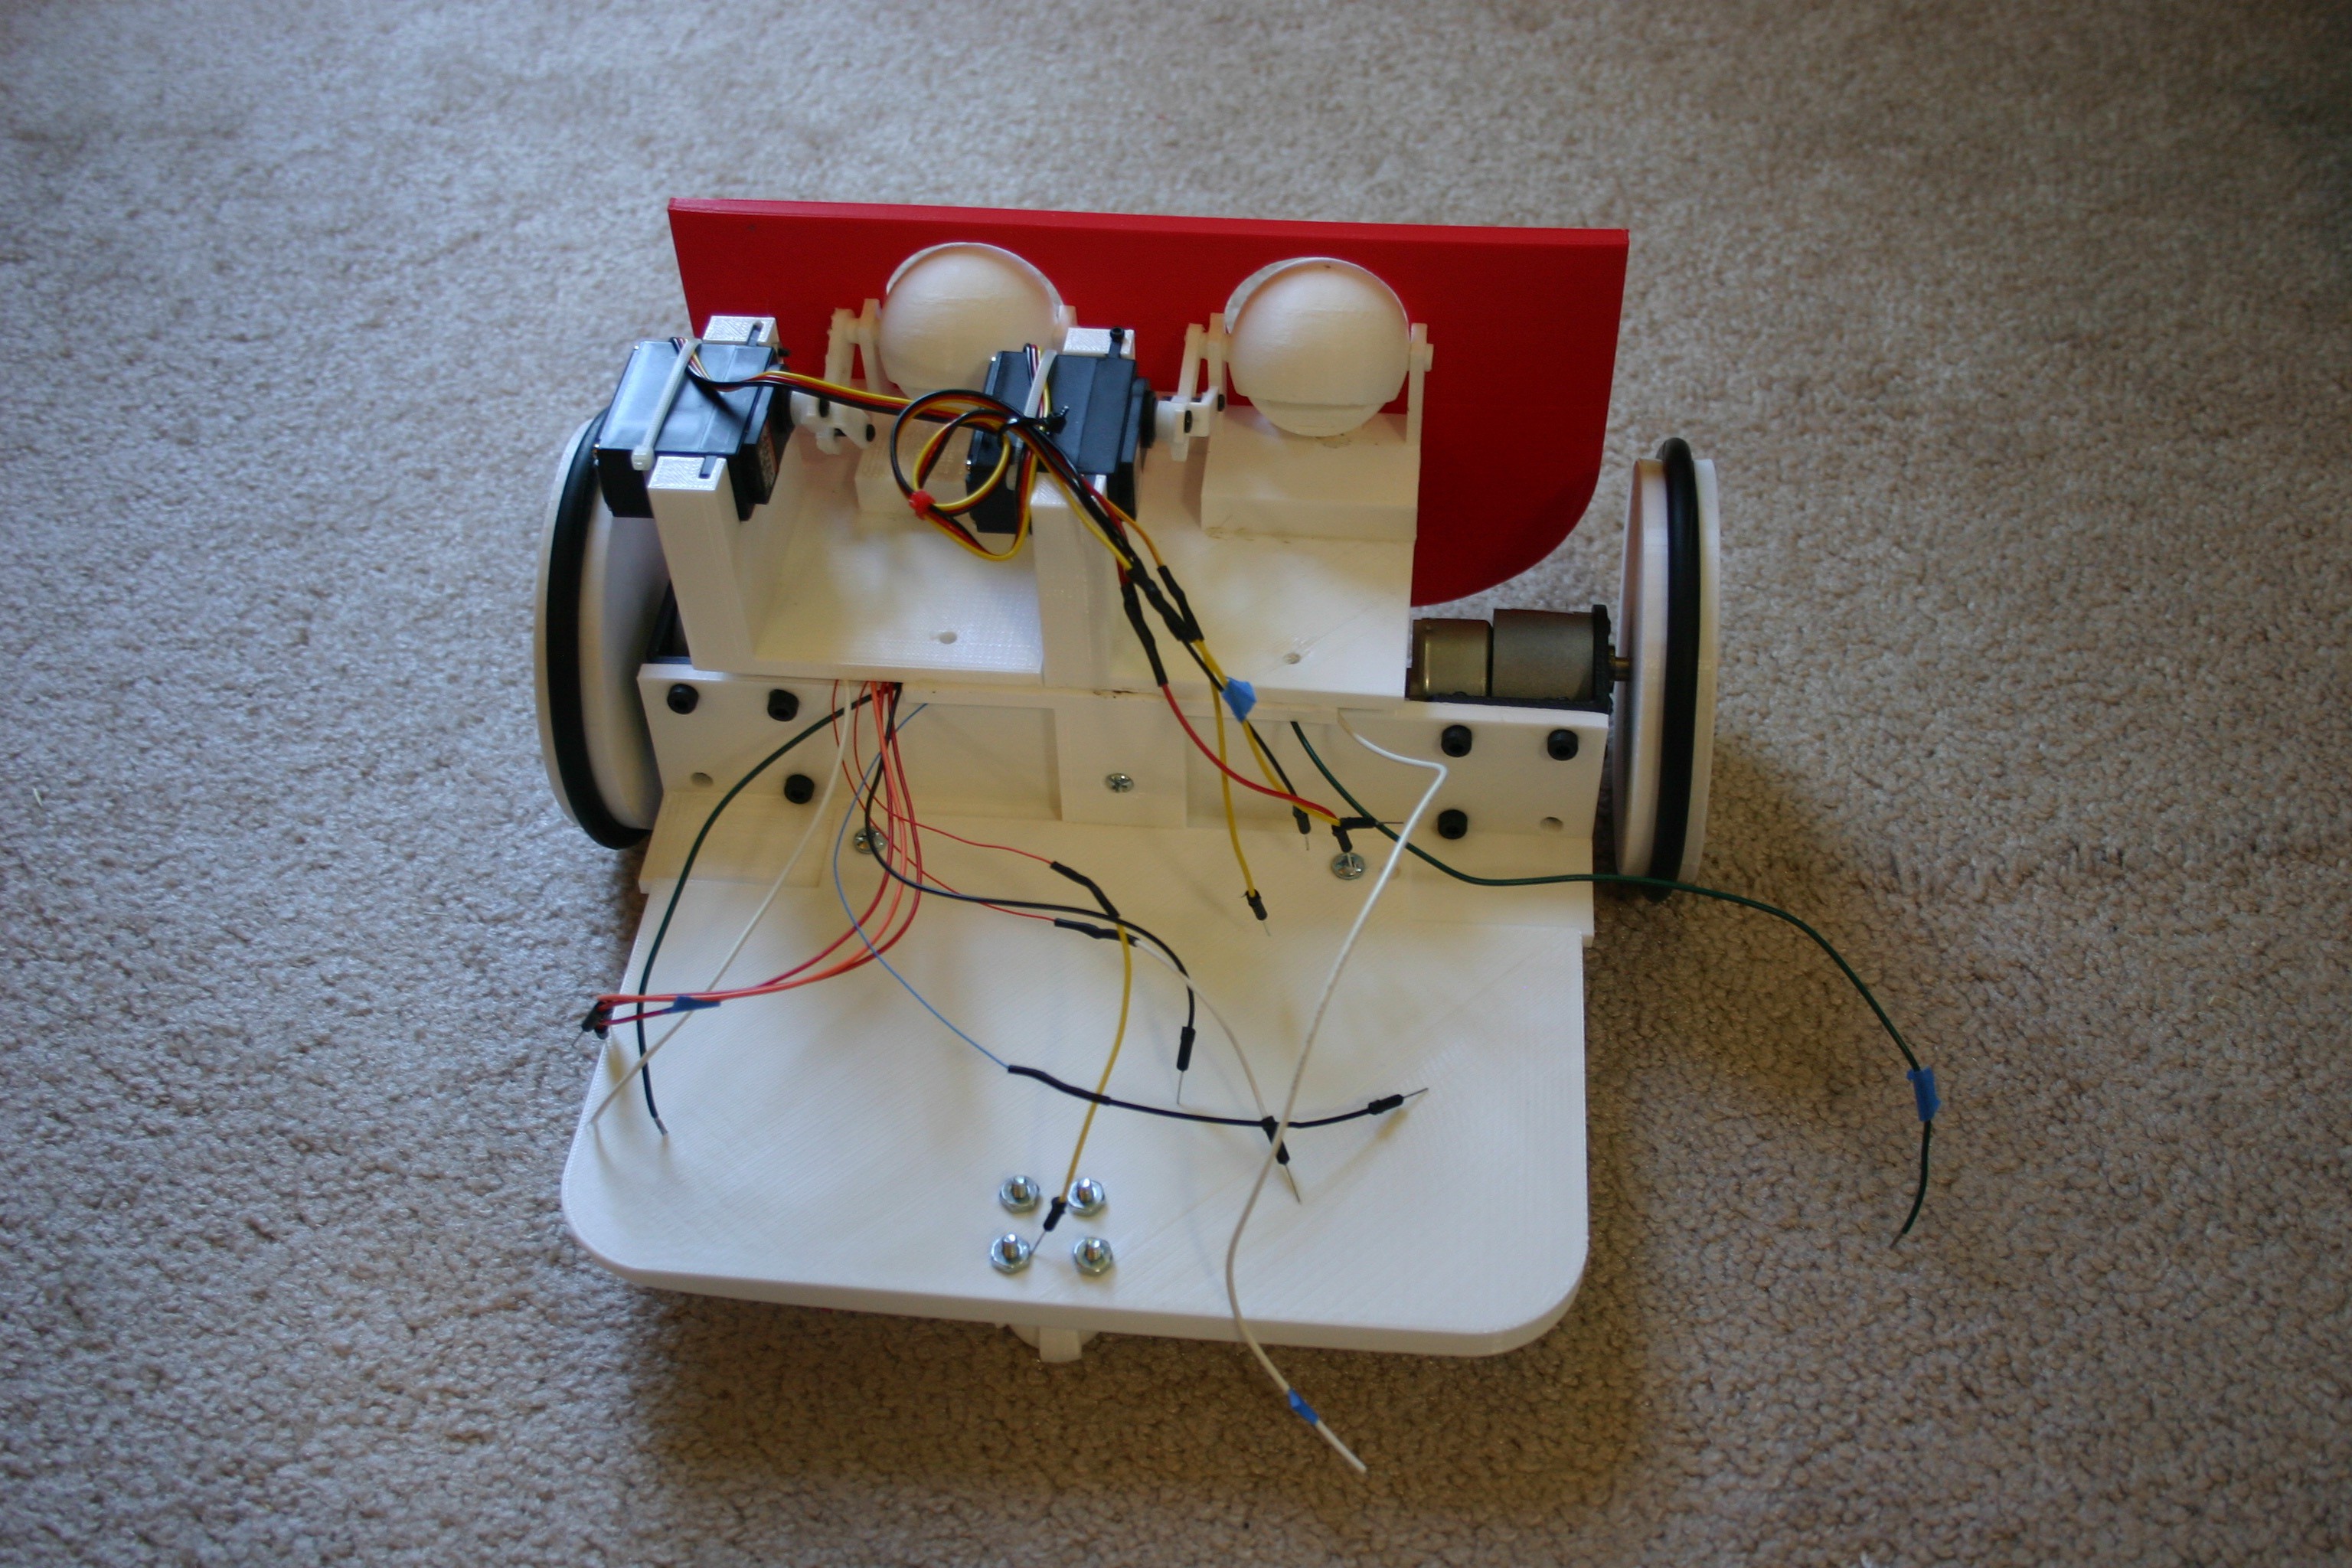
06/23/2016 at 20:50 • 0 commentsSo, I'm adding a lot of capacitance and about 1200 grams of additional weight. Let's get started. The body is the same width, but deeper, so I had to break the frame into two pieces (files included on this site).
![]()
These two pieces are bolted together.
![]()
The caster wheel is added.
![]()
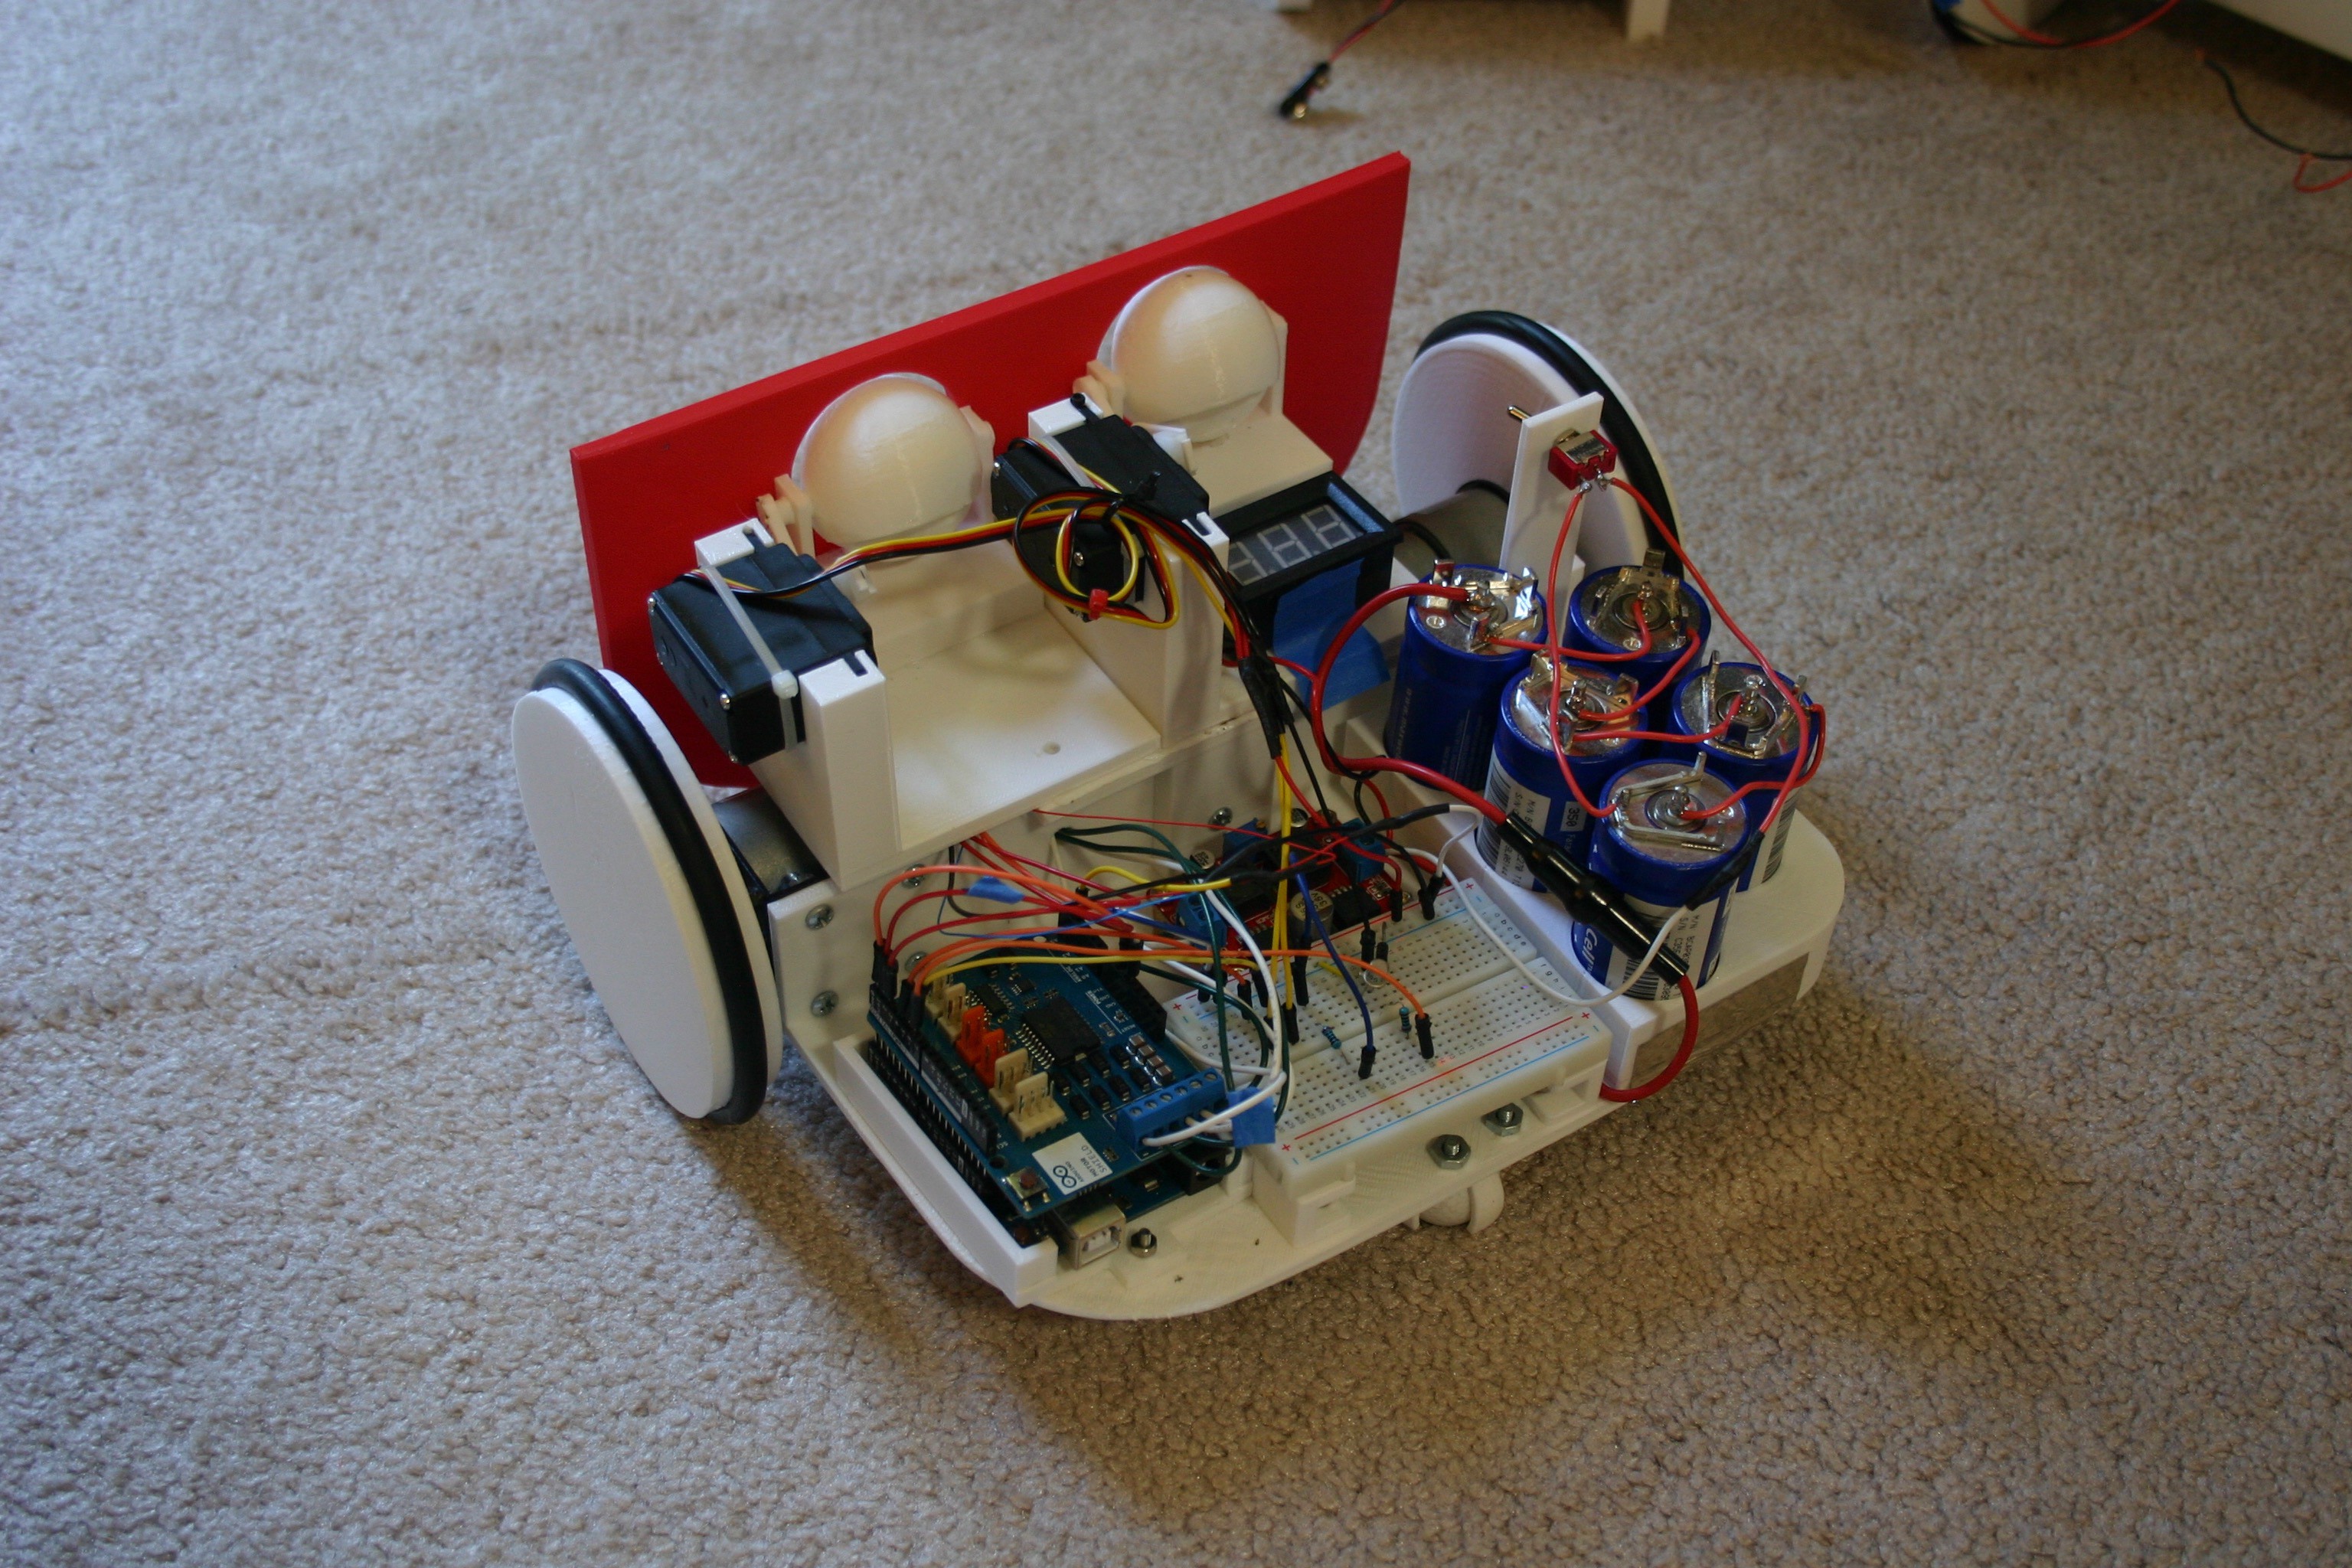
Now, let's go to Mato as she exists.
![]()
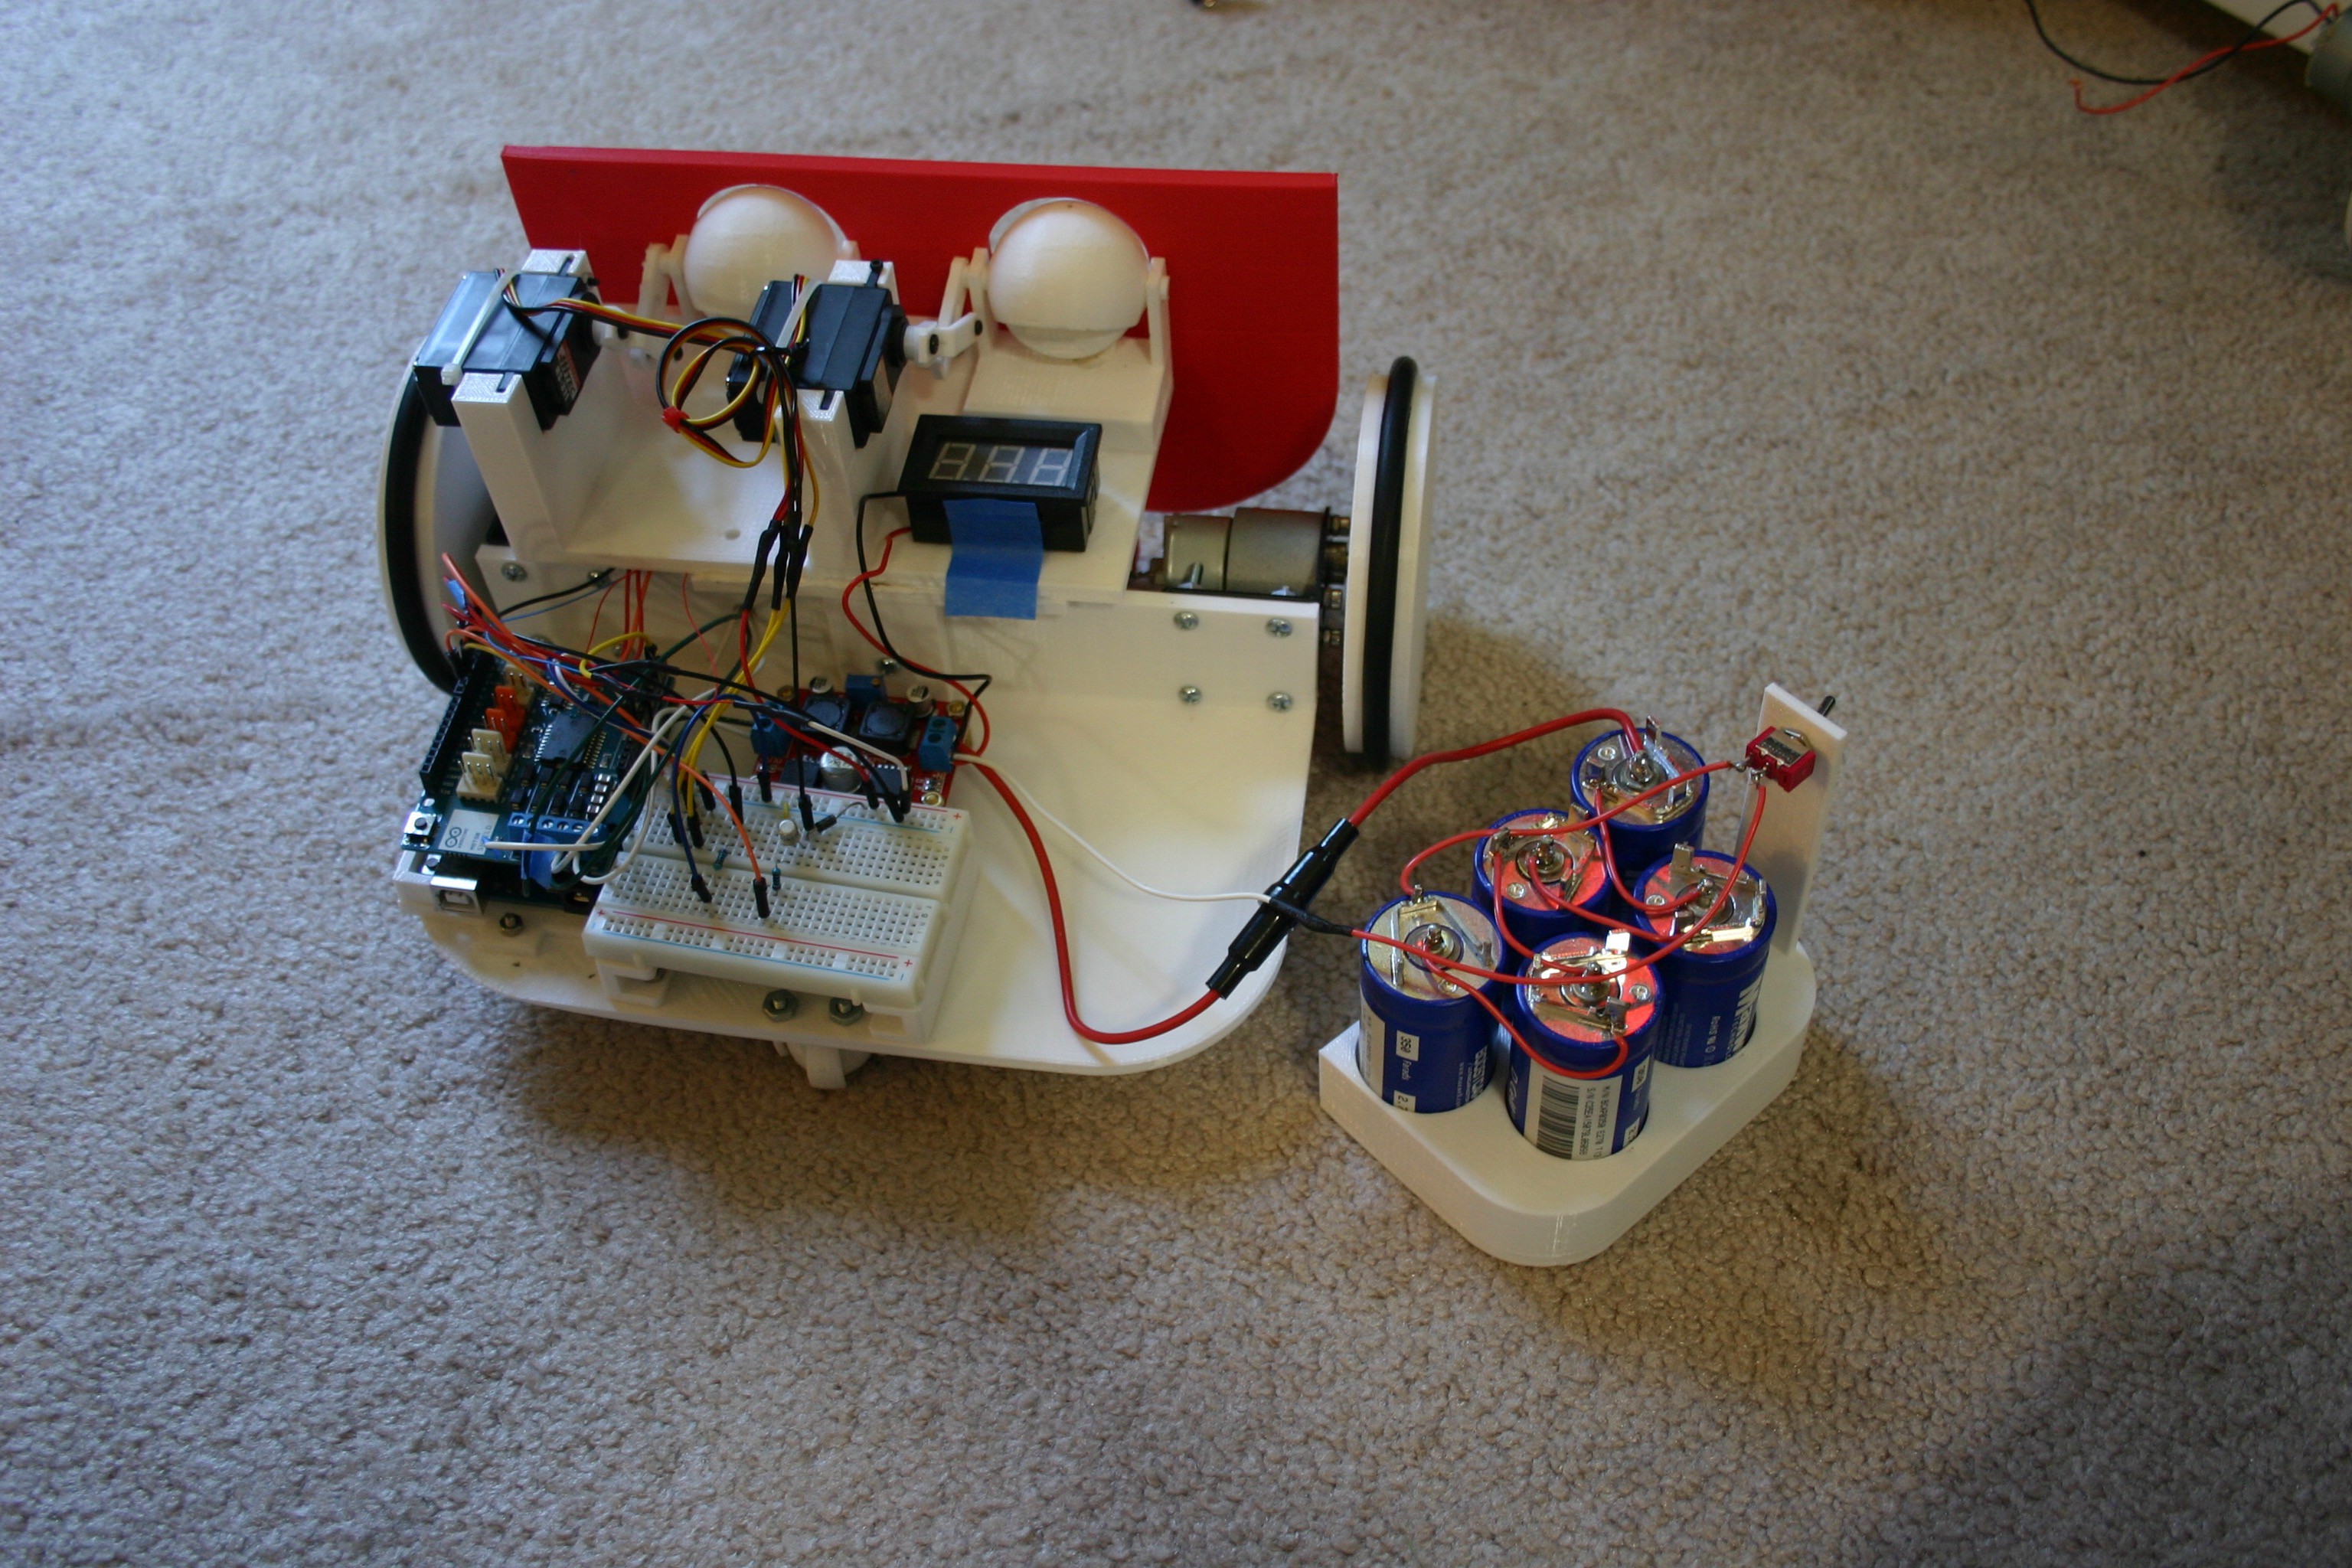
Remove the ultracapacitors from the old frame.
![]()
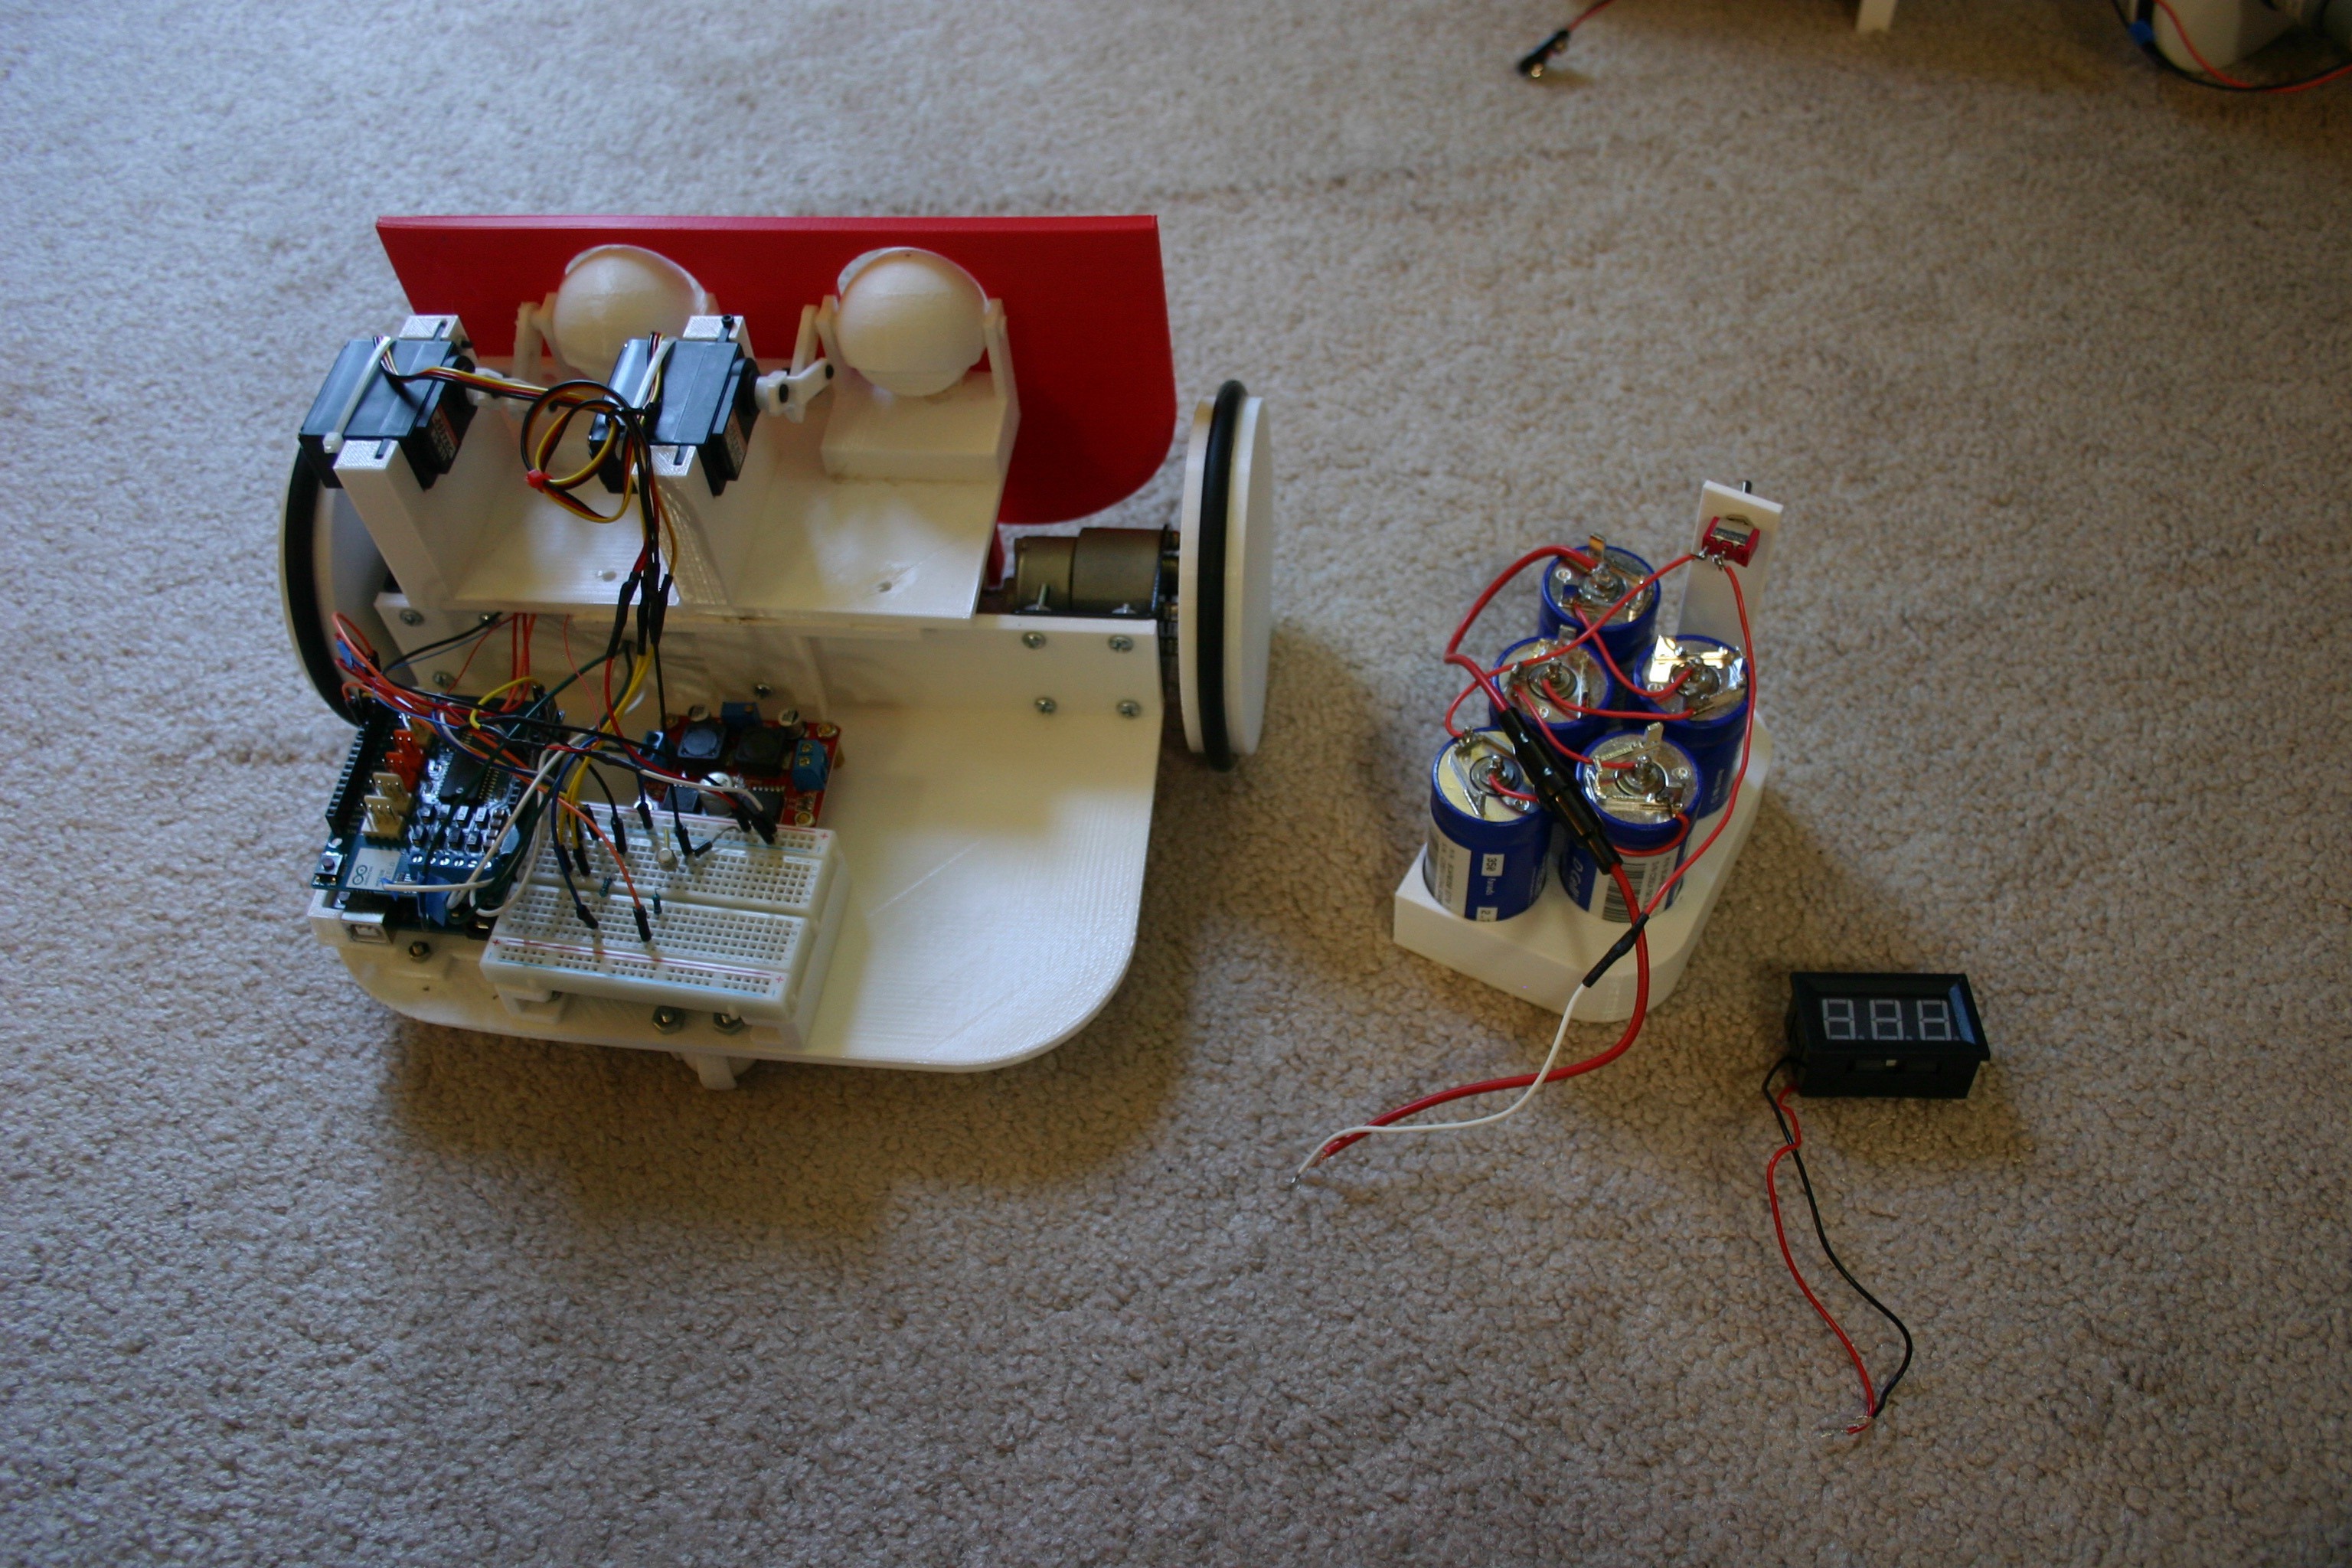
Disconnect from the buck/boost converter and remove the digital meter.
![]()
Remove connections from the breadboard.
![]()
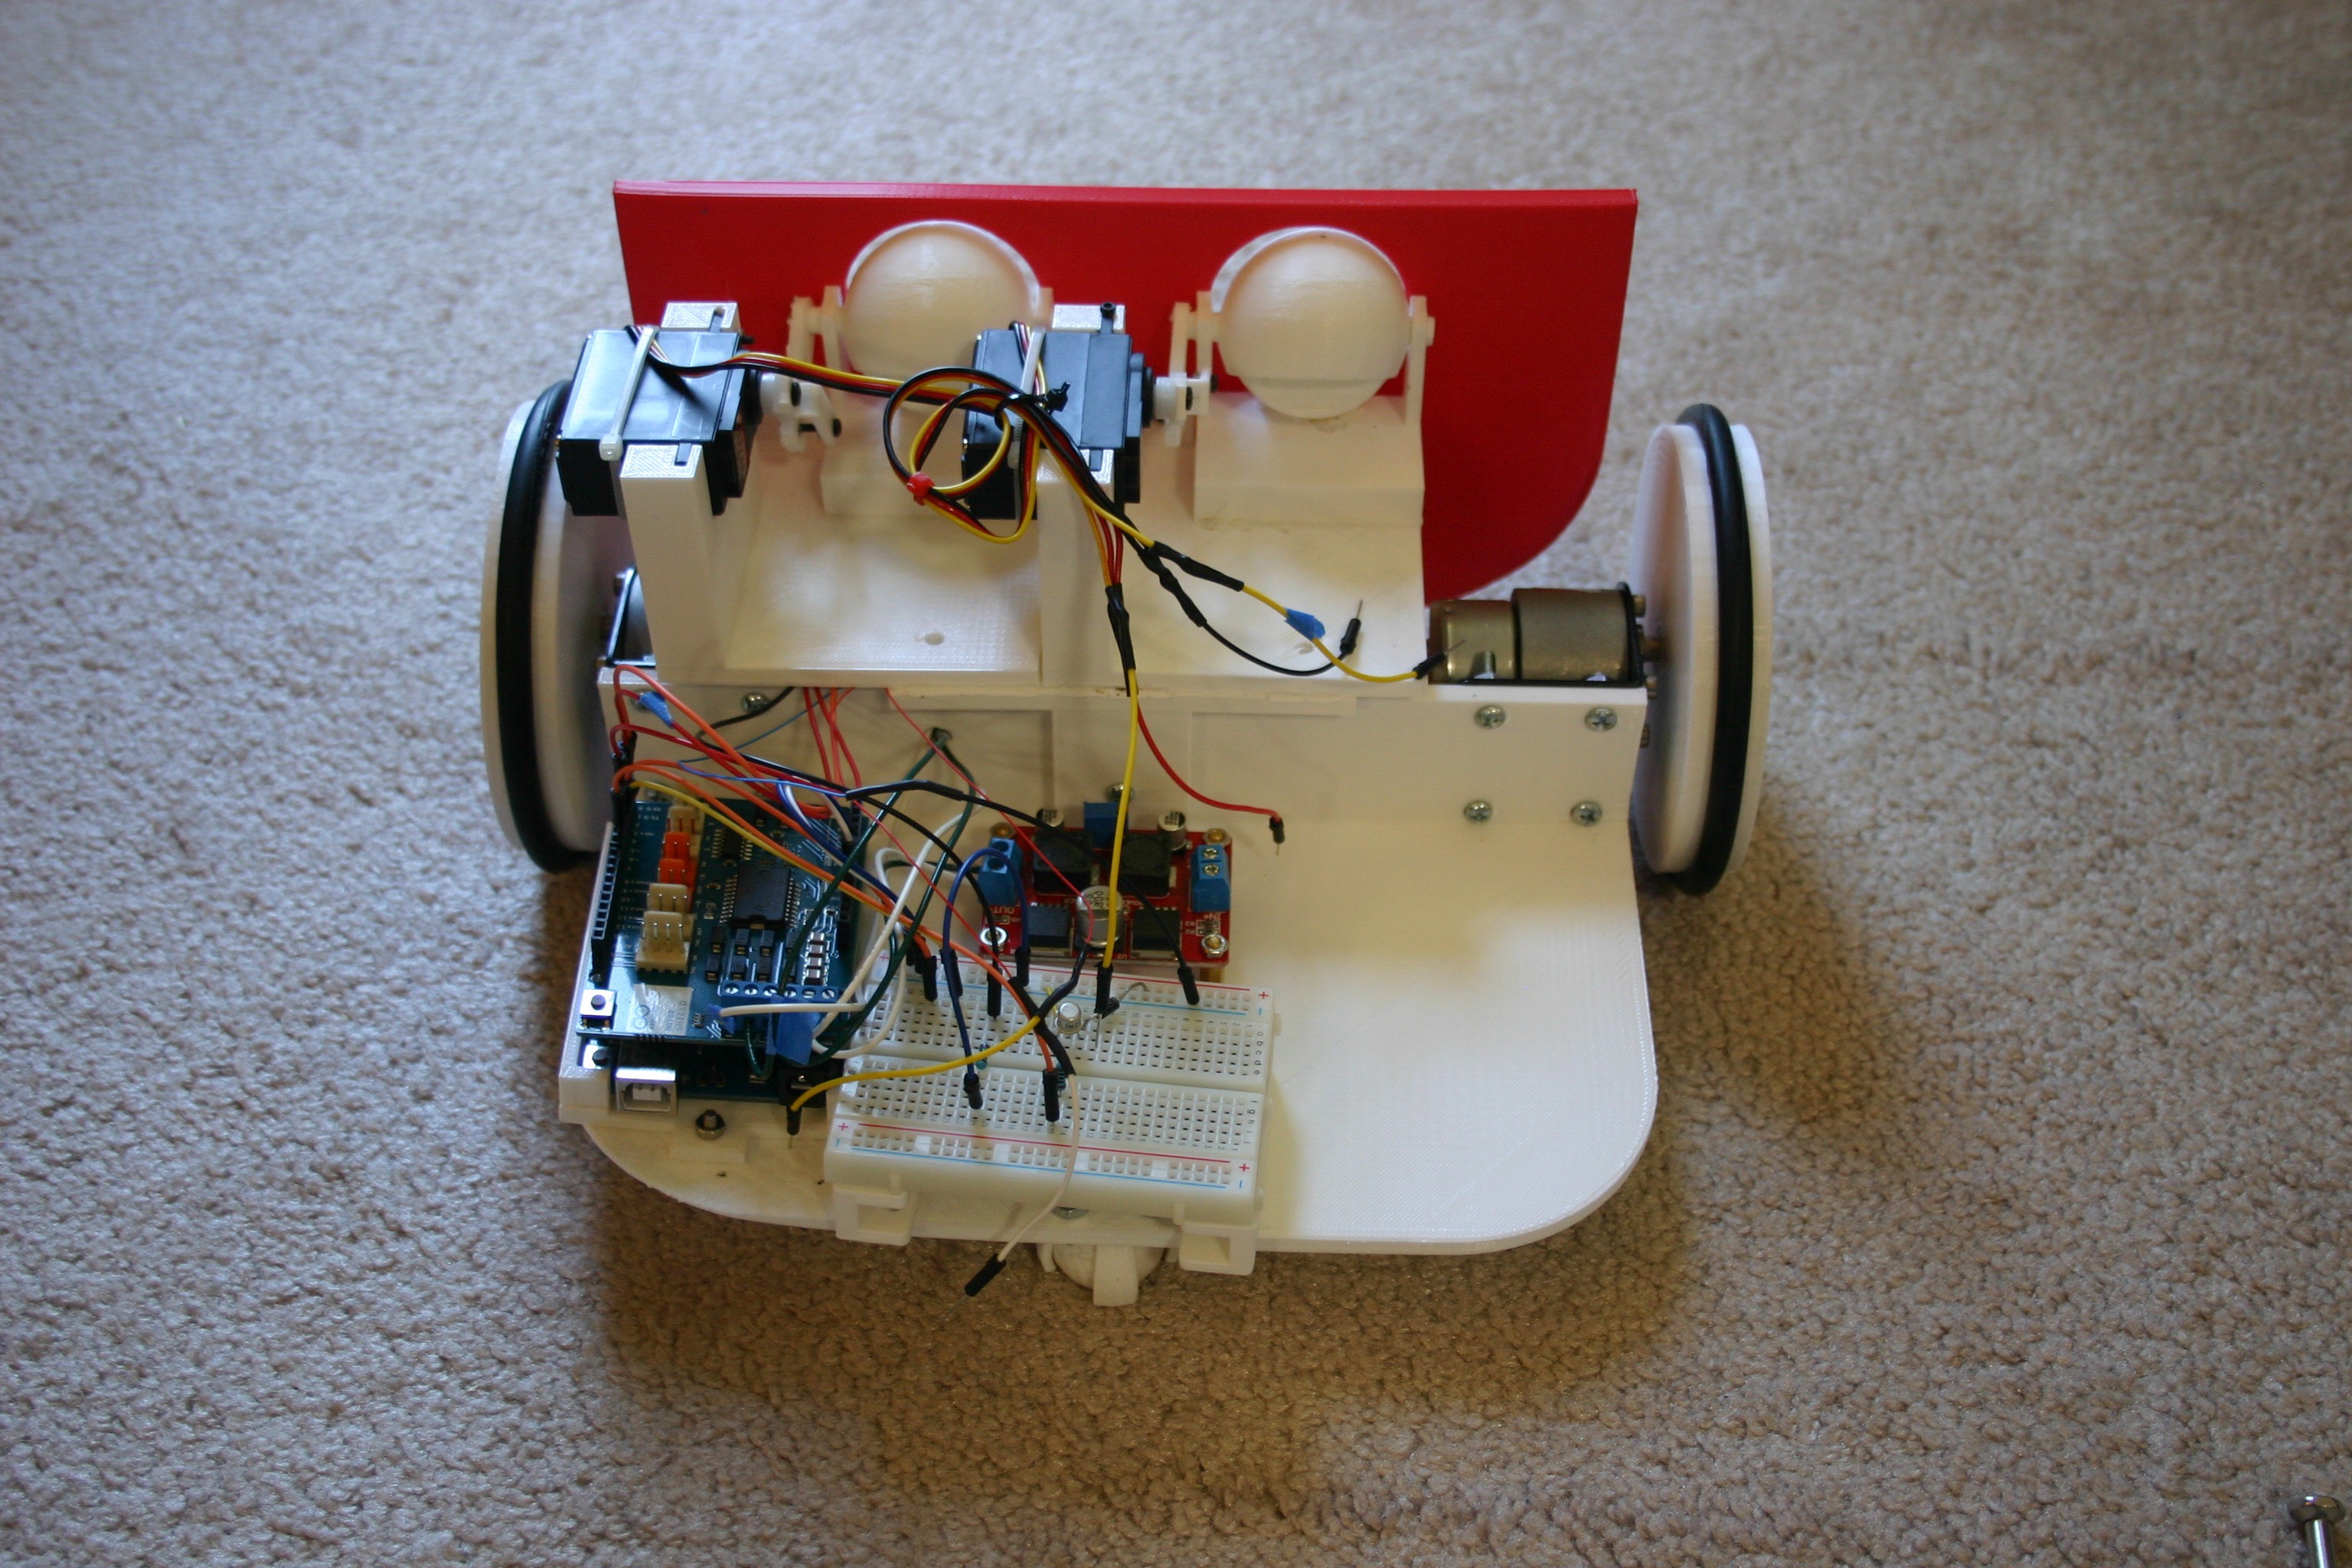
Remove the breadboard and the processor.
![]()
Remove the buck/boost converter.
![]()
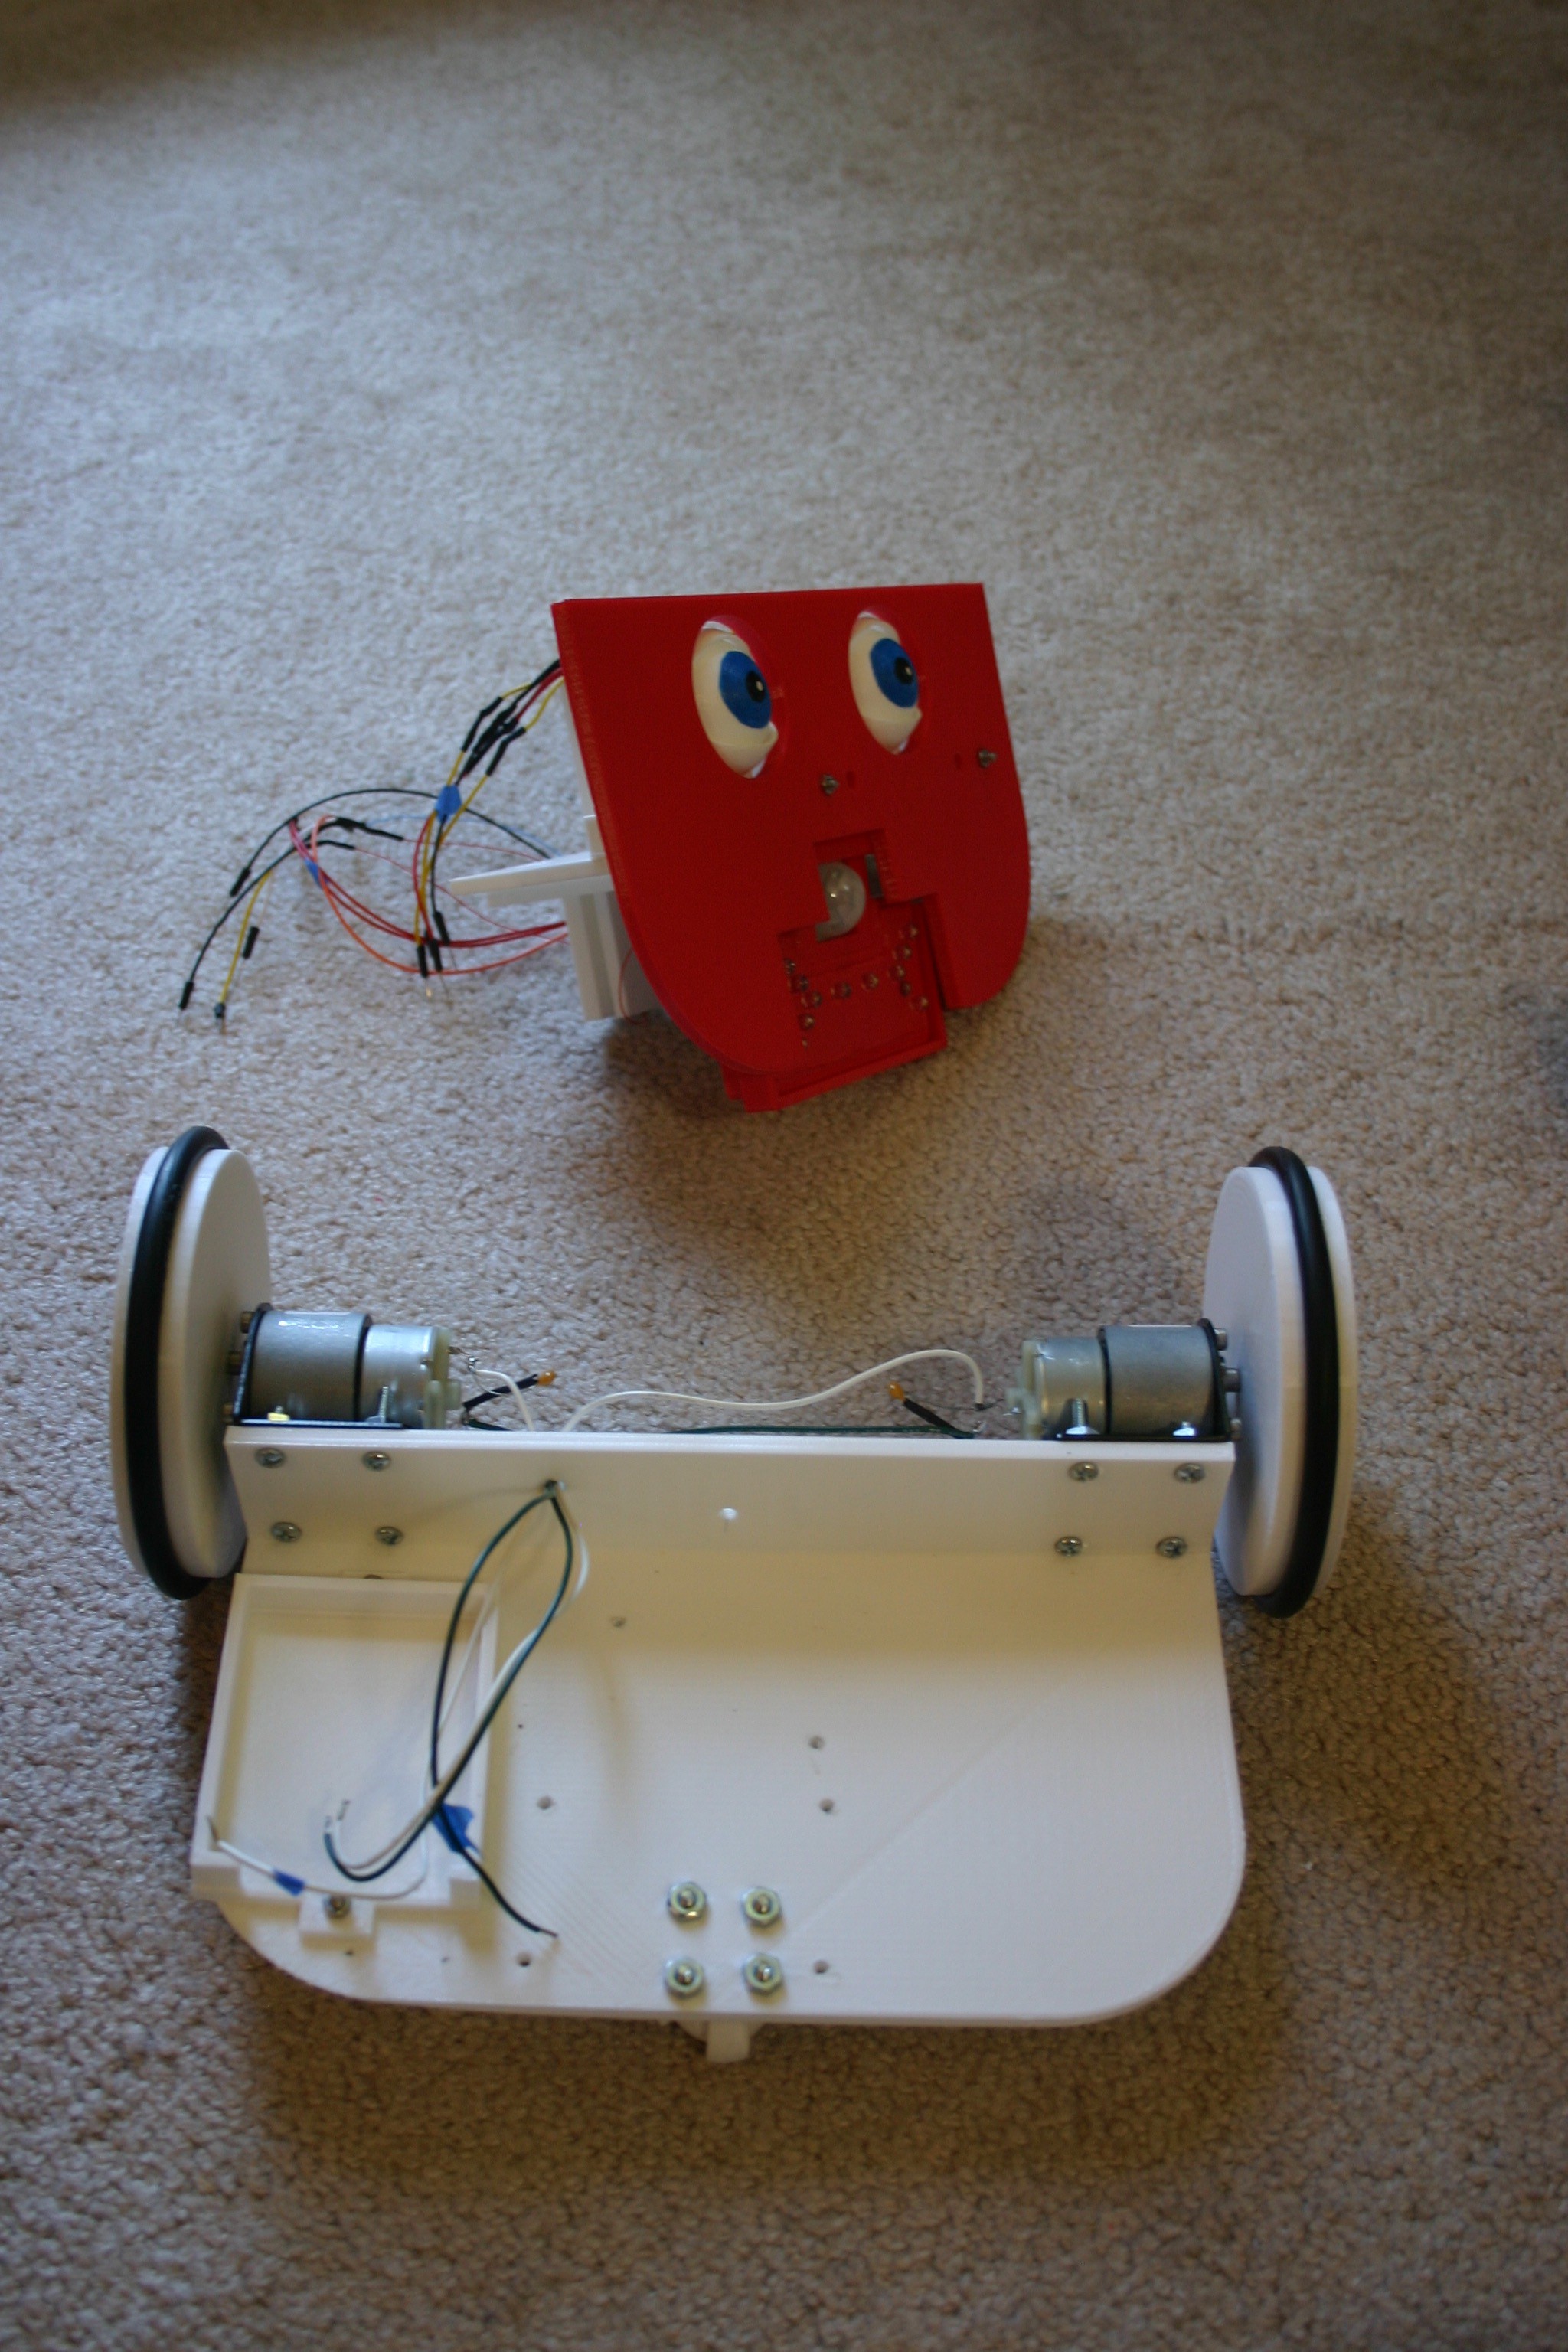
Remove the face from the frame.
![]()
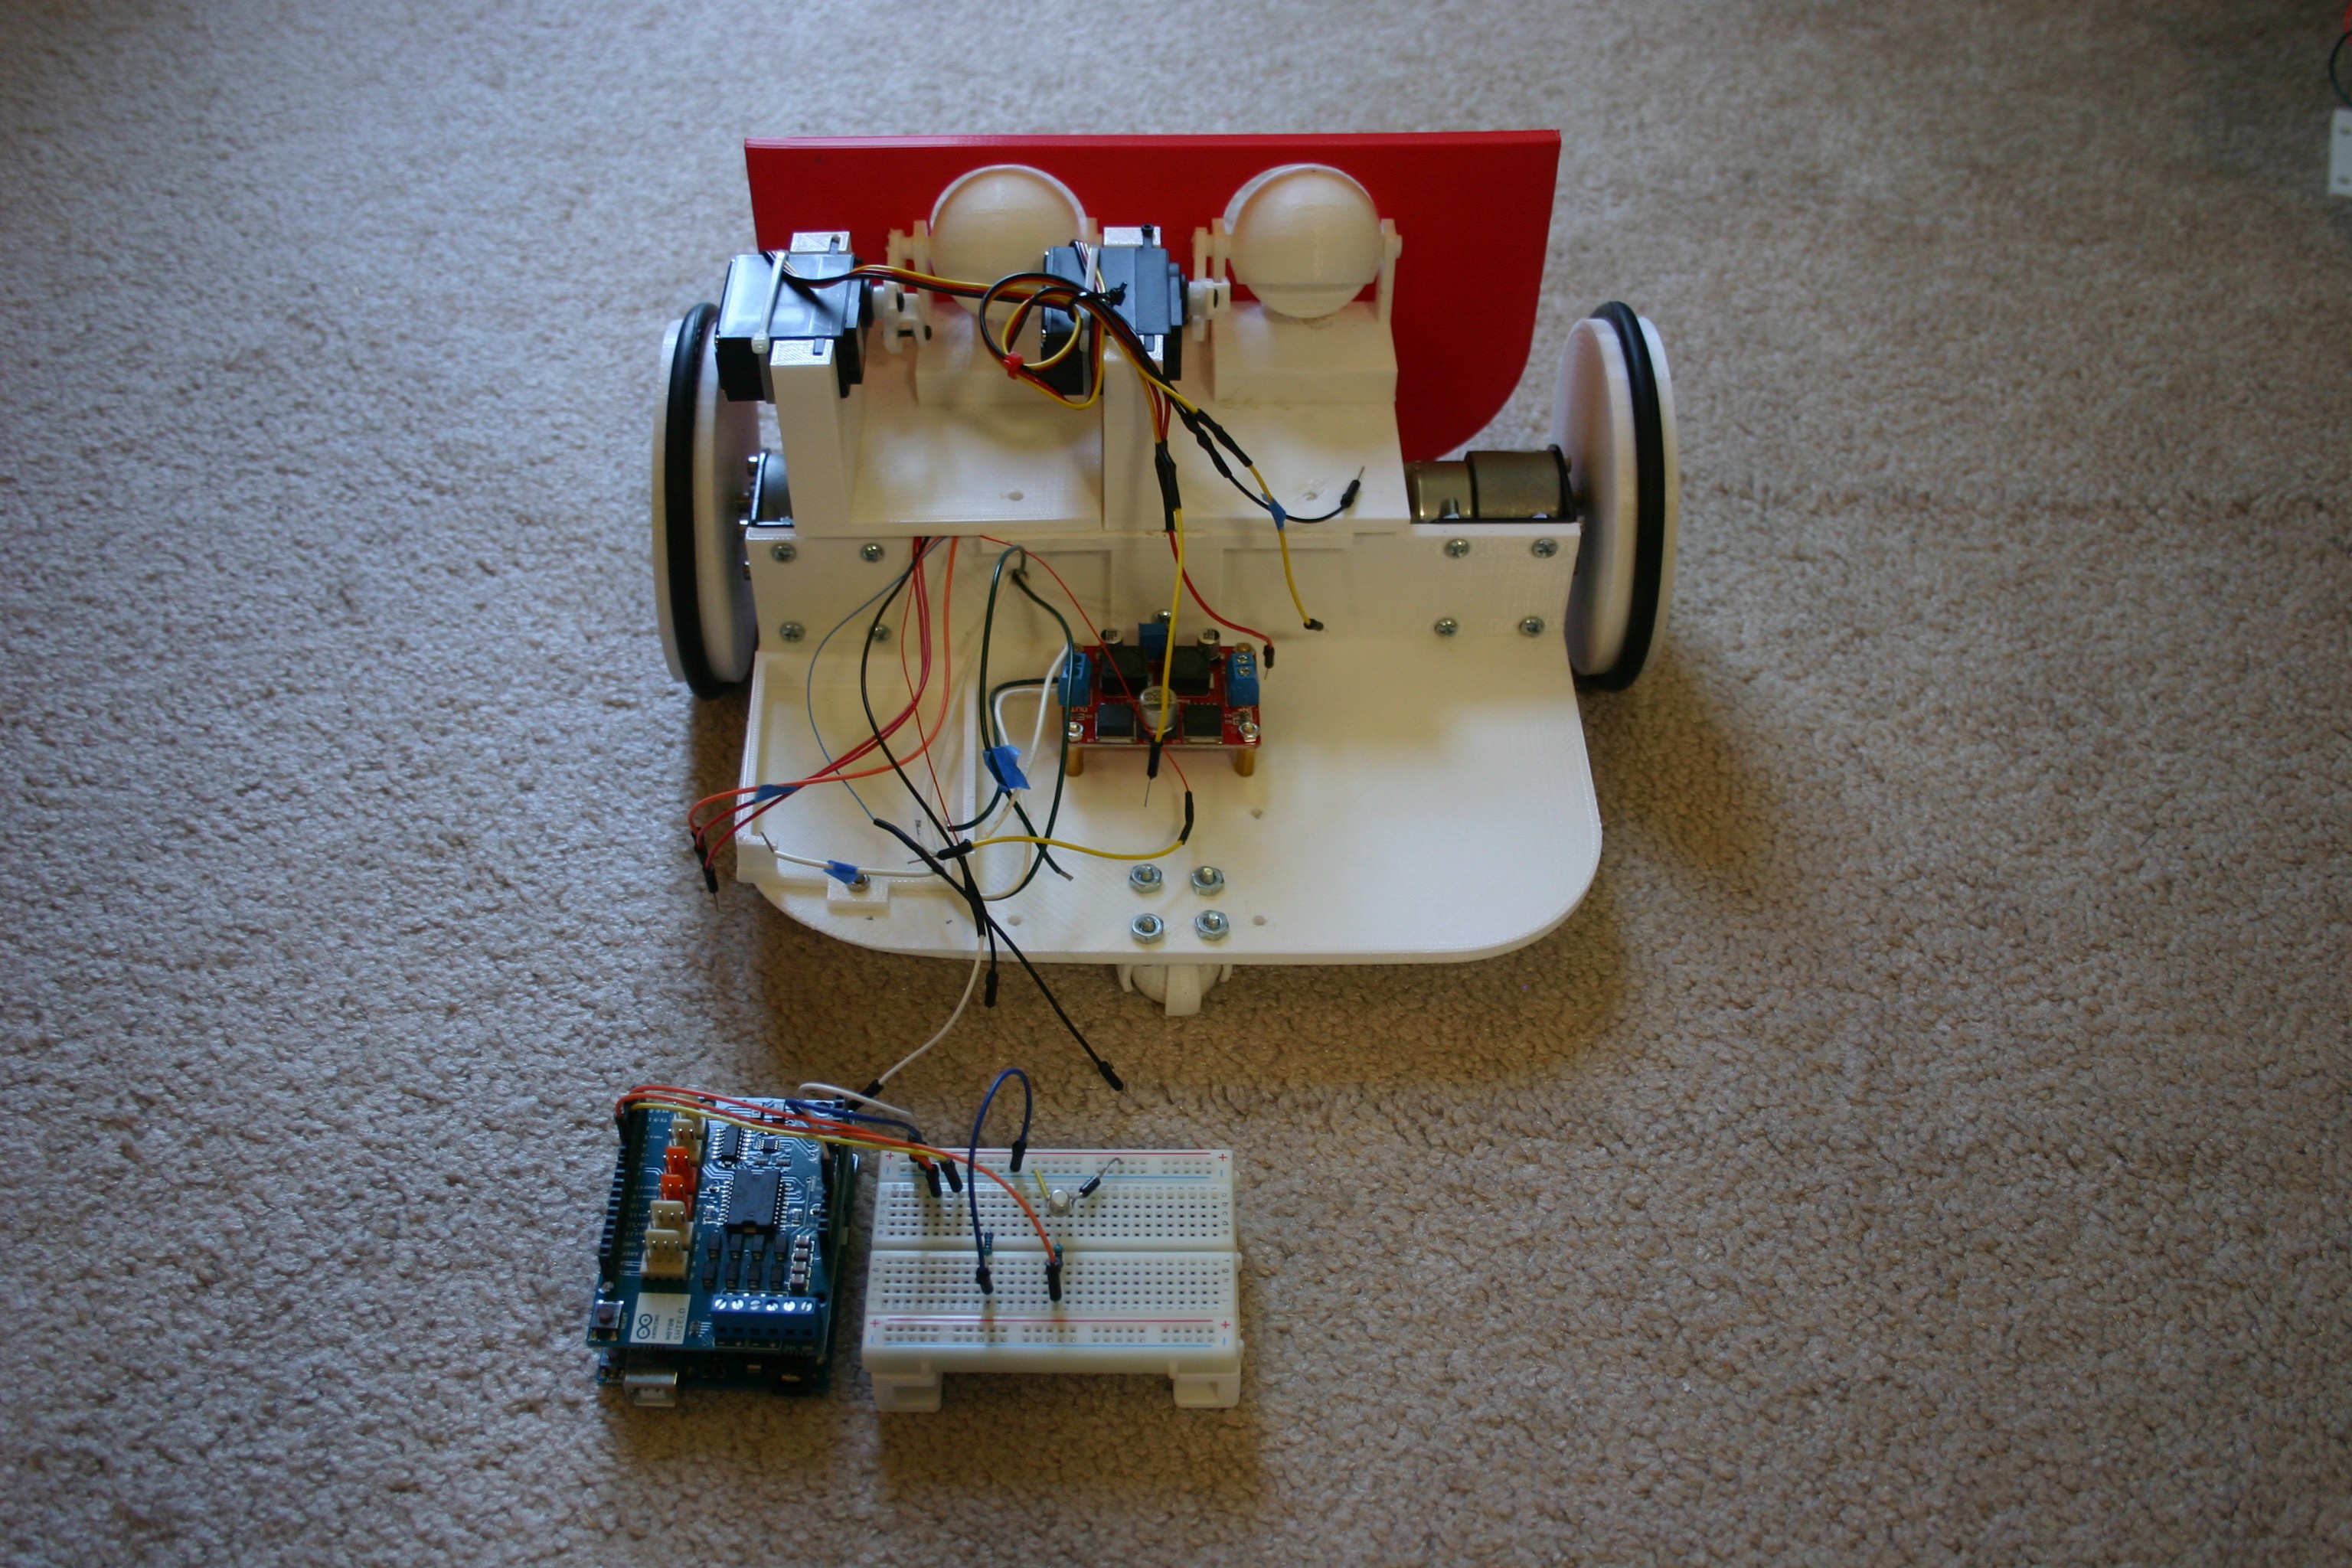
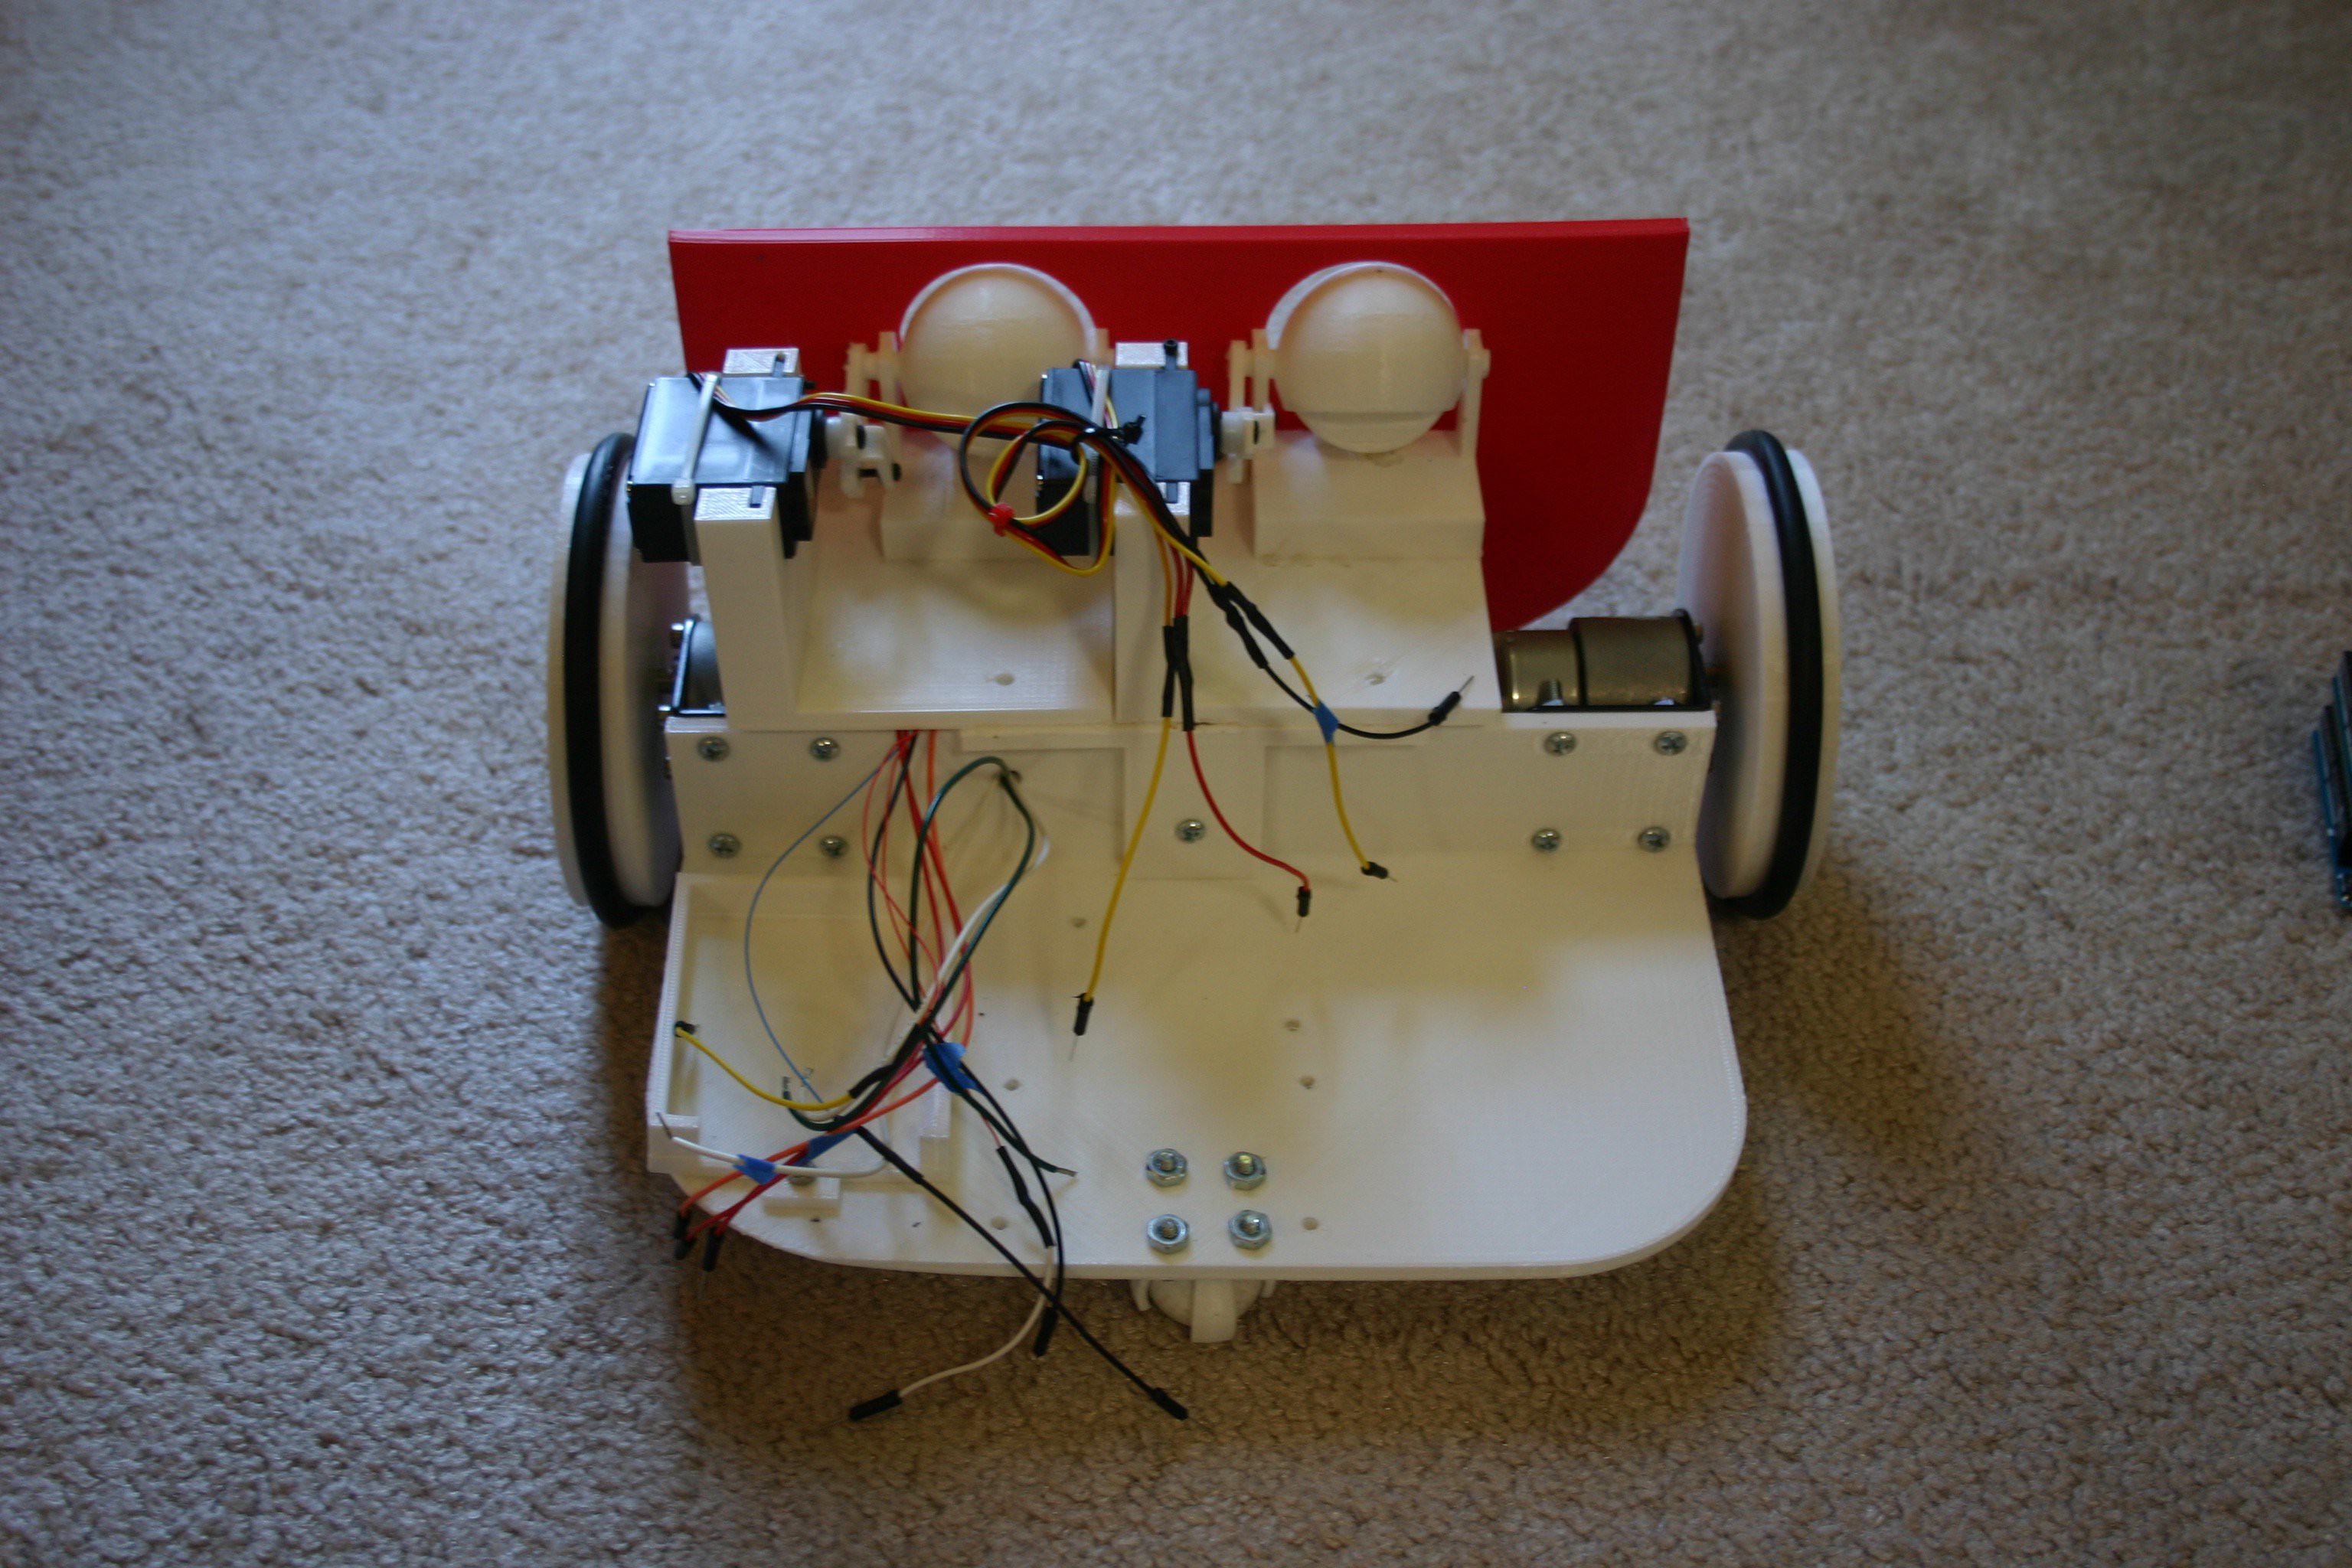
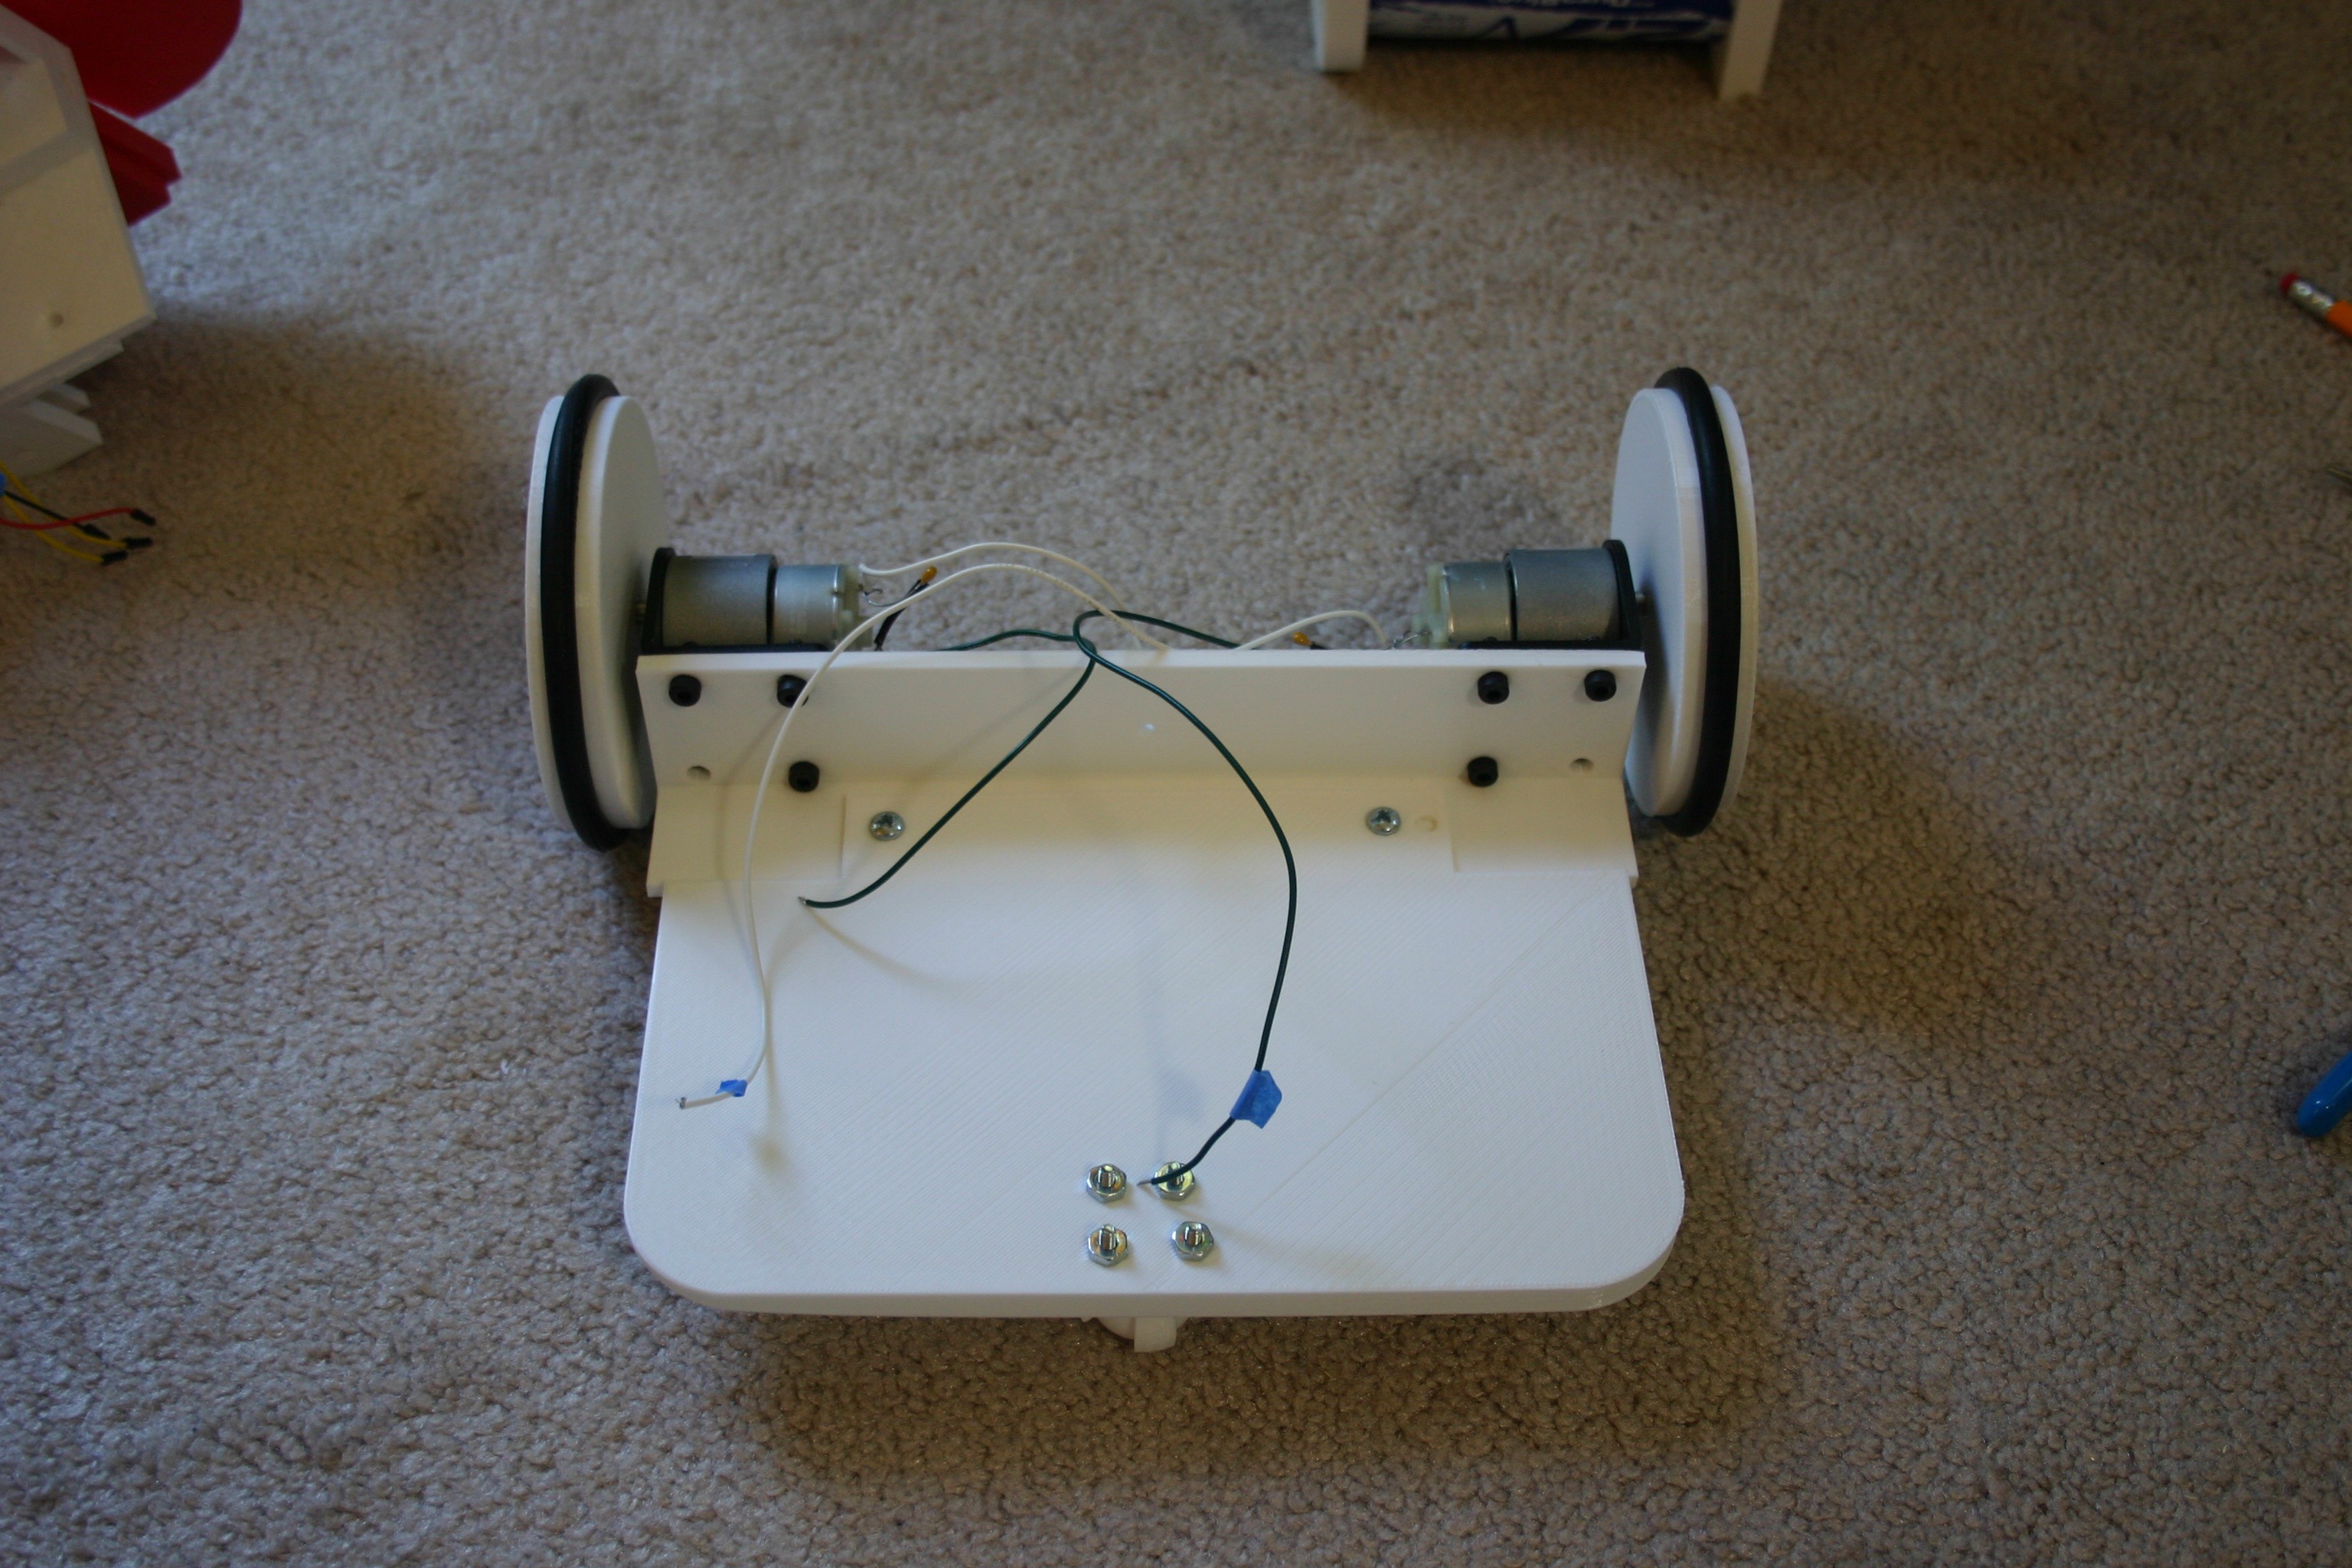
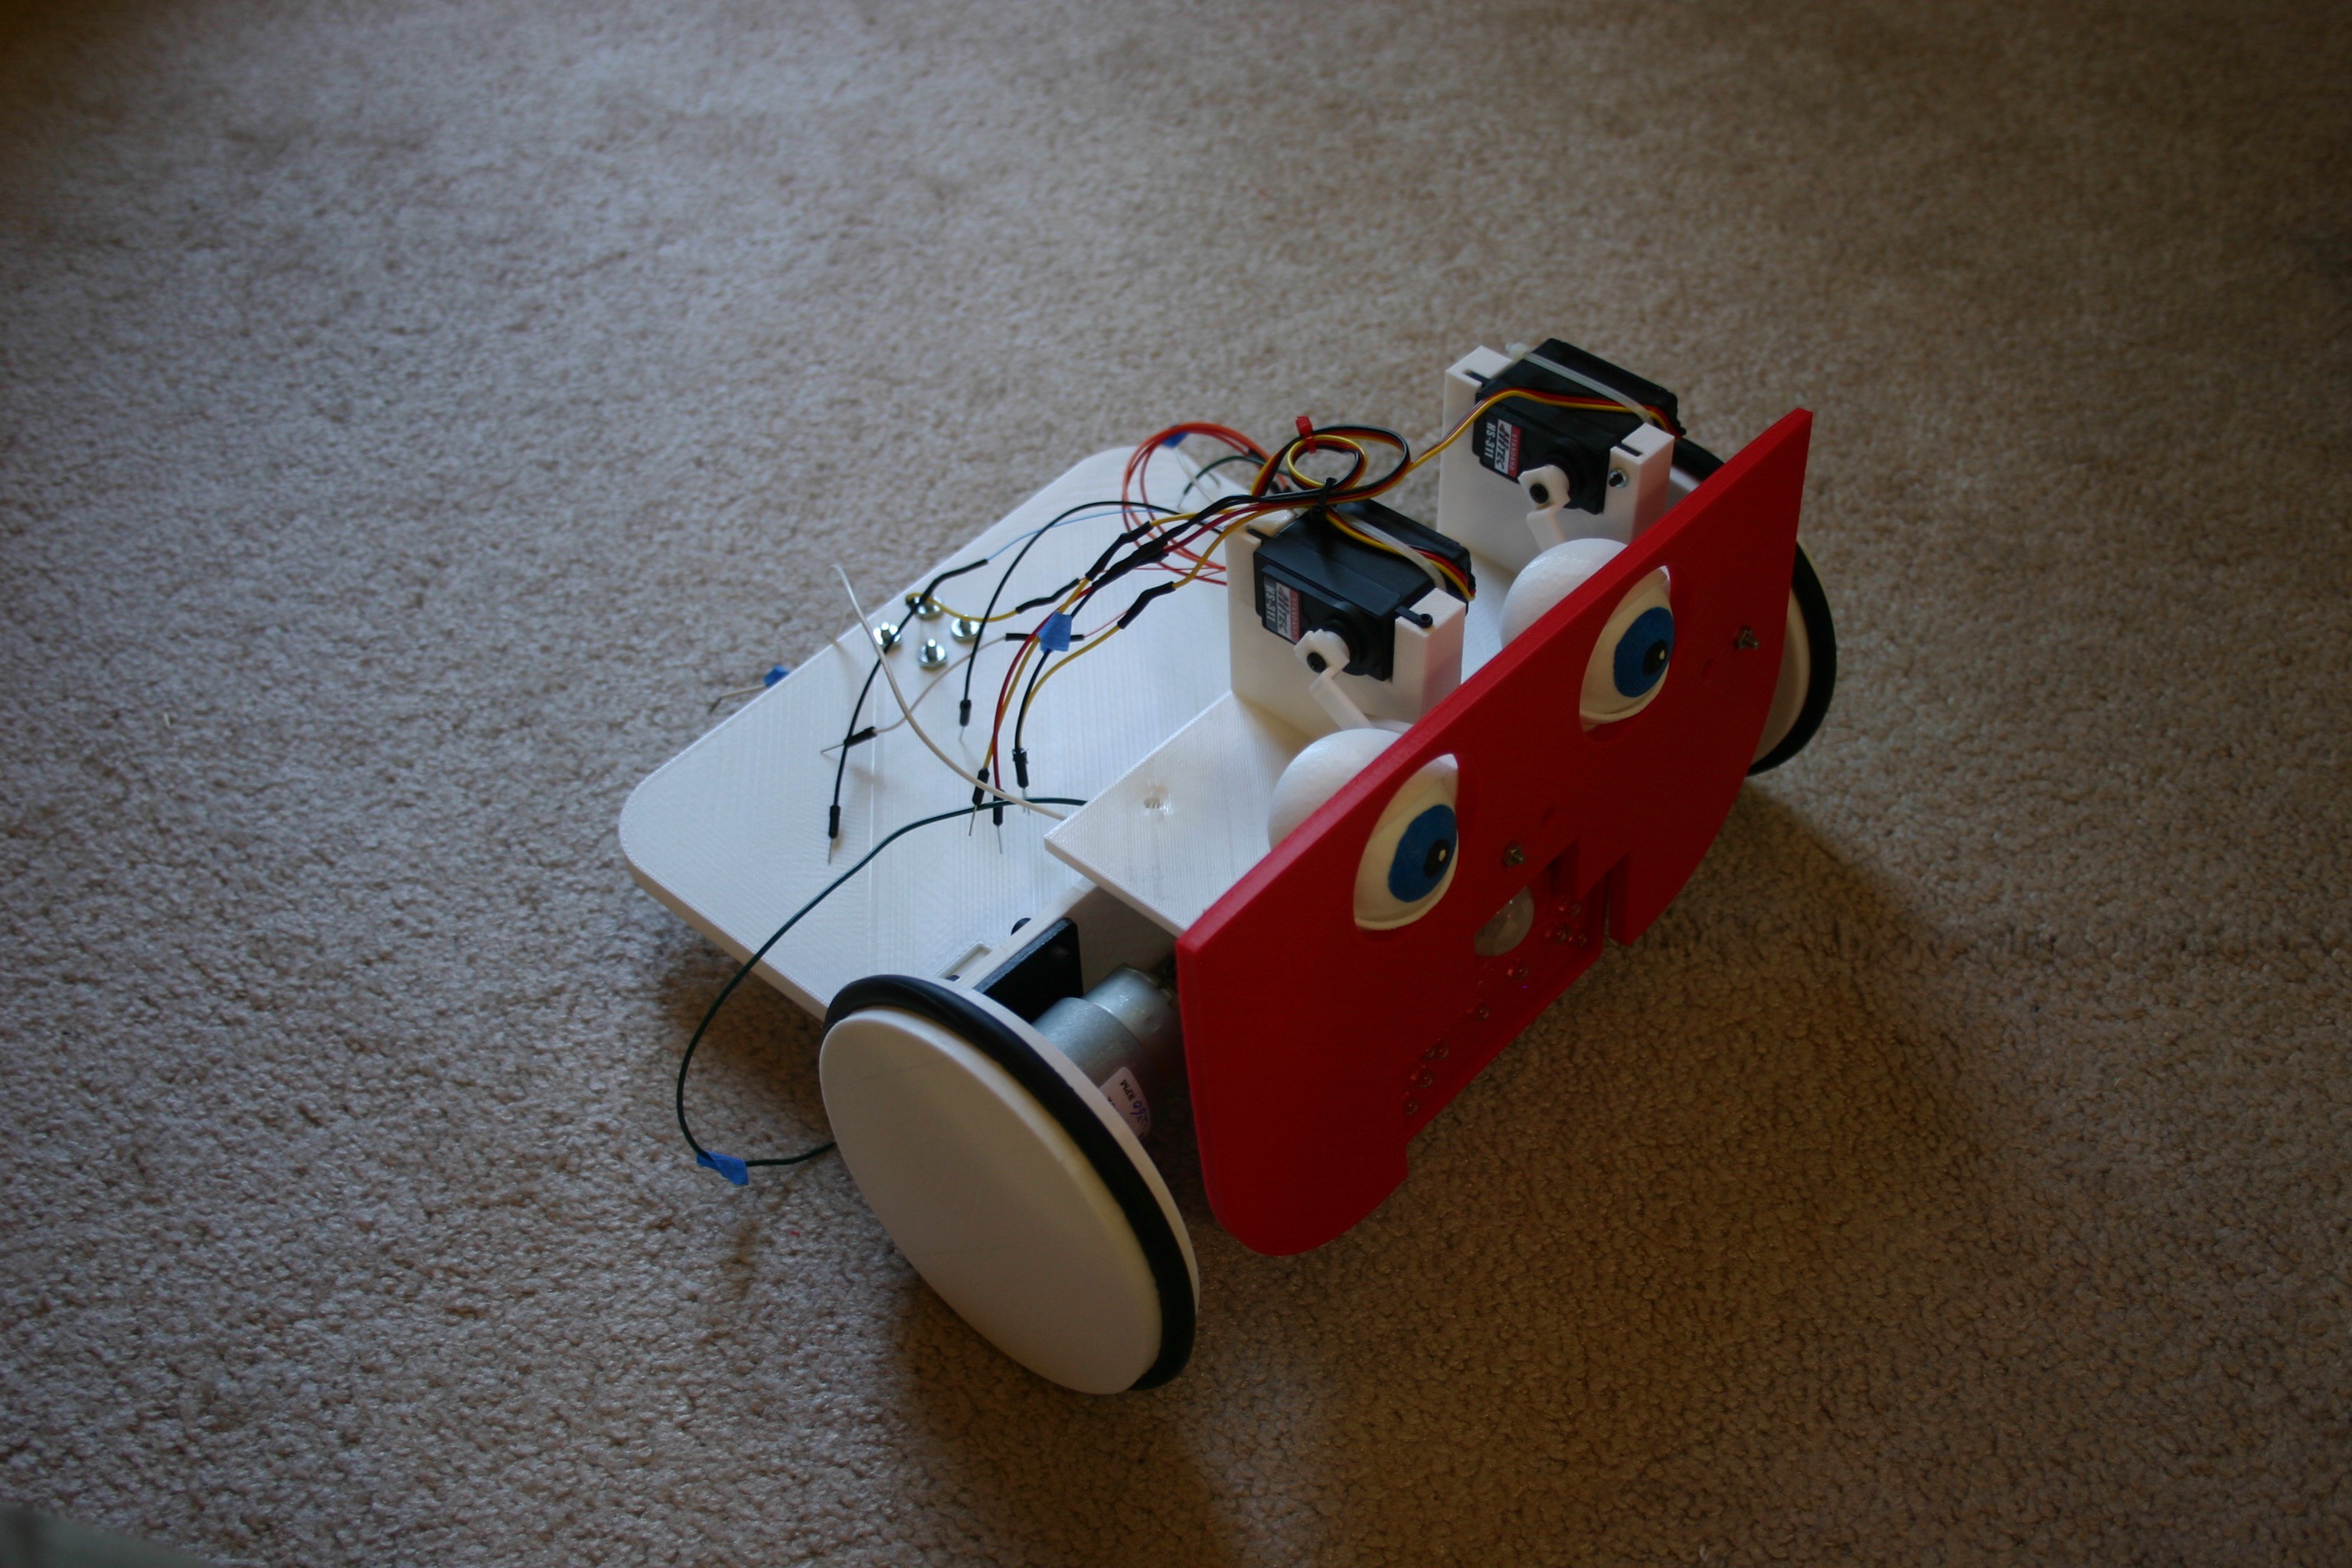
Install the motors and wheels on the new frame.
![]()
Add the face to the new frame--a hole will have to be drilled in the frame.
![]()
![]()
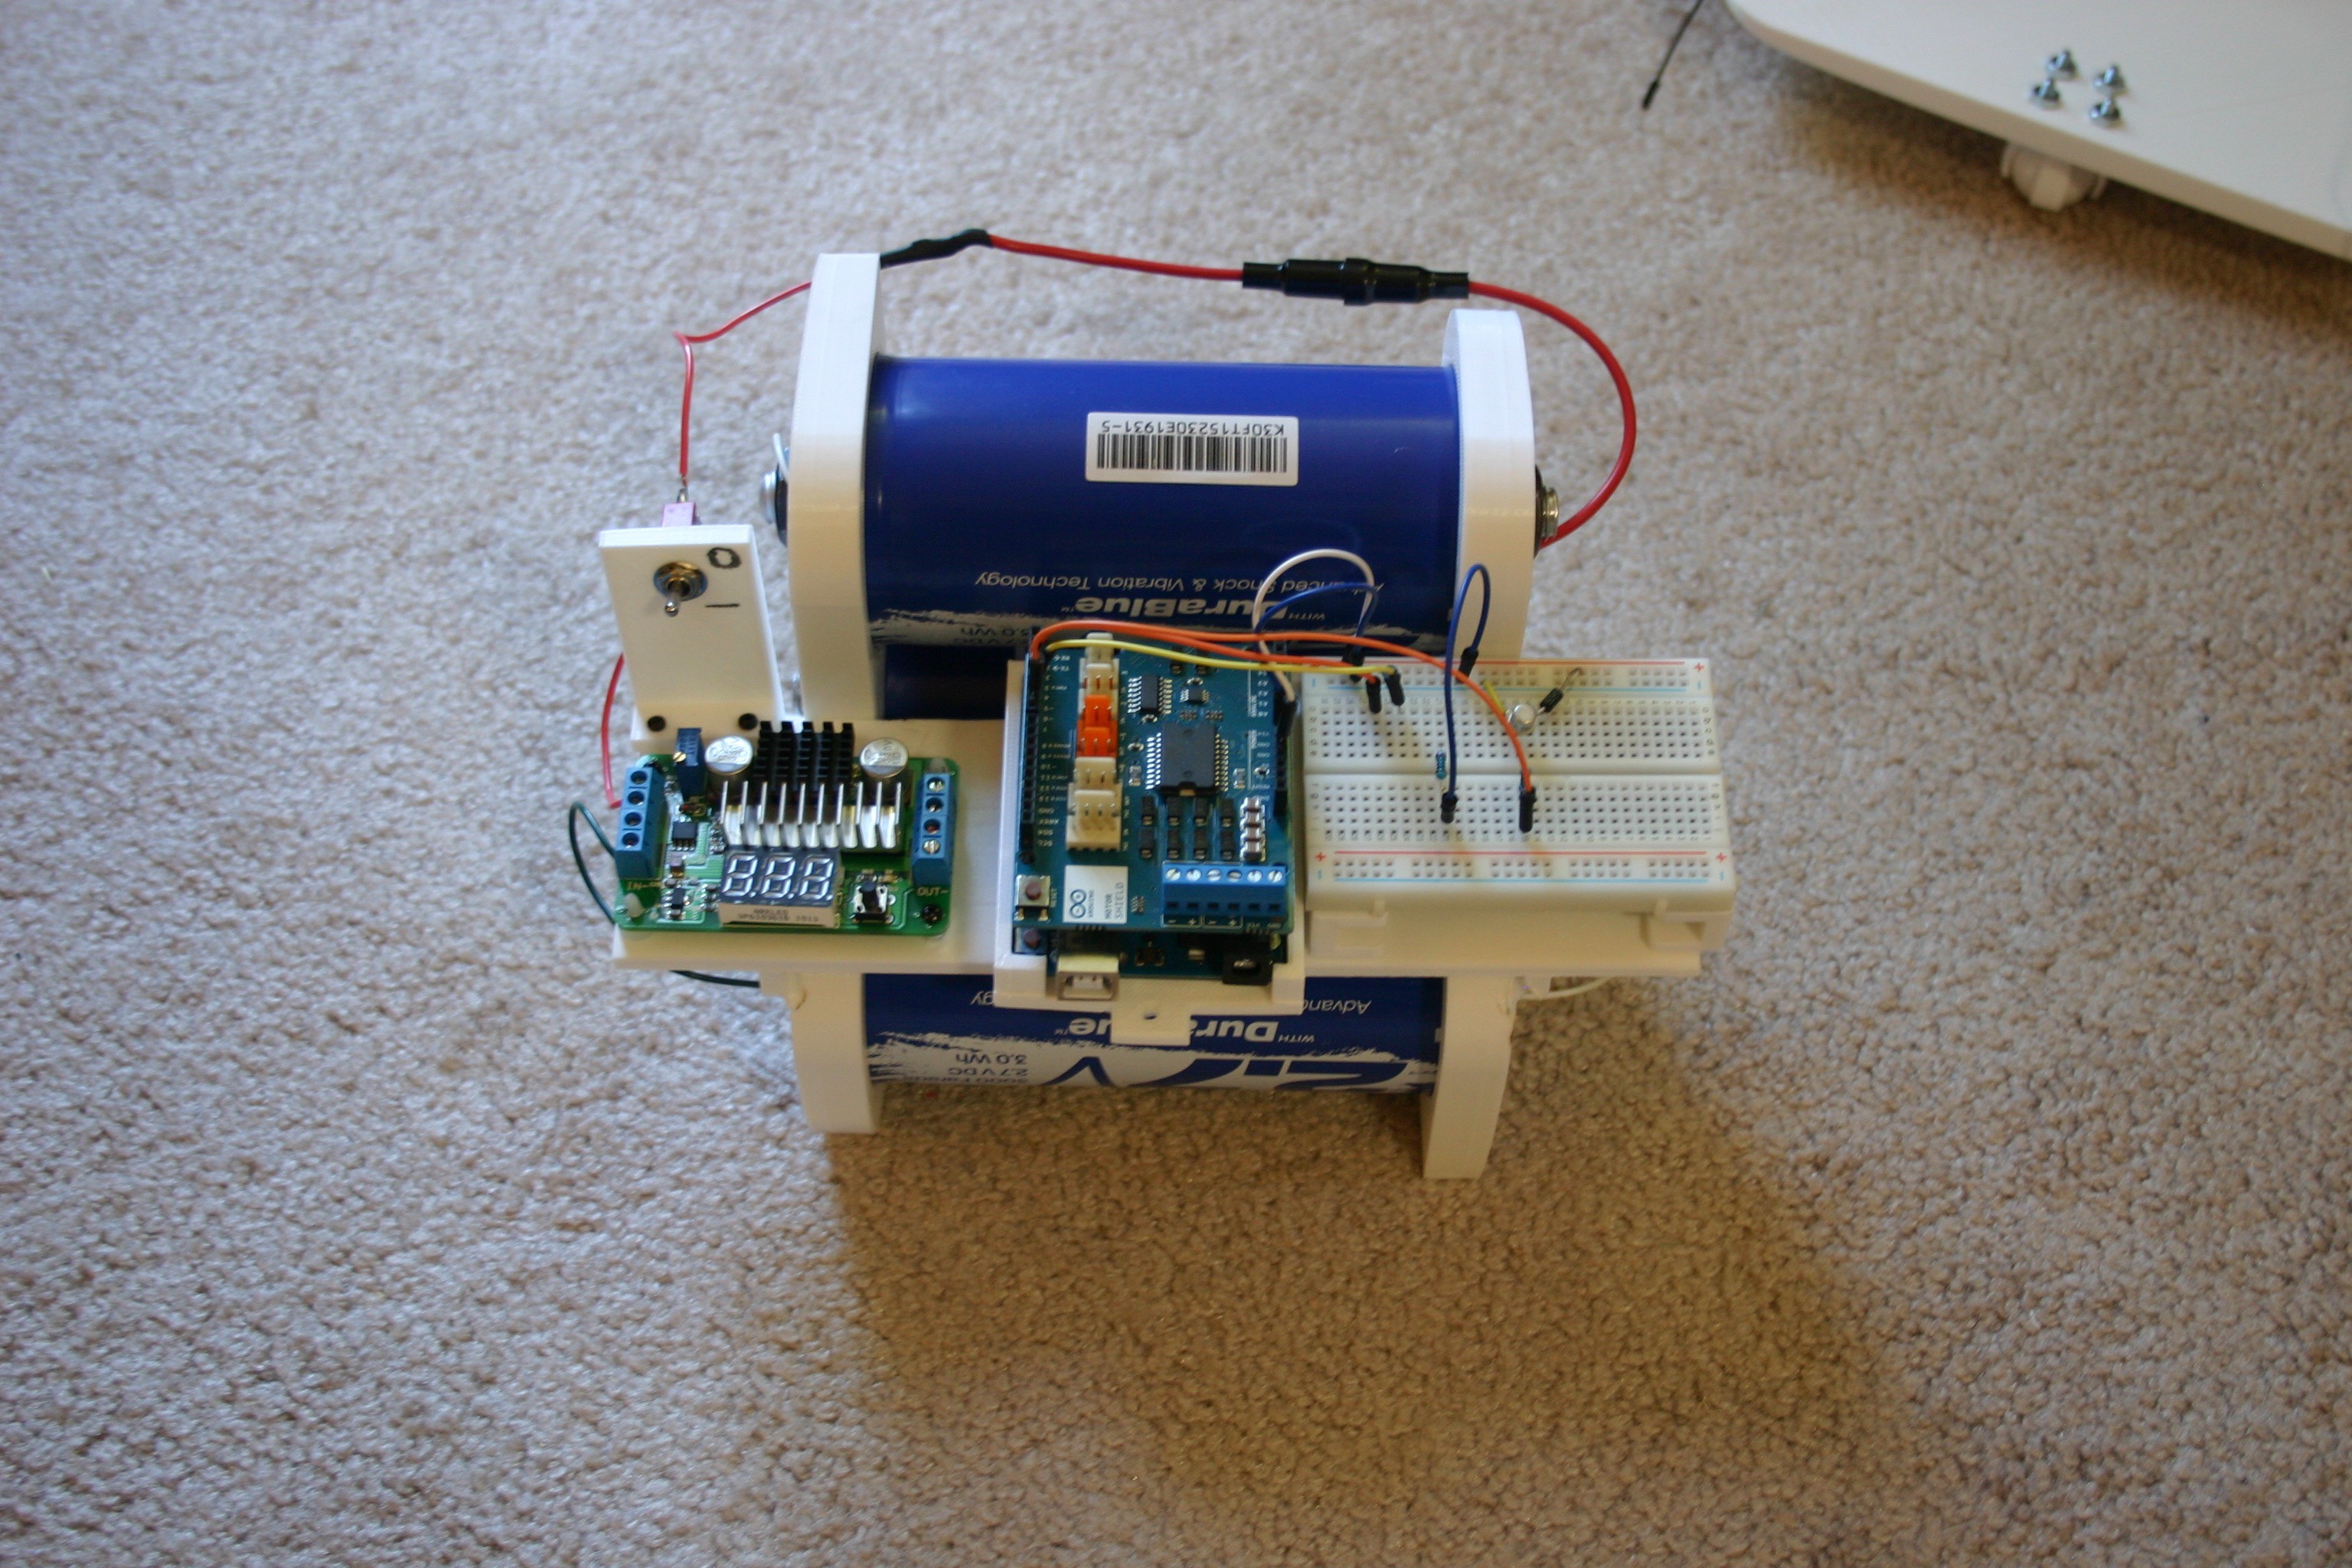
Fasten the breadboard and processor to the capacitor holder.
![]()
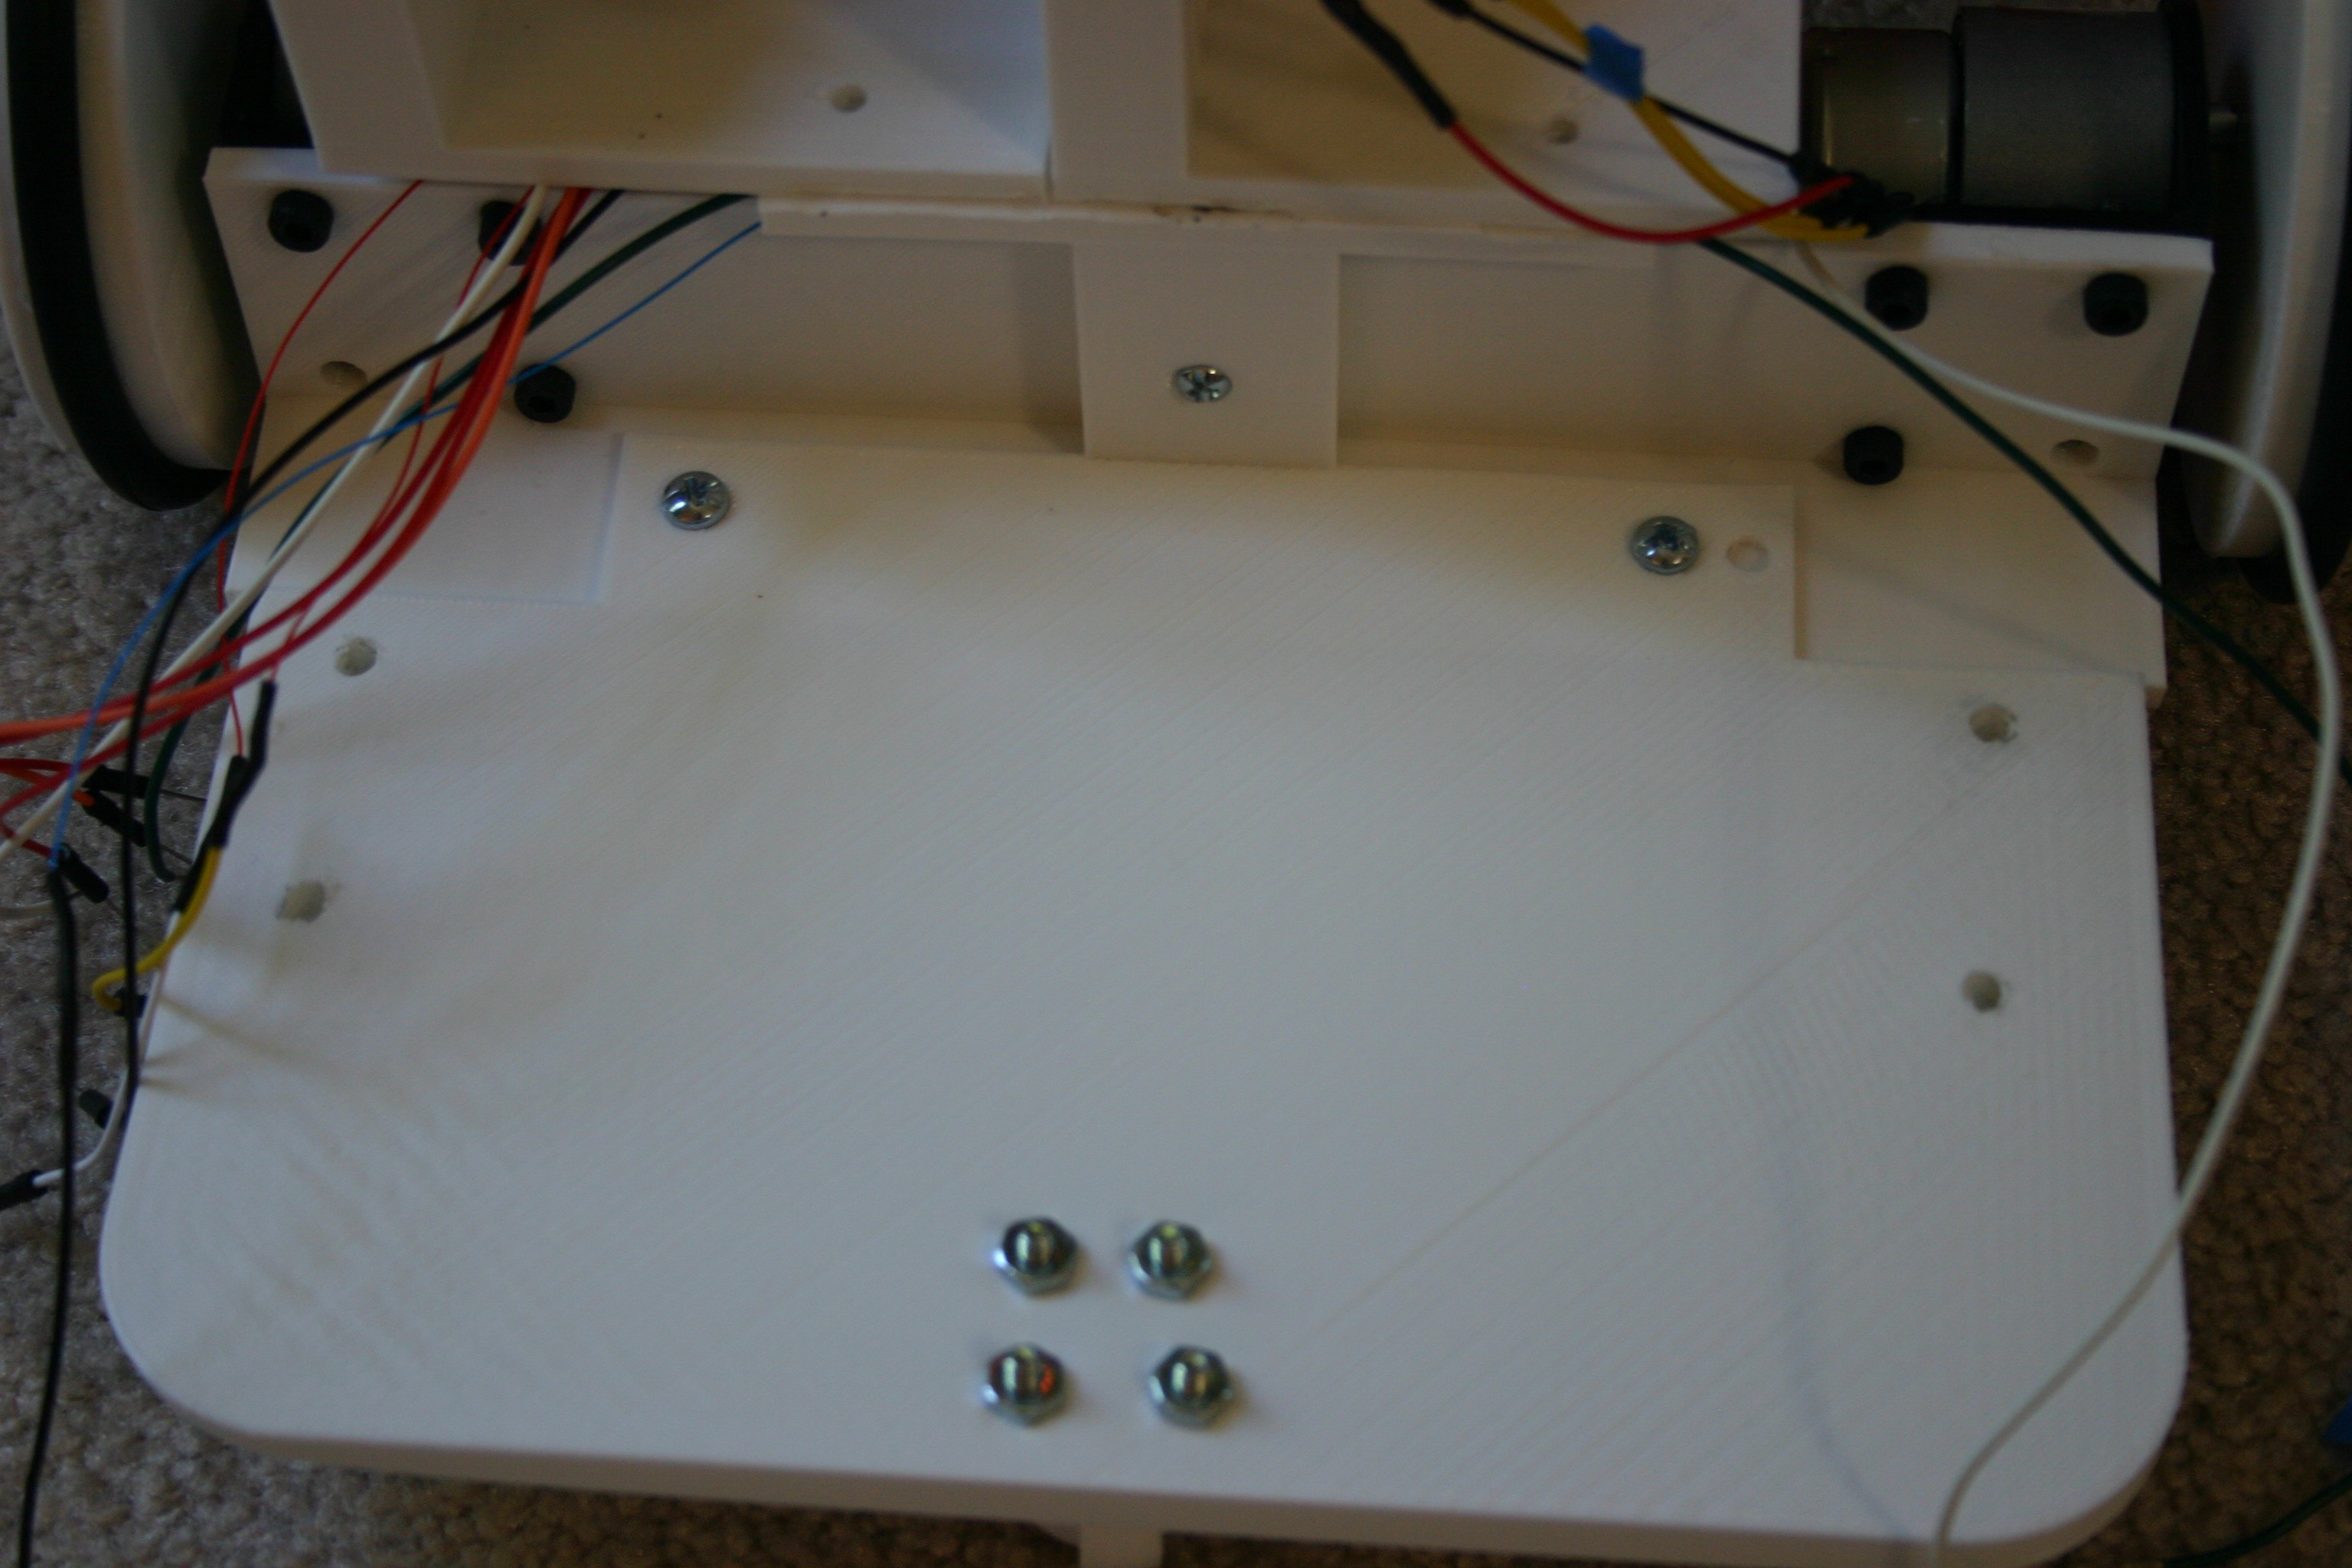
Drill holes in the frame to accept the capacitor module.
![]()
Secure the module to the frame, connect the wires and Mato is ready to run again.
![]()
Little Friend
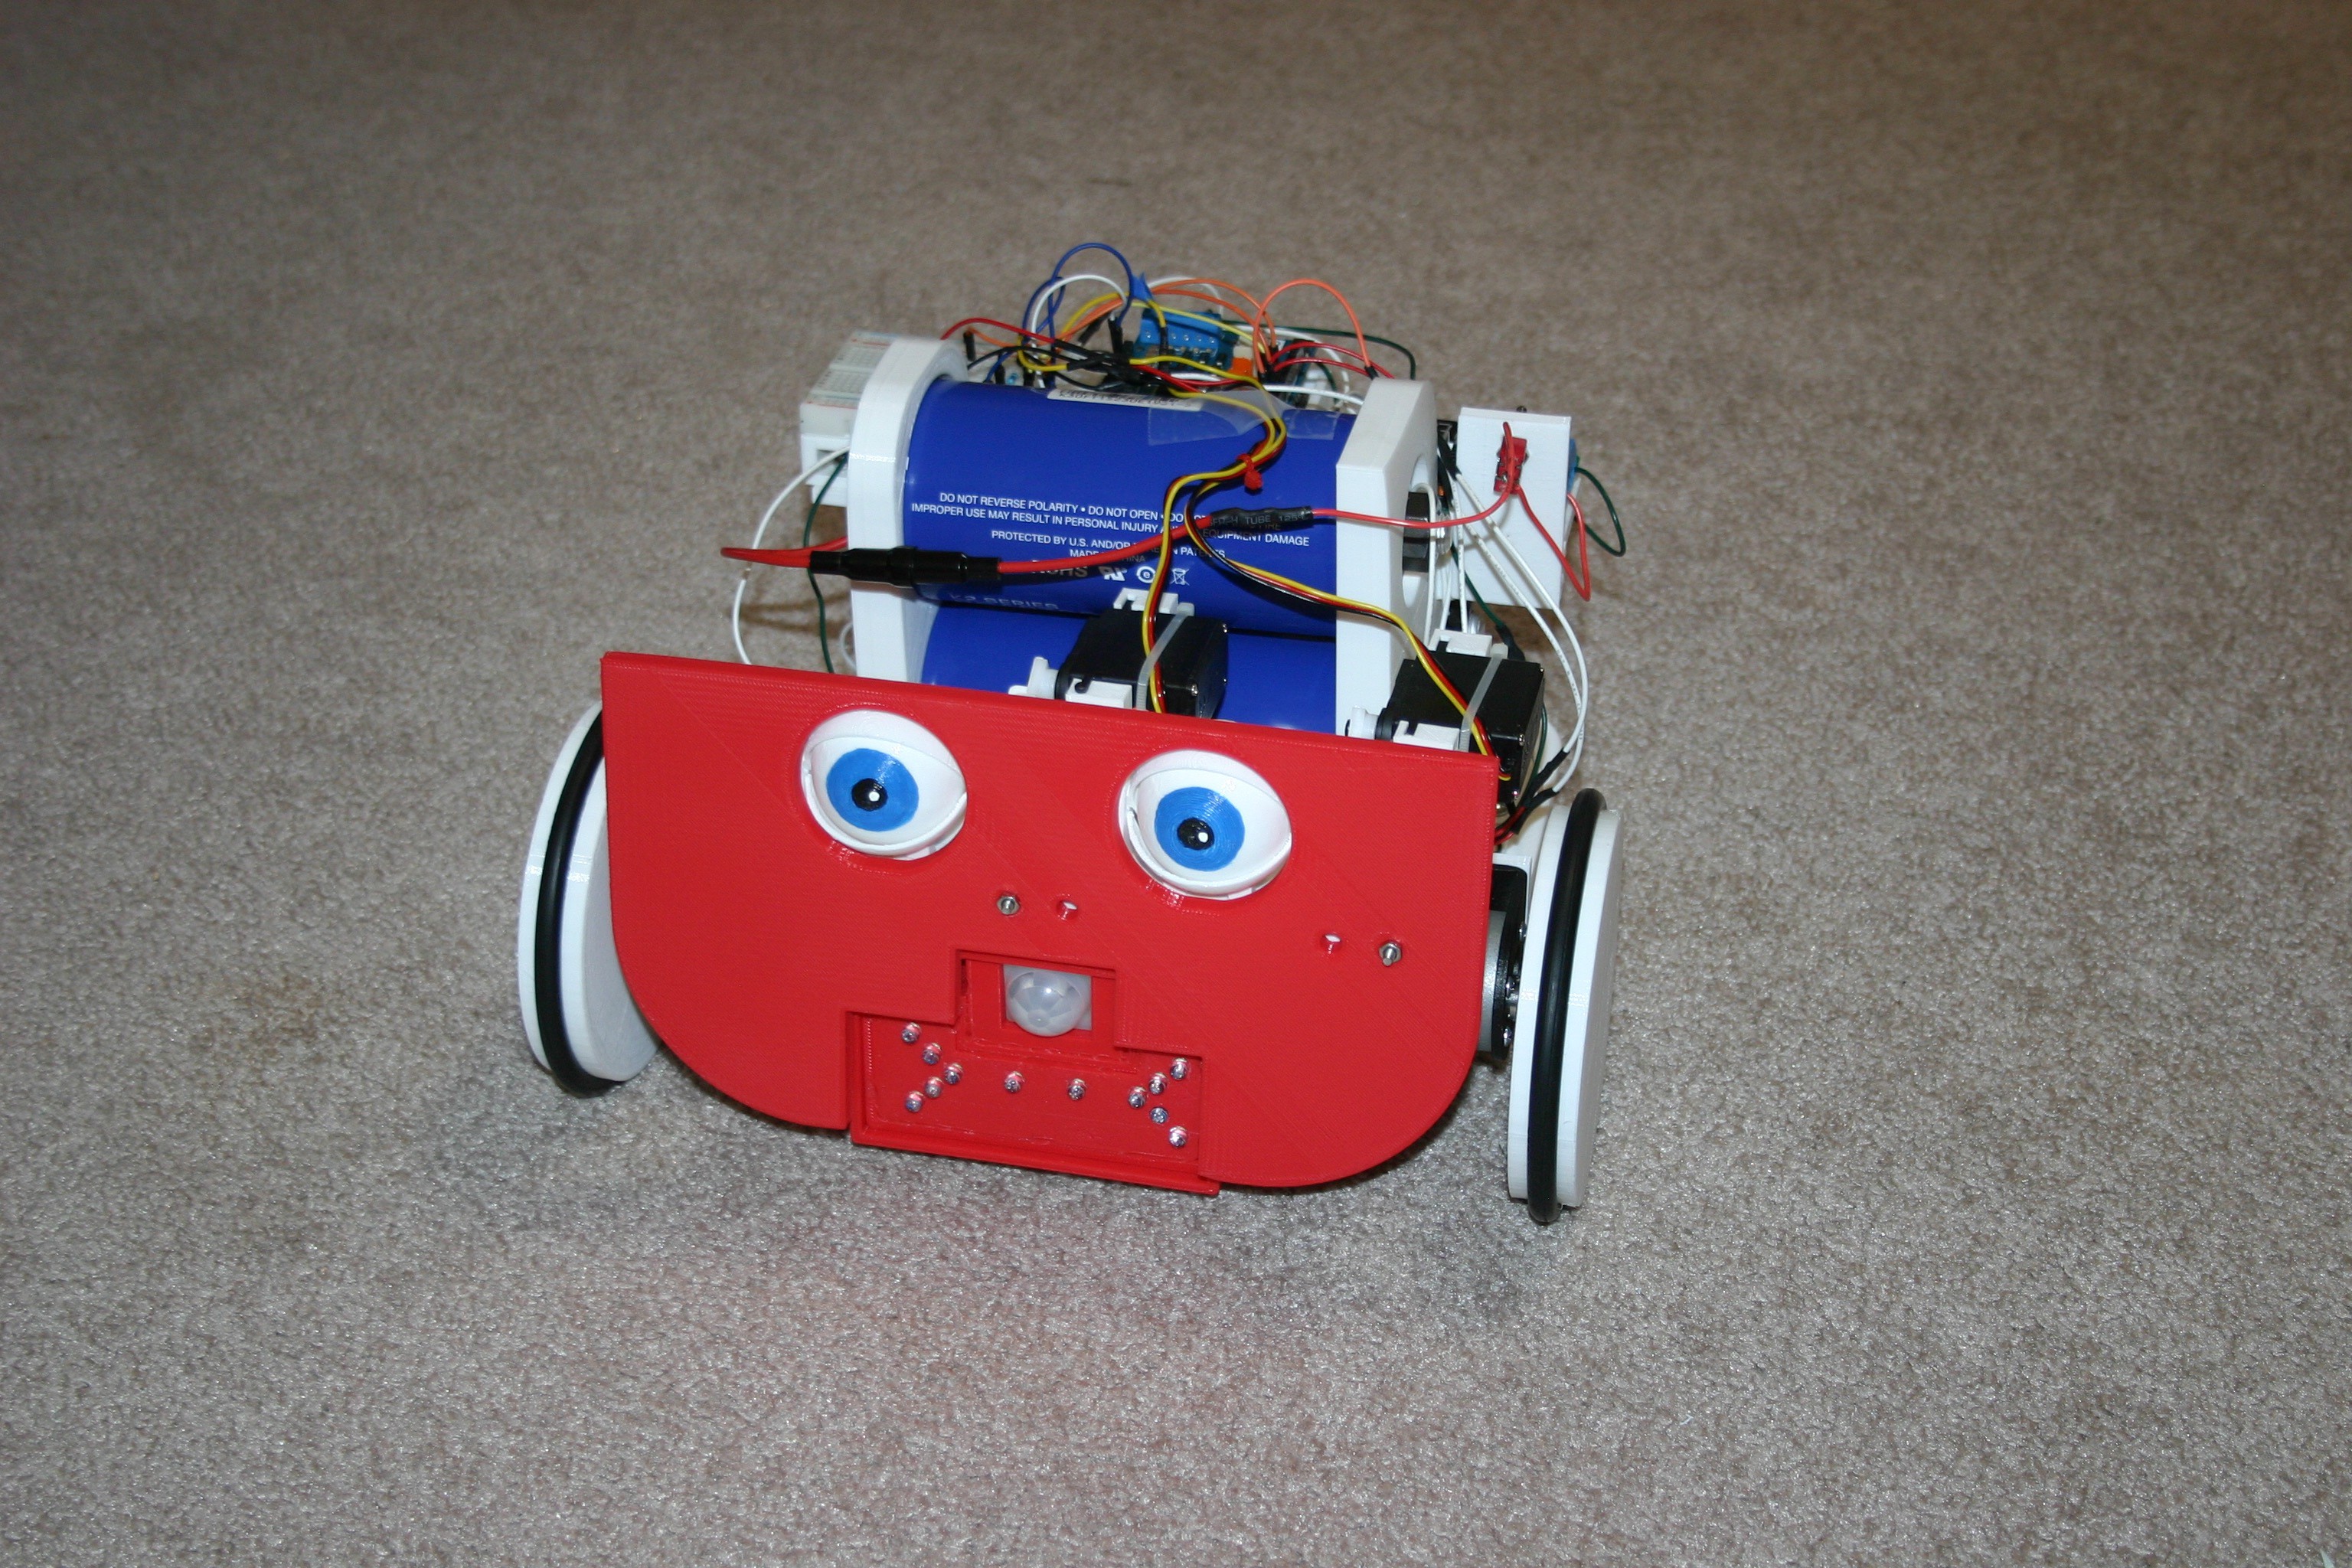
This companion robot, 9000 farads of super capacitance, spends less than eight minutes feeding--then 75 minutes or more she can be a buddy.
 Mike Rigsby