0%
0%
Making a BR-900CD Stand on its own
The other day, I started thinking about old projects that I had once considered, purchased the materials for, and then never finished. I am
 ThunderSqueak
Become a Hackaday.io member
Already have an account? Log in.
Just one more thing
To make the experience fit your profile, pick a username and tell us what interests you.
Pick an awesome username
hackaday.io/
Your profile's URL: hackaday.io/username. Max 25 alphanumeric characters.
Pick a few interests
Projects that share your interests
People that share your interests


 Things didn’t fit quite right at first, and I ended up re-drilling a couple holes on the plate to match the bottom of the BR. Not a big deal really, just be sure it is secure.
 AVR
AVR
 Blecky
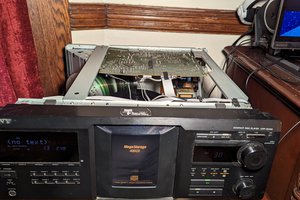
 Nathan McKinley