0%
0%
 SUF
SUFBecome a Hackaday.io member
Already have an account? Log in.
Just one more thing
To make the experience fit your profile, pick a username and tell us what interests you.
Pick an awesome username
hackaday.io/
Your profile's URL: hackaday.io/username. Max 25 alphanumeric characters.
Pick a few interests
Projects that share your interests
People that share your interests


 Hulk
Hulk

 TM
TM
 Joshua Conway
This looks amazing buddy!
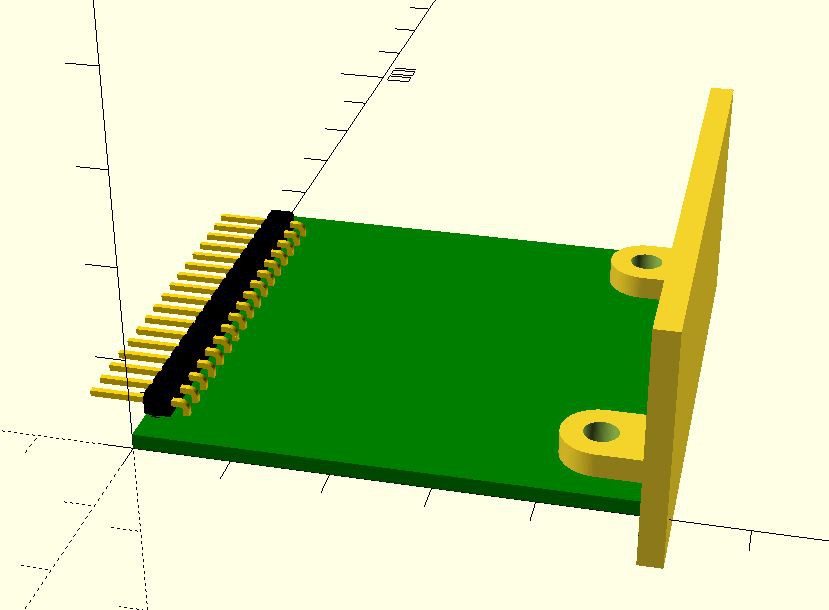
Did you get as far as fabricating the backplane at all? I really like that idea. In terms of what I'm thinking of a DIN rail enclosure could be made with a backplane installed and perhaps reqork my idea regarding using RJ45 connectors to link them all up... :-)