Roman
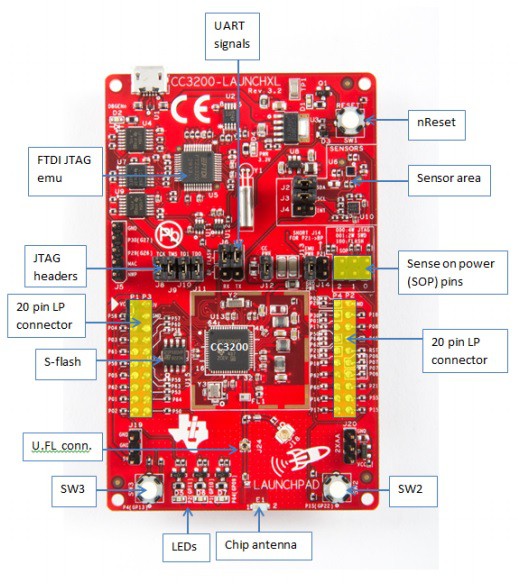
RomanThe goal of the project is to develop an IoT system with CC3200MOD or CC3200 development board. Created for the Internet of Things (IoT), the SimpleLink CC3200 Internet-on-a-chip solution is a wireless MCU that integrates a high-performance ARM Cortex-M4 MCU allowing the development of entire application with a single IC.
The following video is a basic demo of CC3200 as a HTTP server.

What I am planning on doing at this point is to make modifications to the original code to monitor and control electronic devices that will be attached to the board. I am planning on adding analog interface. This chip can run HTTP server which makes it possible to run cloud applications. I will be updating my design files as I go. At this point it is not much of a project. The example I am currently running can be found at:
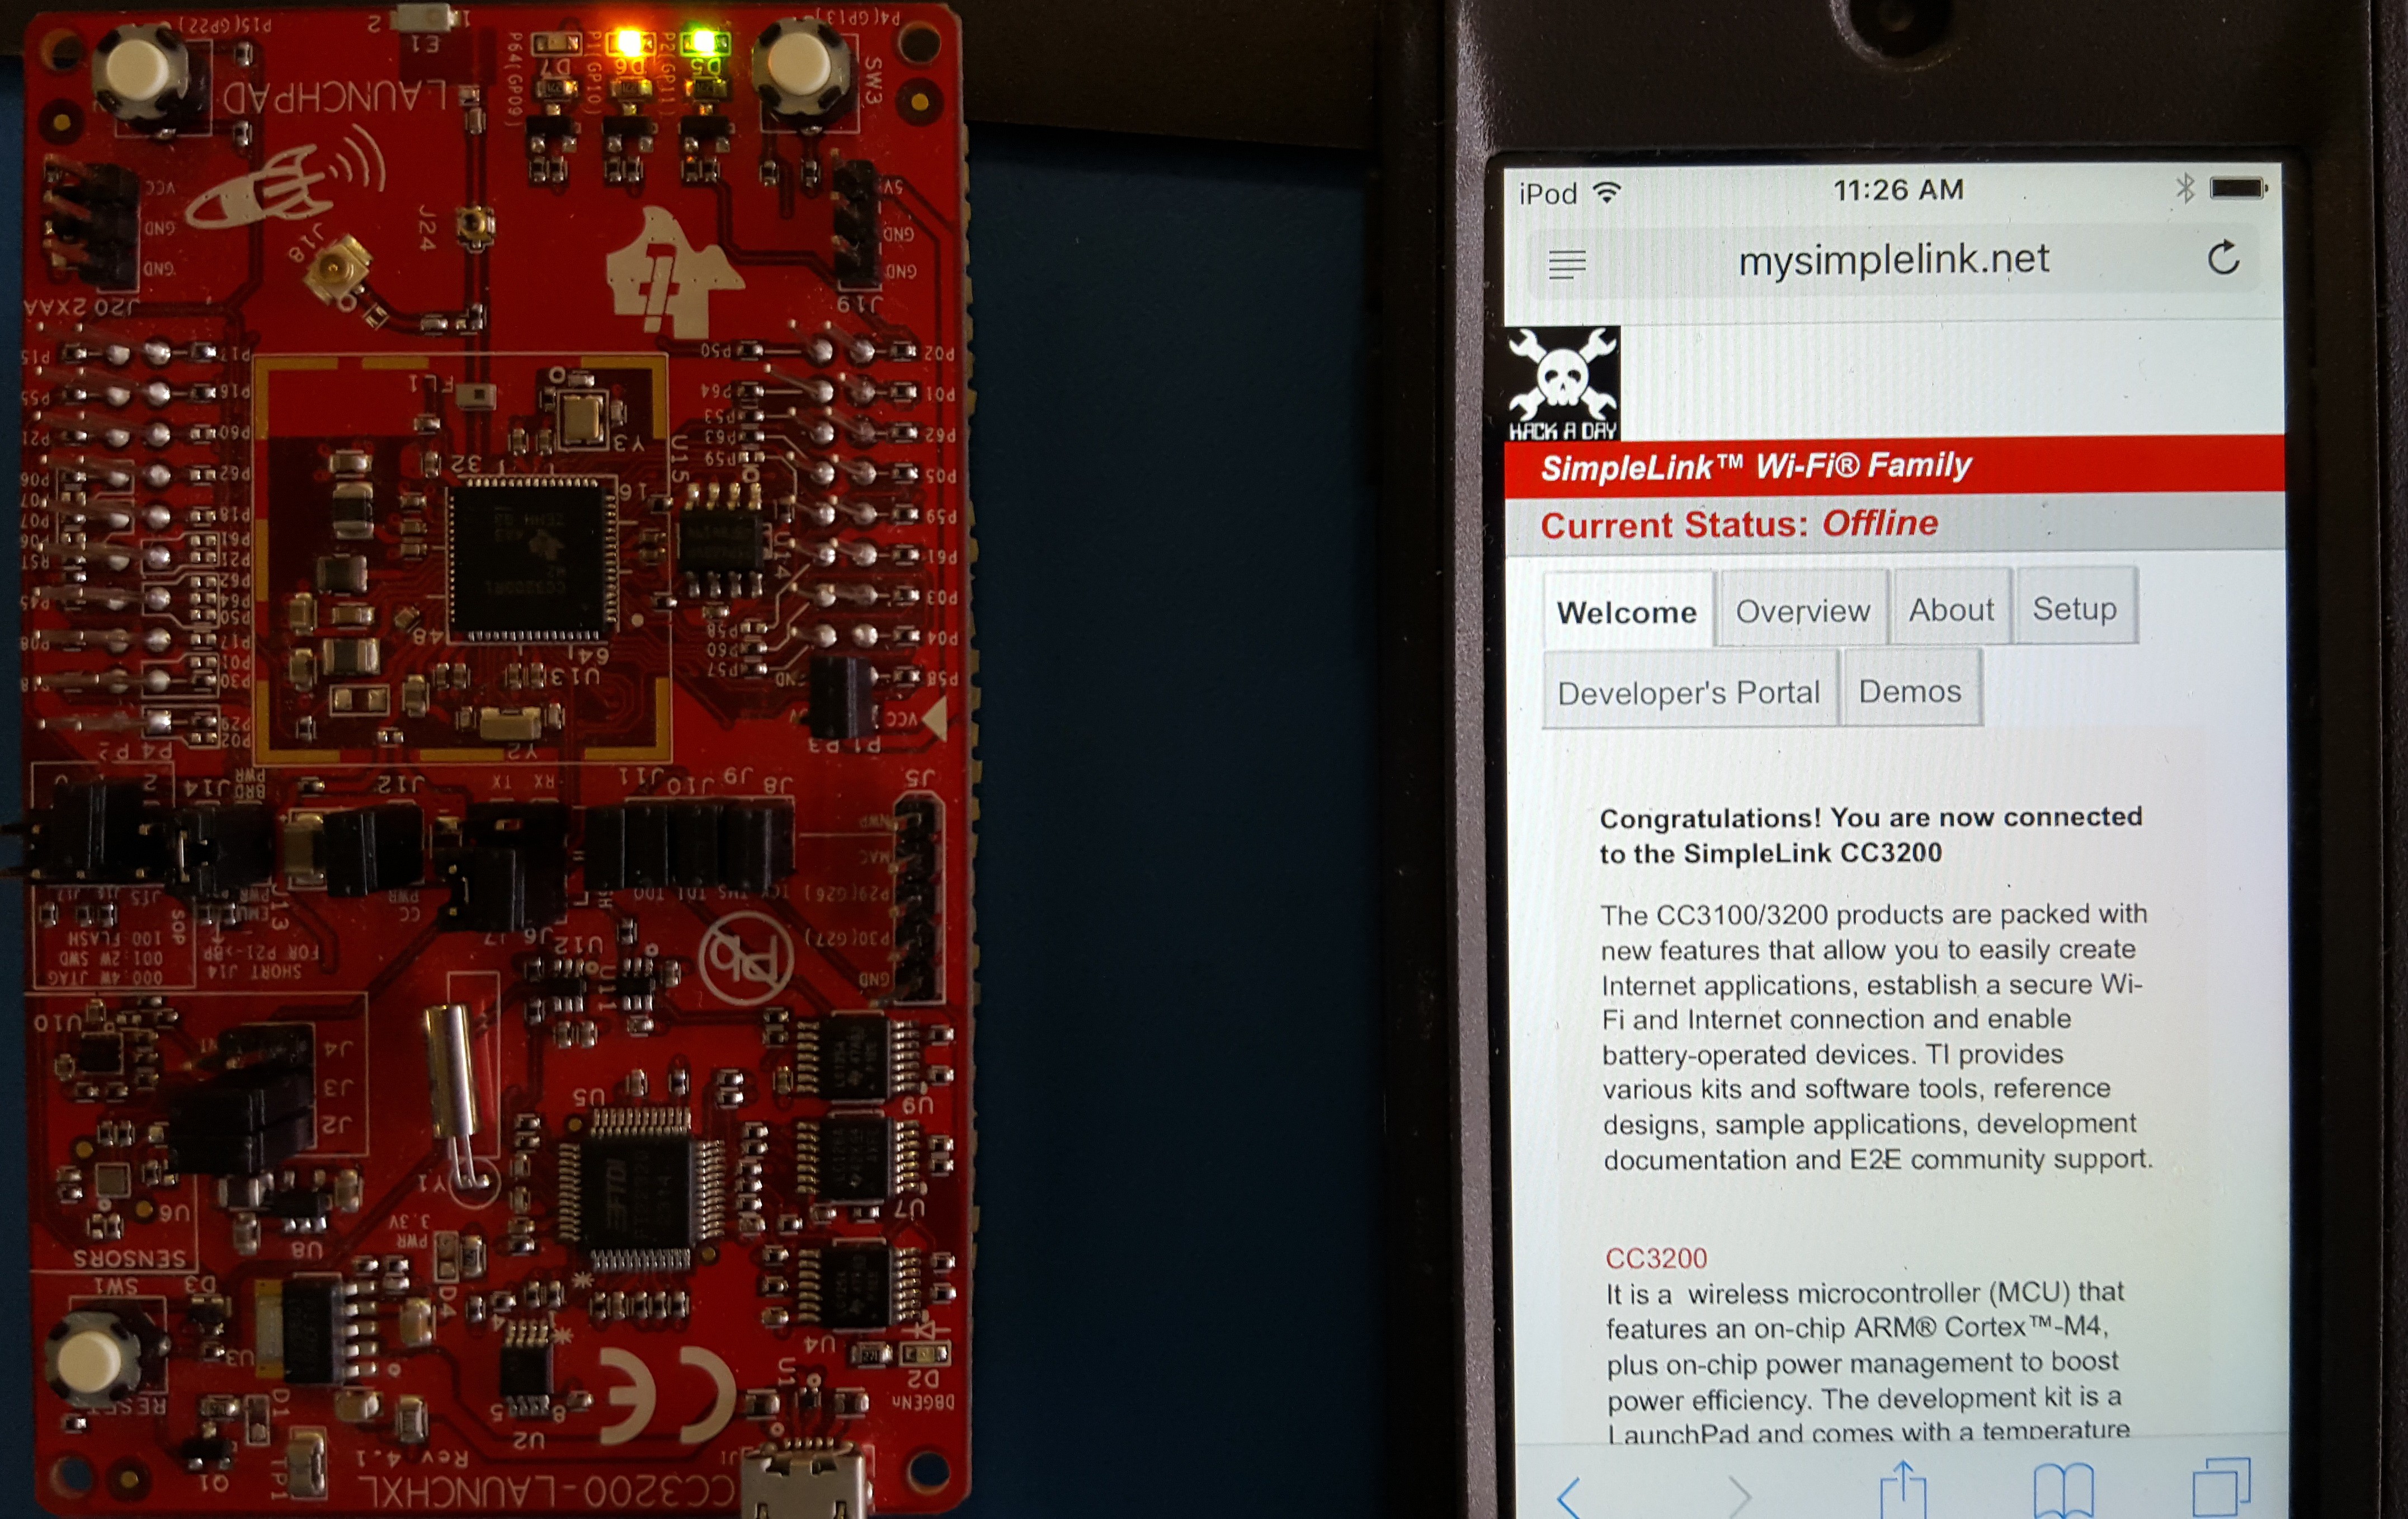
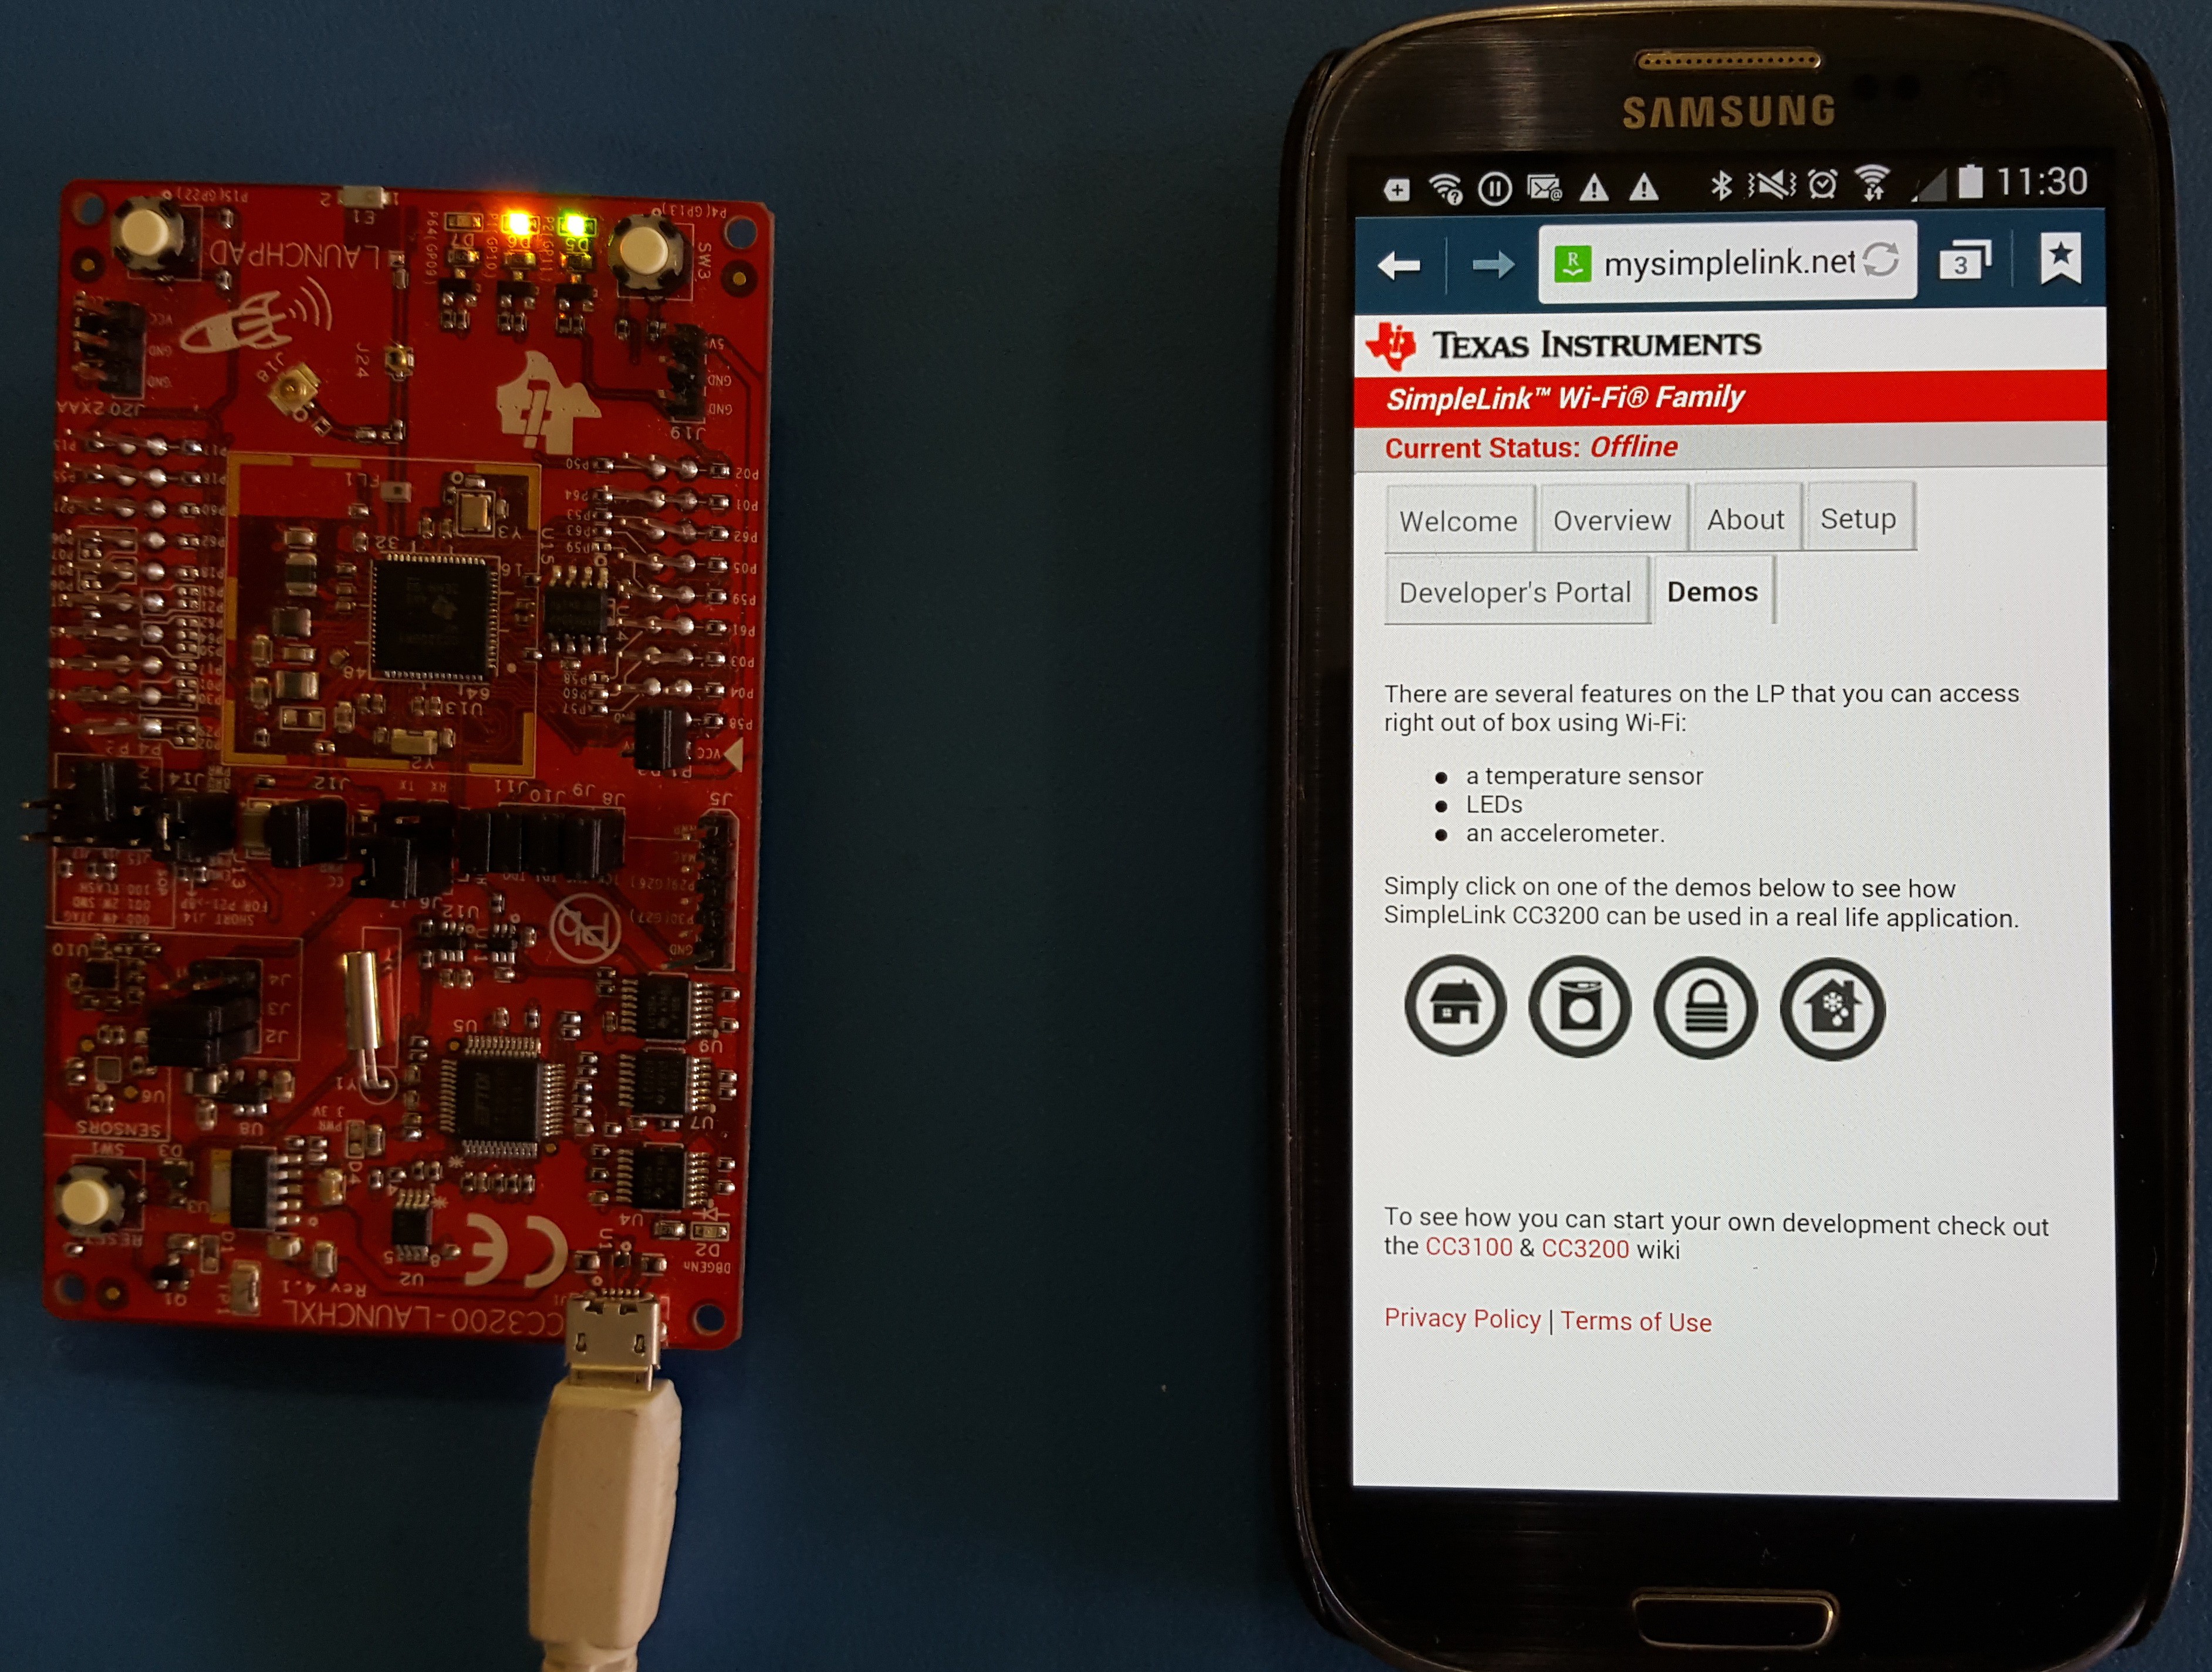
In this example CC3200 runs Exosite website, it allows remotely see data, interact with devices, and build dashboards / alerts. The Exosite free account in the ti.exosite.com domain is provided by TI and Exosite for evaluation purposes. There are no time limits, you can choose to use it as long as you want (quote from the above webpage). The following 3 images show my phone connected to the dev board with CC3200 WiFi as an Access Point. CC3200 is in server mode and it runs mysimplelink.net webpage.
The following 2 images show RED LED On and Off with the web page switch.
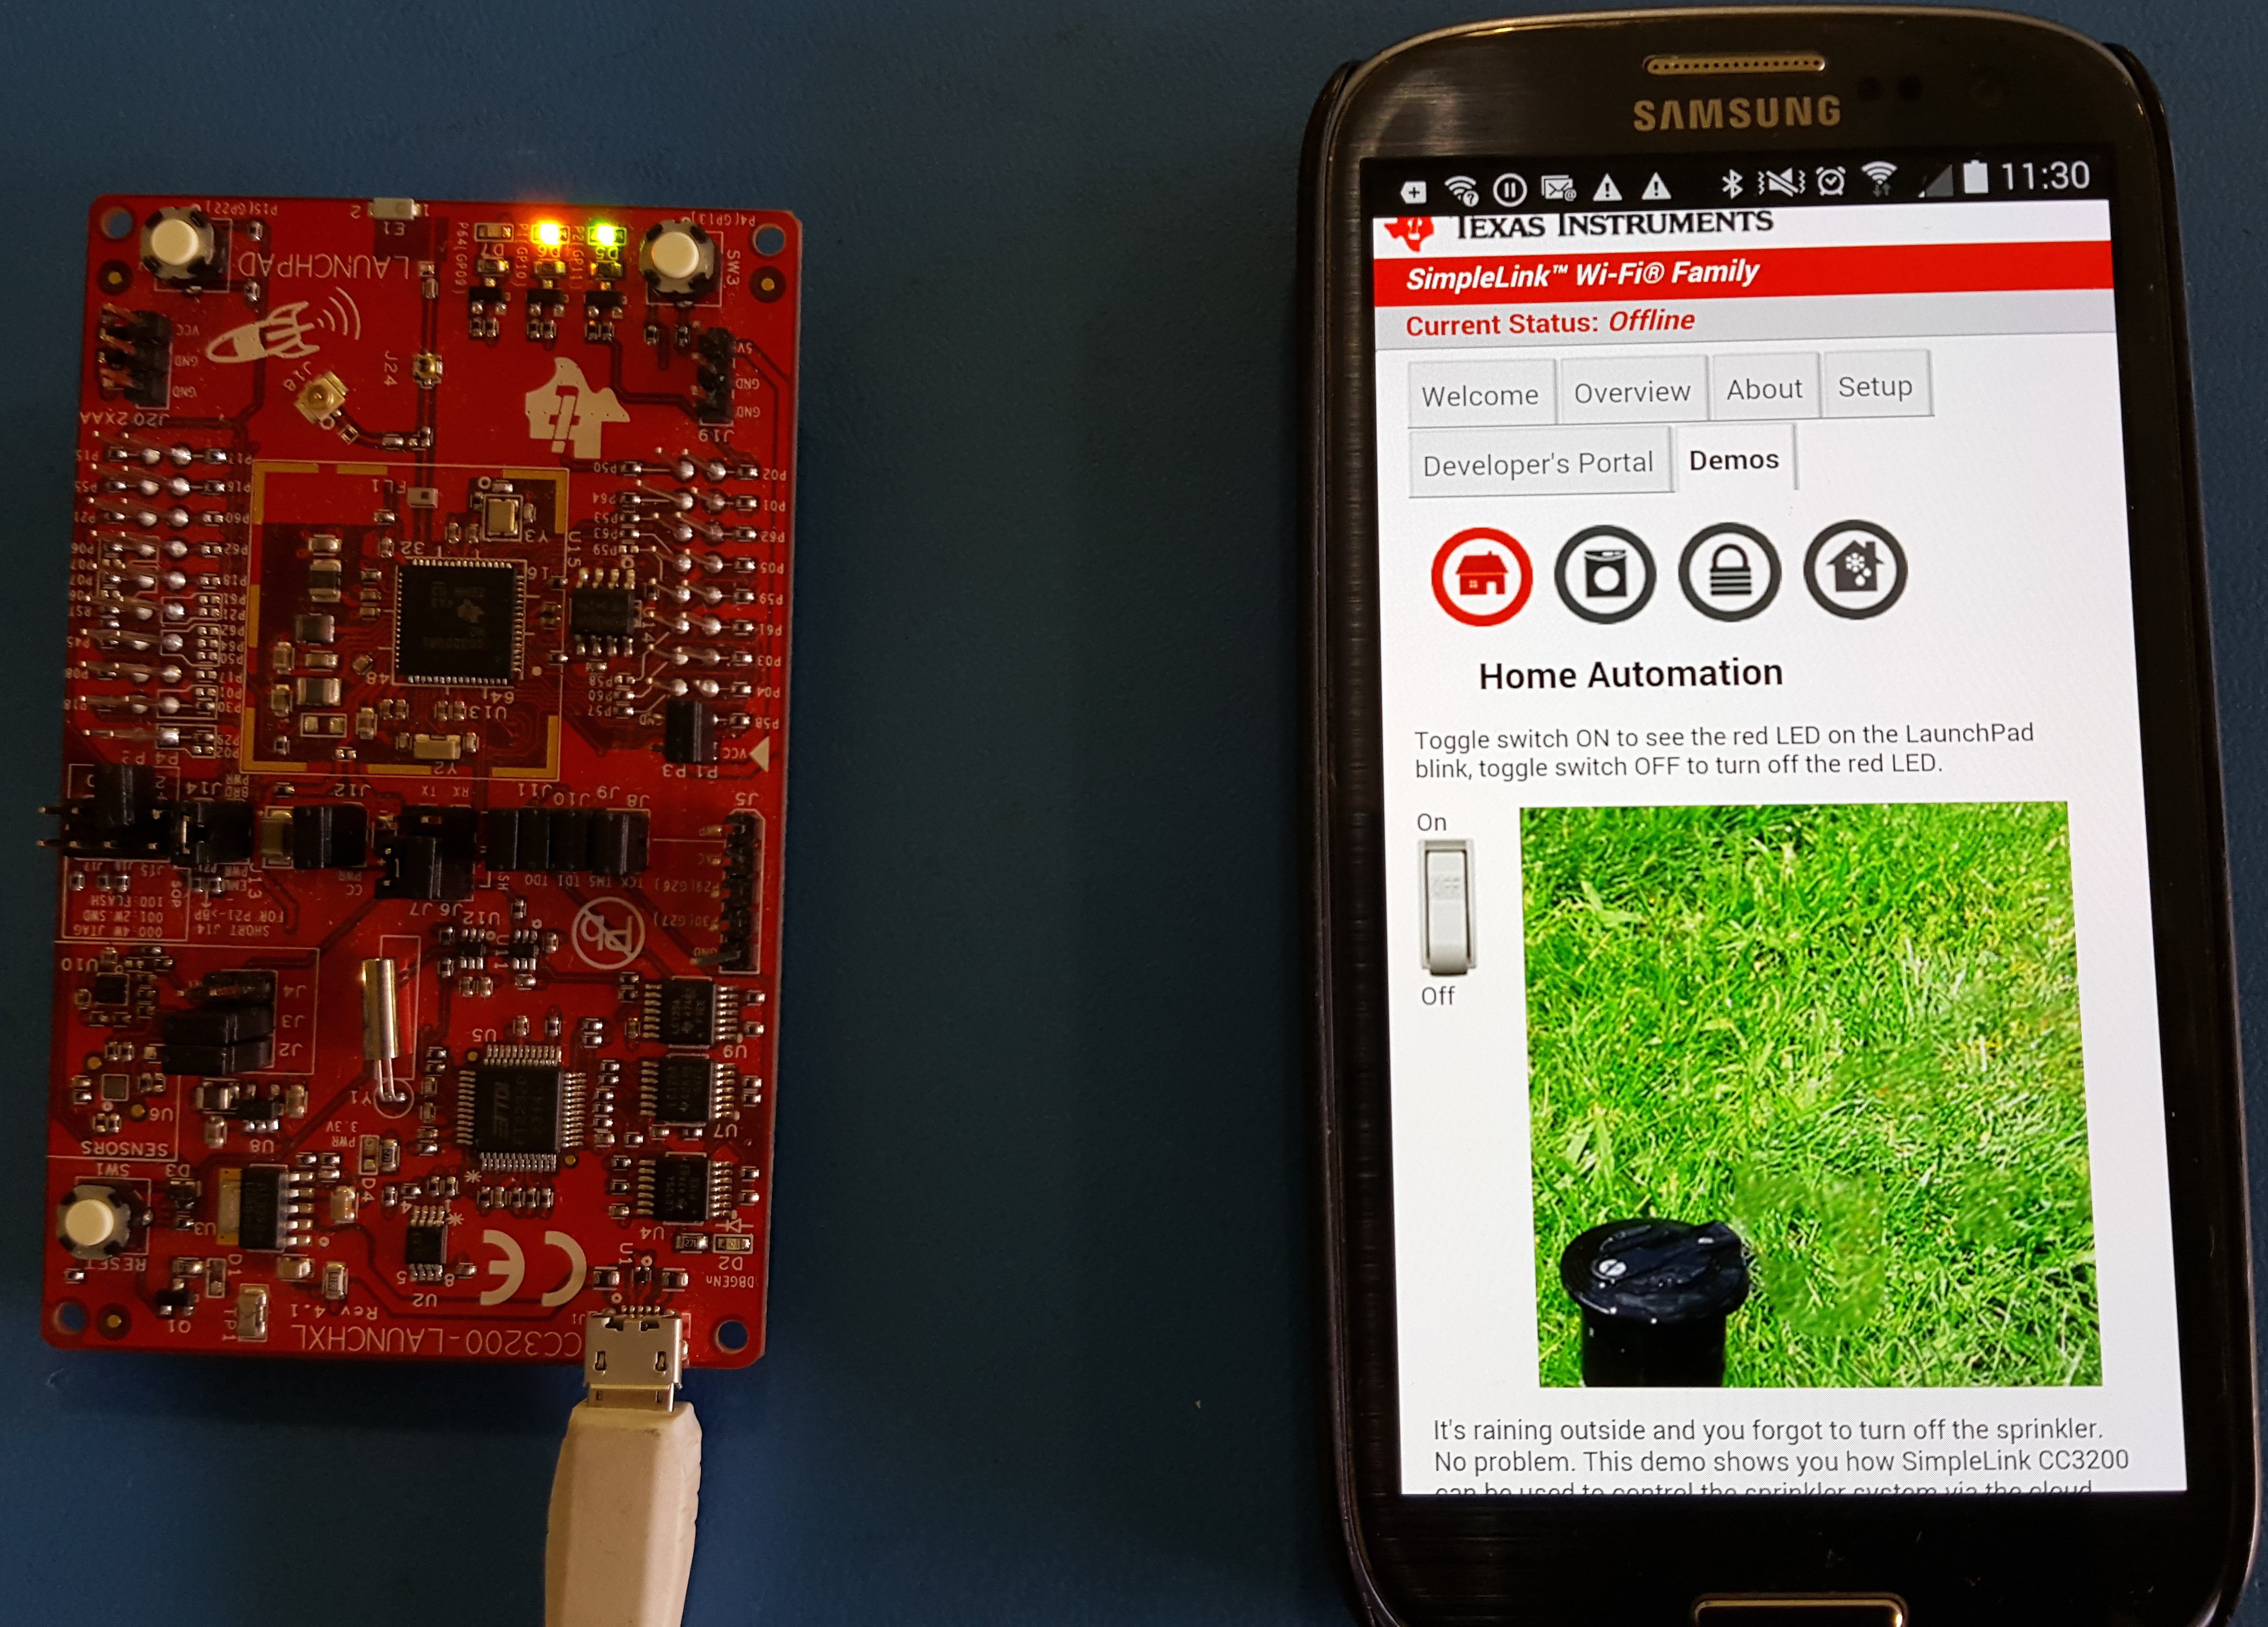
RED LED is OFF
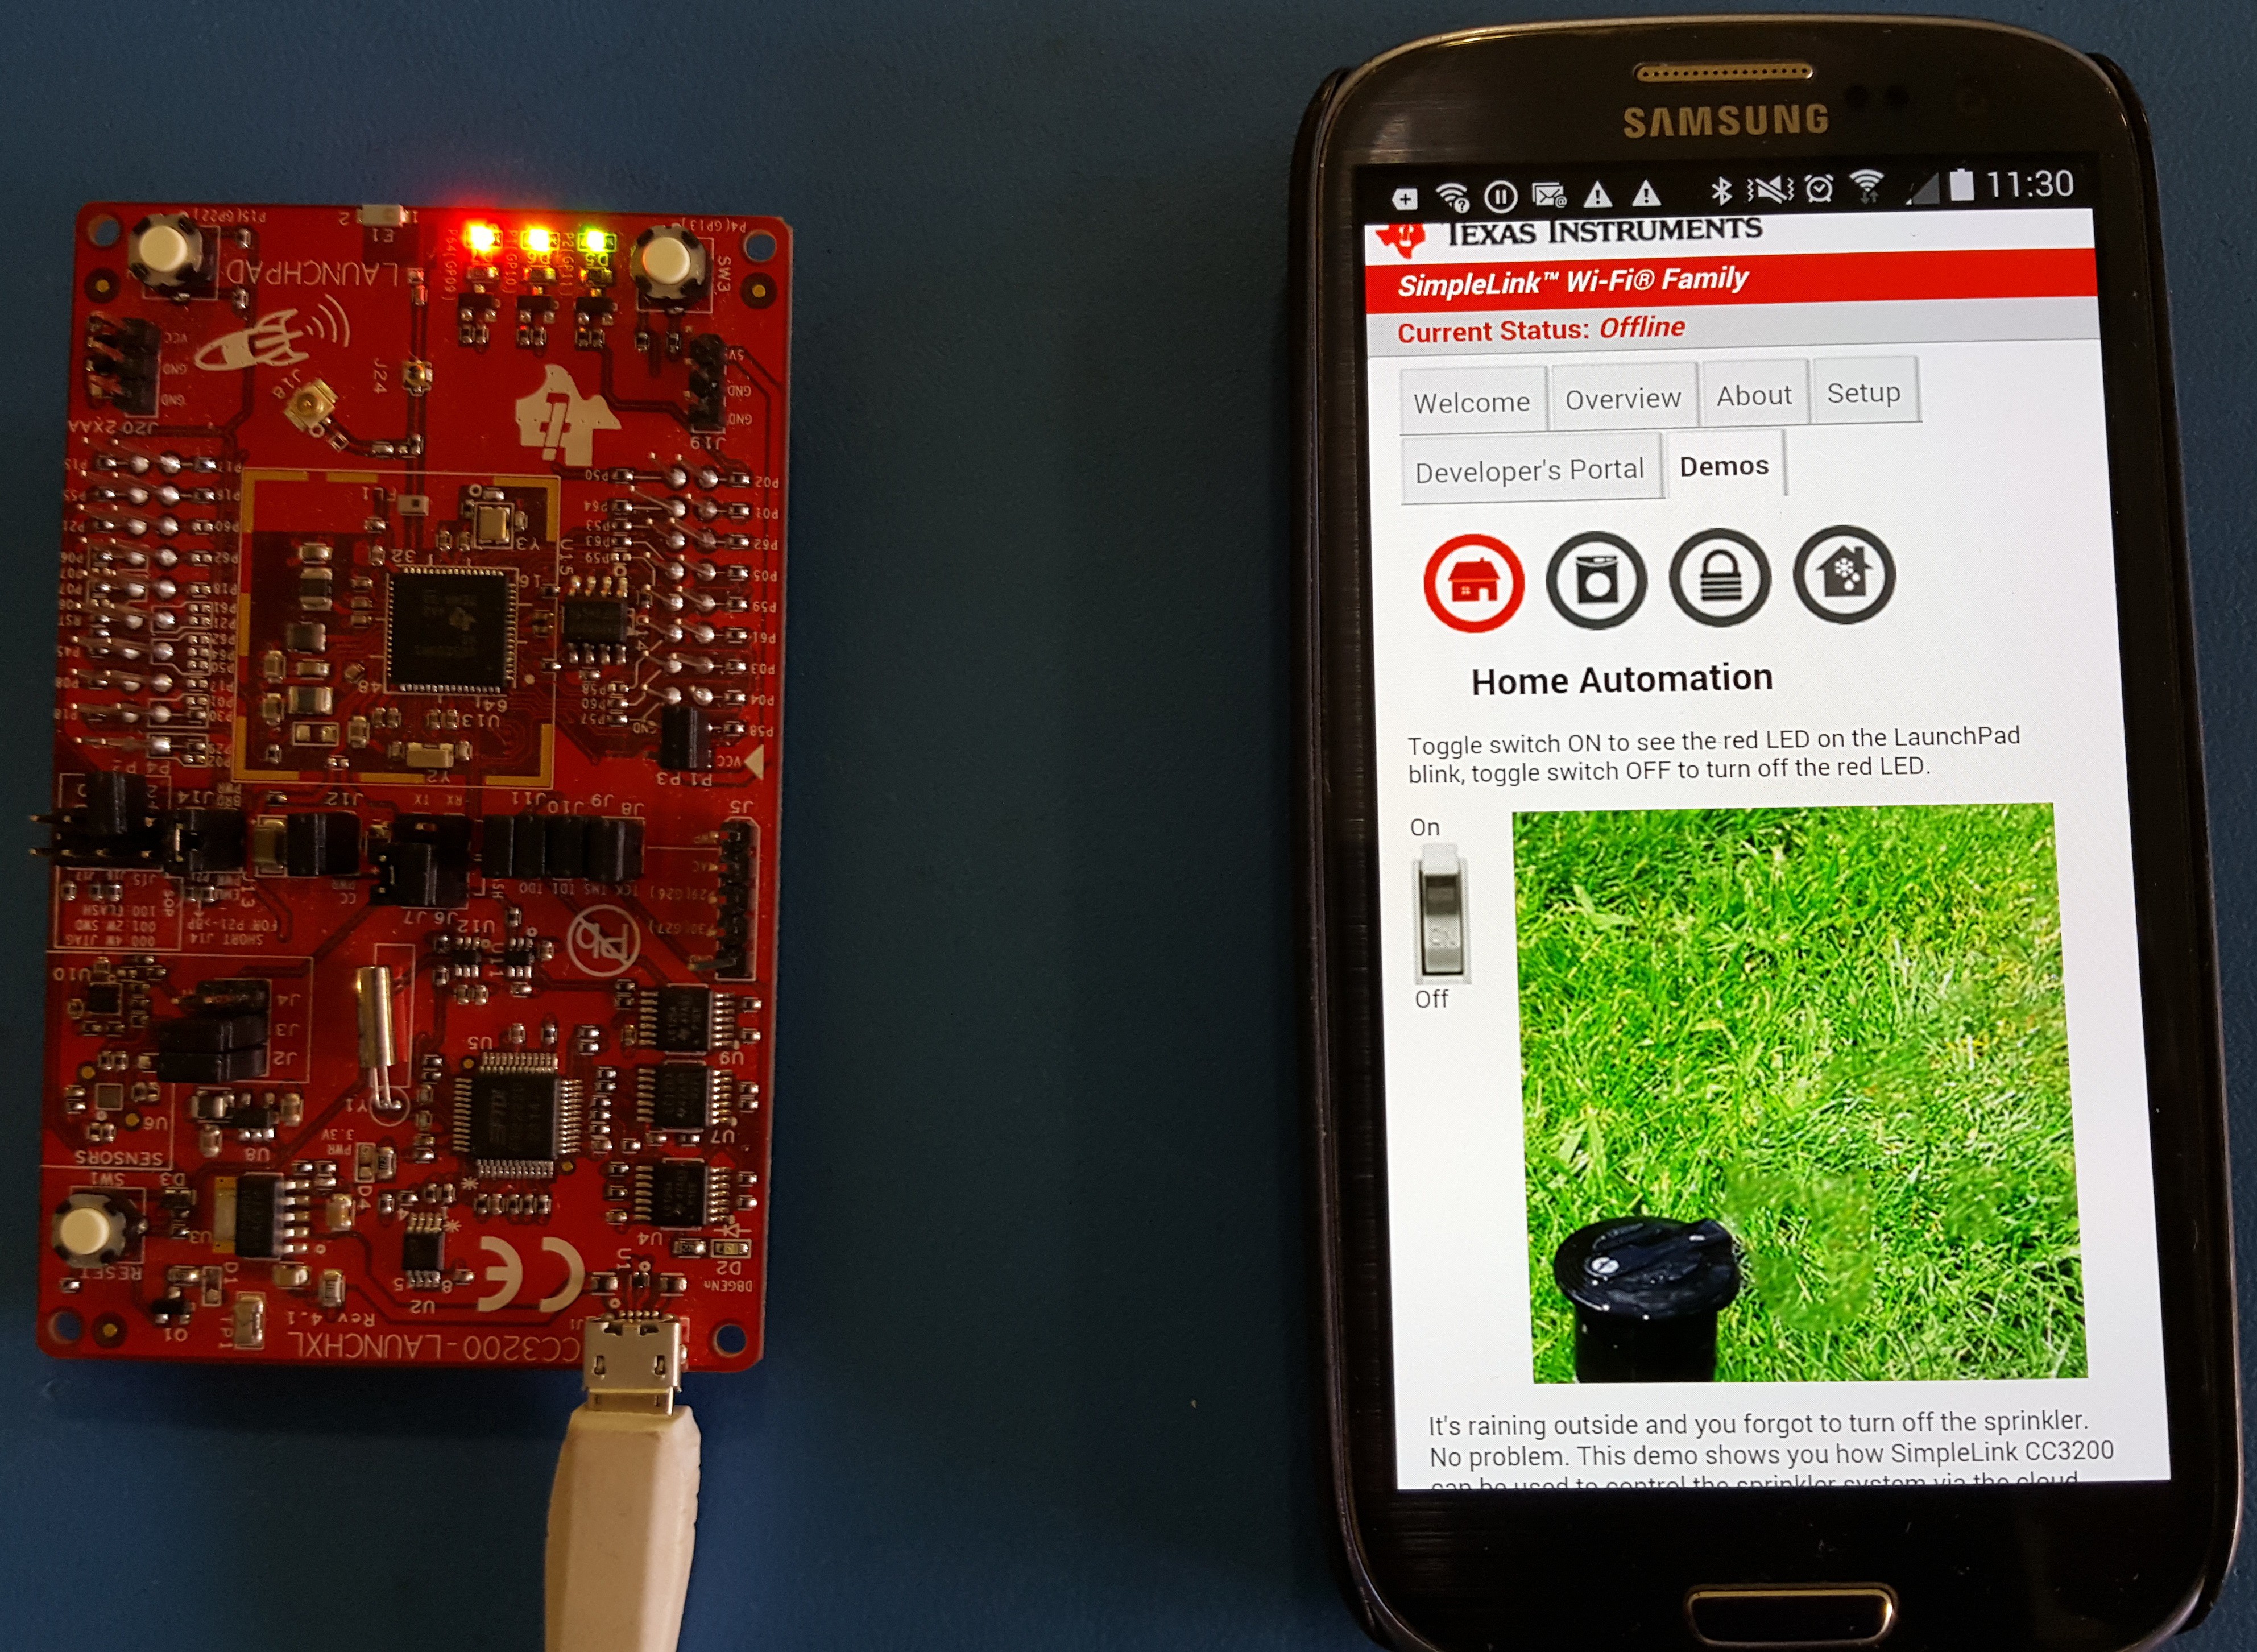
RED LED is ON
All the magic of switching ON and OFF the RED LED happens inside the SL_NETAPP_HTTPPOSTTOKENVALUE_EVENT server event. This event is part of
void SimpleLinkHttpServerCallback( *pSlHttpServerEvent, *pSlHttpServerResponse){
...
}
function.
case SL_NETAPP_HTTPPOSTTOKENVALUE_EVENT:
        {
            unsigned char led;
            unsigned char *ptr = pSlHttpServerEvent->EventData.httpPostData.token_name.data;

            //g_ucLEDStatus = 0;
            if(memcmp(ptr, POST_token, strlen((const char *)POST_token)) == 0)
            {
                ptr = pSlHttpServerEvent->EventData.httpPostData.token_value.data;
                if(memcmp(ptr, "LED", 3) != 0)
                    break;
                ptr += 3;
                led = *ptr;
                ptr += 2;
                if(led == '1')
                {
                    if(memcmp(ptr, "ON", 2) == 0)
                    {
                        GPIO_IF_LedOn(MCU_RED_LED_GPIO);
                        g_ucLEDStatus = LED_ON;

                    }
                    else if(memcmp(ptr, "Blink", 5) == 0)
                    {
                        GPIO_IF_LedOn(MCU_RED_LED_GPIO);
                        g_ucLEDStatus = LED_BLINK;
                    }
                    else
                    {
                        GPIO_IF_LedOff(MCU_RED_LED_GPIO);
                        g_ucLEDStatus = LED_OFF;
                    }
                }
                else if(led == '2')
                {
                    if(memcmp(ptr, "ON", 2) == 0)
                    {
                        GPIO_IF_LedOn(MCU_ORANGE_LED_GPIO);
                    }
                    else if(memcmp(ptr, "Blink", 5) == 0)
                    {
                        GPIO_IF_LedOn(MCU_ORANGE_LED_GPIO);
                        g_ucLEDStatus = 1;
                    }
                    else
                    {
                        GPIO_IF_LedOff(MCU_ORANGE_LED_GPIO);
                    }
                }

            }
        }
            break;
Web page “demos-sprinkler.html” and “page-actions.js” invoke the “$.post” method: $.post("No_content", {"__SL_P_ULD": params});
The “$.post” method controls the onboard RED LED. The following are two code excerpts from “demos-sprinkler.html” and “page-actions.js”
//demos-sprinkler.html
if (switchBtn.hasClass('on')) {
switchBtn.removeClass('on');
com.TI.toggleLED('_OFF'); // Turn off the LED
spriklerRunning = false;
sprinkler.attr('src',"images/demo-sprinkler-off.jpg");
imageOn = false;
} else {
switchBtn.addClass('on');
com.TI.toggleLED('_Blink'); // Turn LED ON
spriklerRunning = true;
imageOn = true;
}
// page-actions.js
com.TI.toggleLED = function(whichOne) { var LEDnum = "1",
params = "LED"+LEDnum;
params += whichOne;
$.post("No_content", {"__SL_P_ULD": params});
};
Web page “demos-sprinkler.html” calls com.TI.toggleLED('_Blink'); function from “page-actions.js”, which enacts $.post("No_content", {"__SL_P_ULD": params}) method.
This $.post method enables RED LED turn on case
else if(memcmp(ptr, "Blink", 5) == 0)
{
     GPIO_IF_LedOn(MCU_RED_LED_GPIO);		// Turn On LED
     g_ucLEDStatus = LED_BLINK;
}
else
{
     GPIO_IF_LedOff(MCU_RED_LED_GPIO);
     g_ucLEDStatus = LED_OFF;
}
in the
void SimpleLinkHttpServerCallback(SlHttpServerEvent_t *pSlHttpServerEvent,
 	SlHttpServerResponse_t *pSlHttpServerResponse){
…
}
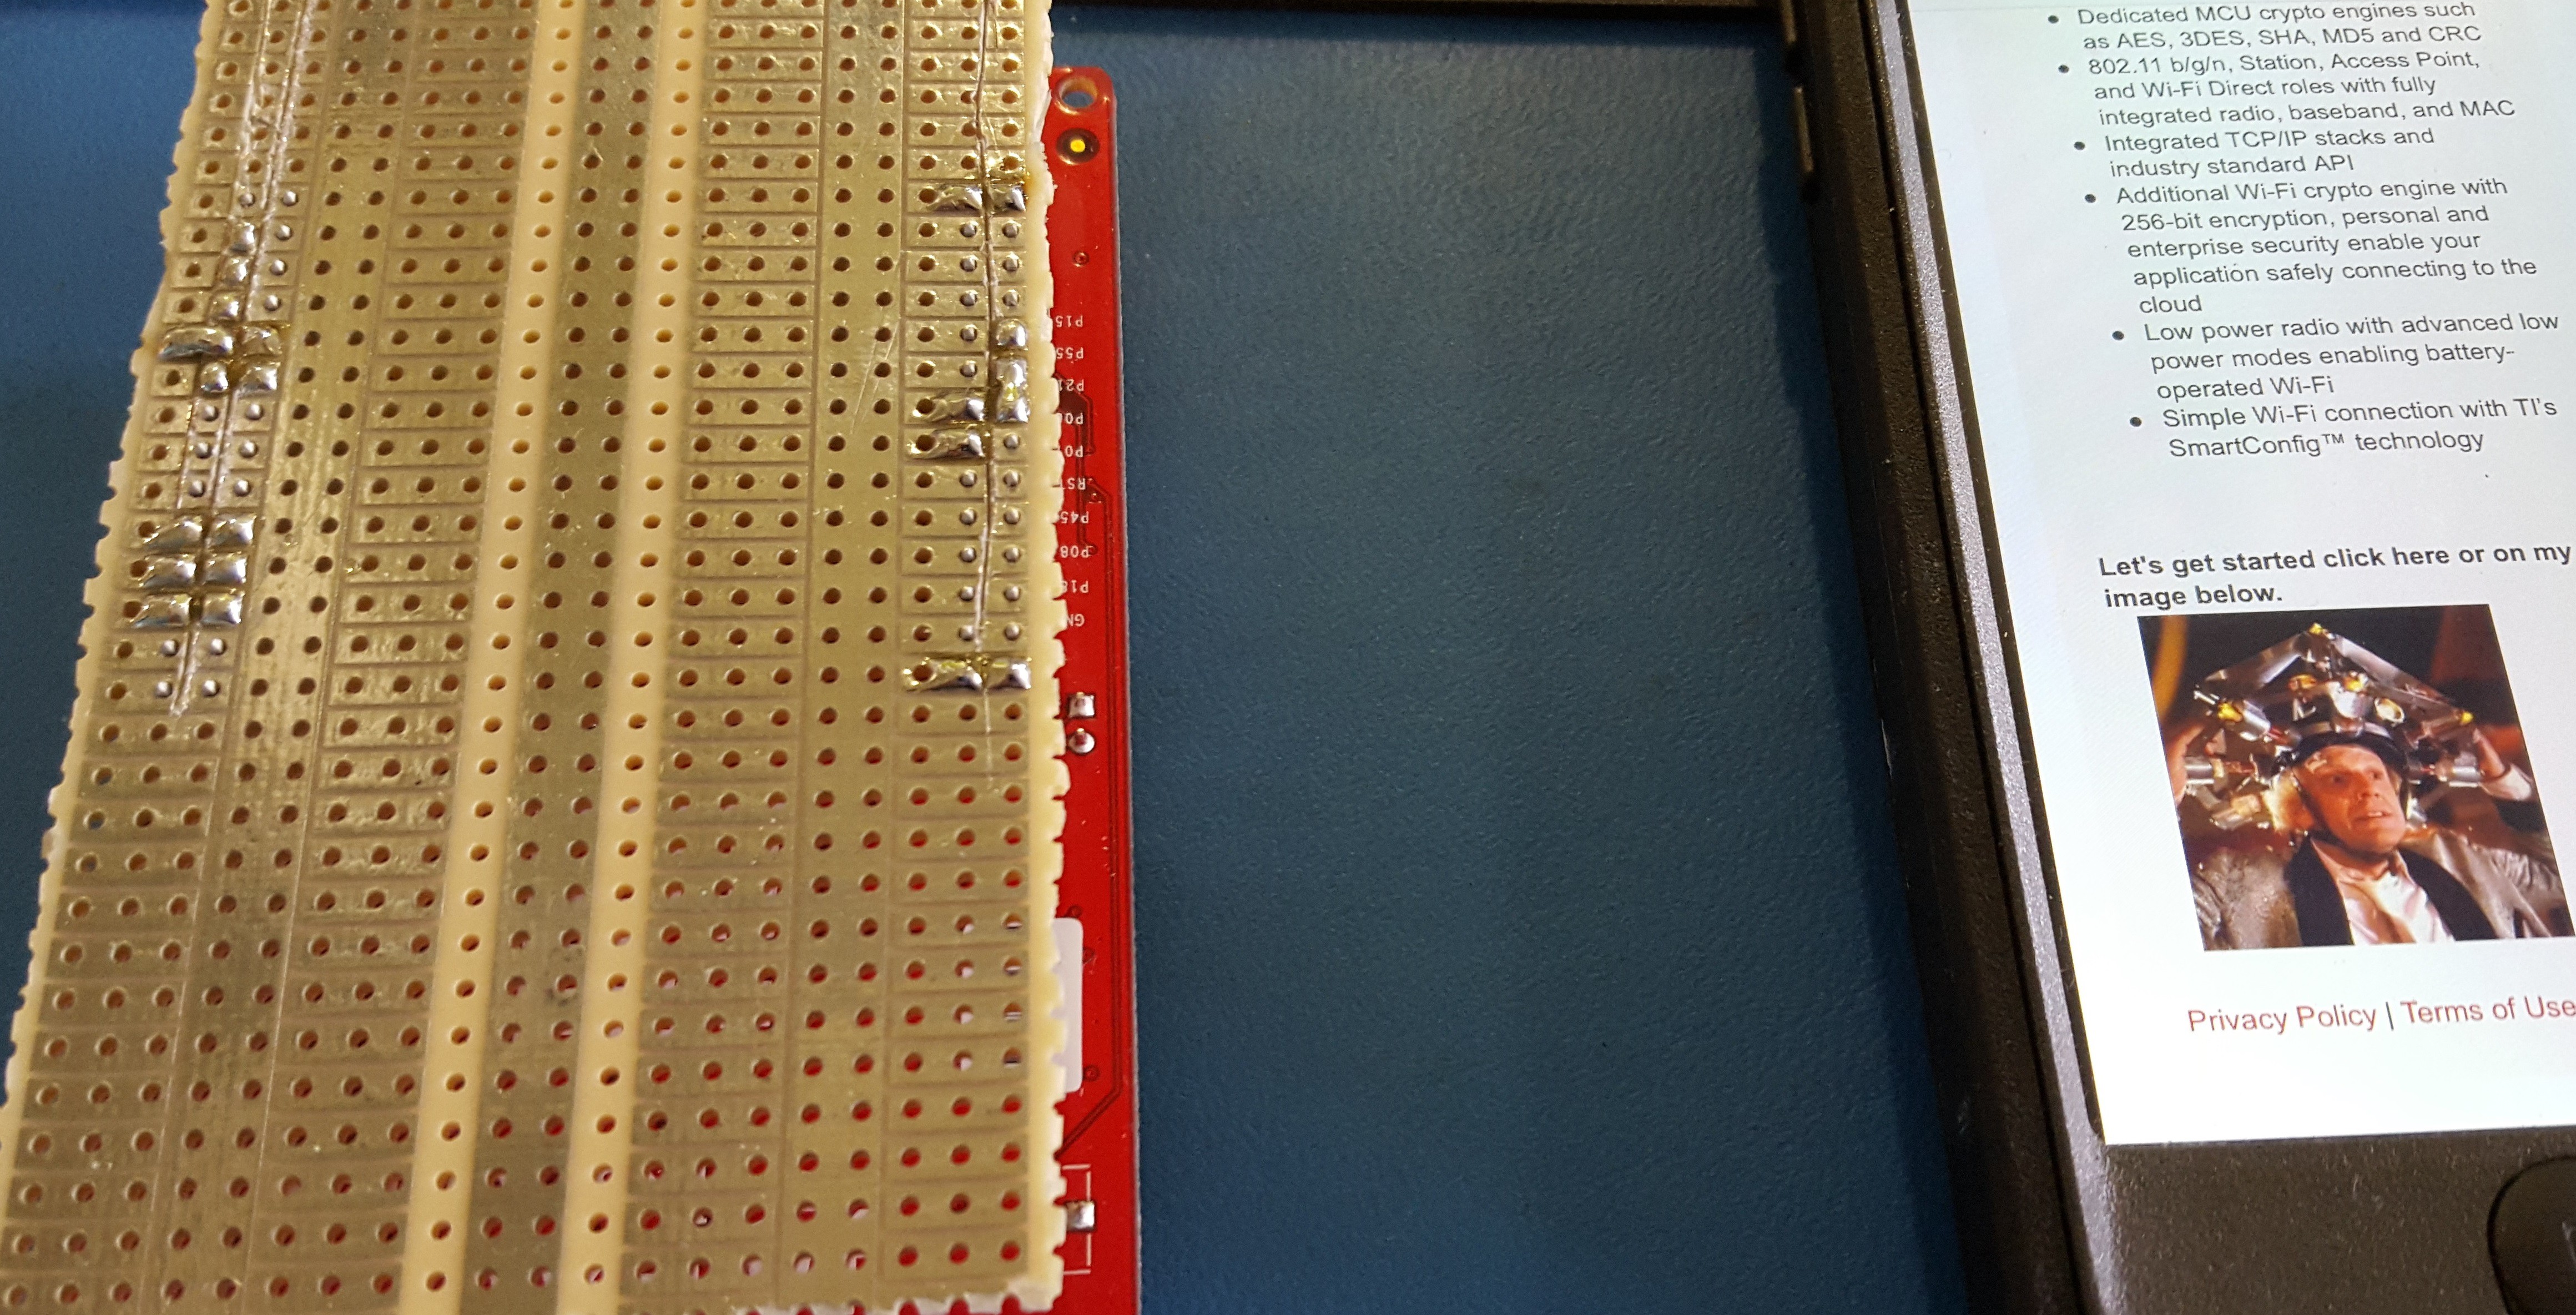
function.There are two more on board LEDs Orange and Green , but they are connected to I2C port and at least at this time I won't be using them.I am working on the custom hardware with CC3200MOD module:

To start my work I am planning on using existing hardware and sensors.
Then I will be adding some more hardware. My CC3200 ugly hat, but it should do the trick for development.
I am making changes to the site that runs on CC3200.