 Alex Anderson
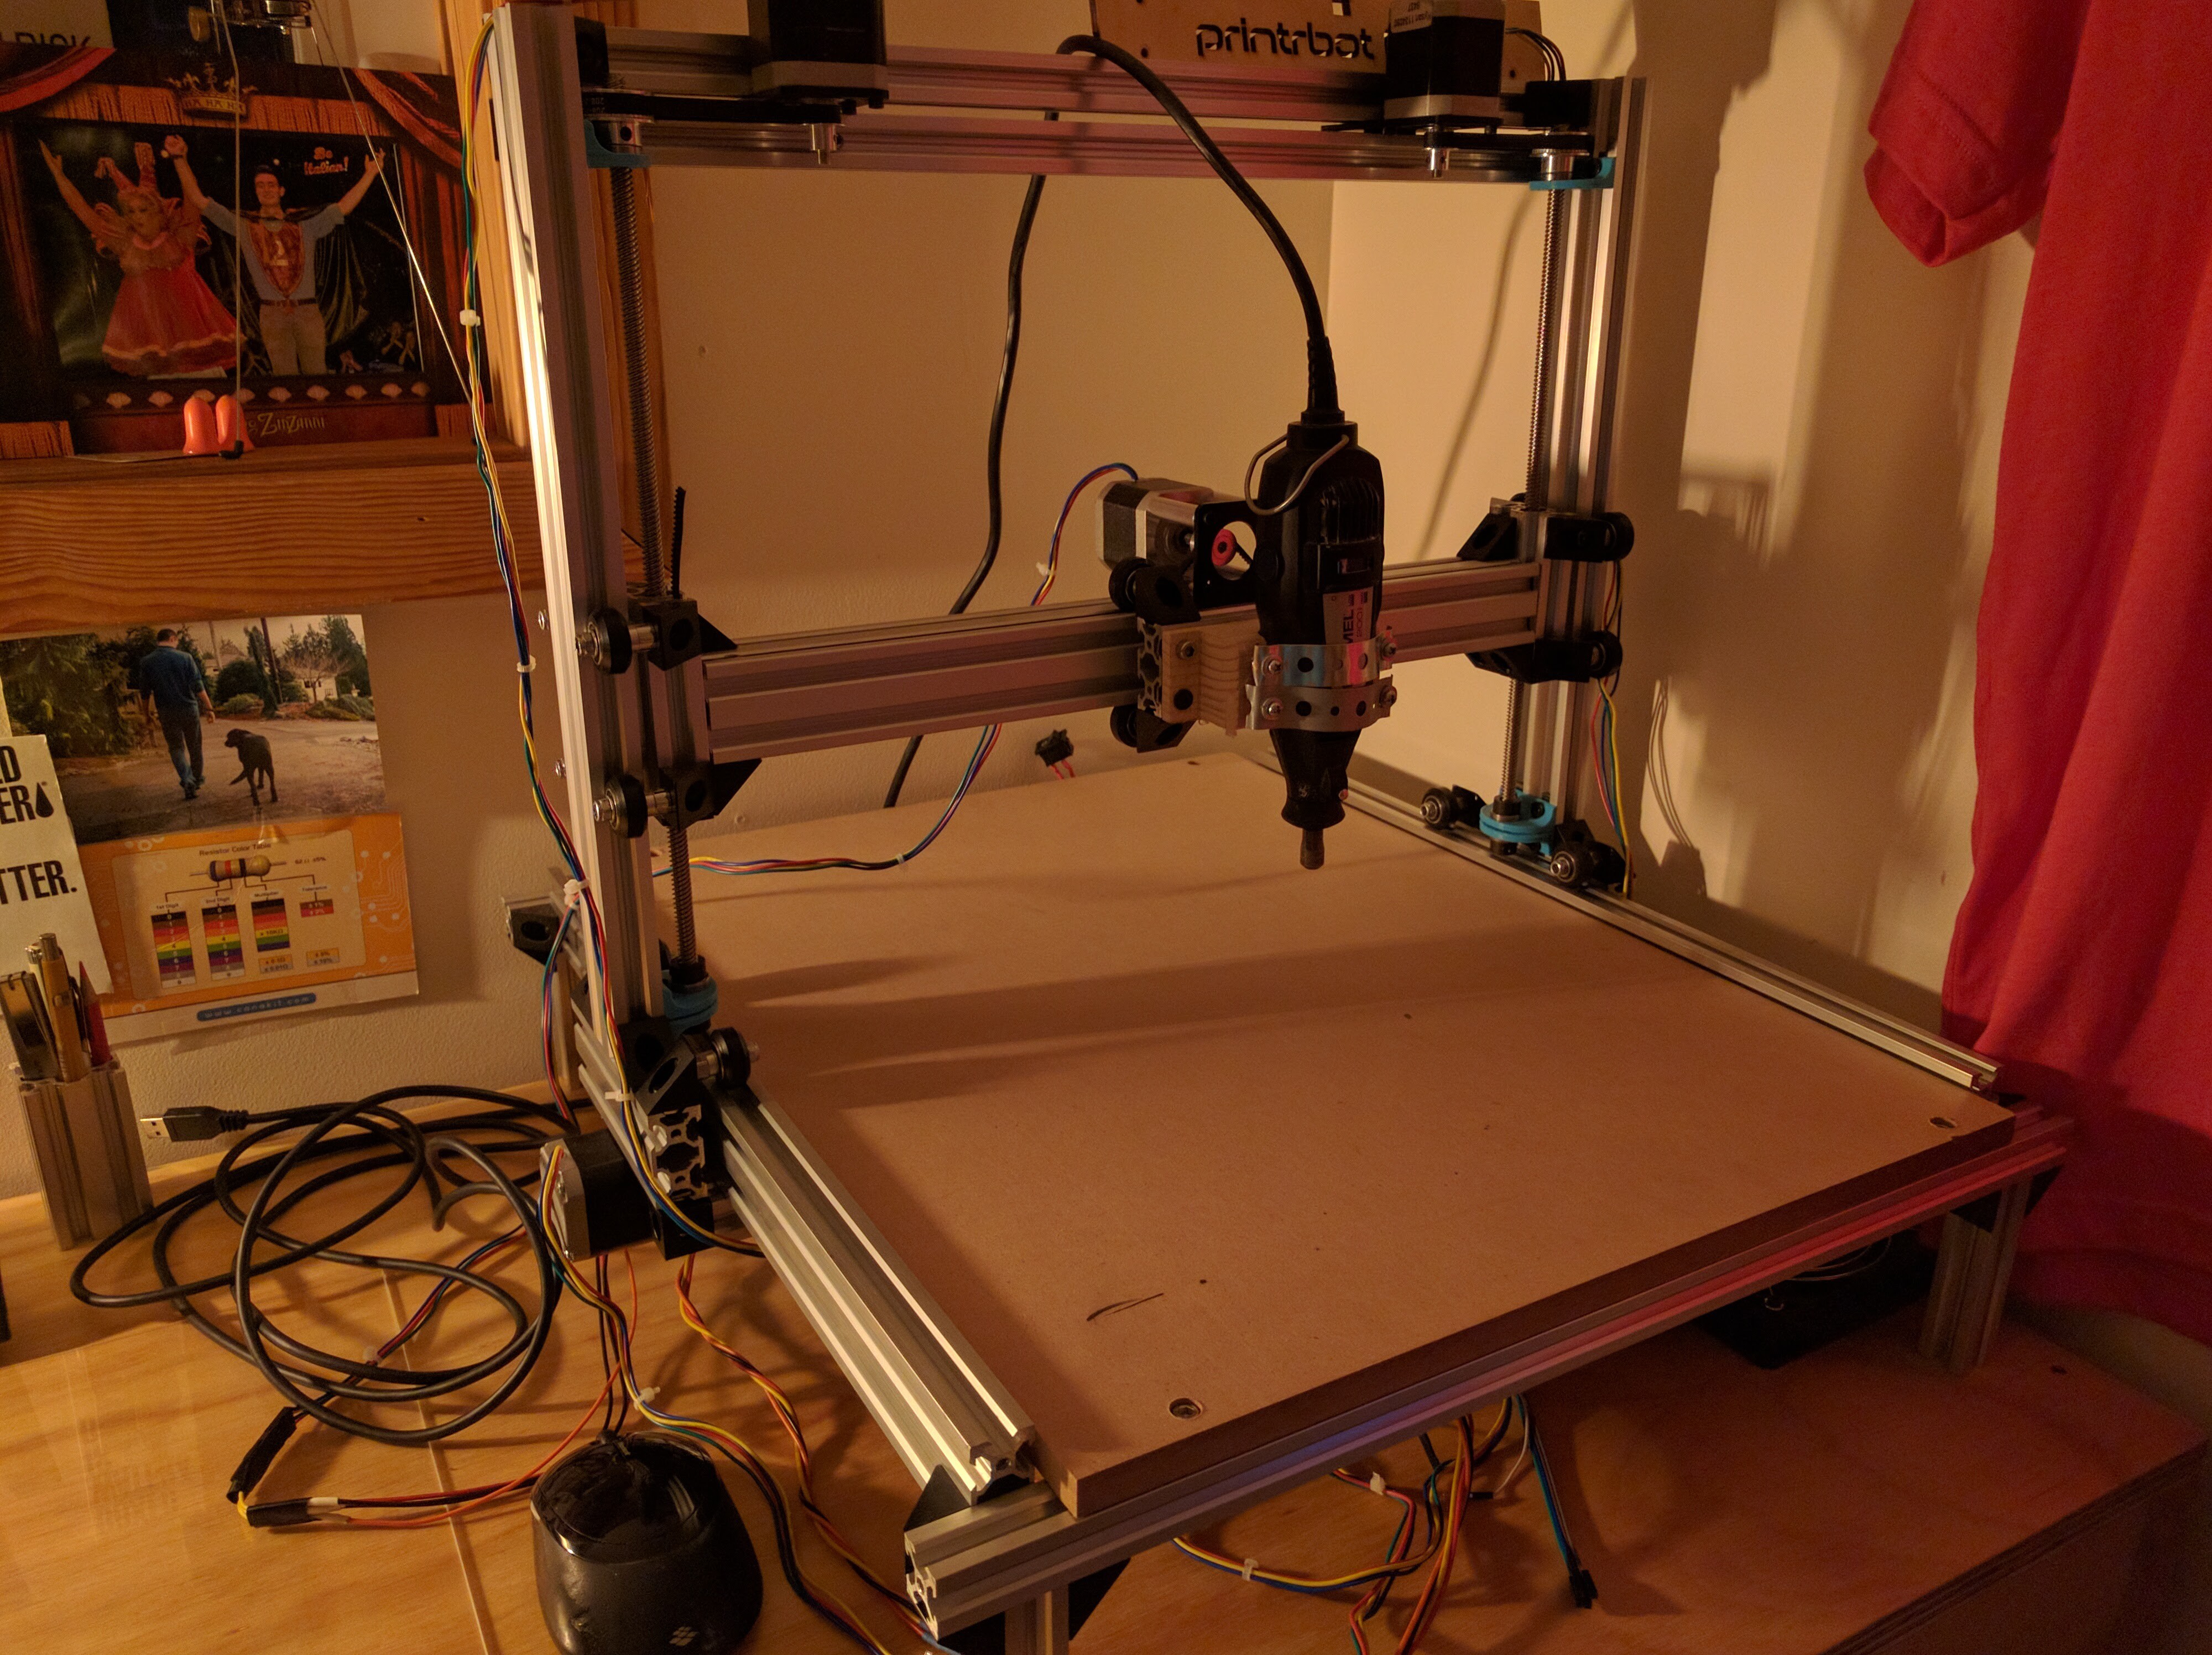
Like many here on this site, things are rarely finished as they are perpetual states of improvement. This mill/printer doesn't have an exact goal. I will be happy when I can milling thin aluminum and can print high quality objects, but will always want to improve it. If anybody who vies this project as suggestions or bits of wisdom that they think would be helpful, it would be much appreciated as this project, like many, is a learning experience.
0%
0%
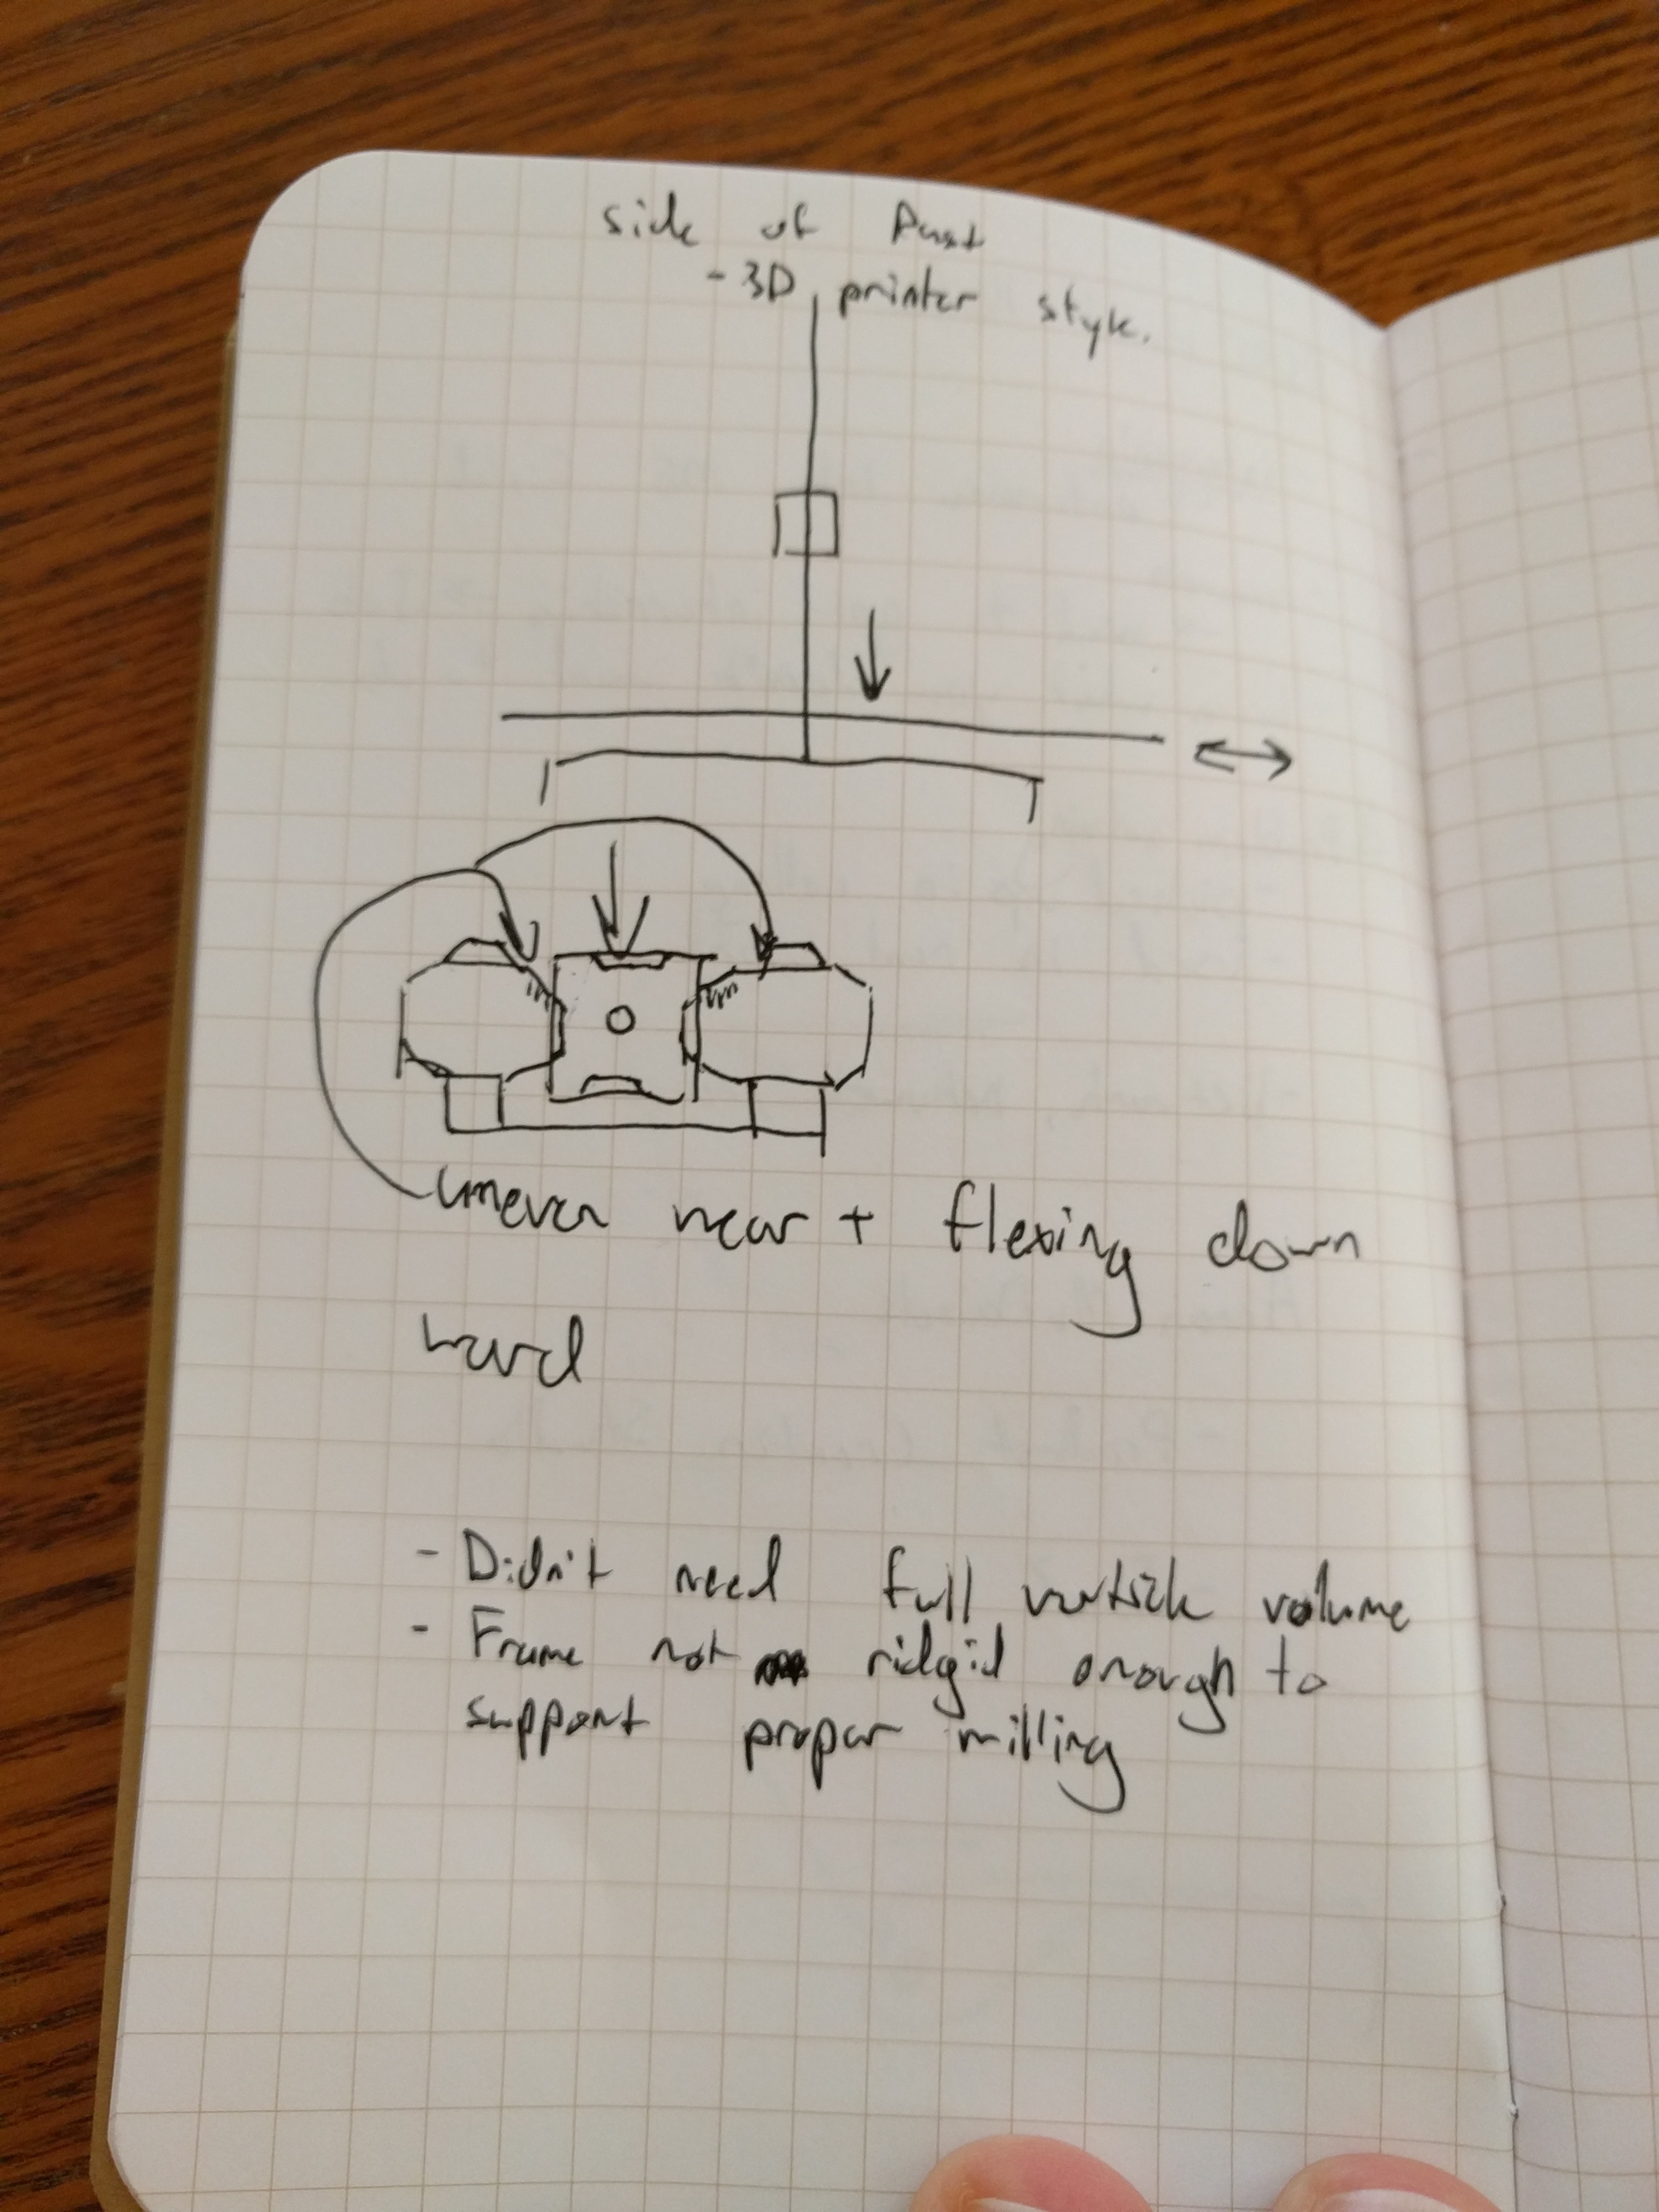
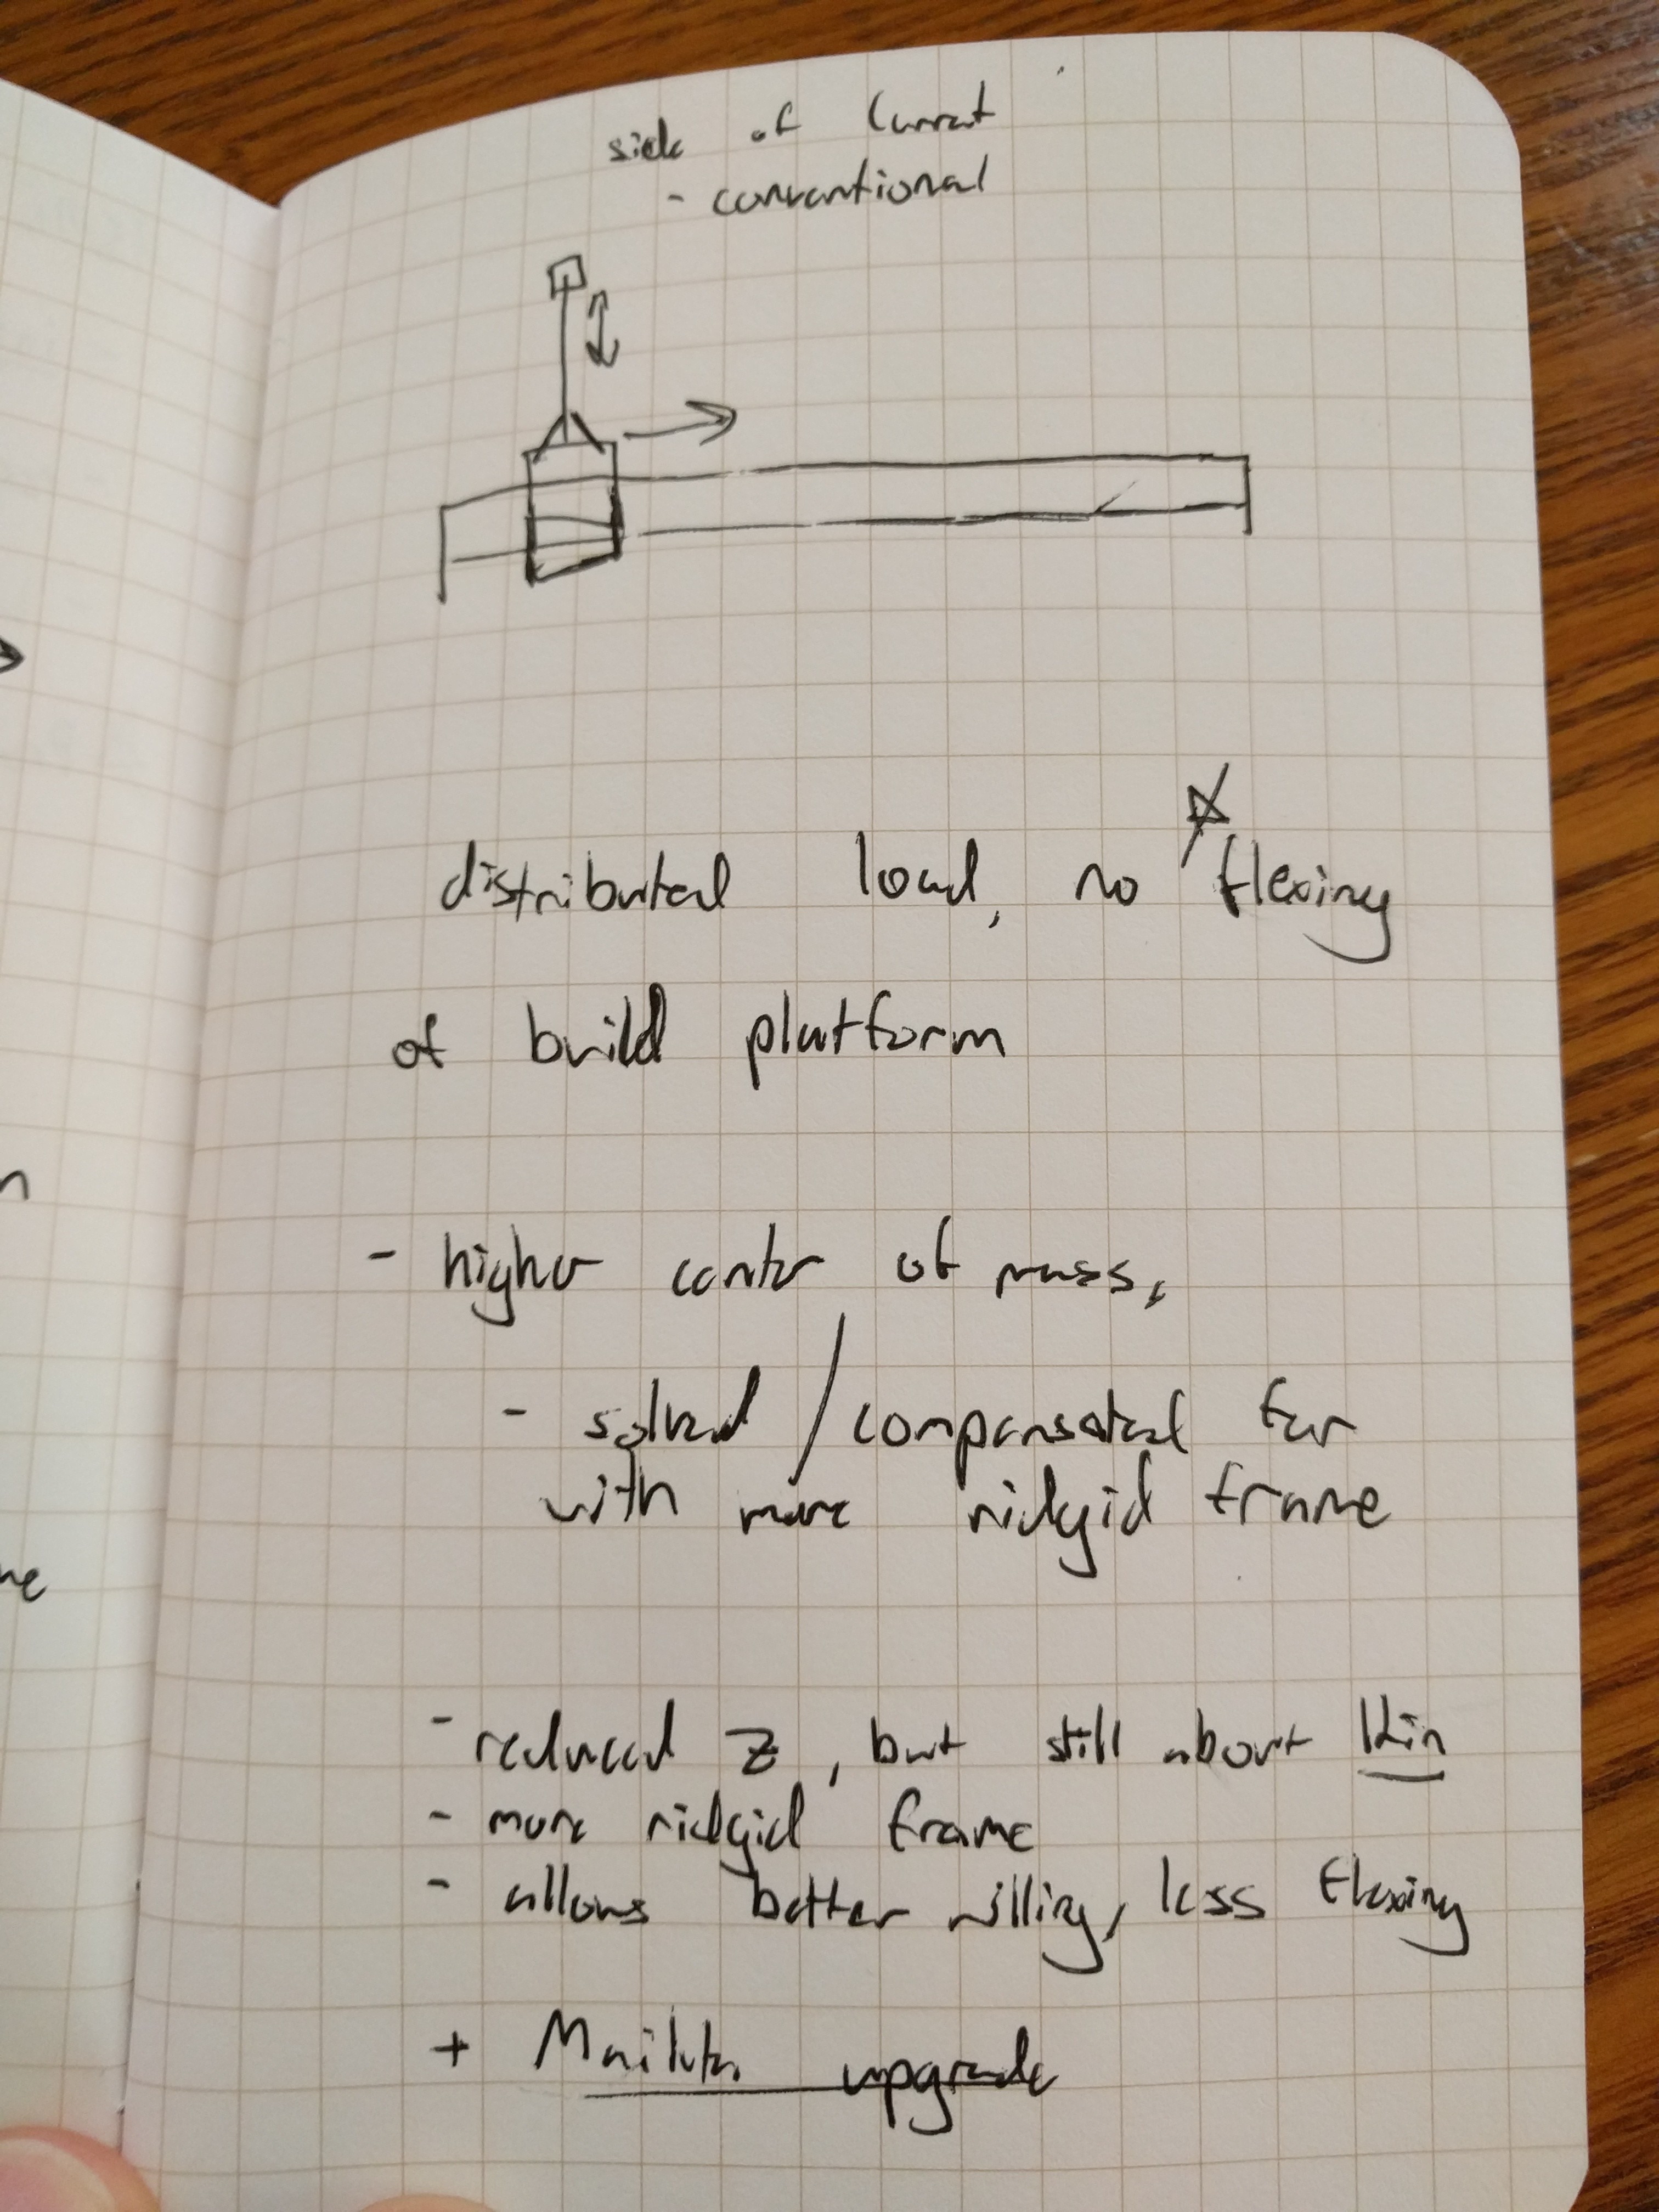
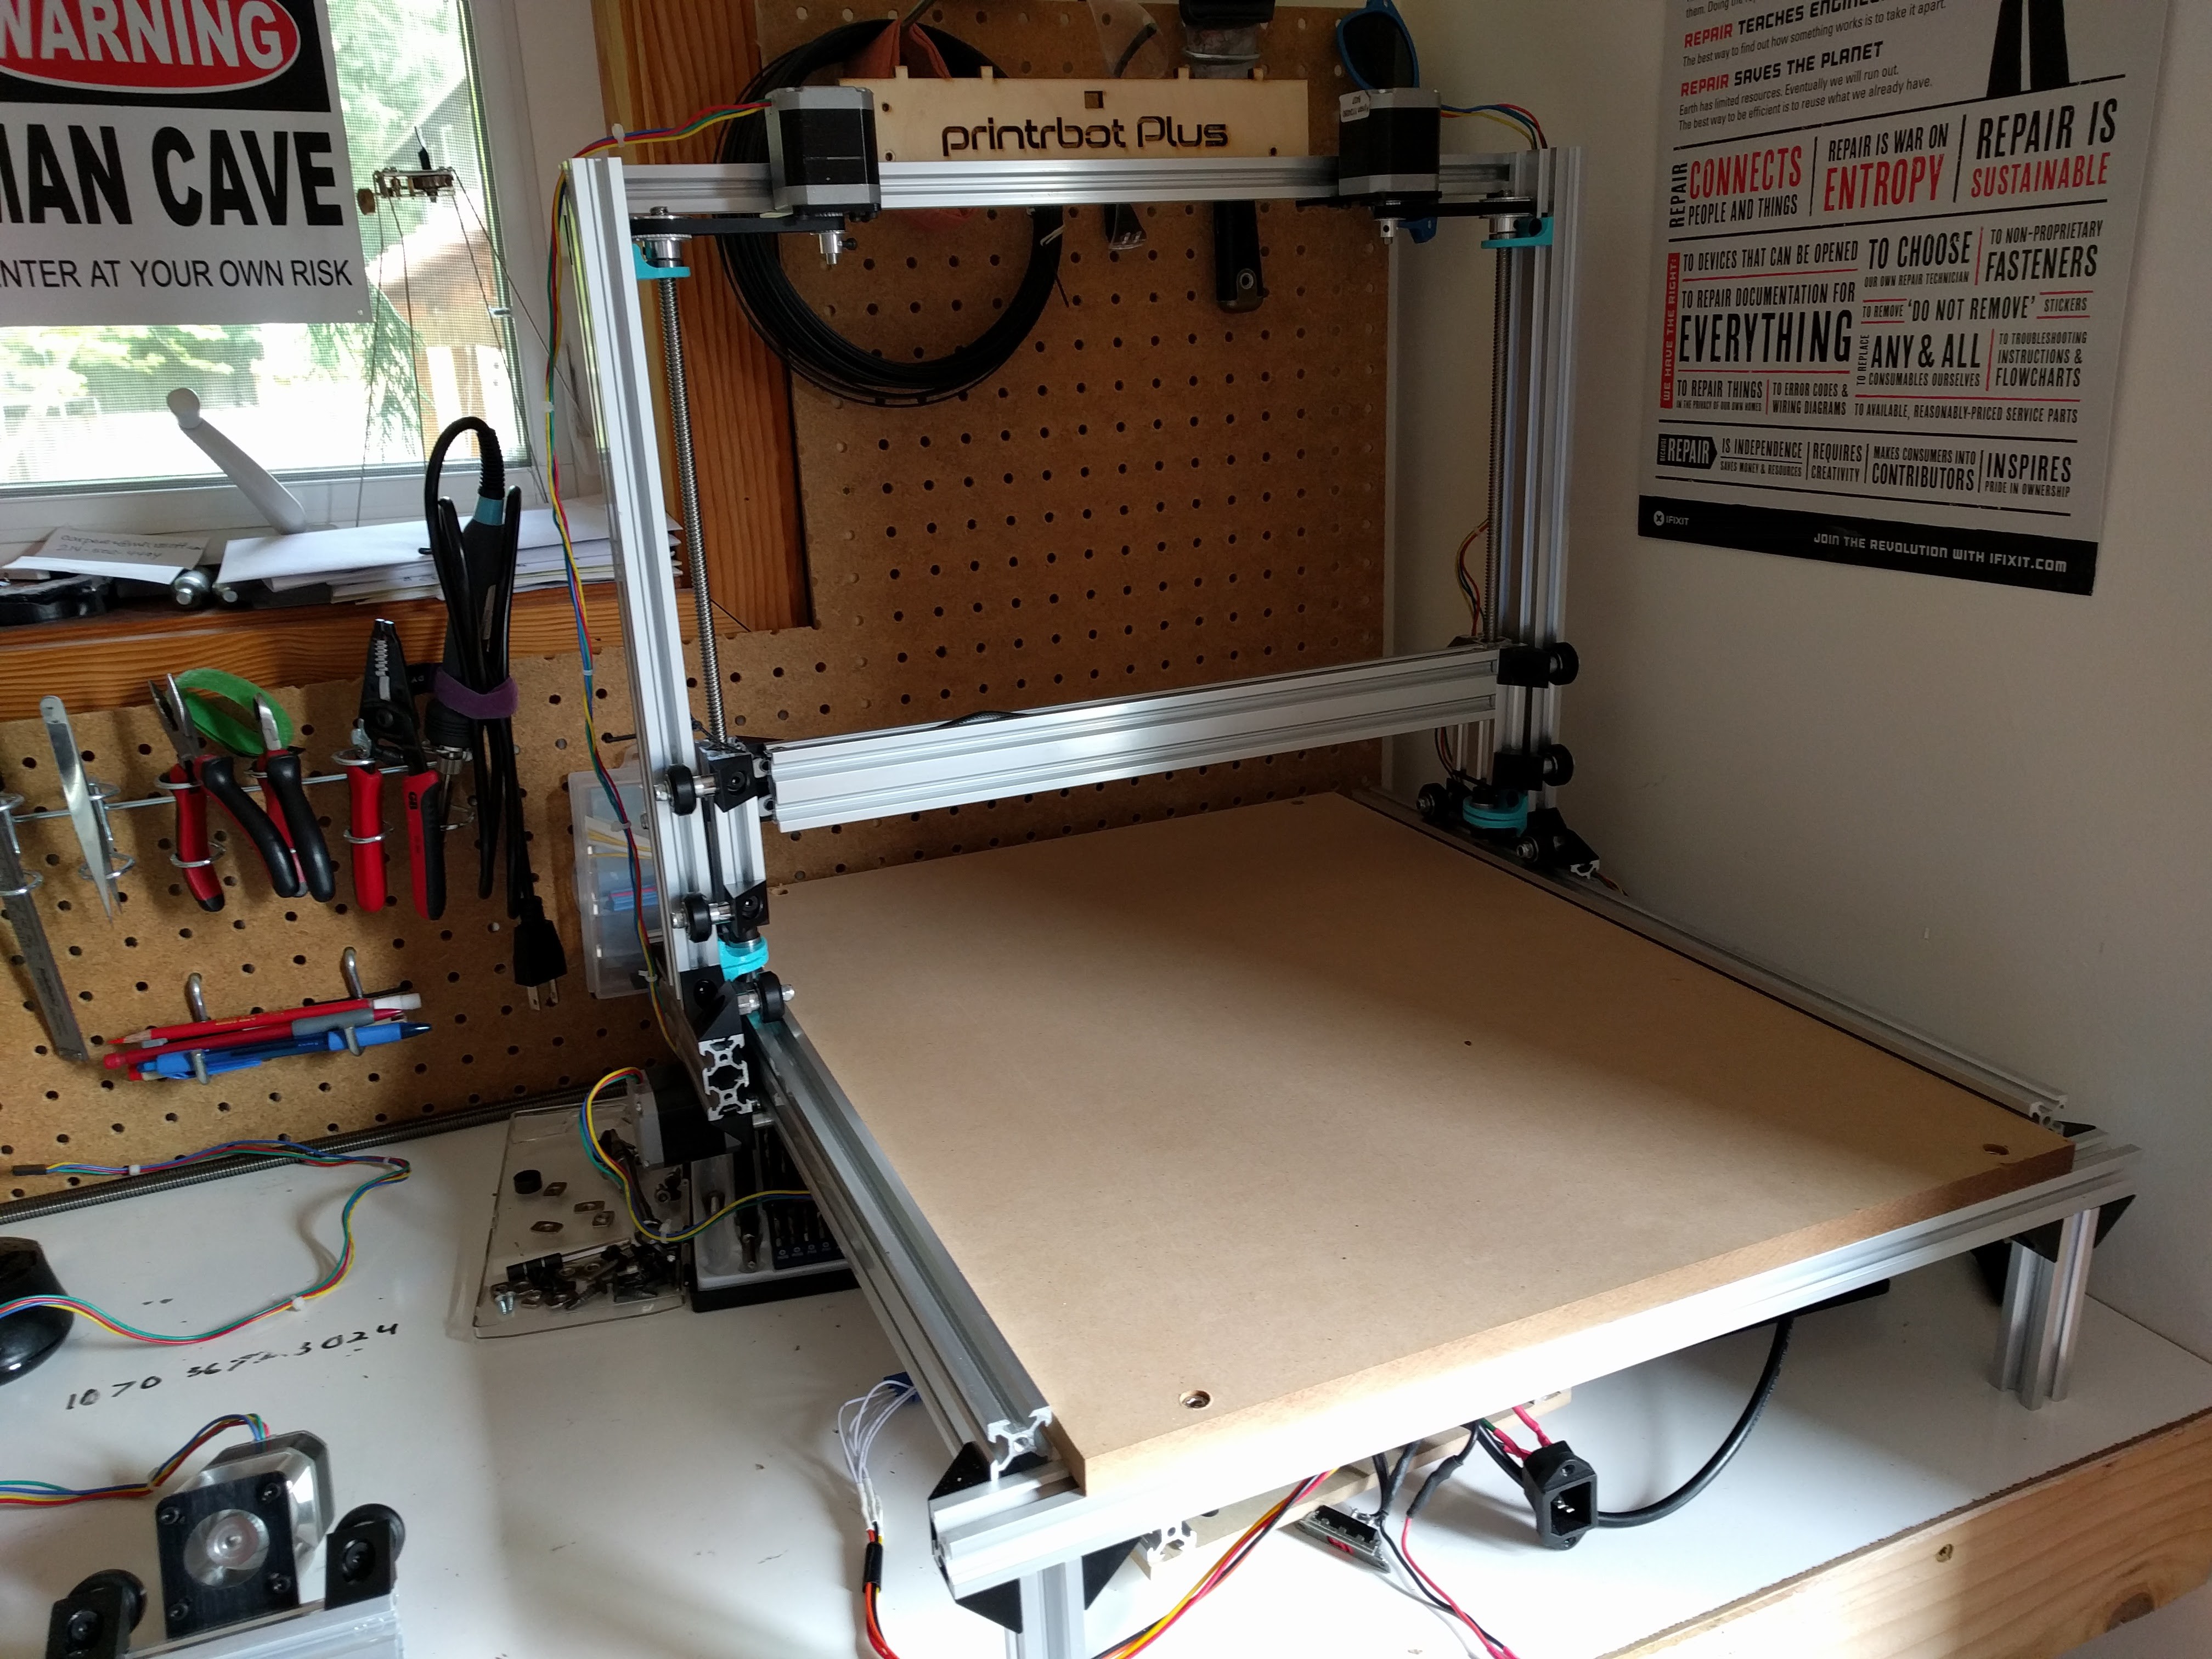
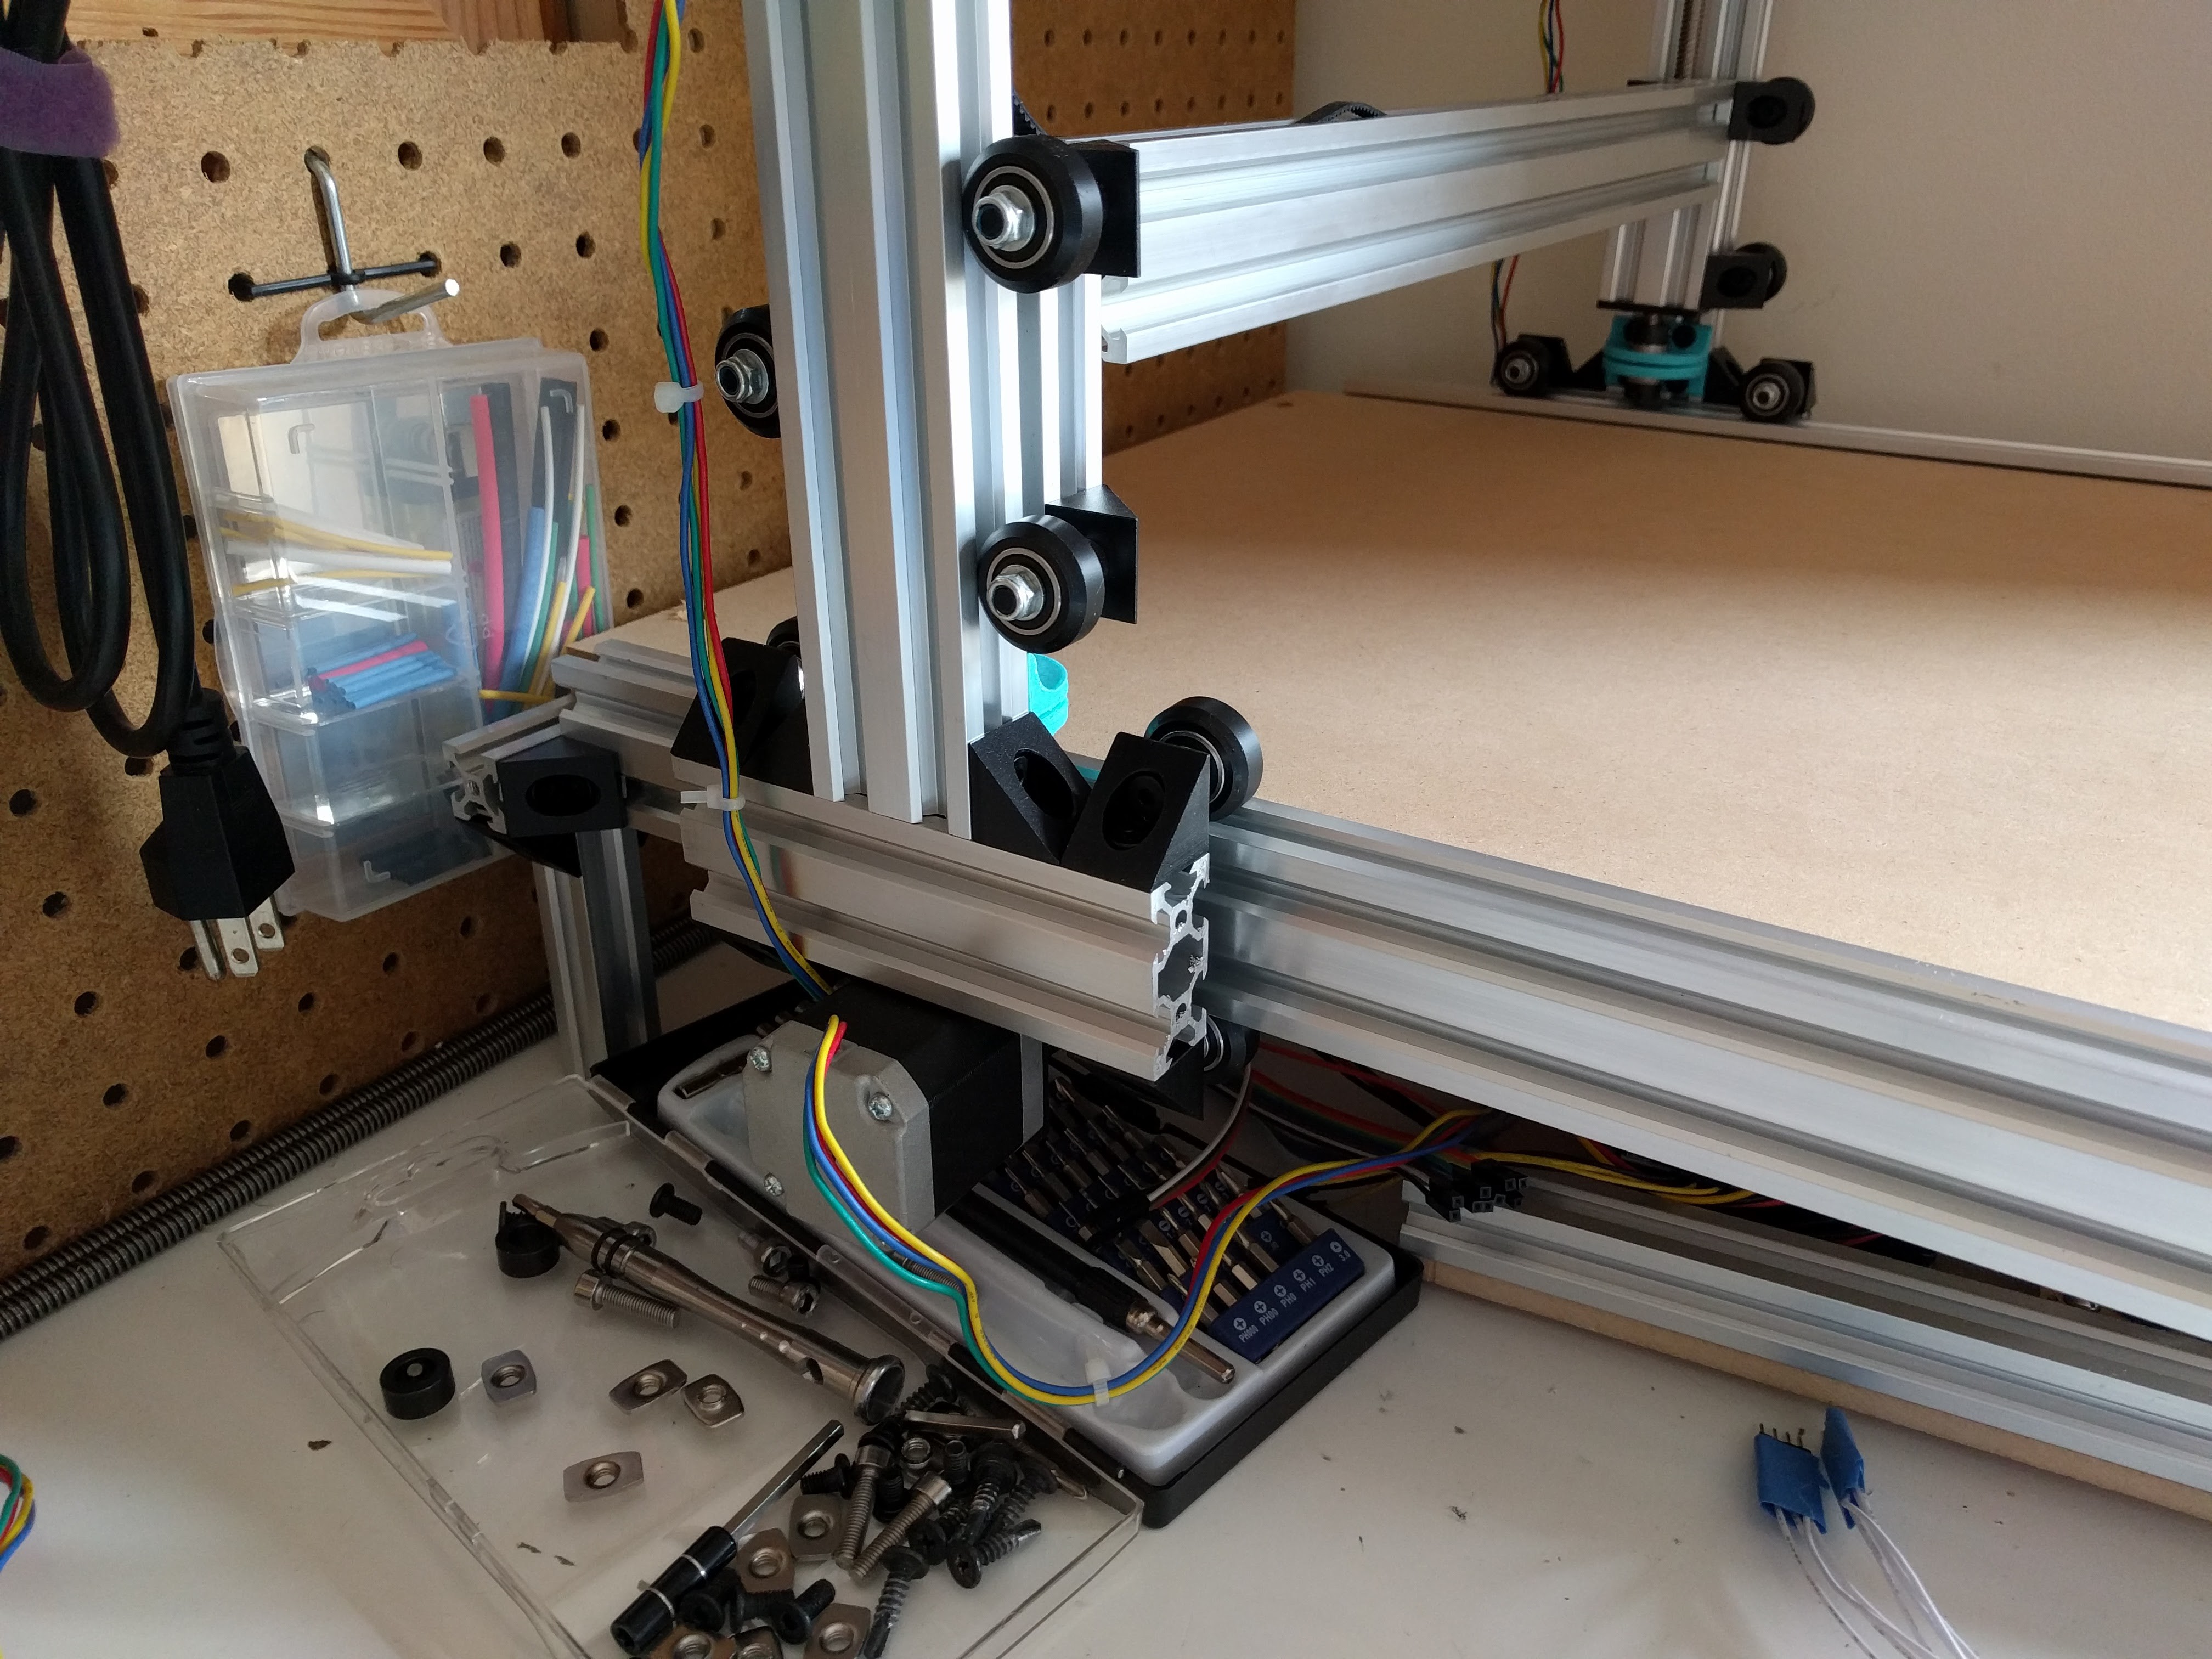
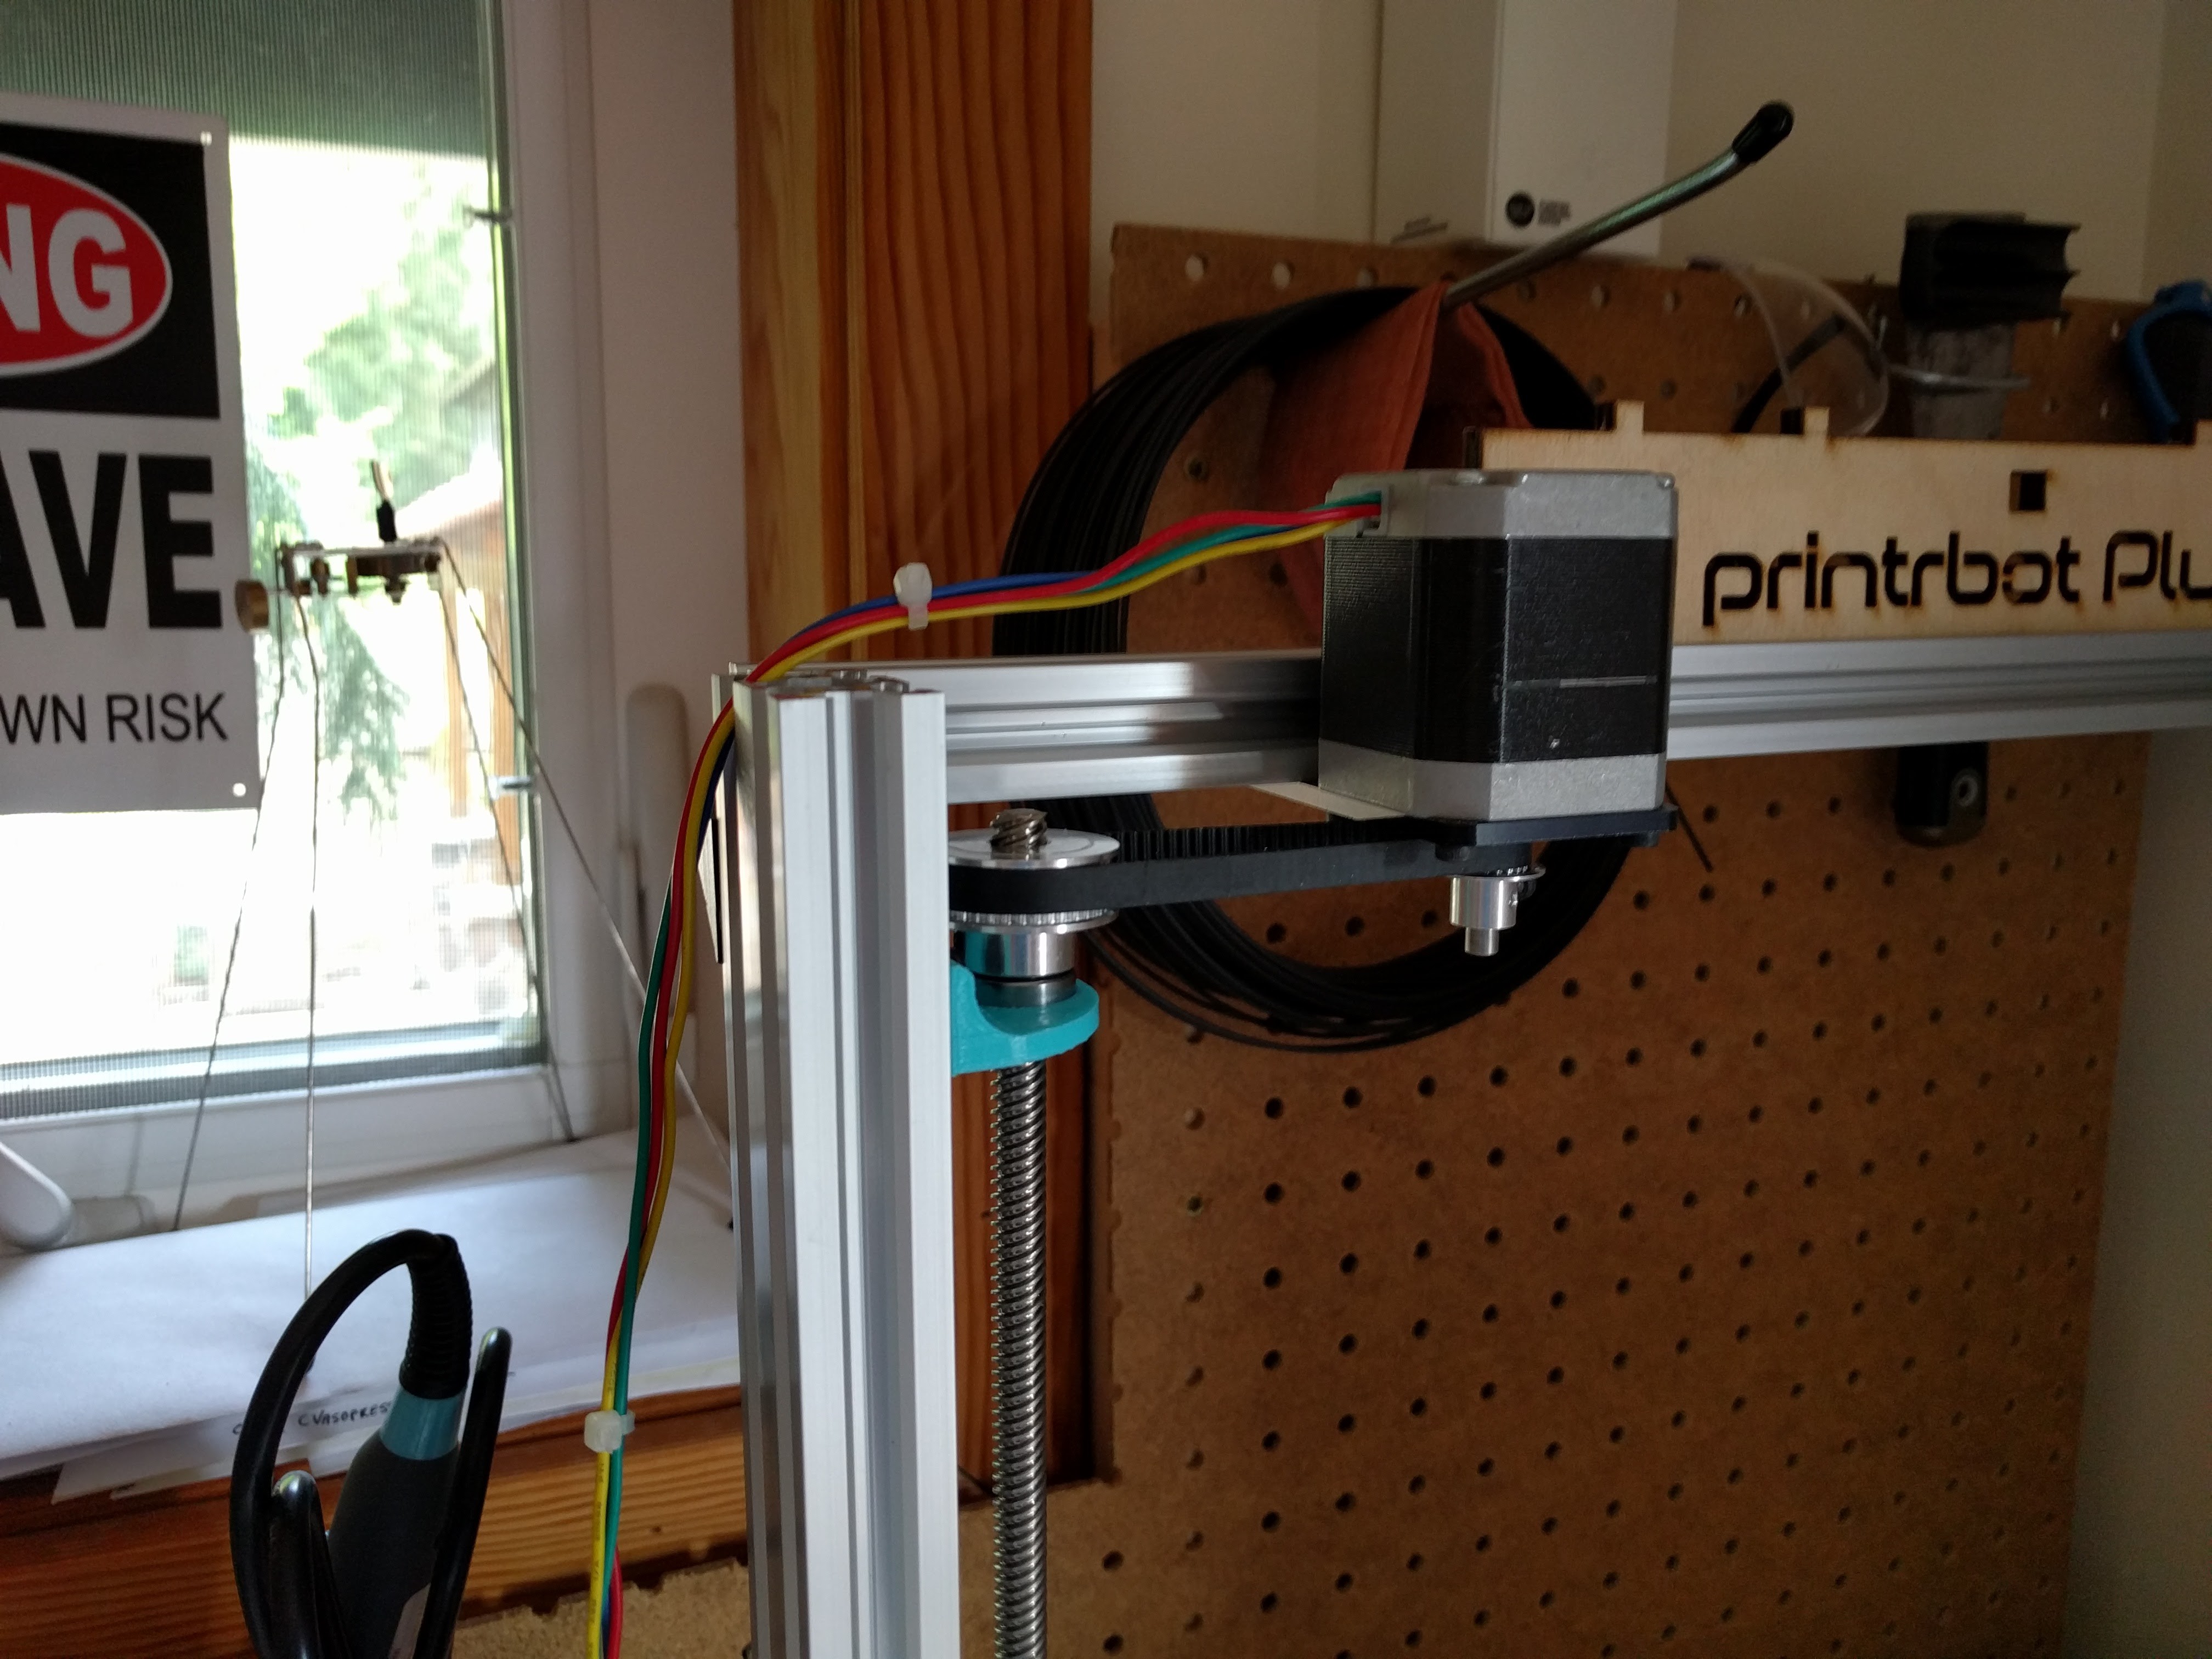
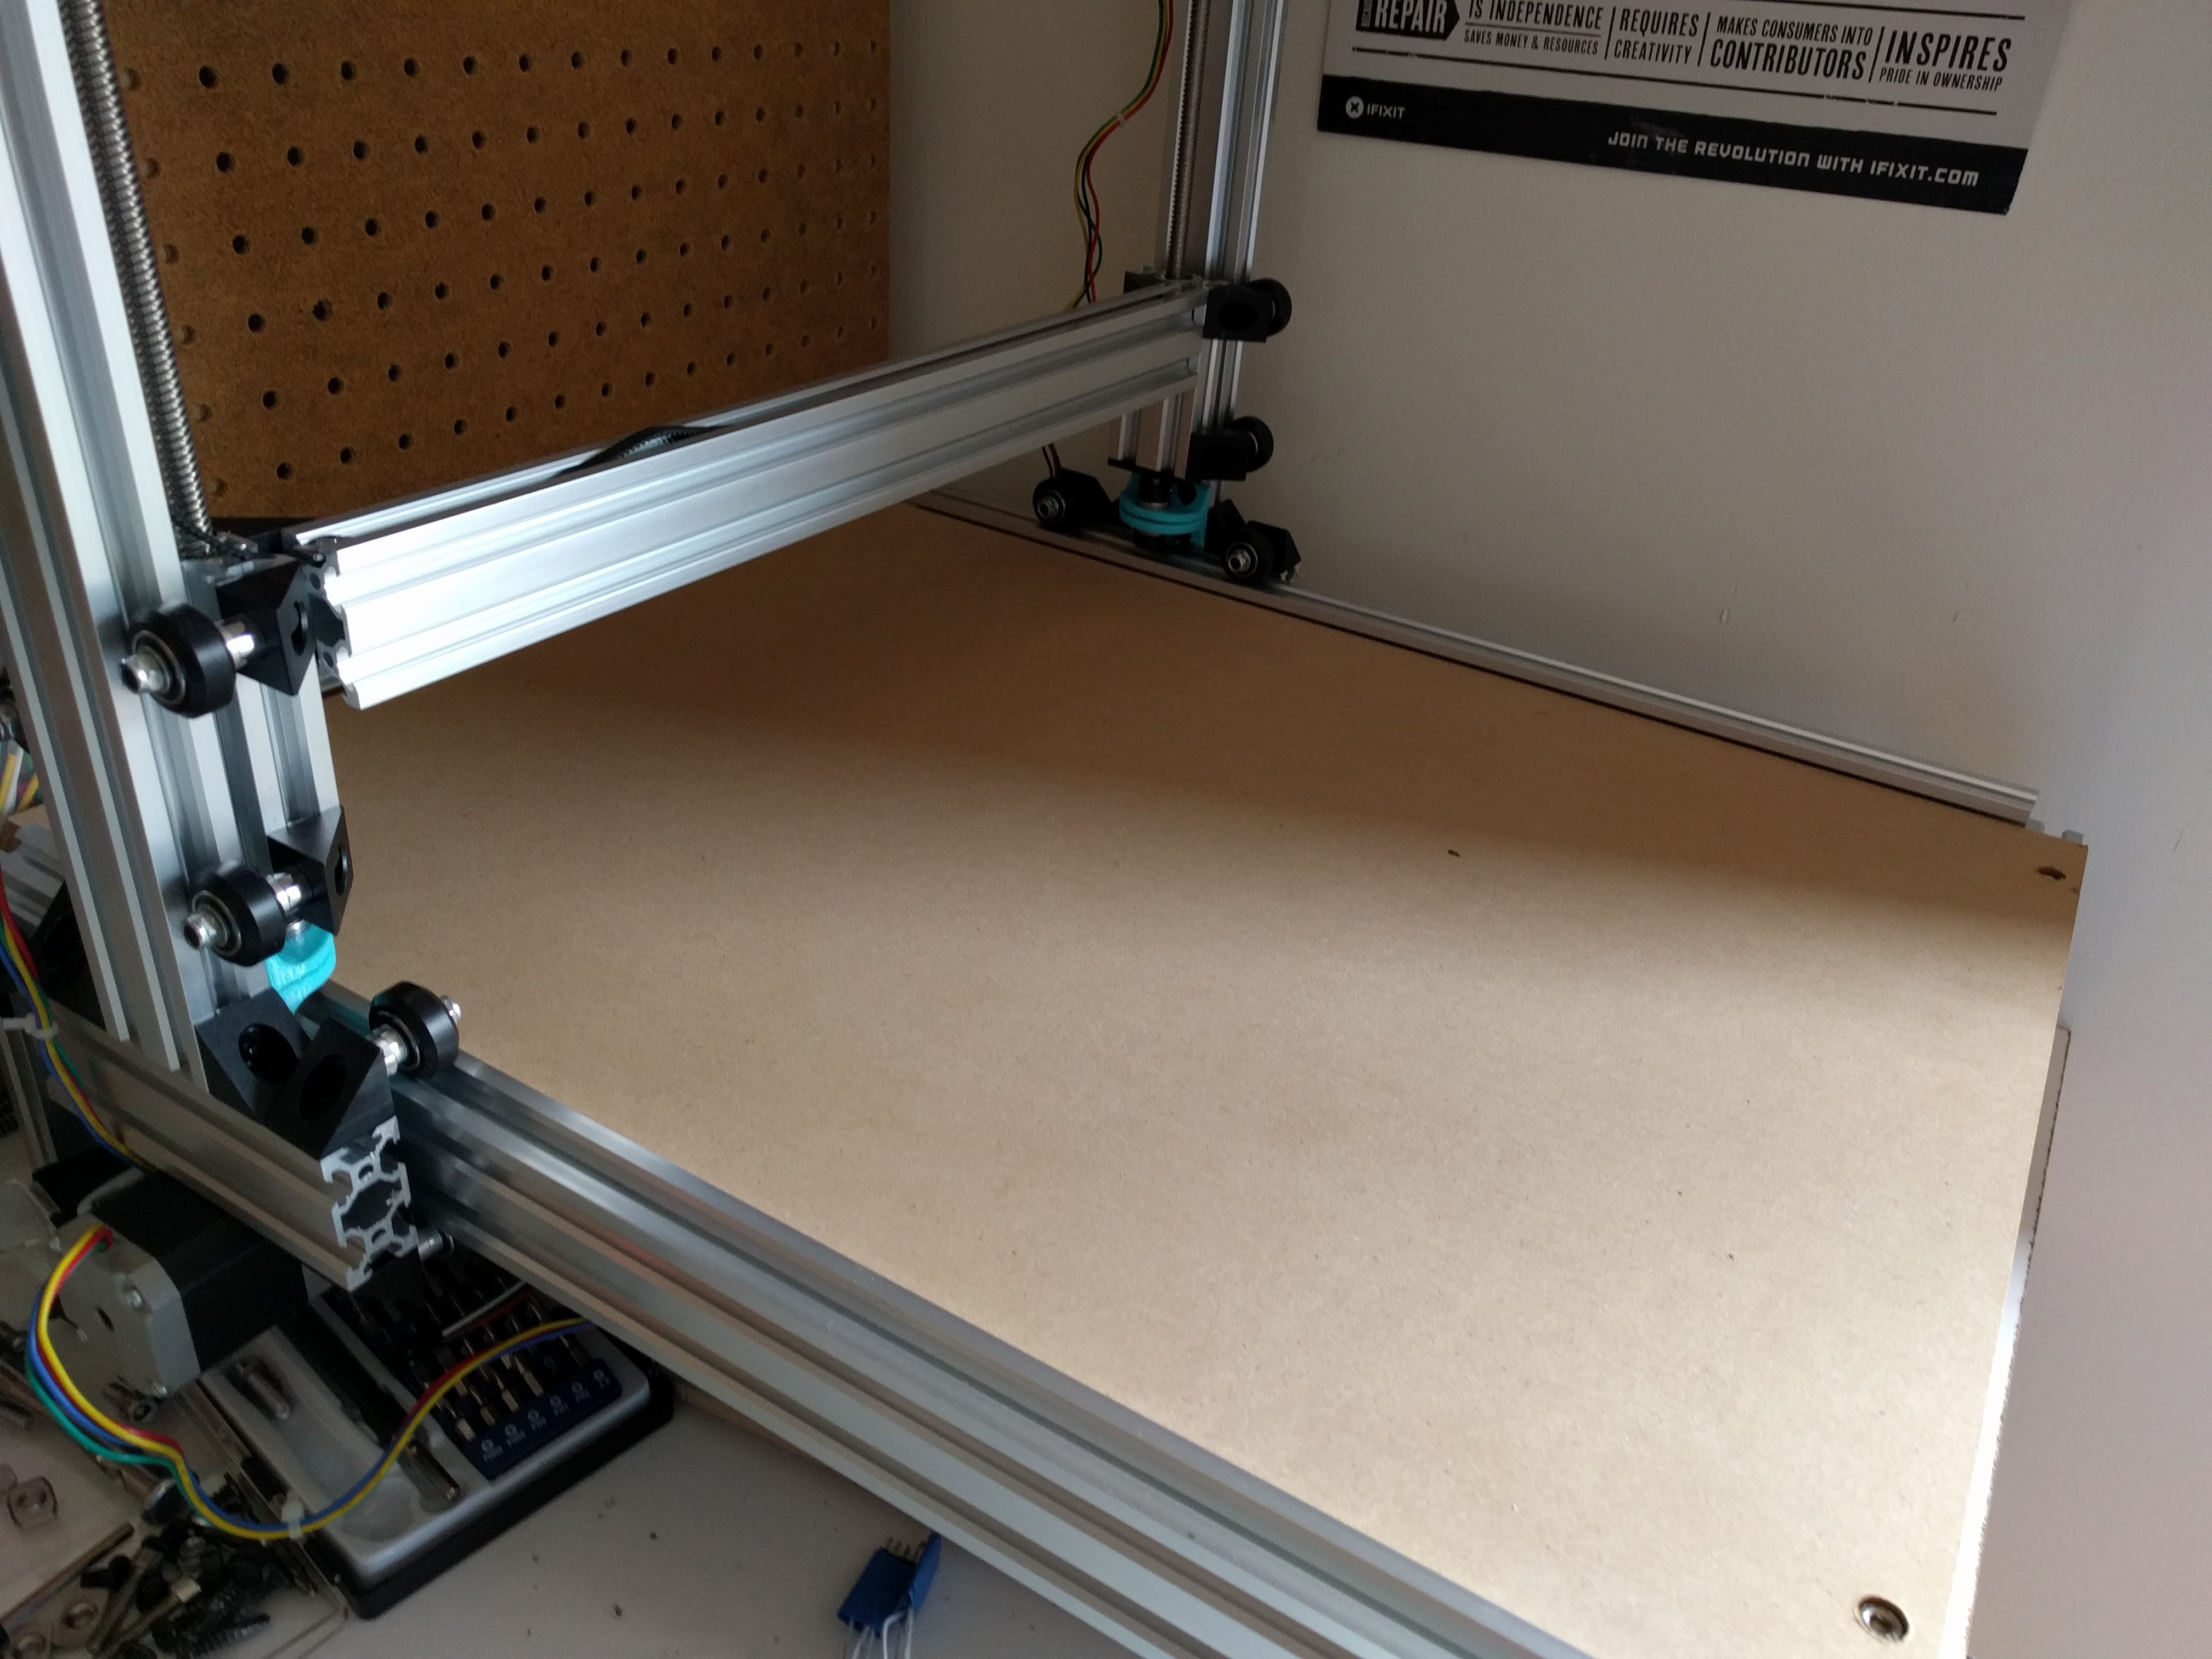
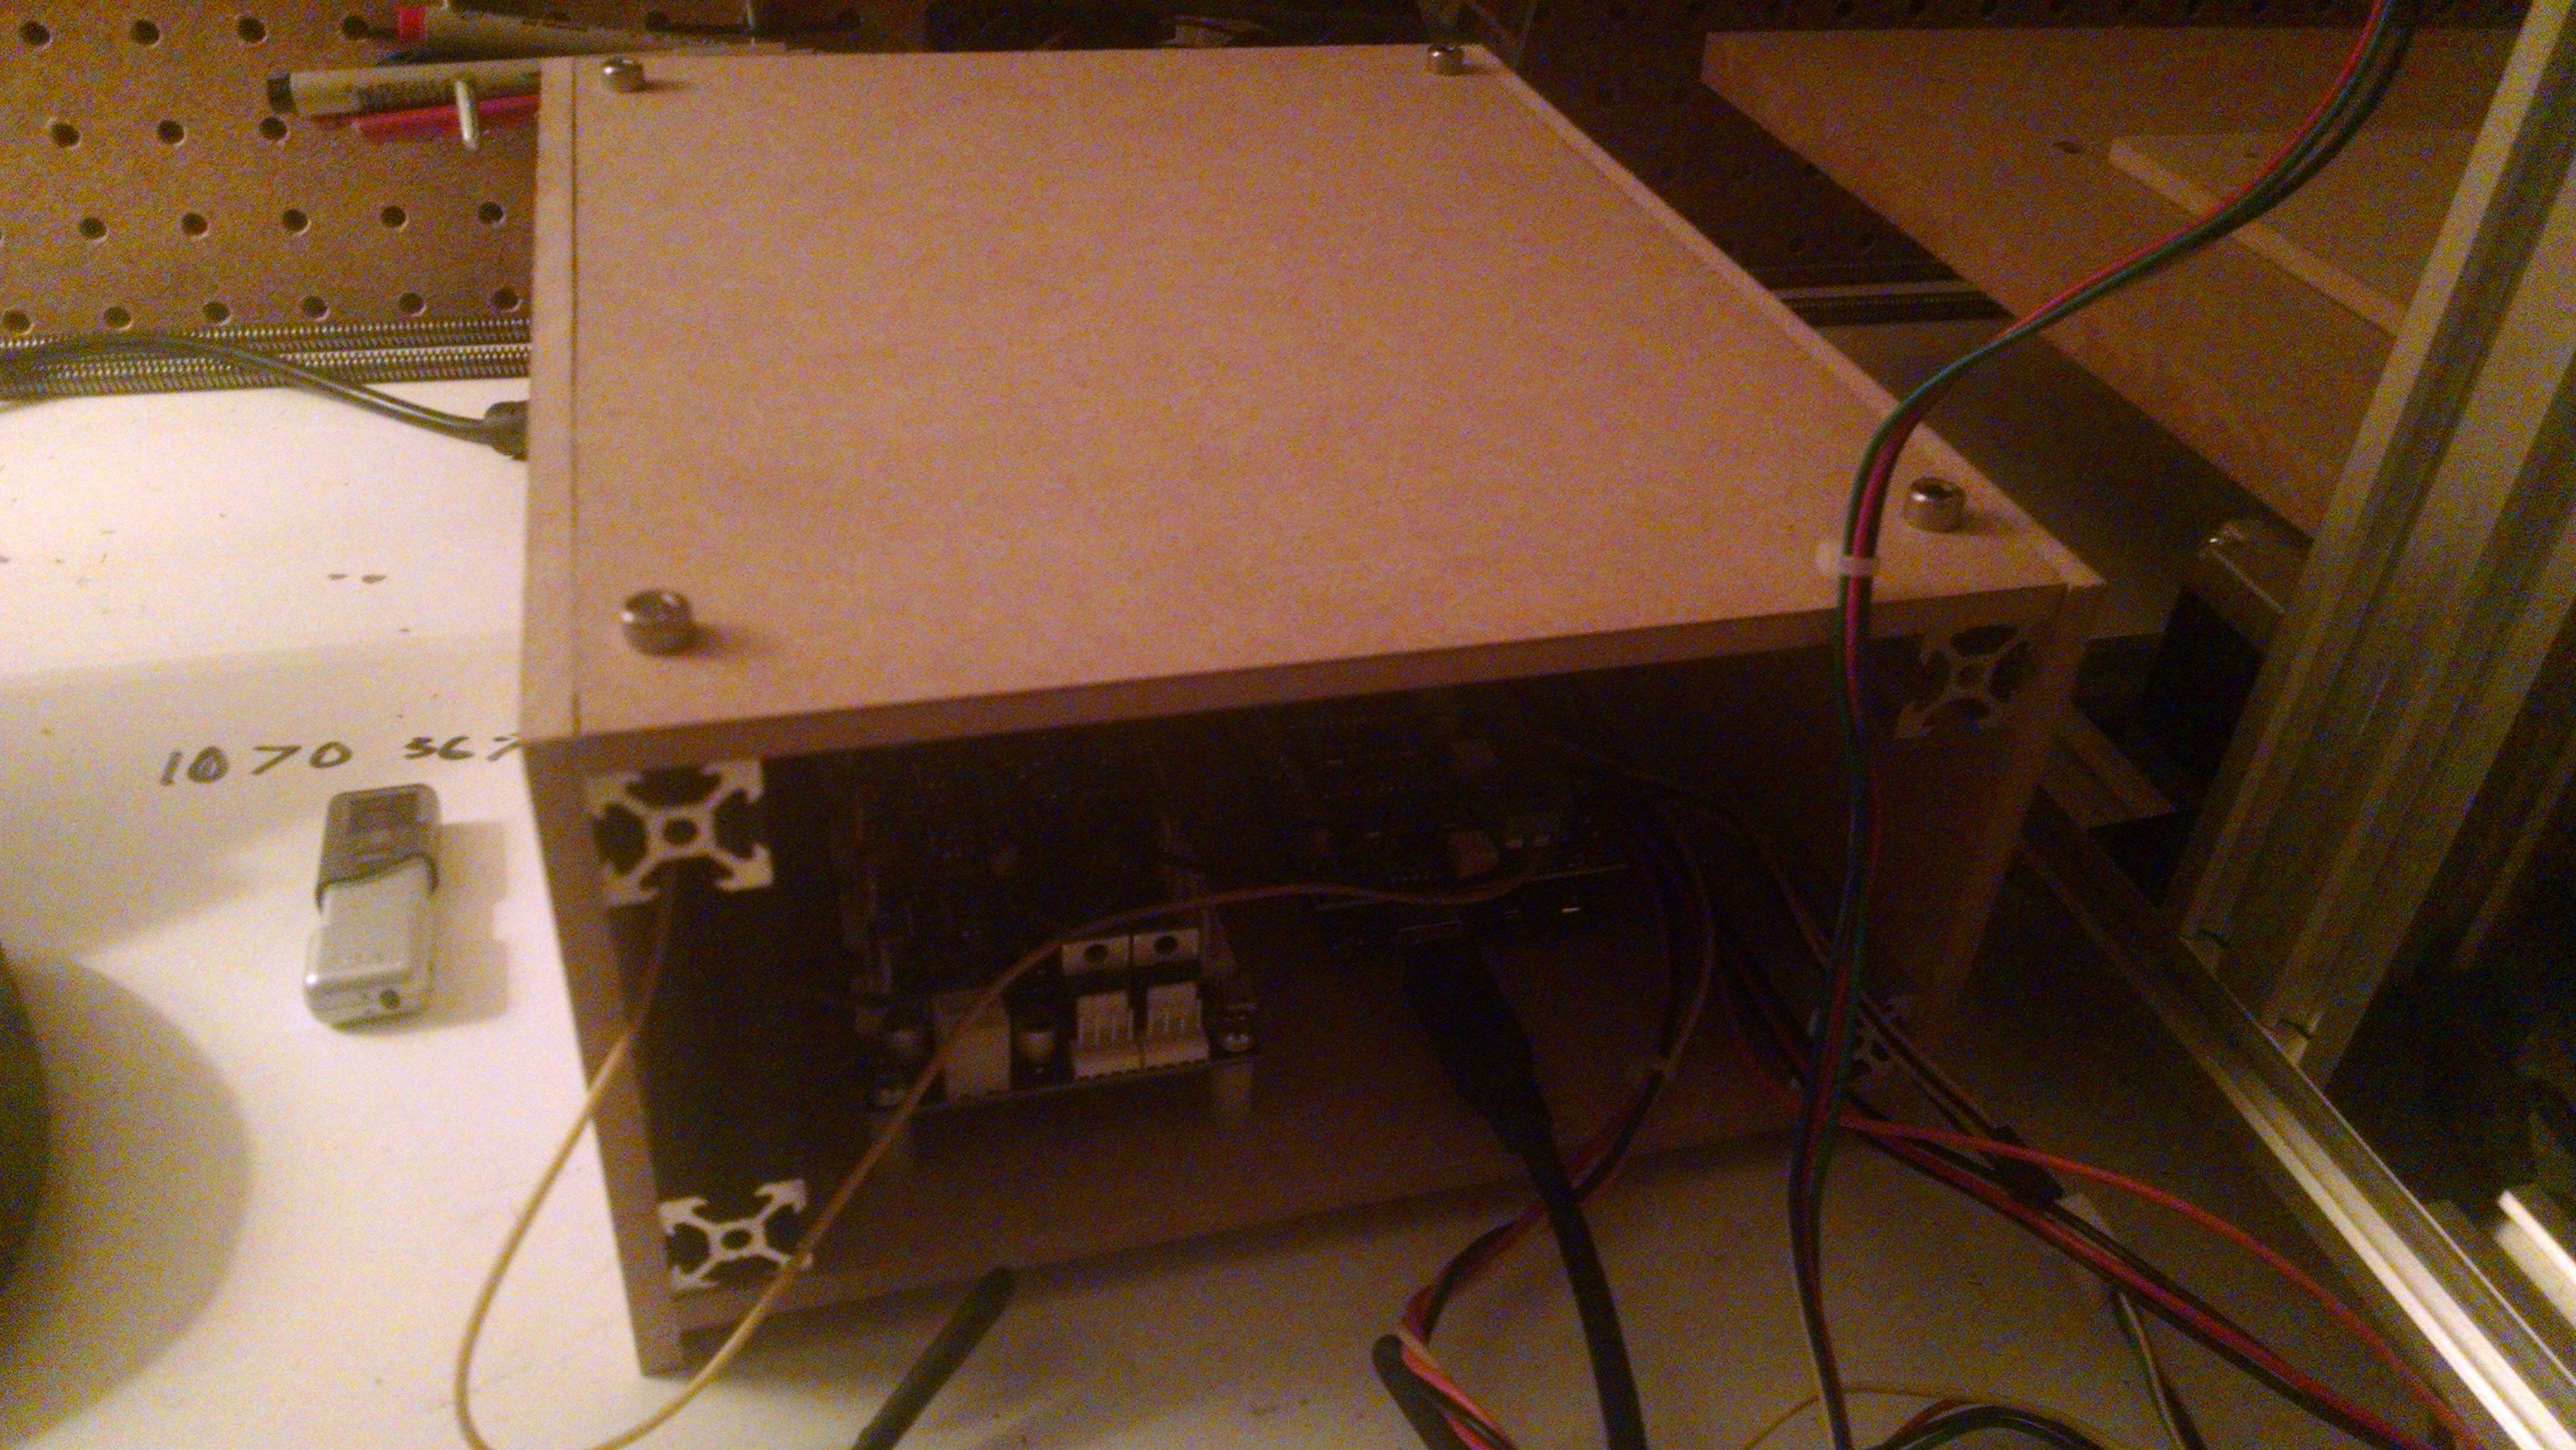
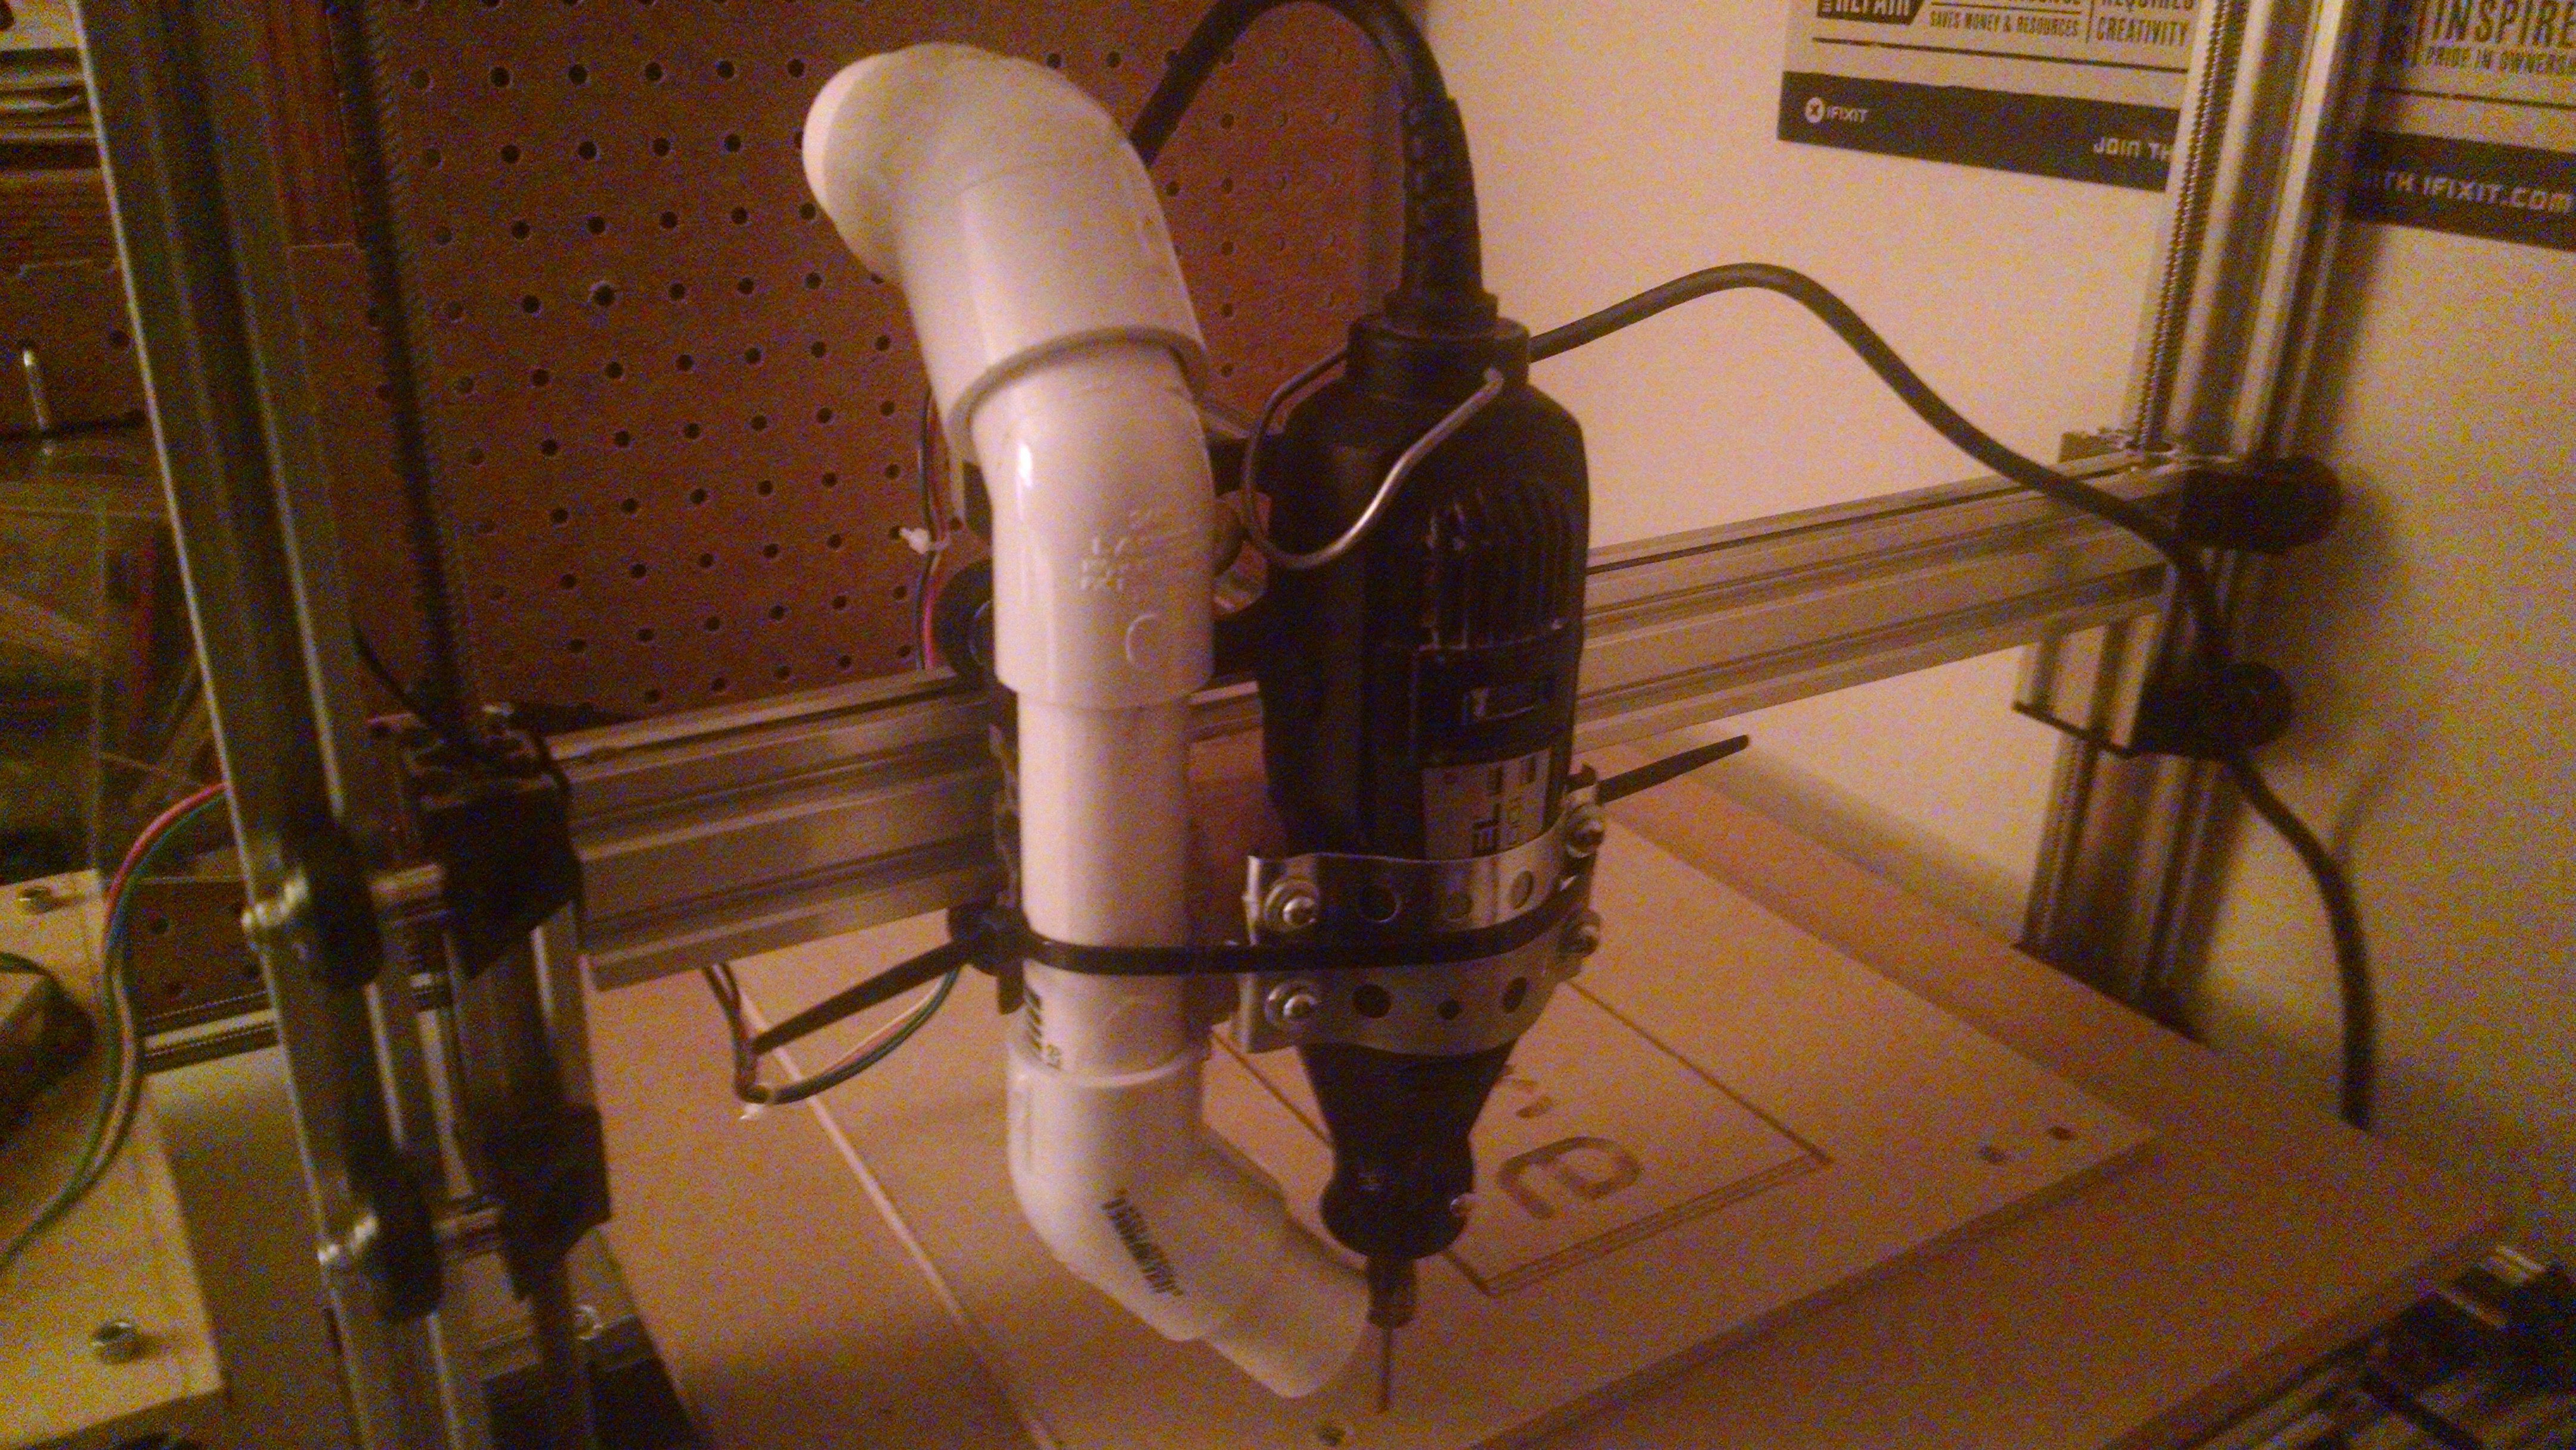
Combo CNC/3D Printer Build
Rebuild of 3D printer to be bigger and better than before
Become a Hackaday.io member
Already have an account? Log in.
Just one more thing
To make the experience fit your profile, pick a username and tell us what interests you.
Pick an awesome username
hackaday.io/
Your profile's URL: hackaday.io/username. Max 25 alphanumeric characters.
Pick a few interests
Projects that share your interests
People that share your interests


 Ian Hunn
 Philip Ian Haasnoot
Have you thought about adding a small suction system to chase the mill to make clean up suck less. ;-)