Nixie Hat for Raspberry Pi you can find here.
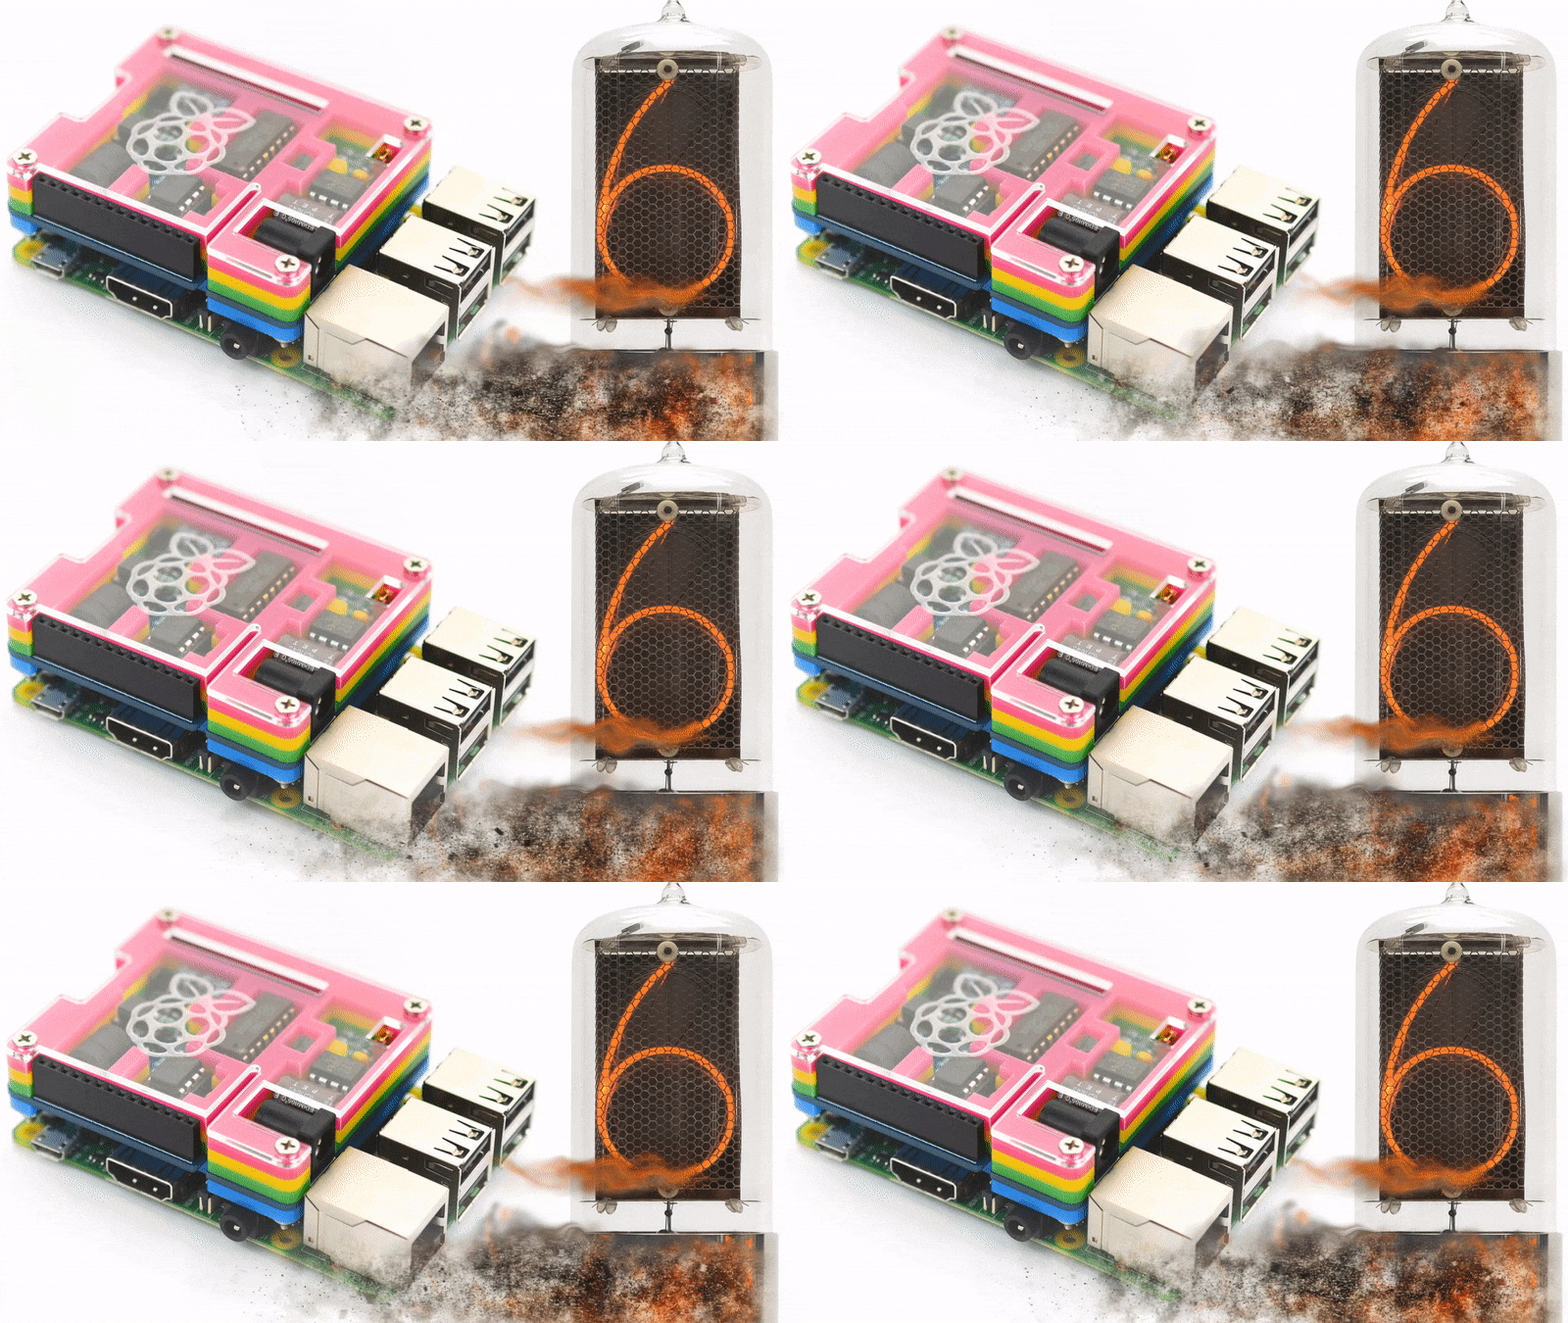
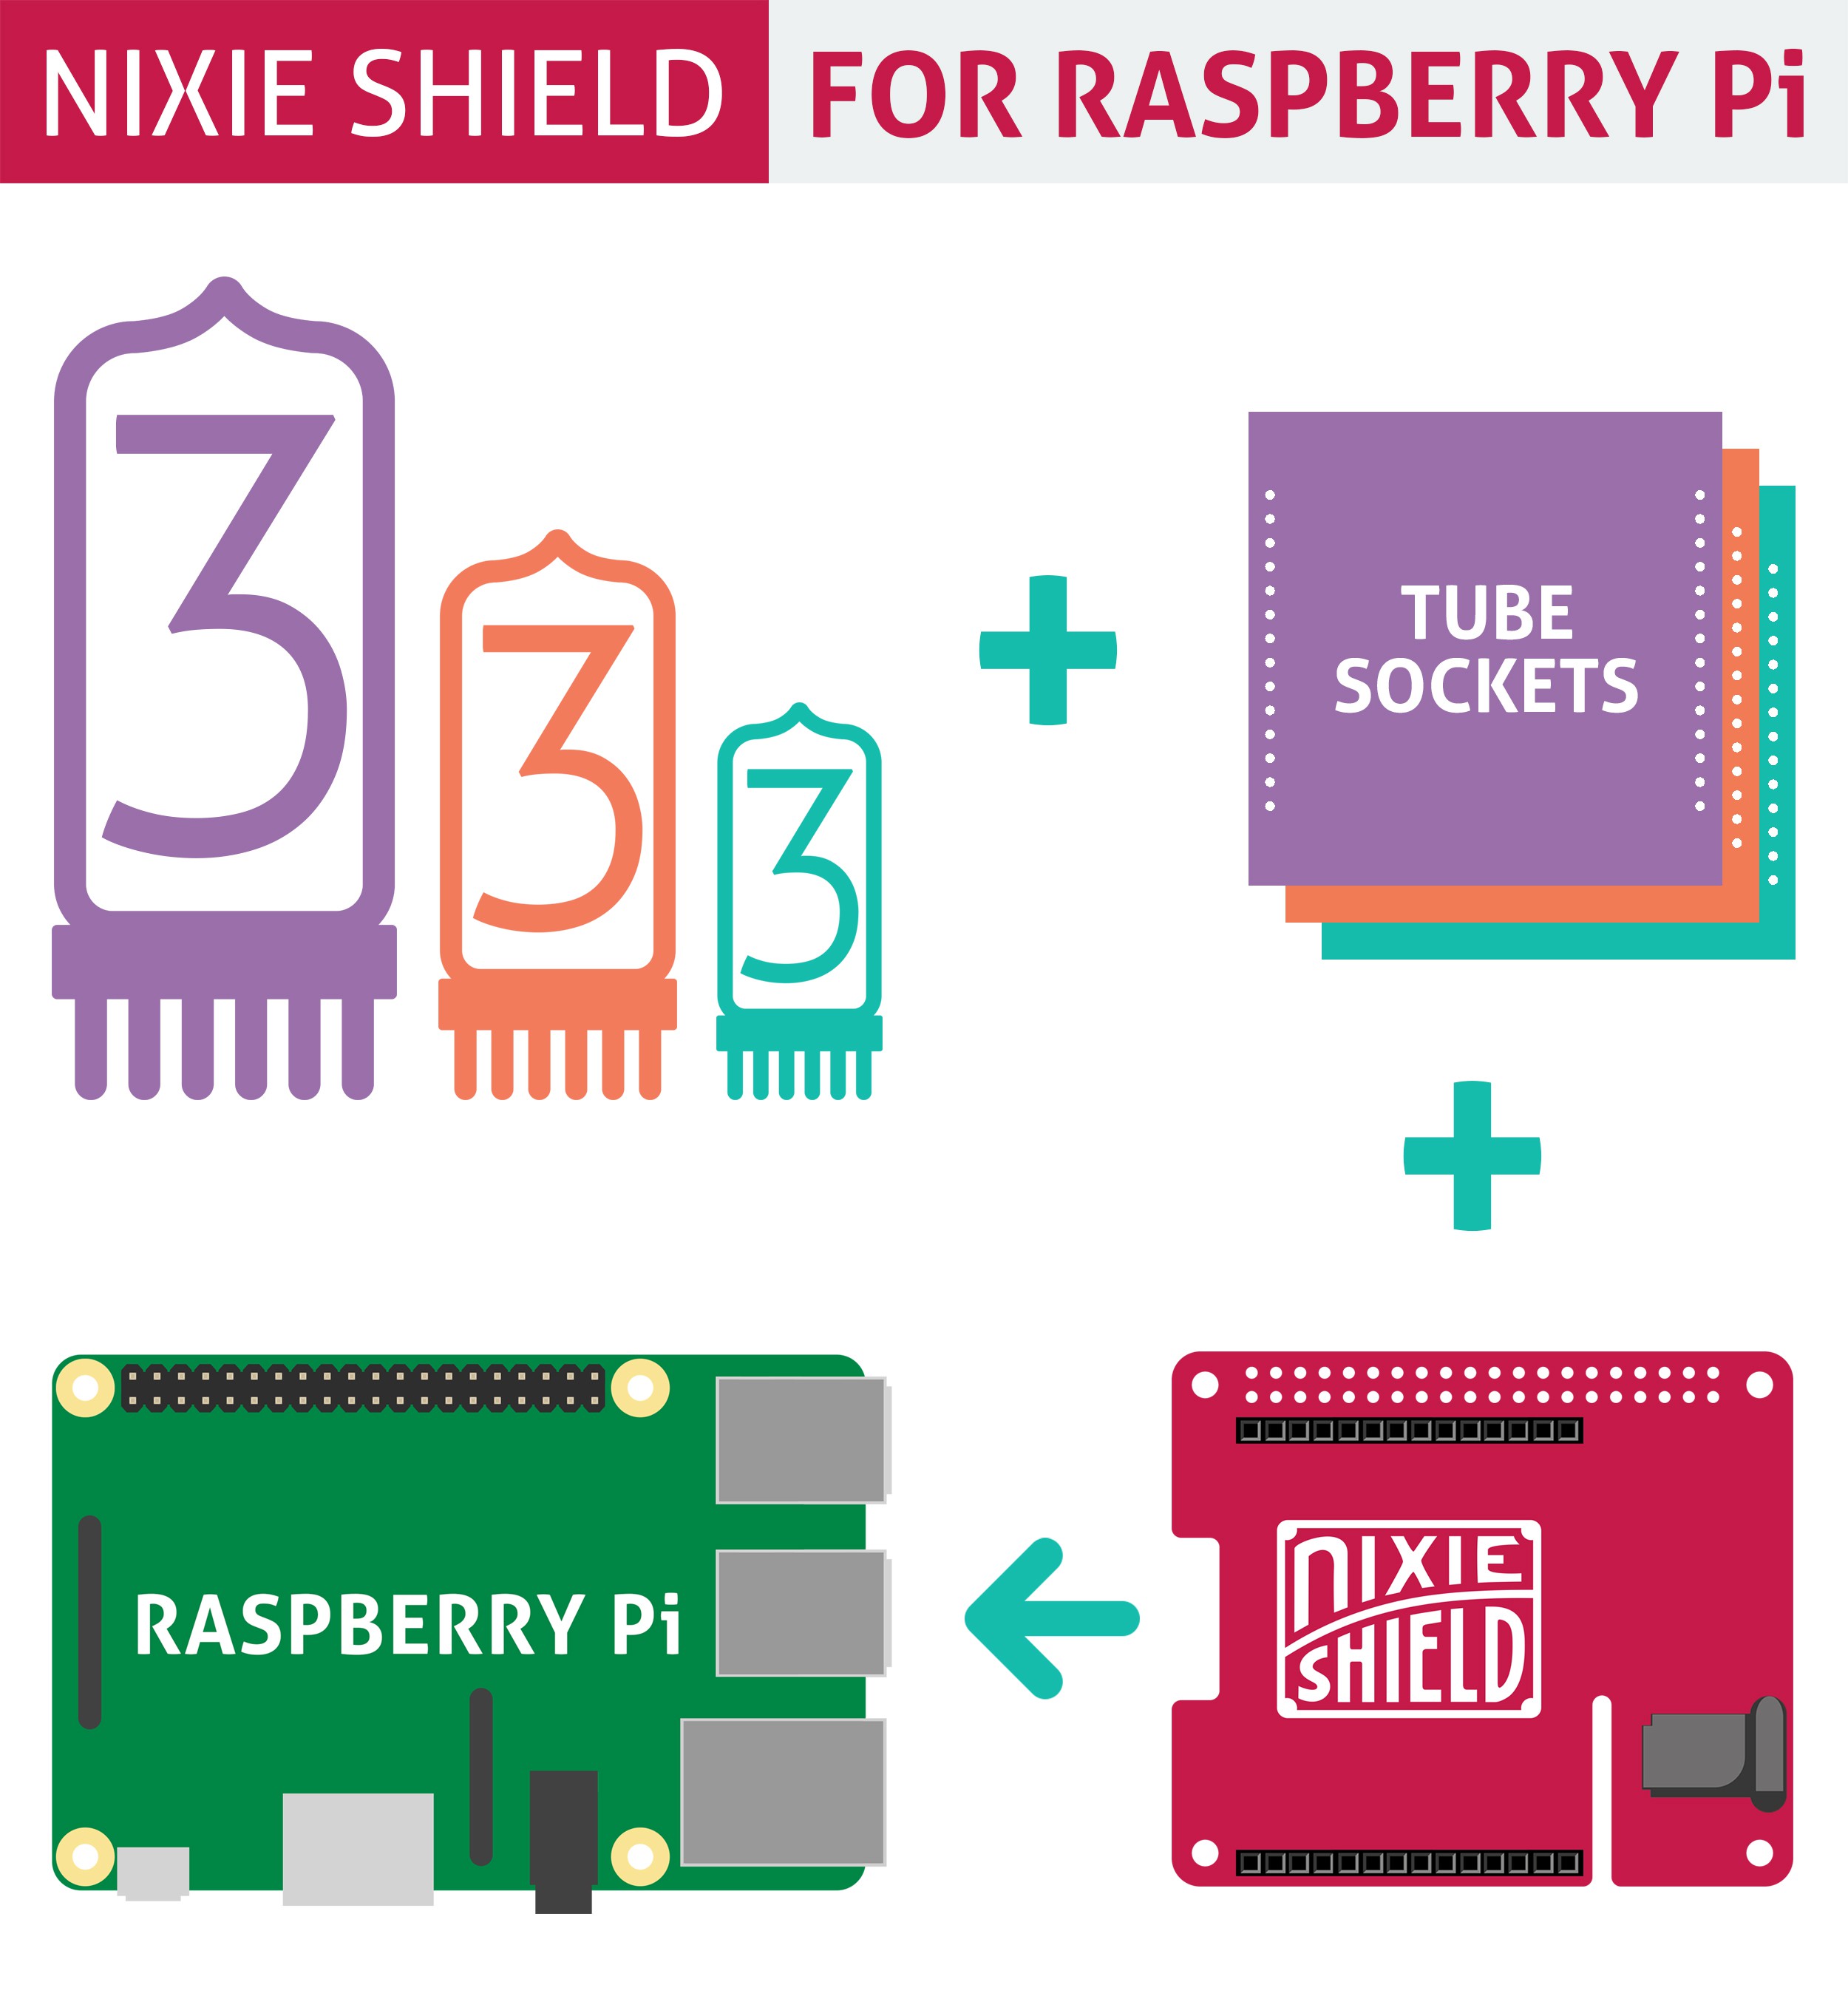
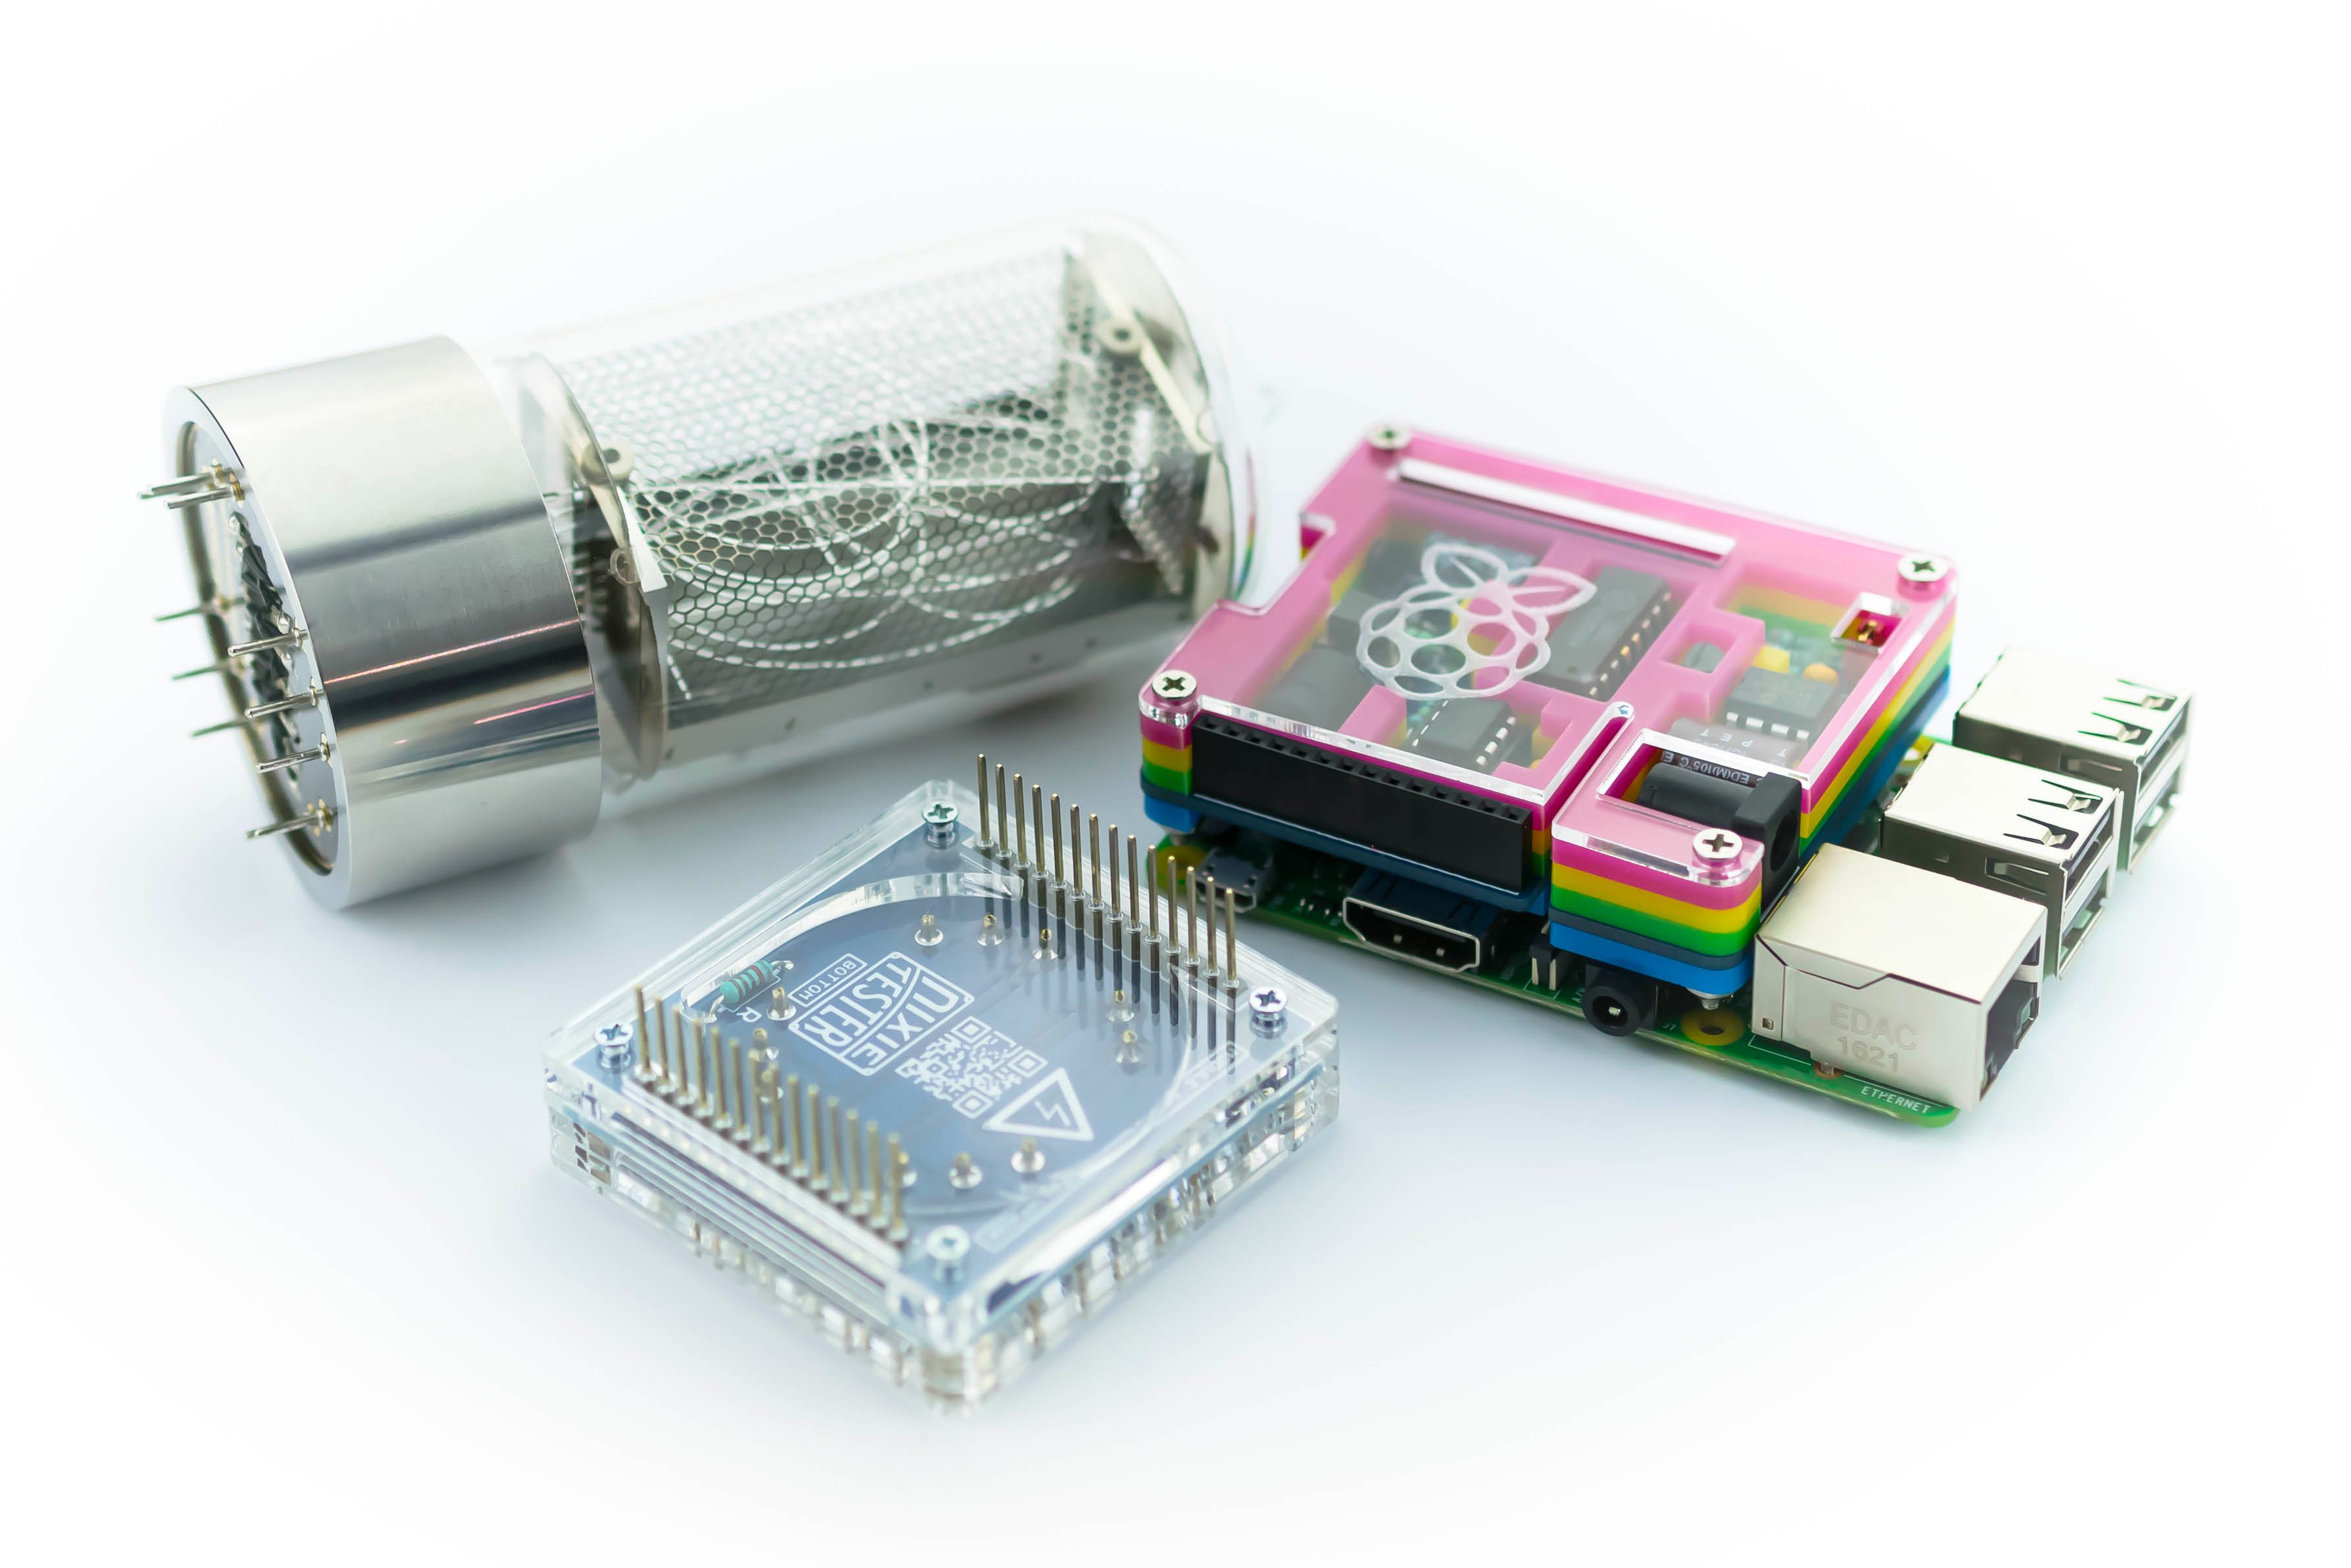
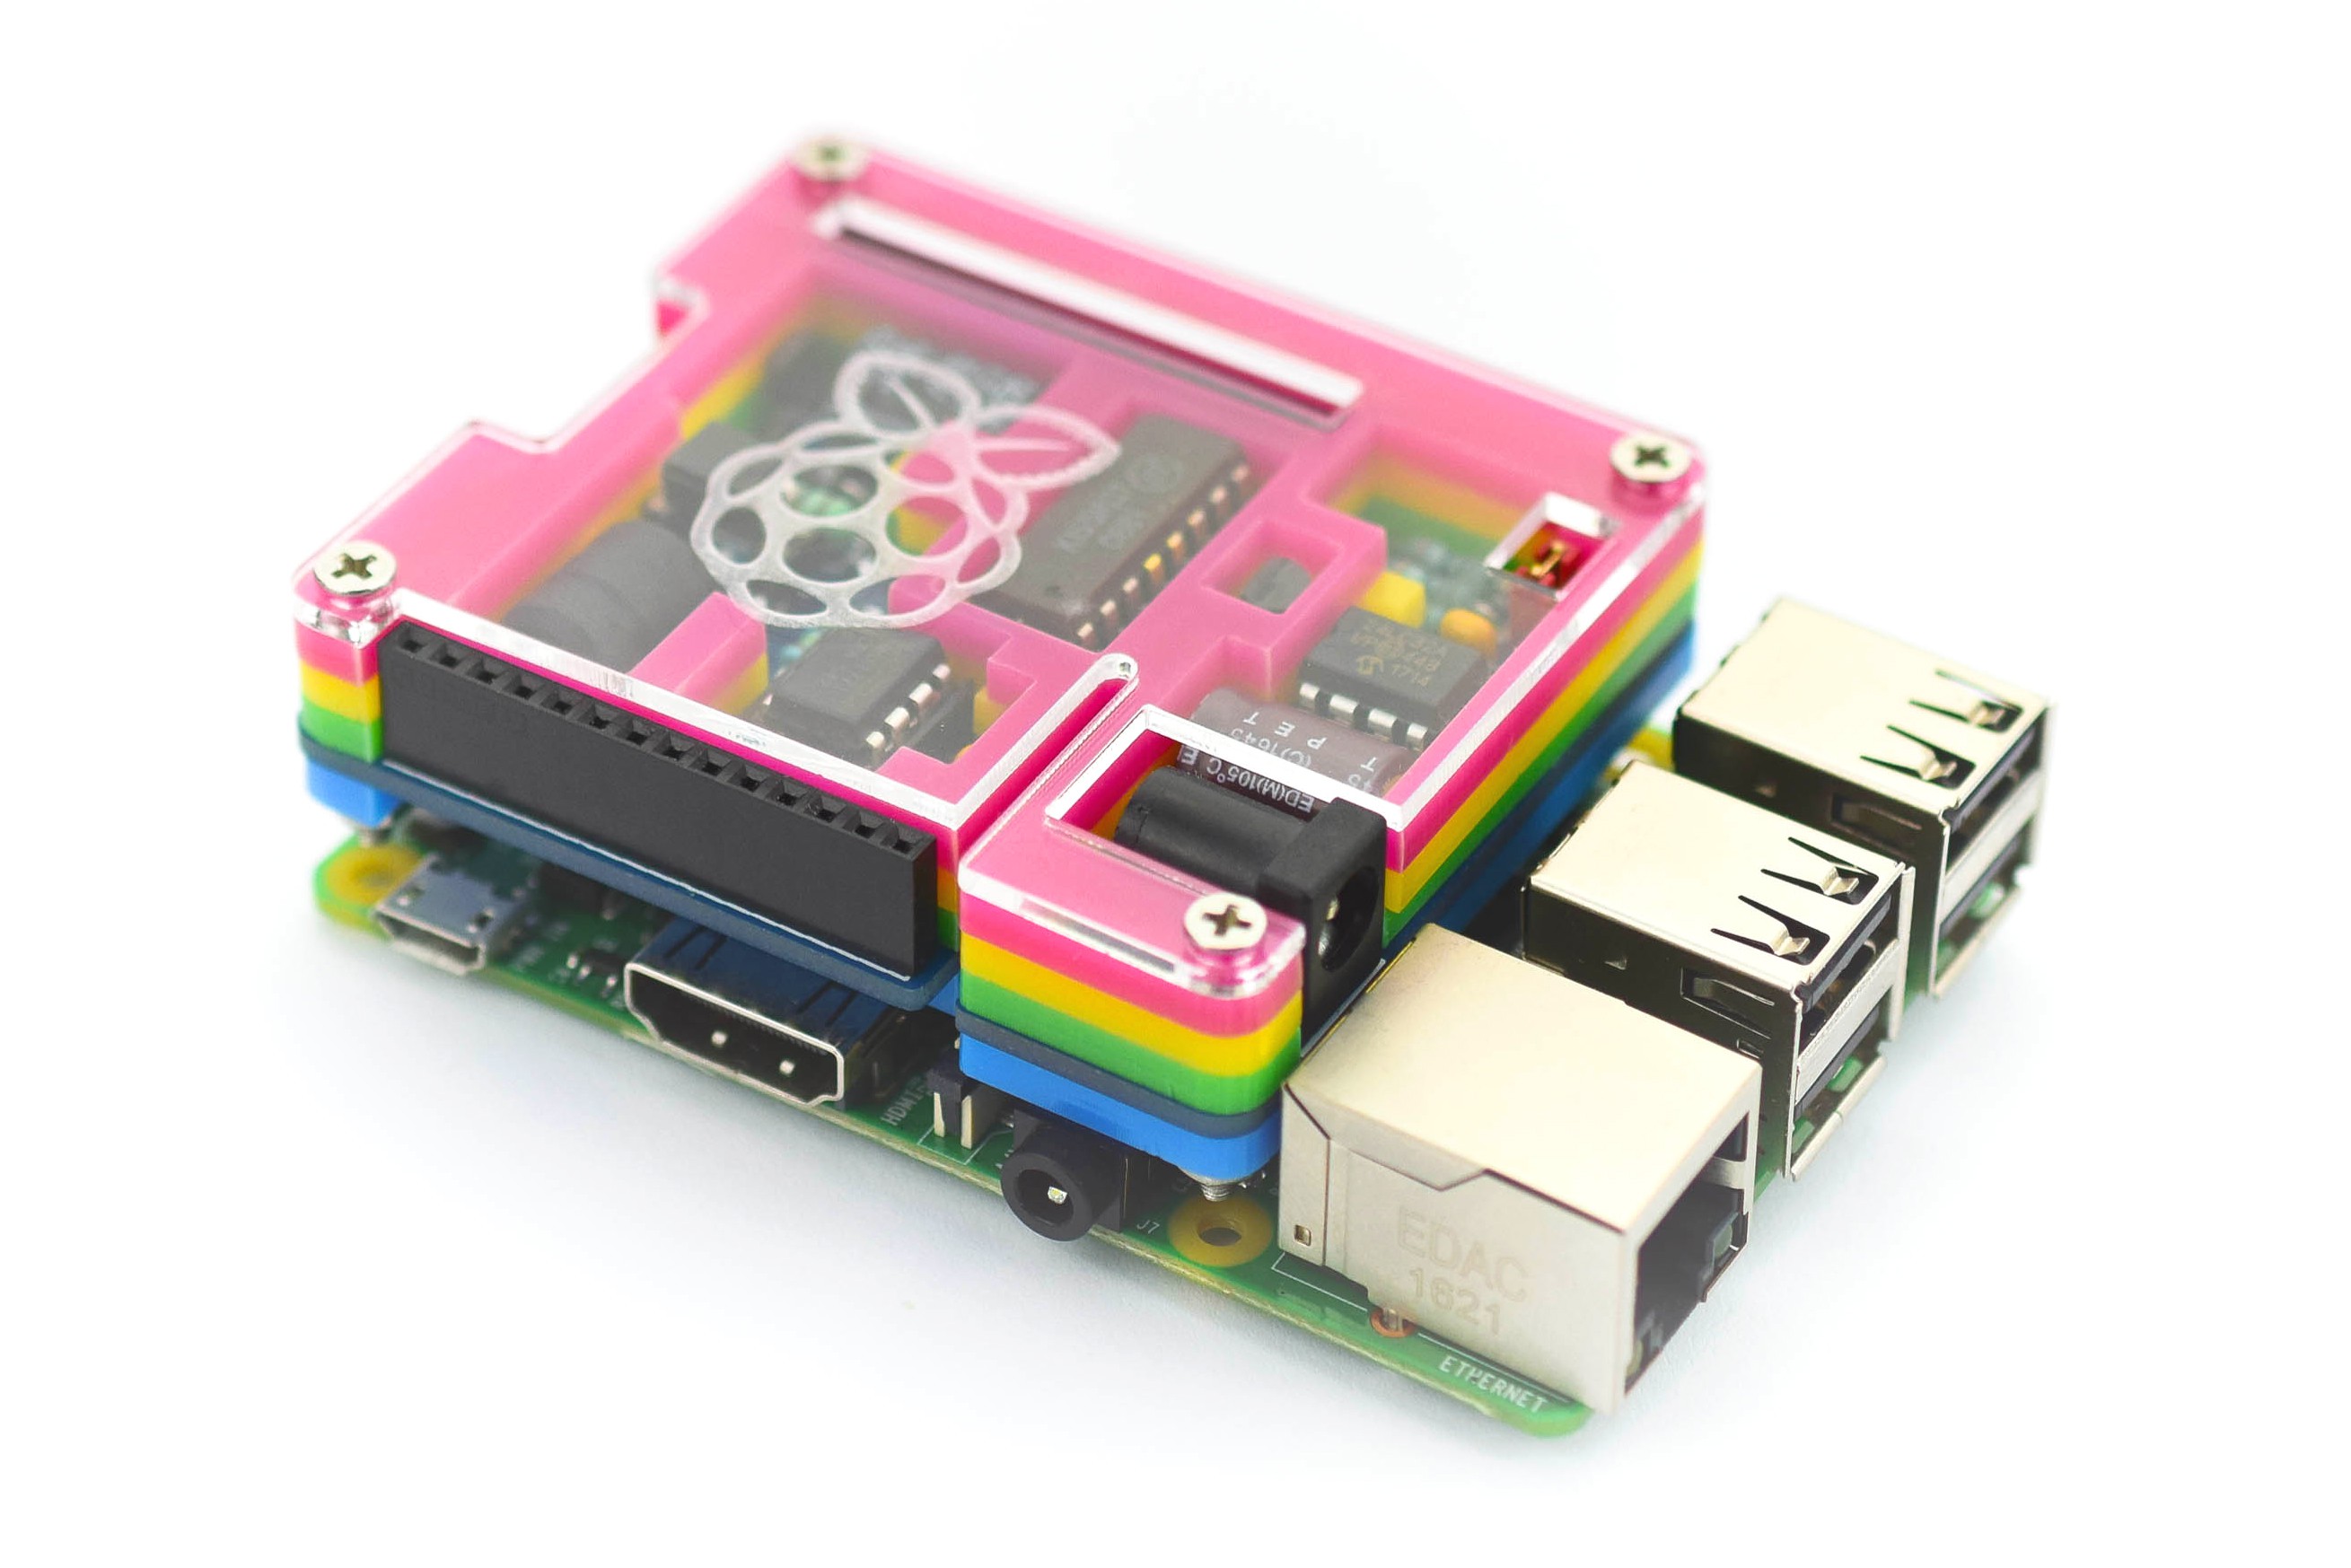
For better understanding what the Nixie Tube Shield is, please take a look on the video below.

PYTHON CODE
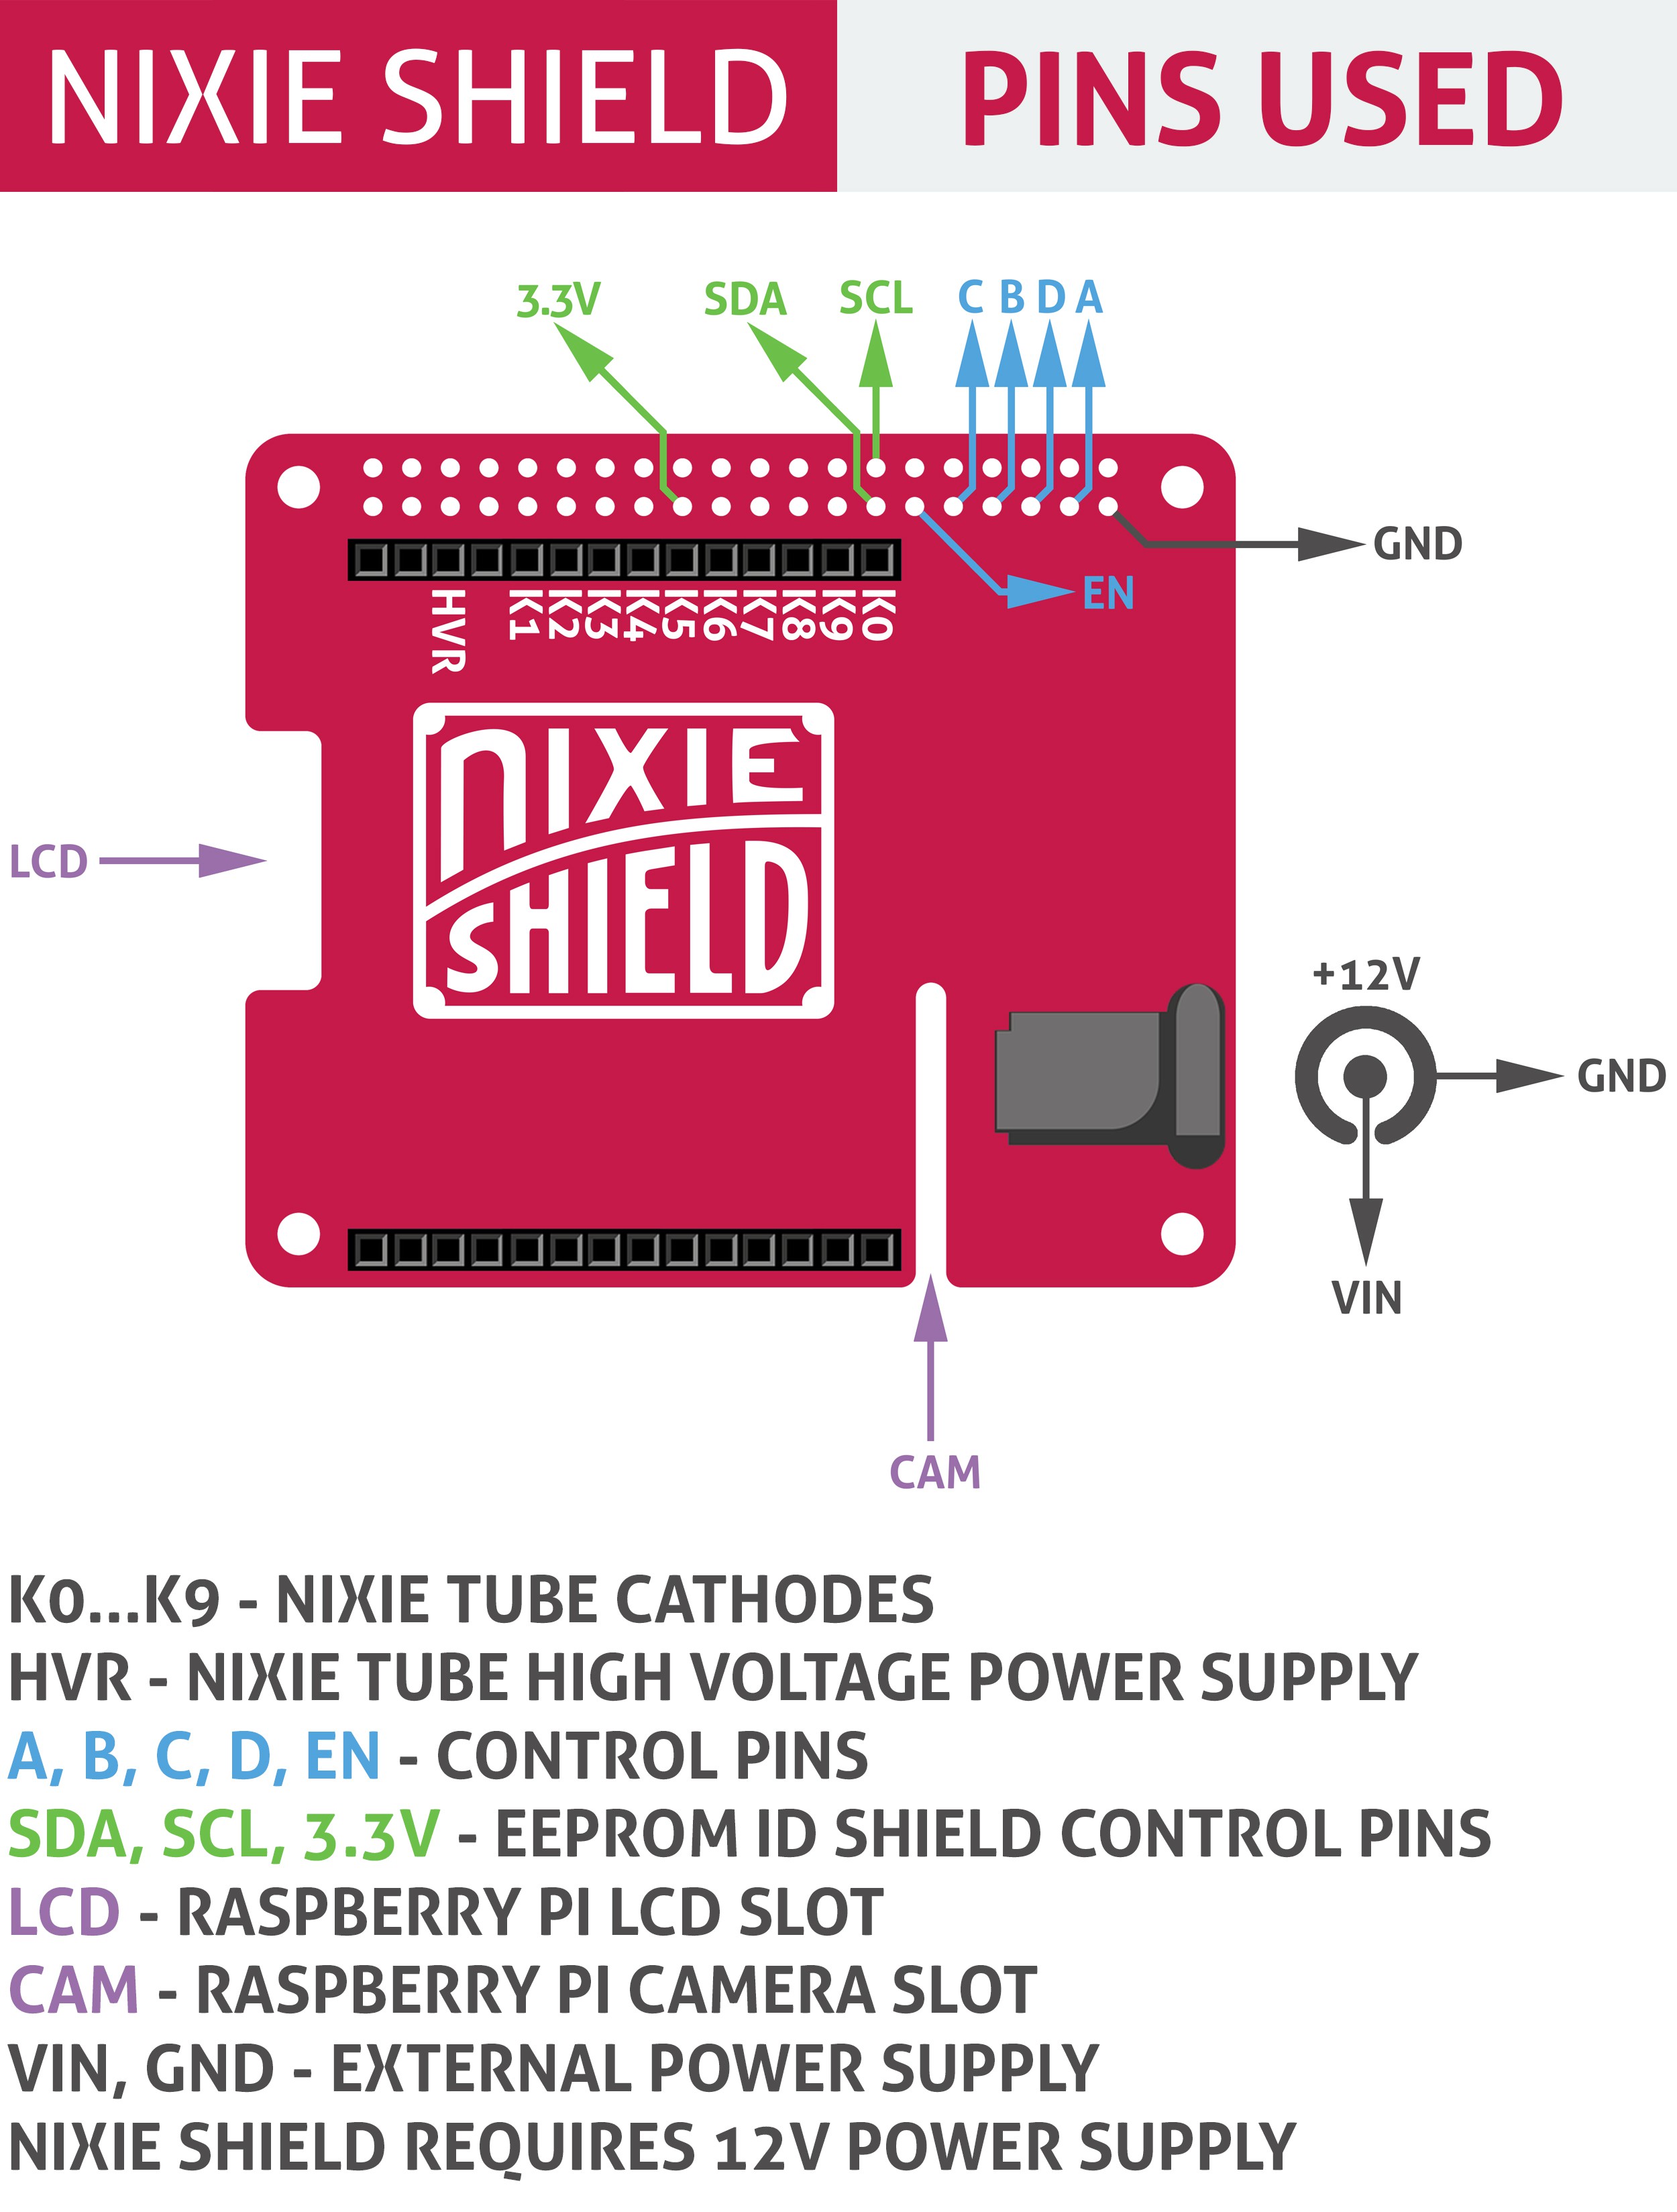
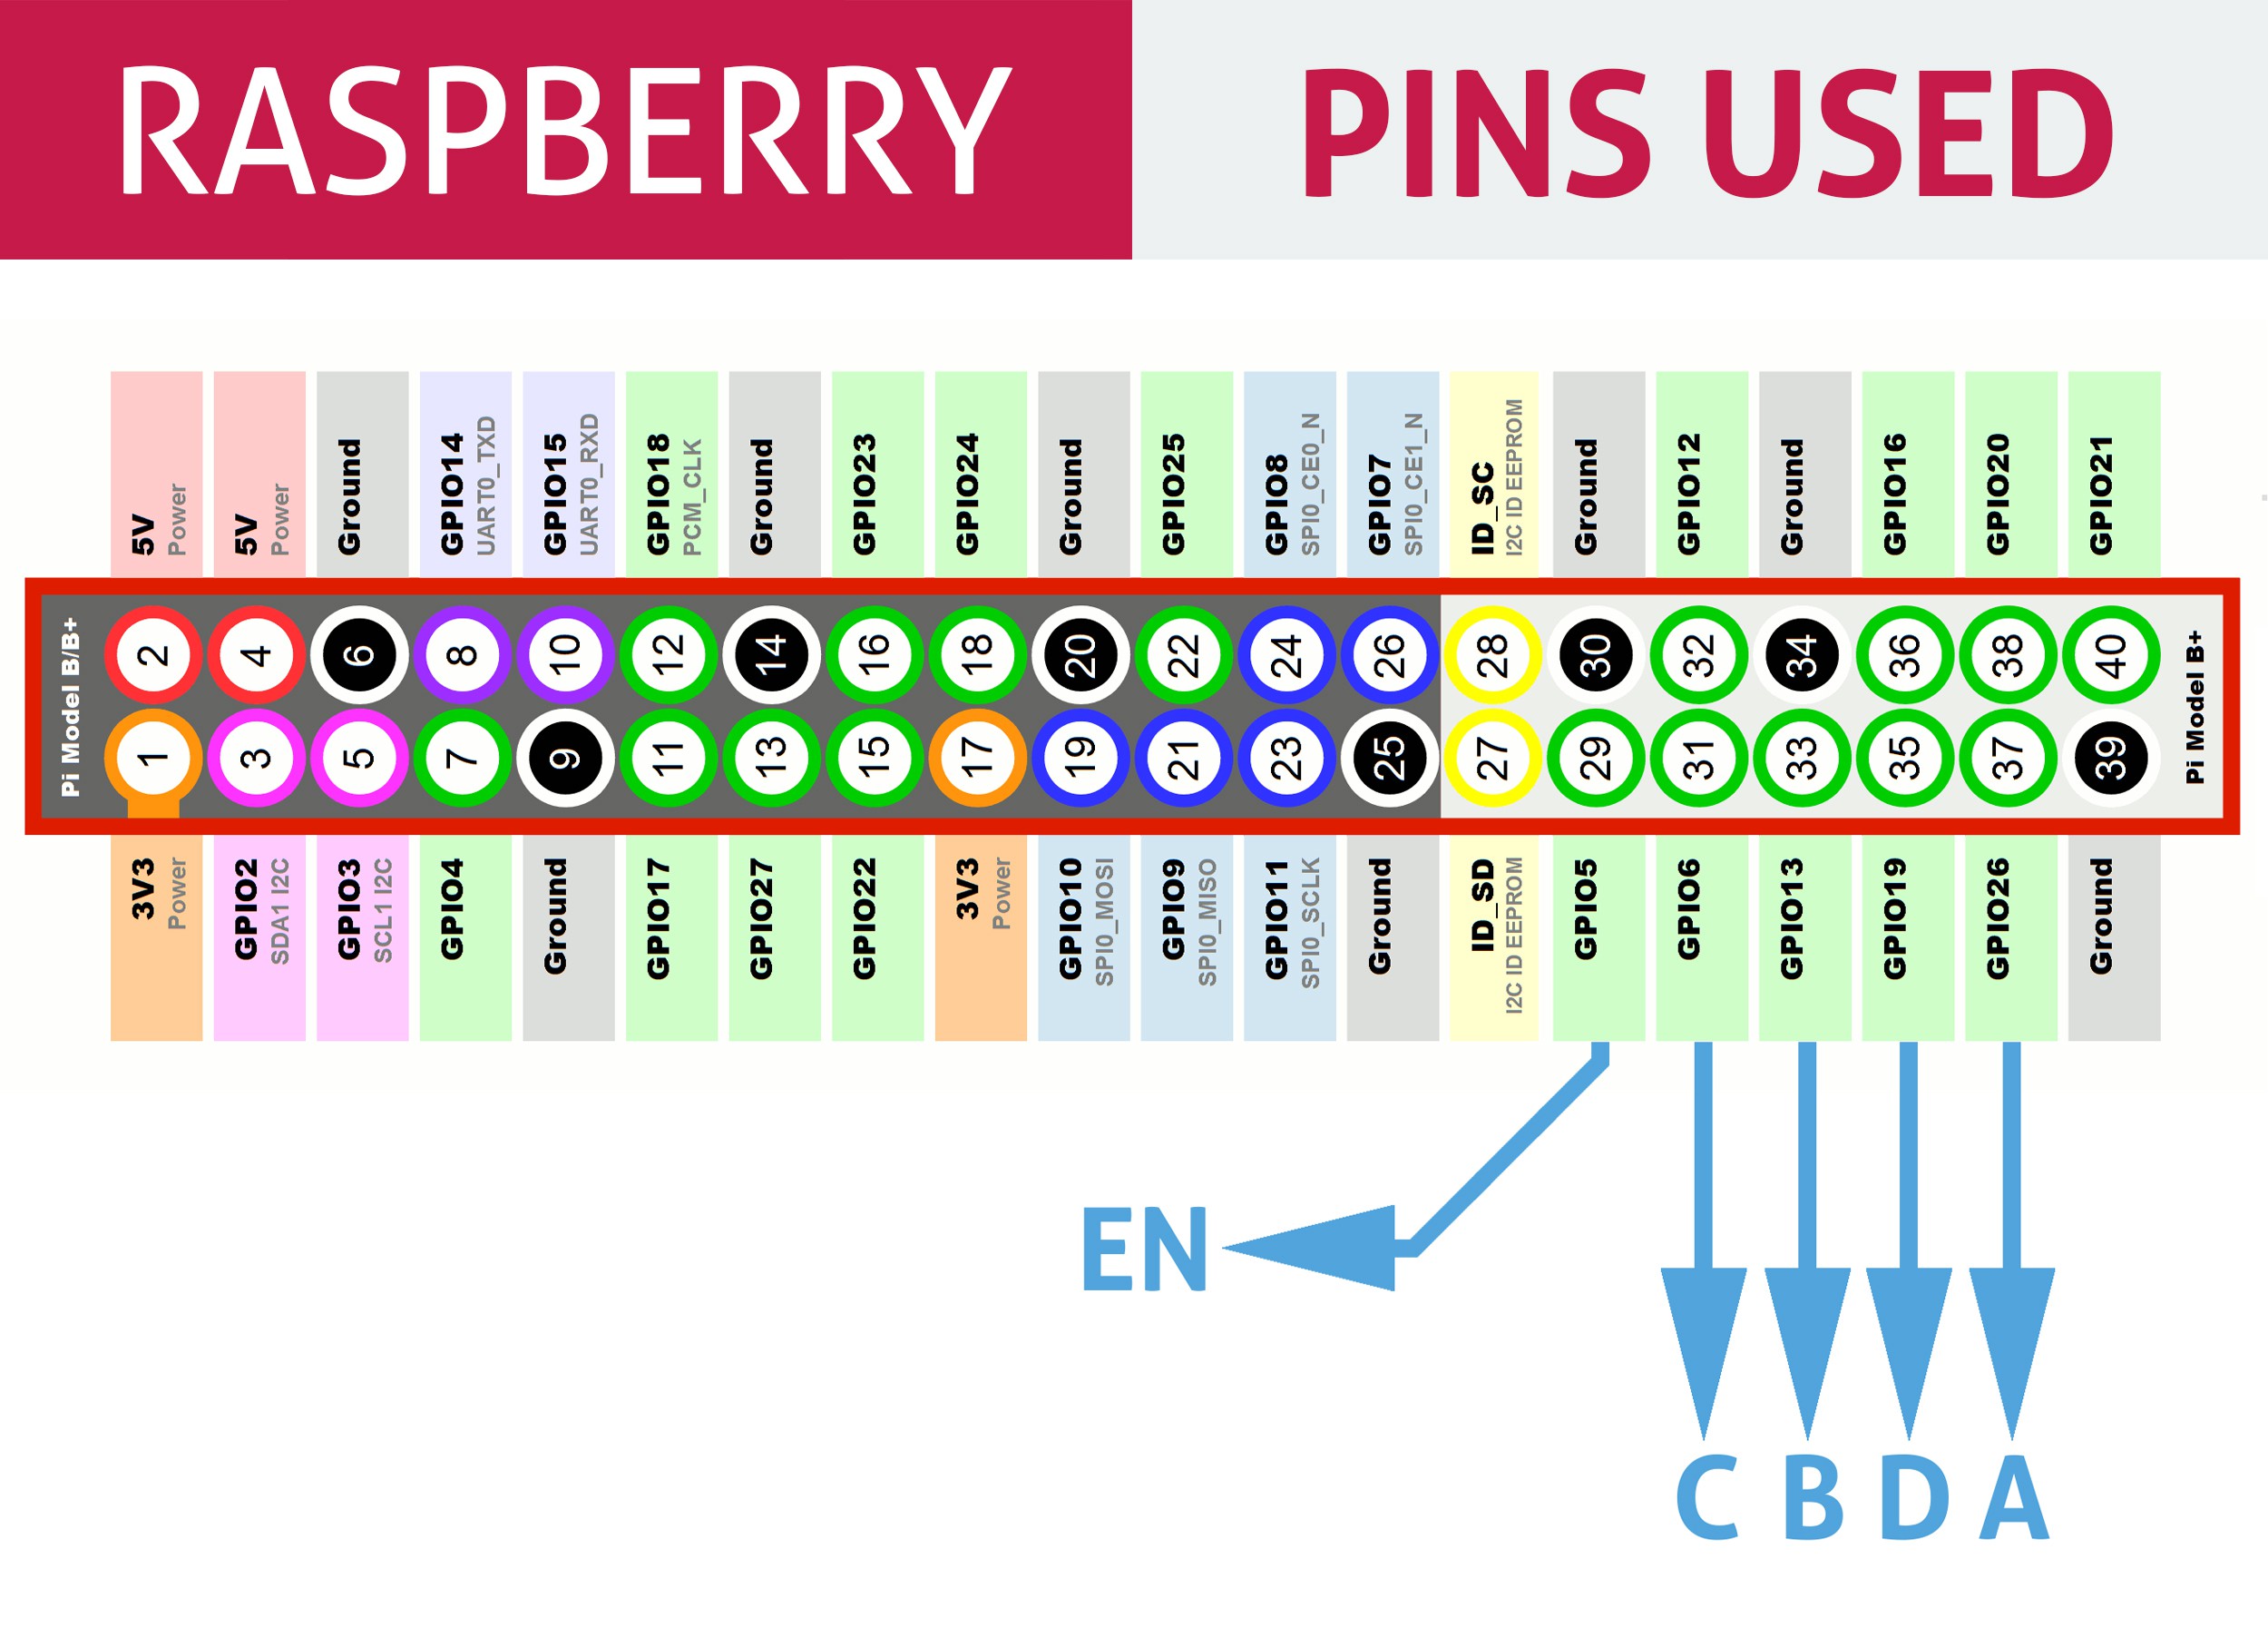
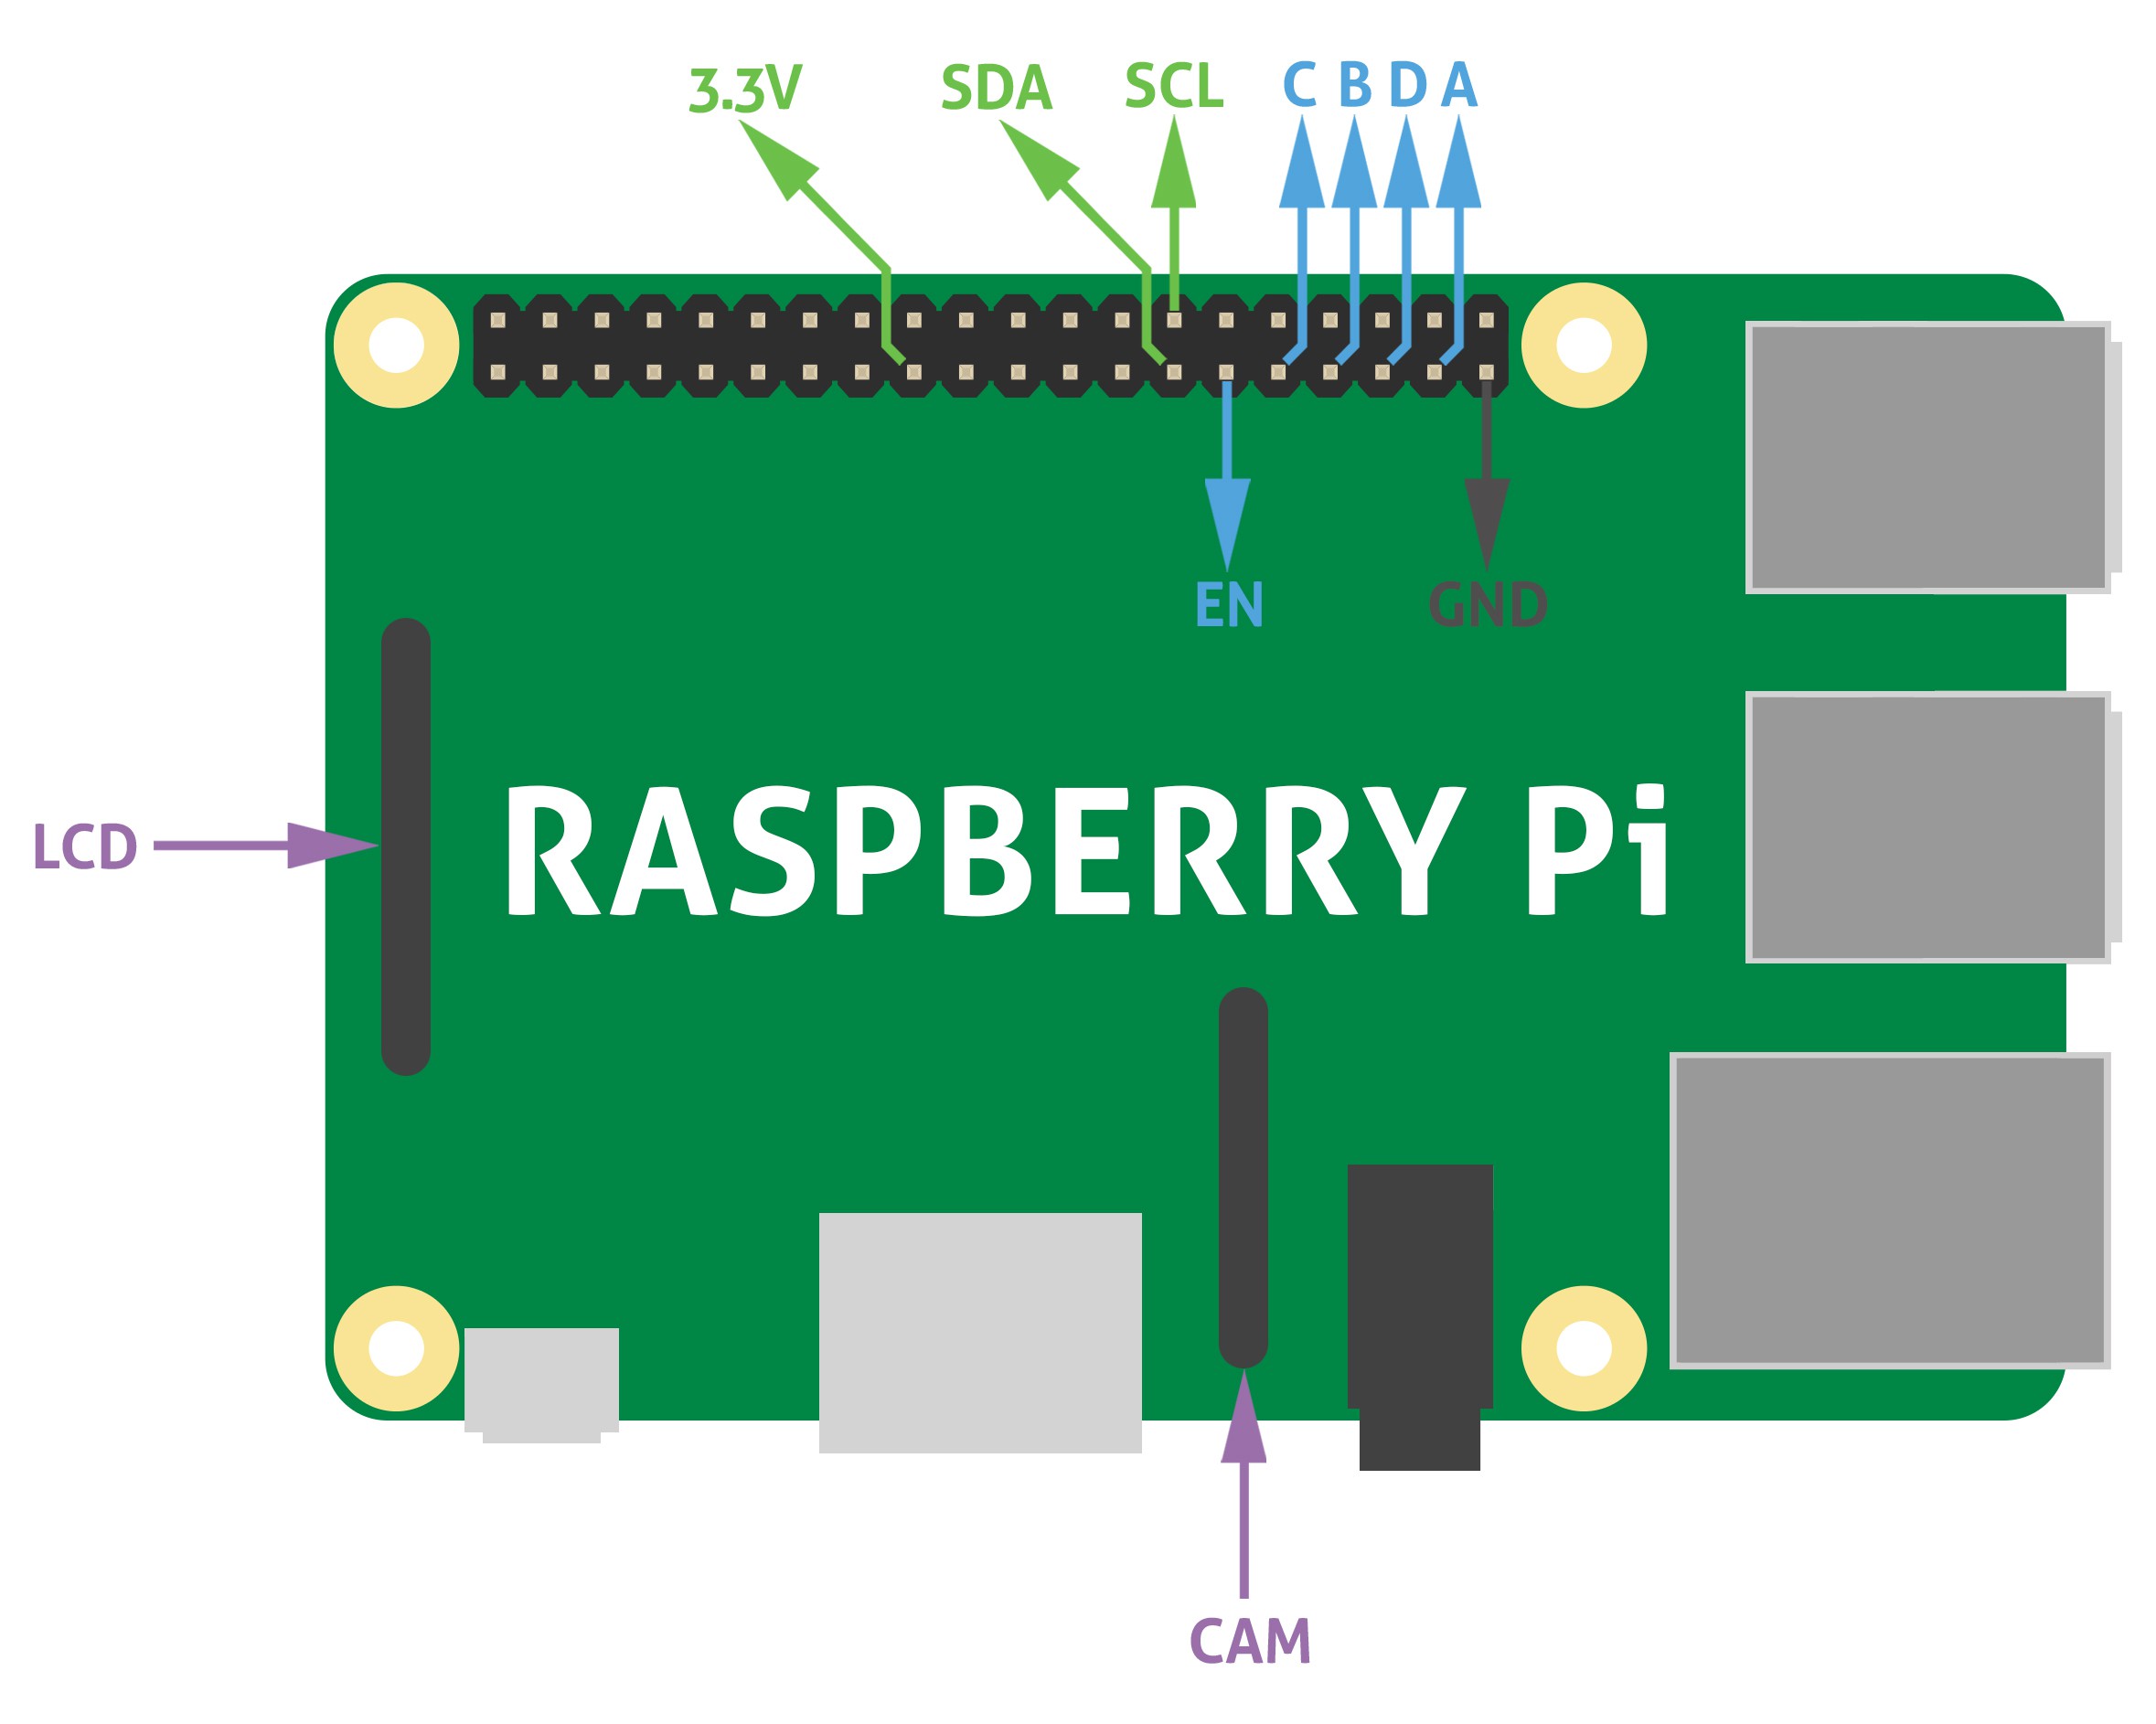
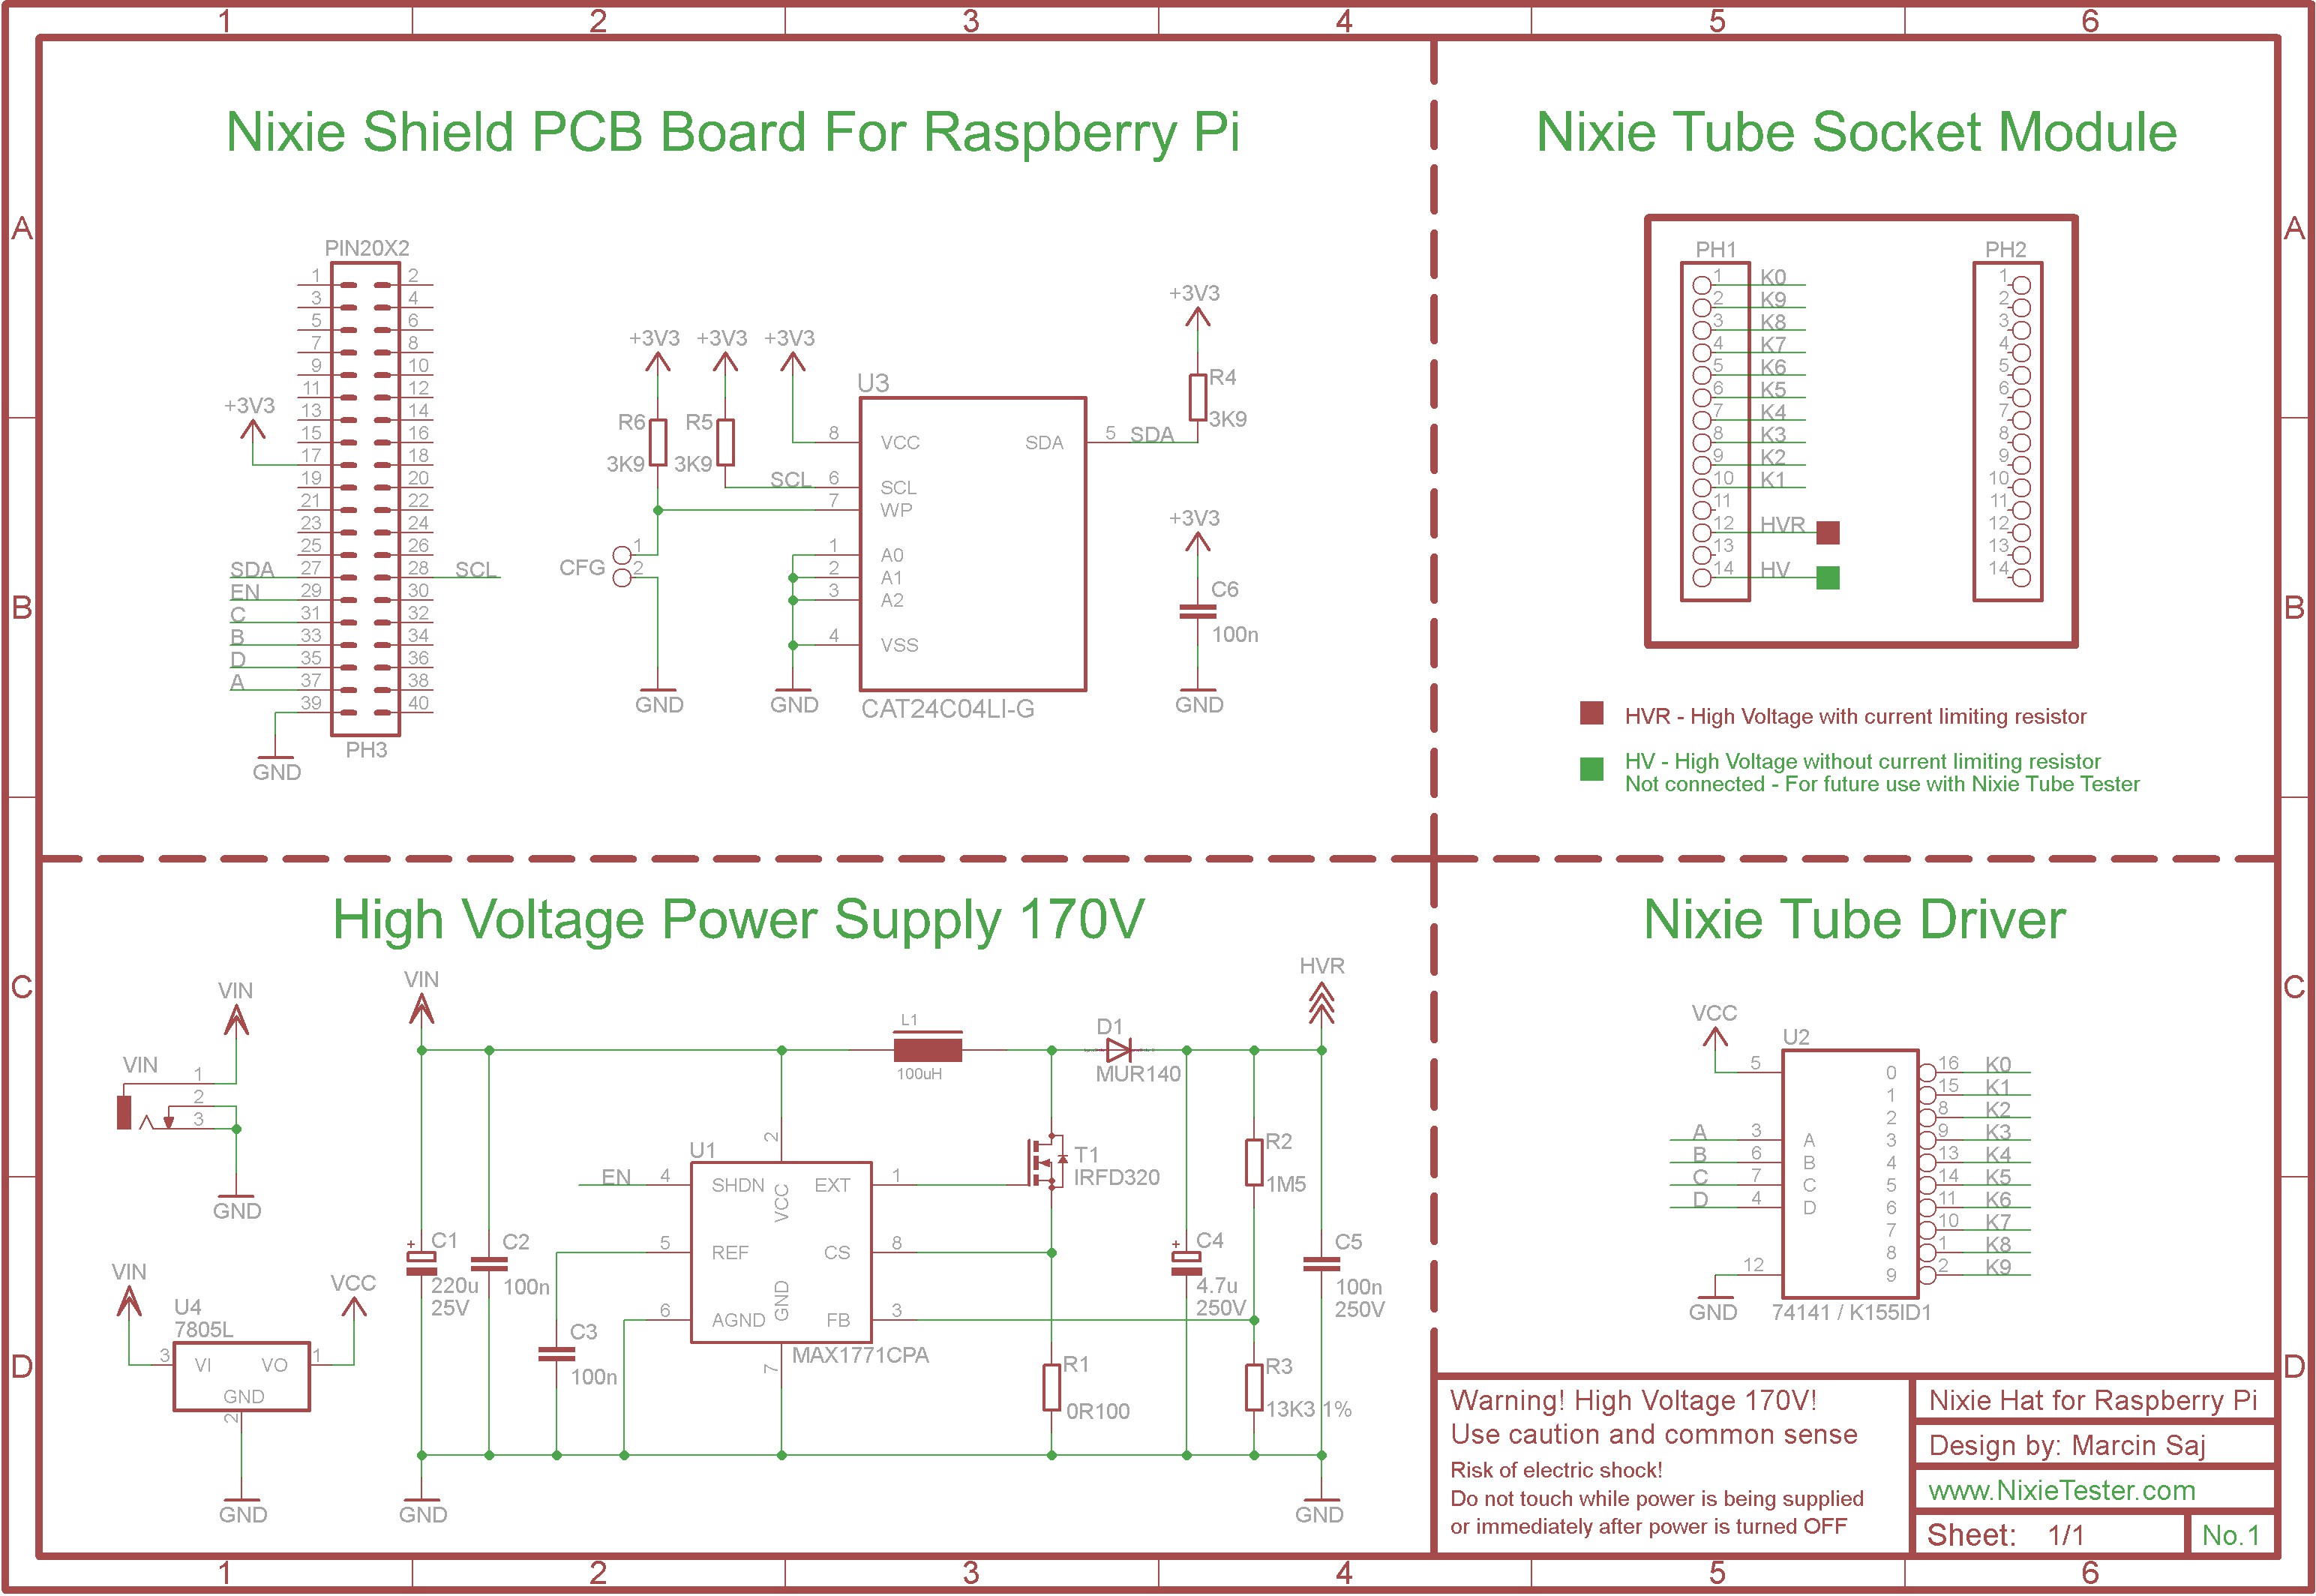
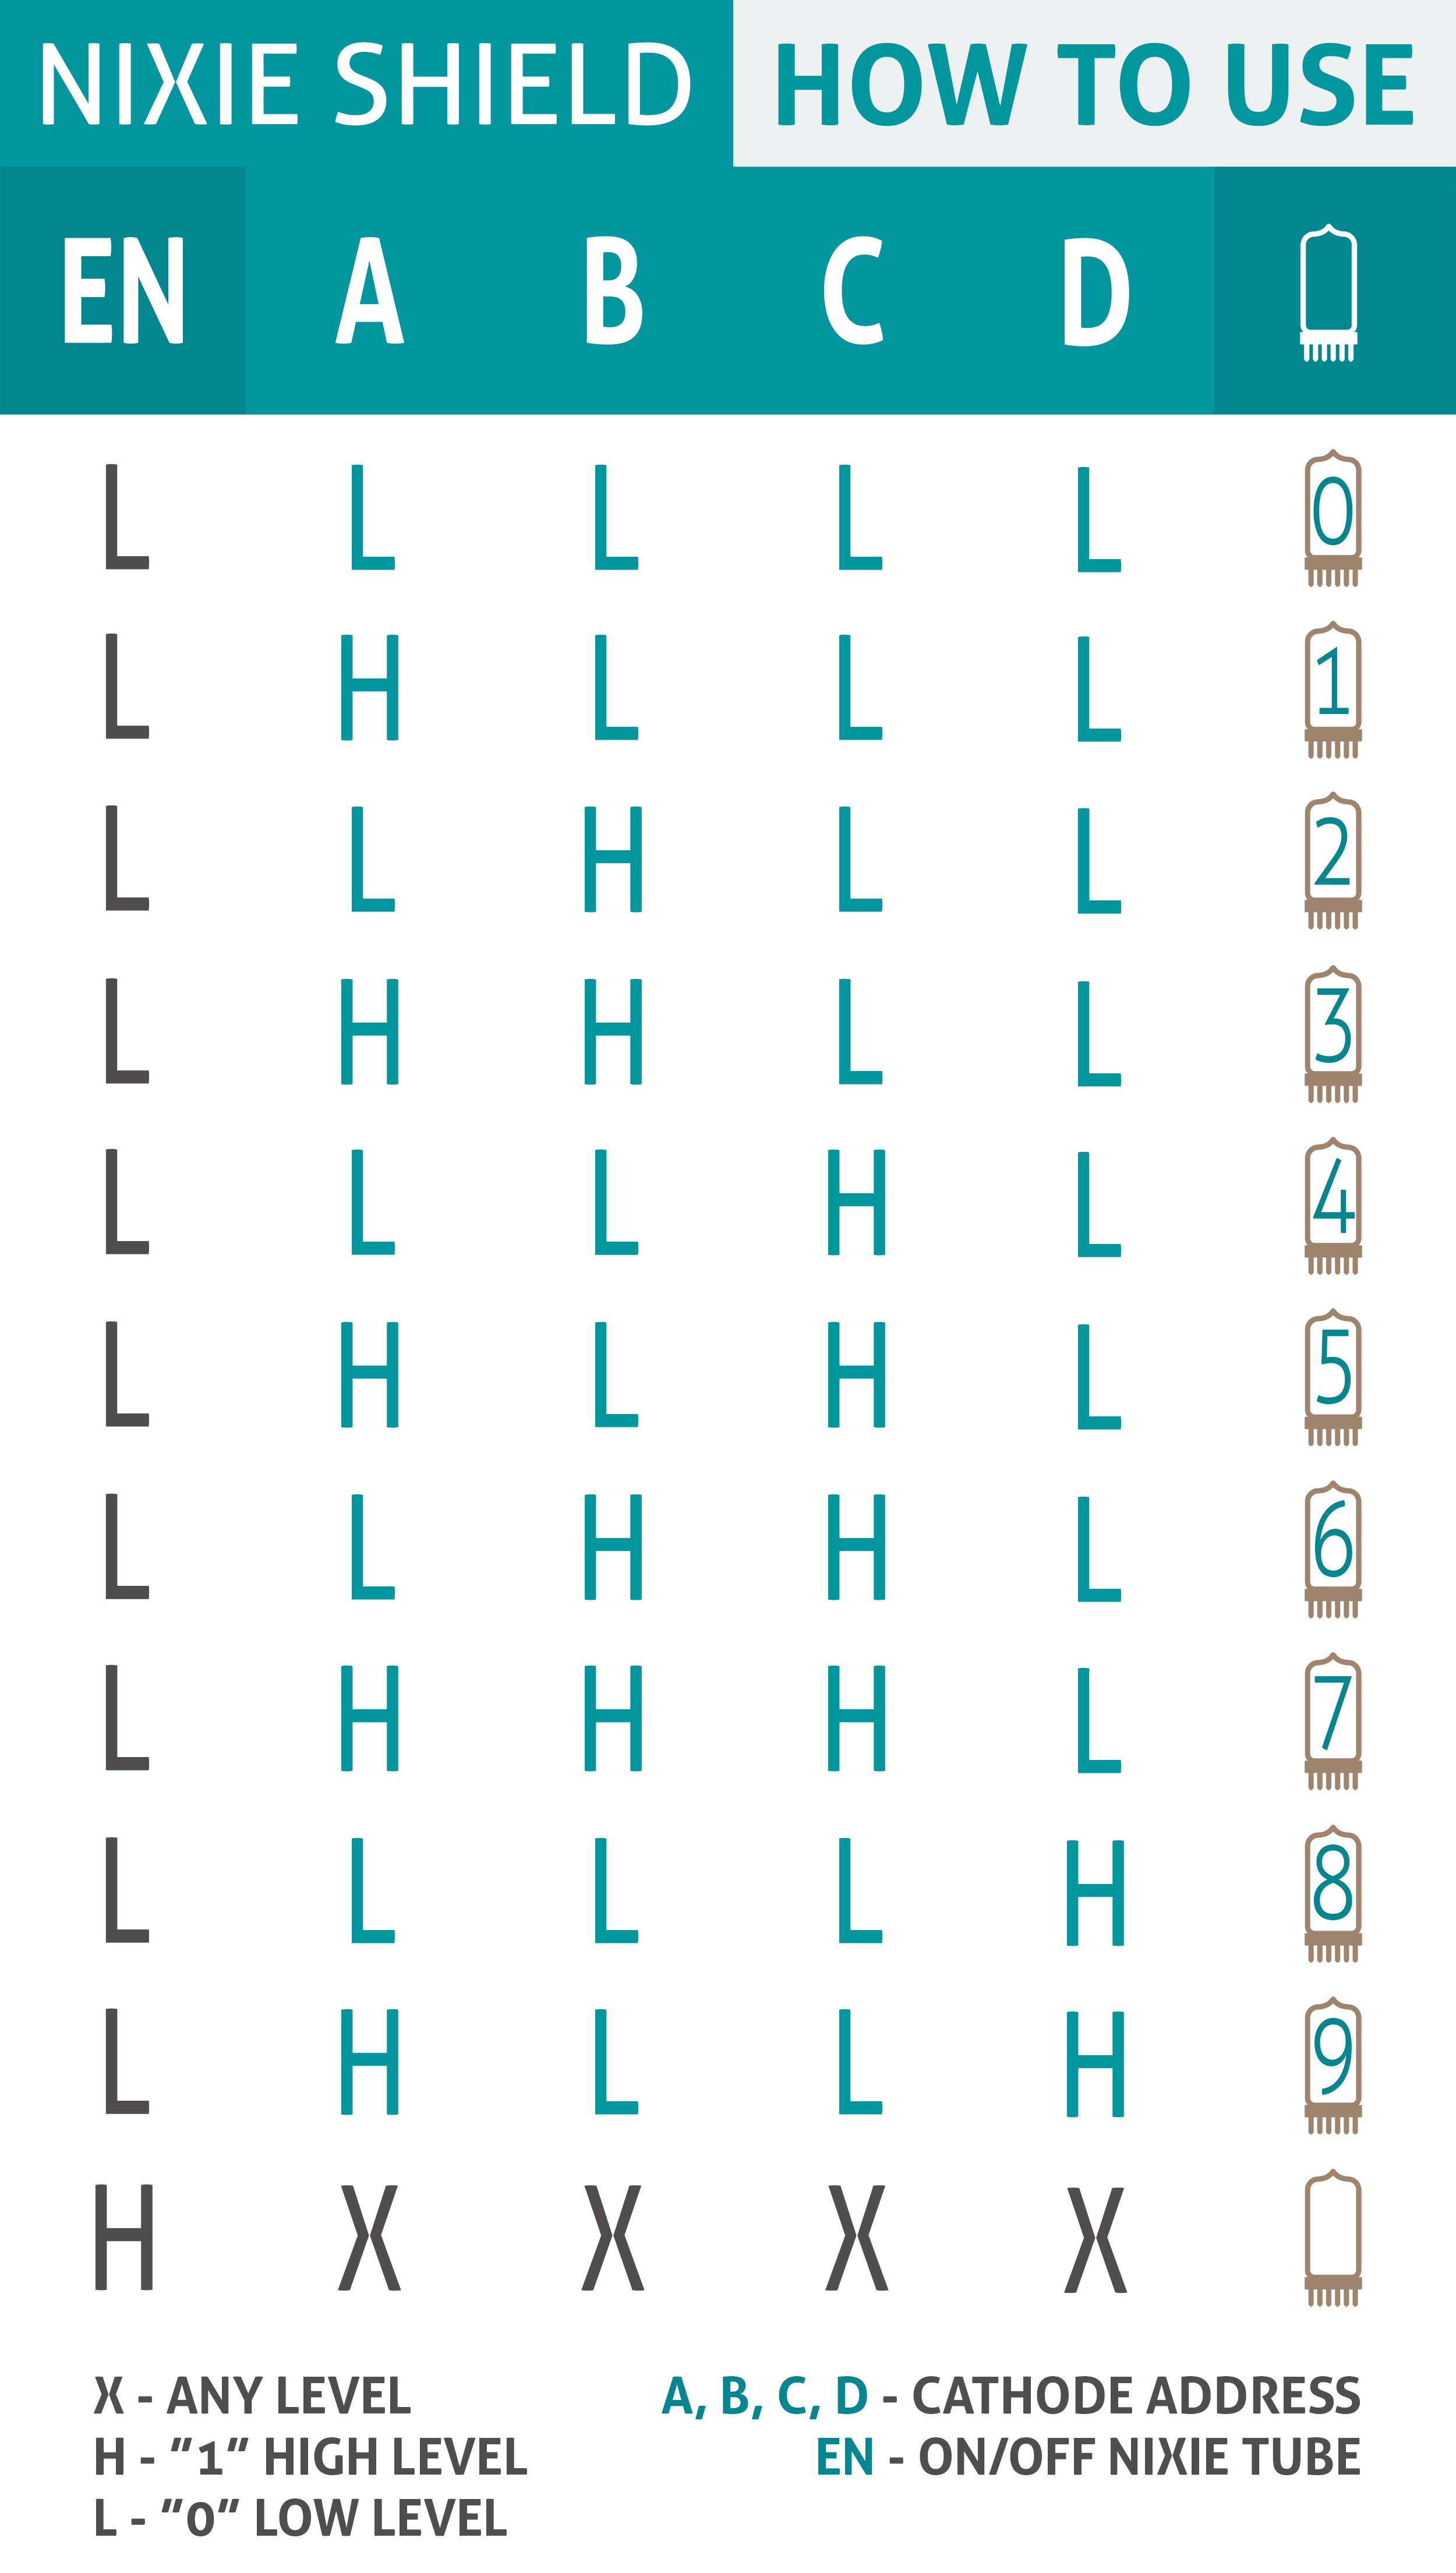
Driving nixie tube by Raspberry Pi is very simple. The Nixie Shield use only five Raspberry Pi pins. Take a look at the following code.
More code examples you can find on github.
'''
Raspberry Nixie Shield Python Basic Example
The Nixie Shield is compatible with Raspberry Pi: 1B+, 2B, 3B, ZERO, ZERO W.
This example shows how to control any nixie tube with a Raspberry Pi using Nixie Shield
Nixie Shield uses five digital outputs to drive nixie tube.
Pin 29 as on/off (EN) line, 31, 33, 35, 37 as an address (A, B, C, D) of nixie tube digit/cathode.
This example code is in the public domain.
https://www.nixietester.com
'''
import time                 # Import time module
import RPi.GPIO as GPIO     # Import RPi.GPIO module as just GPIO

GPIO.setmode(GPIO.BOARD)    # Declare the type of GPIO numbering system
GPIO.setwarnings(False)     # Disable warnings

# Pin definitions / Nixie tube digit address:
EN = 29                     # On/Off Nixie tube
A = 37
B = 33
C = 31
D = 35

GPIO.setup(EN,GPIO.OUT)     # Set up a channel EN as an output
GPIO.setup(A,GPIO.OUT)      # Set up a channel A as an output
GPIO.setup(B,GPIO.OUT)      # Set up a channel B as an output
GPIO.setup(C,GPIO.OUT)      # Set up a channel C as an output
GPIO.setup(D,GPIO.OUT)      # Set up a channel D as an output

GPIO.output(EN,GPIO.LOW)    # Turn on the Nixie Tube

# set address of the tube cathode '0':
                            #   ___
GPIO.output(A,GPIO.LOW)     #  |   |
GPIO.output(B,GPIO.LOW)     #  |   |
GPIO.output(C,GPIO.LOW)     #  |   |
GPIO.output(D,GPIO.LOW)     #  |___|
time.sleep(1)

# set address of the tube cathode '1':

GPIO.output(A,GPIO.HIGH)    #   /|
GPIO.output(B,GPIO.LOW)     #  / |
GPIO.output(C,GPIO.LOW)     #    |
GPIO.output(D,GPIO.LOW)     #    |
time.sleep(1)

# set address of the tube cathode '2':
                            #   ___
GPIO.output(A,GPIO.LOW)     #      |
GPIO.output(B,GPIO.HIGH)    #   ___|
GPIO.output(C,GPIO.LOW)     #  |
GPIO.output(D,GPIO.LOW)     #  |___
time.sleep(1)

# set address of the tube cathode '3':
                            #   ___
GPIO.output(A,GPIO.HIGH)    #      |
GPIO.output(B,GPIO.HIGH)    #   ___|
GPIO.output(C,GPIO.LOW)     #      |
GPIO.output(D,GPIO.LOW)     #   ___|
time.sleep(1)

# set address of the tube cathode '4':

GPIO.output(A,GPIO.LOW)     #  |   |
GPIO.output(B,GPIO.LOW)     #  |___|
GPIO.output(C,GPIO.HIGH)    #      |
GPIO.output(D,GPIO.LOW)     #      |
time.sleep(1)

# set address of the tube cathode '5':
                            #   ___
GPIO.output(A,GPIO.HIGH)    #  |
GPIO.output(B,GPIO.LOW)     #  |___
GPIO.output(C,GPIO.HIGH)    #      |
GPIO.output(D,GPIO.LOW)     #   ___|
time.sleep(1)

# set address of the tube cathode '6':
                            #   ___
GPIO.output(A,GPIO.LOW)     #  |
GPIO.output(B,GPIO.HIGH)    #  |___
GPIO.output(C,GPIO.HIGH)    #  |   |
GPIO.output(D,GPIO.LOW)     #  |___|
time.sleep(1)

# set address of the tube cathode '7':
                            #   ___
GPIO.output(A,GPIO.HIGH)    #      |
GPIO.output(B,GPIO.HIGH)    #      |
GPIO.output(C,GPIO.HIGH)    #      |
GPIO.output(D,GPIO.LOW)     #      |
time.sleep(1)

# set address of the tube cathode '8':
                            #   ___
GPIO.output(A,GPIO.LOW)     #  |   |
GPIO.output(B,GPIO.LOW)     #  |___|
GPIO.output(C,GPIO.LOW)     #  |   |
GPIO.output(D,GPIO.HIGH)    #  |___|
time.sleep(1)

# set address of the tube cathode '9':
                            #   ___
GPIO.output(A,GPIO.HIGH)    #  |   |
GPIO.output(B,GPIO.LOW)     #  |___|
GPIO.output(C,GPIO.LOW)     #      |
GPIO.output(D,GPIO.HIGH)    #   ___|
time.sleep(1)

GPIO.output(EN,GPIO.HIGH)   # Turn off the Nixie Tube
time.sleep(1)

GPIO.cleanup()              # Cleanup GPIO on exit

 Marcin Saj

 Dmitry