 johnowhitaker
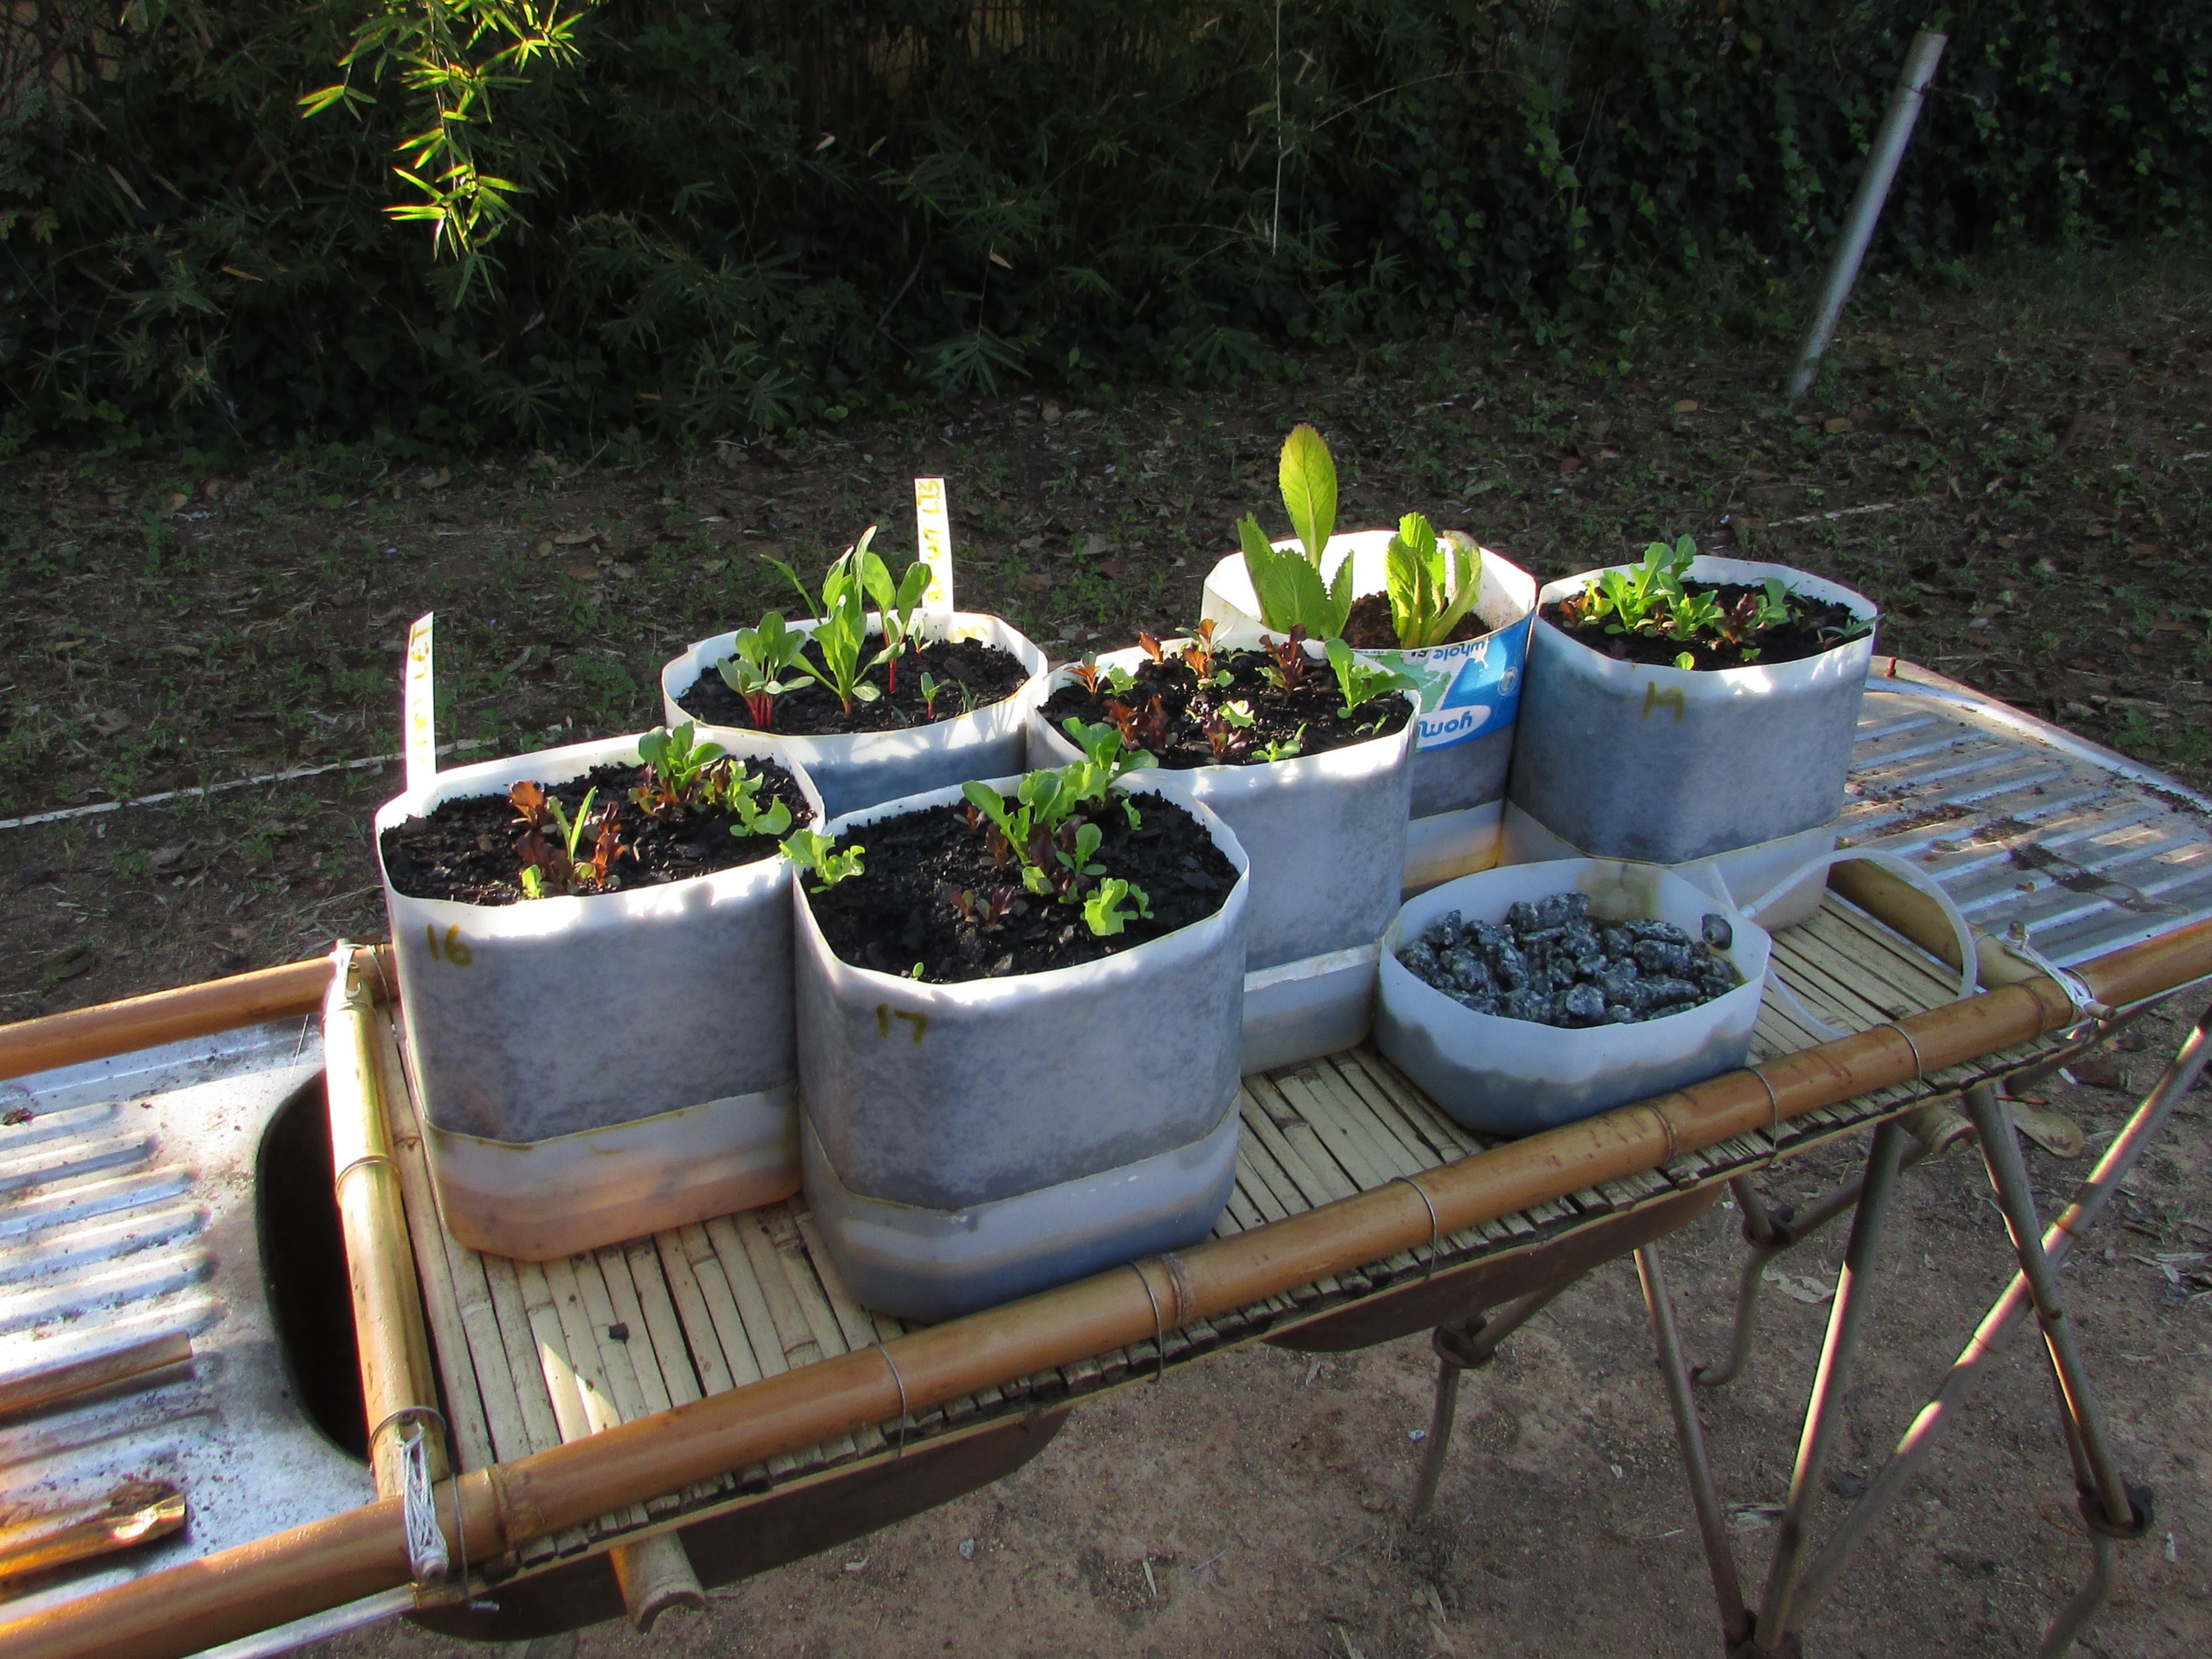
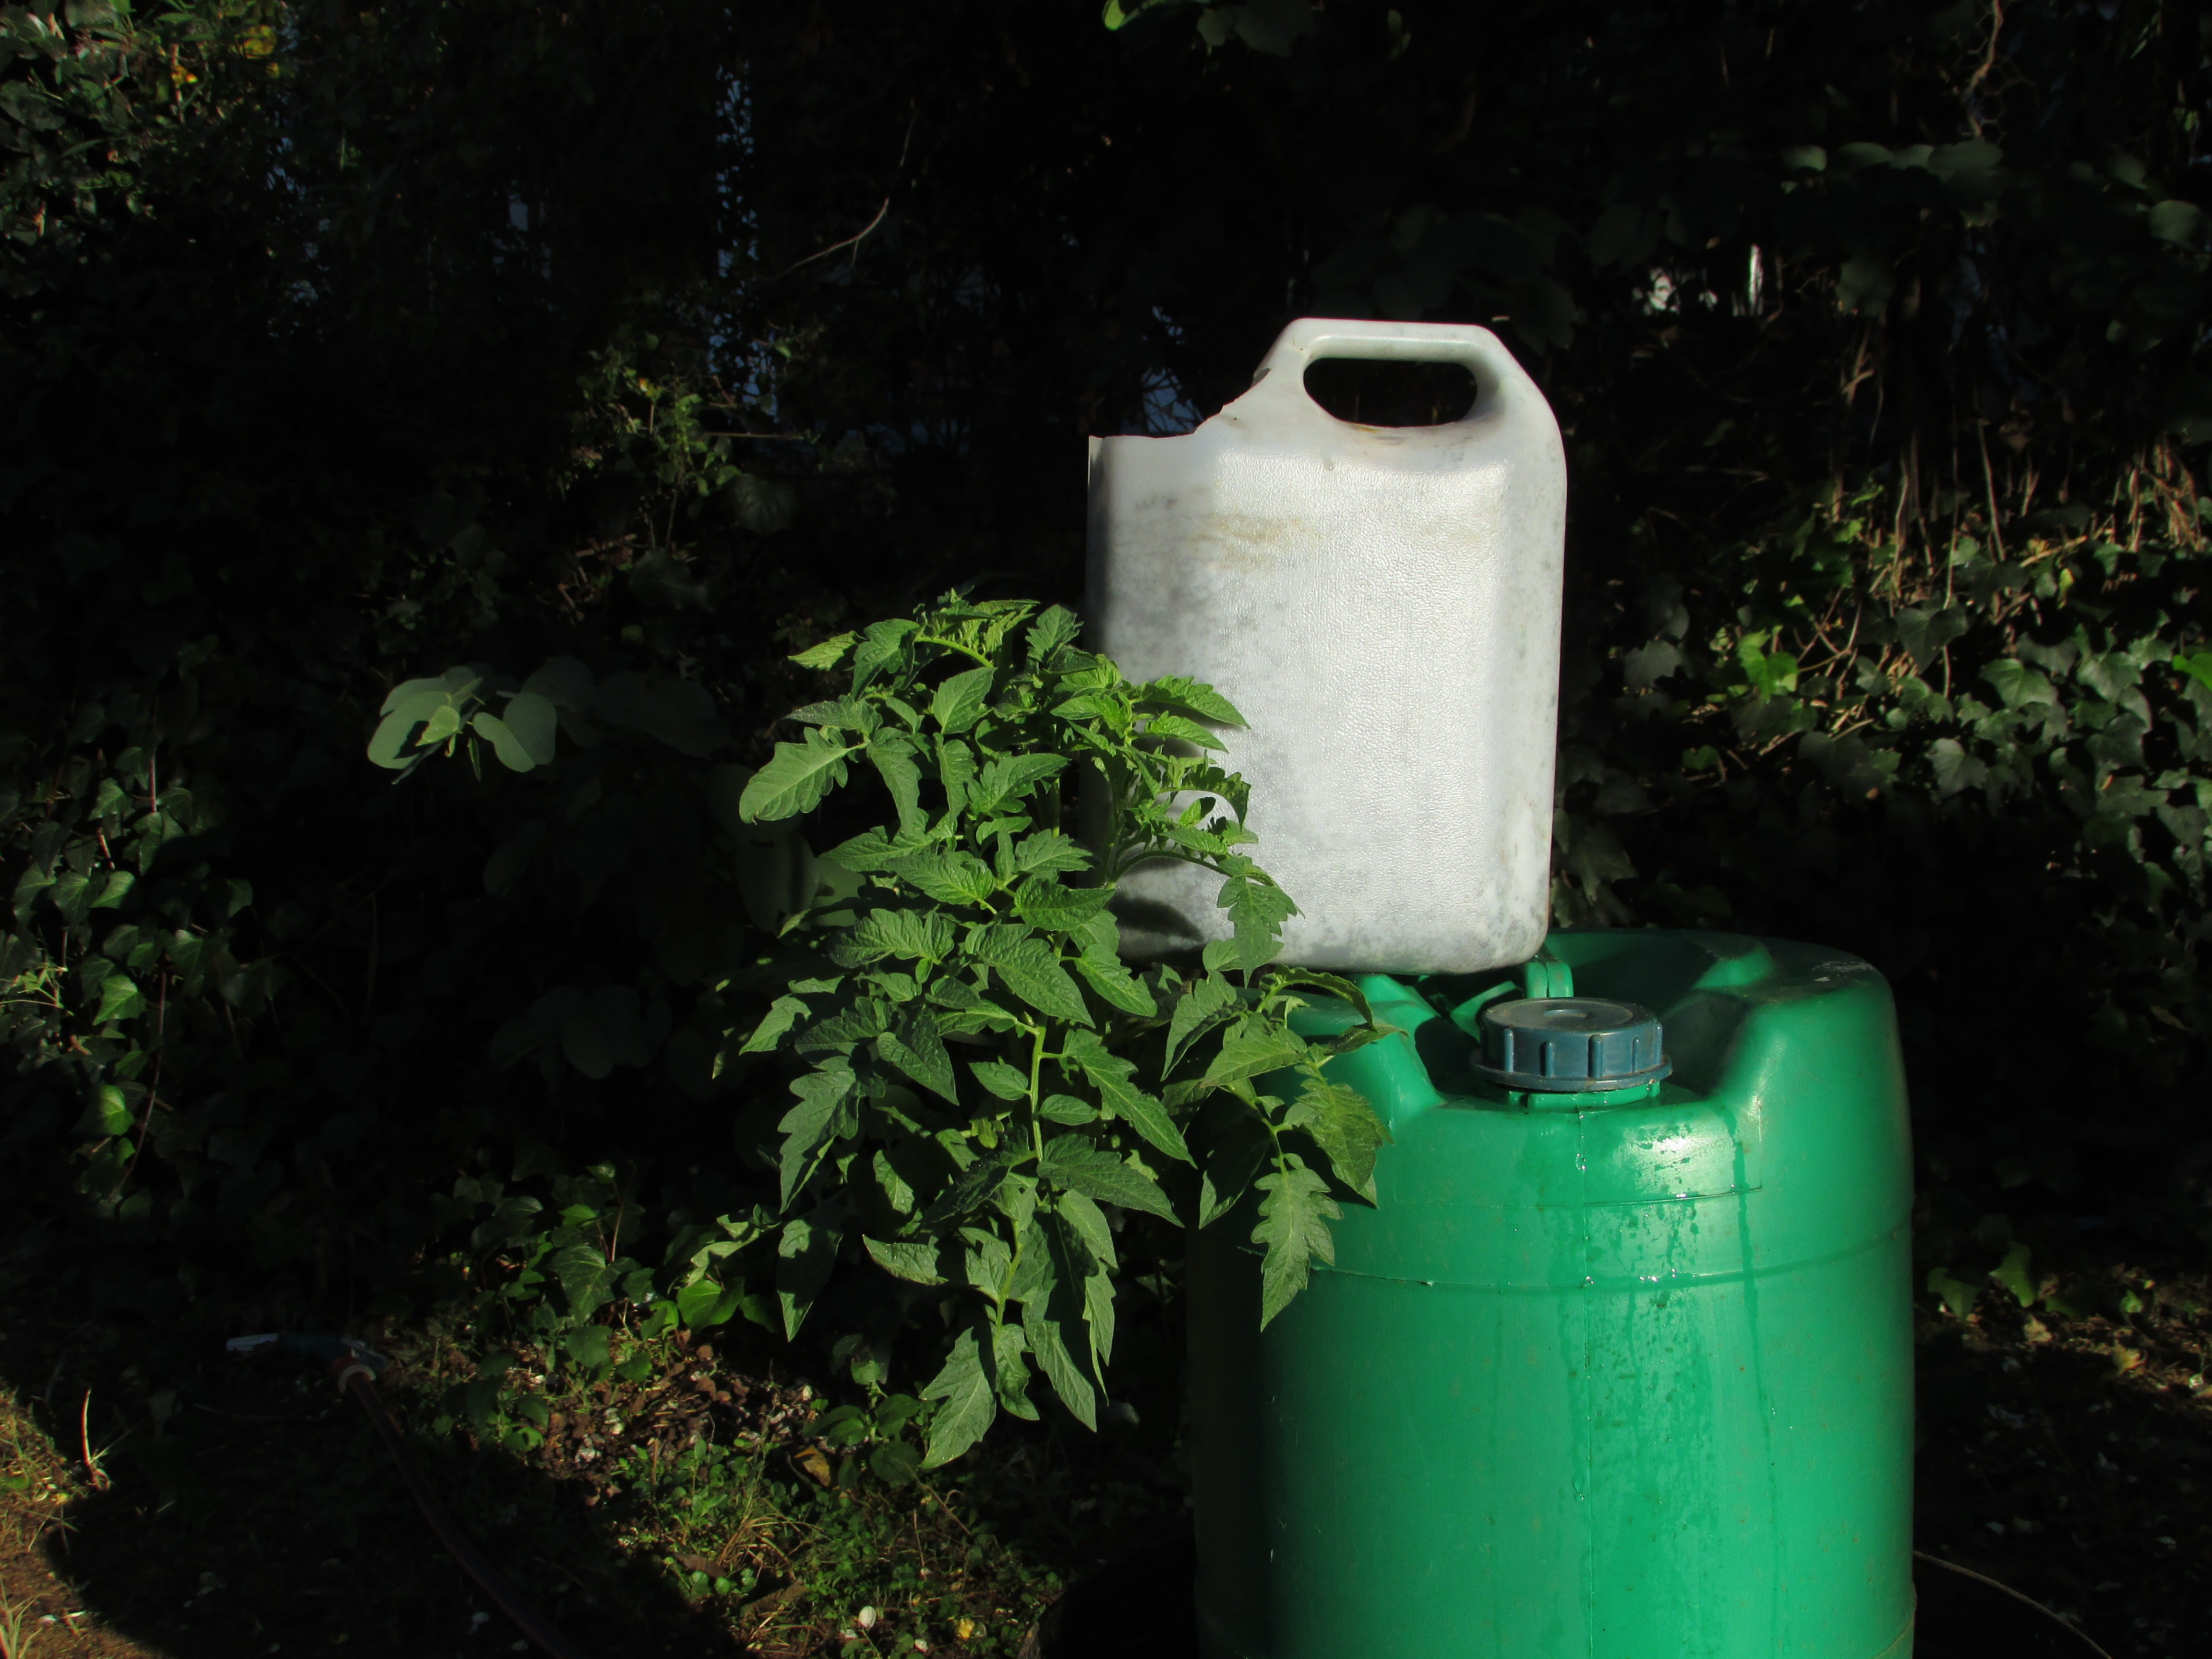
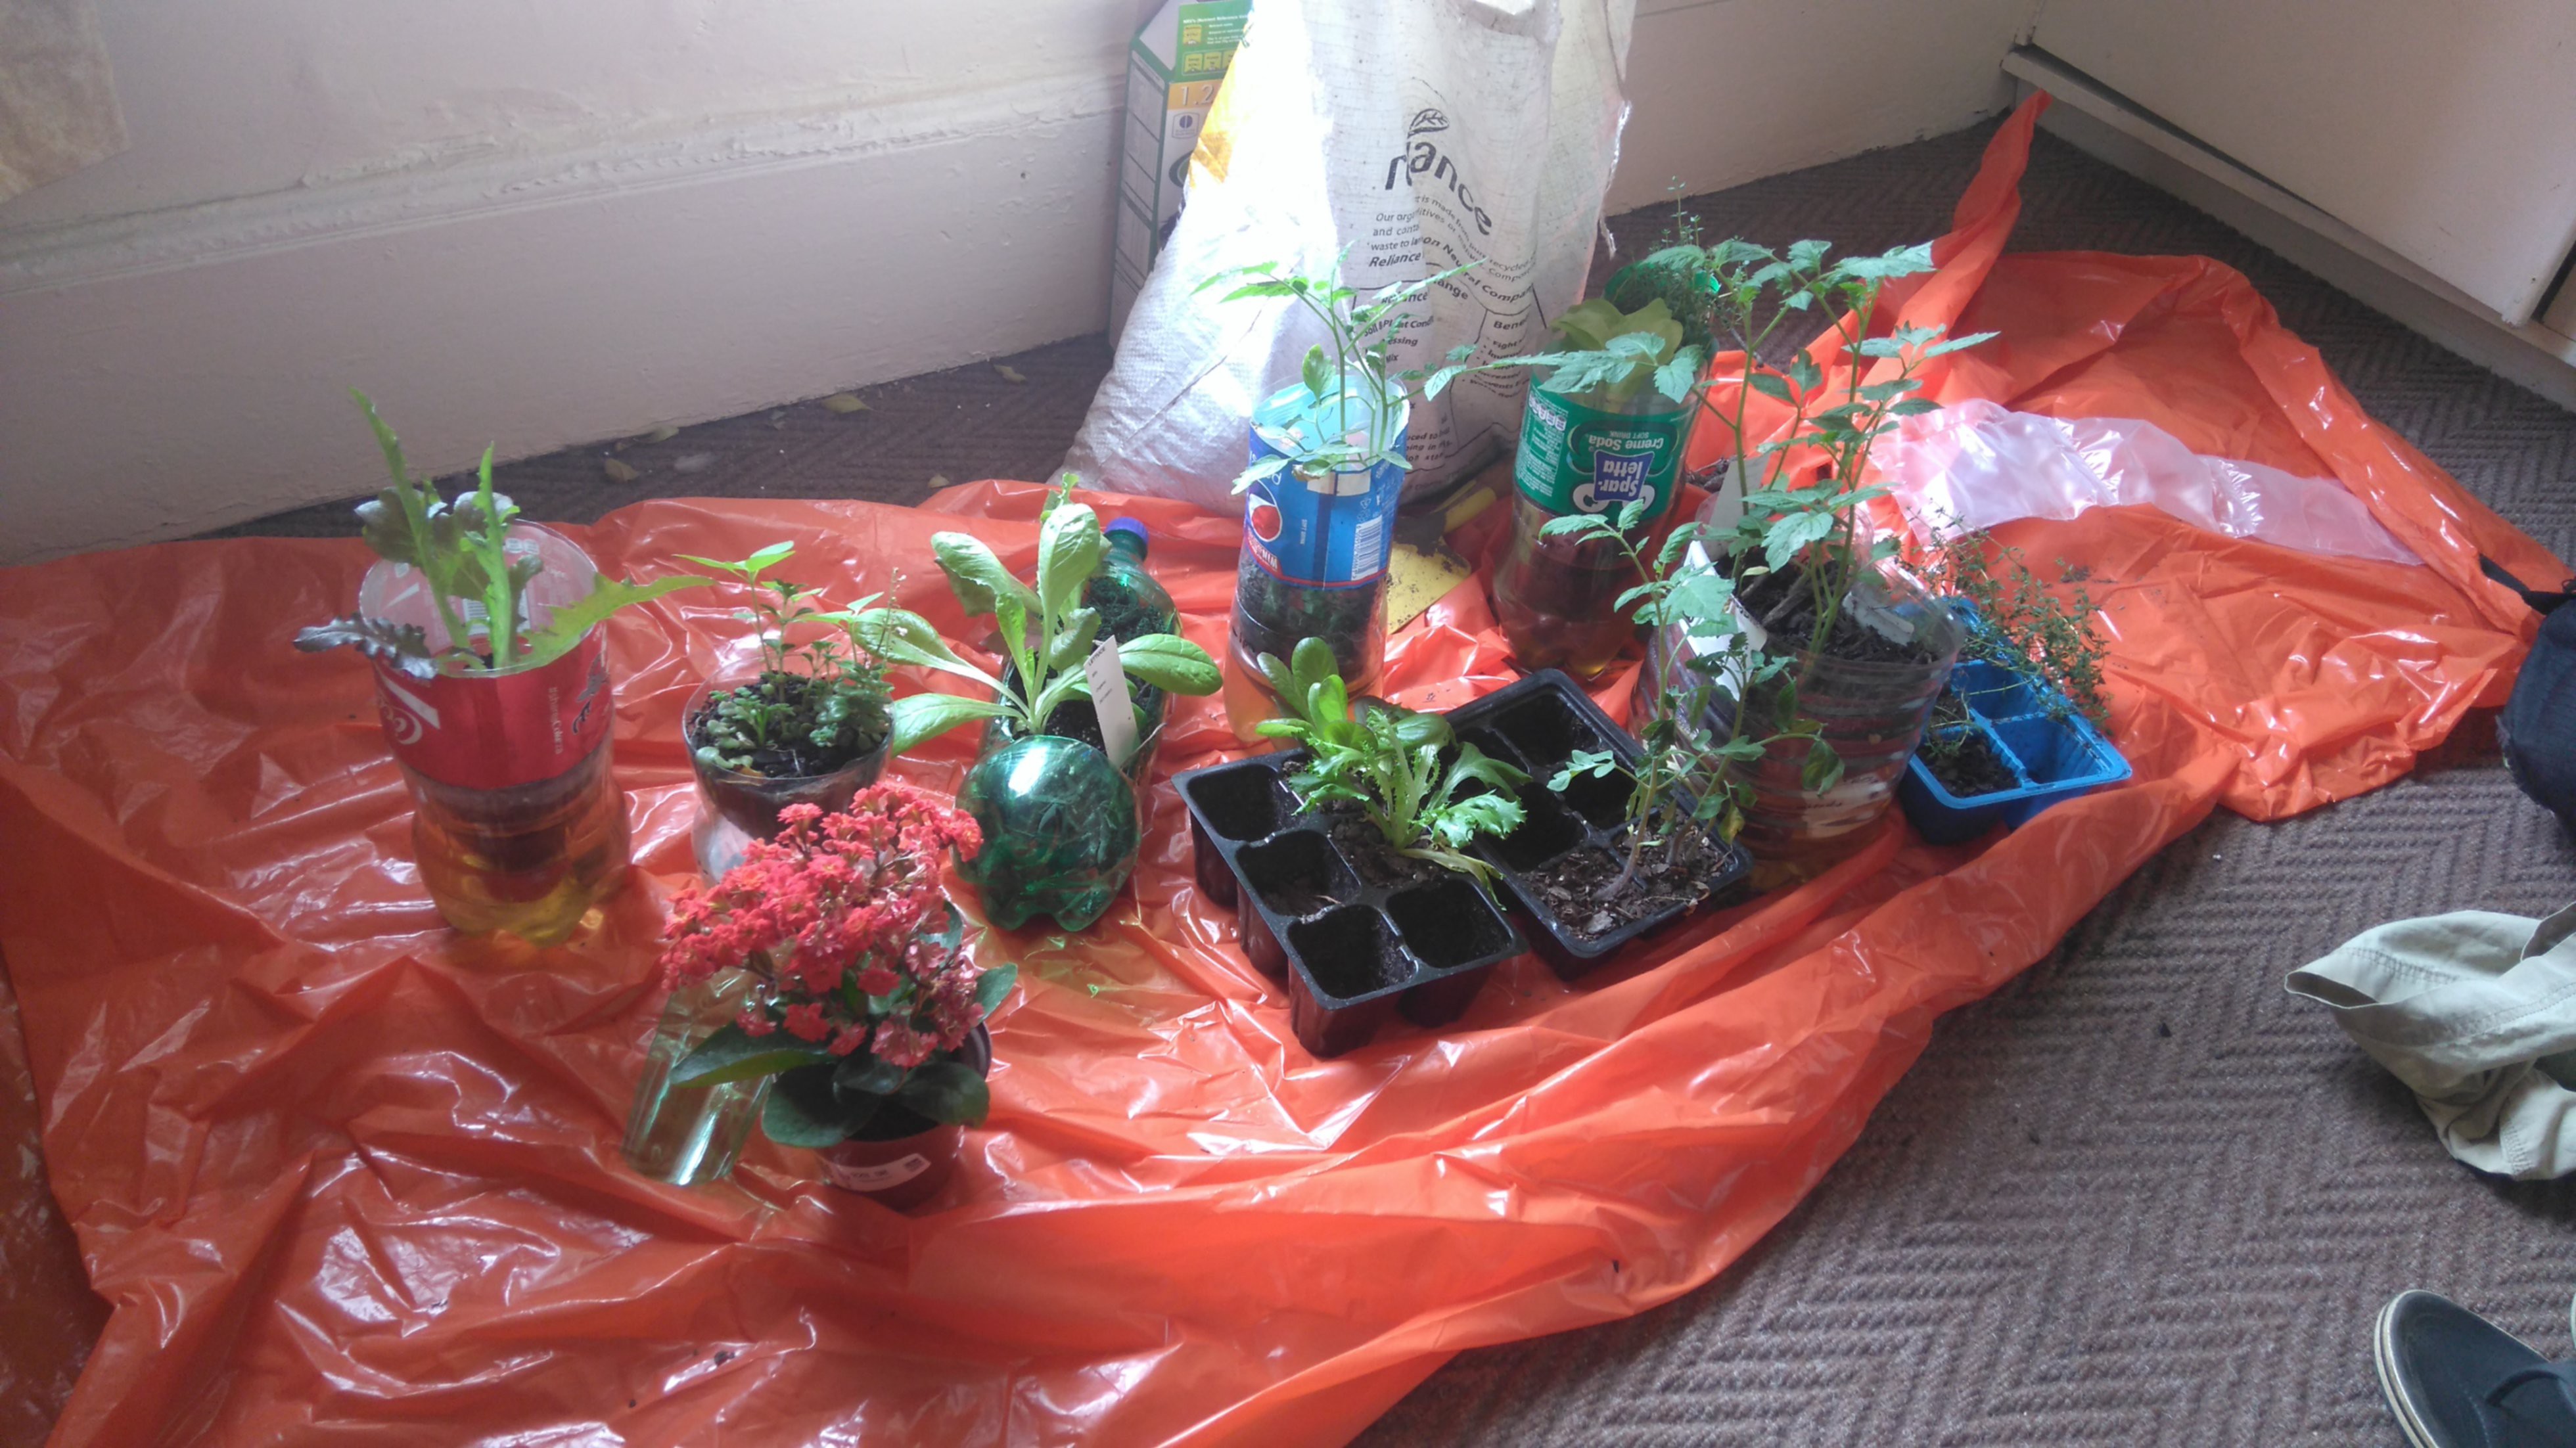
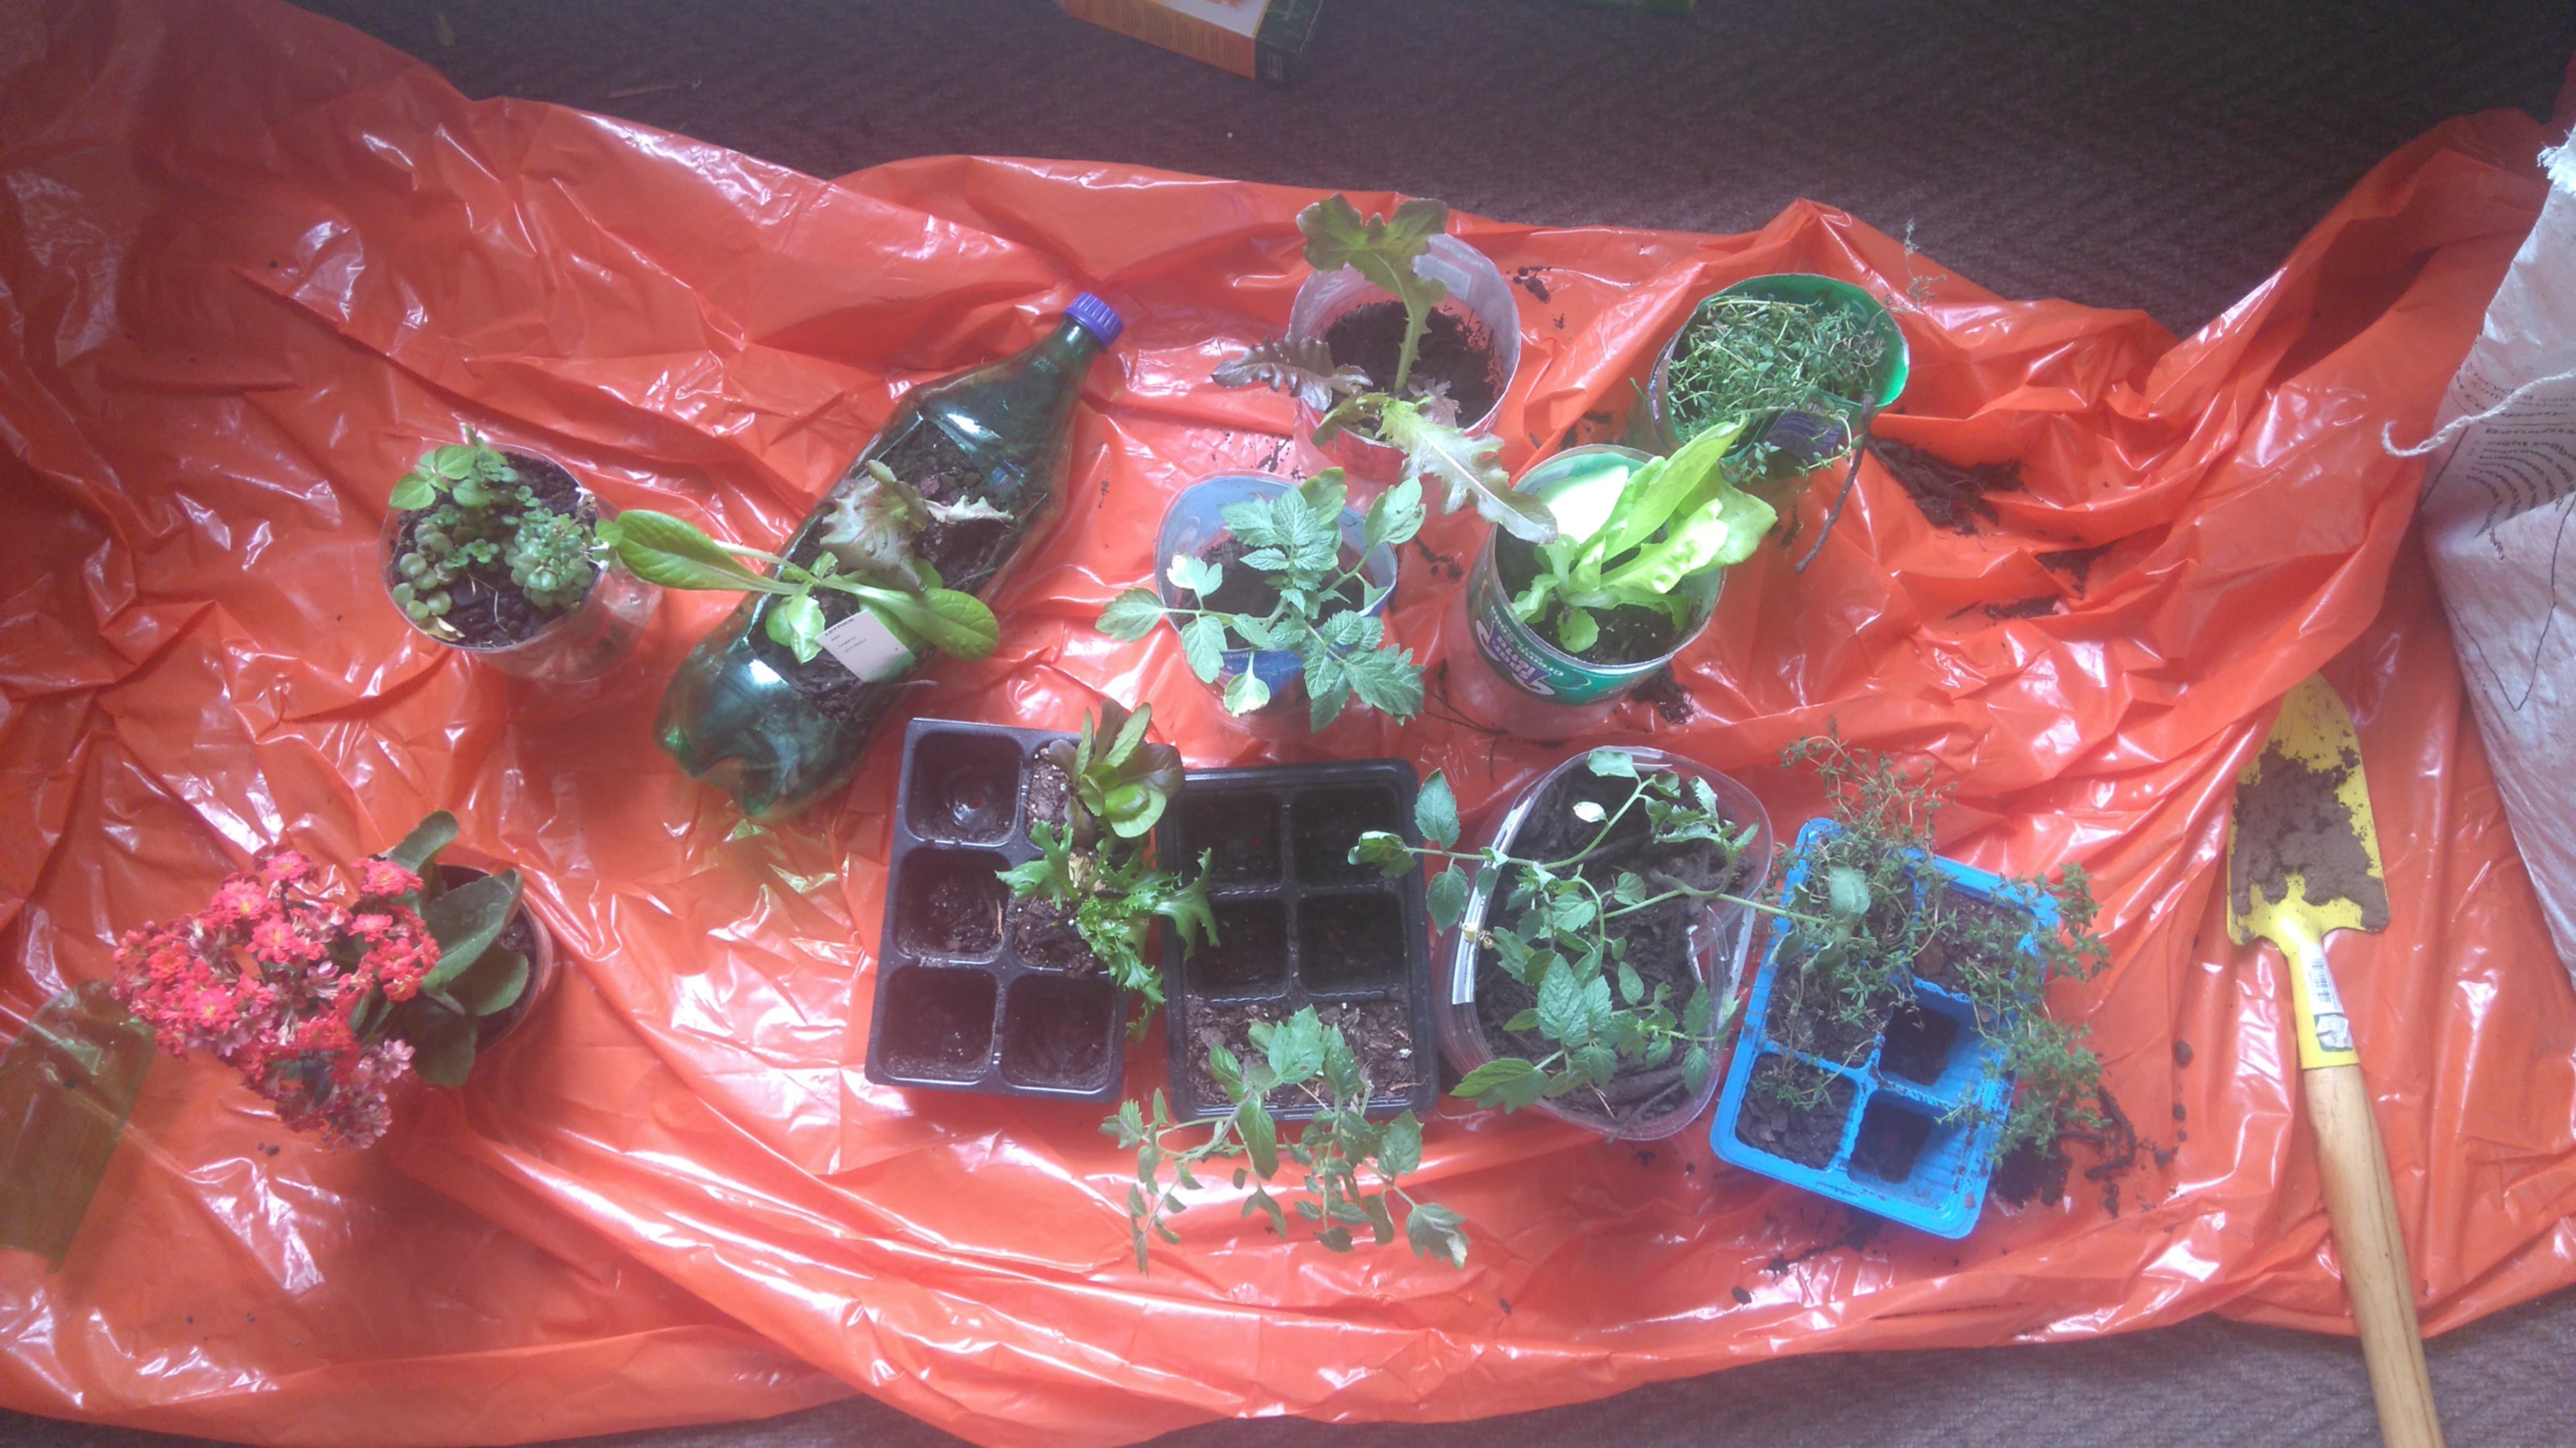
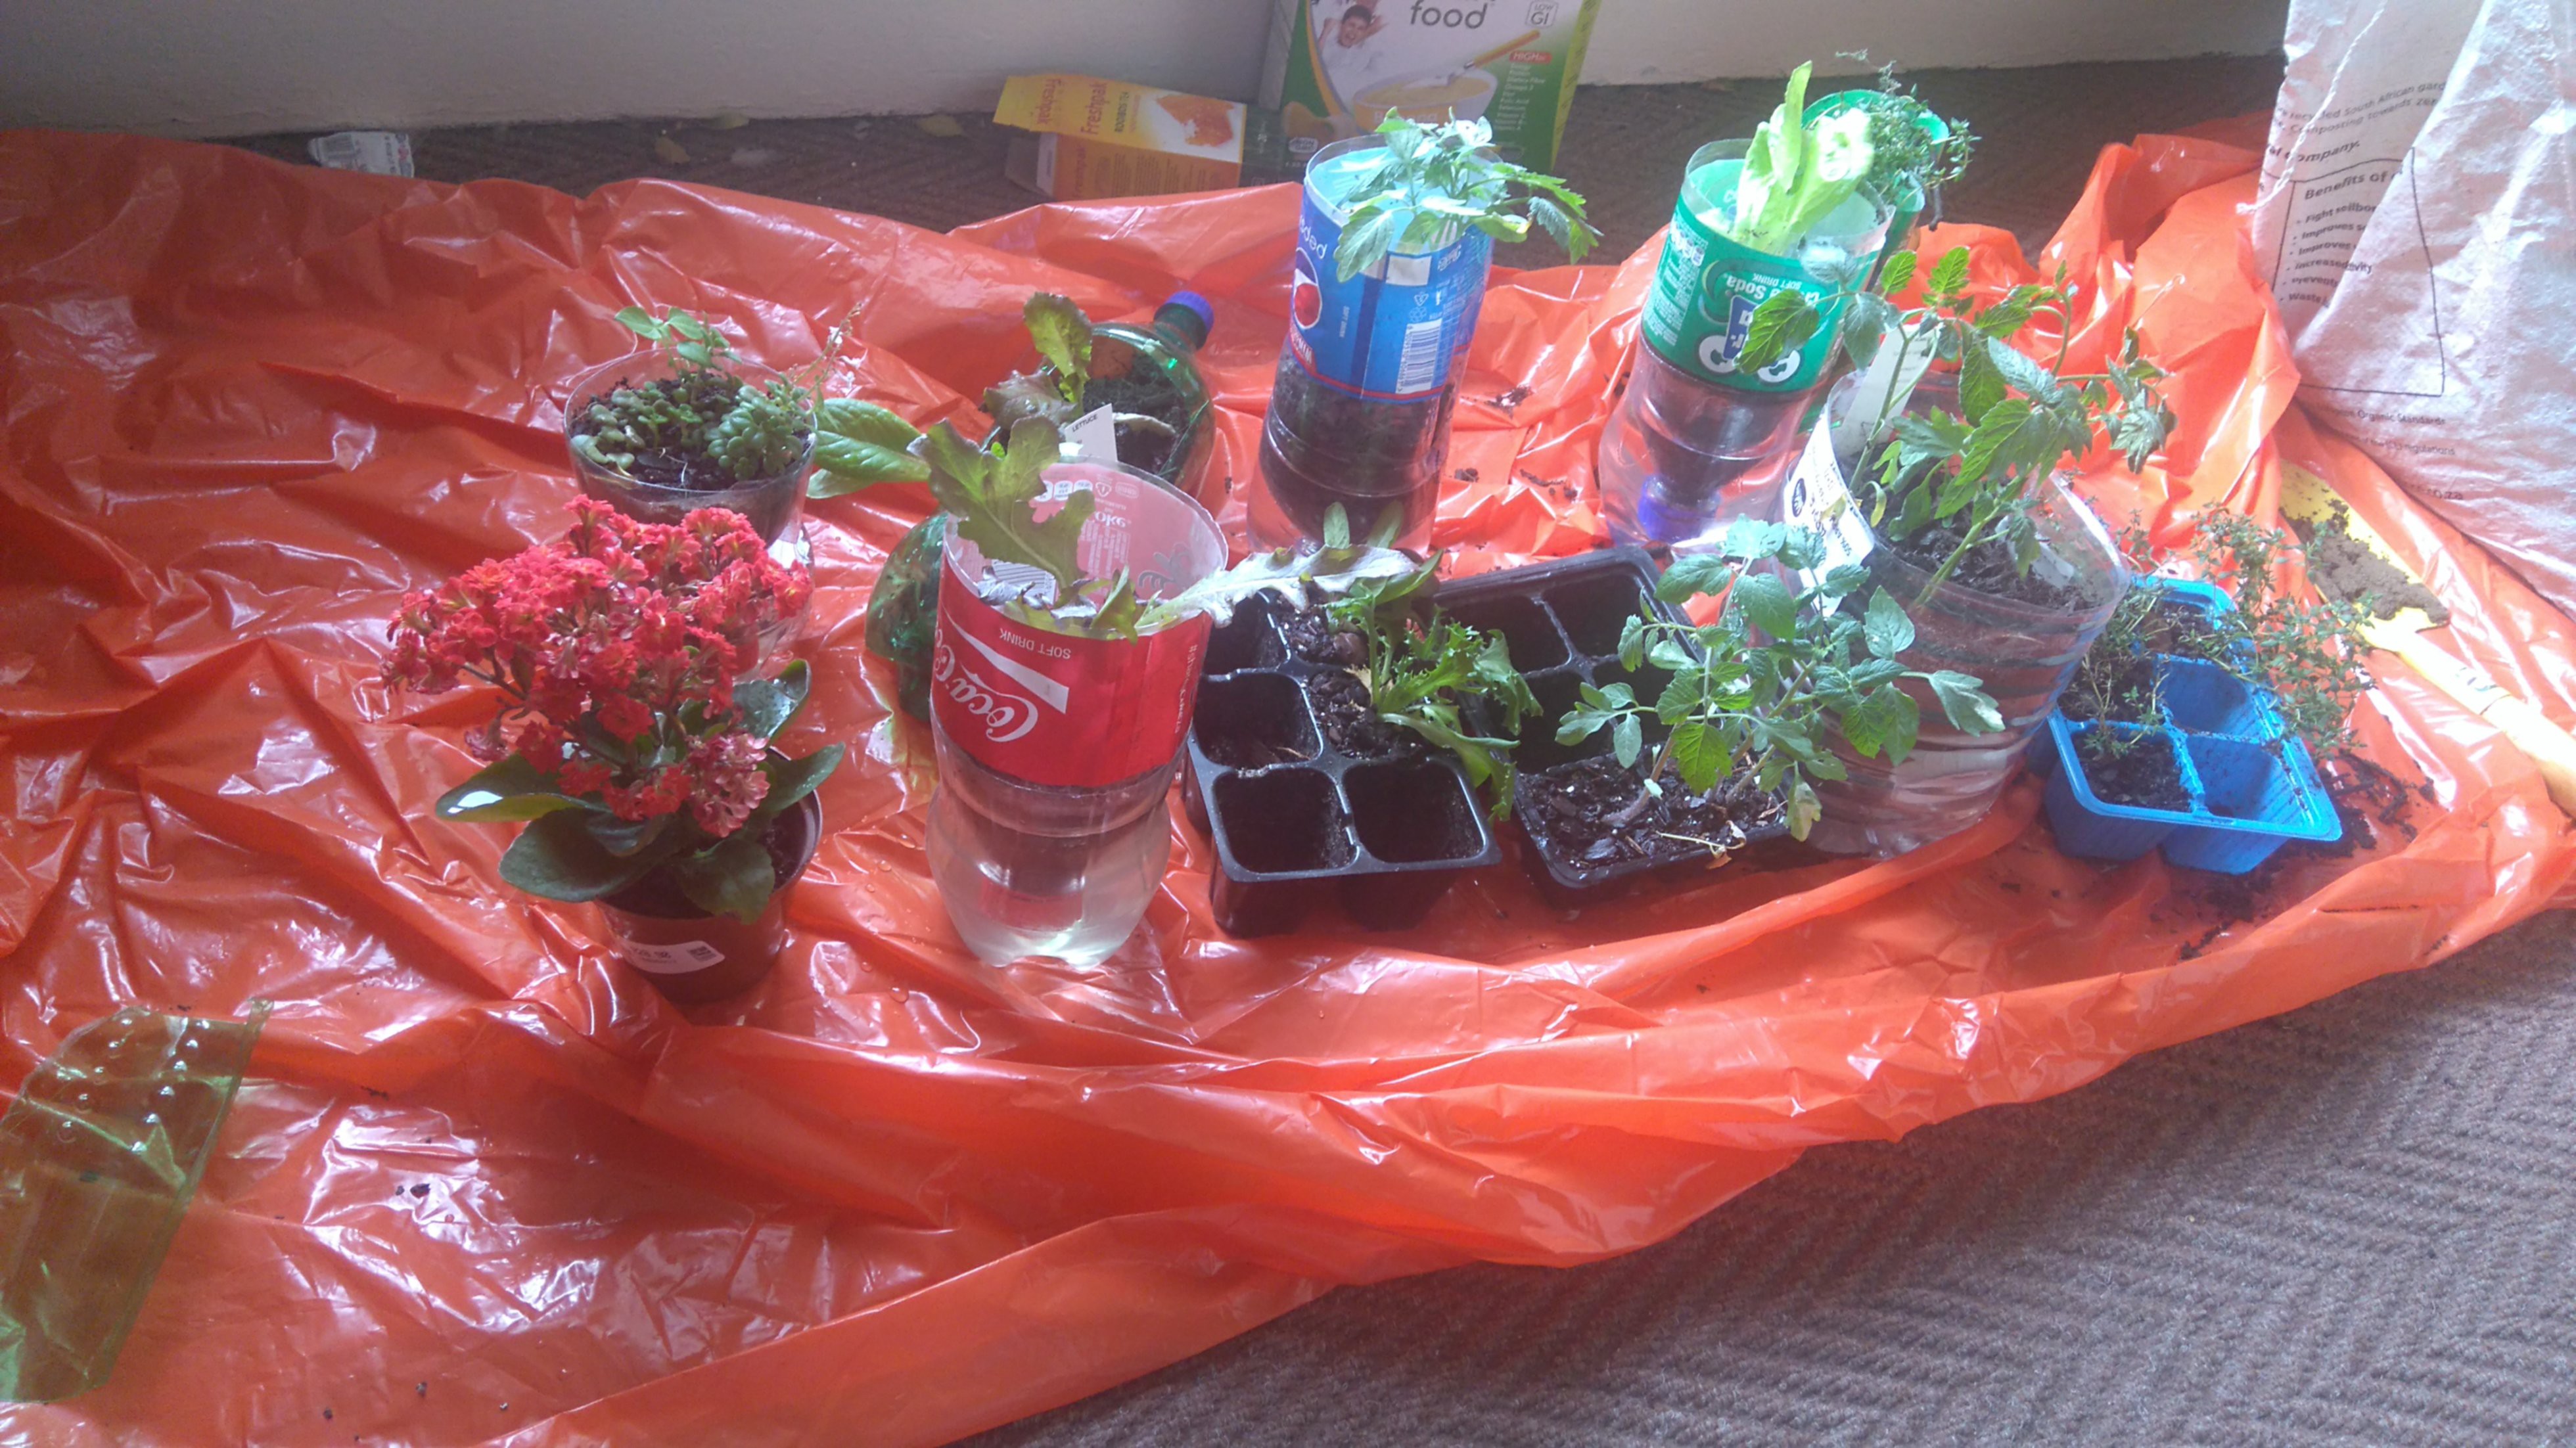
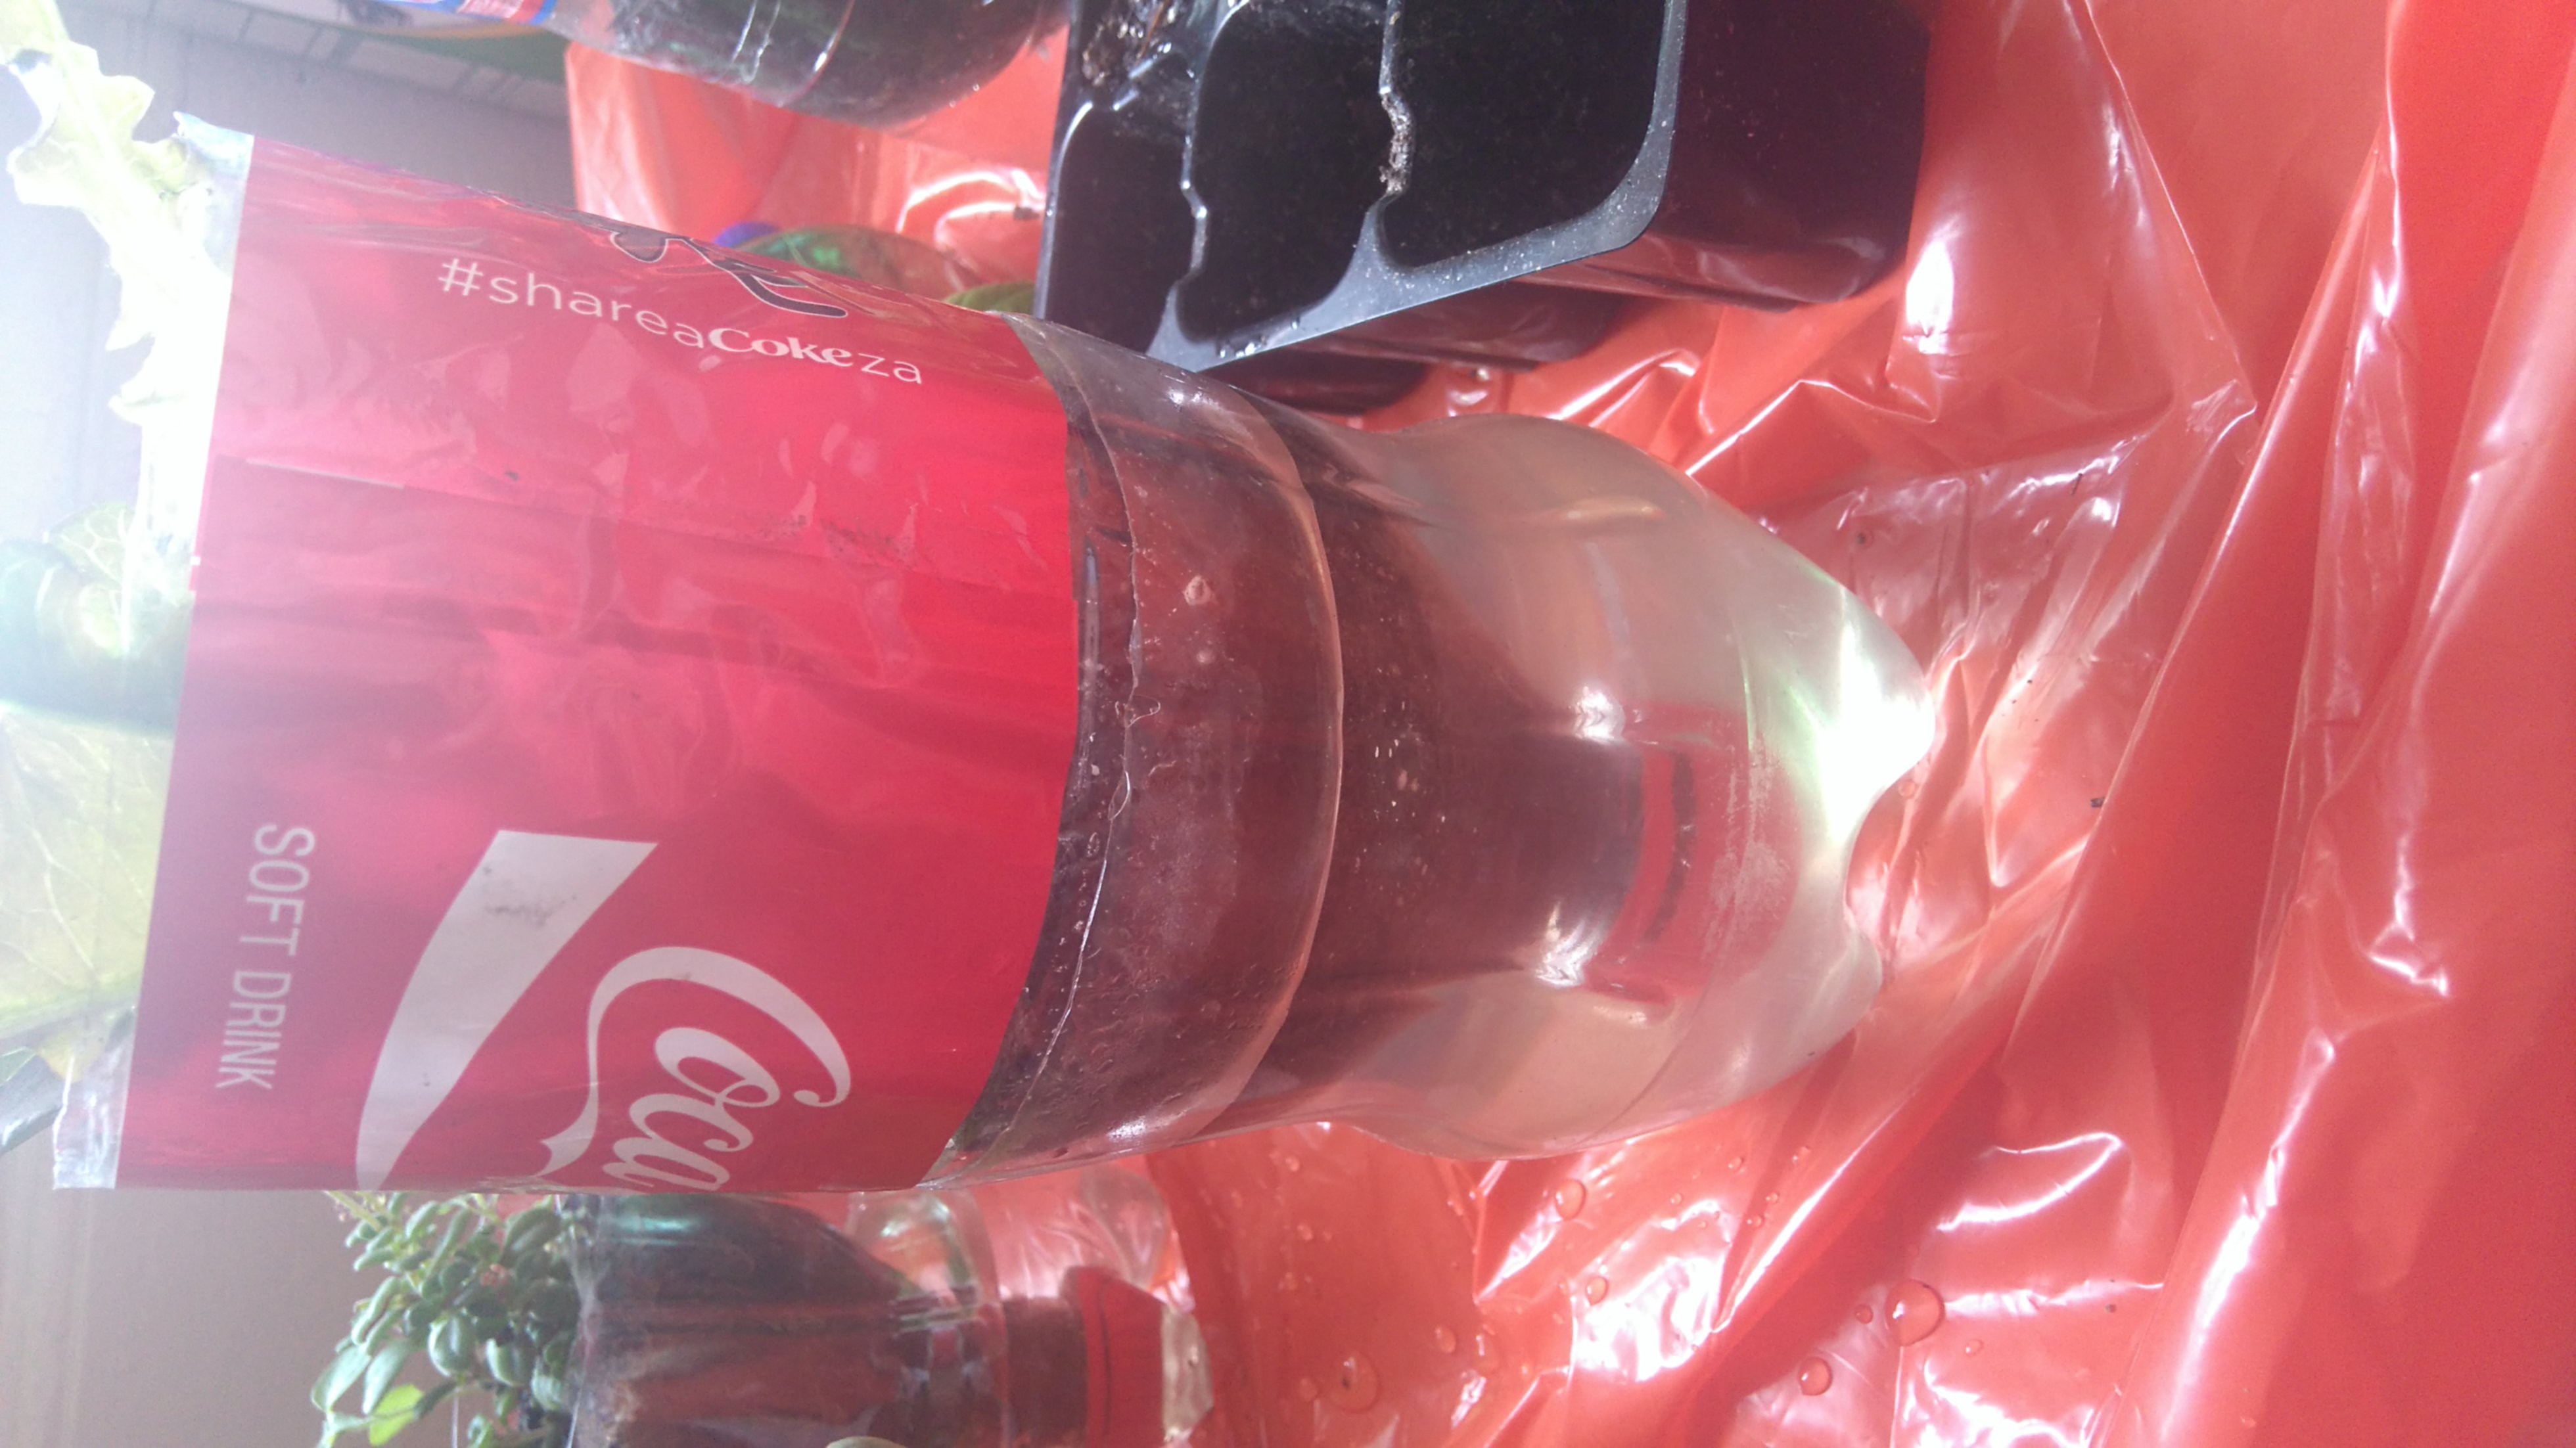
The idea here is to test and develop methods for doing things very cheaply. There will be a focus on low cost stuff, but I doubt I'll be able to resist some electronics for automatic plant care etc. We are making progress (see my dad's work in the second latest project log) and there are many more things to write up!
More systems are described in some power-points (located in the files section) which have much more info on how to make various things.
Contents:
Some of the most interesting content is in the files section, as powerpoints (which will later be added as logs or build instructions). Logs of note:
- Richard's designs: https://hackaday.io/project/10528-urban-gardening-on-the-cheap/log/36536-hi-dad
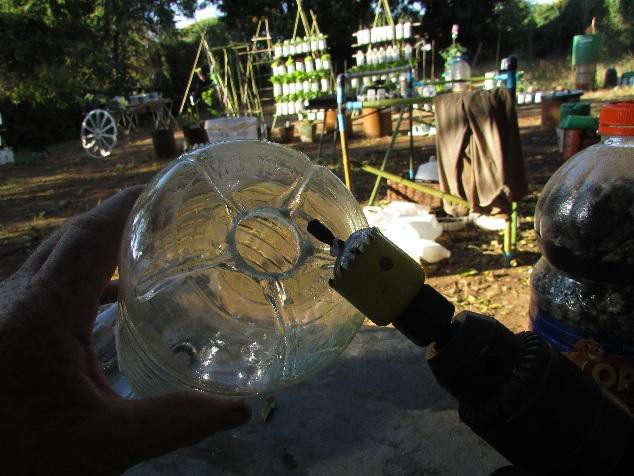
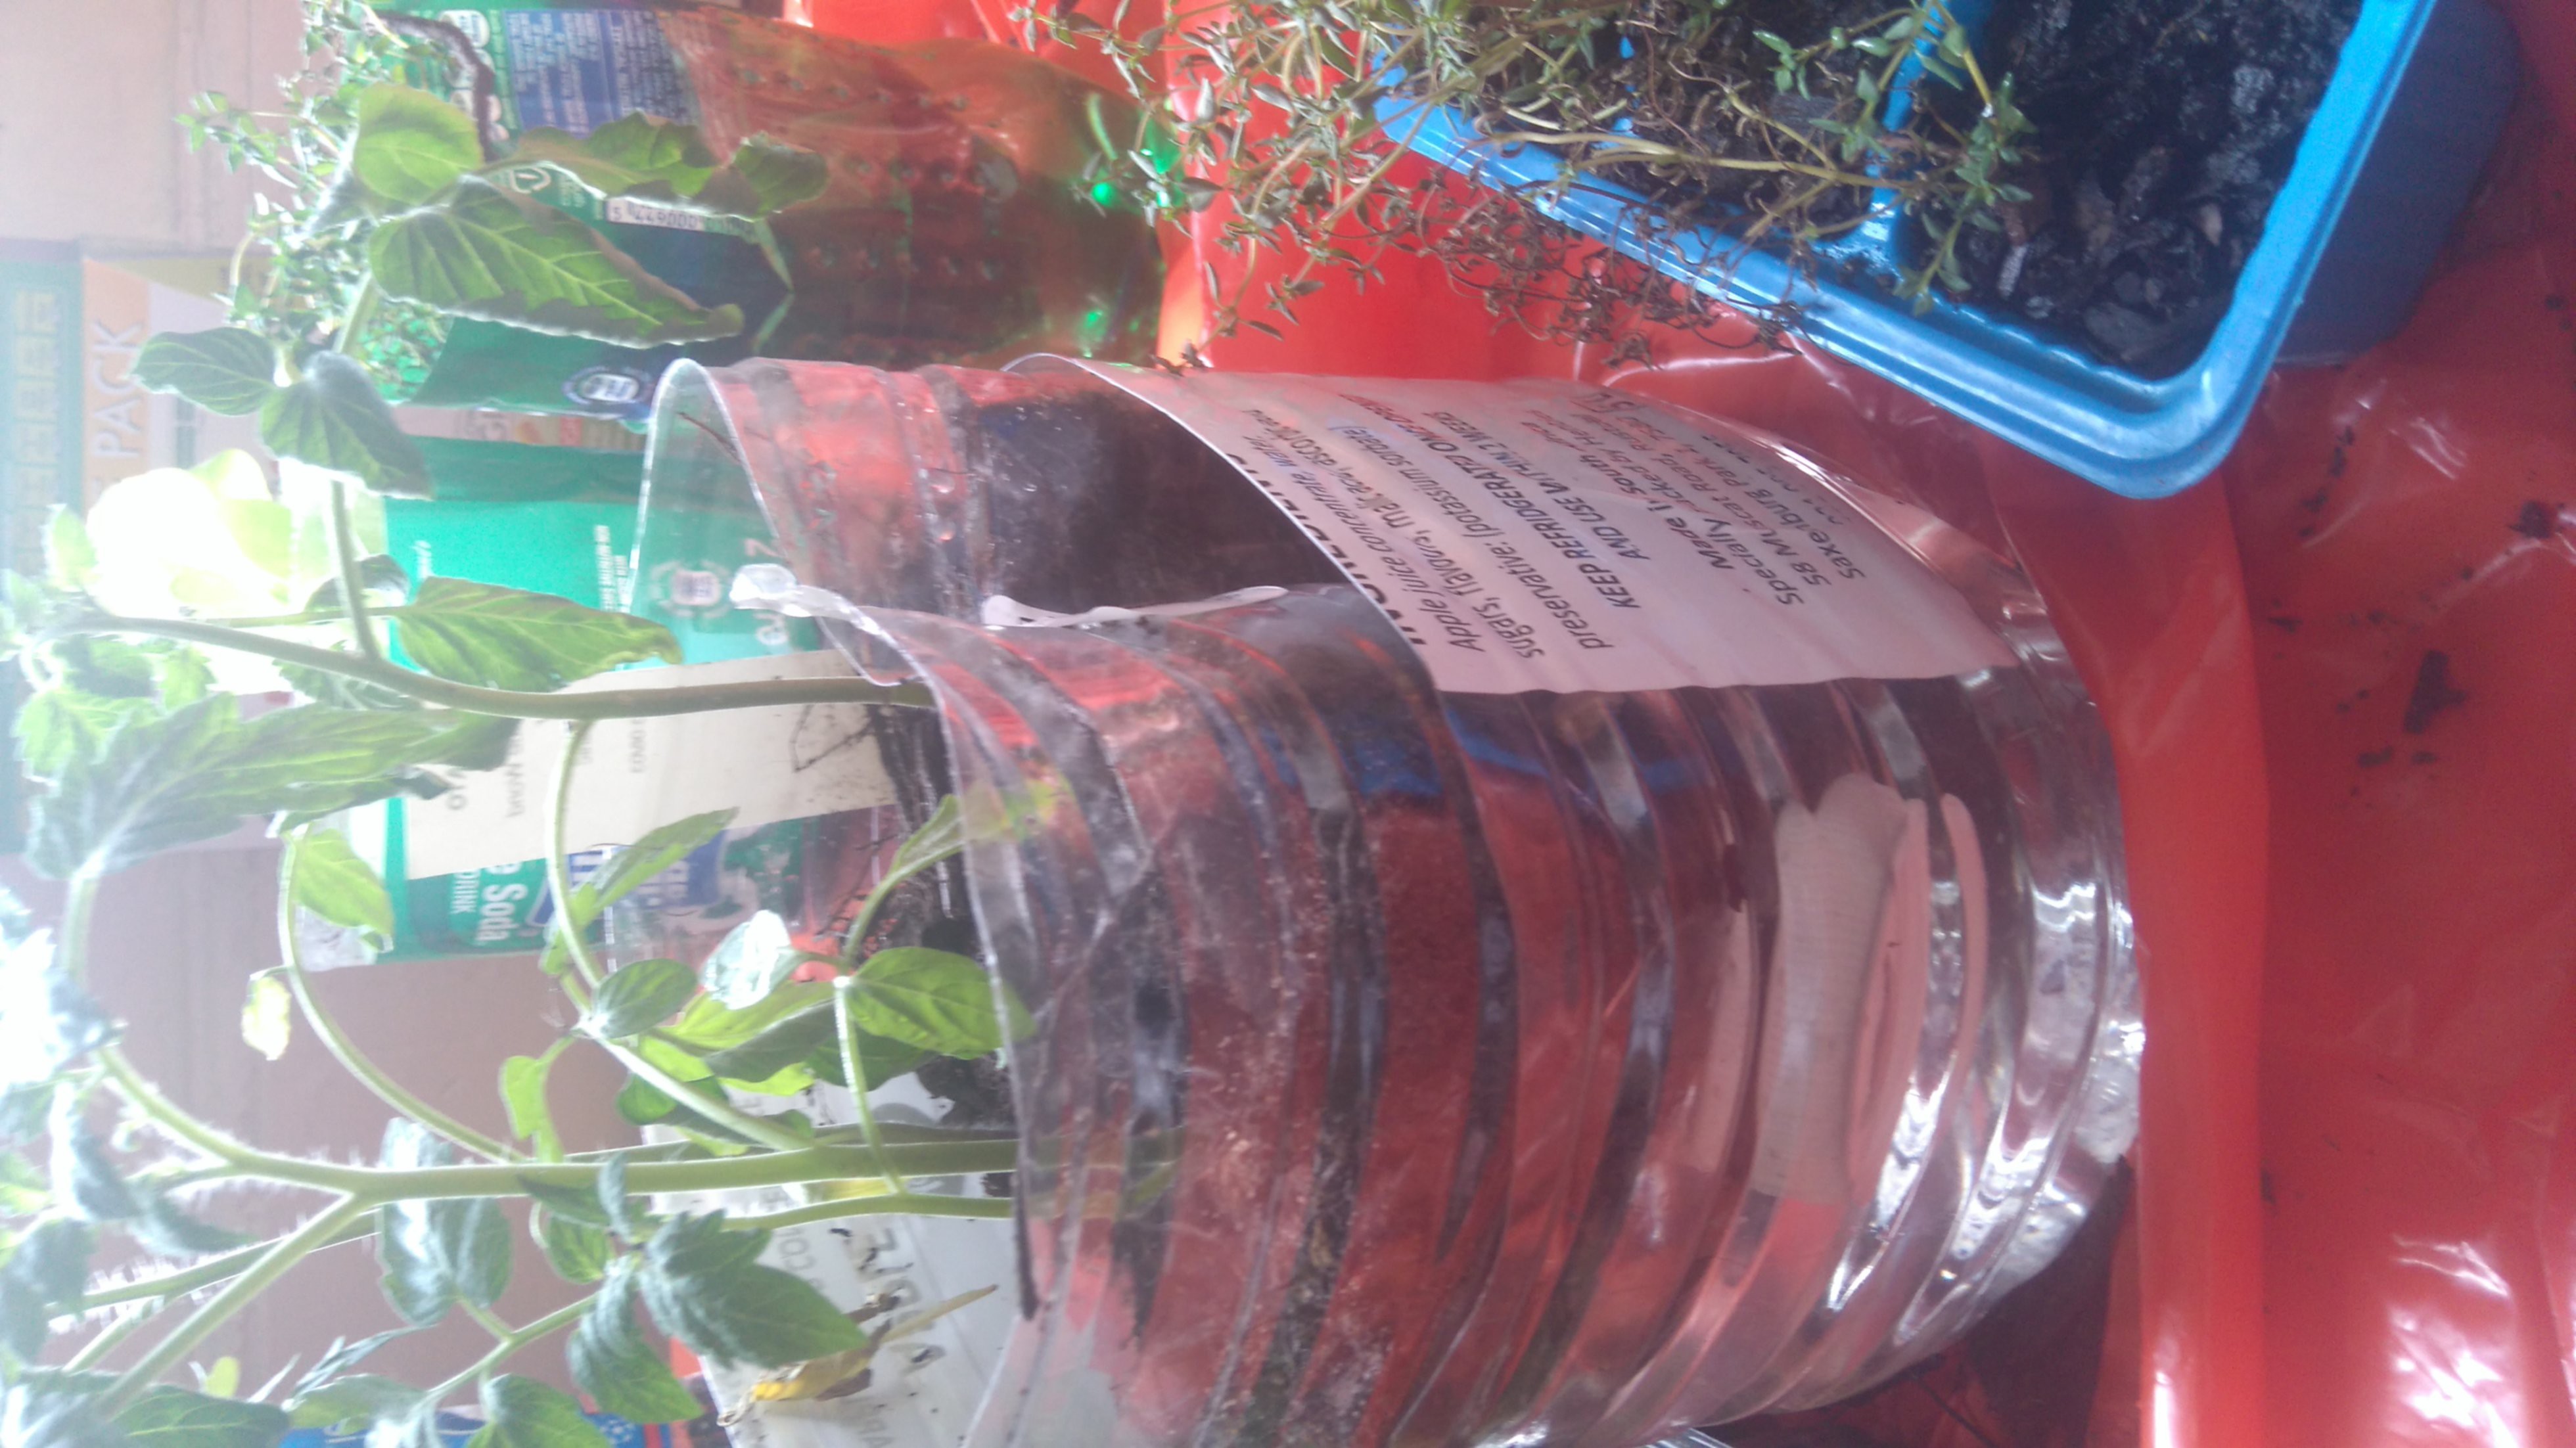
- Johno's humble start in his dorm room: https://hackaday.io/project/10528-urban-gardening-on-the-cheap/log/34515-testing-a-wick-method-for-self-watering-pots-from-soda-bottles
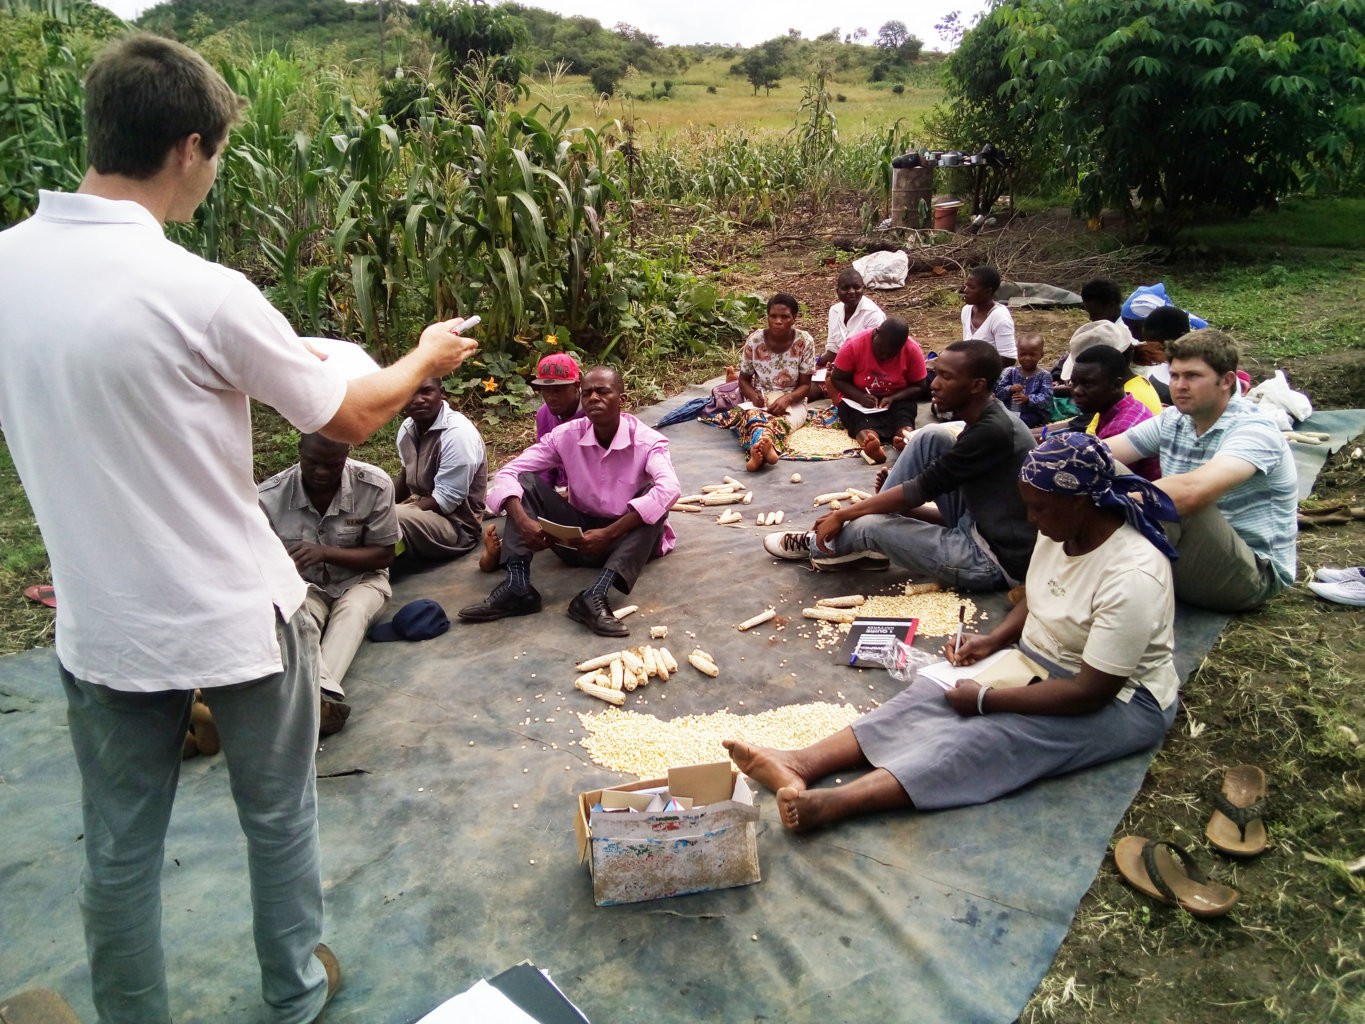
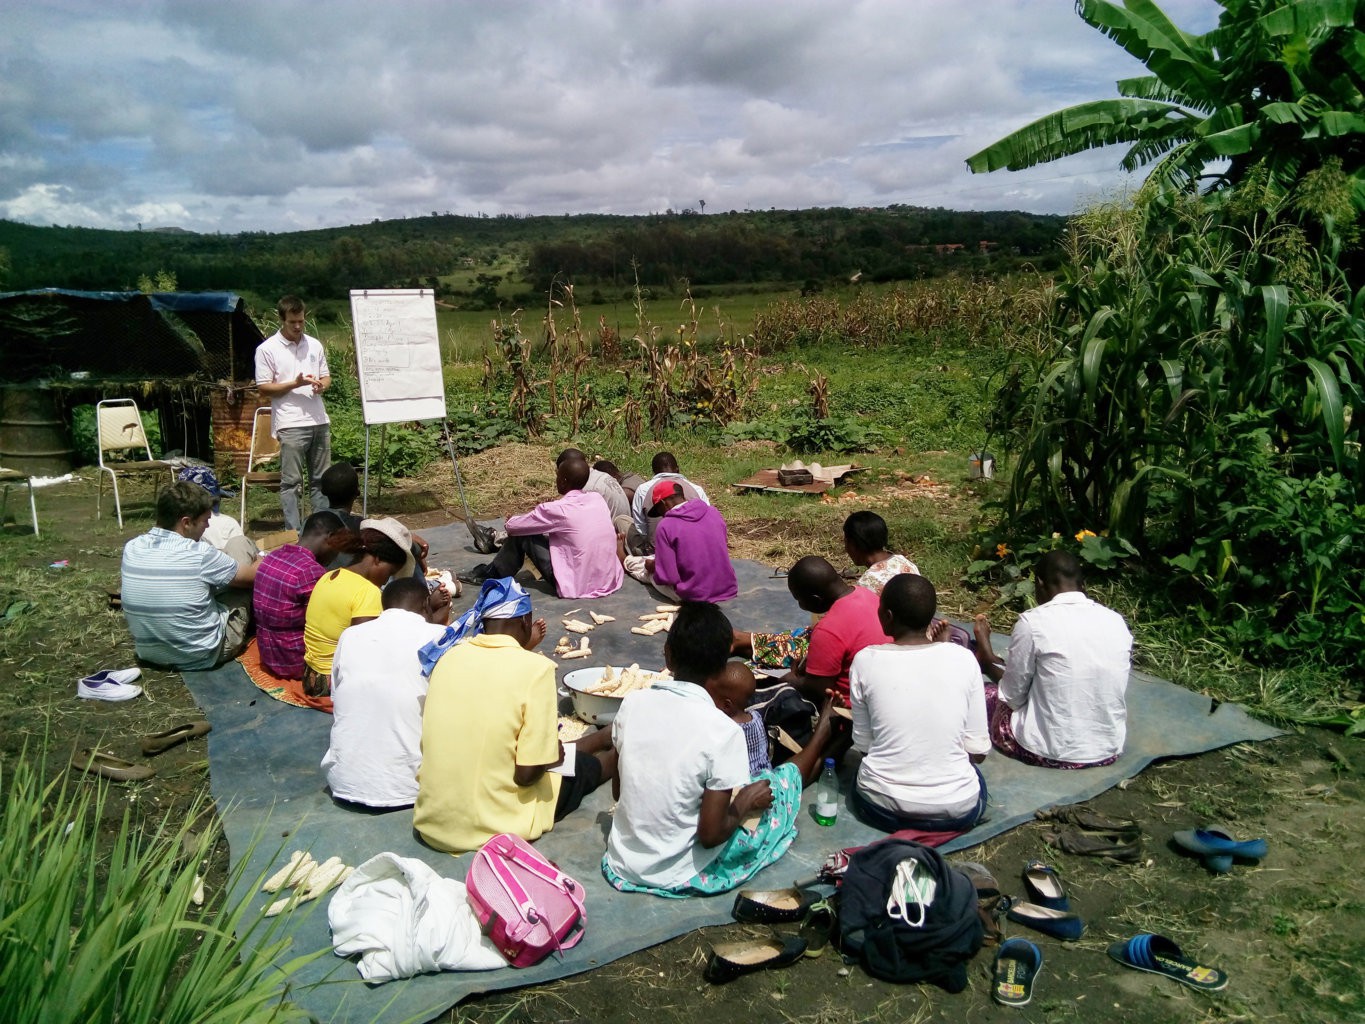
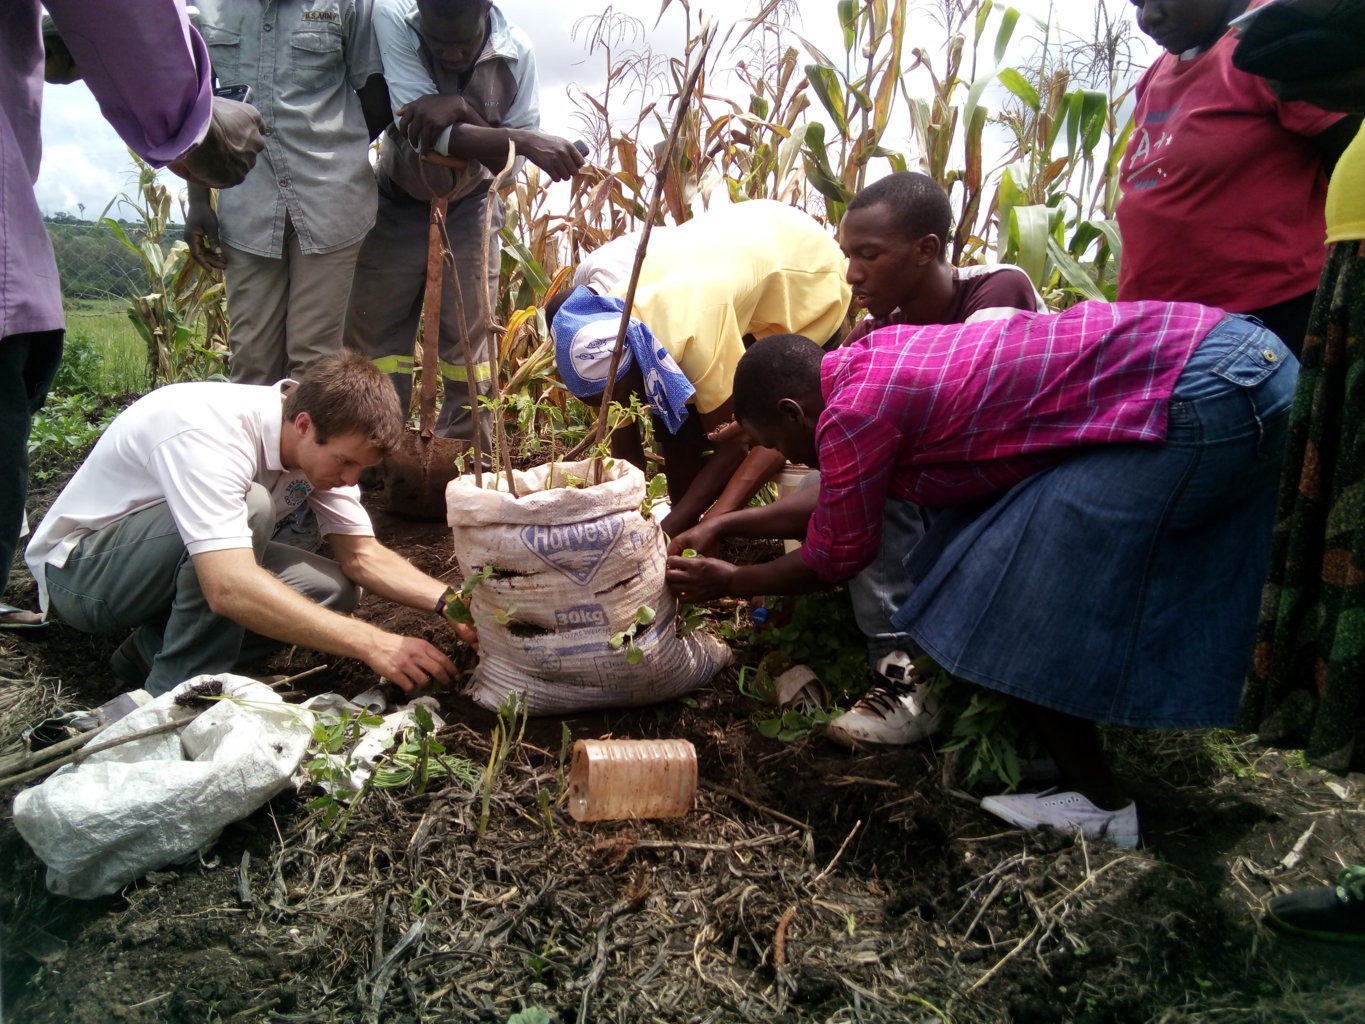
- Some pics of David's project teaching people some techniques: https://hackaday.io/project/10528-urban-gardening-on-the-cheap/log/36673-deployment-in-the-real-world
Motivation:
Team member @Richard Whitaker has begun a vegetable gardening club at the school where he teaches, and has also taken on a few 'apprentices' this holiday to continue coming up with ideas and teaching people. He describes the plan as follows:
In a nutshell we want to contribute to the alleviation of malnutrition in Zimbabwe.
Our motto is “Learn – Practise – Teach.”
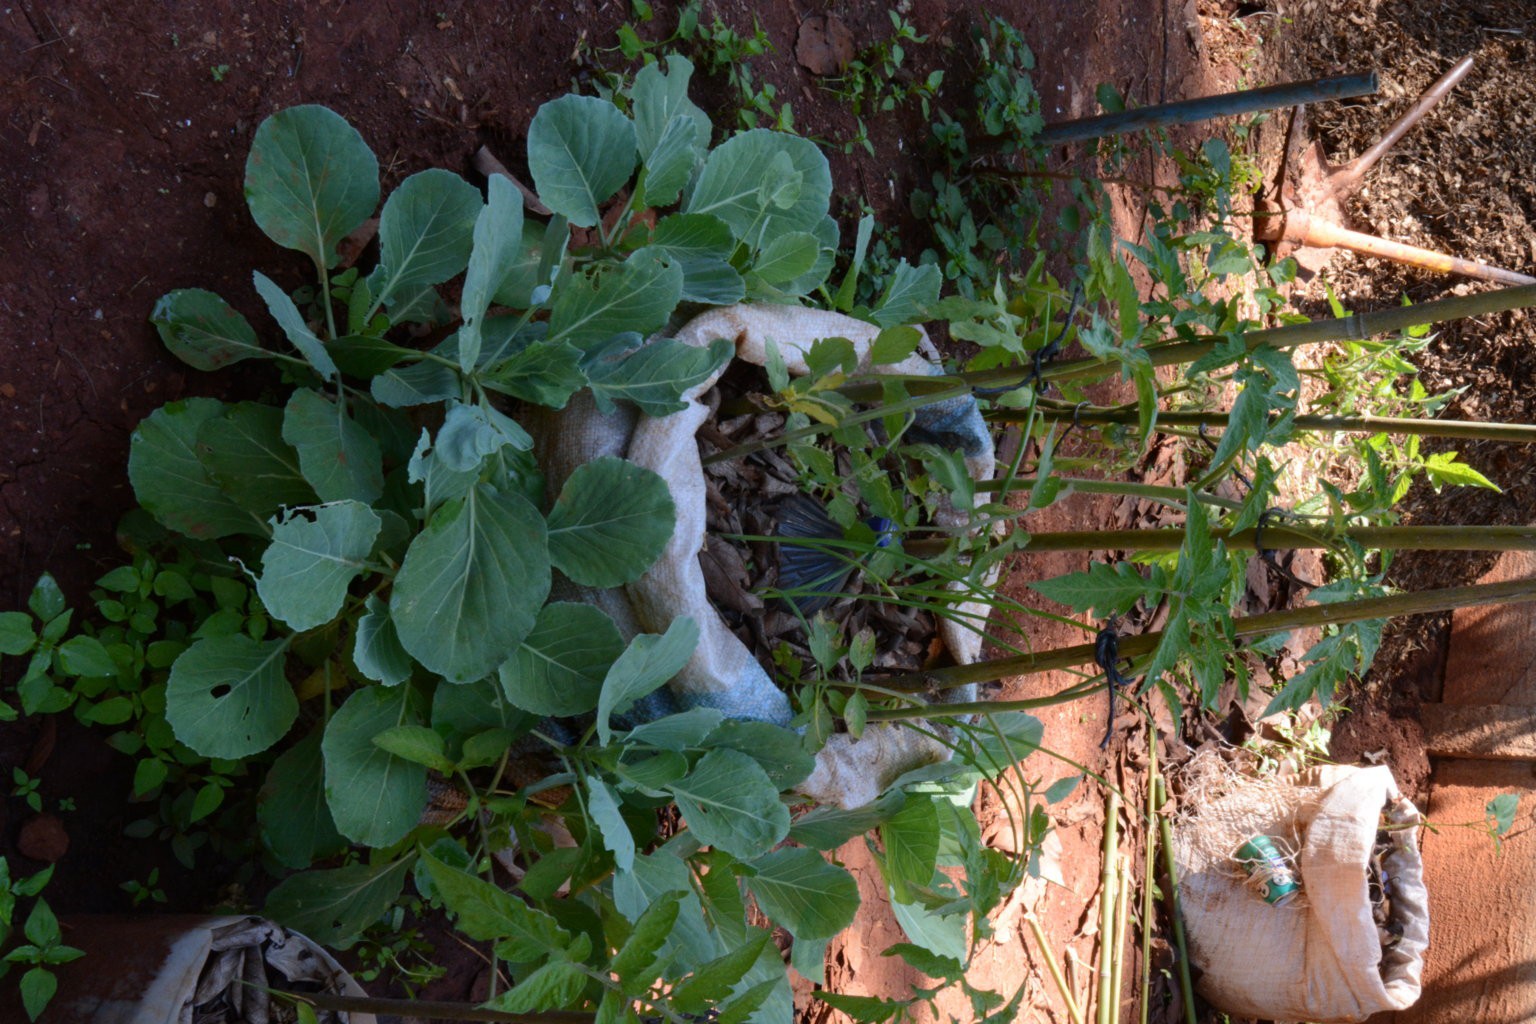
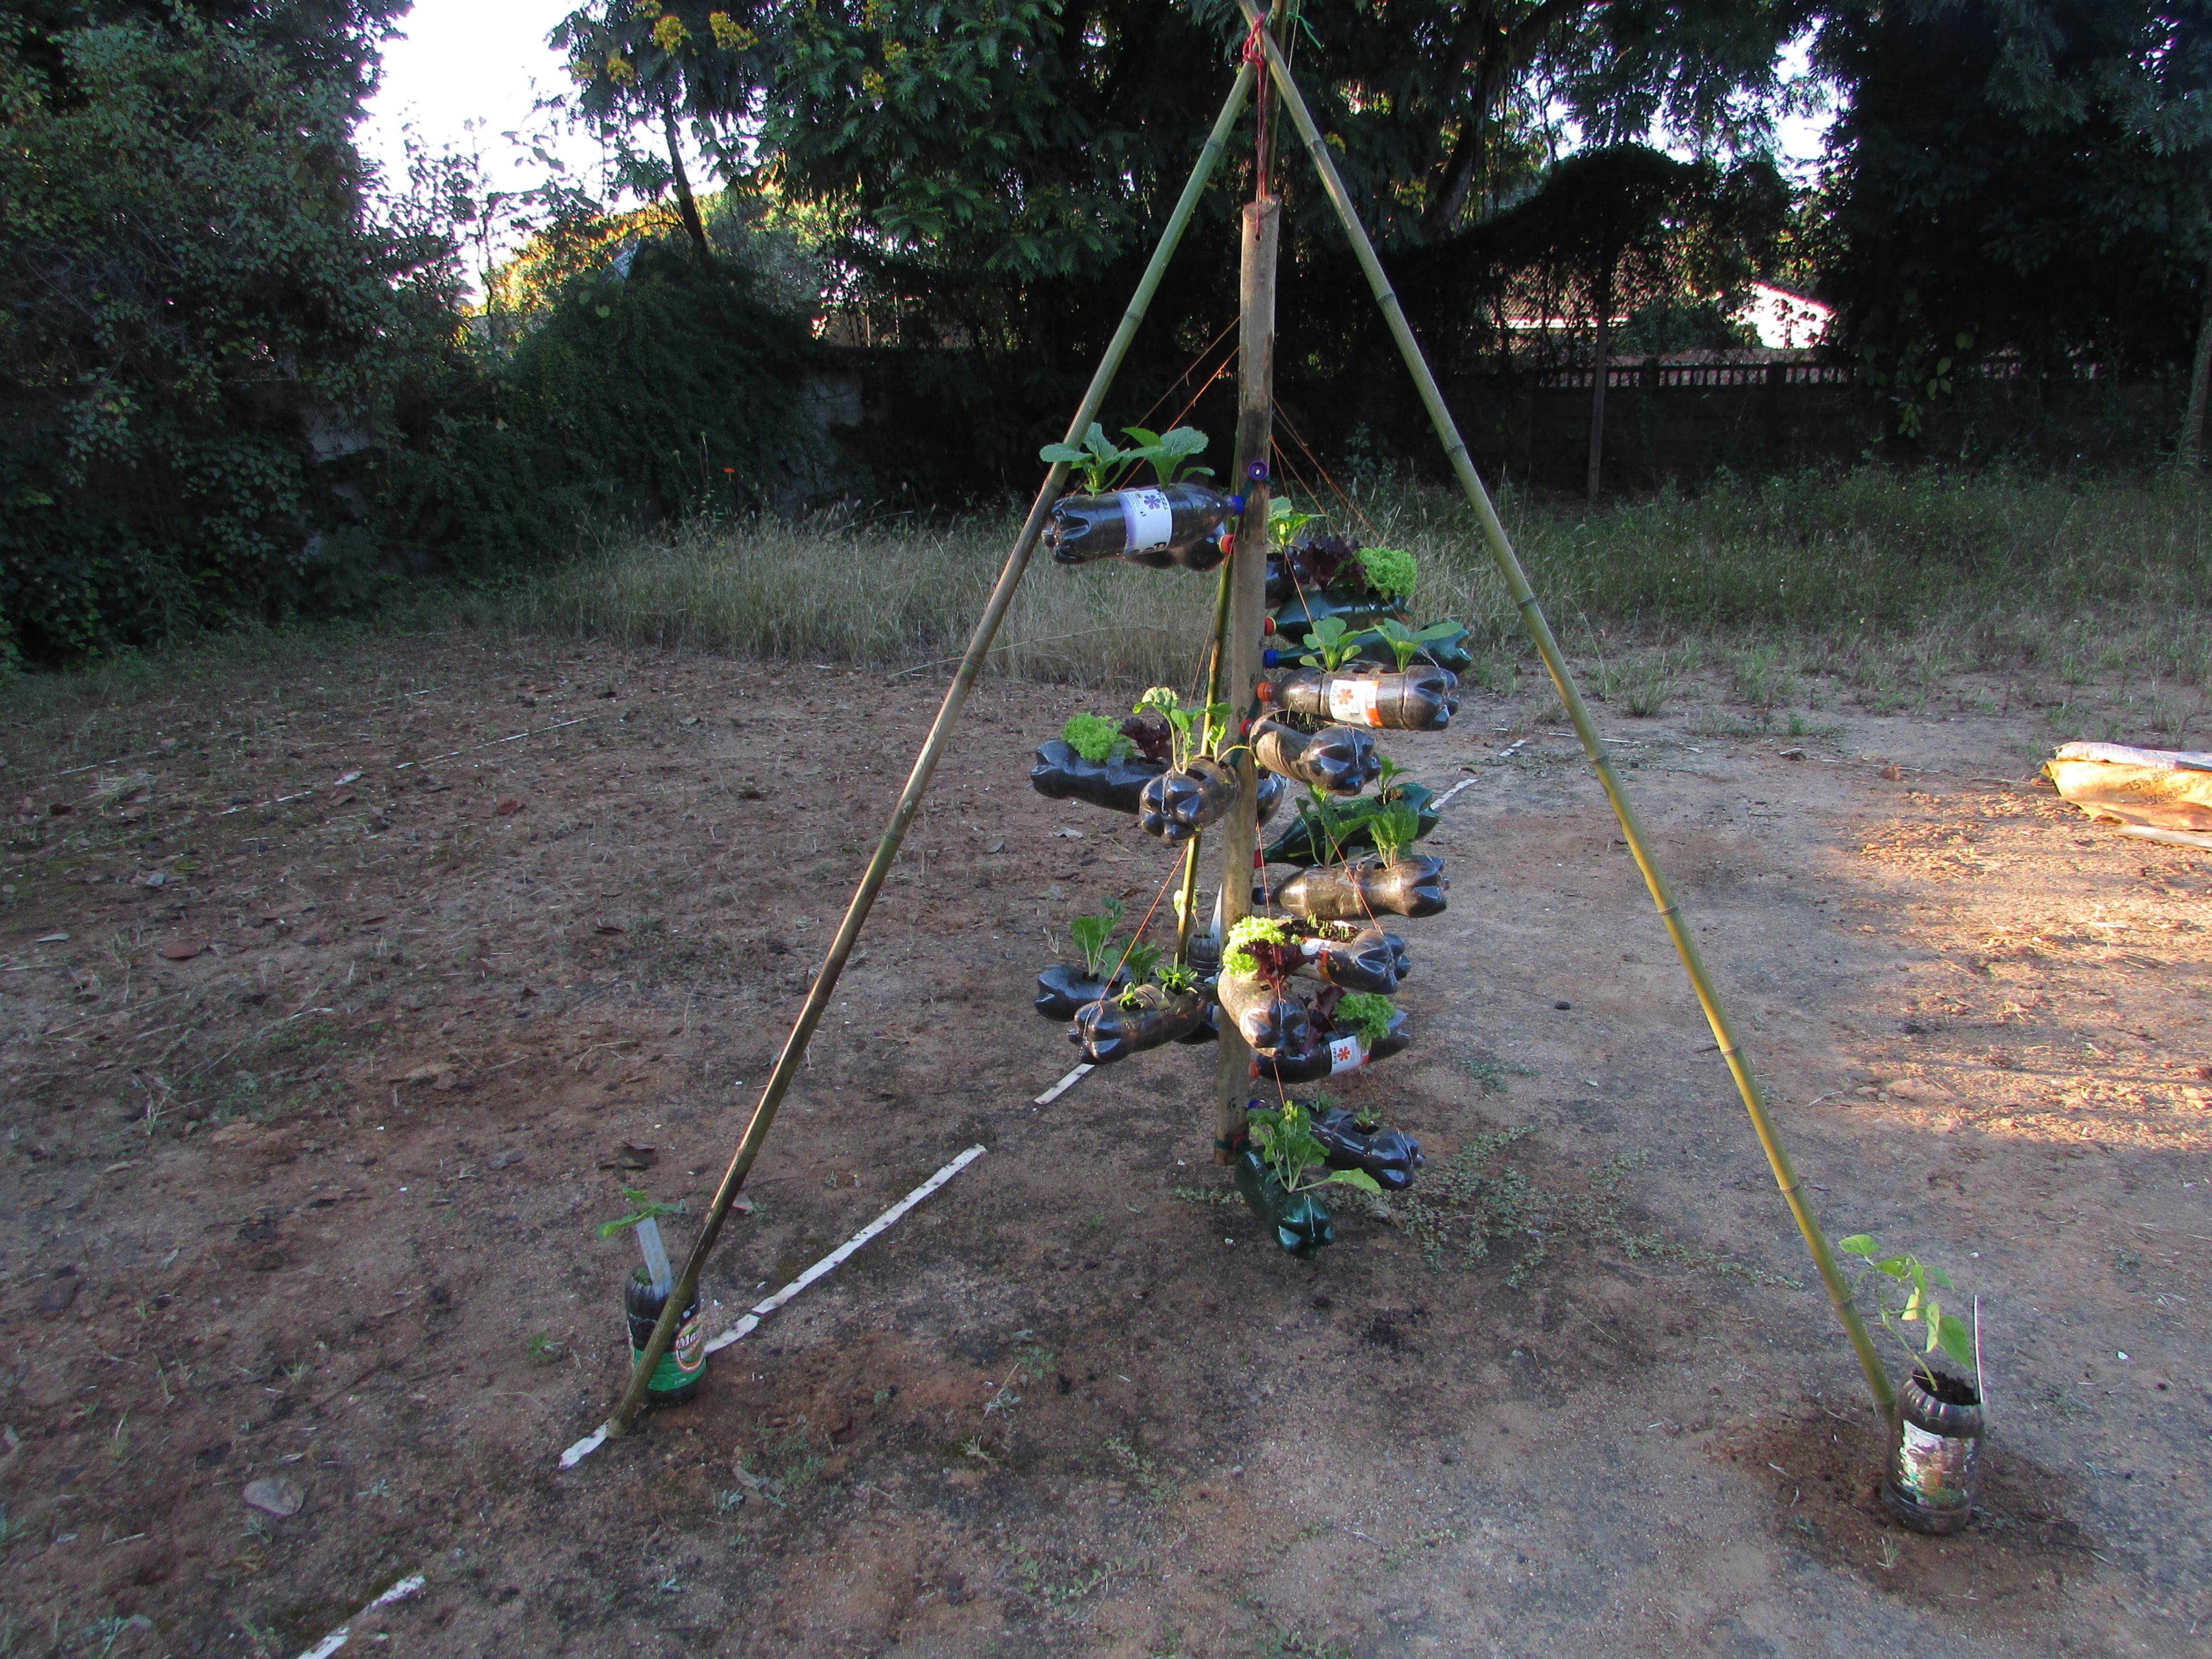
We want to learn as much as possible about growing food with limited space and resources – specifically within an urban environment. We then want to design and test various systems to establish their efficacy. When we come up with systems that are effective, we want to teach others how to duplicate them.
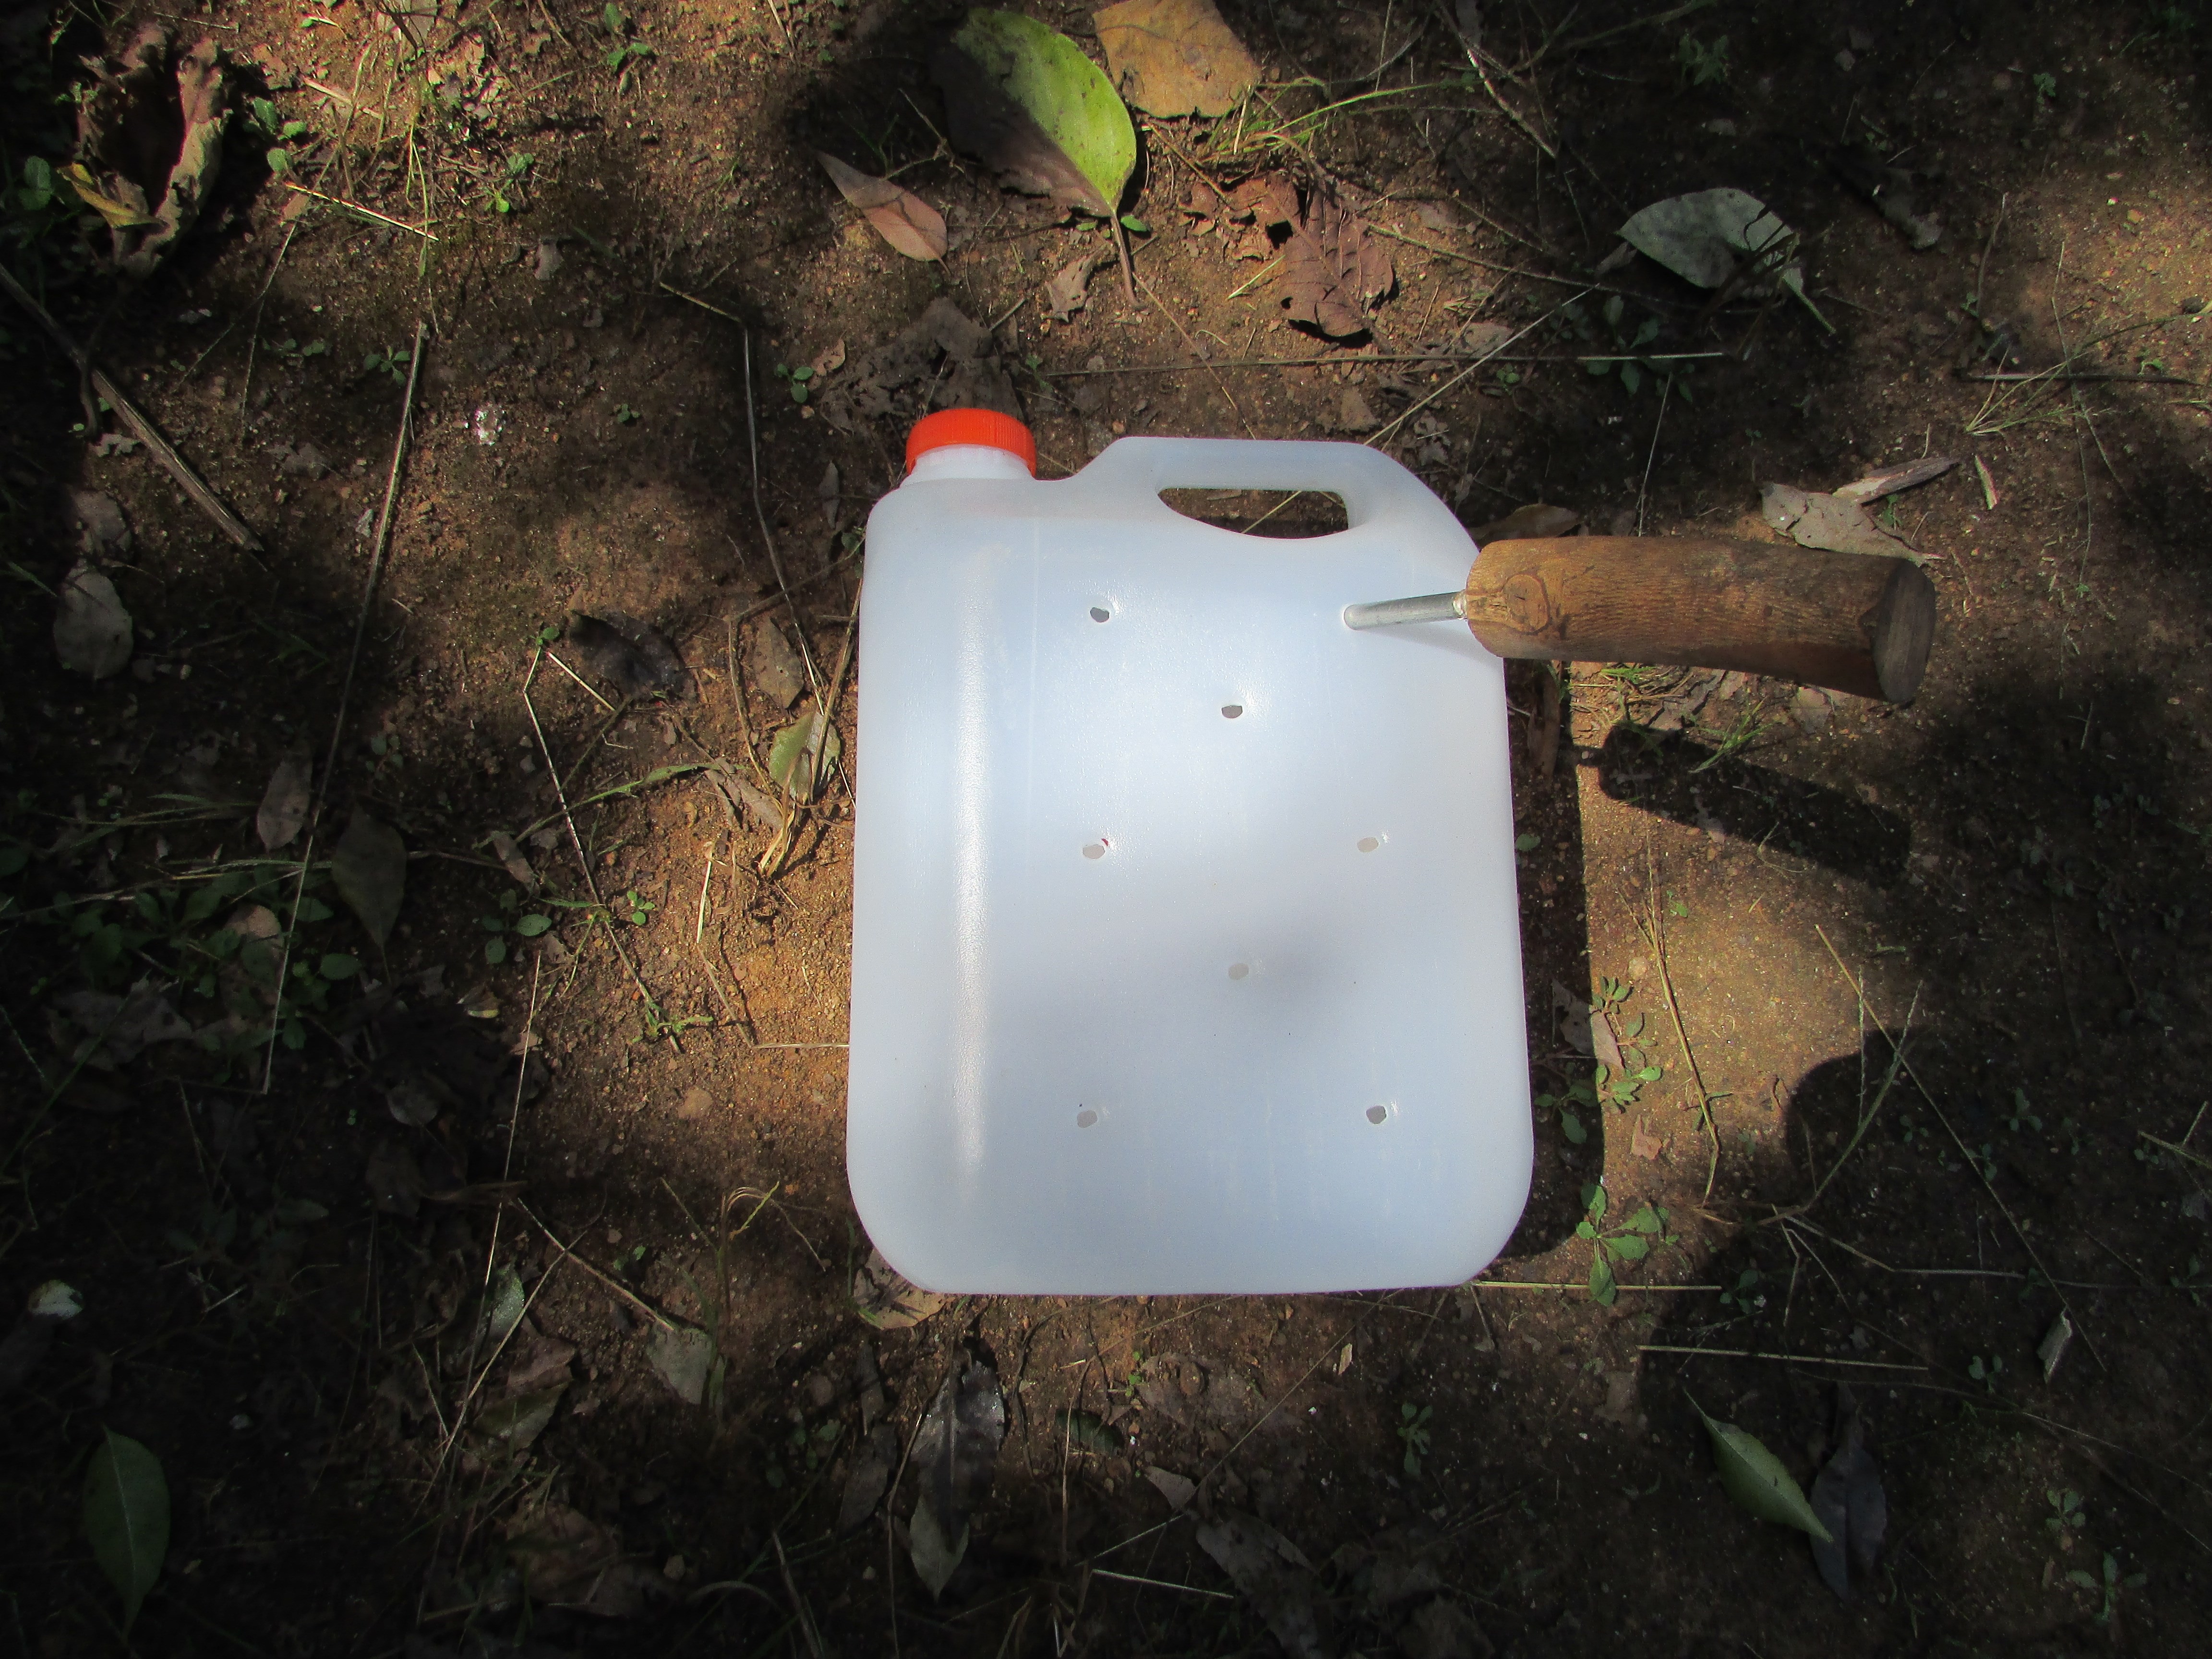
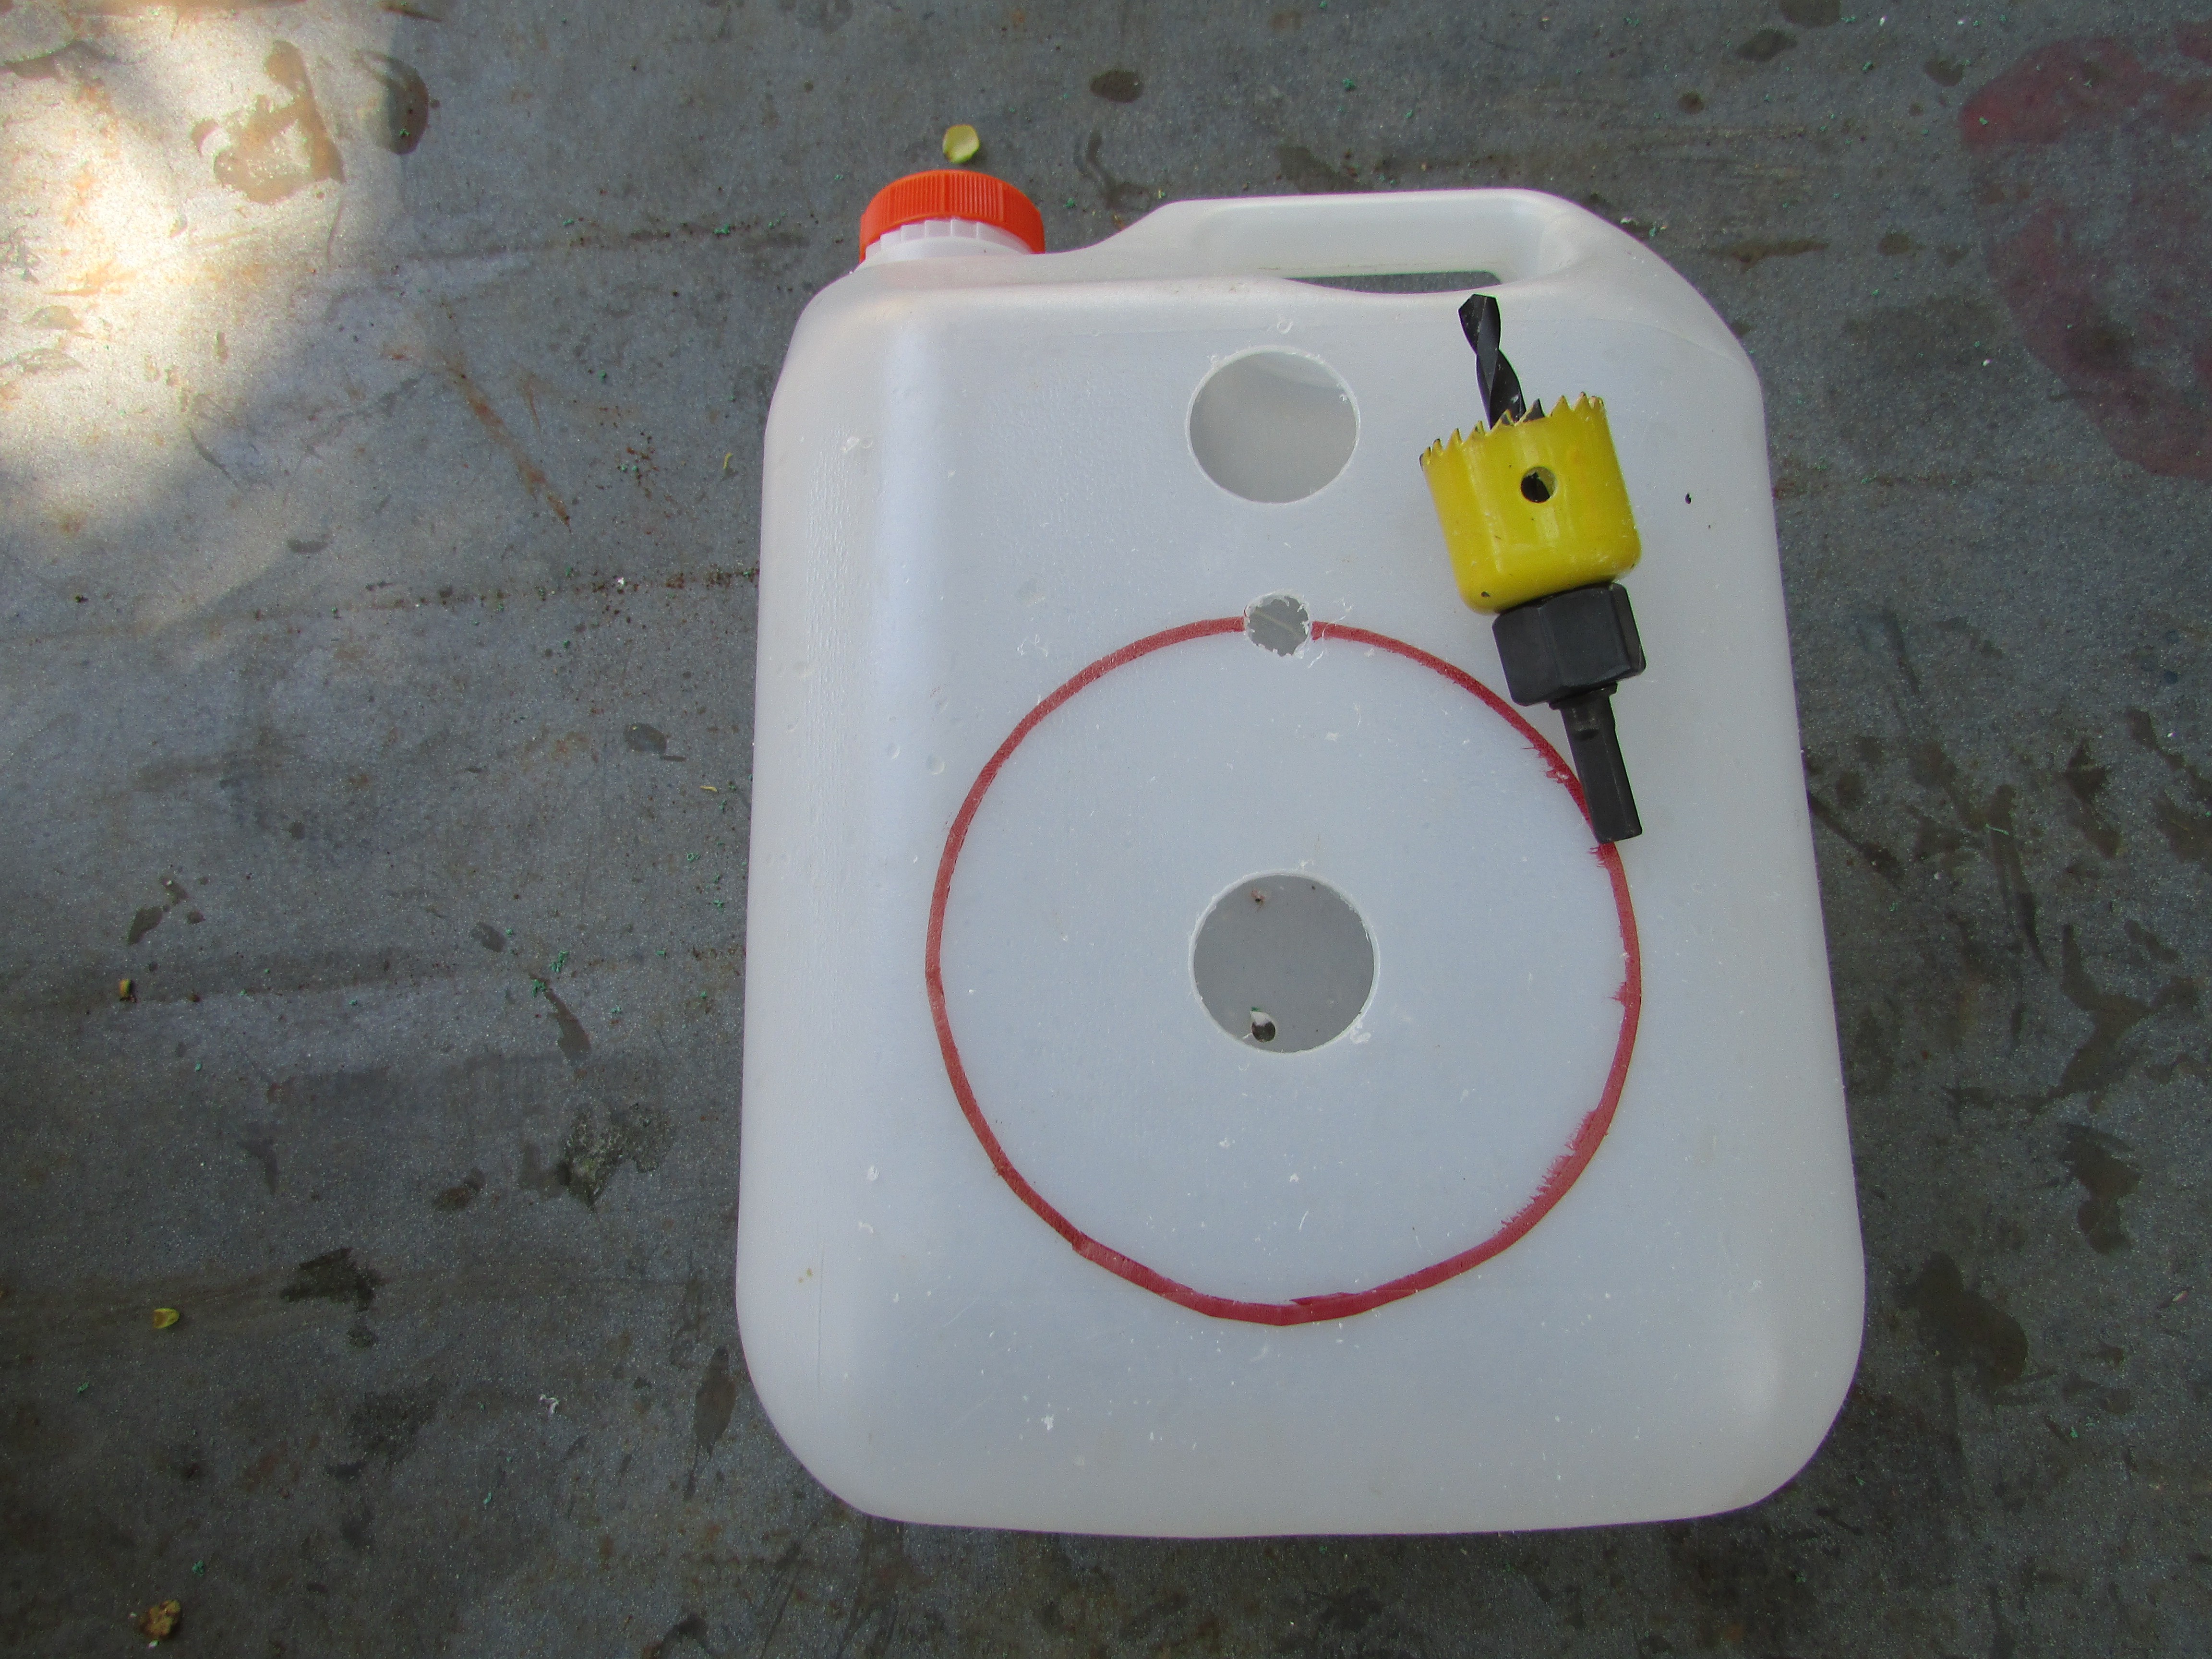 STEP THREE
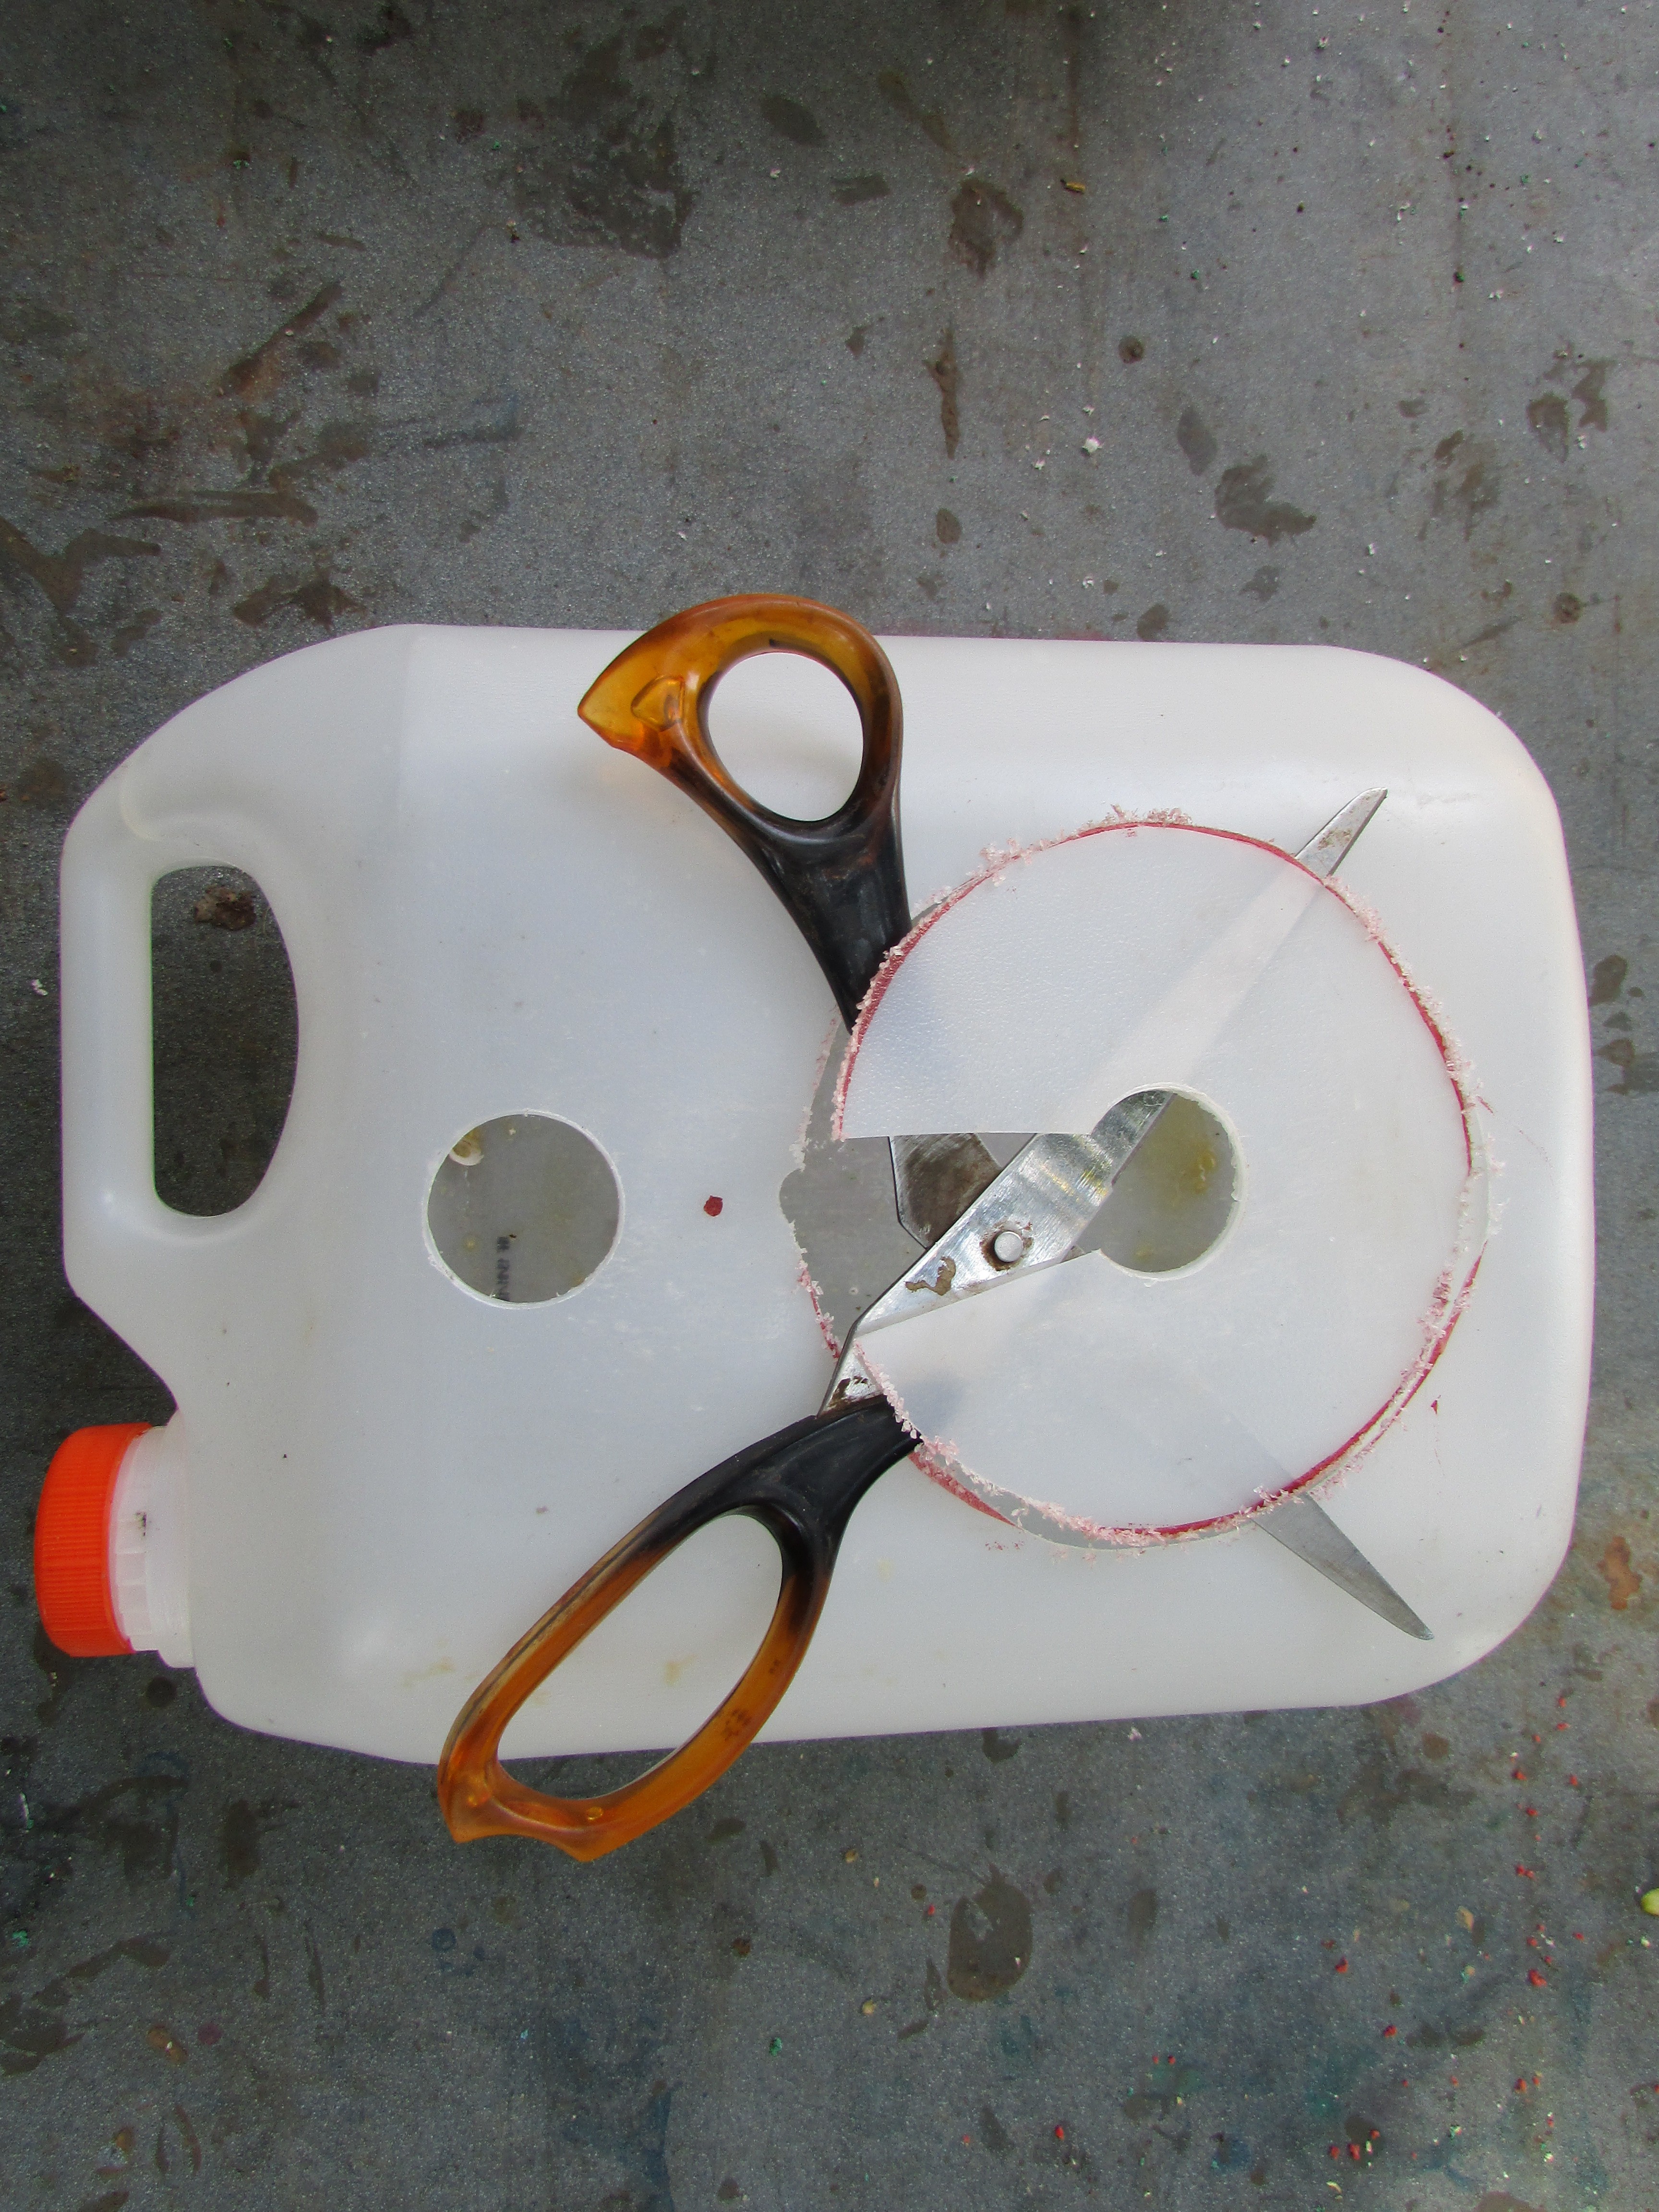
 STEP FIVE
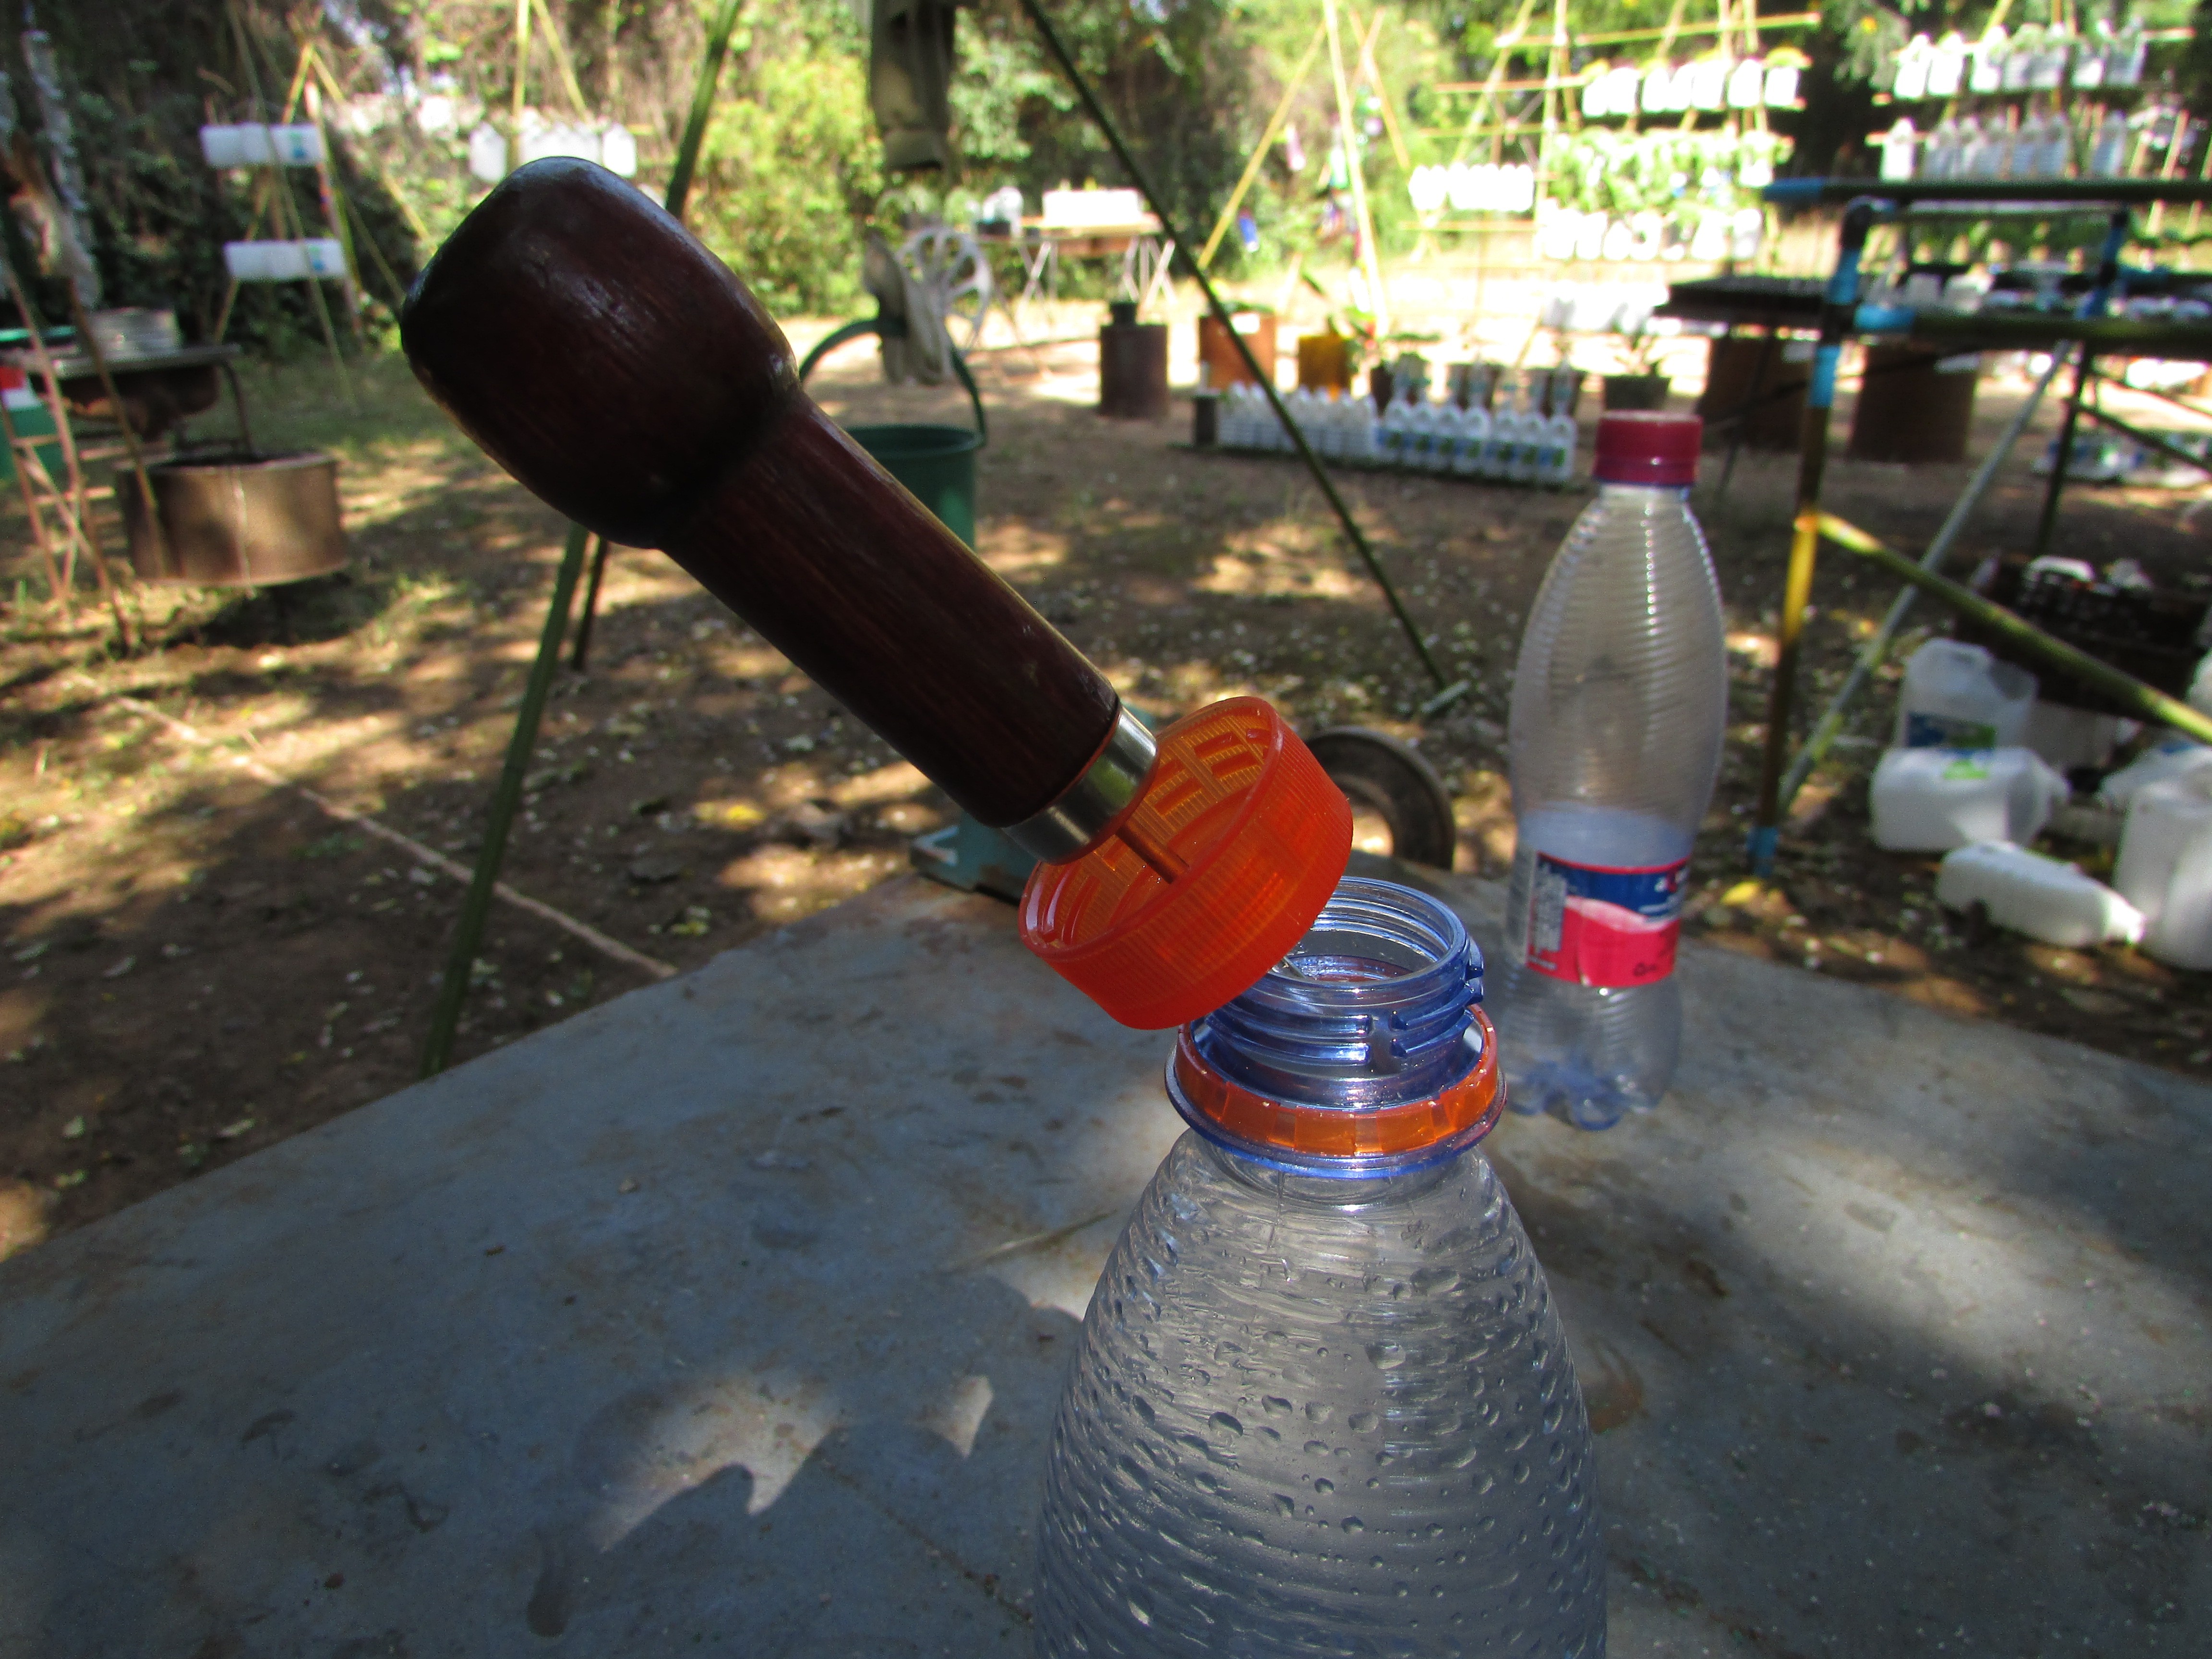
 STEP SIX

 Darrell Johnson
 Morning.Star
 Em
Em
 Julius (Mr. Seeker)