Close
0%
0%

Free Beer Selfie

Take a chance to offer a free beer to a stranger ! Or be creative with a photobooth.

Similar projects worth following
A machine standing on a bar, with a screen, a camera pointing at you and a thermal ticket printer. A big button letting you to play. A button on the back for the barman to launch the game.
Rules are:
- You can play each time you buy a beer.
- If you loose, you get a souvenir ticket with your face
- If you win, you get a ticket with a face of someone else. If you find this people, both get a free beer.
What you have to do :
- Buy a beer
- Press the big button
- Retry once your glass is empty

Optionally you can share your picture on Facebook, play with weird time-scan effect or even get surprise prints!

Hardware:

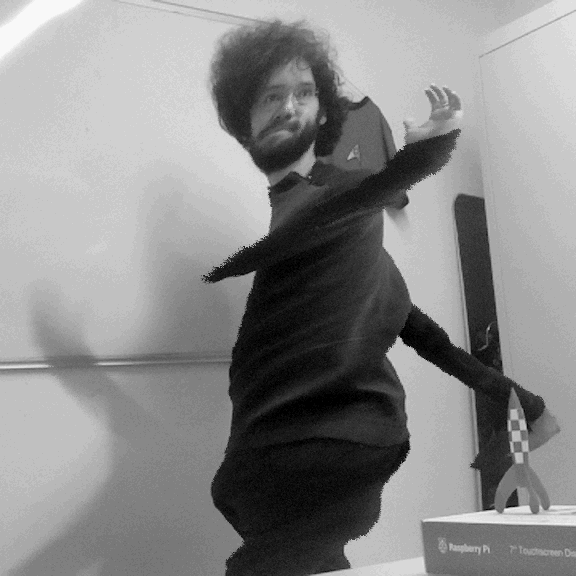
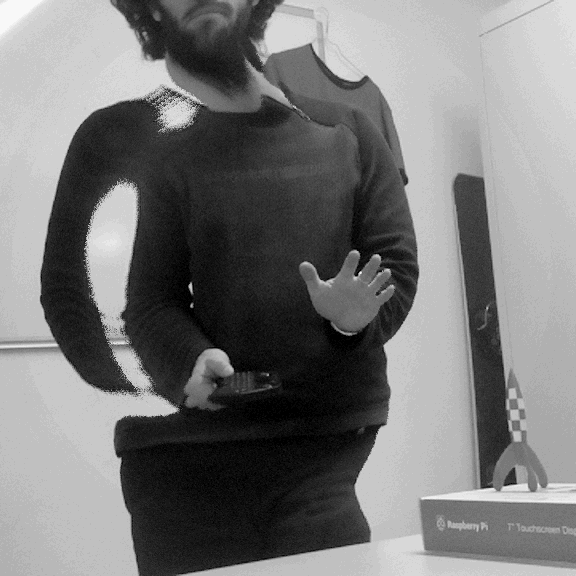
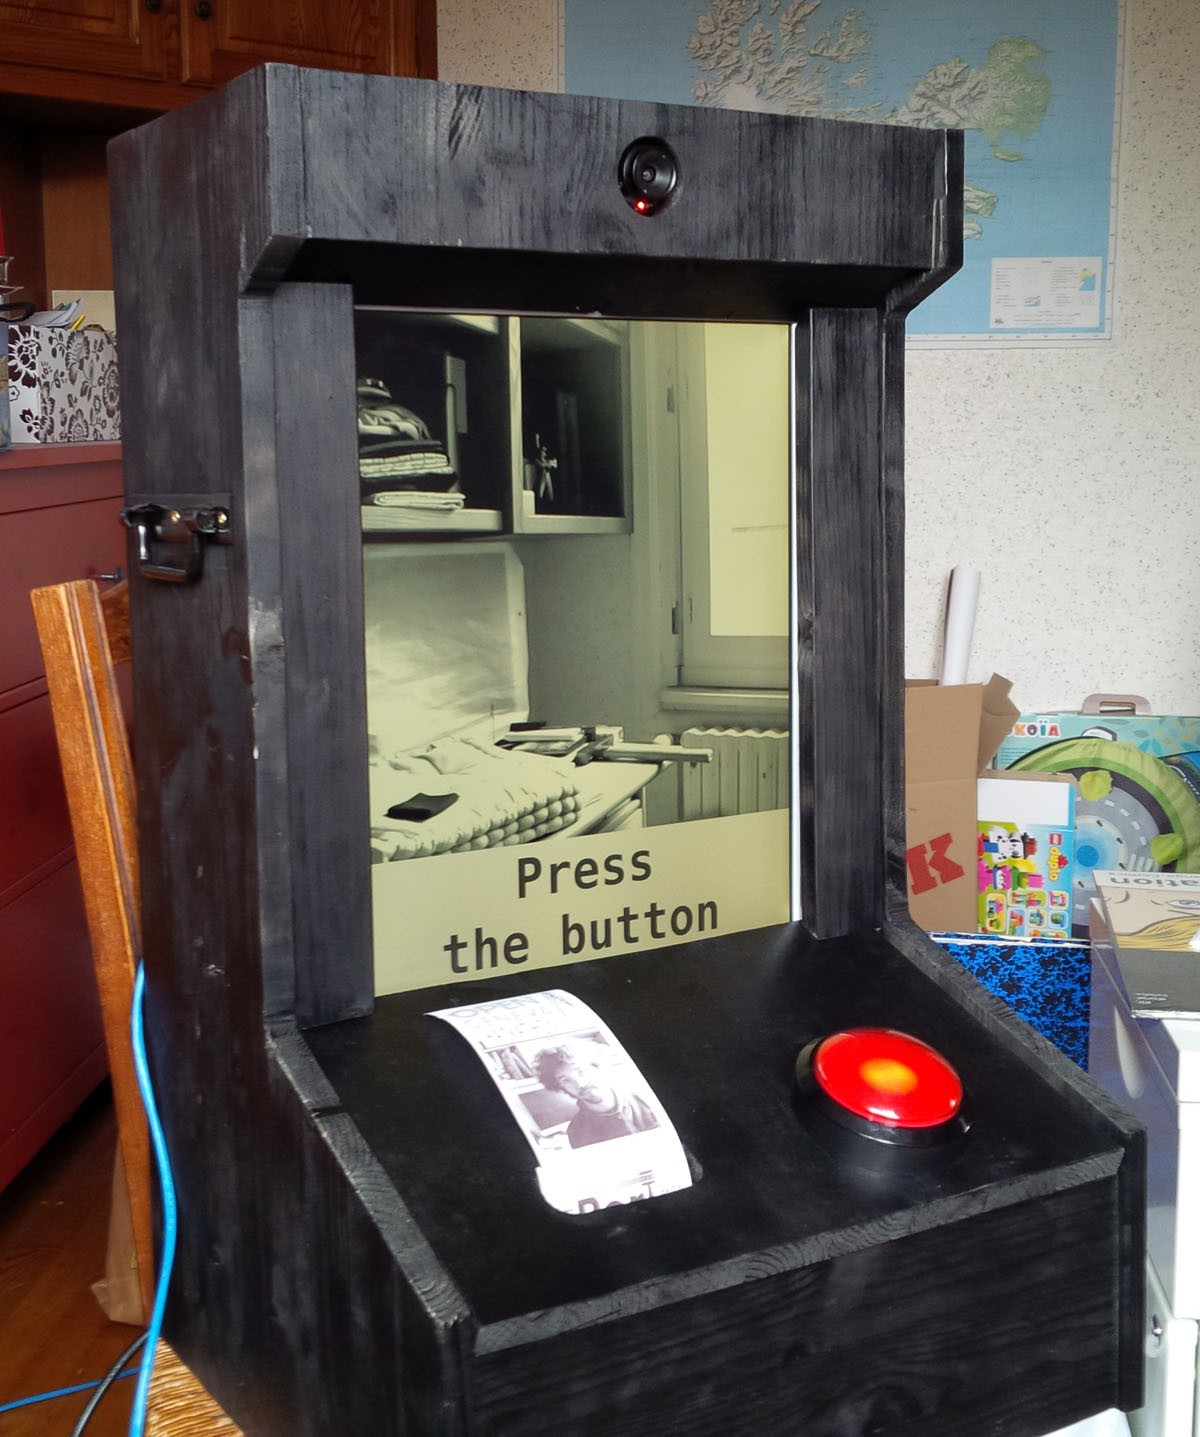
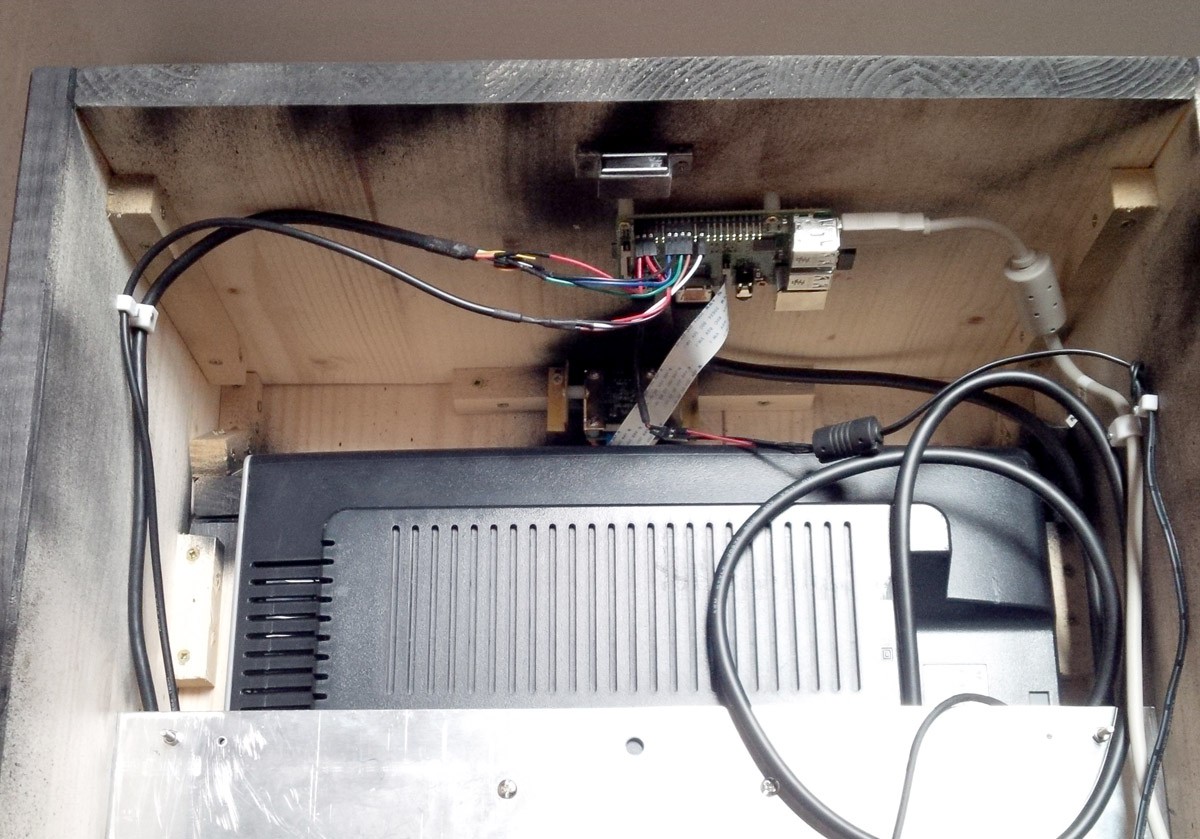
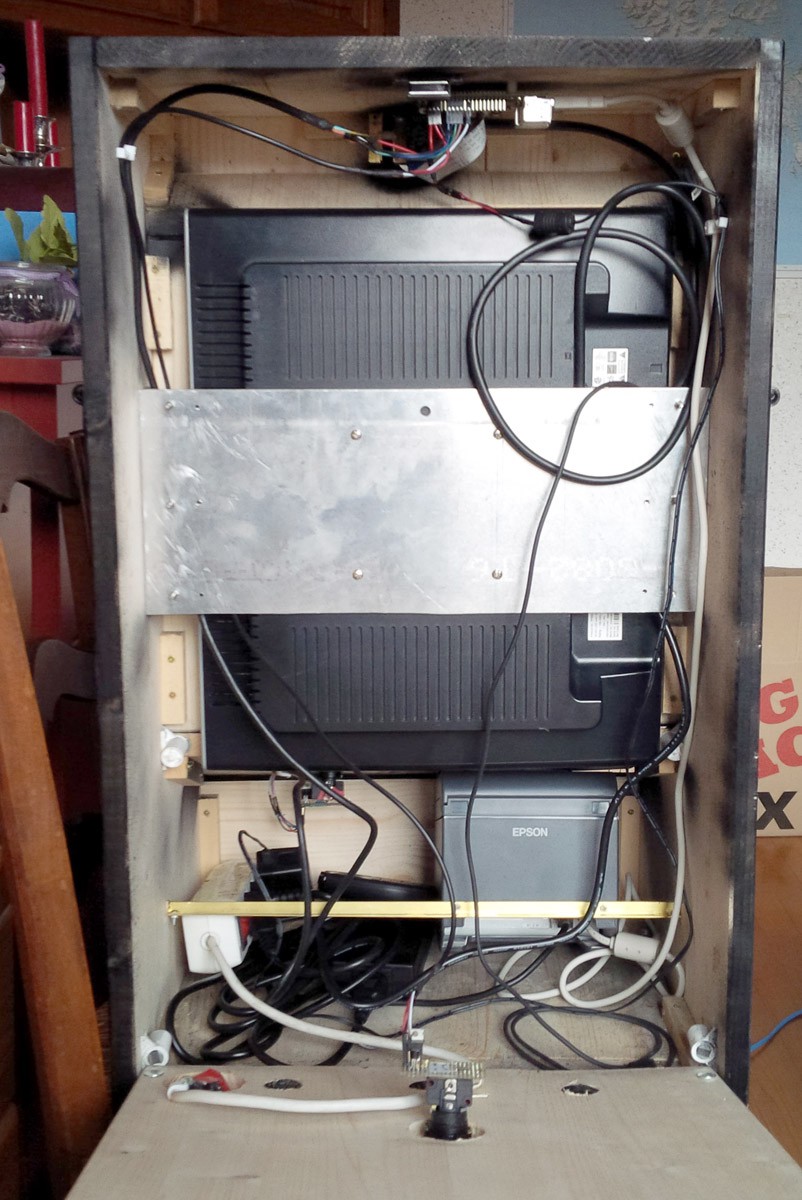
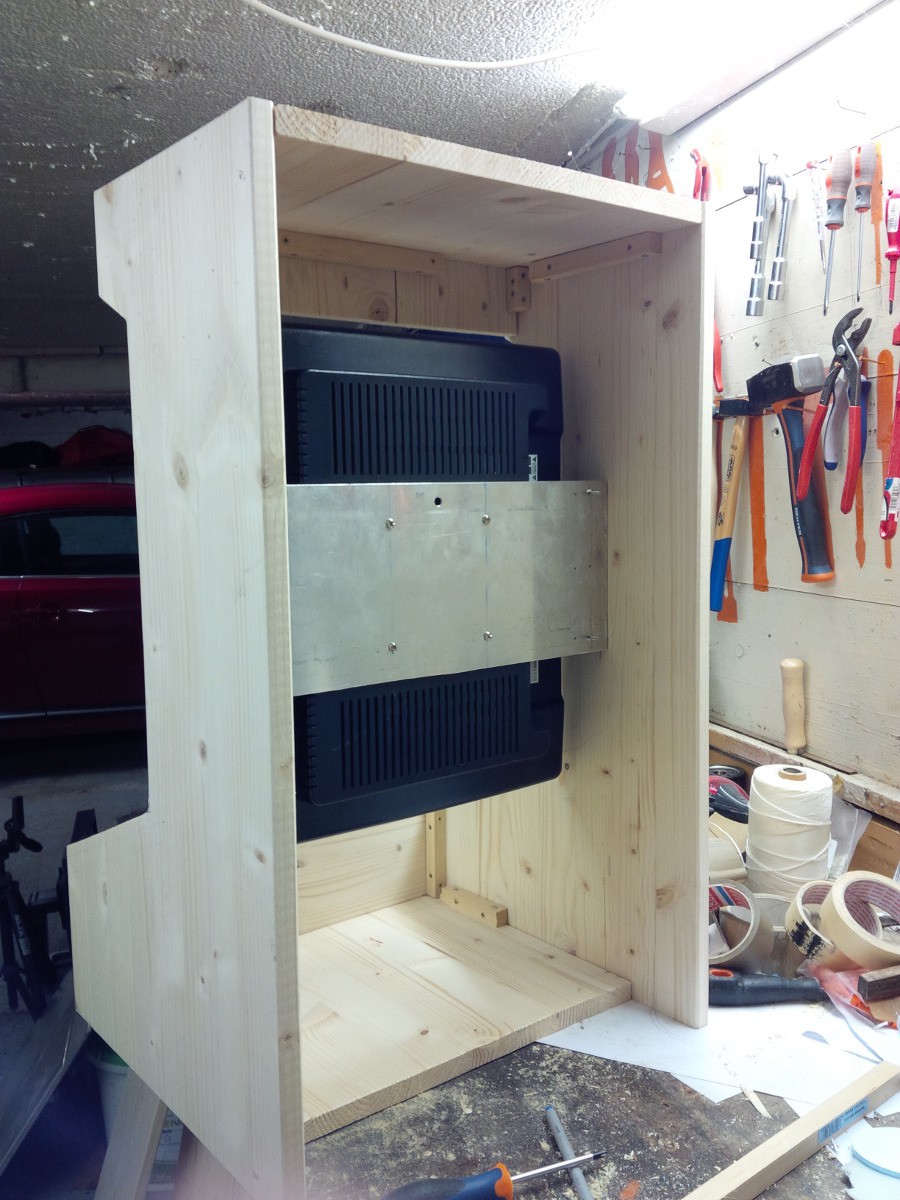
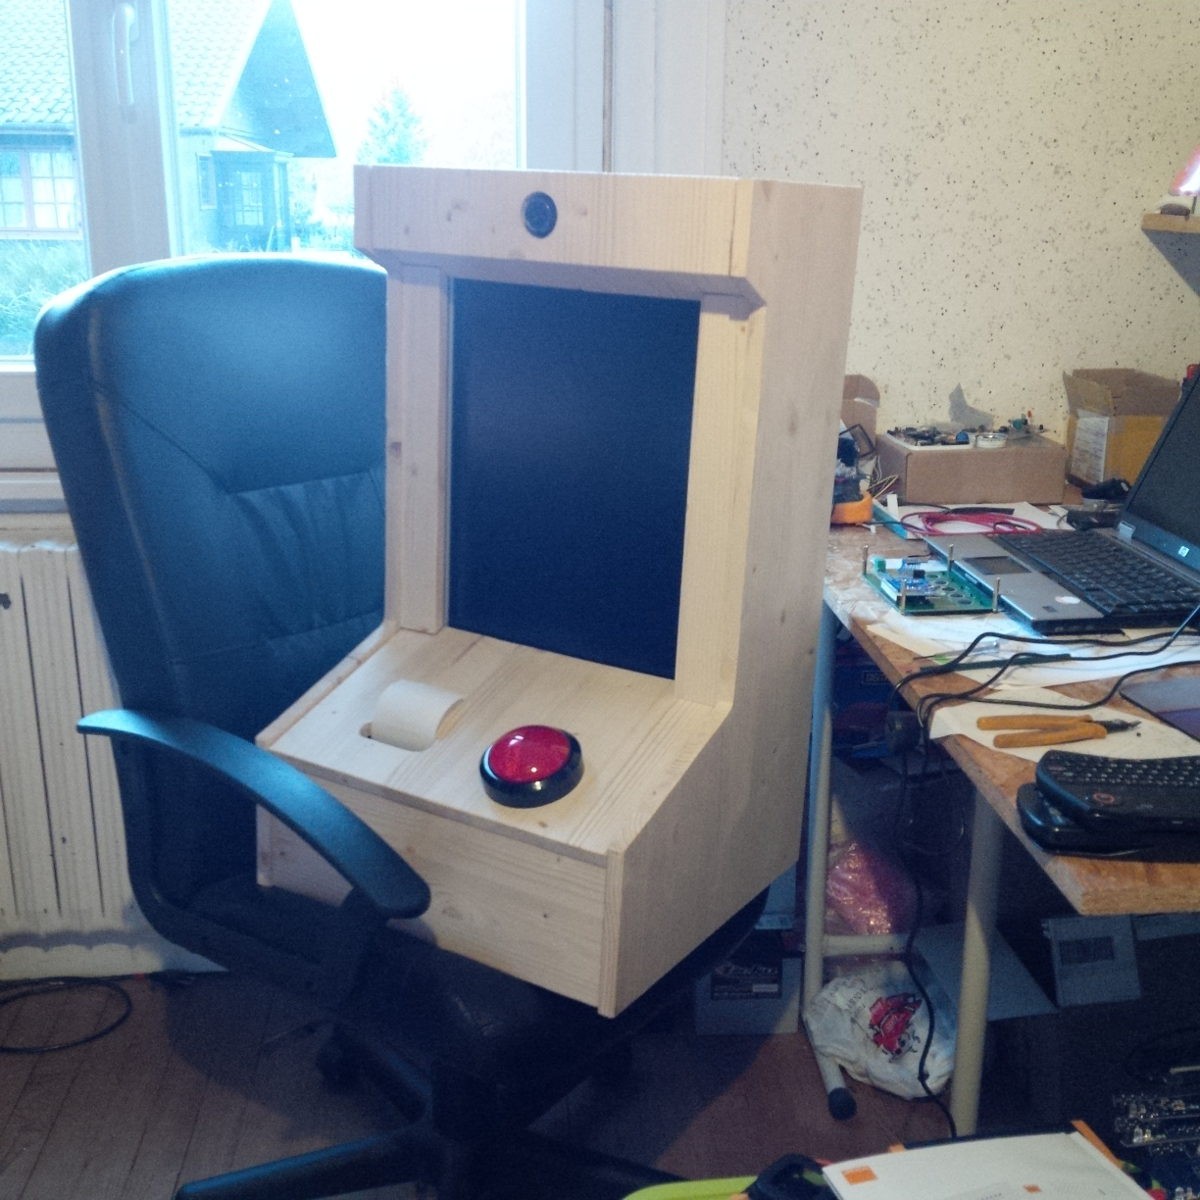
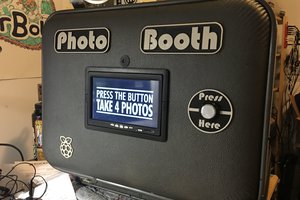
The hardware is not very complexe if you're familiar with Raspberry Pi. The screen is a recycled one from office, a standard 19" DVI. The resolution is 1280x1024. It's rotated in portrait mode.

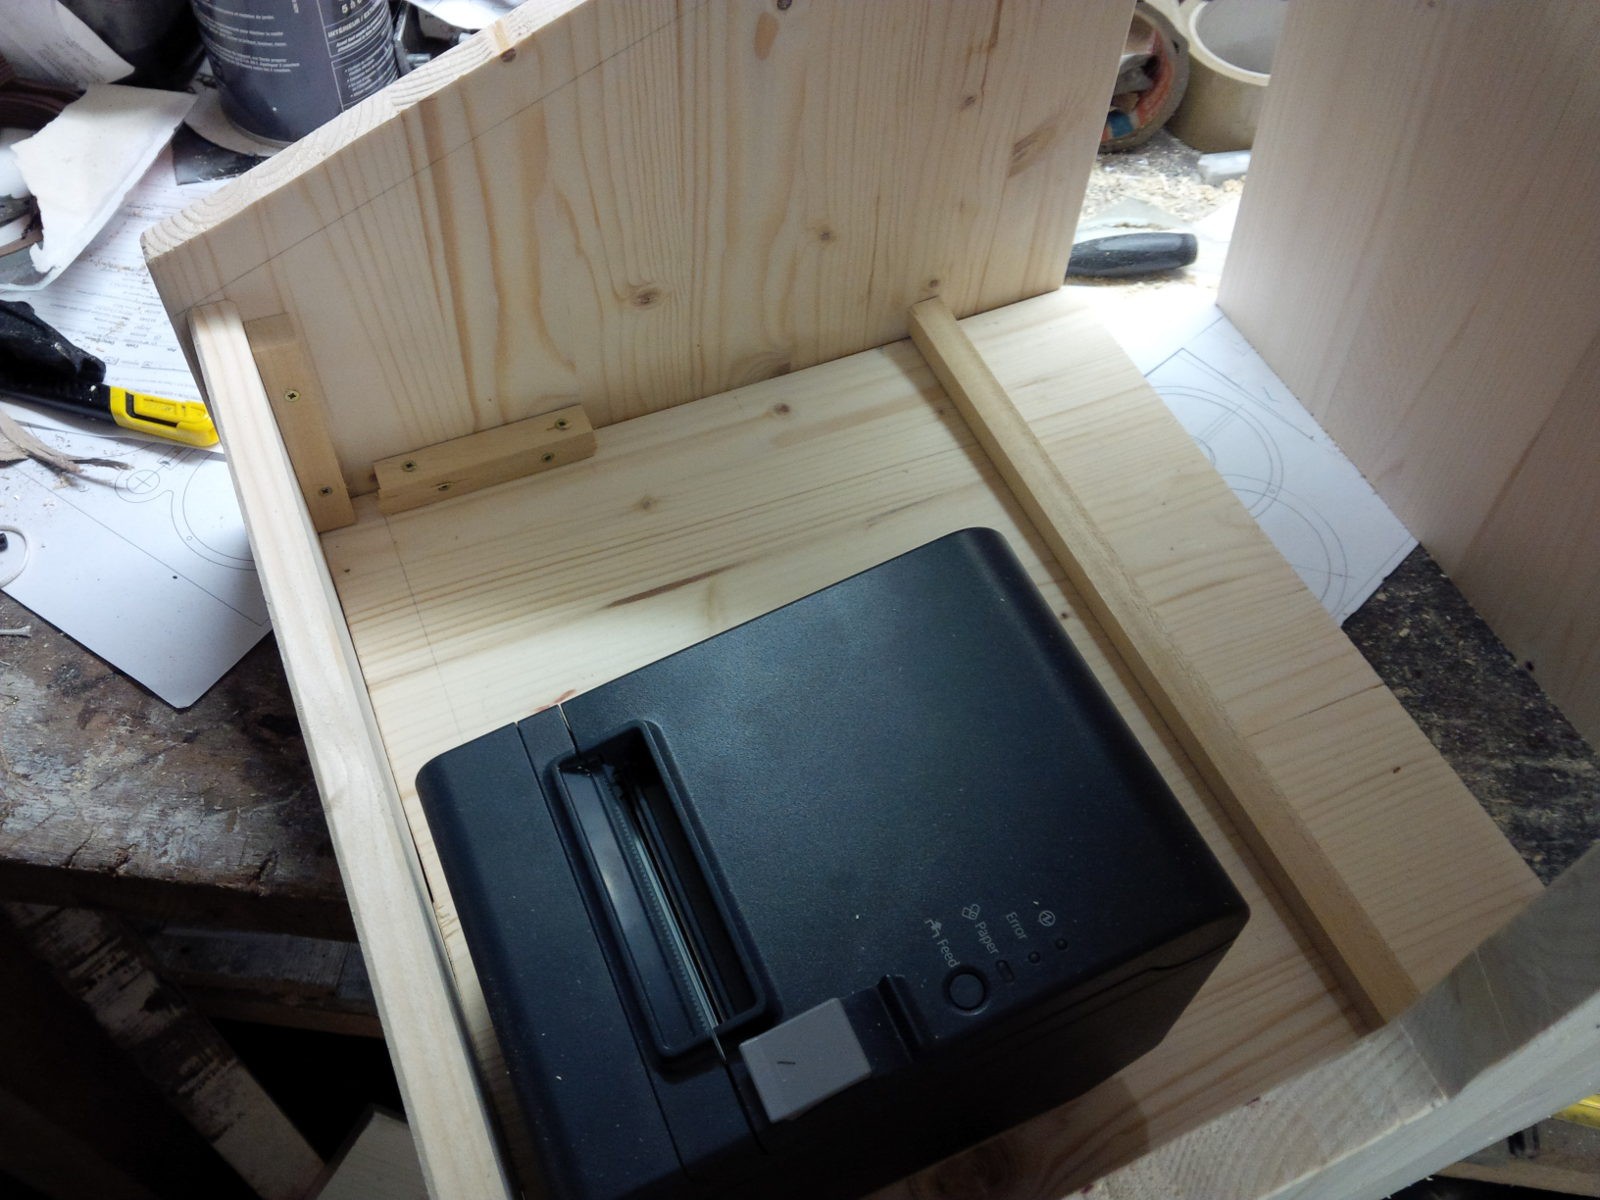
The printer is an Epson TM-T20II, connected to the Rpi with USB.

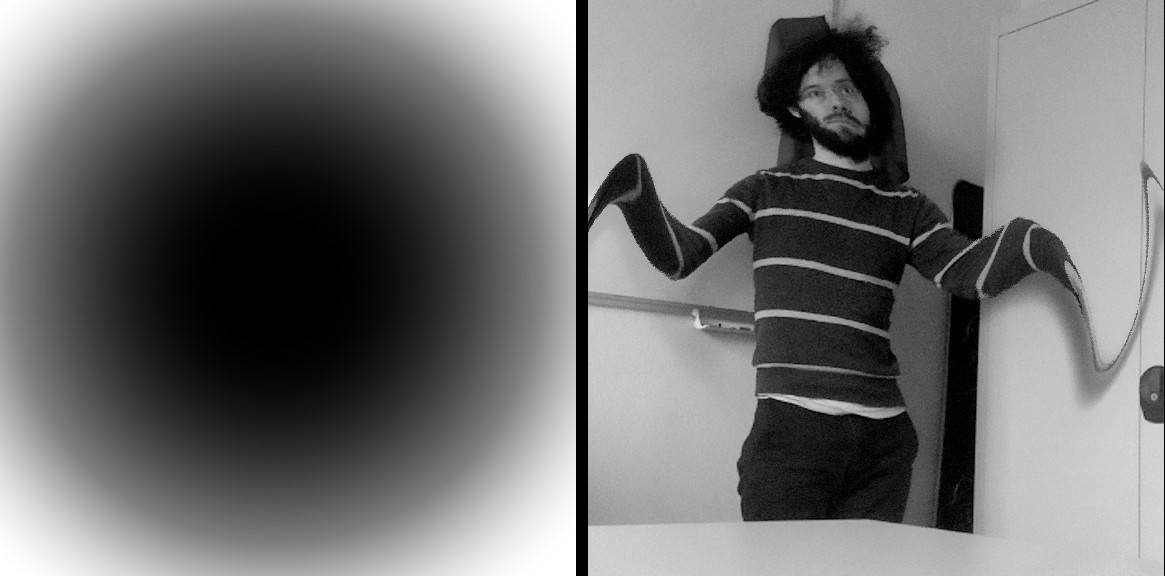
The camera module is a clone of the official Raspberry pi, with a slightly more luminous lens. Connected directly to the Rpi with the CSI port.

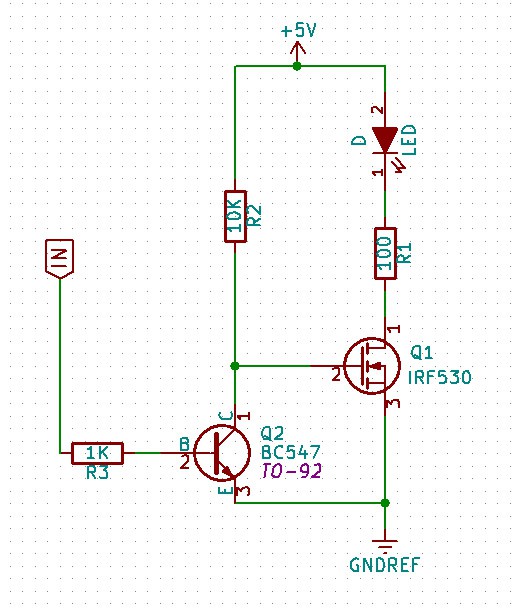
The buttons are connected between Rpi GPIO and 0V. And their LED to a small driver board and Rpi GPIO.

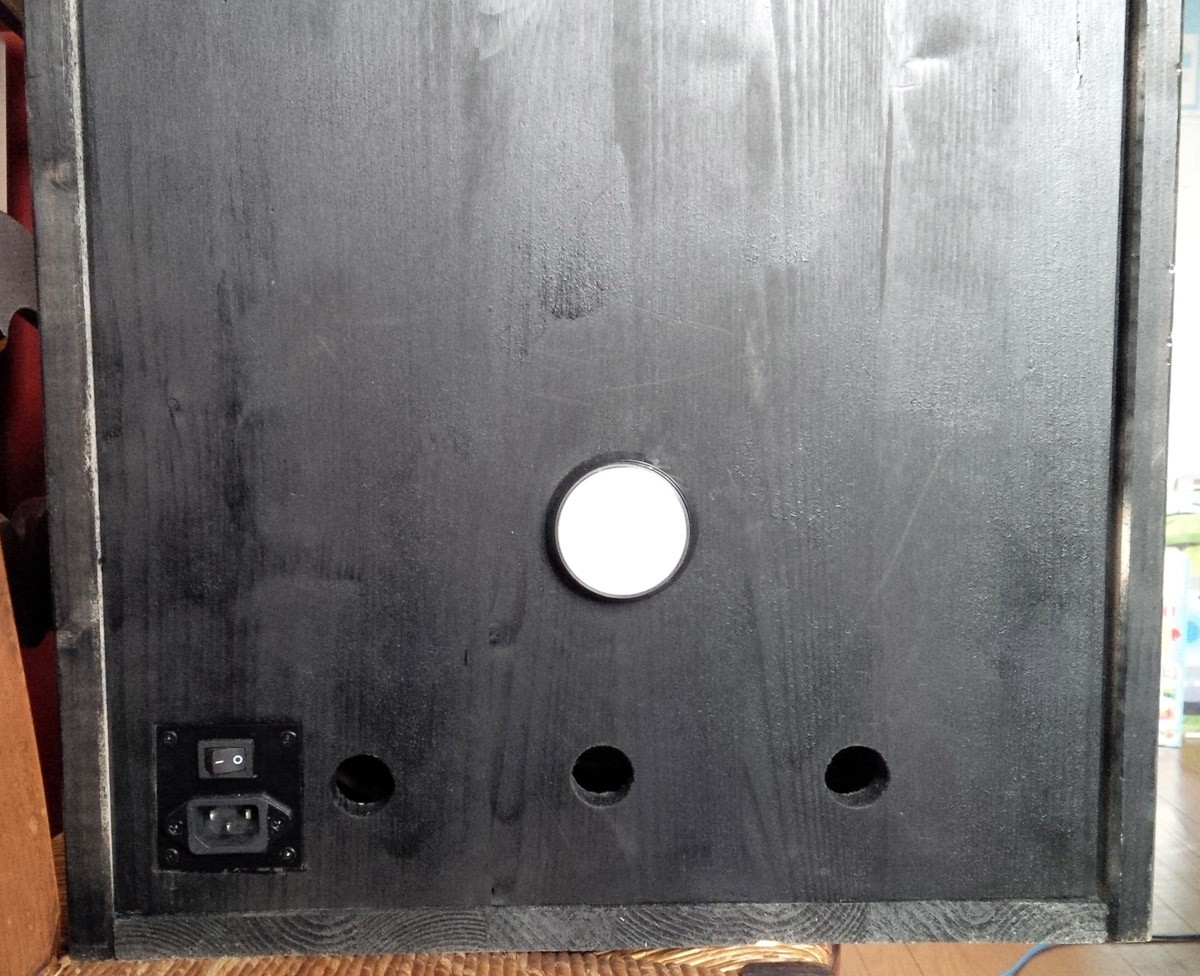
All power supplies (screen, Rpi 5V, printer) are connected to the same plug and a general switch.

Sofware:

The raspberry pi is running under the official Raspbian image.

The software is written in Java and uses two external libraries. One for GPIO - Pi4J and an other one for USB - usb4Java . The code source is on github : https://github.com/pierre-muth/selfpi

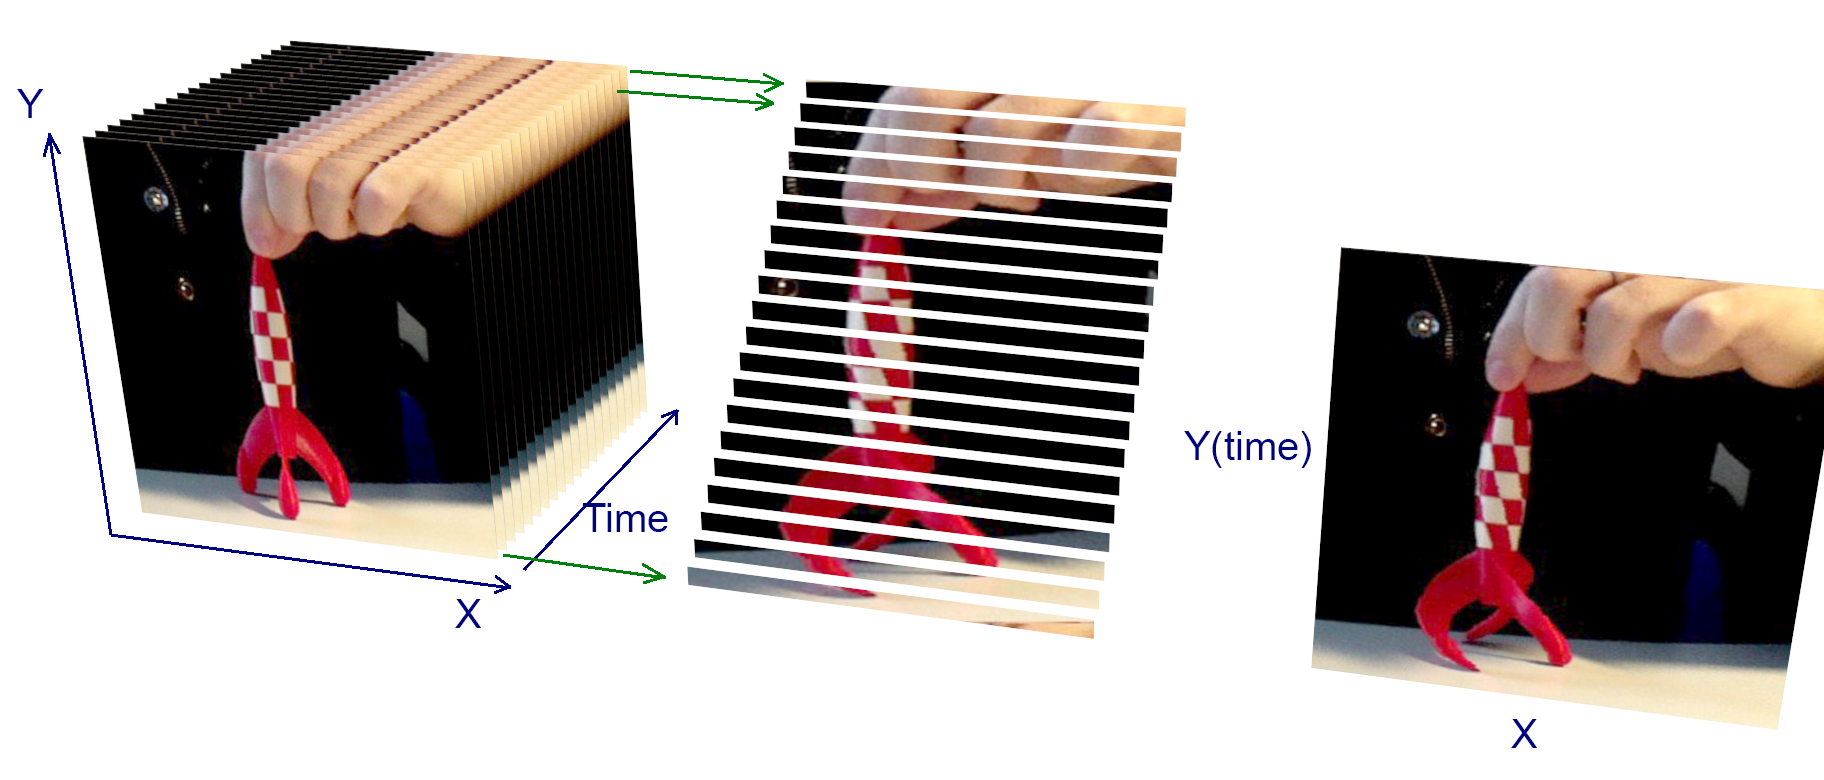
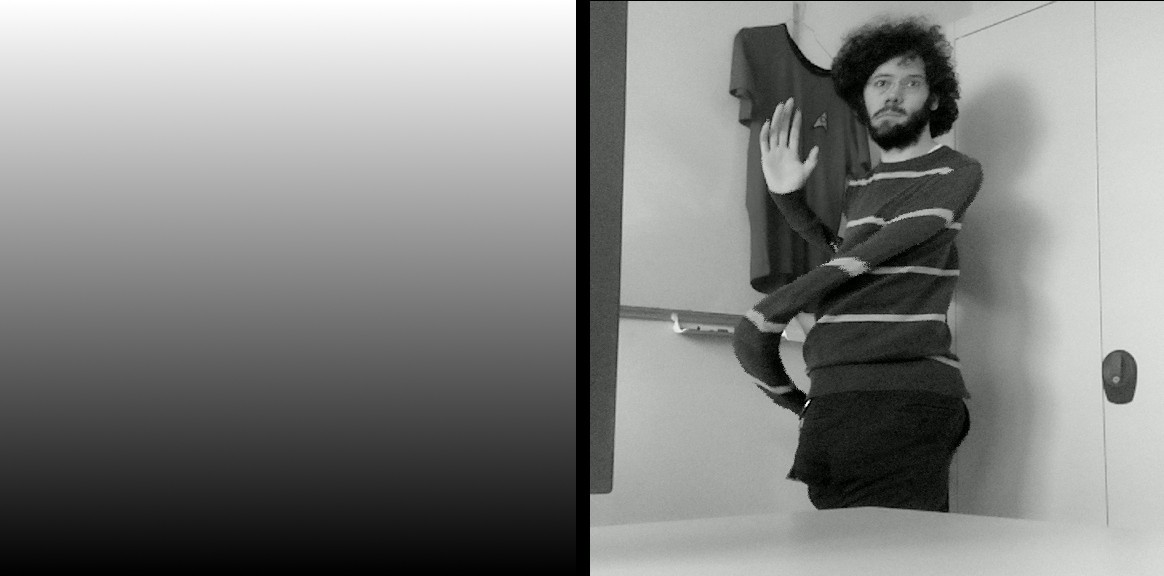
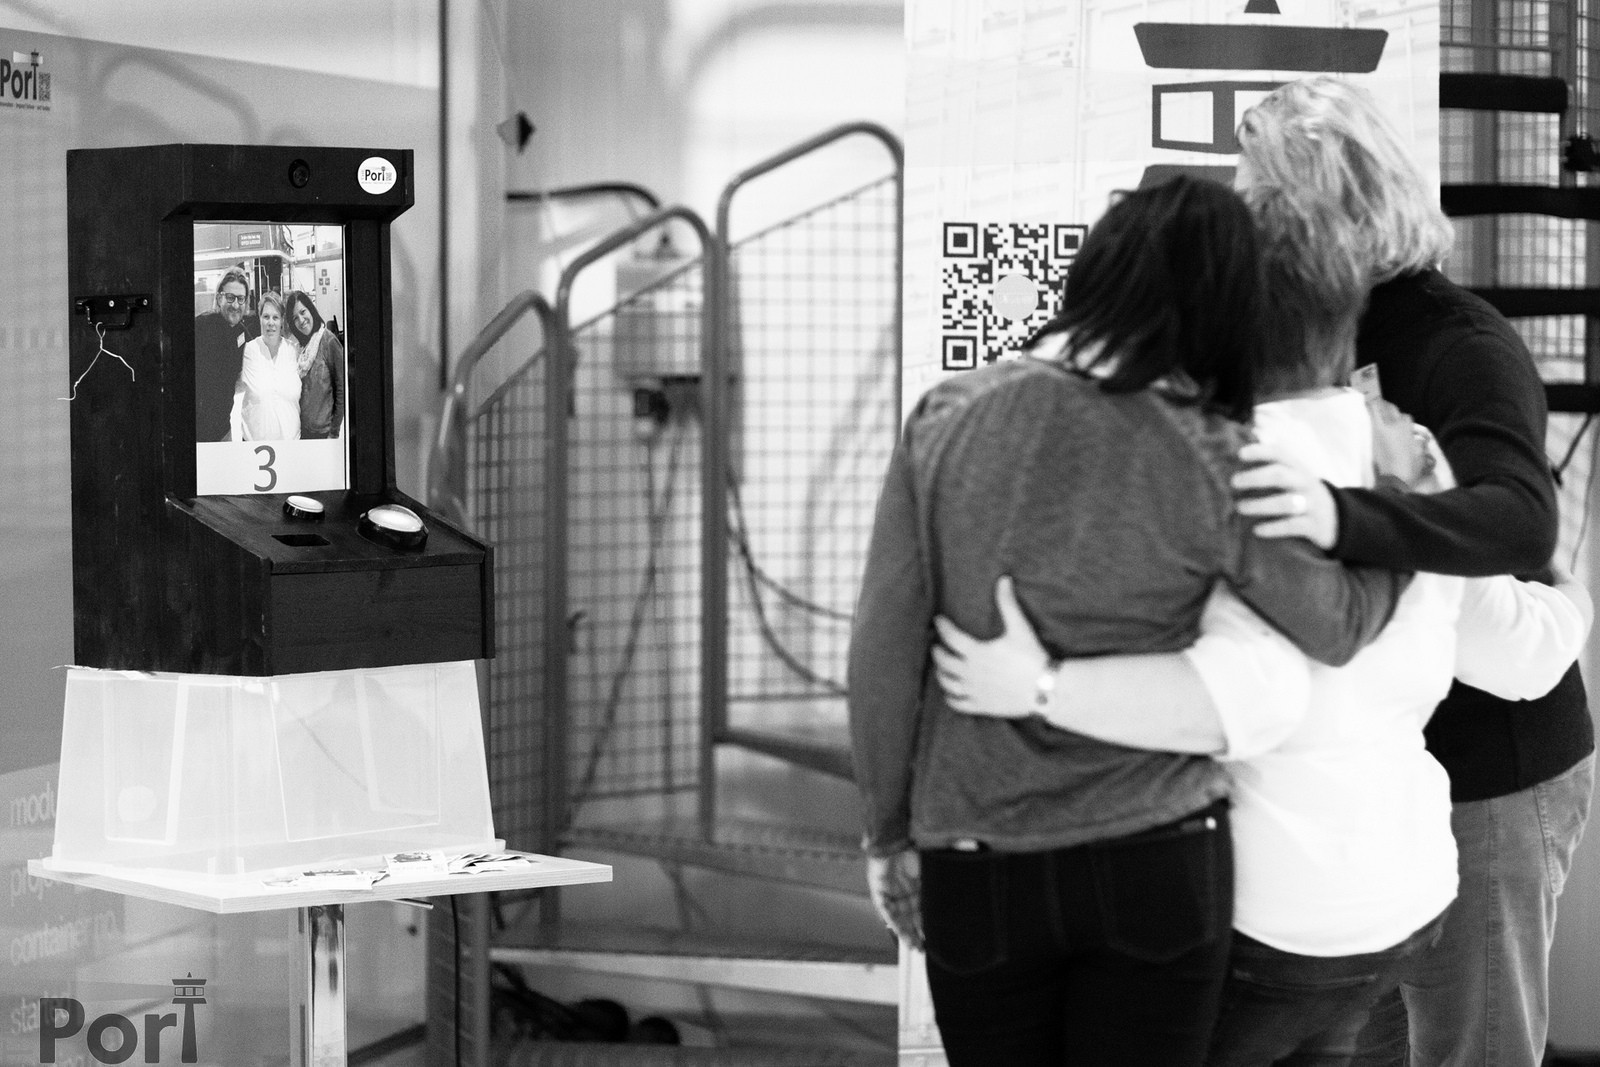
In addition, the native raspbian program raspividyuv is used to get the camera frames. The camera output is on top of everything and always visible.

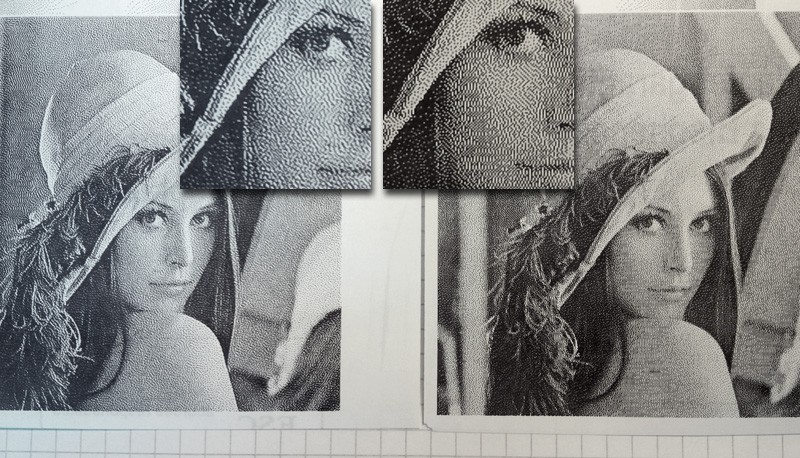
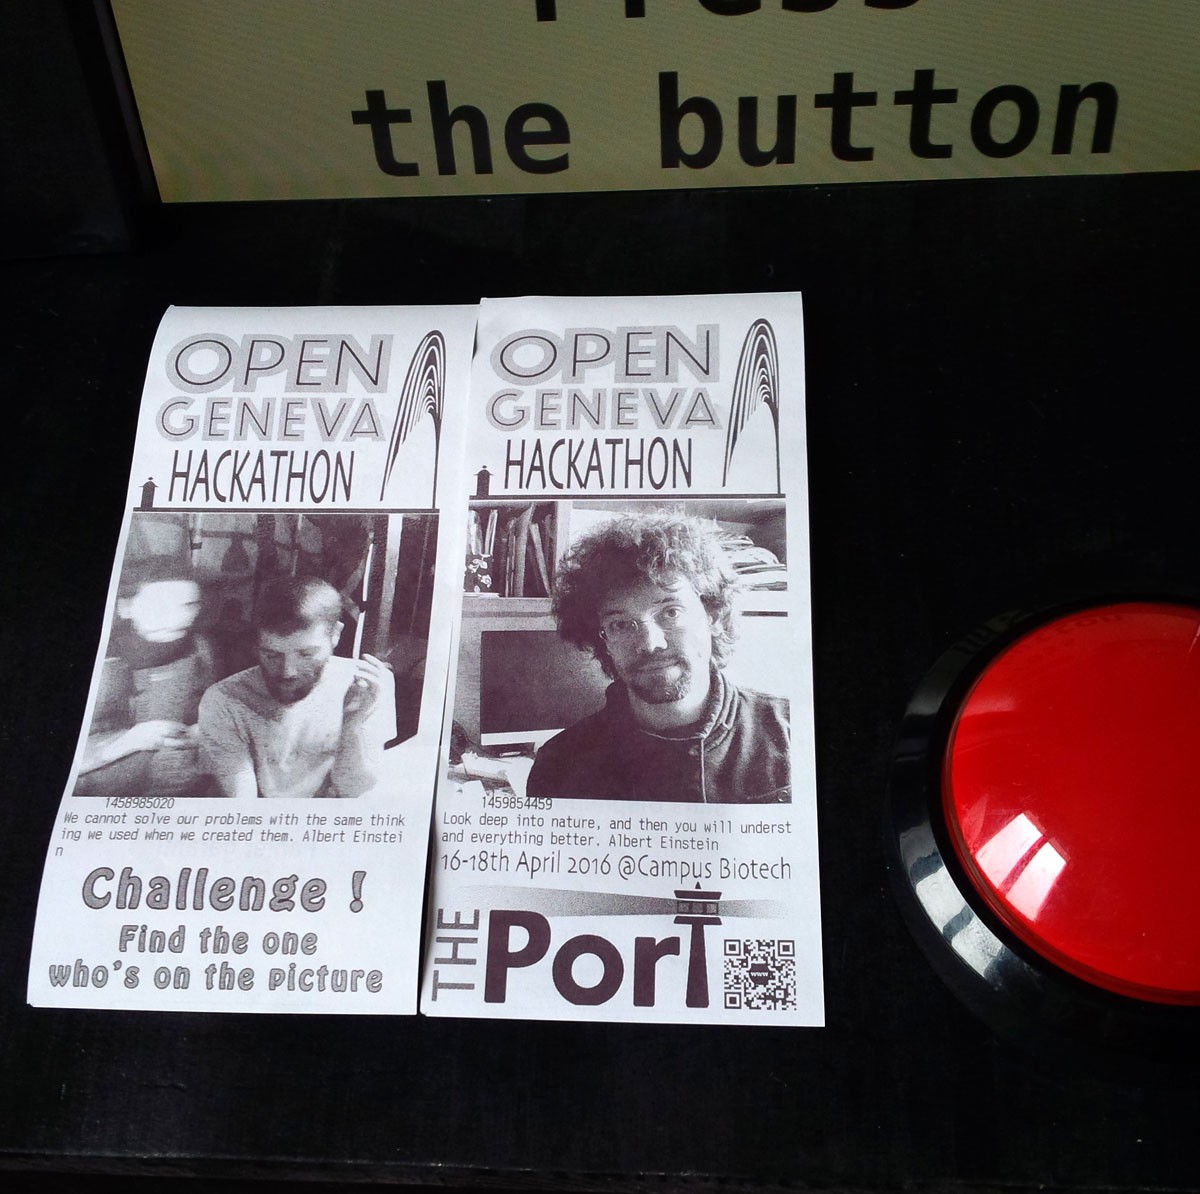
Once the button is pressed, a frame is saved. The gray scale image is saved to a jpeg file, then data are dithered (Floyd–Steinberg) and sent to the printer.

Originally JavaFX was used to display a small interface. It was convenient as it worked without X. Now Oracle decided to not support anymore JavaFX on ARM. So It's back to Swing and LXDE should be started...

  • 1 × Raspberry Pi Rpi 2B
  • 1 × Raspberry Pi Camera module
  • 1 × LCD screen A recycled one
  • 1 × Thermal printer Epson TM-T20II
  • 1 × Buttons

View all 6 components

  • "Time-scan" with the booth software

    Muth01/30/2019 at 20:52 0 comments

    Other patterns

    Vertical gradient:

    Circular gradient:

    On the photobooth side

    I started the integration with the photobooth software. And as you just saw, Icould not resist to try the Mike Szczys's idea of generating animated gif !  

  • Time-Scan effect

    Muth01/29/2019 at 13:35 2 comments

    For quite some time now, I'd like to add a creative mode on the photobooth. And I had the idea of a real-time "time scan" effect.

    The idea is to apply a different time delay for each pixel of the image. For example the bottom line has no delay, and gradually to the top lines there is more delay:

    The frame rate of the video input should be quite high in order to have the full image scanned in around 3 seconds.

    After exploring different solutions, I got some help directly from raspberry pi forum user 6by9. As he told me, I then derived the raspividyuv C code. And it runs rather fast. The camera acquisition is at 90 fps, the rotating buffer filled accordingly. The rendering is at around 30 fps for 15% of total cpu usage.

    The code is still messy but can be found here : github RaspiVidYUV.c and the raspberry pi forum page is here: https://www.raspberrypi.org/forums/viewtopic.php?f=43&t=230926

    The code uses a greyscale image to determine the time delay of each pixels, so it is not limited to a vertical scan.

    For a vertical gradient :

    For a circle gradient:

  • Sharing button and flexibility

    Muth04/22/2017 at 09:06 0 comments

    I've worked on the code for the Port Hackathon last year. I've put another button in the front panel if you'd like to share the picture taken and printed on a Facebook album. It was used for ThePort2016 and TEDxCERN. After the countdown, a screen appears for 10 sec asking you if you want to share the picture on the facebook album of re-print the picture. The album adress is printed on the tickets.

    I recently update the code to use different printer commands. I was contacted by someone with a different printer model. Still Epson, but the TM-T88IV. It seems working fine now, and it possible more printer model can now be compatible. There is more settings now in the config file, it takes image files for the ticket header, and you can choose two different dithering algorithm.

    Right is the classical Floyd-Steinberg, left is the Jarvis Judice Ninke dithering (Translated in Java the nice C code from https://github.com/petrkutalek/png2pos/blob/master/png2pos.c )

  • Small mod

    Muth04/05/2016 at 13:03 0 comments

    After the quite successful entertainment brought by the Sefli machine on the Juggling Convention, I had to modify a bit the functionality for the Open Geneva Hackathon.

    There is a big countdown of 10 second once you press the button. You don't know when the picture is taken during this interval. It is like a lottery, sometime the printed ticket don't show your face but the one of someone else with the text "find who's on the picture !"

  • Case filling

    Muth03/29/2016 at 15:55 0 comments

    There is plenty space available in this box ! The raspberry-pi and camera module somehow looks funny.

    The back button and main power connection.

    The printer, and front button.


  • Raspberry-pi to LED

    Muth03/29/2016 at 15:46 0 comments

    The big buttons could be filled with a big bright led. That's quite nice, I have to find a way to drive it from the Raspberry pi GPIO.

    I have around Mosfet IRF530, but the need more than the Rpi 3.3v level to drive a reasonable current. I added quick and dirty transistor BC547.

    To connect the button to the raspberry pi, I configured the GPIO with a pull-up, and the button shorts to 0V.

  • Wood case

    Muth03/28/2016 at 10:34 0 comments

    It's been a long time I'd like to build an Arcade based on R-pi. If this project fail, I could always re-use the case if it's looks like an arcade yet.

    I don't have too much time, then I go for the most simple solution. Just wood plates, screwed by the inside. The main plates are the sides.

View all 7 project logs

Enjoy this project?

Share

Discussions

ulrick.souveton wrote 05/30/2023 at 17:00 point

Hello,

I'm interested in this project, but I can't get it to work. I want to run it on a Raspberry Pi 3 with Debian OS.
My printer is a BTP-R580II, and it also works with ESC/POS.
I have the same camera module.

When I launch selfpi.jar, I get the following response:

Exception in thread "main" java.lang.NoClassDefFoundError: javax/usb/UsbException
at java.base/java.lang.Class.forName0(Native Method)
at java.base/java.lang.Class.forName(Class.java:398)
at org.eclipse.jdt.internal.jarinjarloader.JarRsrcLoader.main(JarRsrcLoader.java:56)
Caused by: java.lang.ClassNotFoundException: javax.usb.UsbException
at java.base/java.net.URLClassLoader.findClass(URLClassLoader.java:476)
at java.base/java.lang.ClassLoader.loadClass(ClassLoader.java:589)
at java.base/java.lang.ClassLoader.loadClass(ClassLoader.java:522)
... 3 more

I've tried installing Apache, java-8-jre -jdk, java-11-jre -jdk, Eclipse IDE, and I've tried on both a 32-bit and a 64-bit OS, but I still have the same problem. Do you have a solution to help me?

Ps1: I'm not very familiar with programming, so I don't know how to open the .jar file.

Ps2: I'm not sure who this is for, but I also had a problem when running gradlew. I managed to solve it by changing the URL in /gradle/wrapper/gradle-wrapper.properties
distributionUrl=https://services.gradle.org/distributions/gradle-5.1.1-all.zip

Best regards,
Ulrick

  Are you sure? yes | no

morgan wrote 01/29/2019 at 18:49 point

Would be super cool to see a video of the circular gradient in action. Neat project.

  Are you sure? yes | no

Muth wrote 01/29/2019 at 20:38 point

Thank you Morgan, good idea, i'll try to make a video with the circular gradient.

  Are you sure? yes | no

Paul wrote 06/18/2018 at 23:54 point

Hi, 

I don't know if you are still maintaining this, but i may need a bit of advice. I wanted to try my t88iv printer with your code. The jar starts, the printer makes some sound in the beginning , in debug mode i see it takes a photo but it doesn't print. I'm using RPi 2 v1.1 , raspbian jessie, Epson TM-T88IV. Can you please tell me what can i do to get it to print?

Thanks

  Are you sure? yes | no

Muth wrote 06/22/2018 at 09:02 point

Hi Paul,
Sorry for the late reply. I don't own the TM-T88IV, but someone get it work with the correct settings in the config.txt file (/setup/). Did you make these changes?

PRINTER_PRODUCT_ID:
514
PRINTERDOTS:
512

Cheers

  Are you sure? yes | no

Similar Projects

Does this project spark your interest?

Become a member to follow this project and never miss any updates