 MARIA CAMILA GUARIN M.
This time, we will talk about the interface that we are designed to BrainMotic, which will be controlled by the user using data patterns in the EGG signals. At the same time, the application will send the actions to be must make the actuators (like turn on or turn off a bulb), or it will read the data from the sensors (such as temperature).
We had discussed what library (dedicated to computer visual) we would use in the project. As all the members of the team know to program in Python, we decided to use the graphics library Kivy; this was chosen between multiples libraries like Matplotlib because it has a use more consistent with a user interface.
According to our interpretation of the Kivy’s pages (https://kivy.org/), Kivy has multiples tools that are development-oriented of user interface, so the final execution of an interface don´t consume a lot of system resources, other attractive that we find in Kivy is the development and implementation of the application in natively on different operating systems (Windows, Raspbian, Ubuntu, MAC OS, etc.). This allows that we can realise the code in Windows and later check in Raspbian, without relying on on the Raspberry Pi (RPi).
From the installation on kivy in the RPi, we followed the commands thoroughly mentioned in its official pages. The installation was simple but a little delayed.
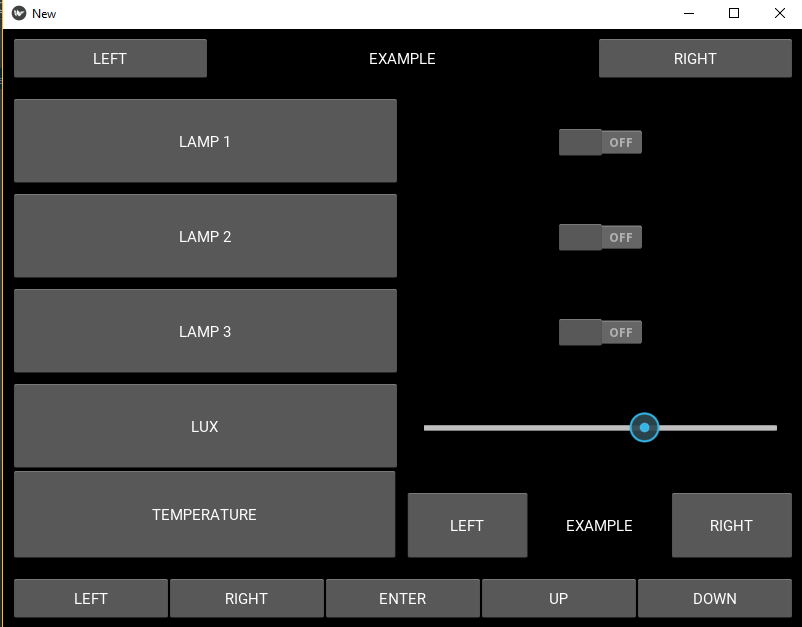
After we had been reading about the management of the library, the kivy language, and the tools this had, we created the first interface of the project. This application was developed to handle three lights and two sensors: one of illumination and other of temperature.
Discussions
Become a Hackaday.io Member
Create an account to leave a comment. Already have an account? Log In.