 Camilo Rojas
The drone
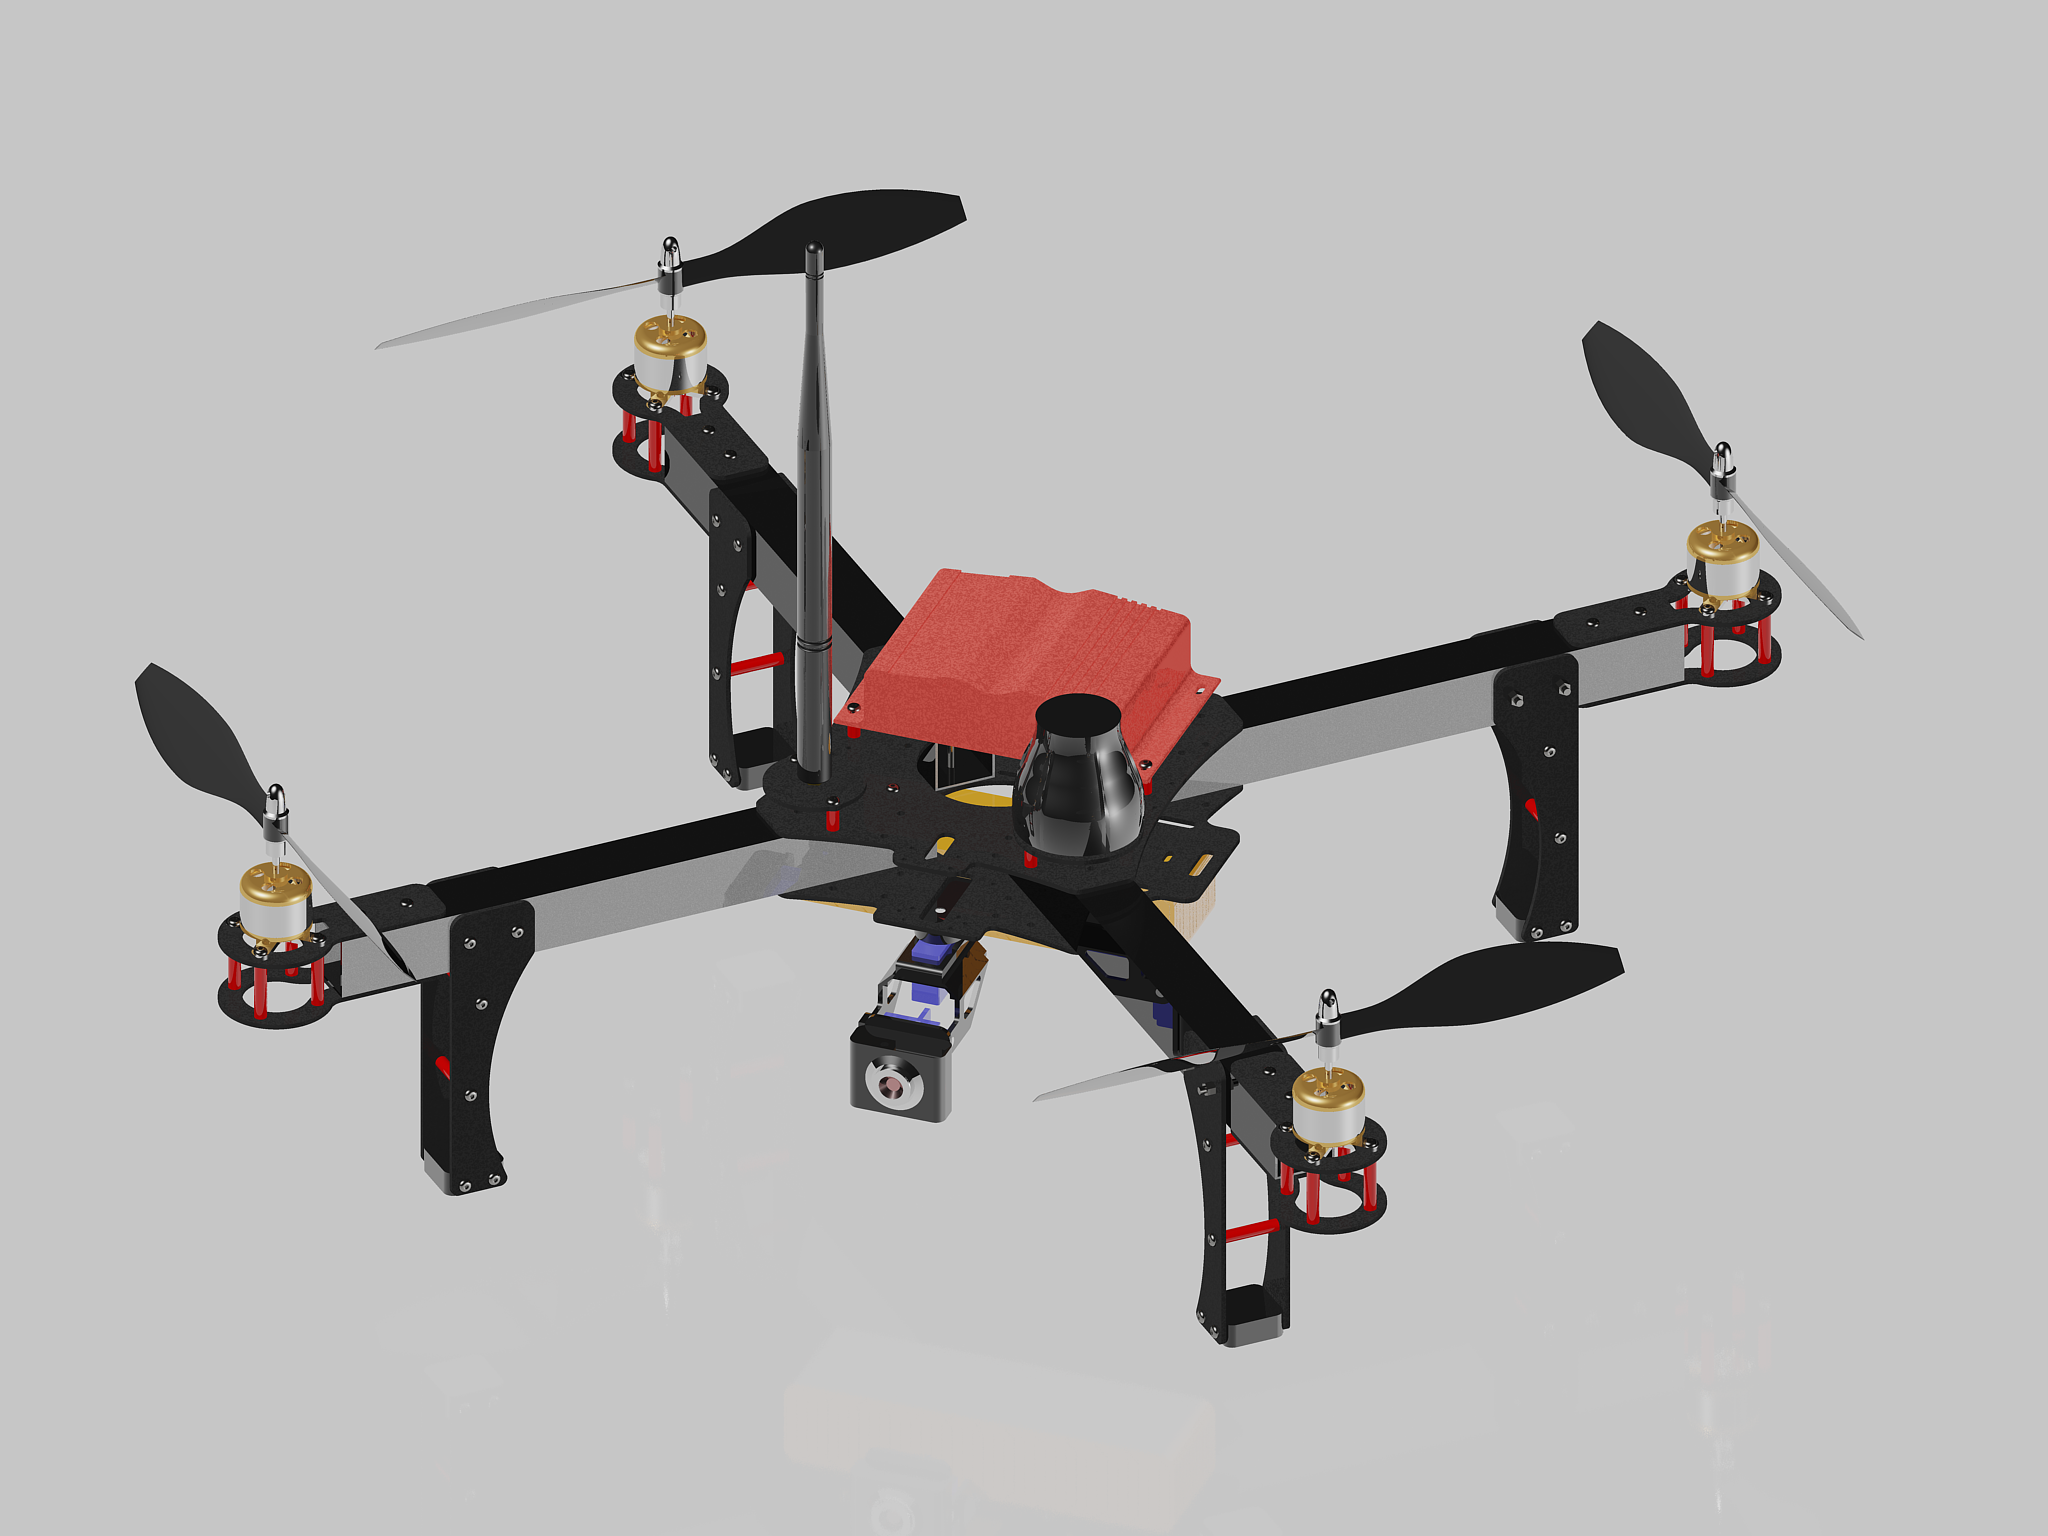
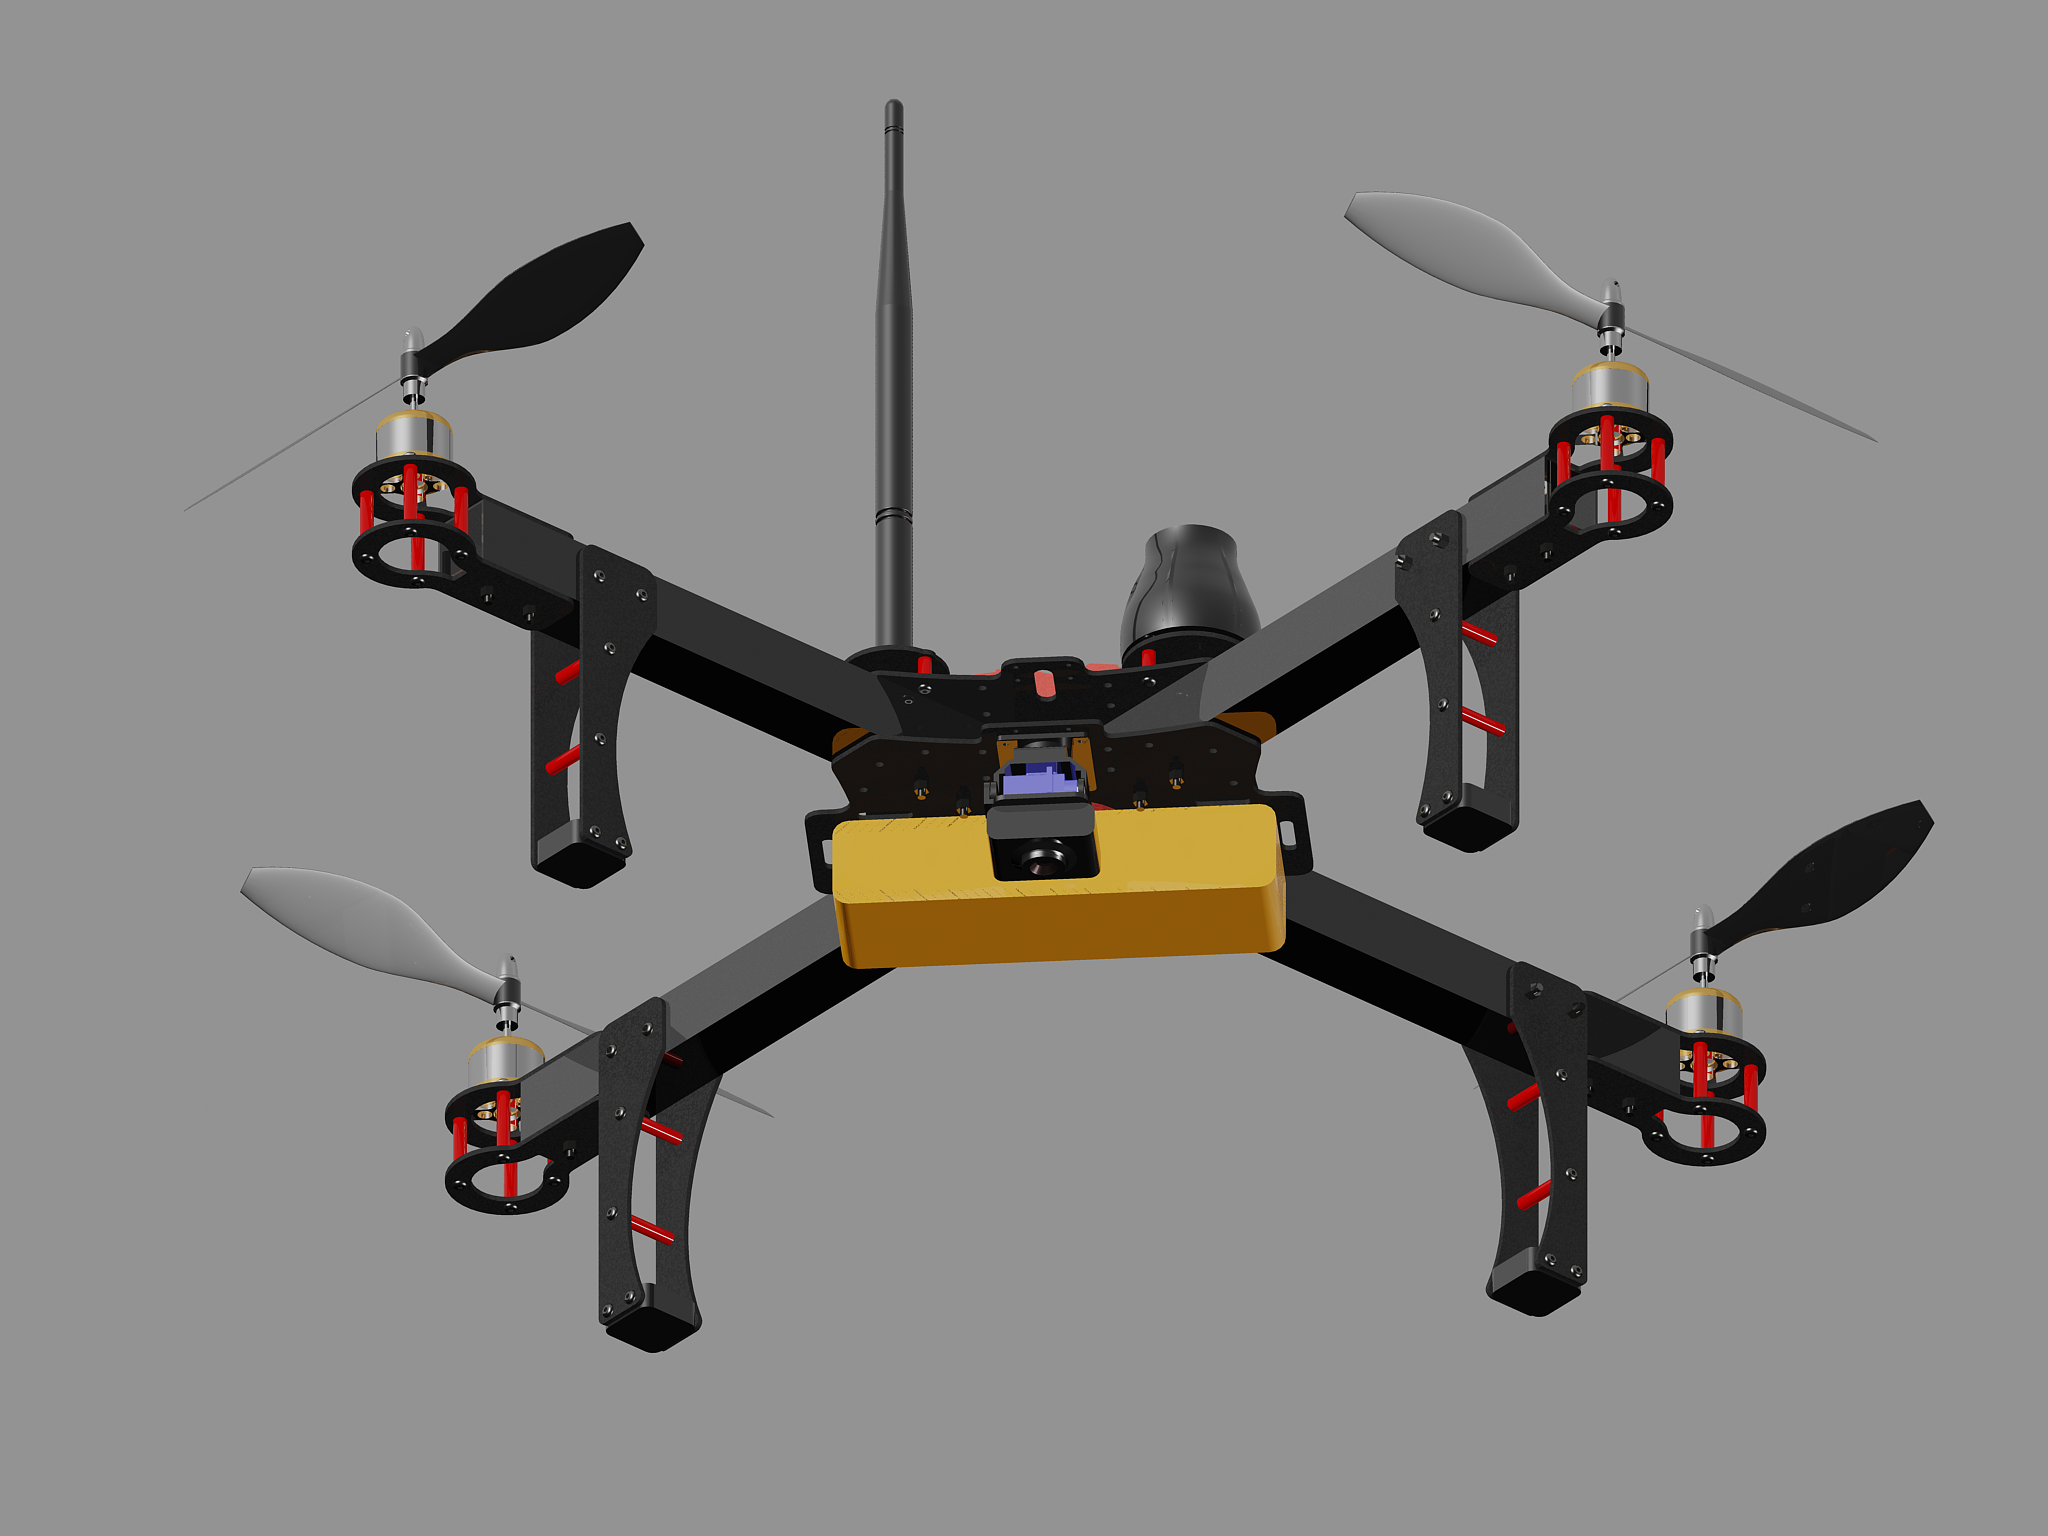
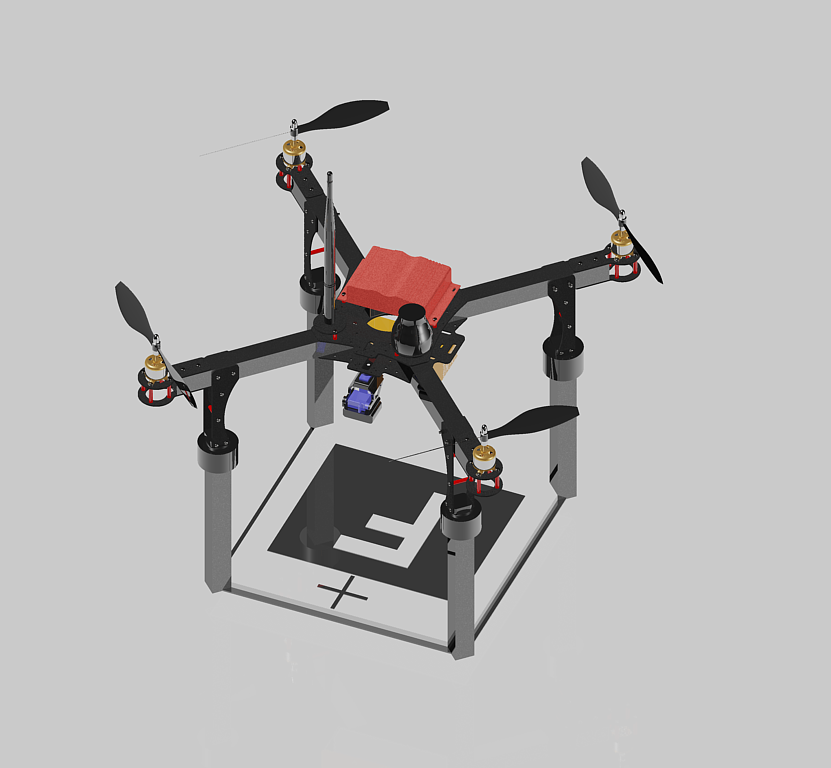
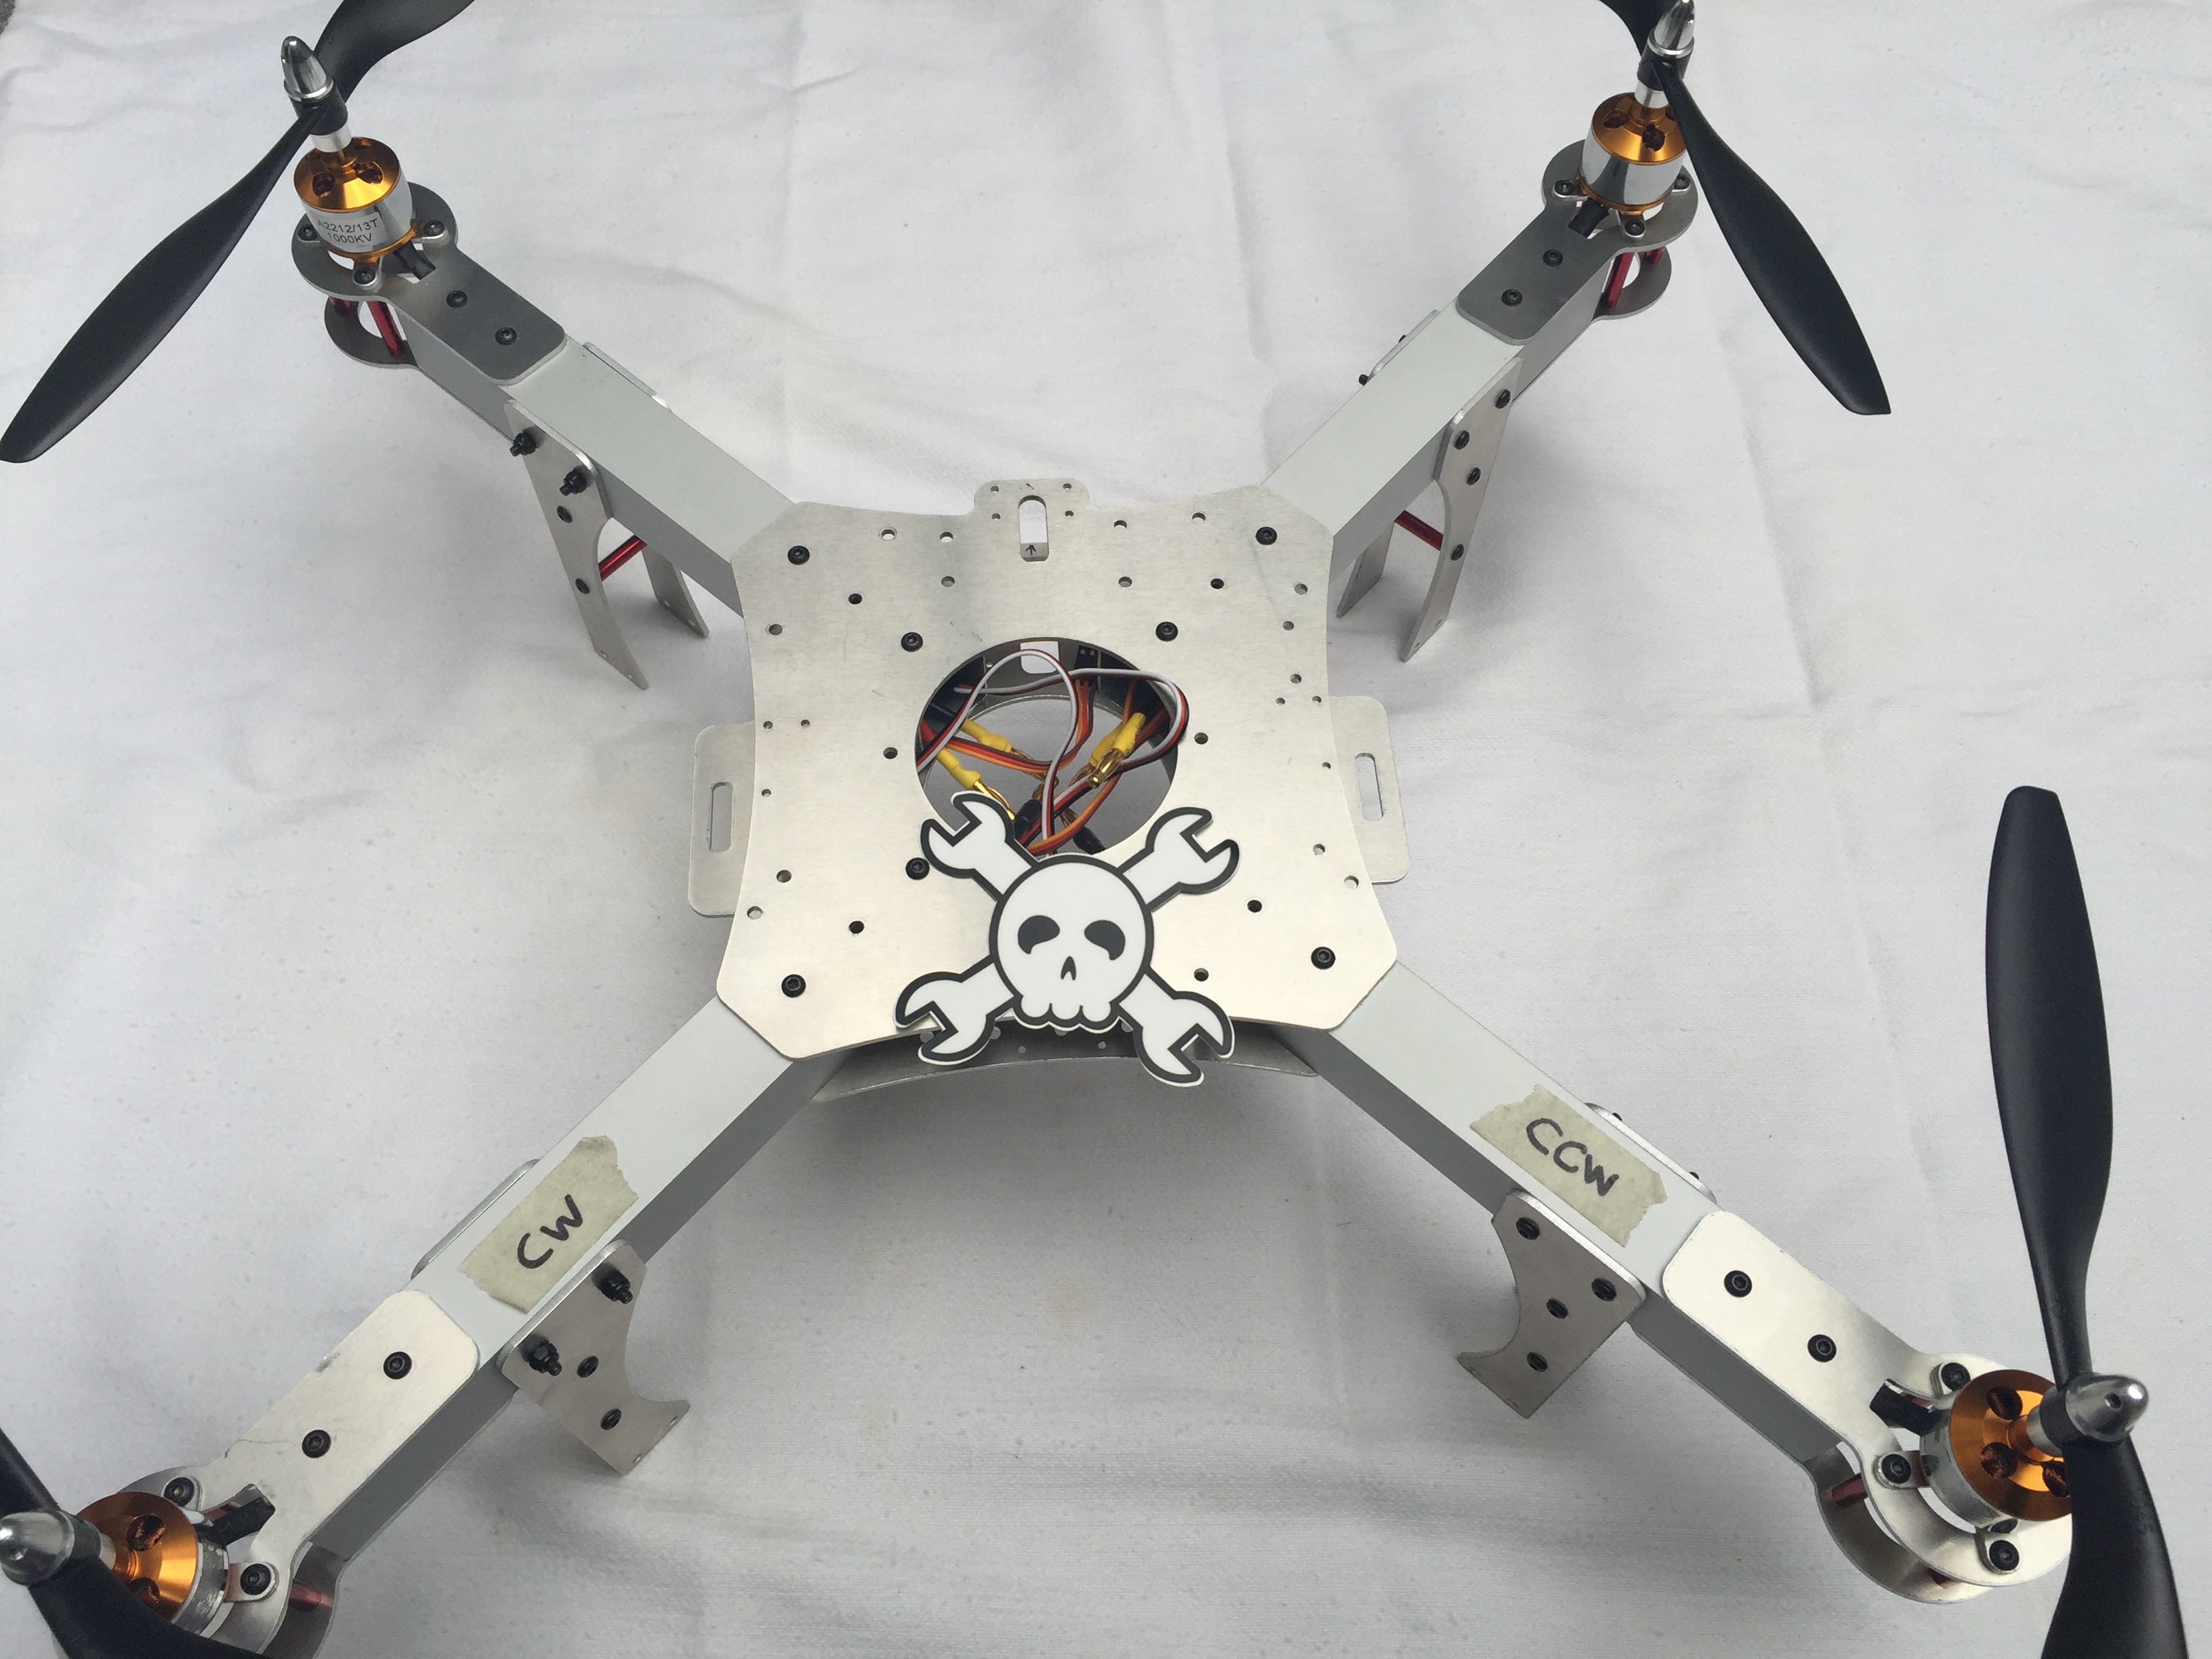
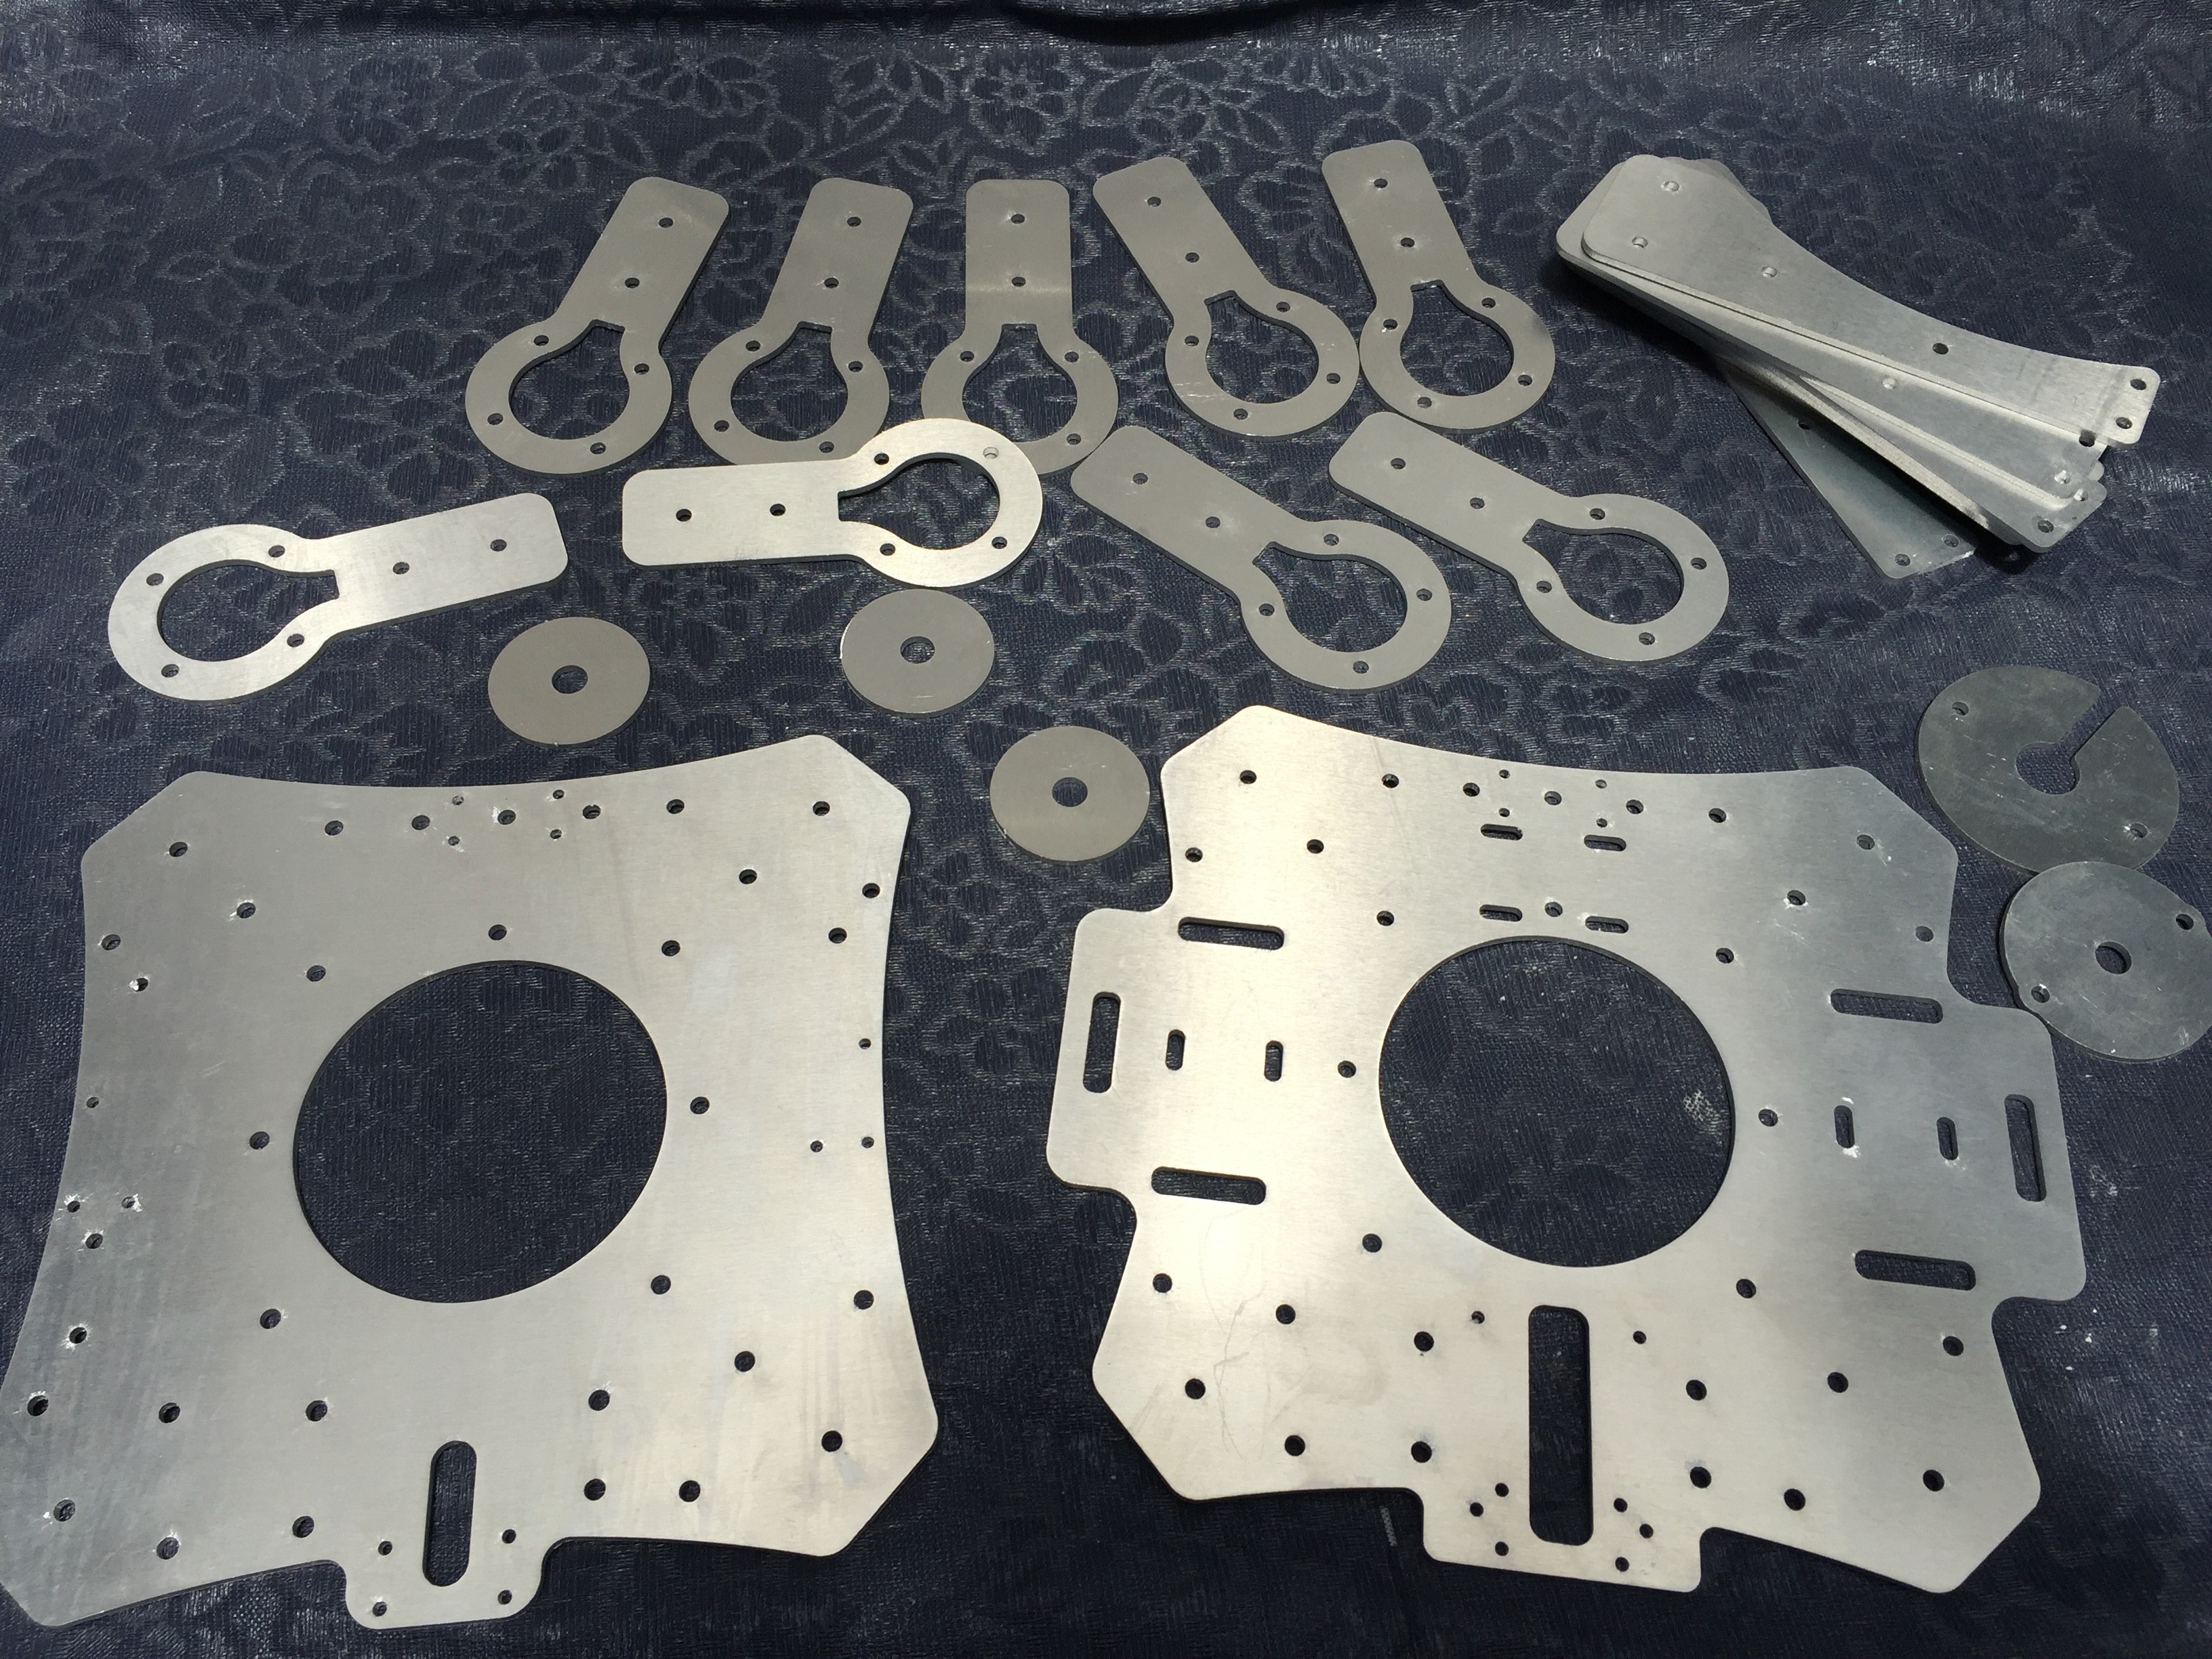
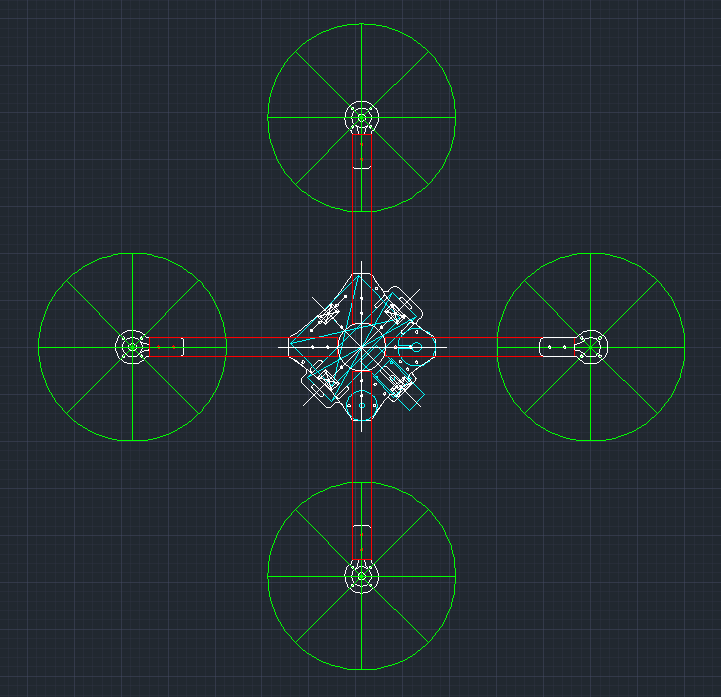
Fiva Drone will include the following main parts:
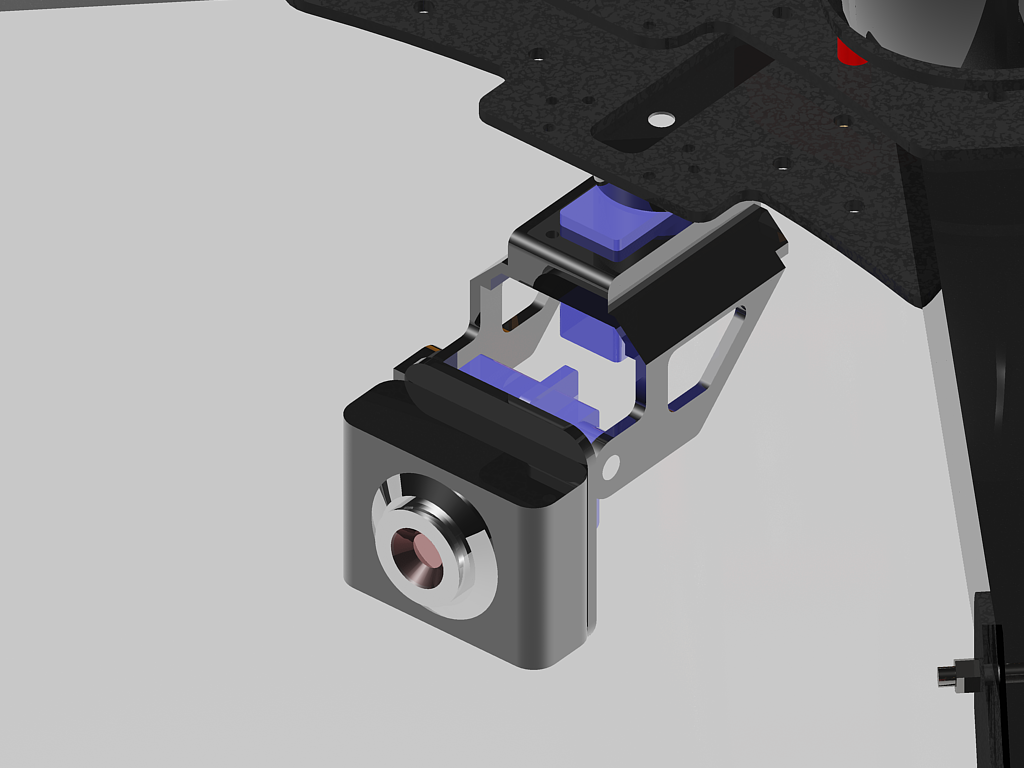
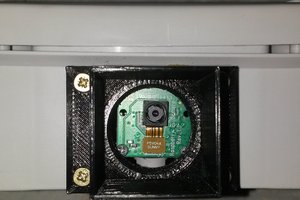
- 1x USB SD camera (OpenCV) mounted on 2 servos.
- 1x HD camera.
- 1x aluminum case (red color) for circuitry.
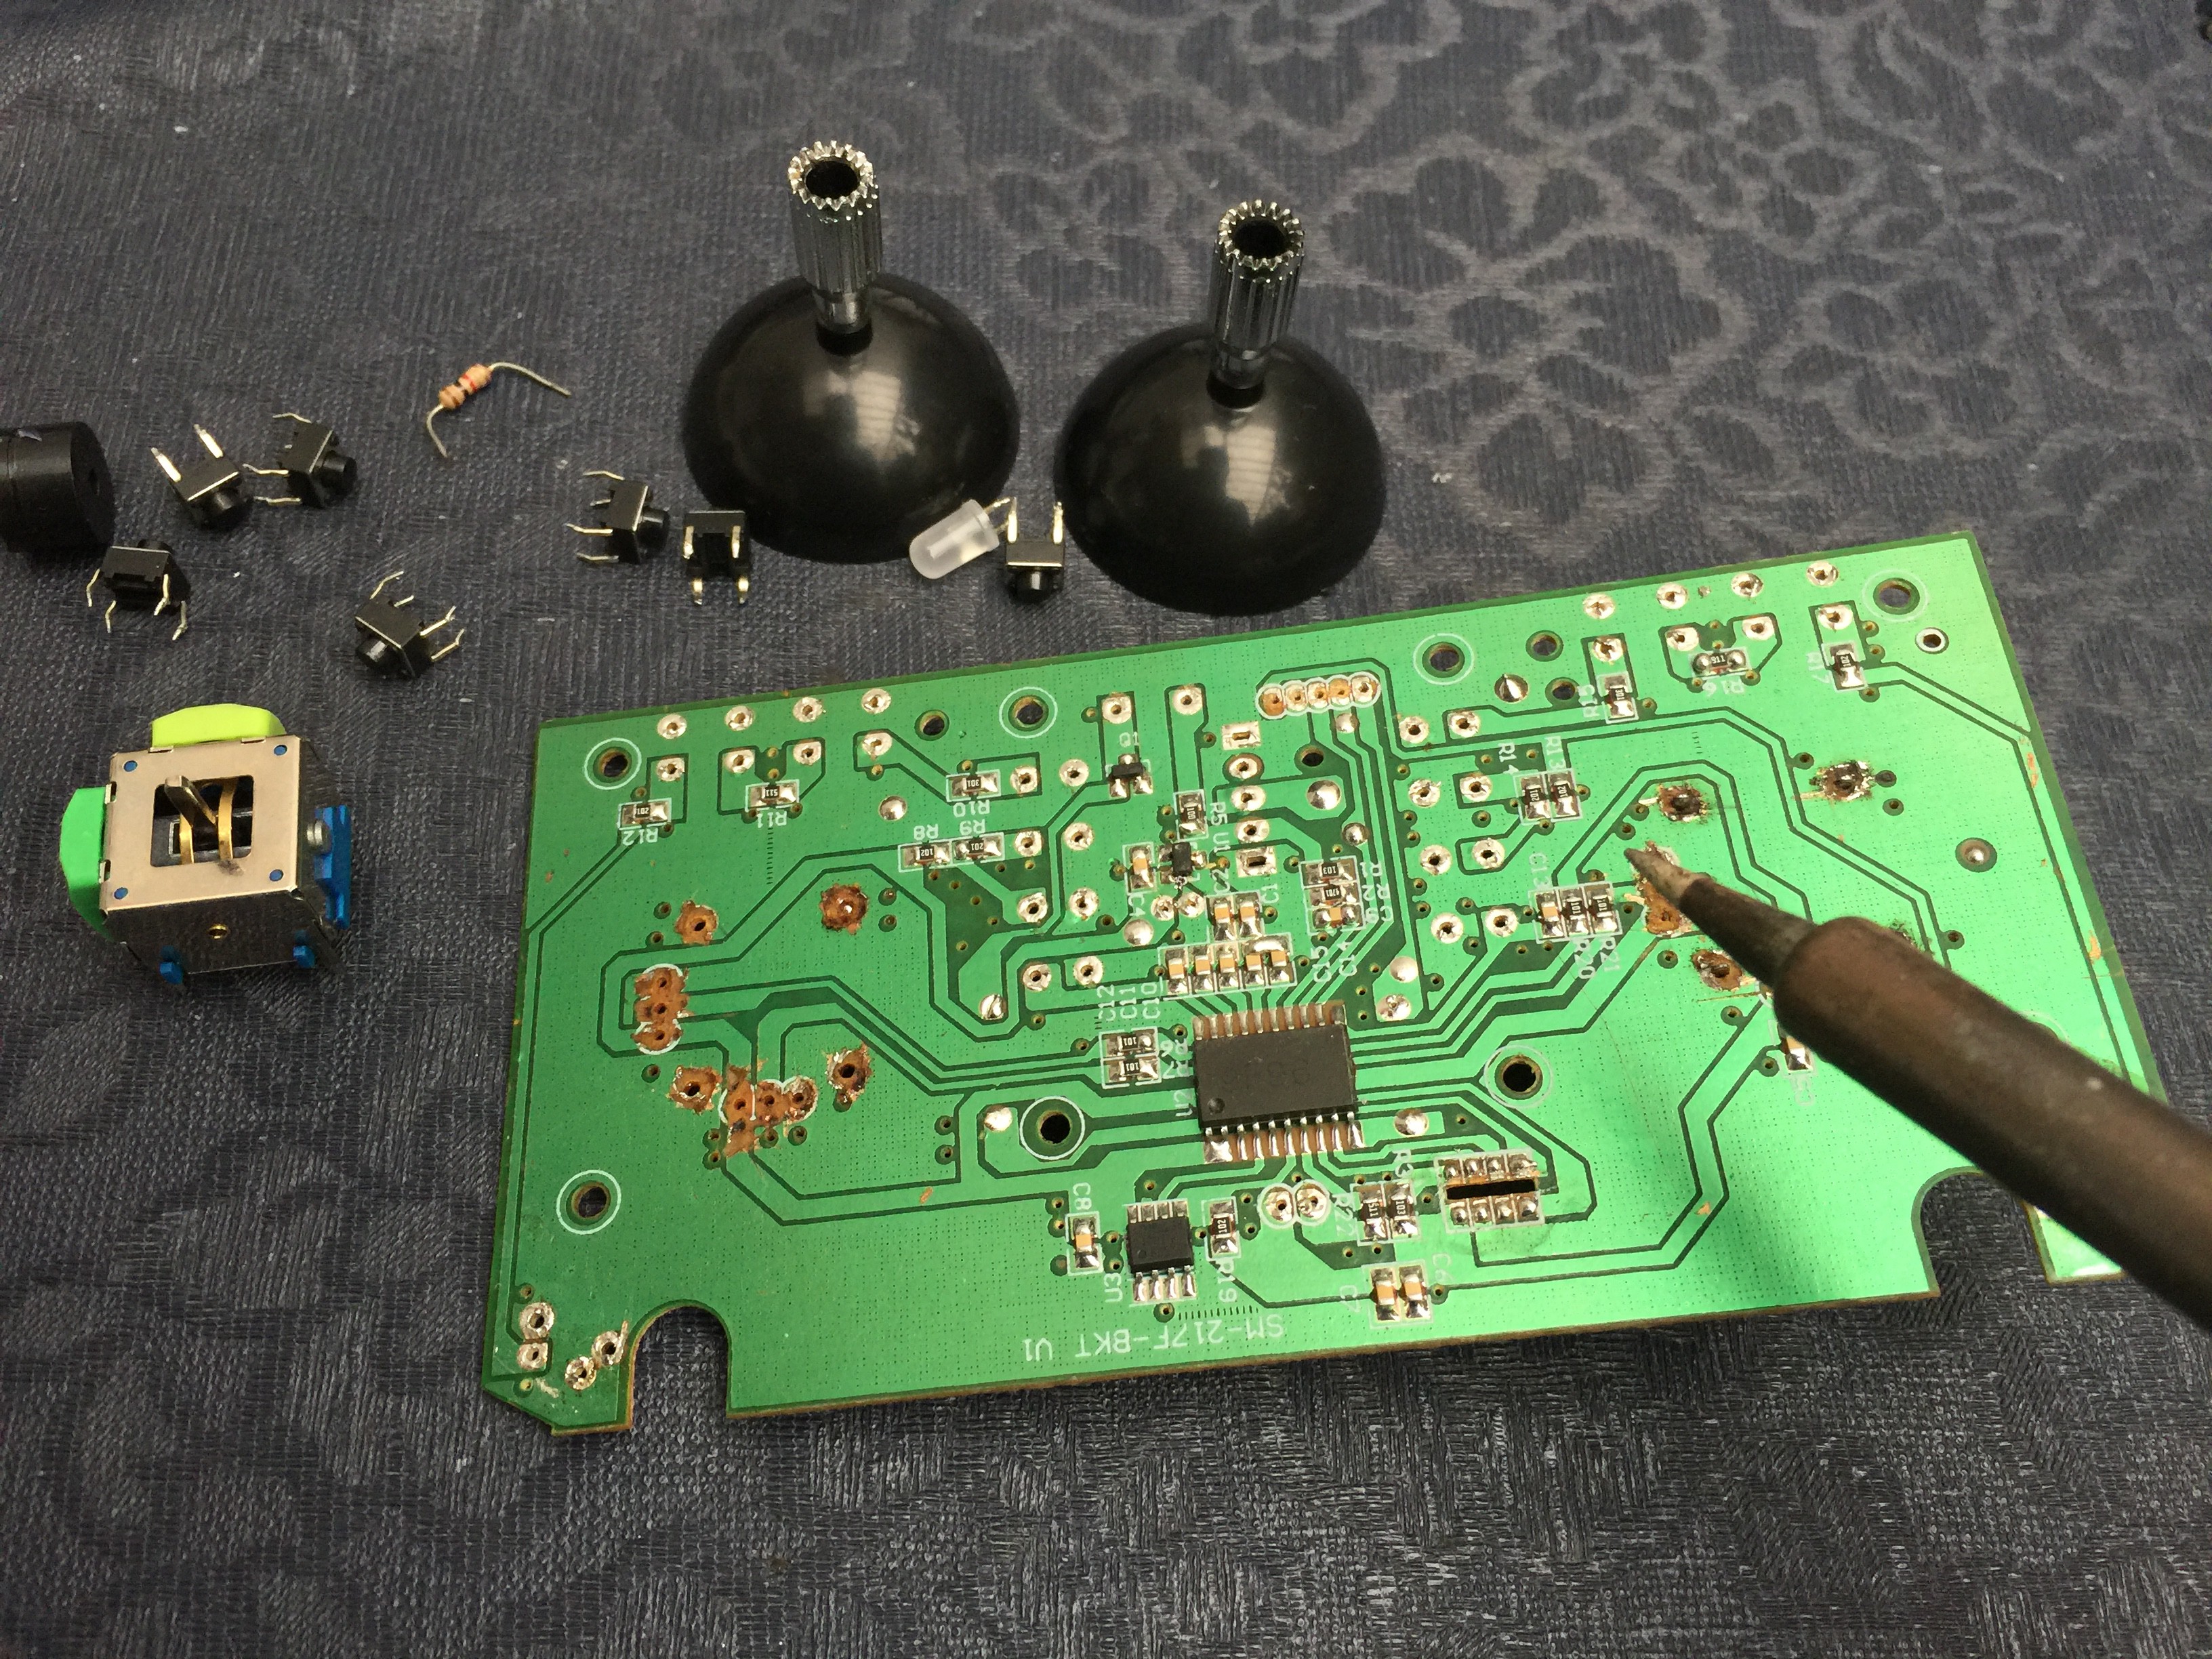
Inside the case: Flight controller, Raspberry Pi Zero, 3G/GPS module, Xbee module, Voltage regulators, etc.
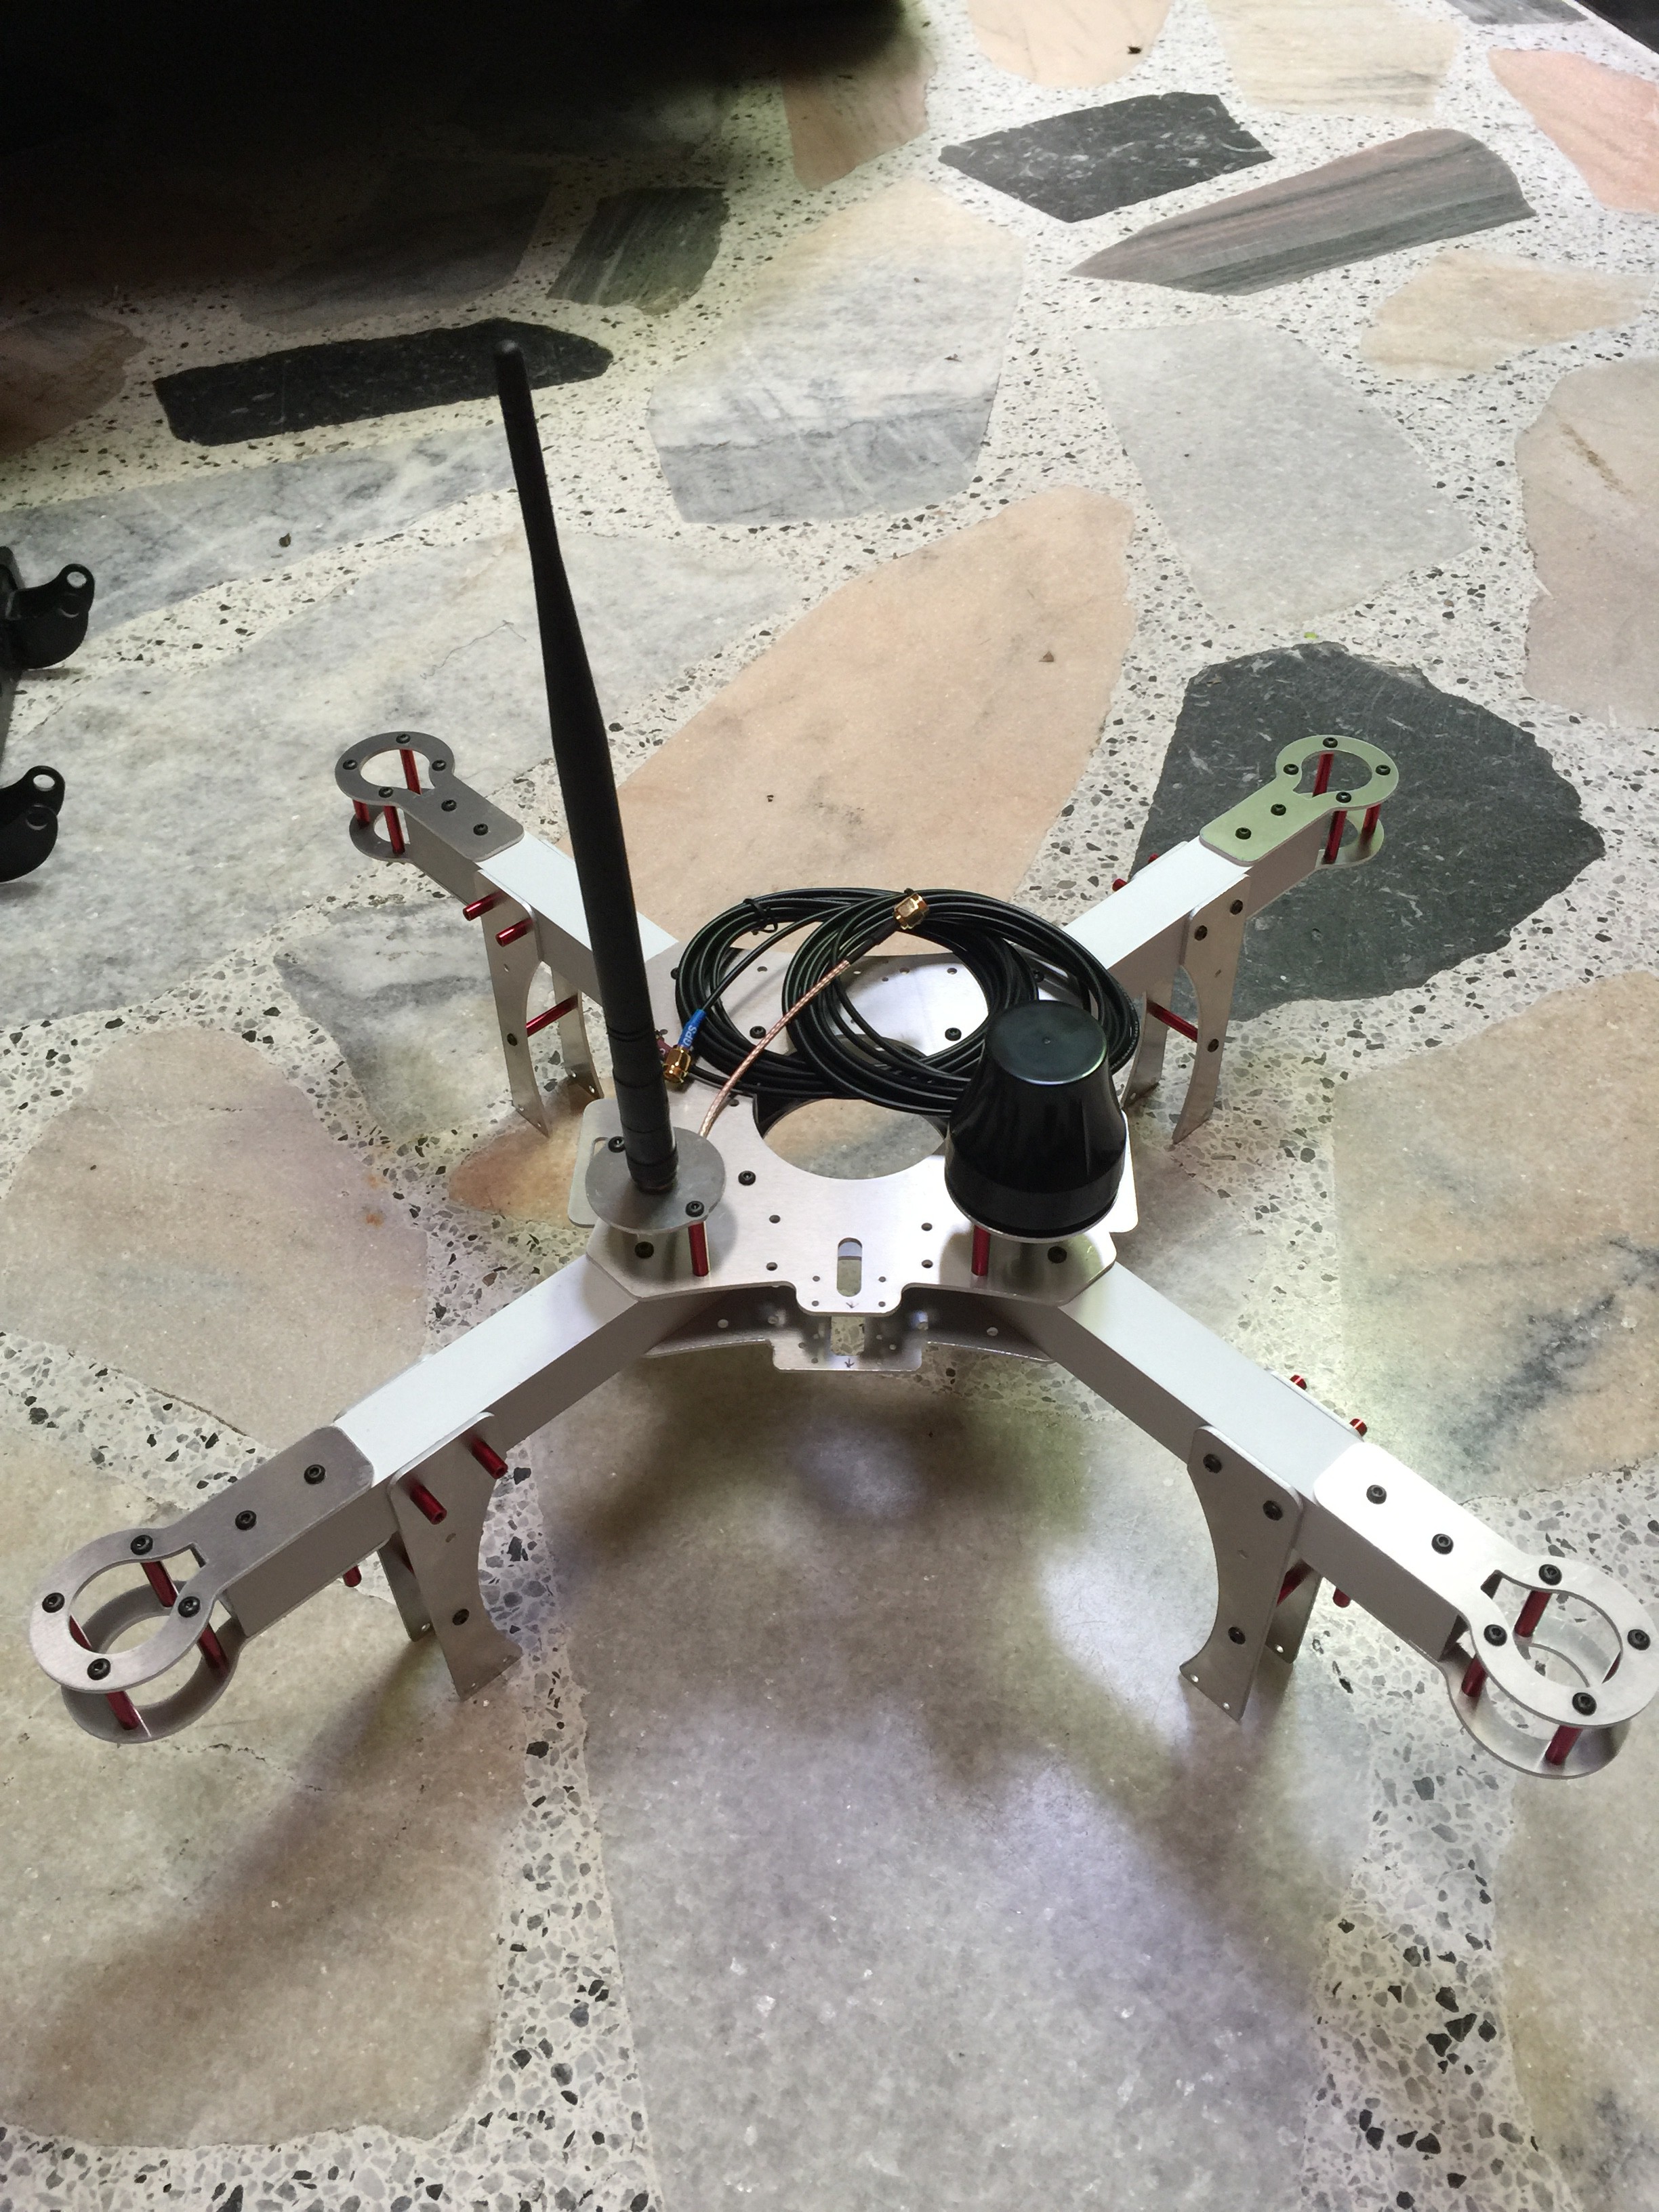
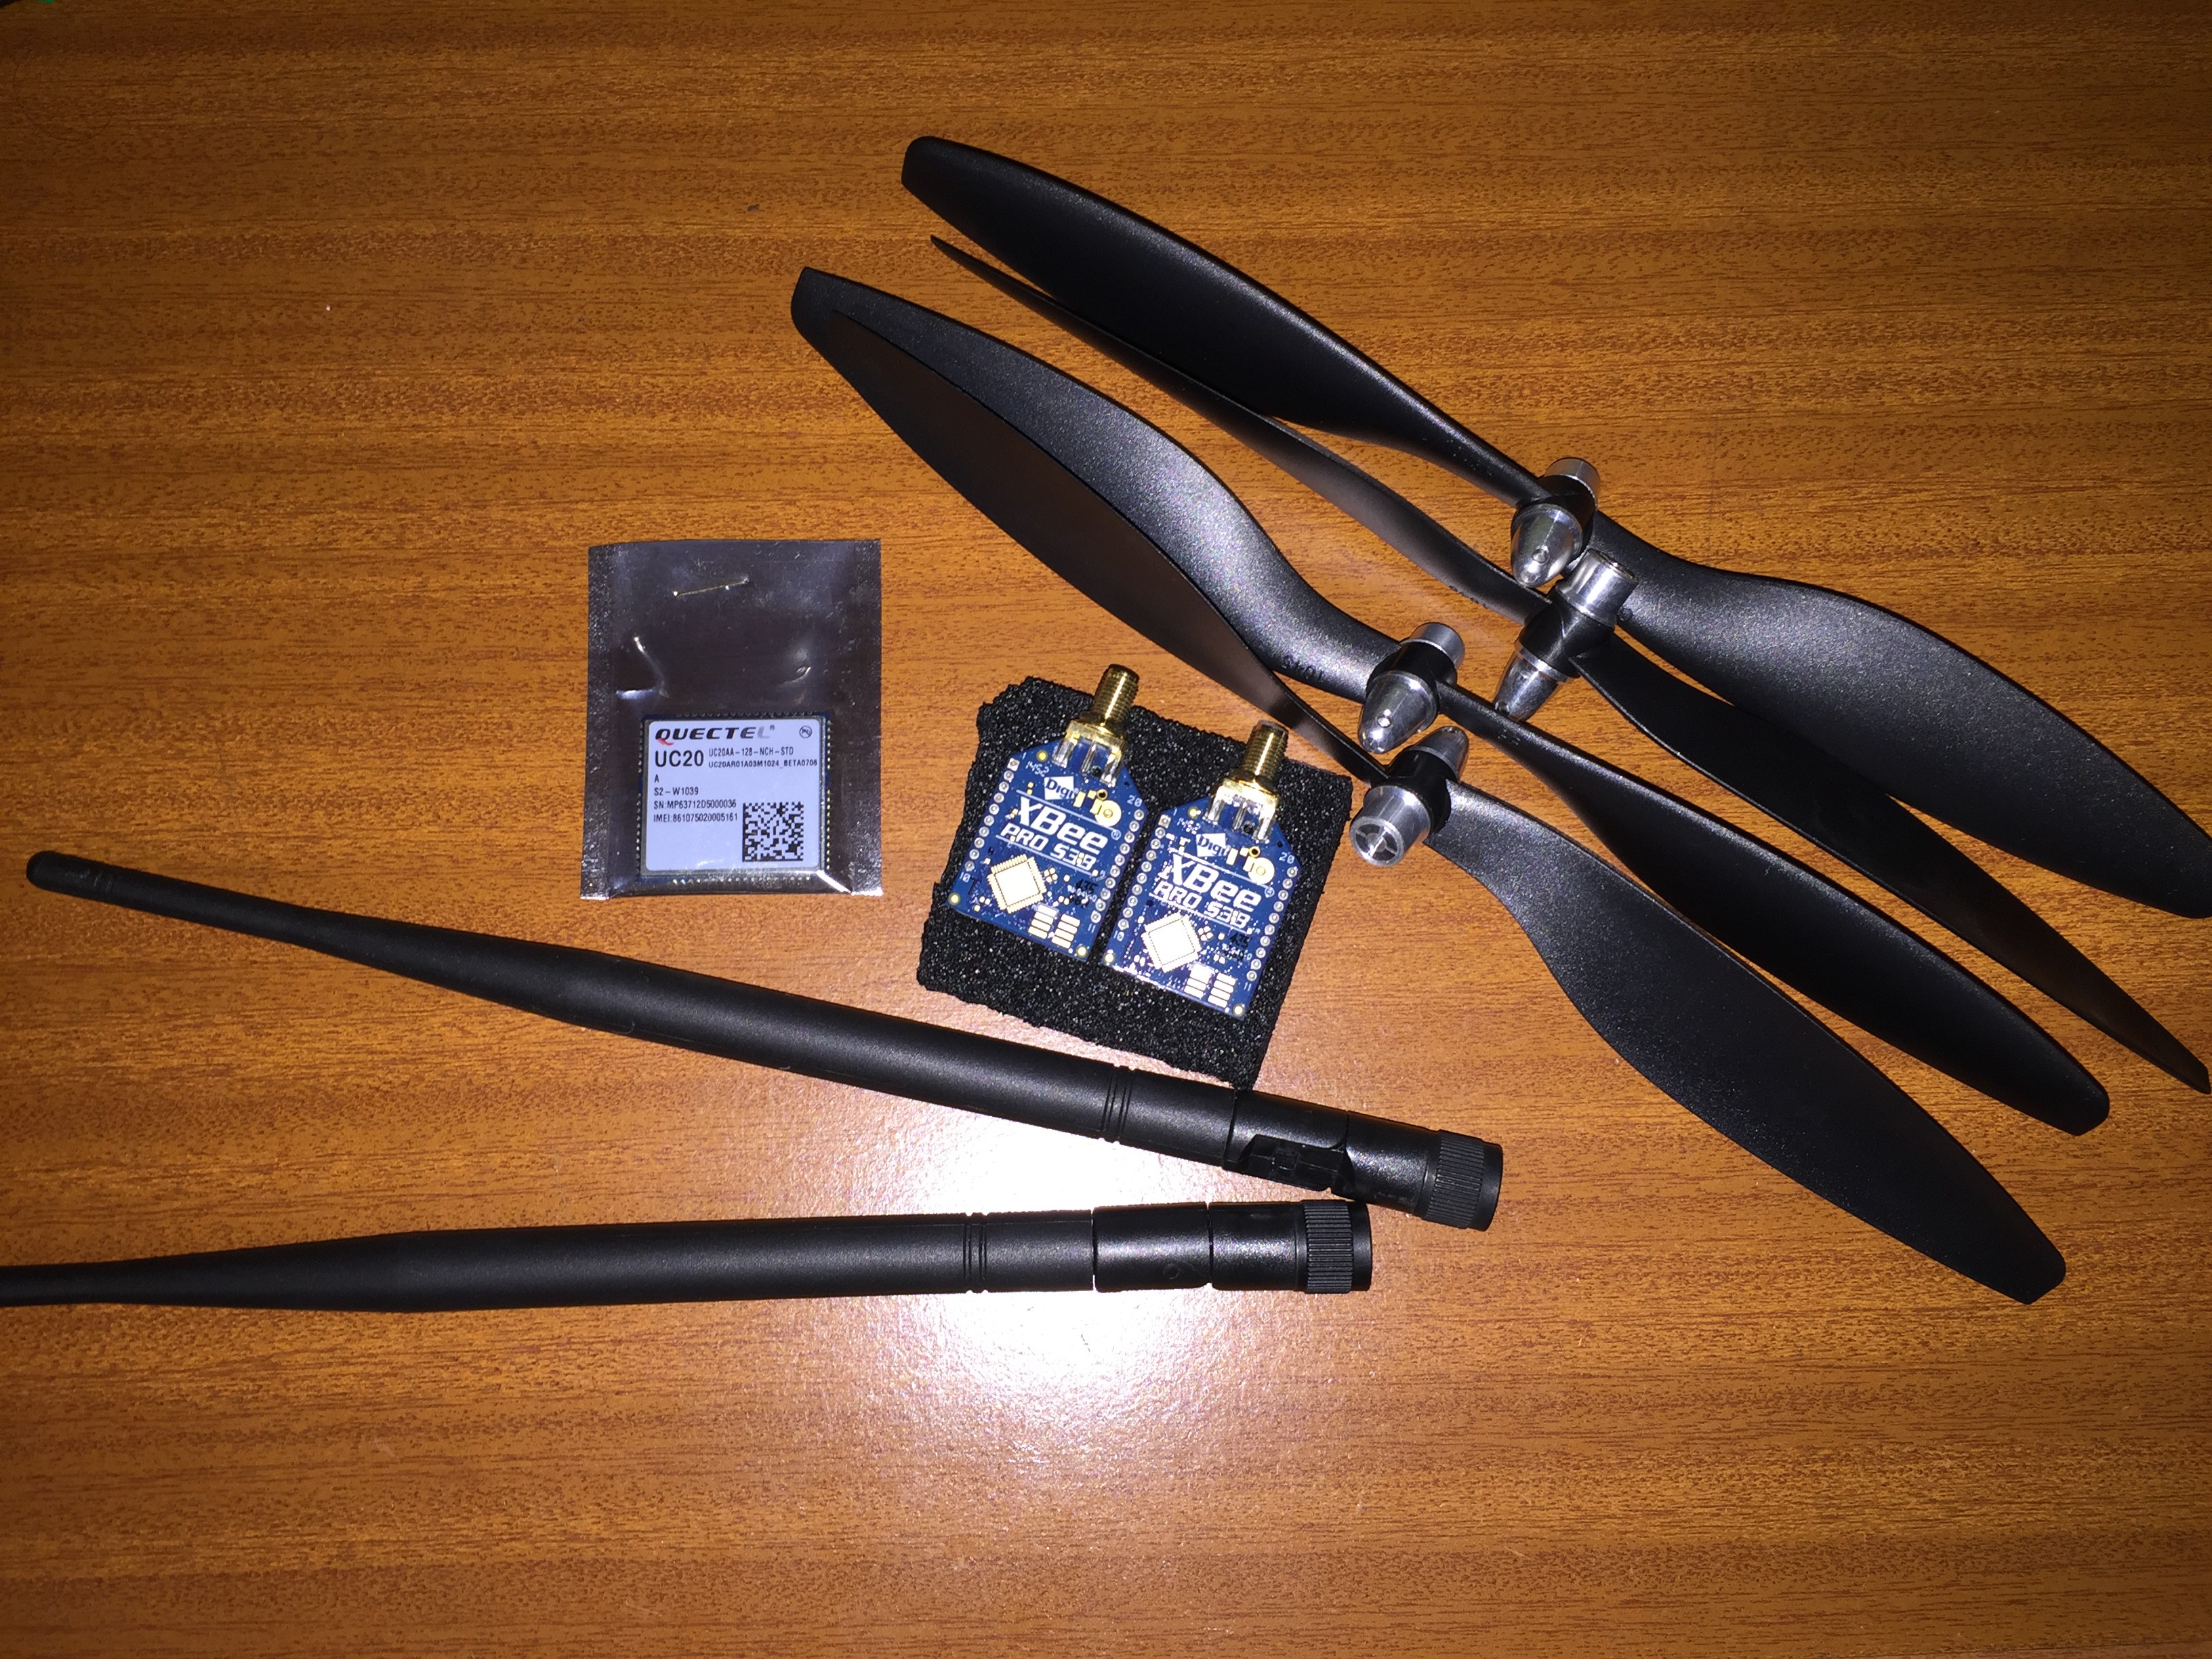
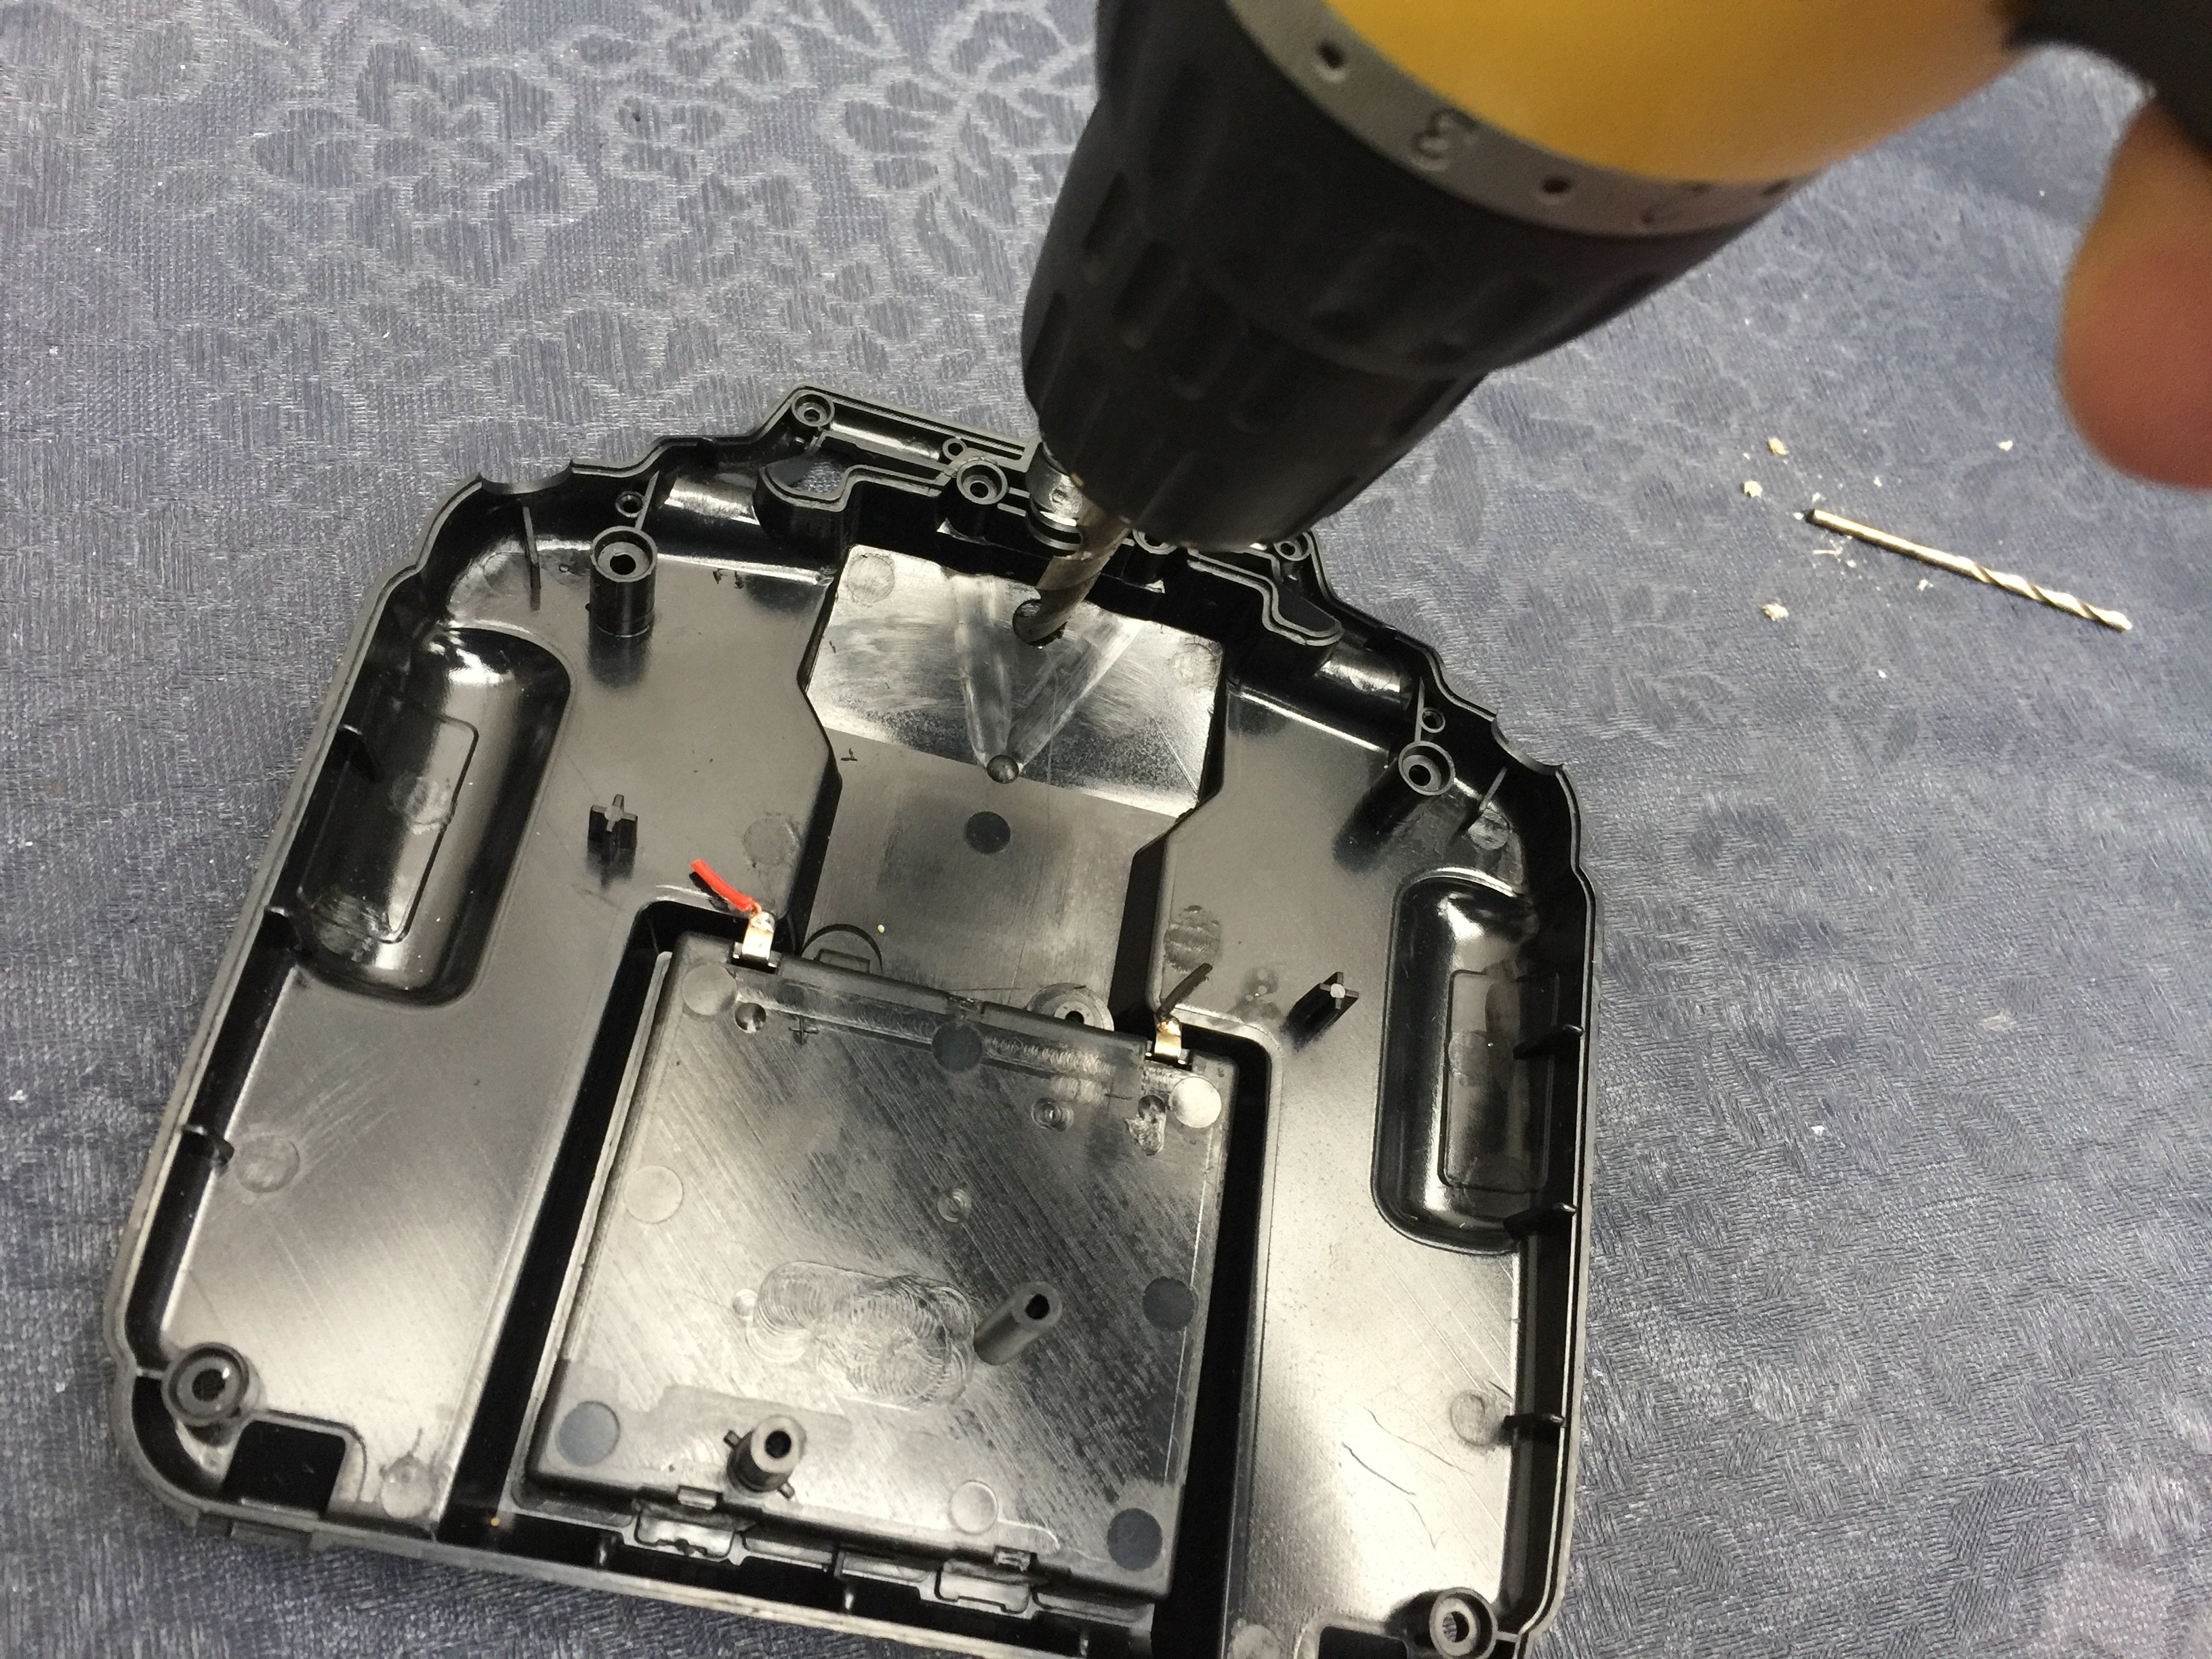
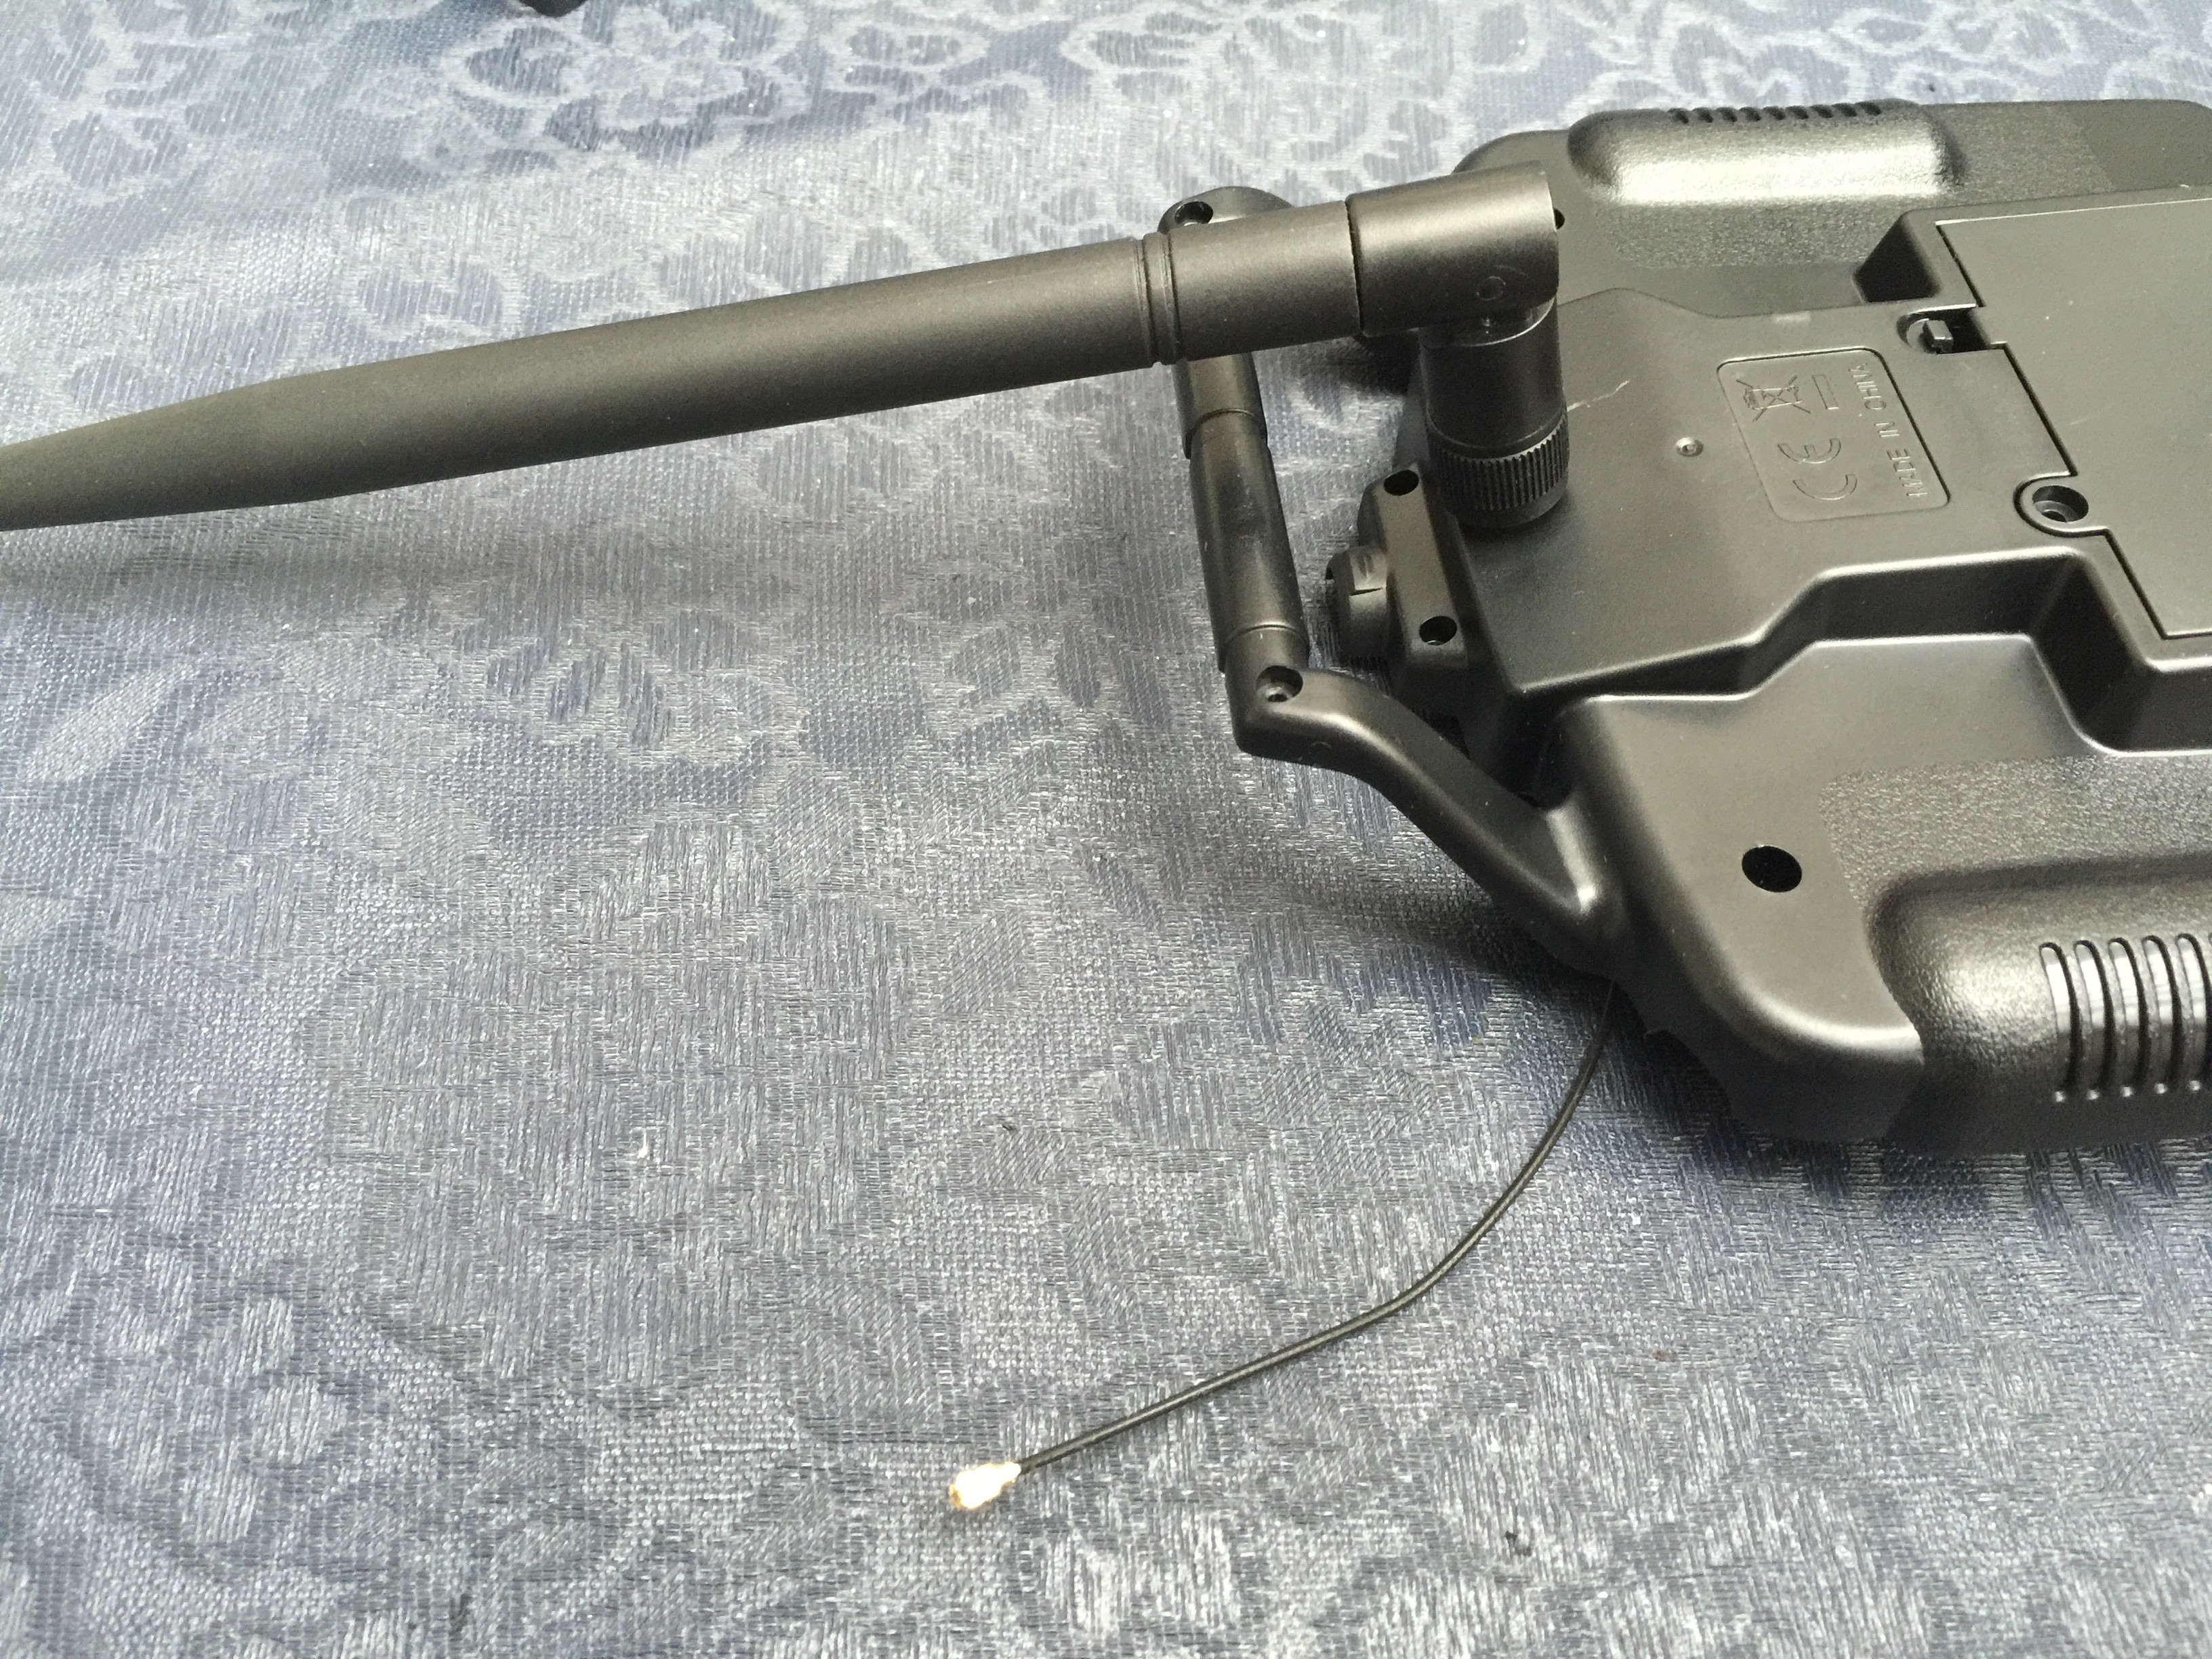
- GPS, 3G and Xbee antennas.
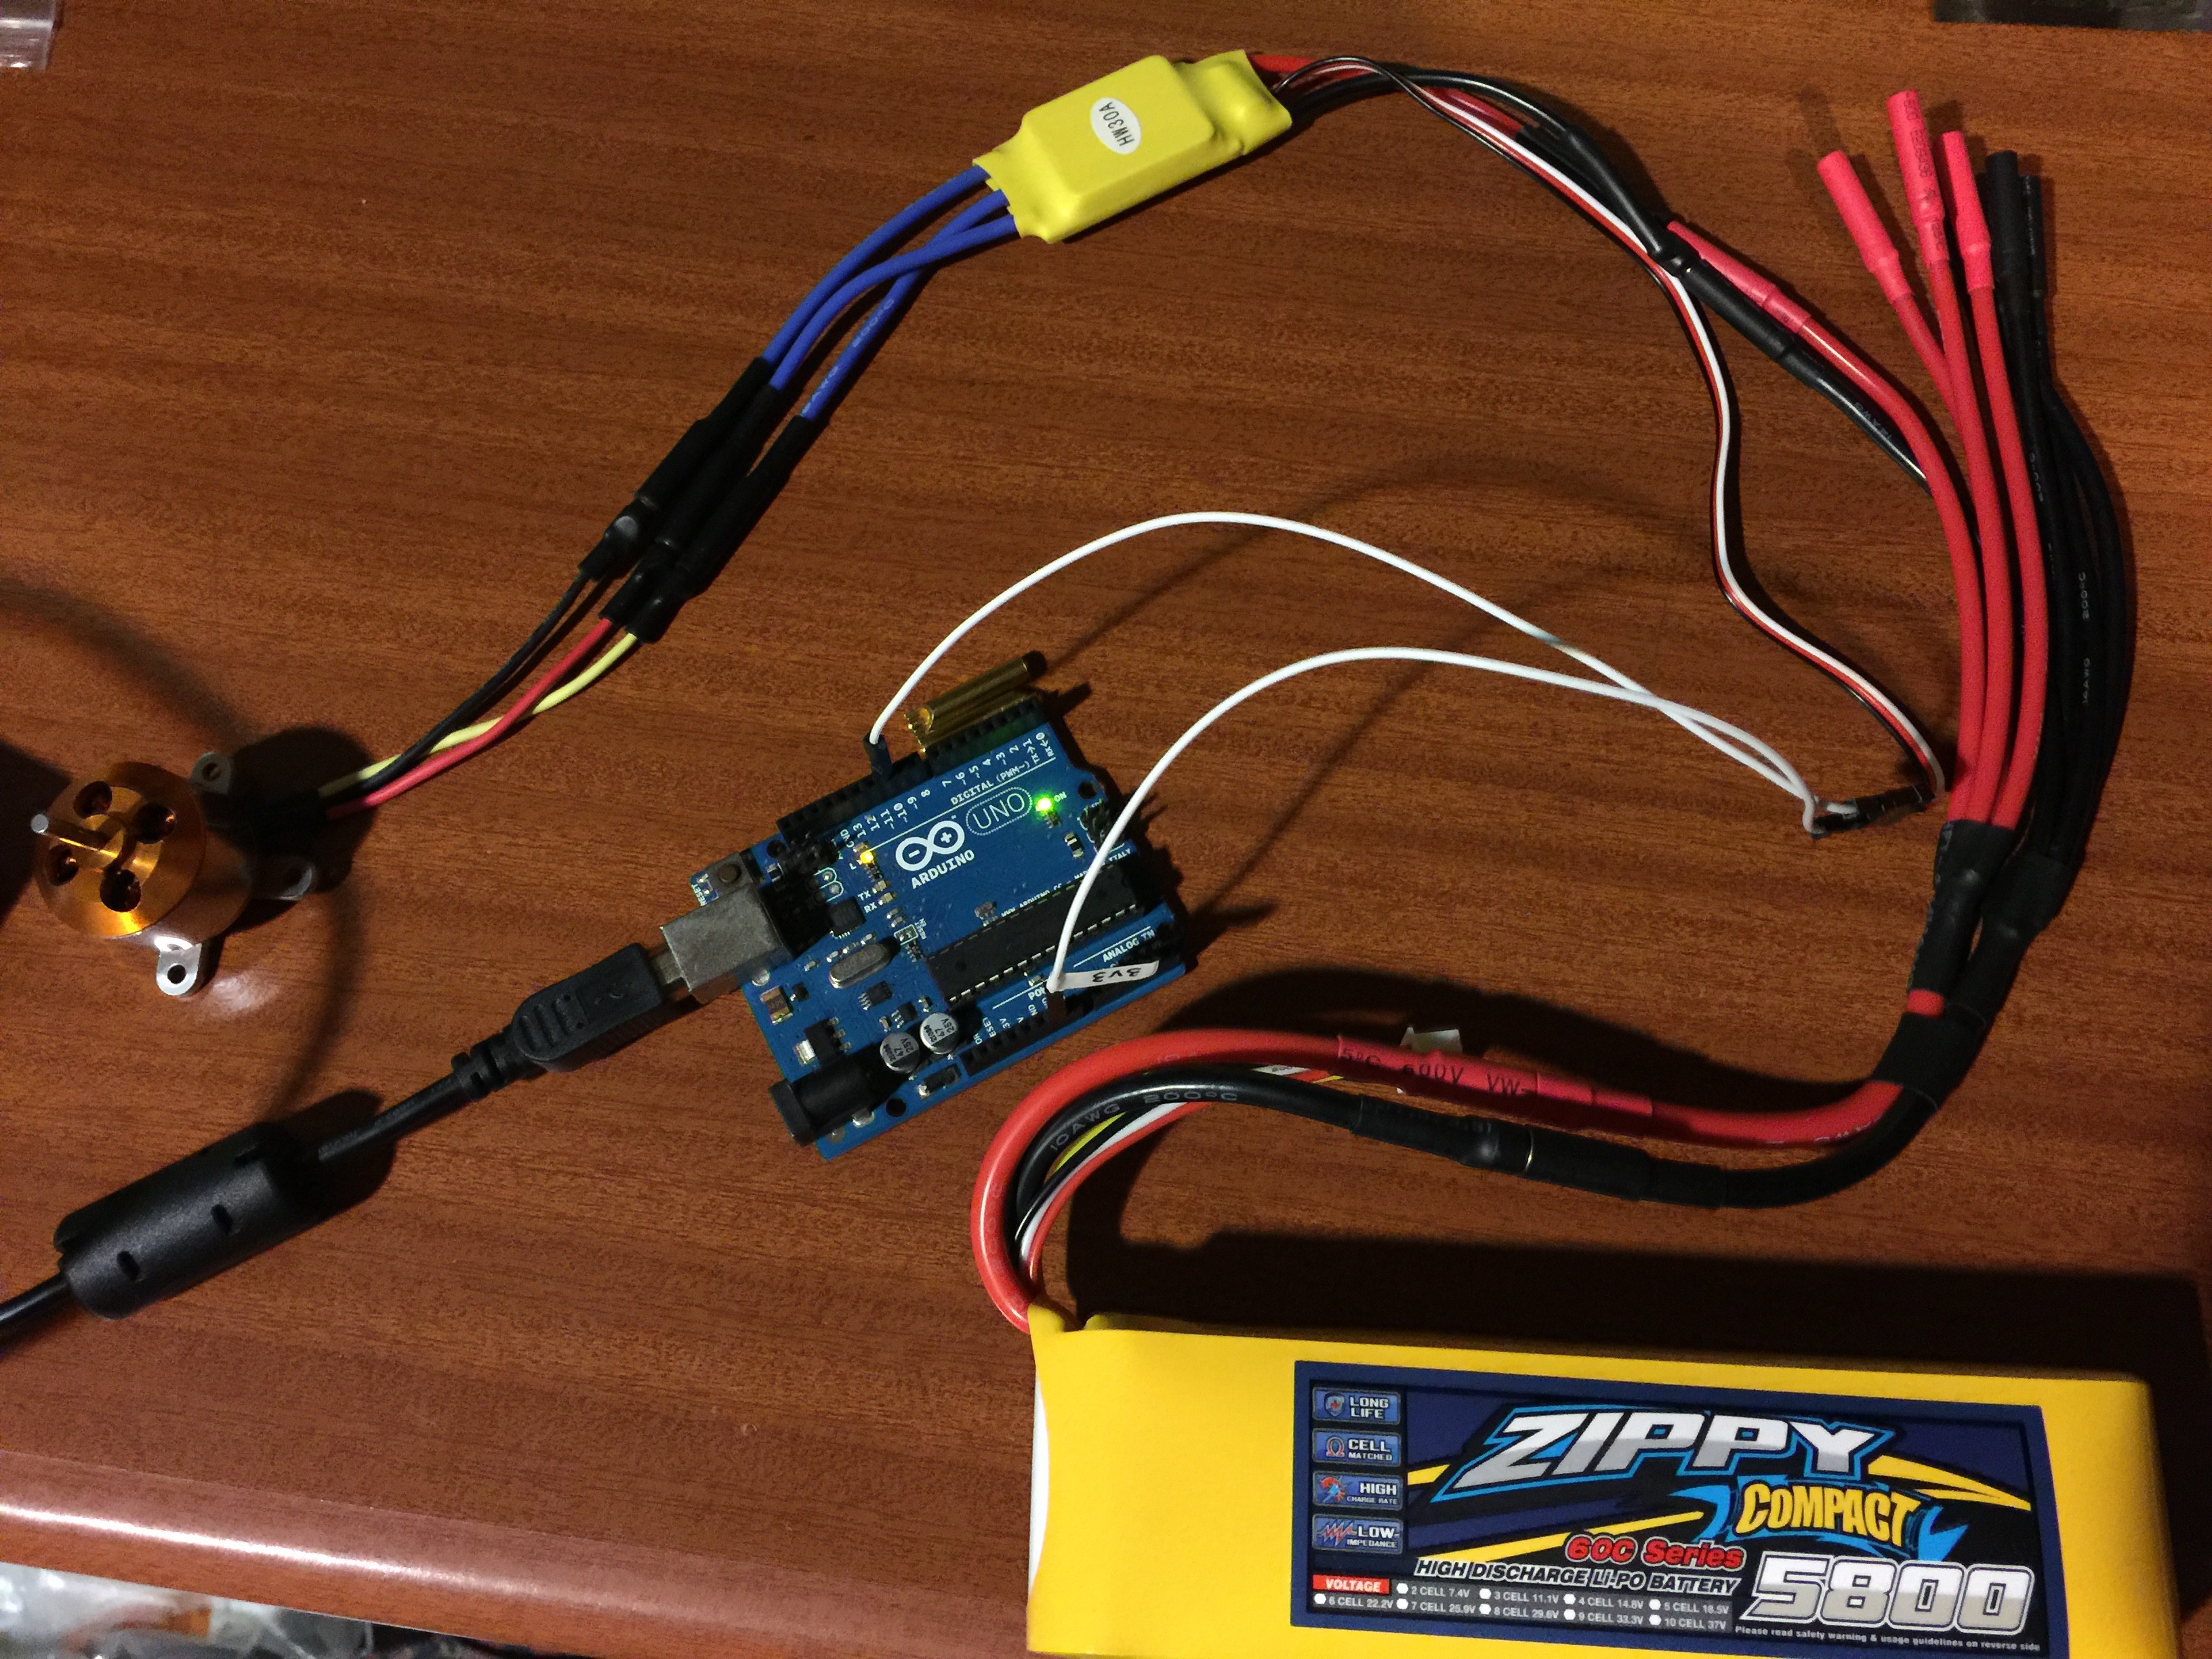
- 1x 3S 5800mAh battery.
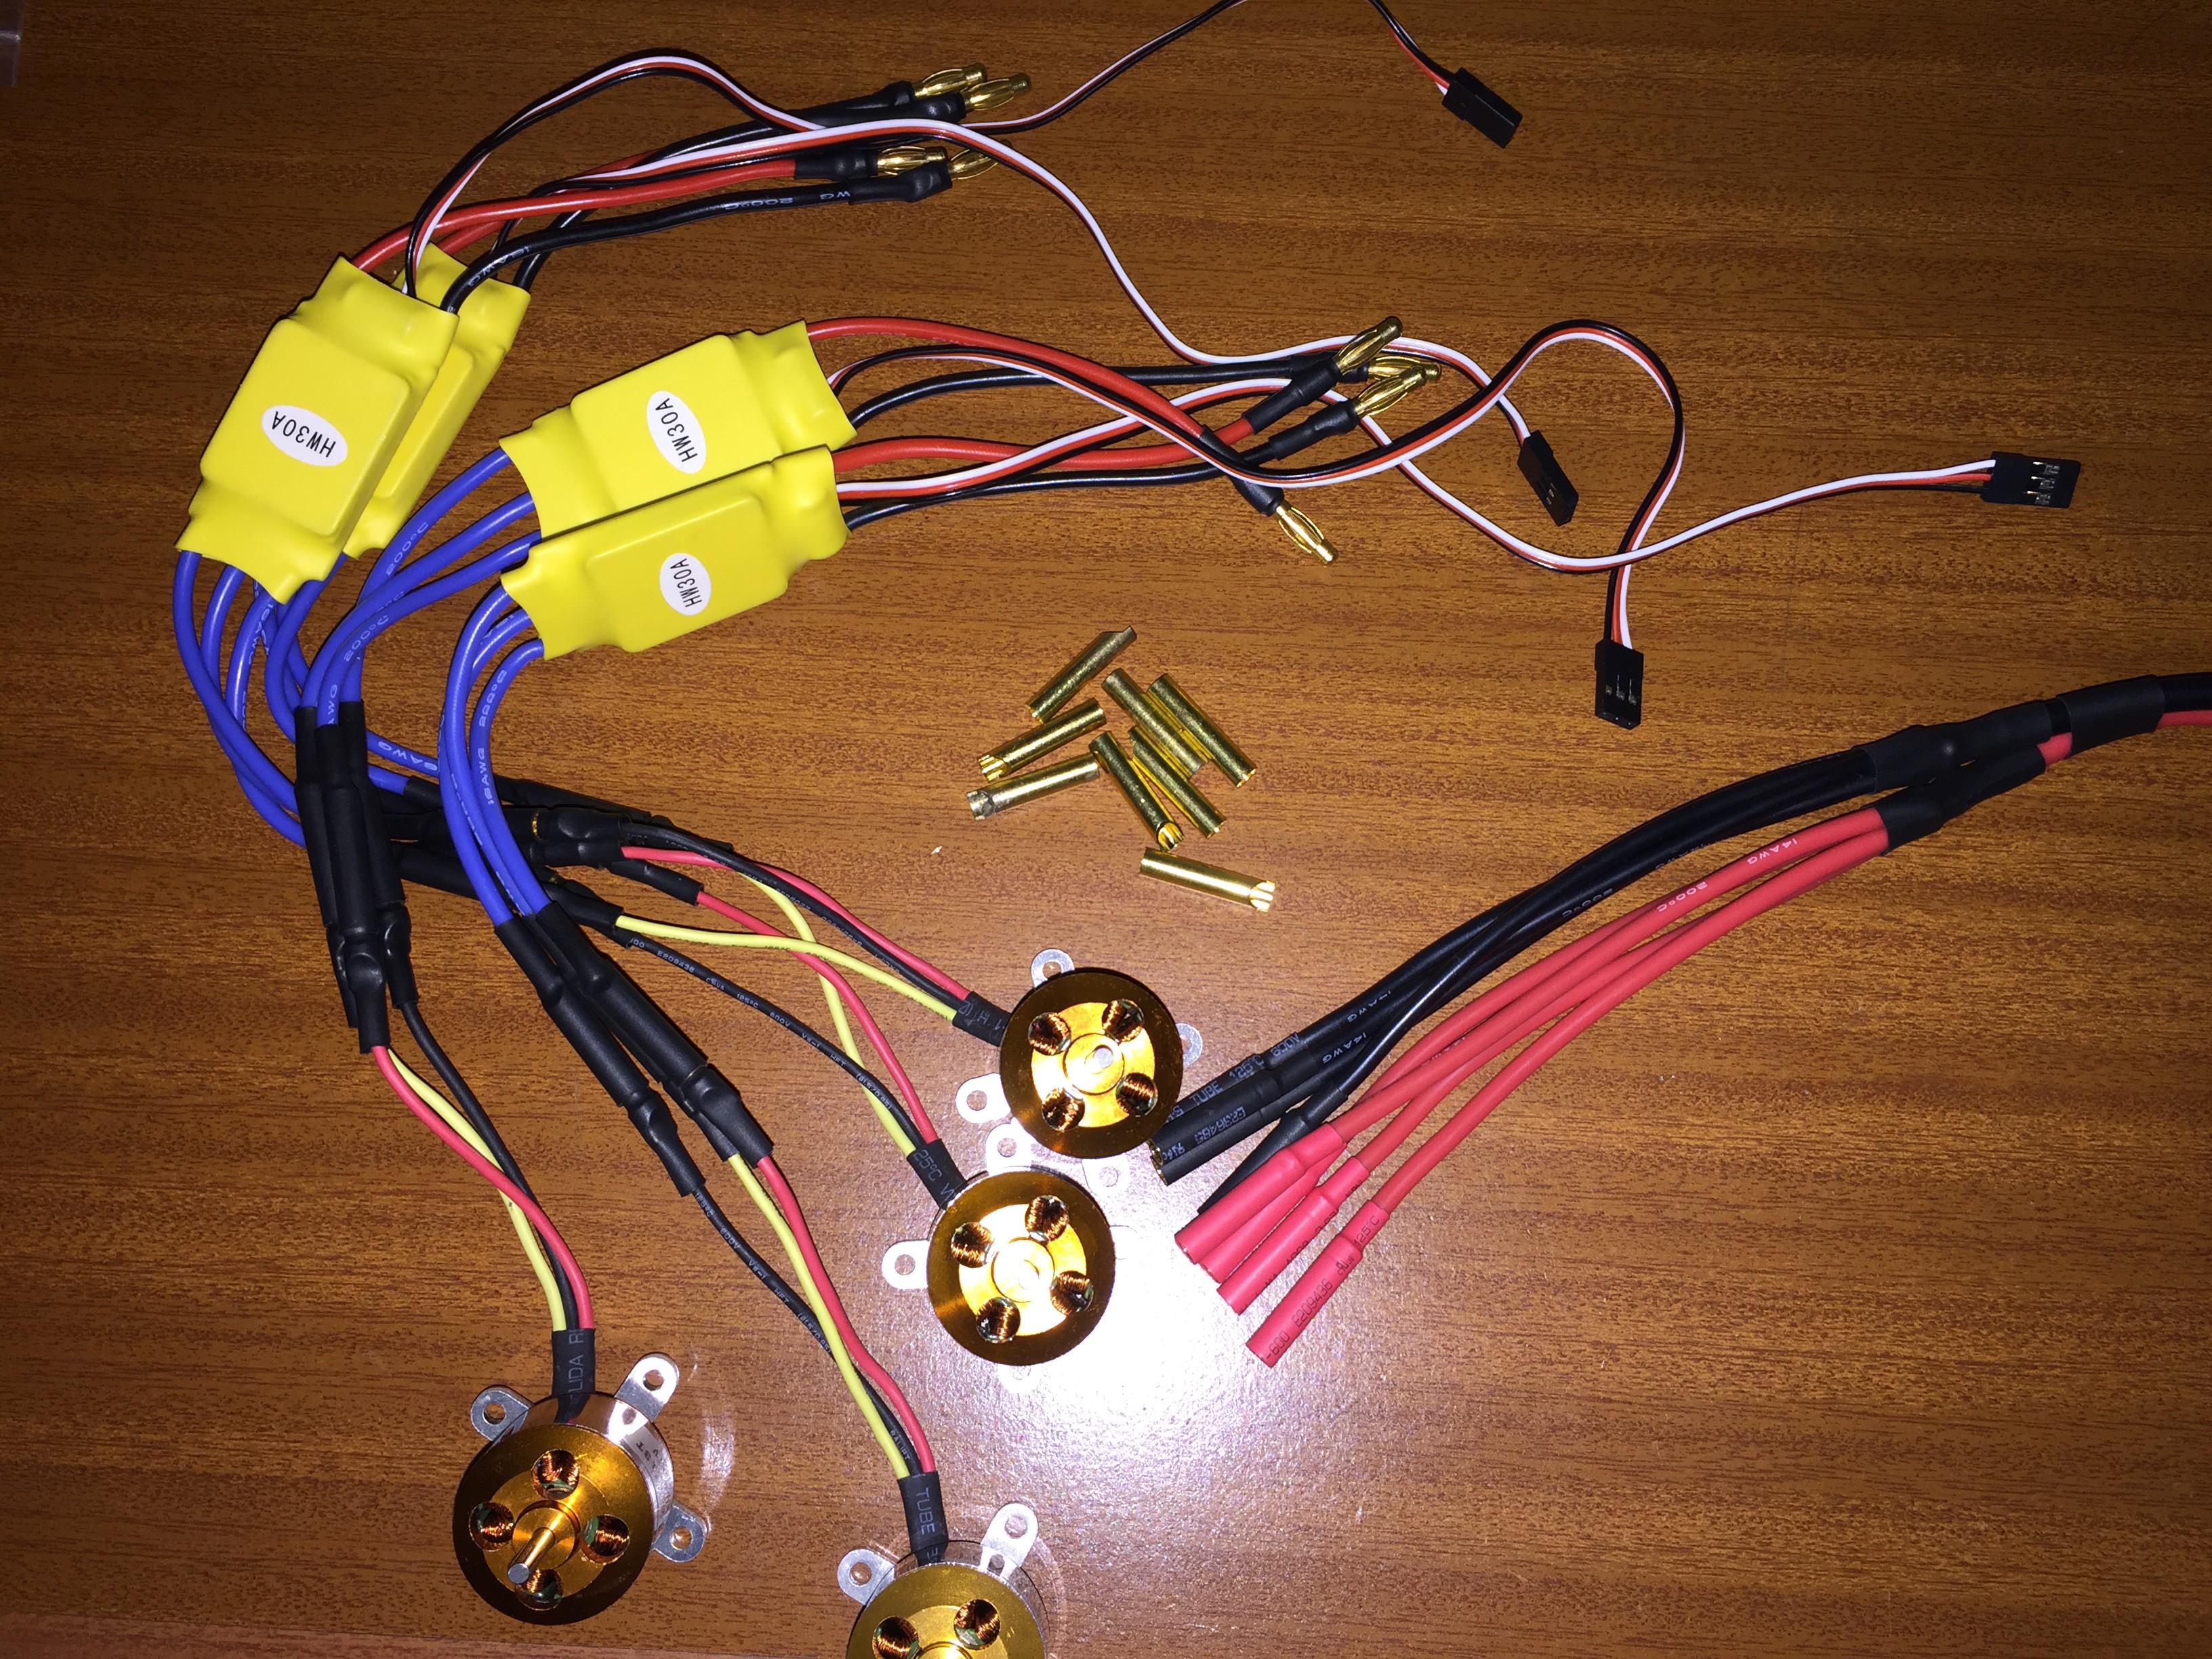
- 4x brushless motors.
- 4x HW30A ESC.
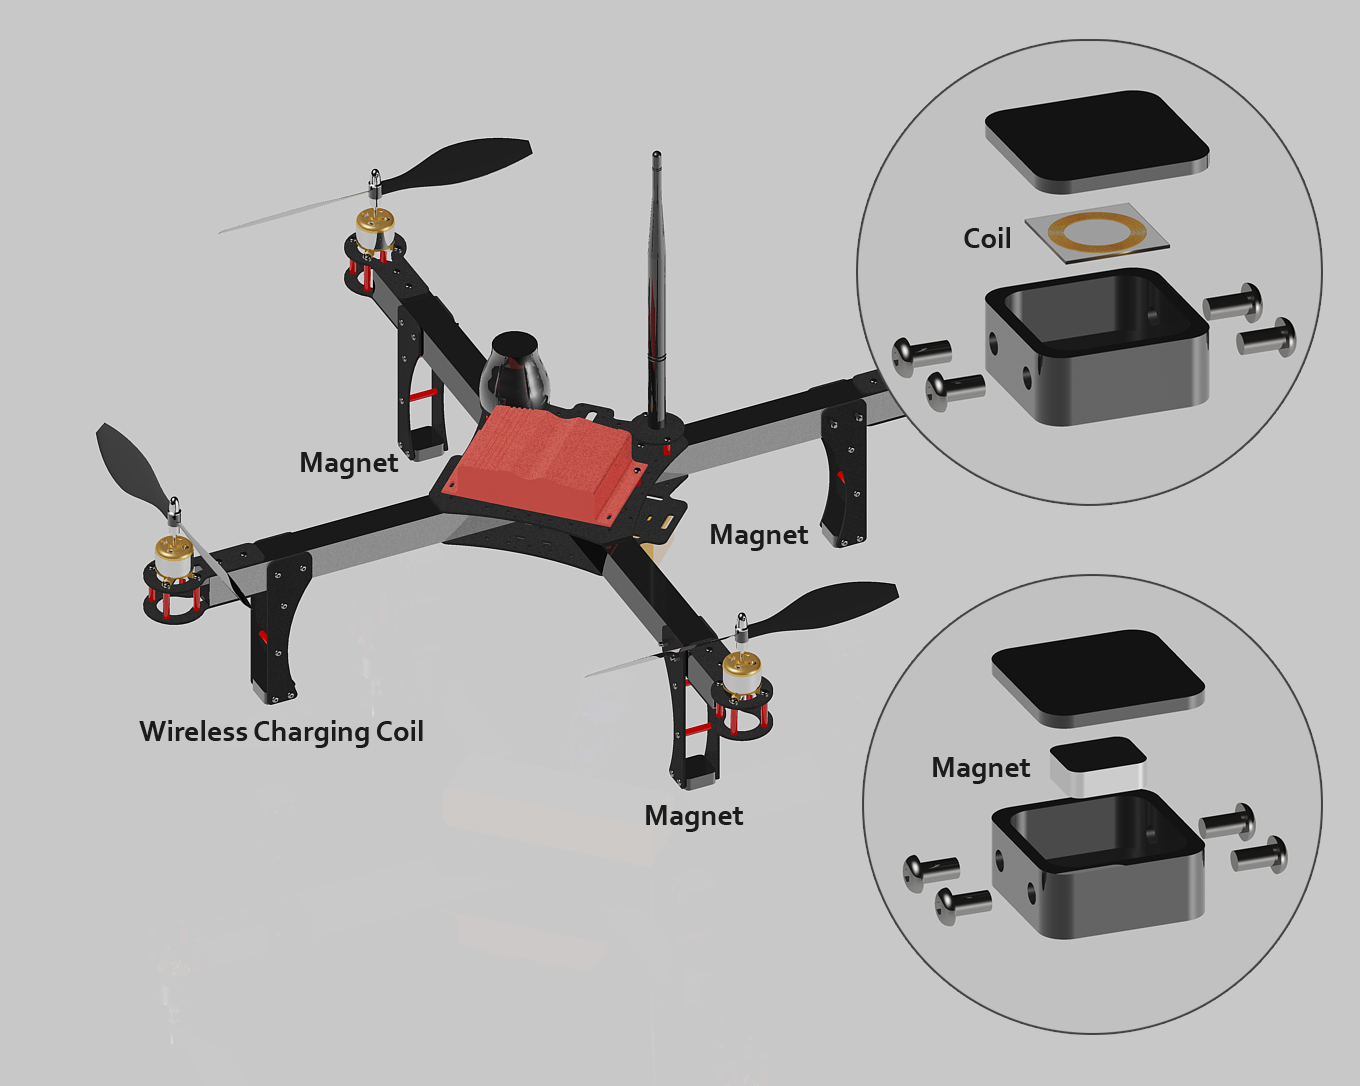
- Wireless charging circuit.
- On foot magnets (allows to easily align the drone with platform)
- Battery cells balancing device.
- Cross laser (for alignment while landing, using the camera and OpenCV) [Optional].
Communication technologies
TODO
Web interface
TODO
Why OpenCV?
OpenCV is a software library that allows the computer vision. Thanks to this, Fiva Drone is able to recognize templates and control processes depending on the images, provided by the camera.
GPS is not accurate enough for a precise landing, but it assist this process just in the beginning, providing the approximate coordinates and elevation of platform. Thereby, the Fiva Drone's vision will try to find the platform within a small area.
Landing process
When the landing process begins, the camera will rotate and point directly to the floor, trying to find a valid template (with OpenCV).
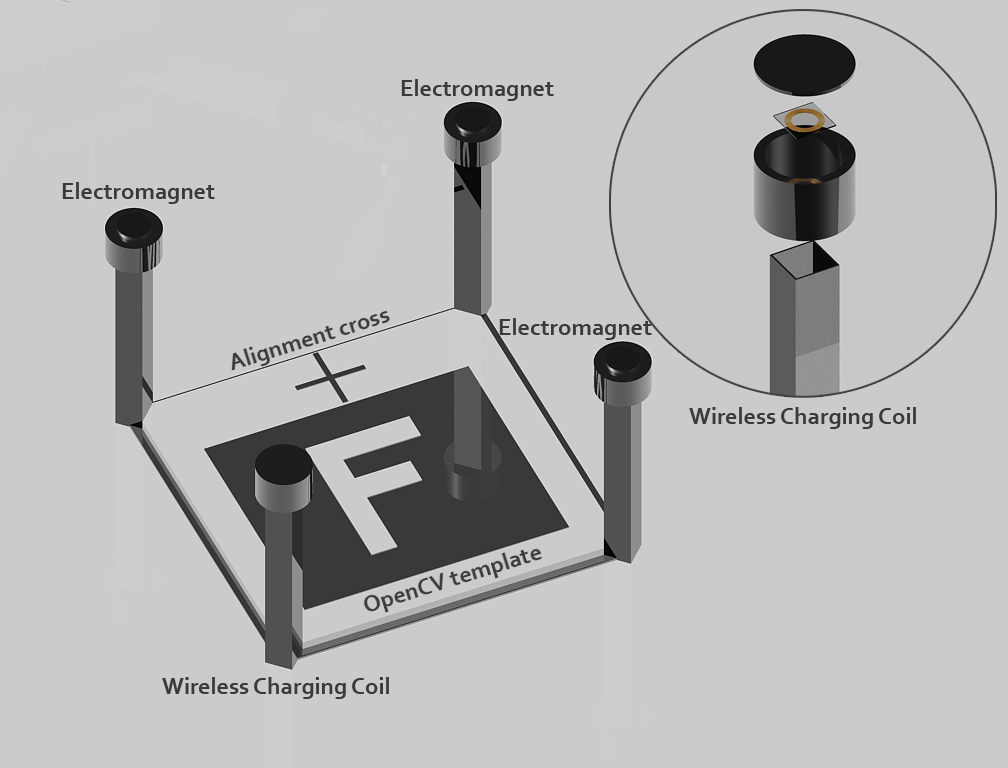
Then, when the drone is very close to the platform, the cross on platform will assist the fine alignment. A proximity sensor on platform will activate the three electromagnets and the wireless charging circuit. This will smoothly force the landing and alignment. When the wireless charging process is done, the electromagnets release the drone, allowing the next takeoff.
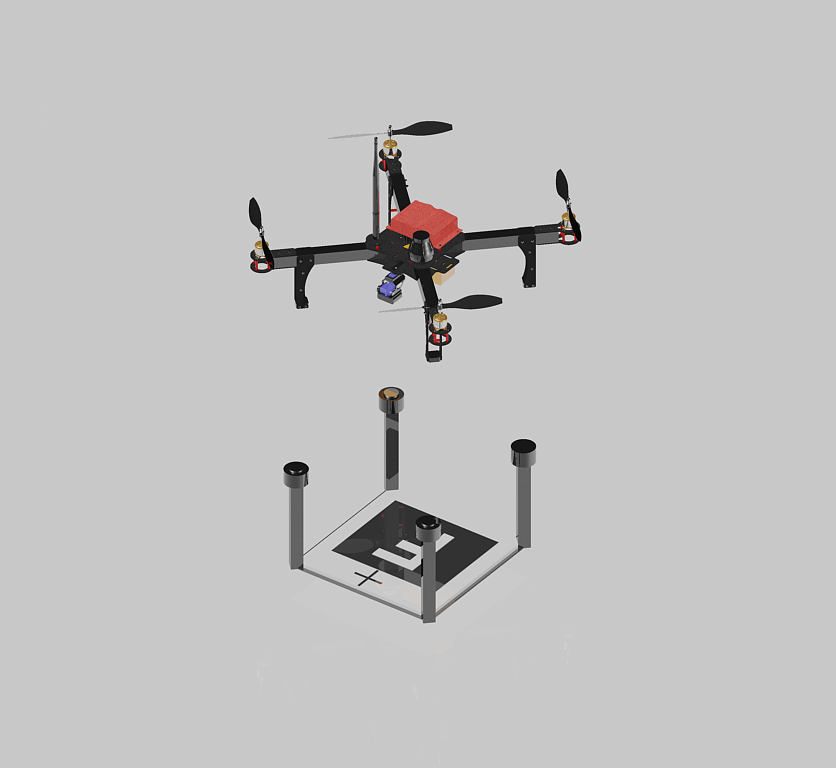
Landing/Charging platform


 Audrey Robinel
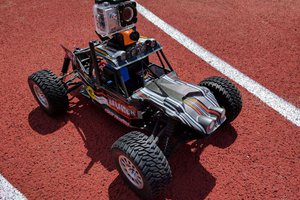
 codersilver
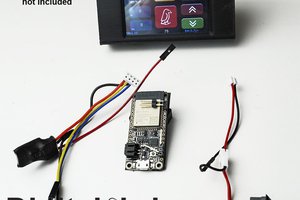
 digitalbird01
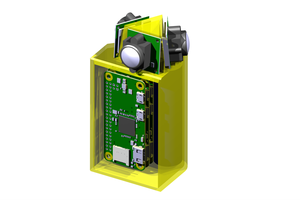
 taposk
Hello Camilo,
I tried to contact you regarding your project.
Hope you can get in touch via LinkedIn Lukas Meilhammer
or send me an email: lukas.meilhammer@gmail.com
Best regards,
Lukas