In the spring of 2014 I quit my job and began to explore how we can use technology to build connections to the places around us. In particular, I was interested in augmented reality and its potential to extend documentary storytelling into locations, exposing hidden stories of the past and projecting of the future.
0%
0%
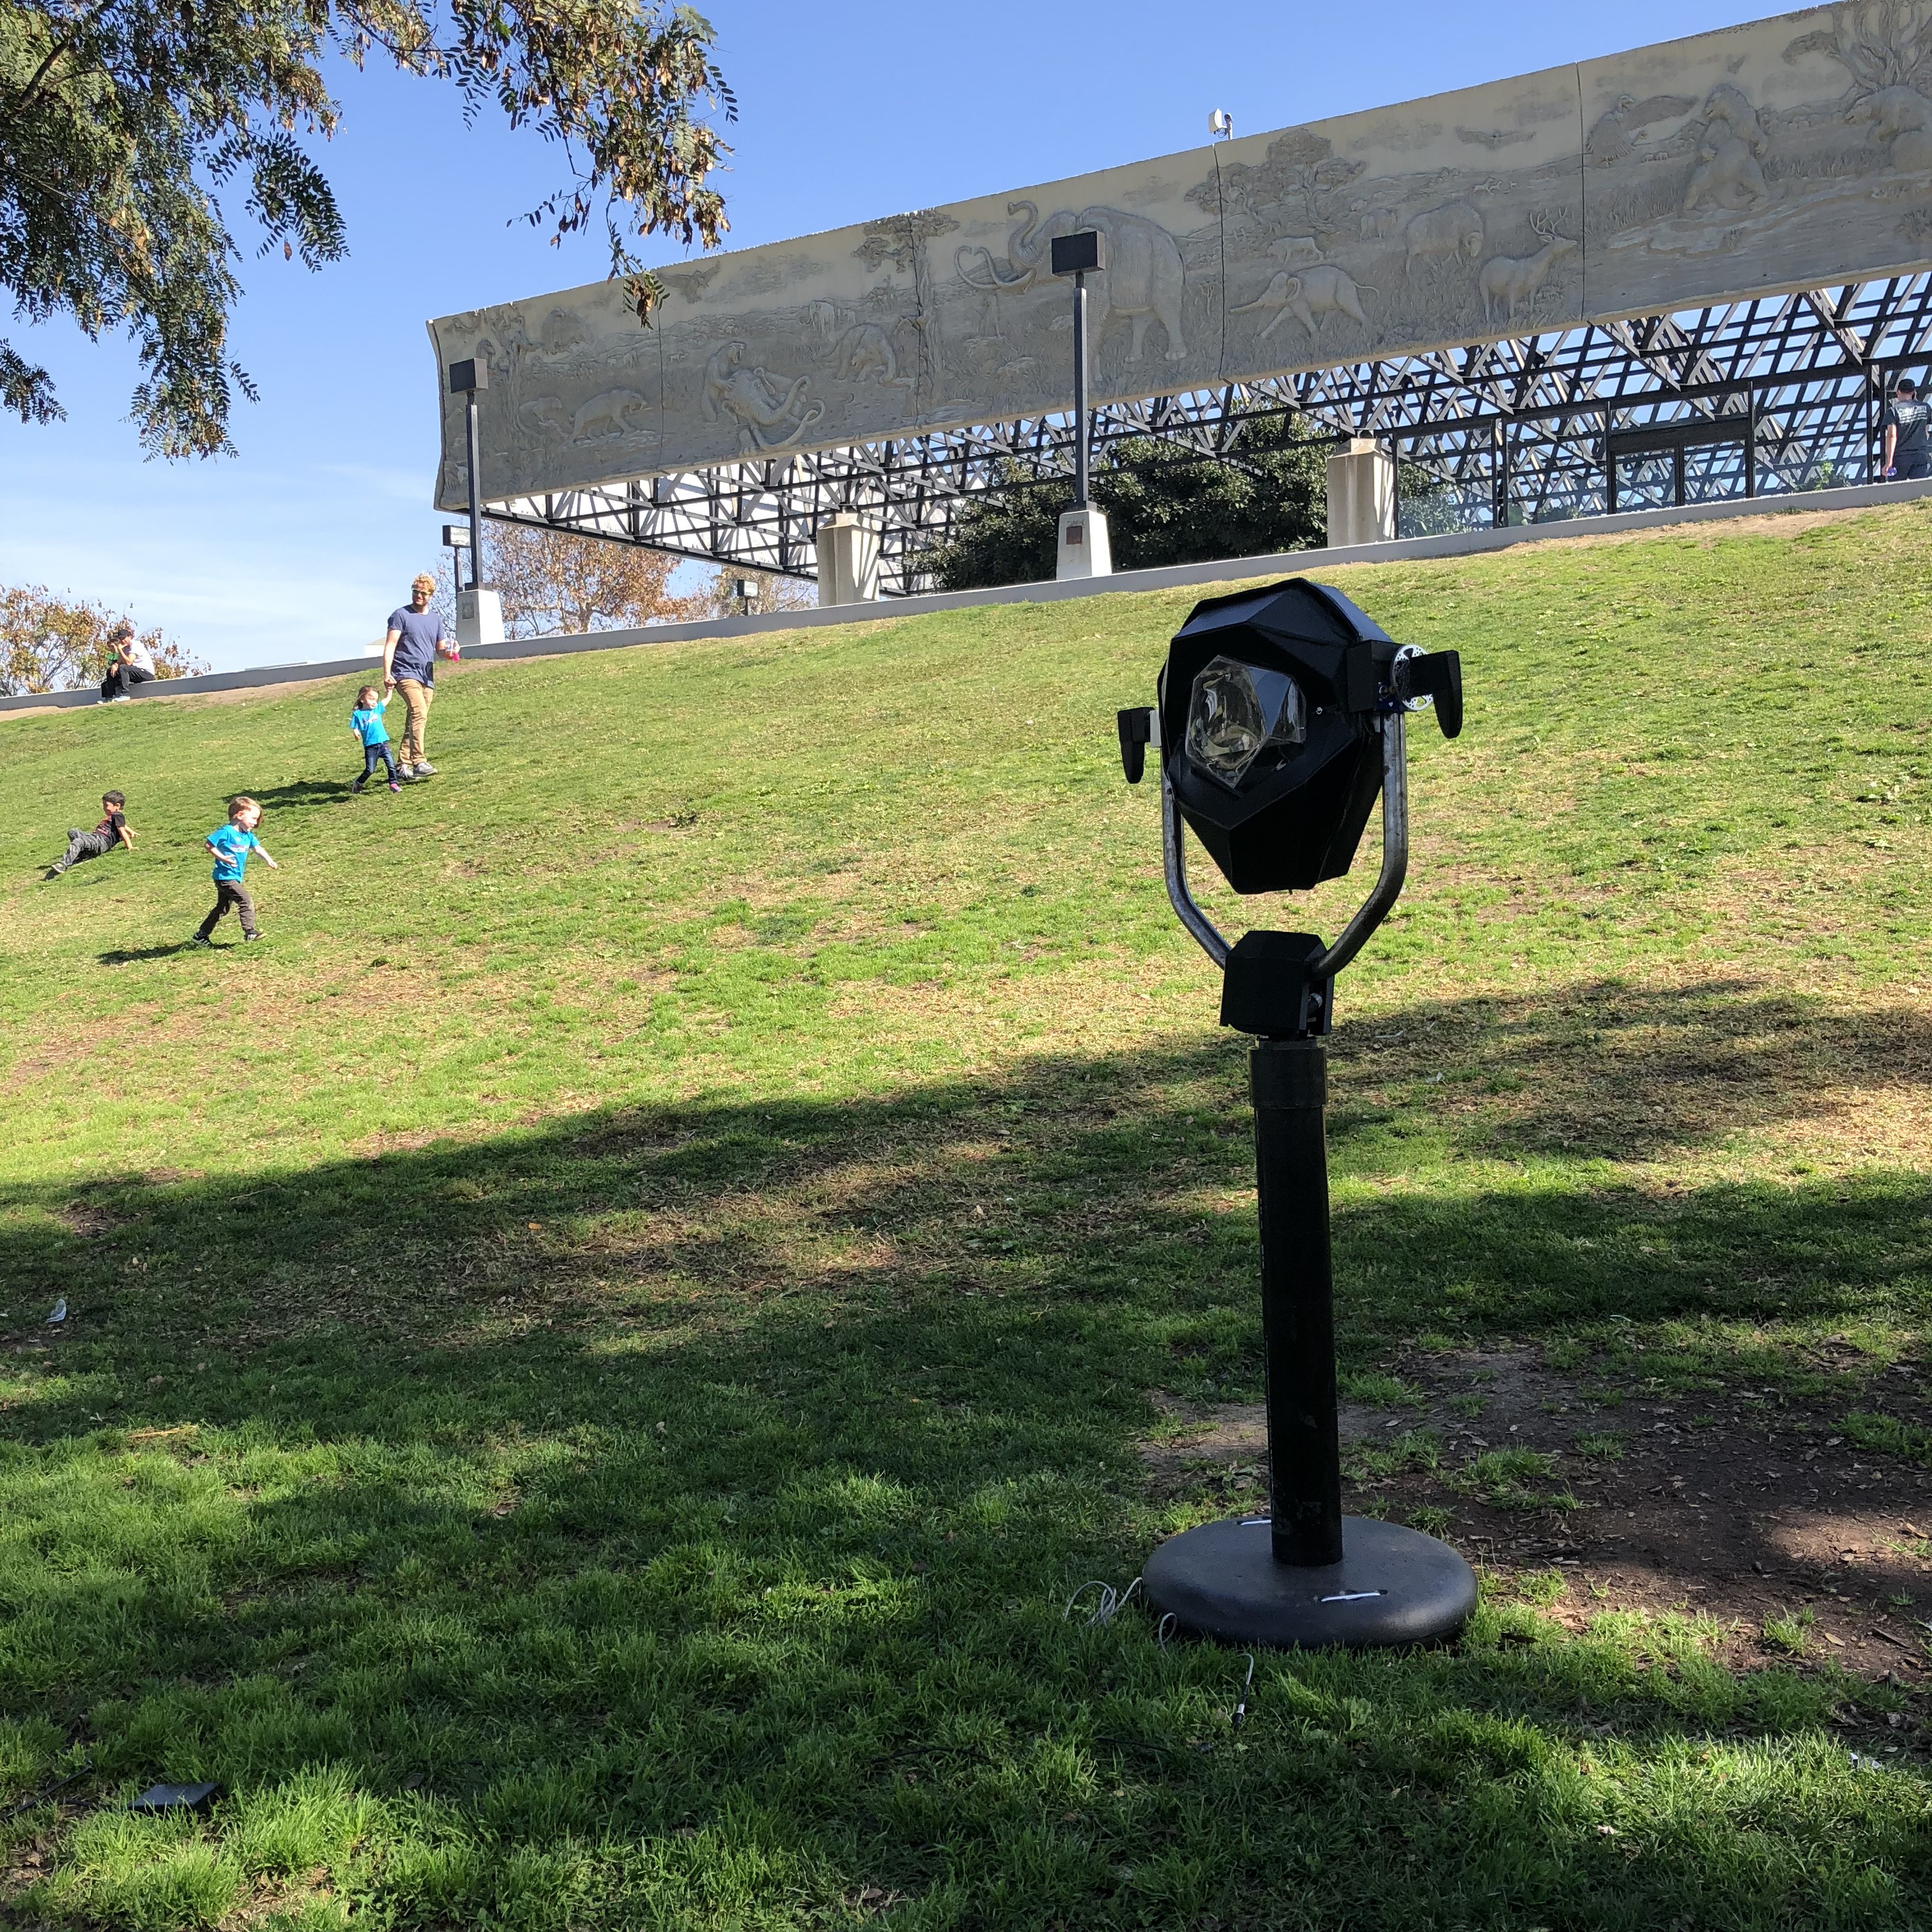
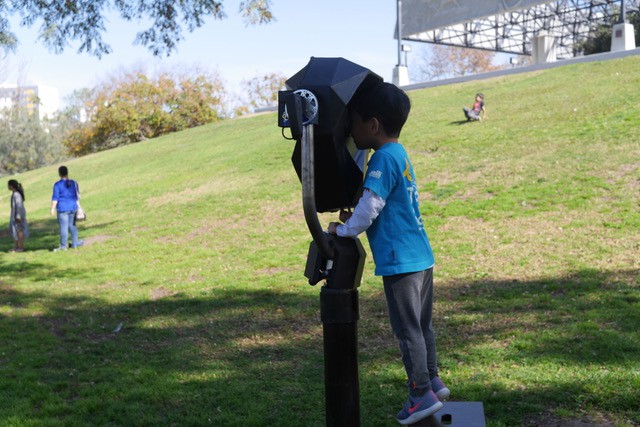
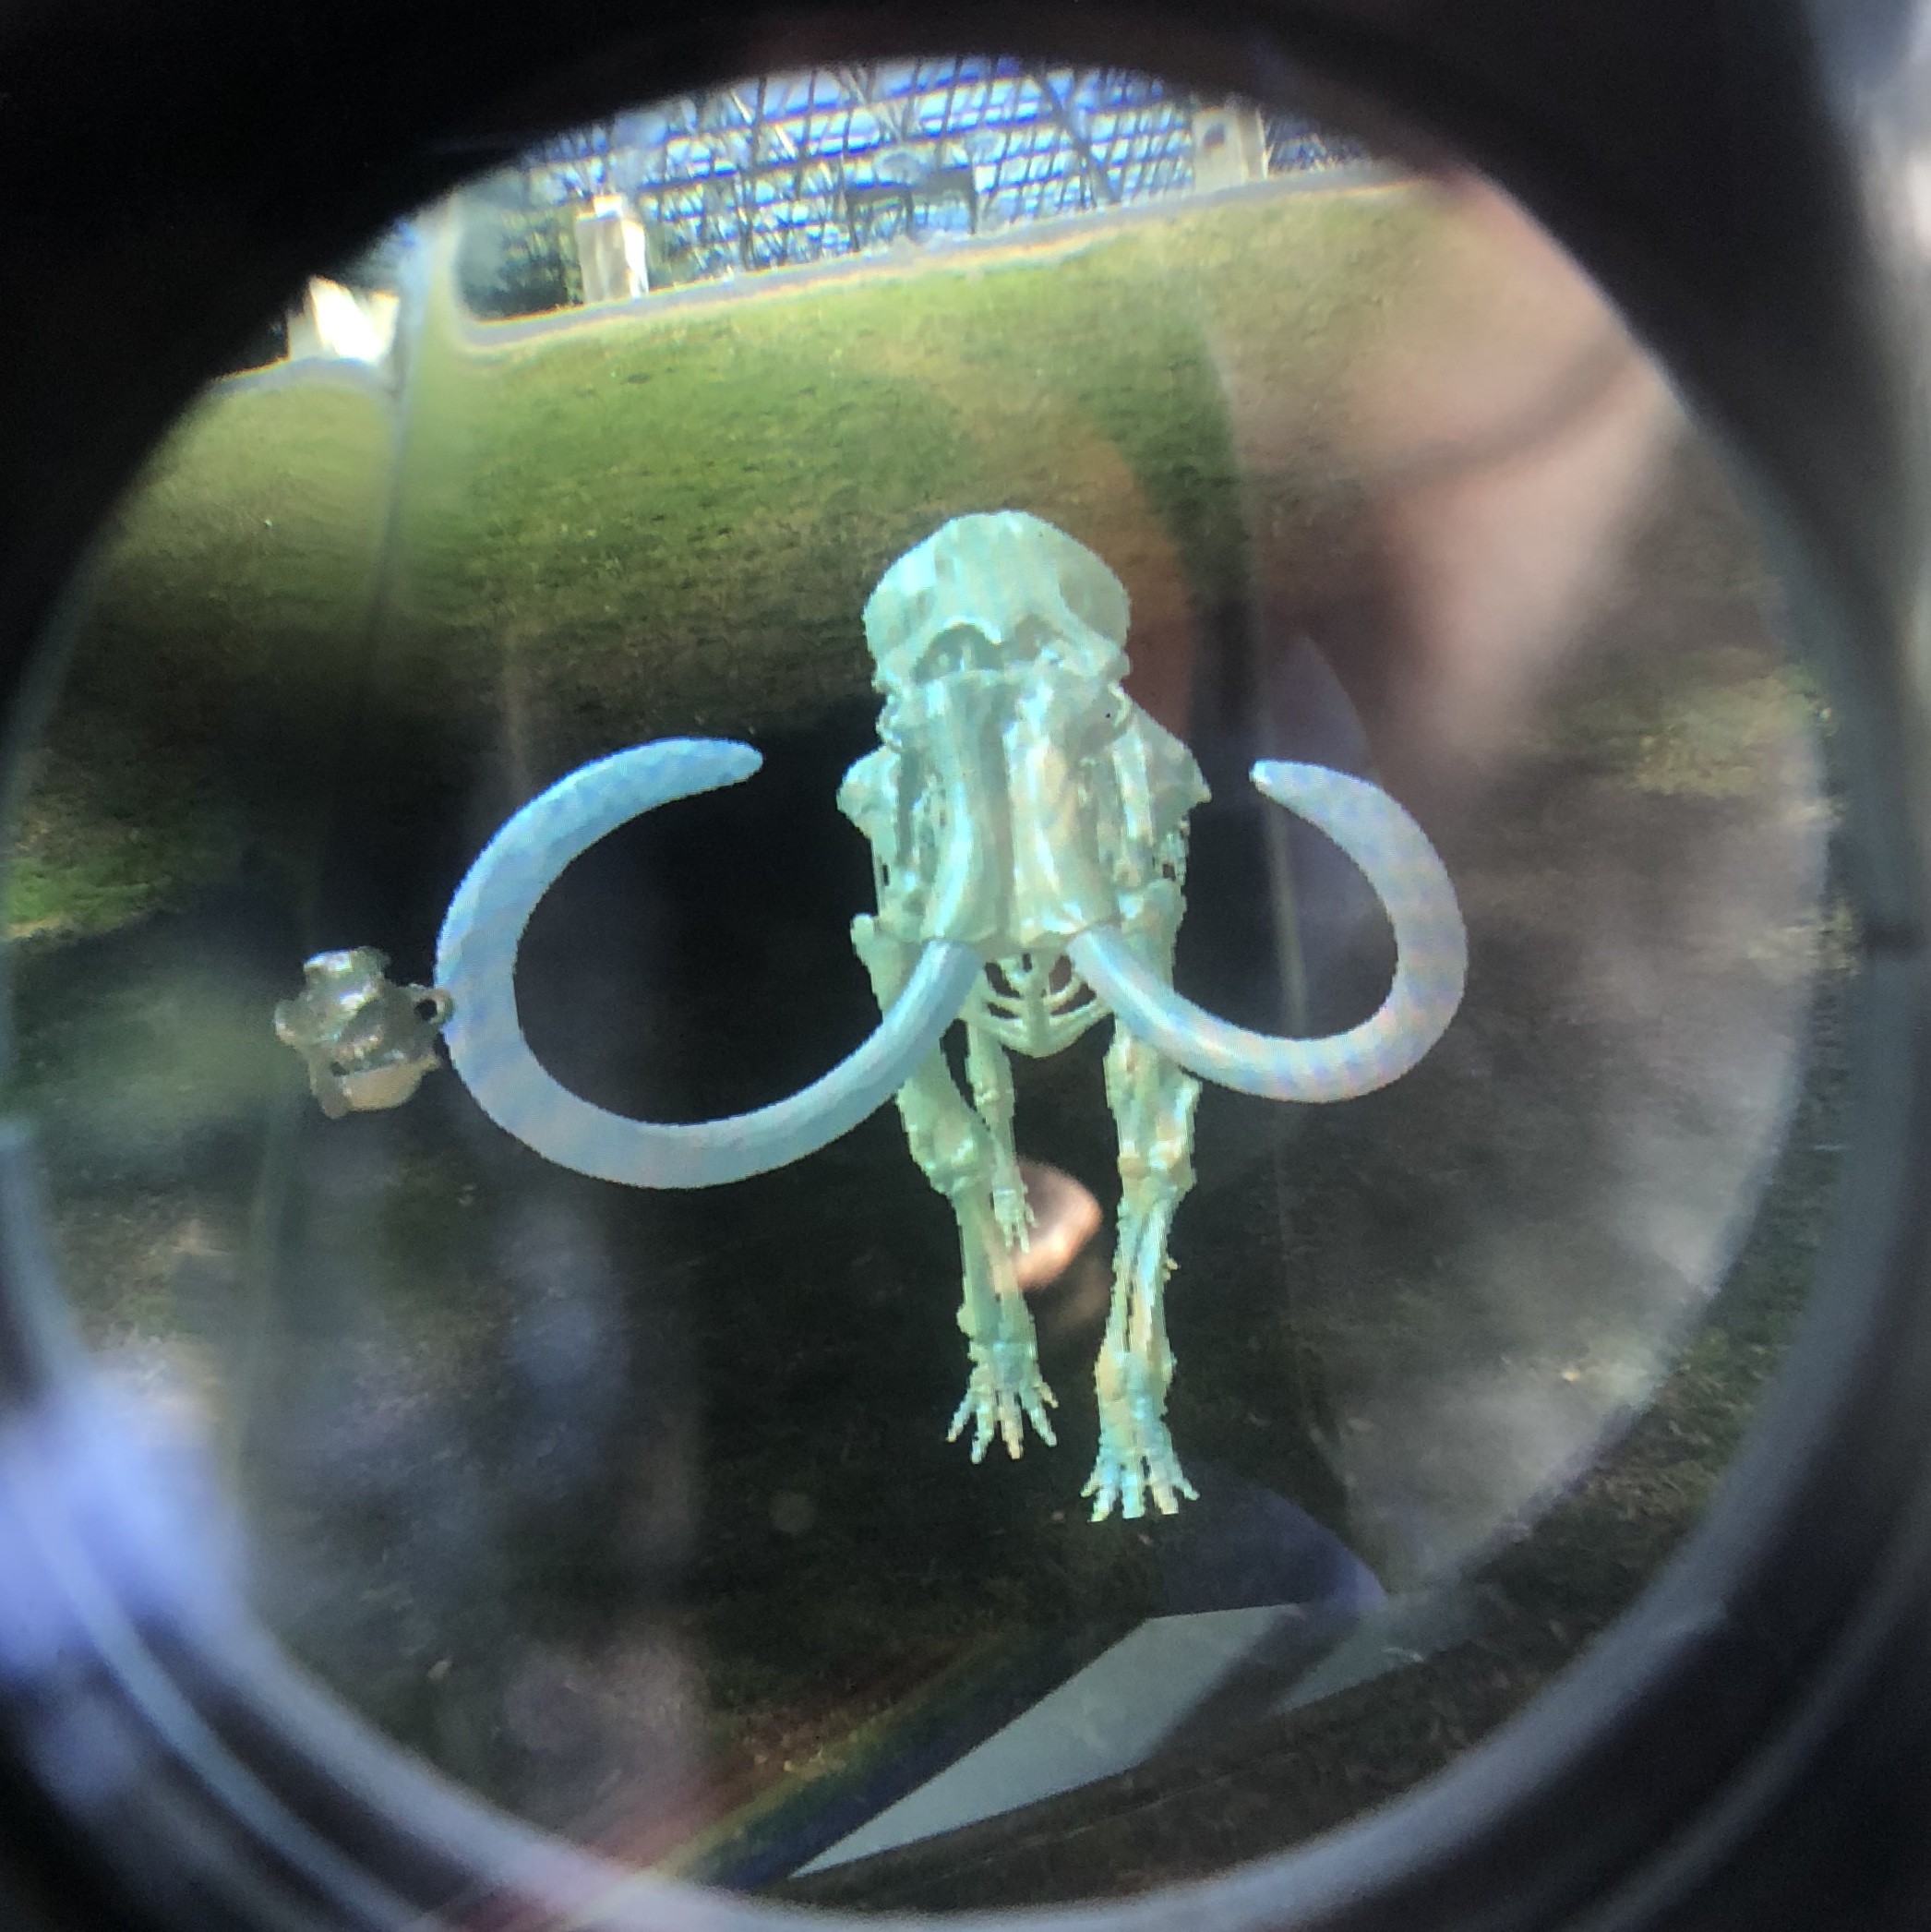
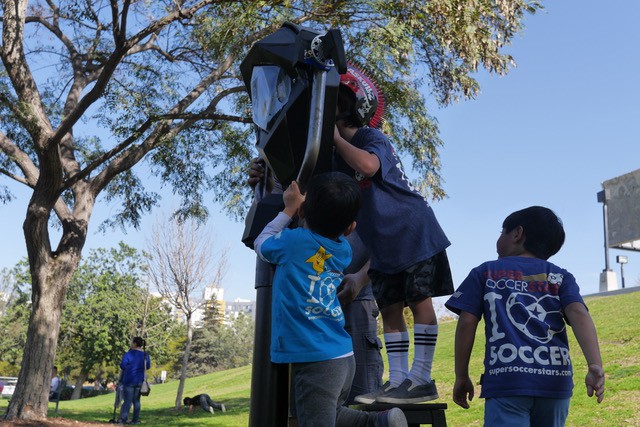
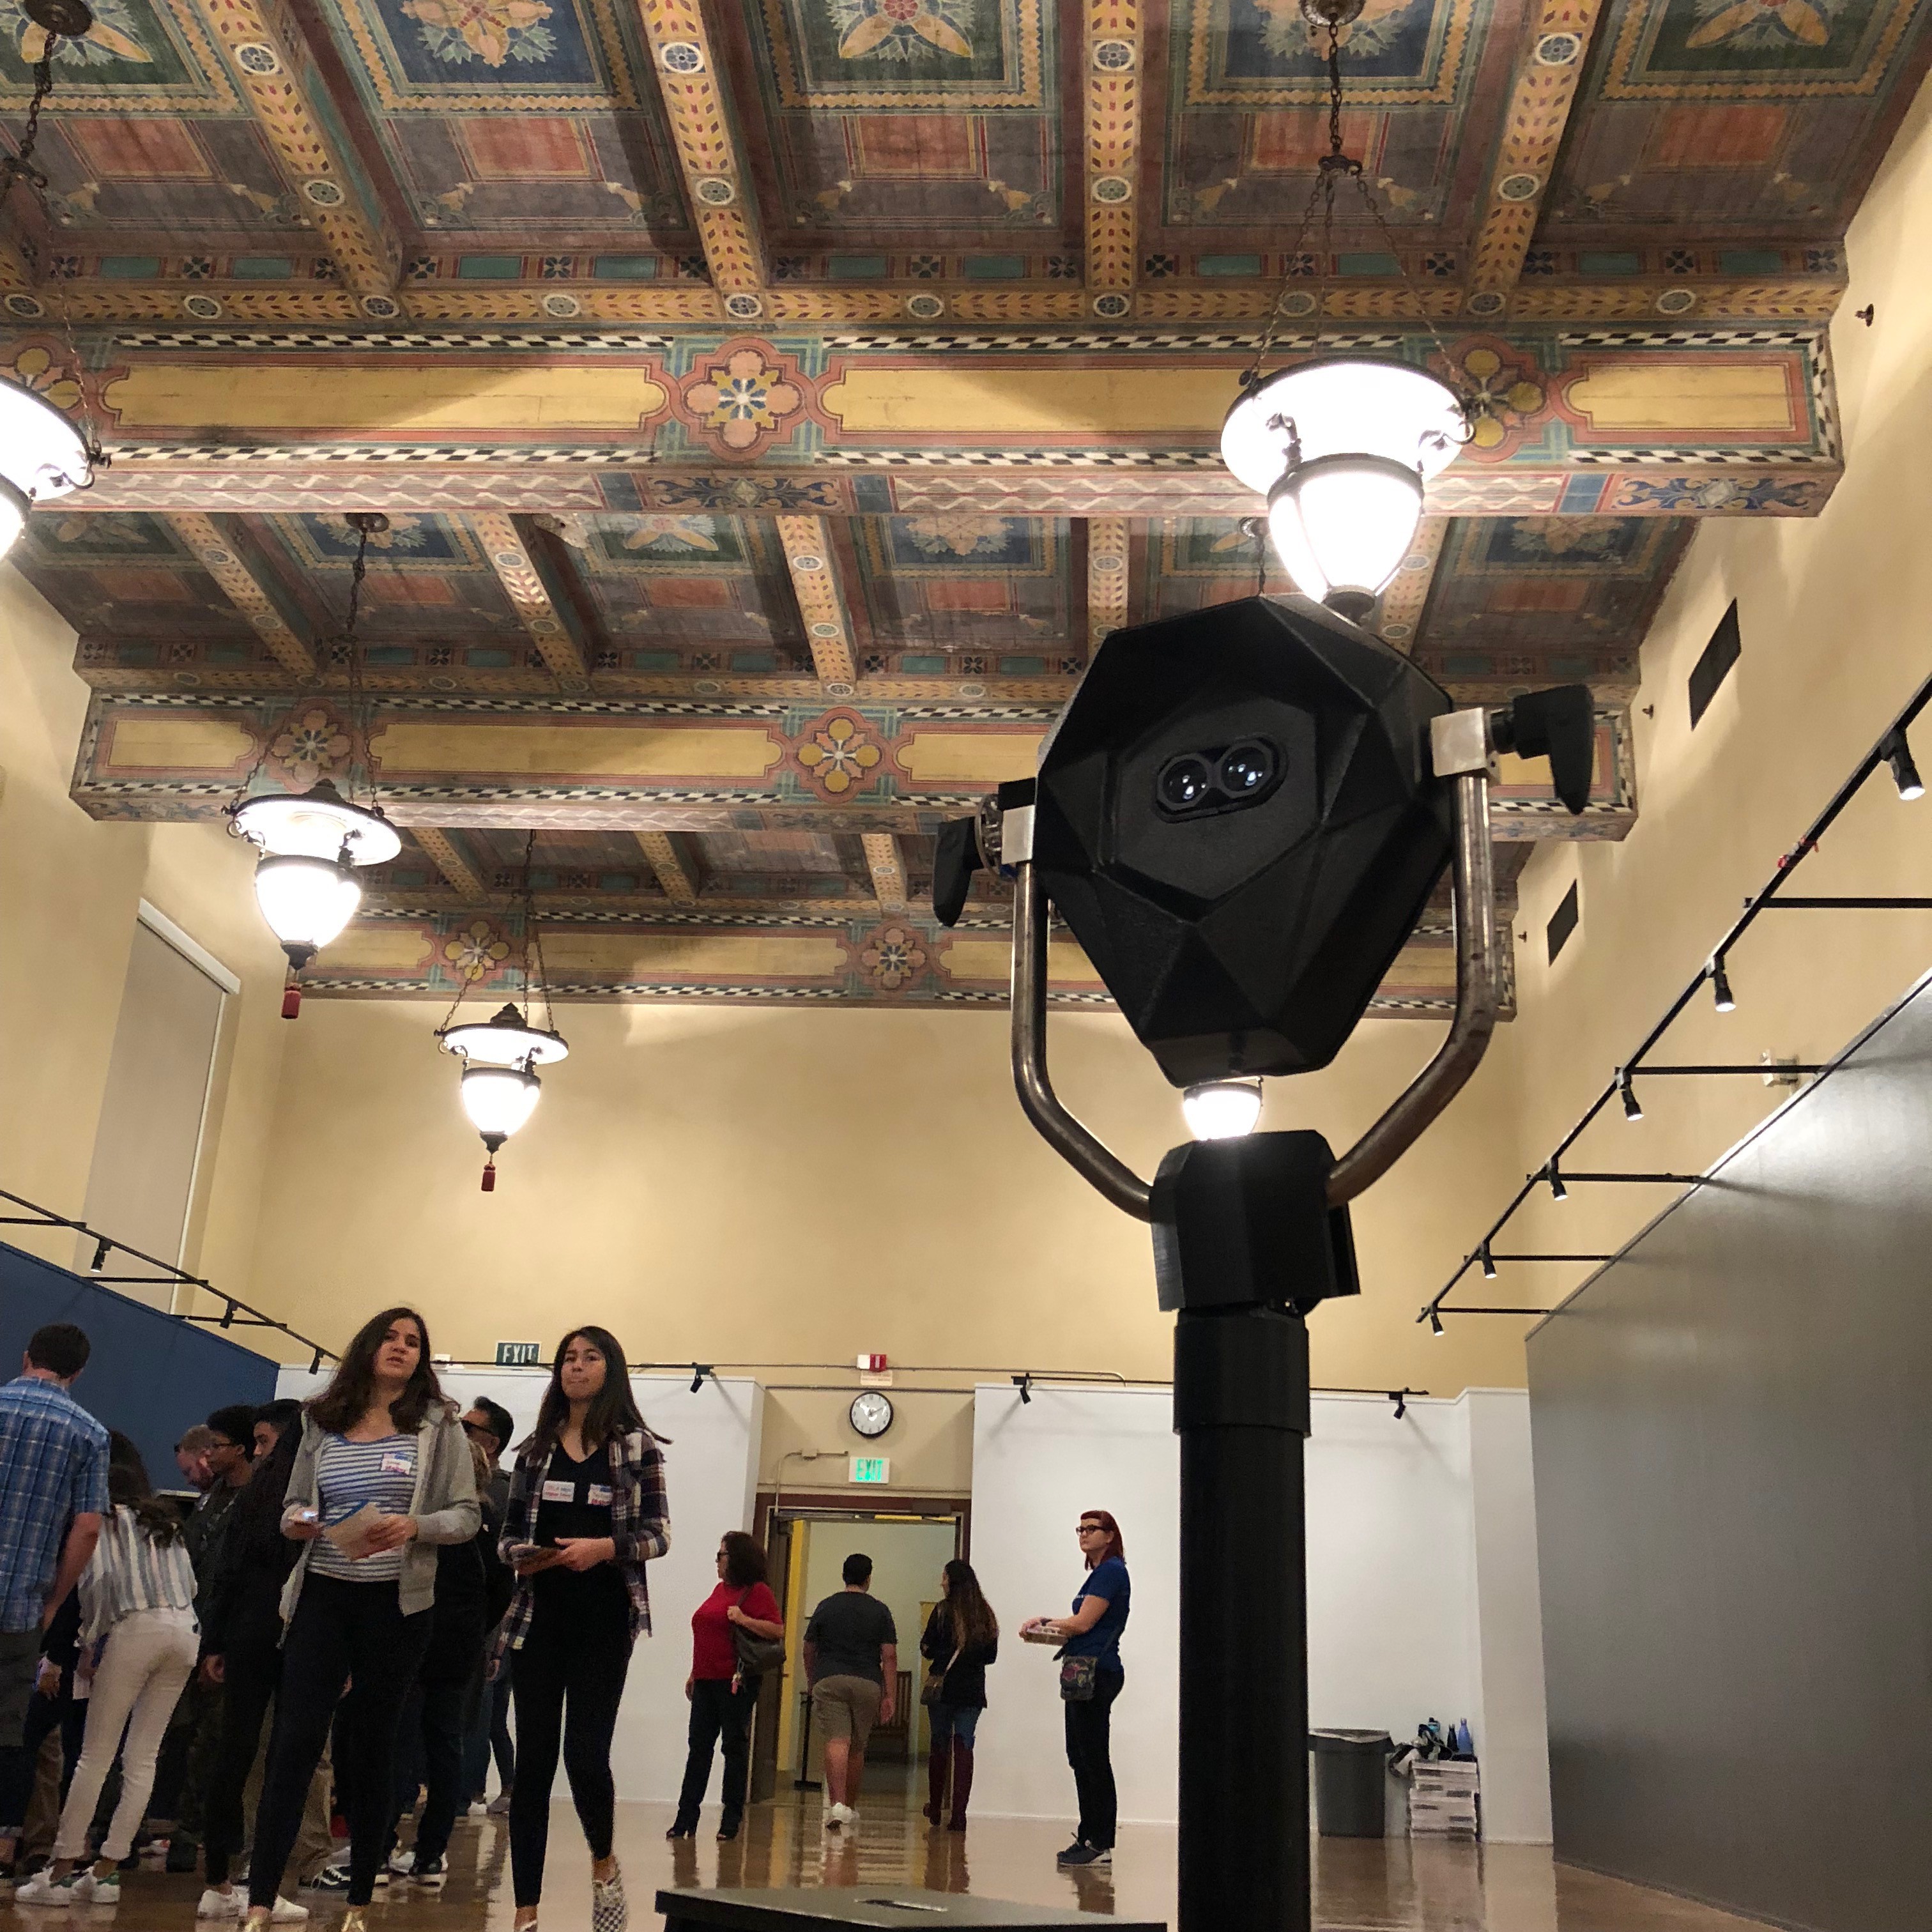
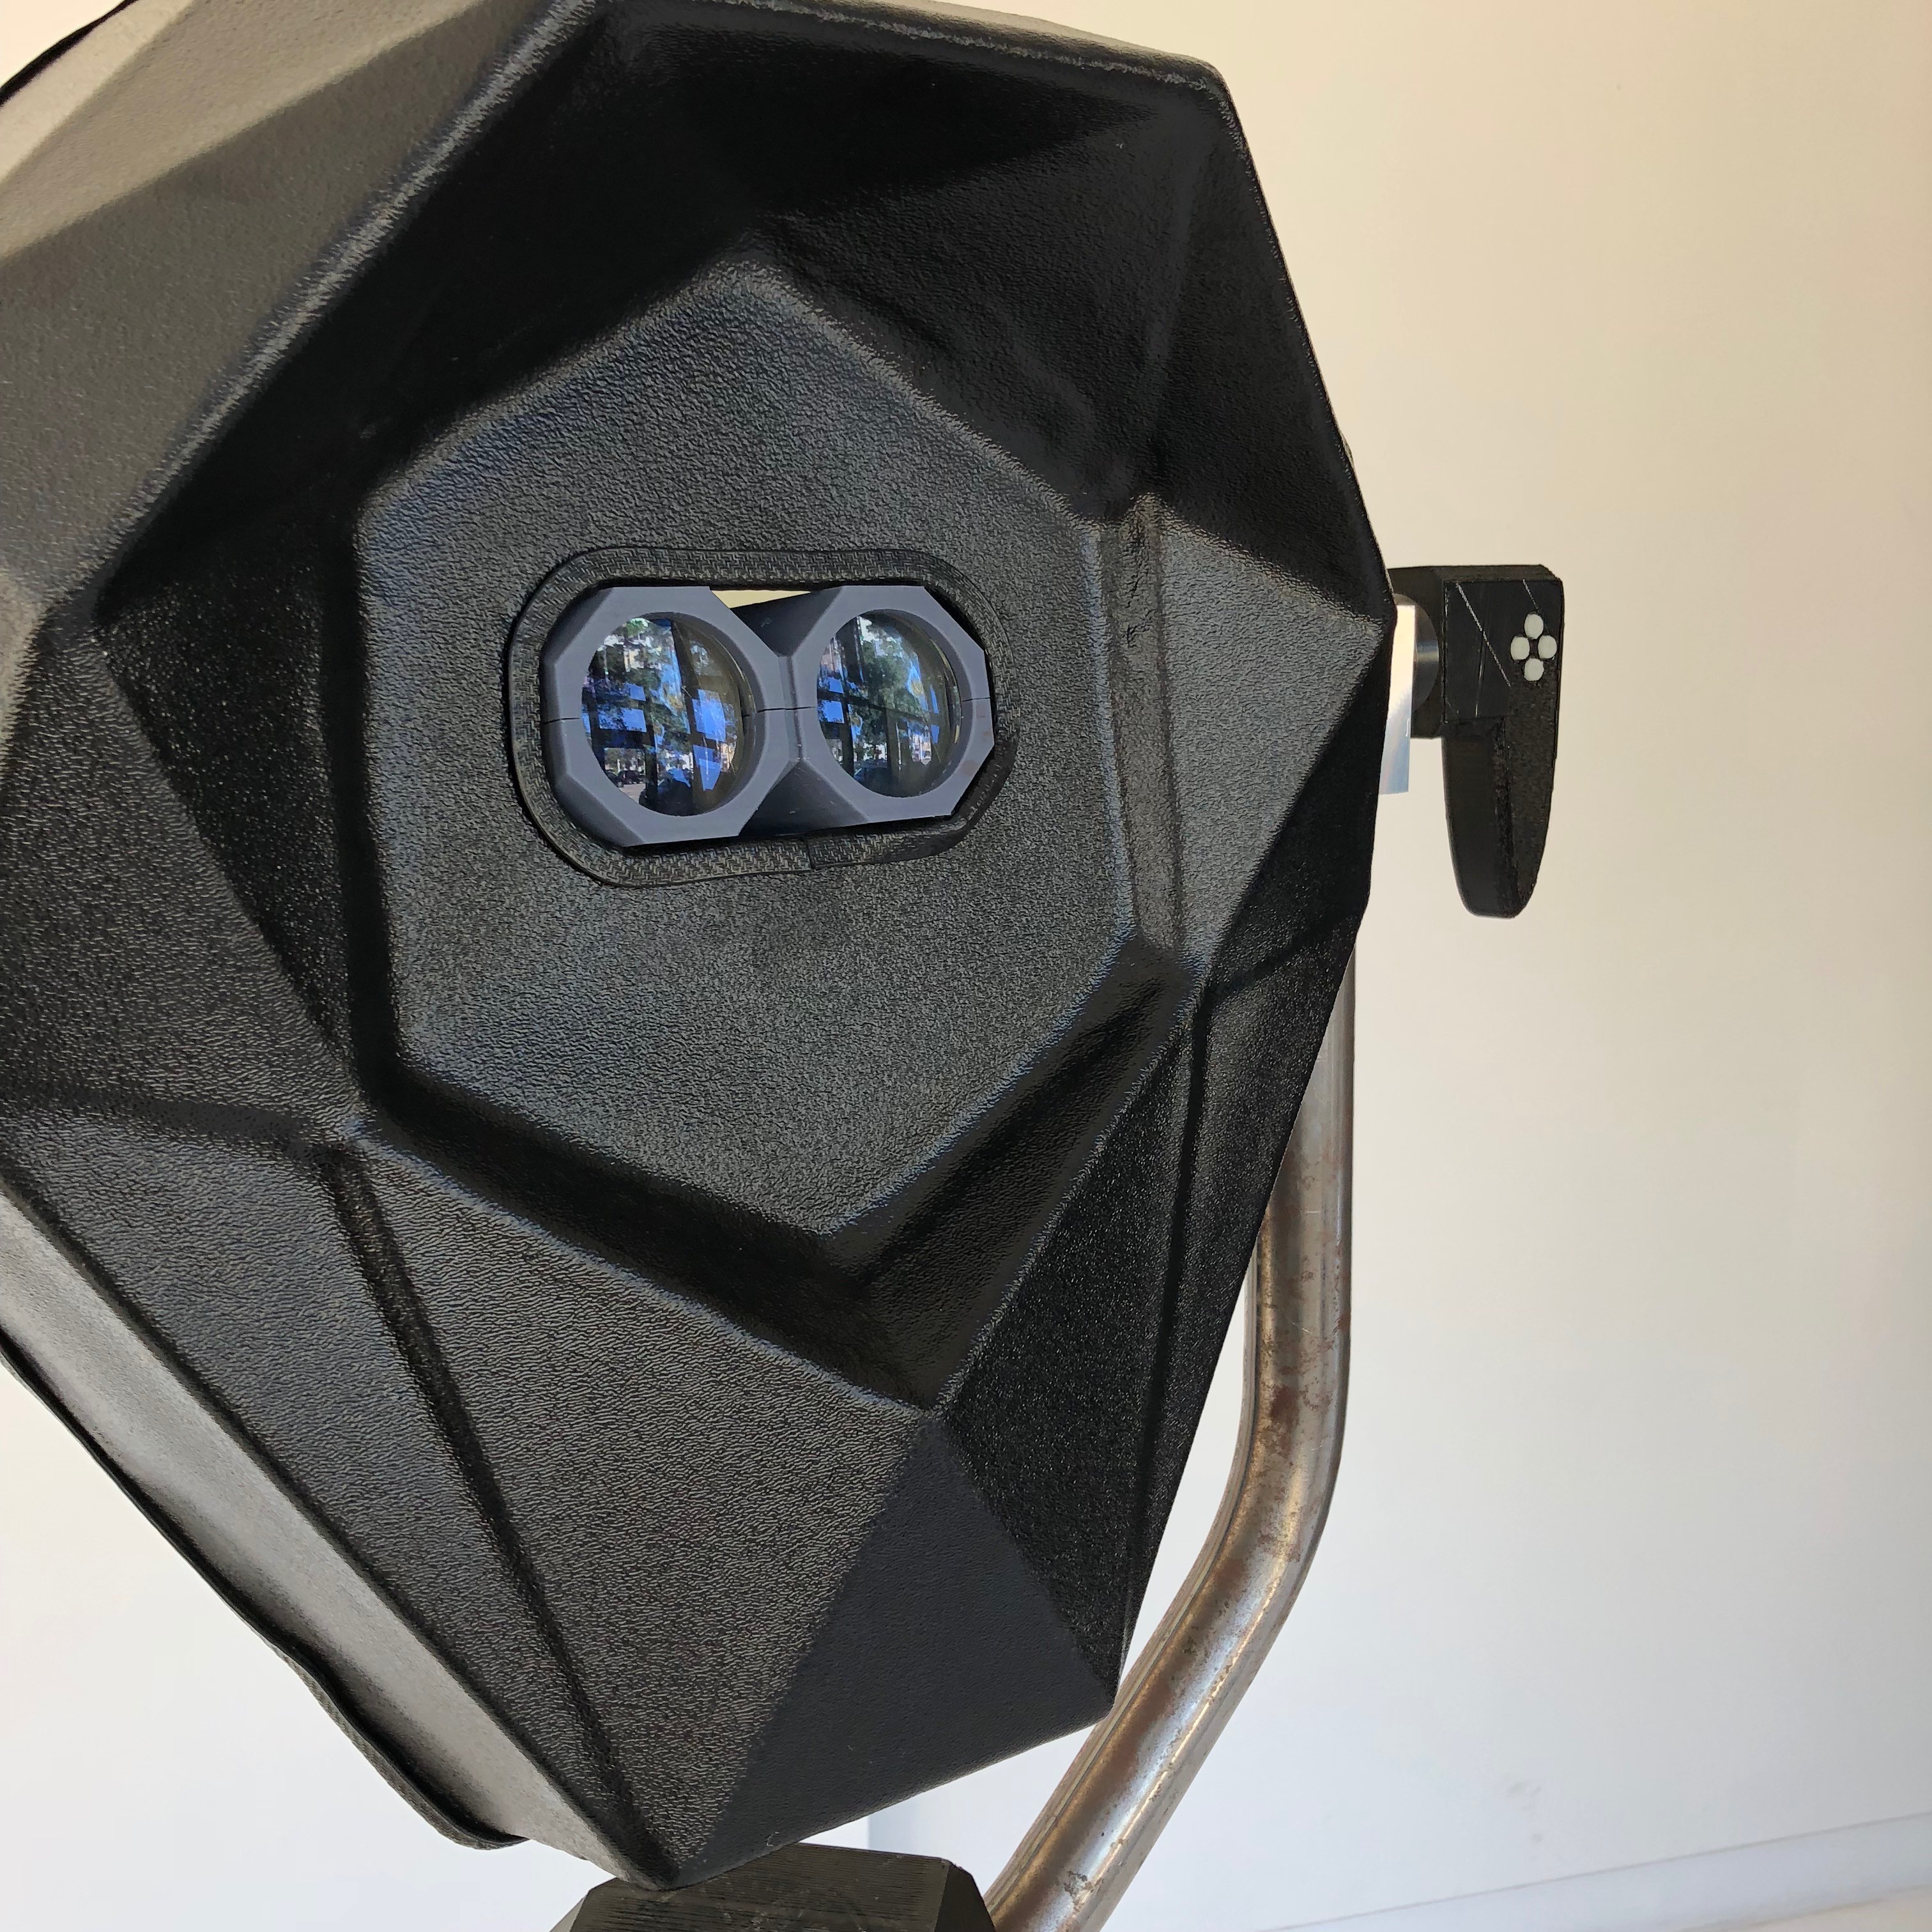
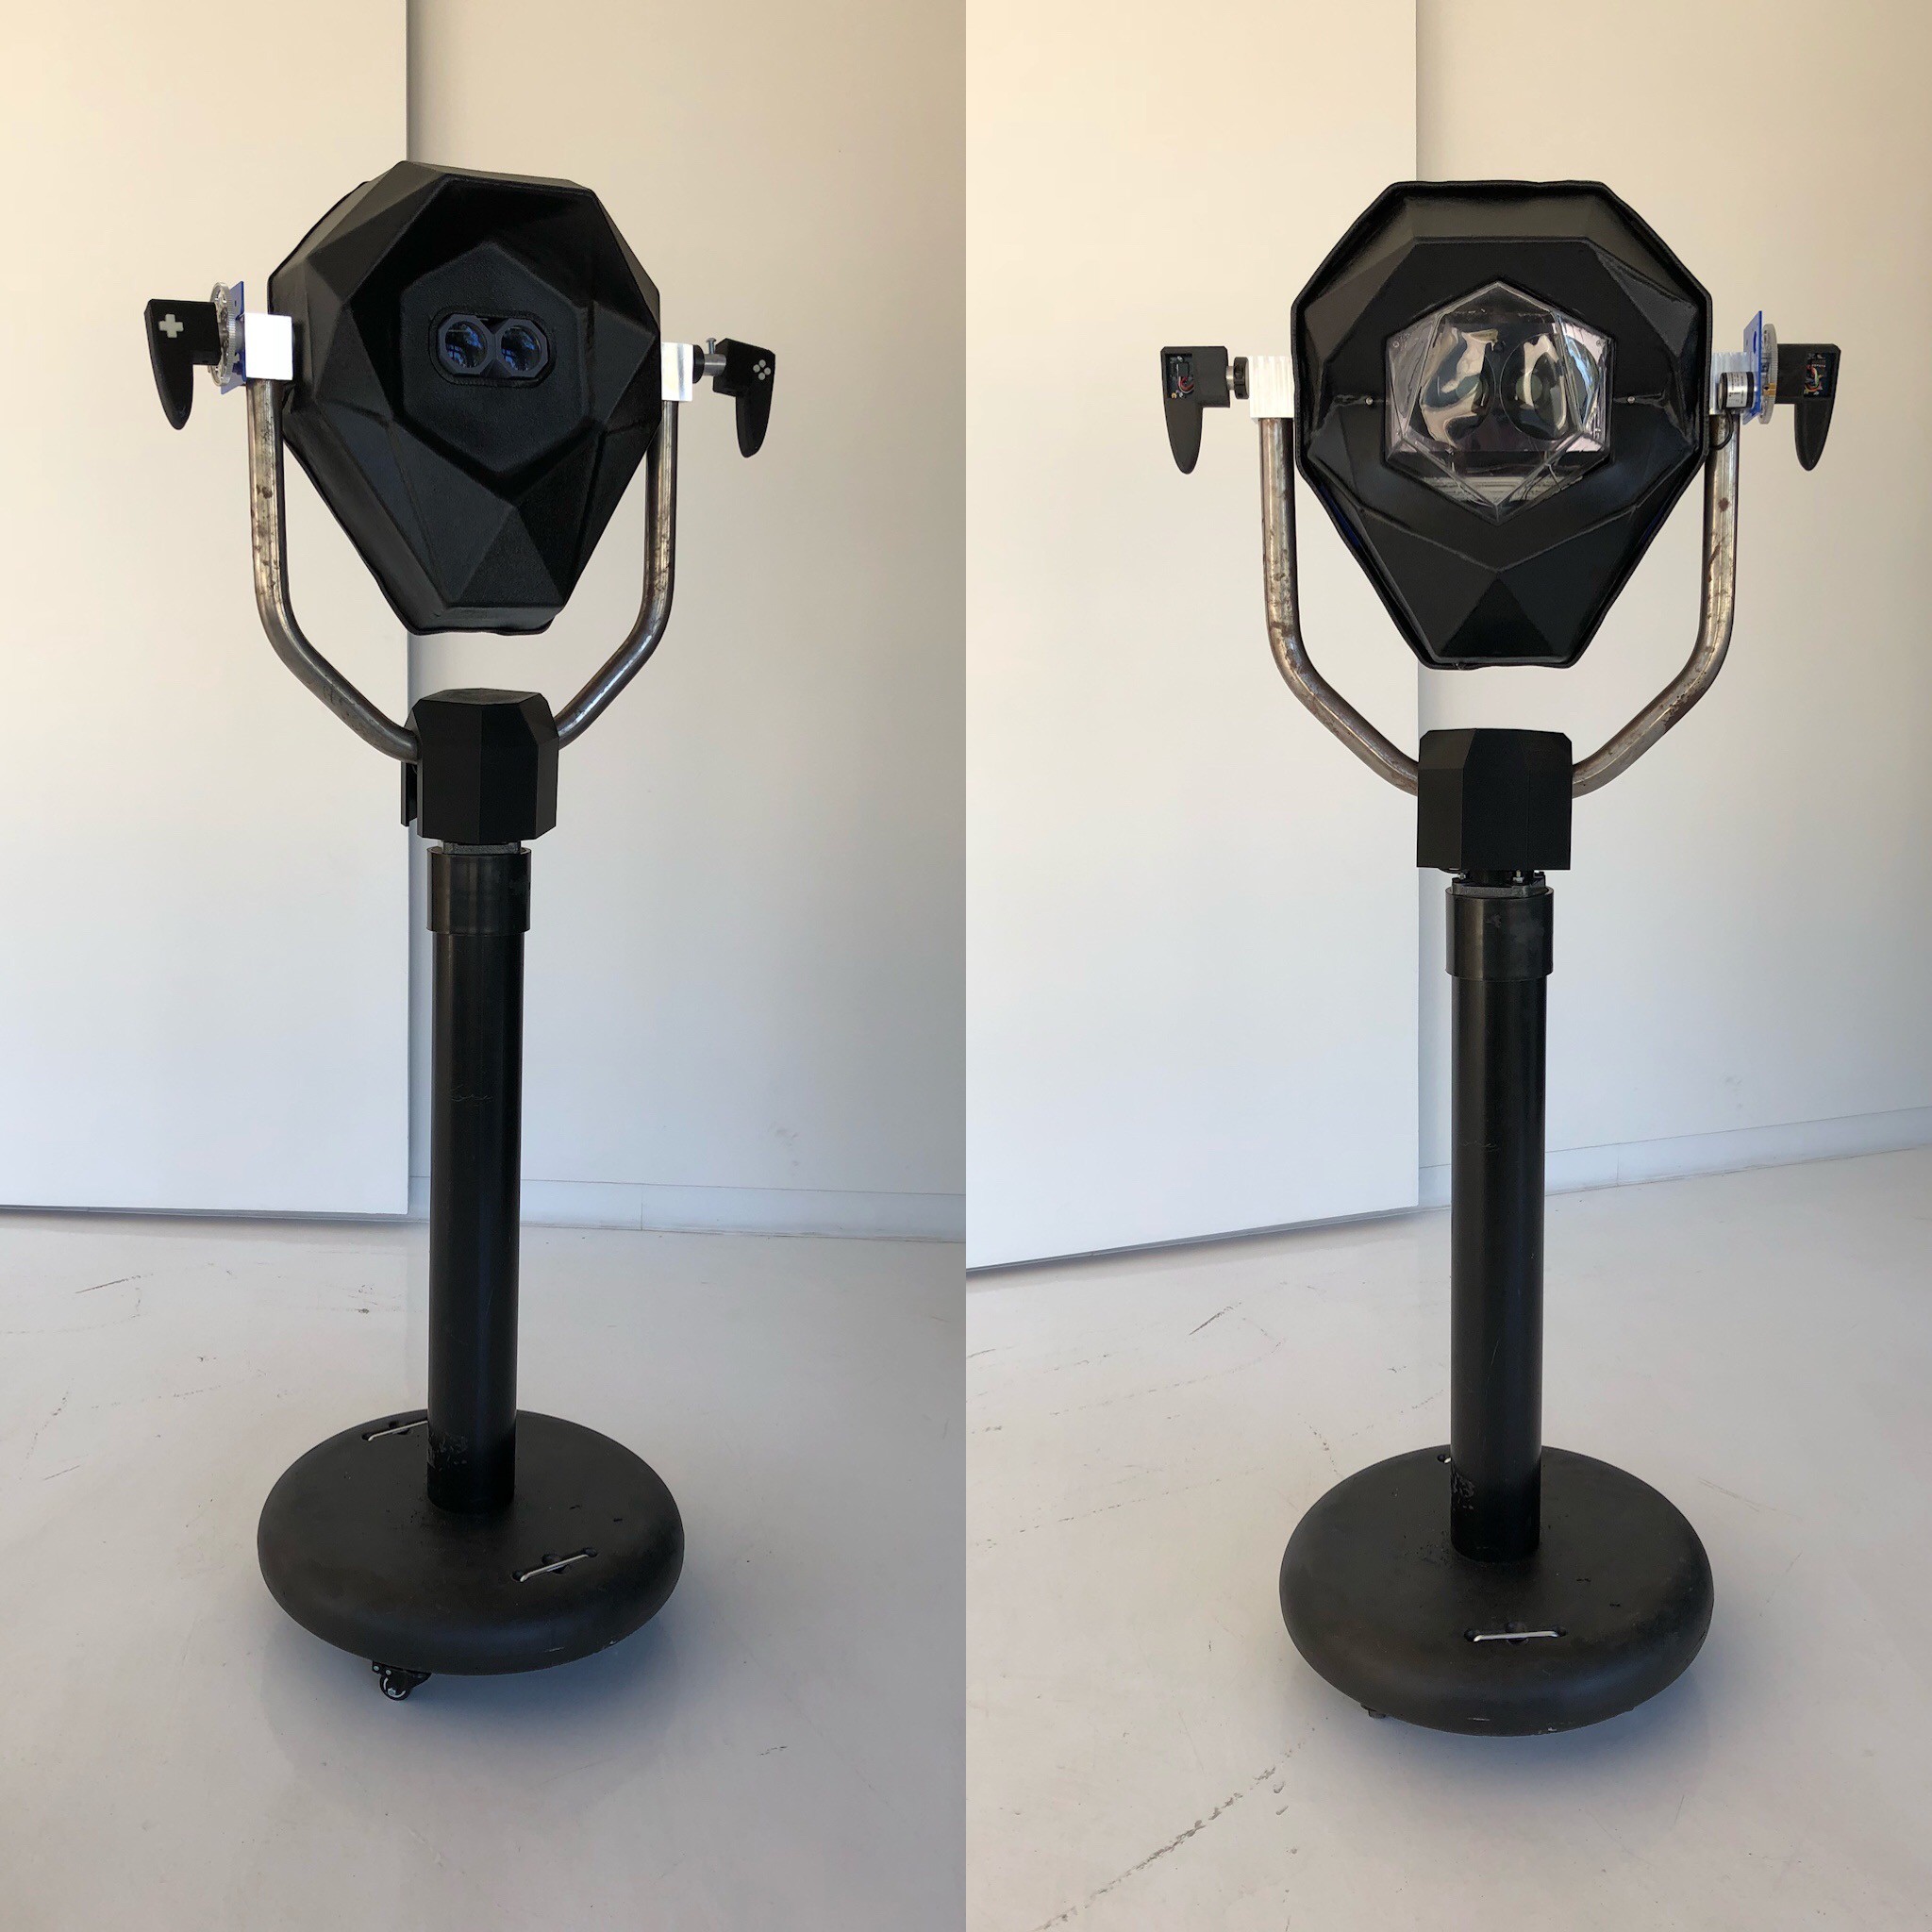
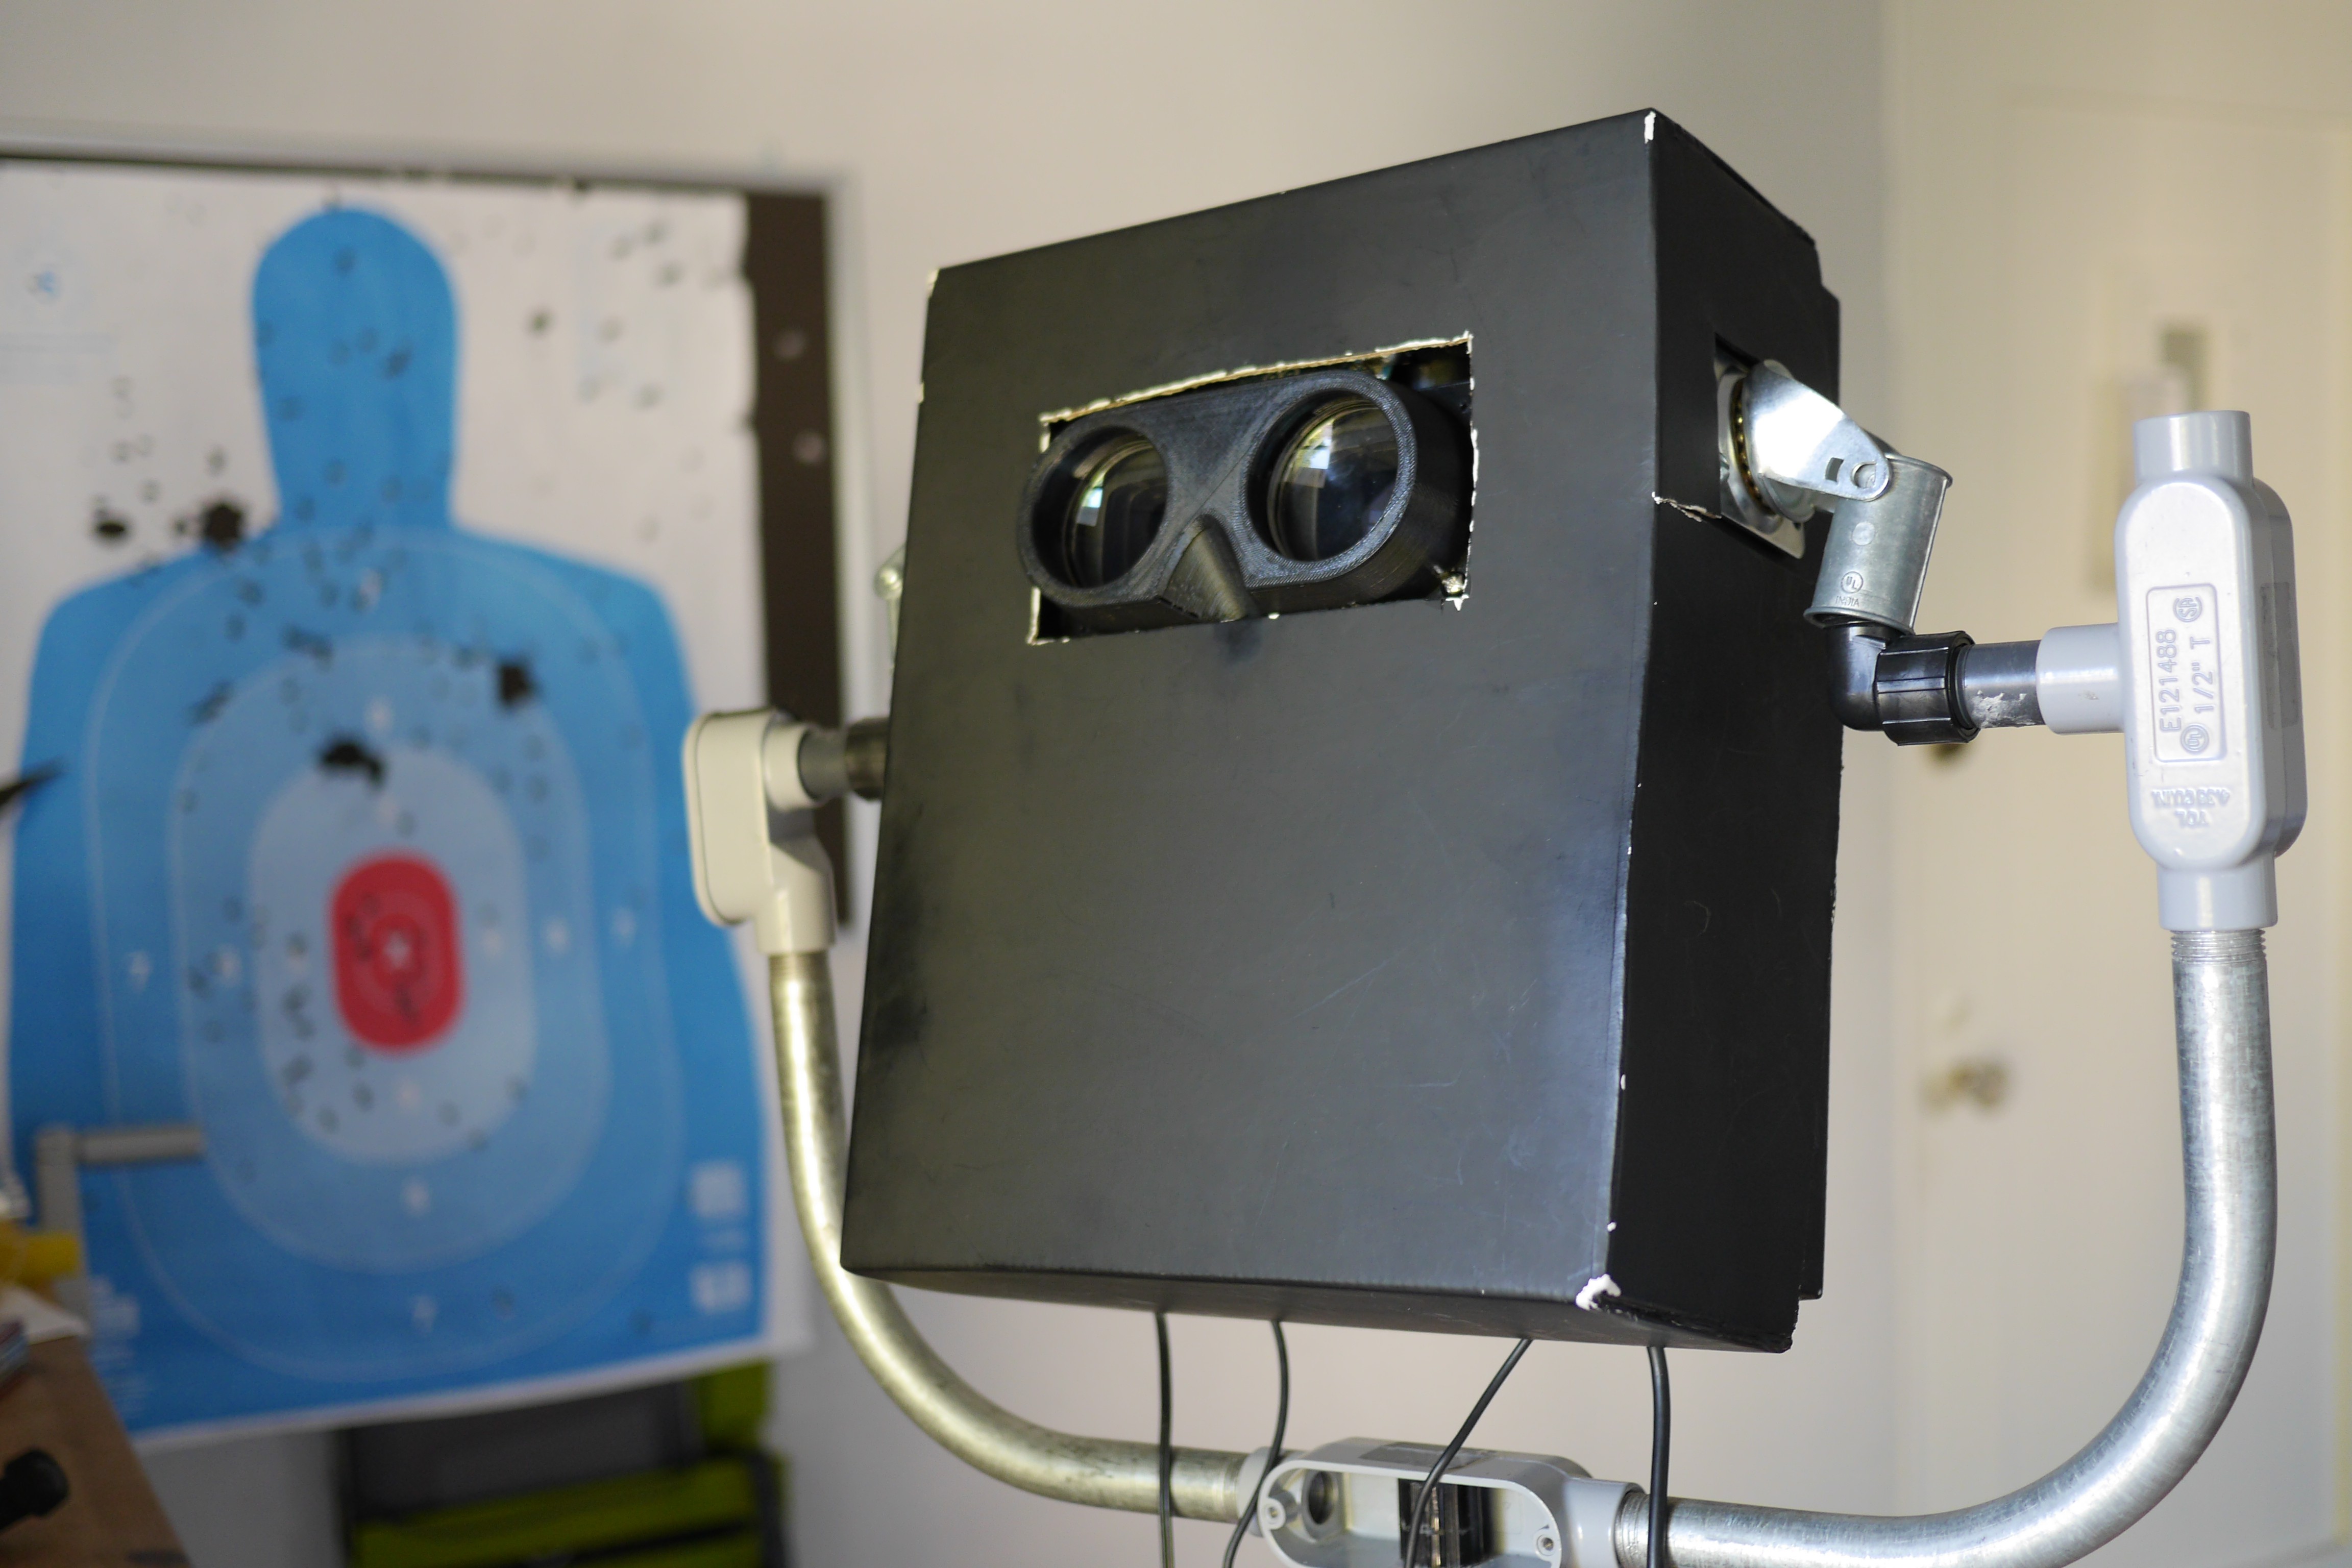
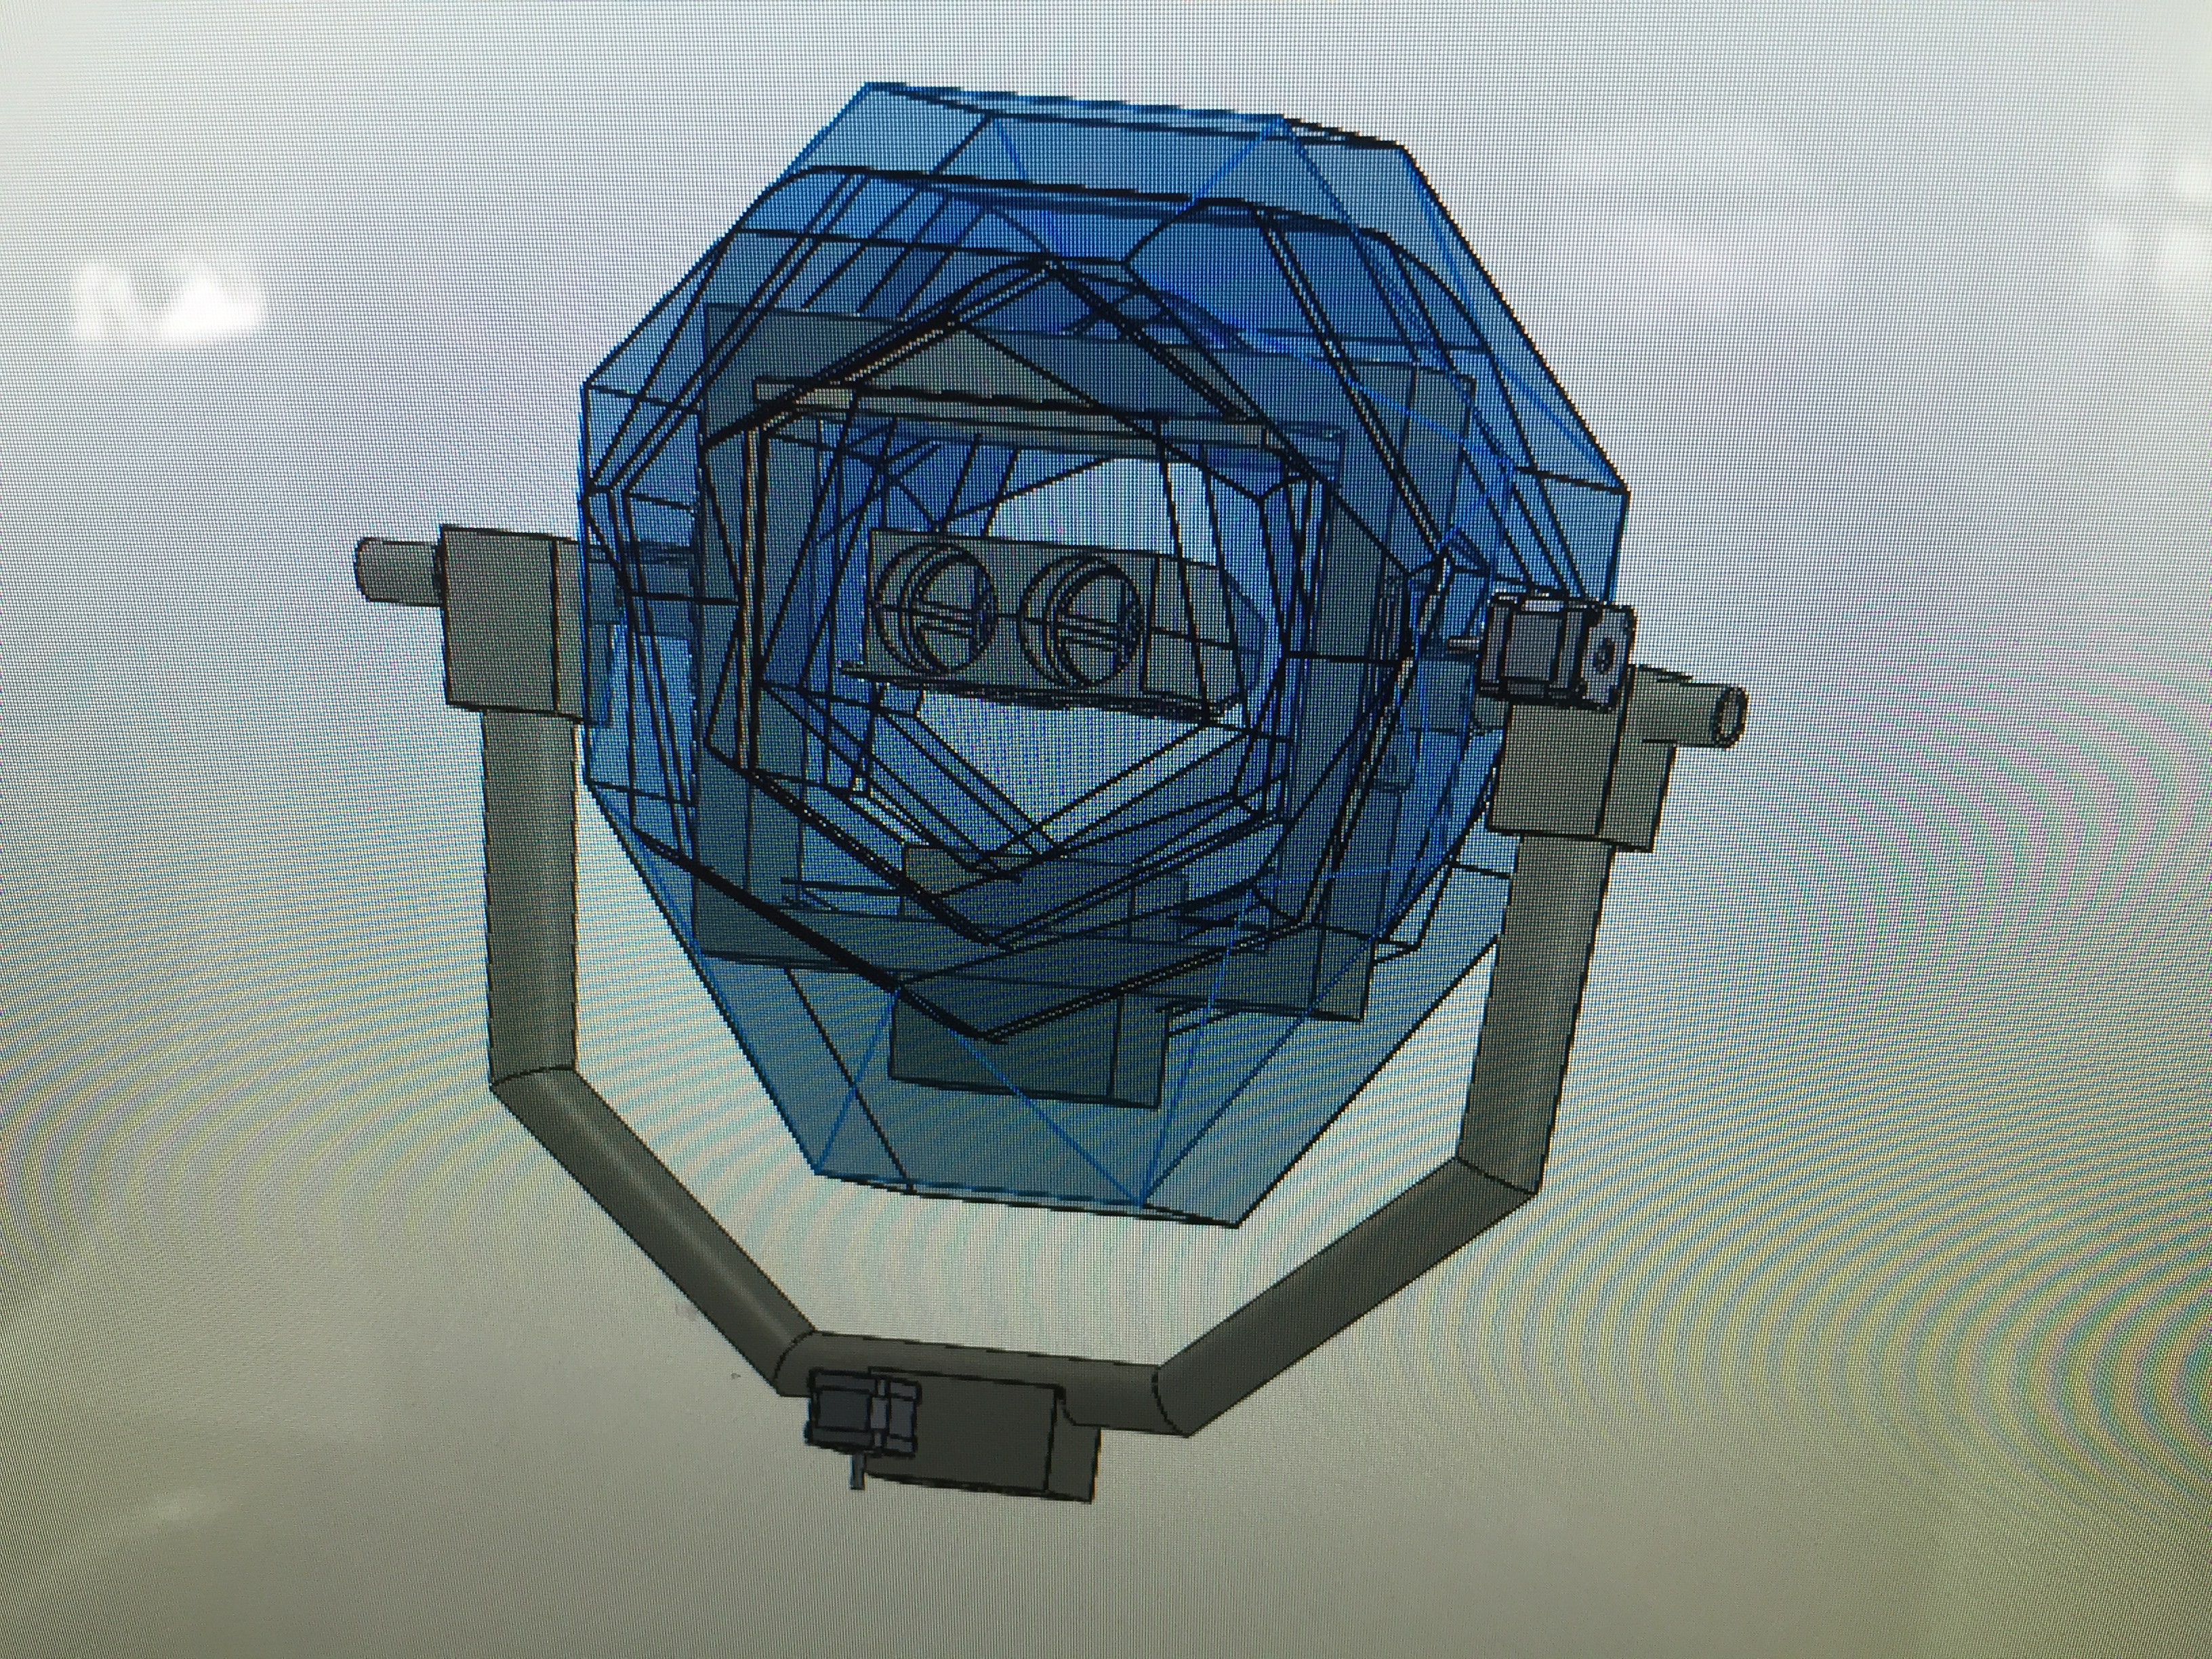
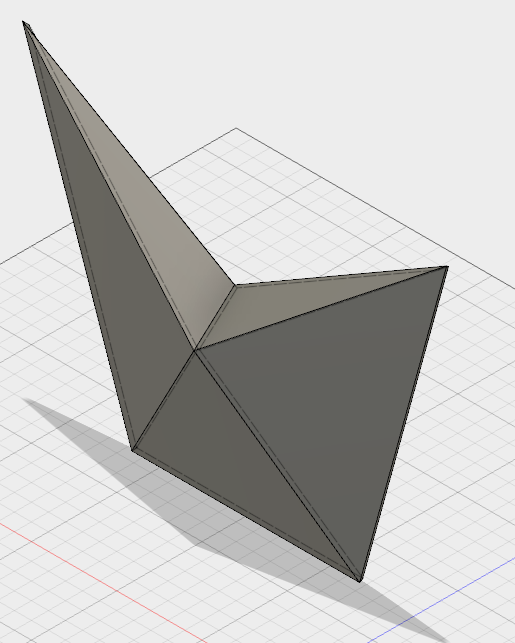
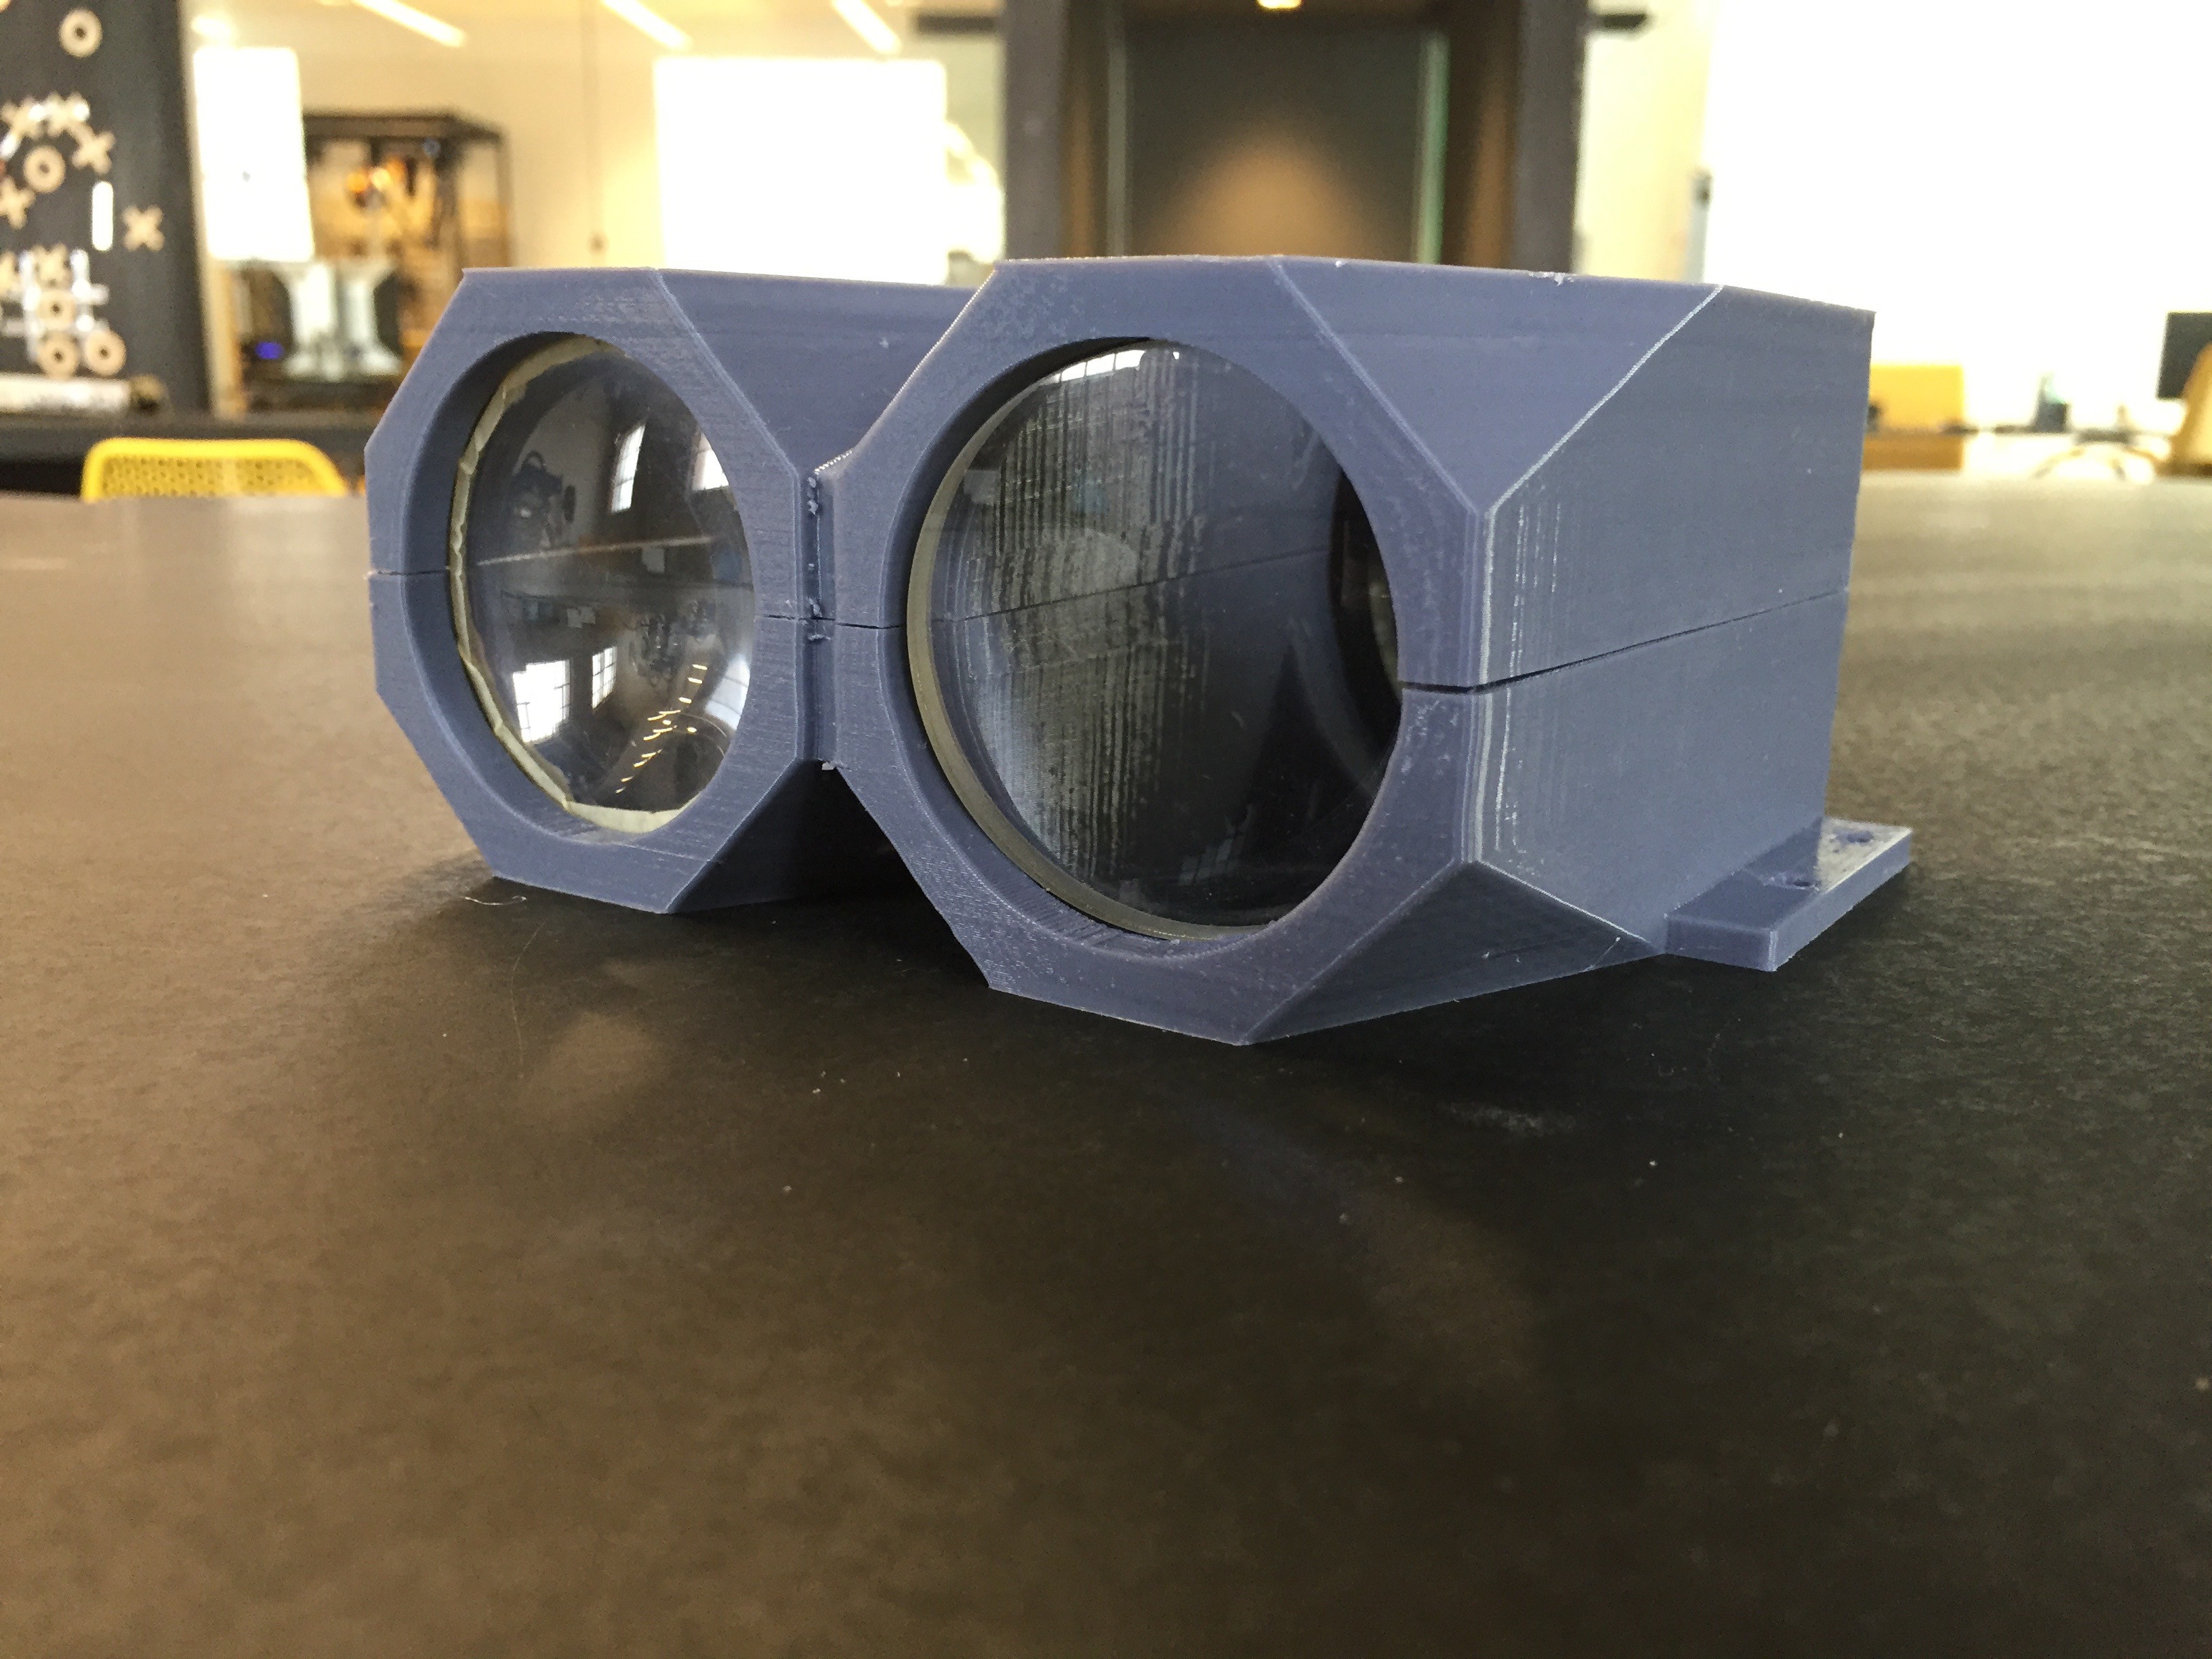
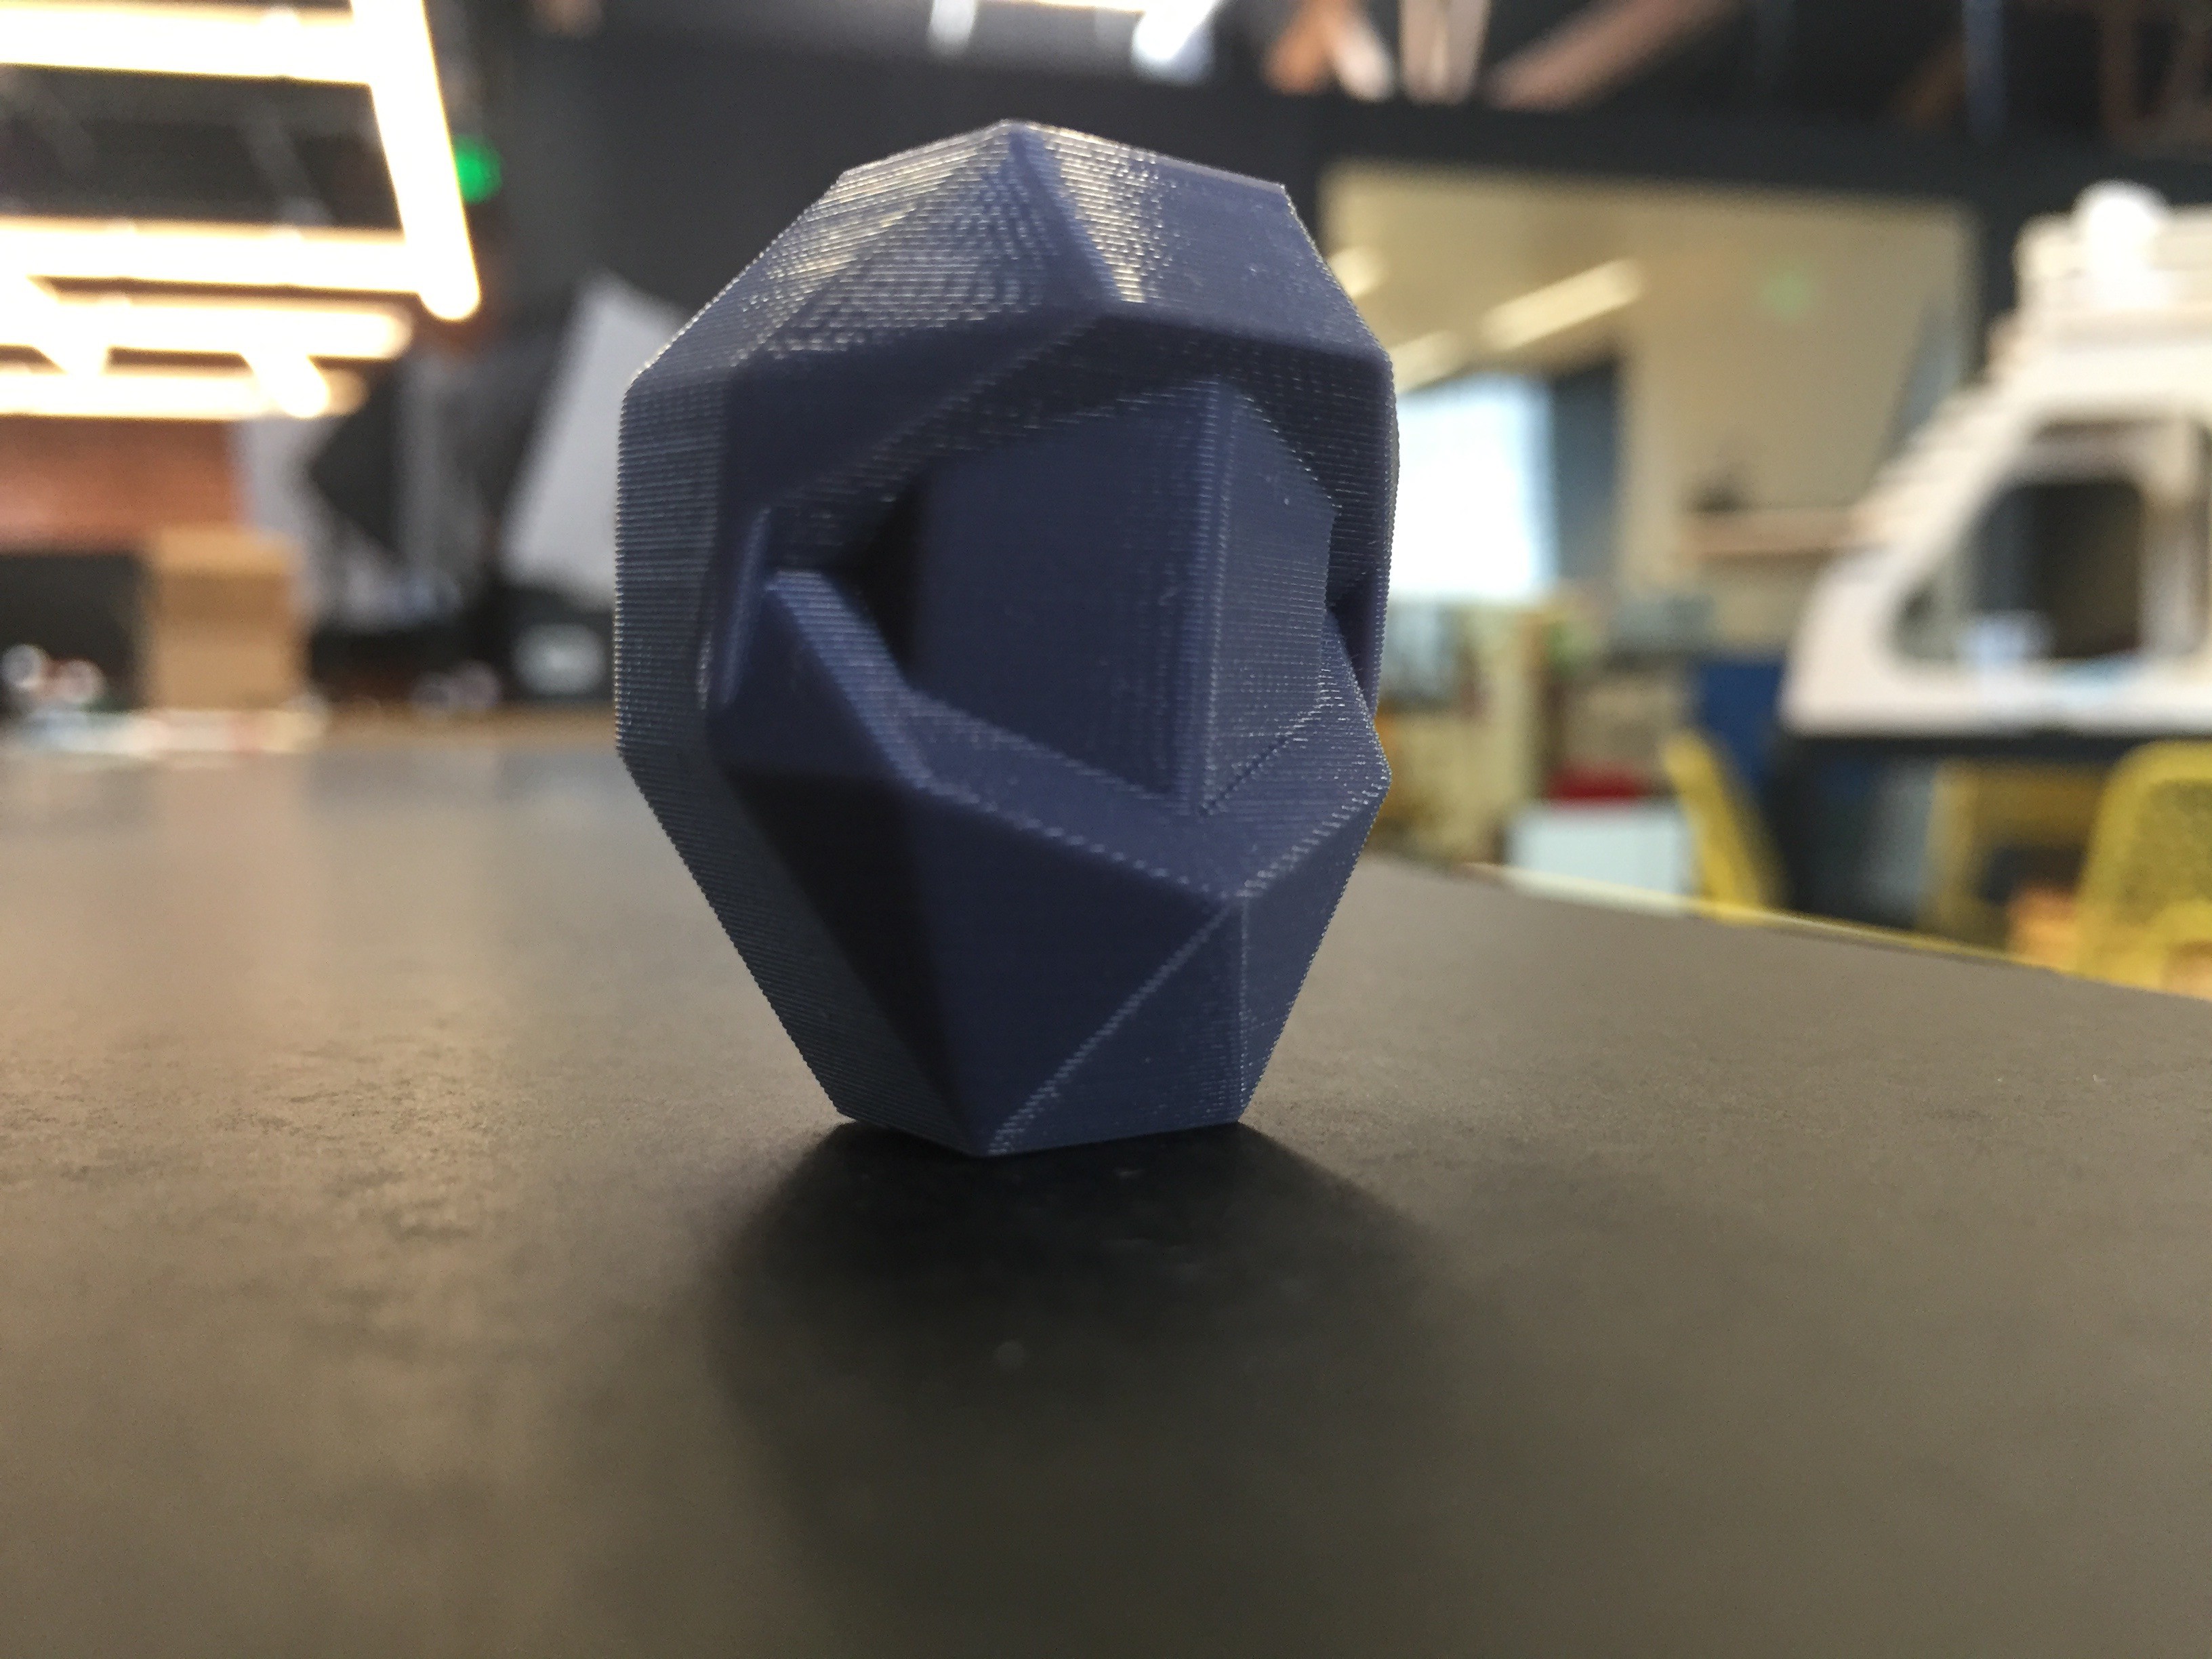
Perceptoscope
A public viewing device for mixed reality experiences in the form factor of coin-operated binoculars.
Become a Hackaday.io member
Already have an account? Log in.
Just one more thing
To make the experience fit your profile, pick a username and tell us what interests you.
Pick an awesome username
hackaday.io/
Your profile's URL: hackaday.io/username. Max 25 alphanumeric characters.
Pick a few interests
Projects that share your interests
People that share your interests
 The Activate Fellowship was focused on the hyperlocal. Fellows are based in their city council district, and expected to build an action plan to implement with local leaders on the ground. We went through monthly leadership and advocacy training, got to explore a variety of influential community arts organizations, and were given introductions to important civic decision makers that could link us to opportunities or collaborators.
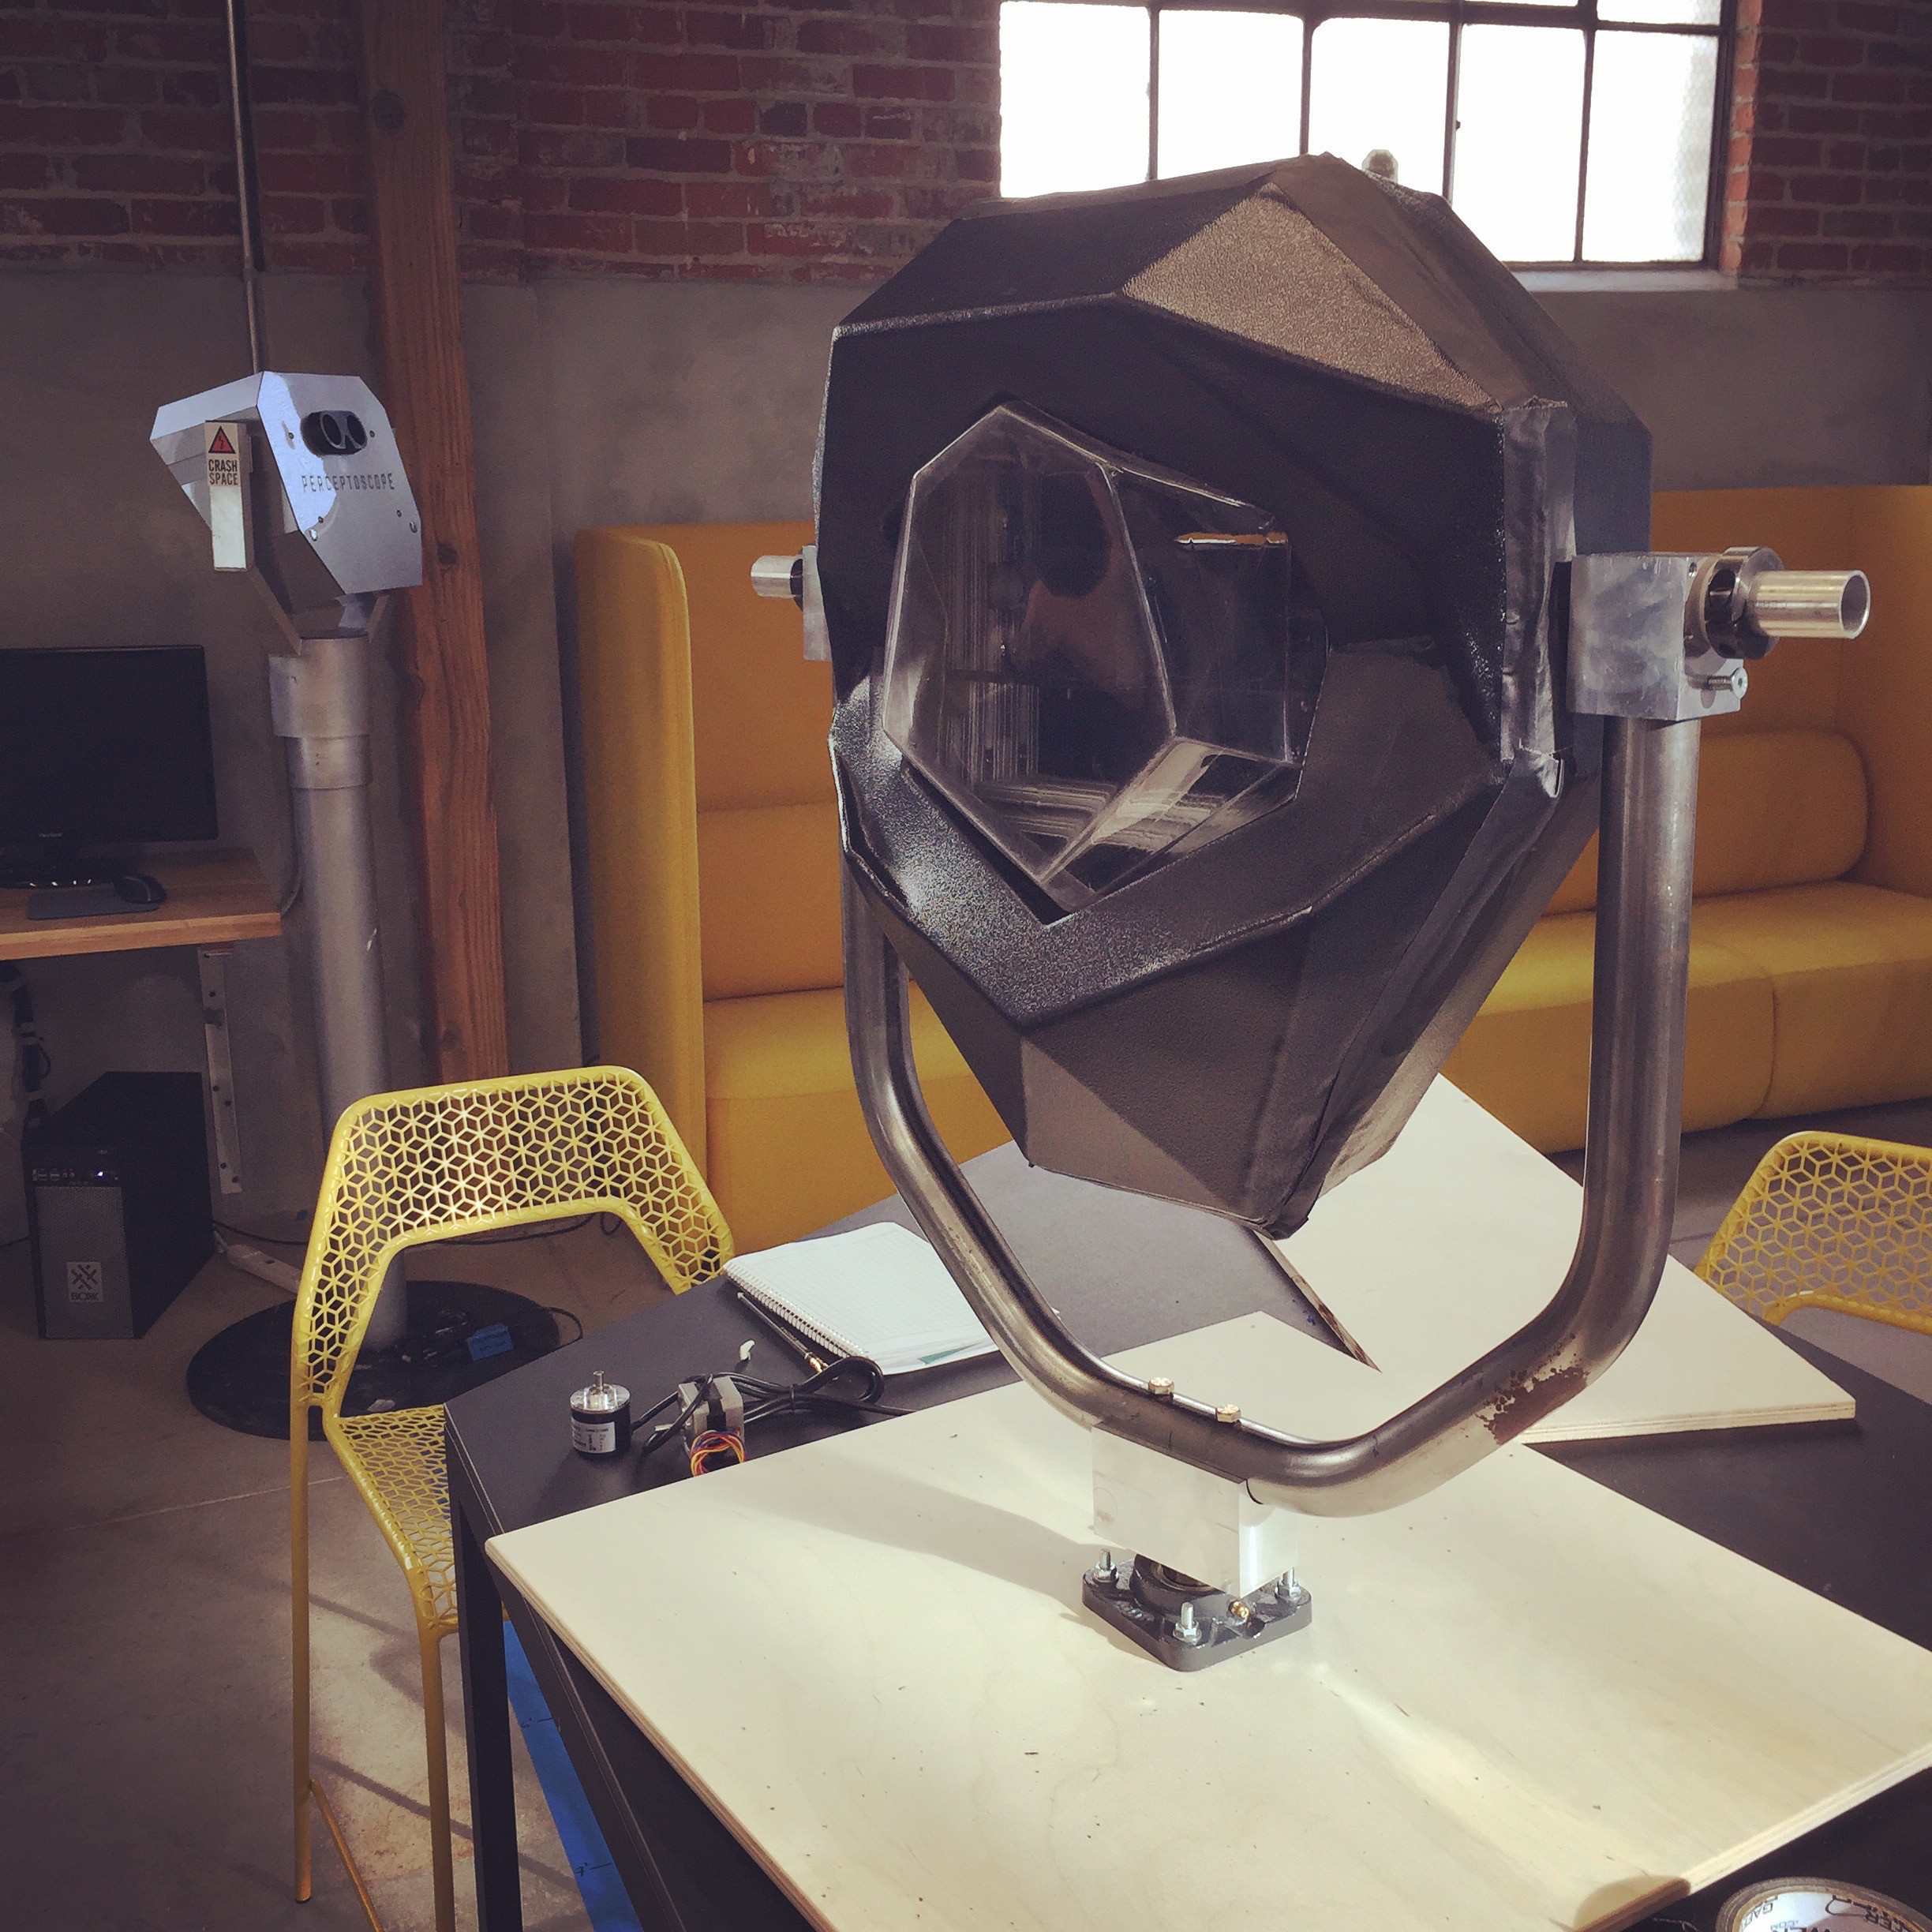
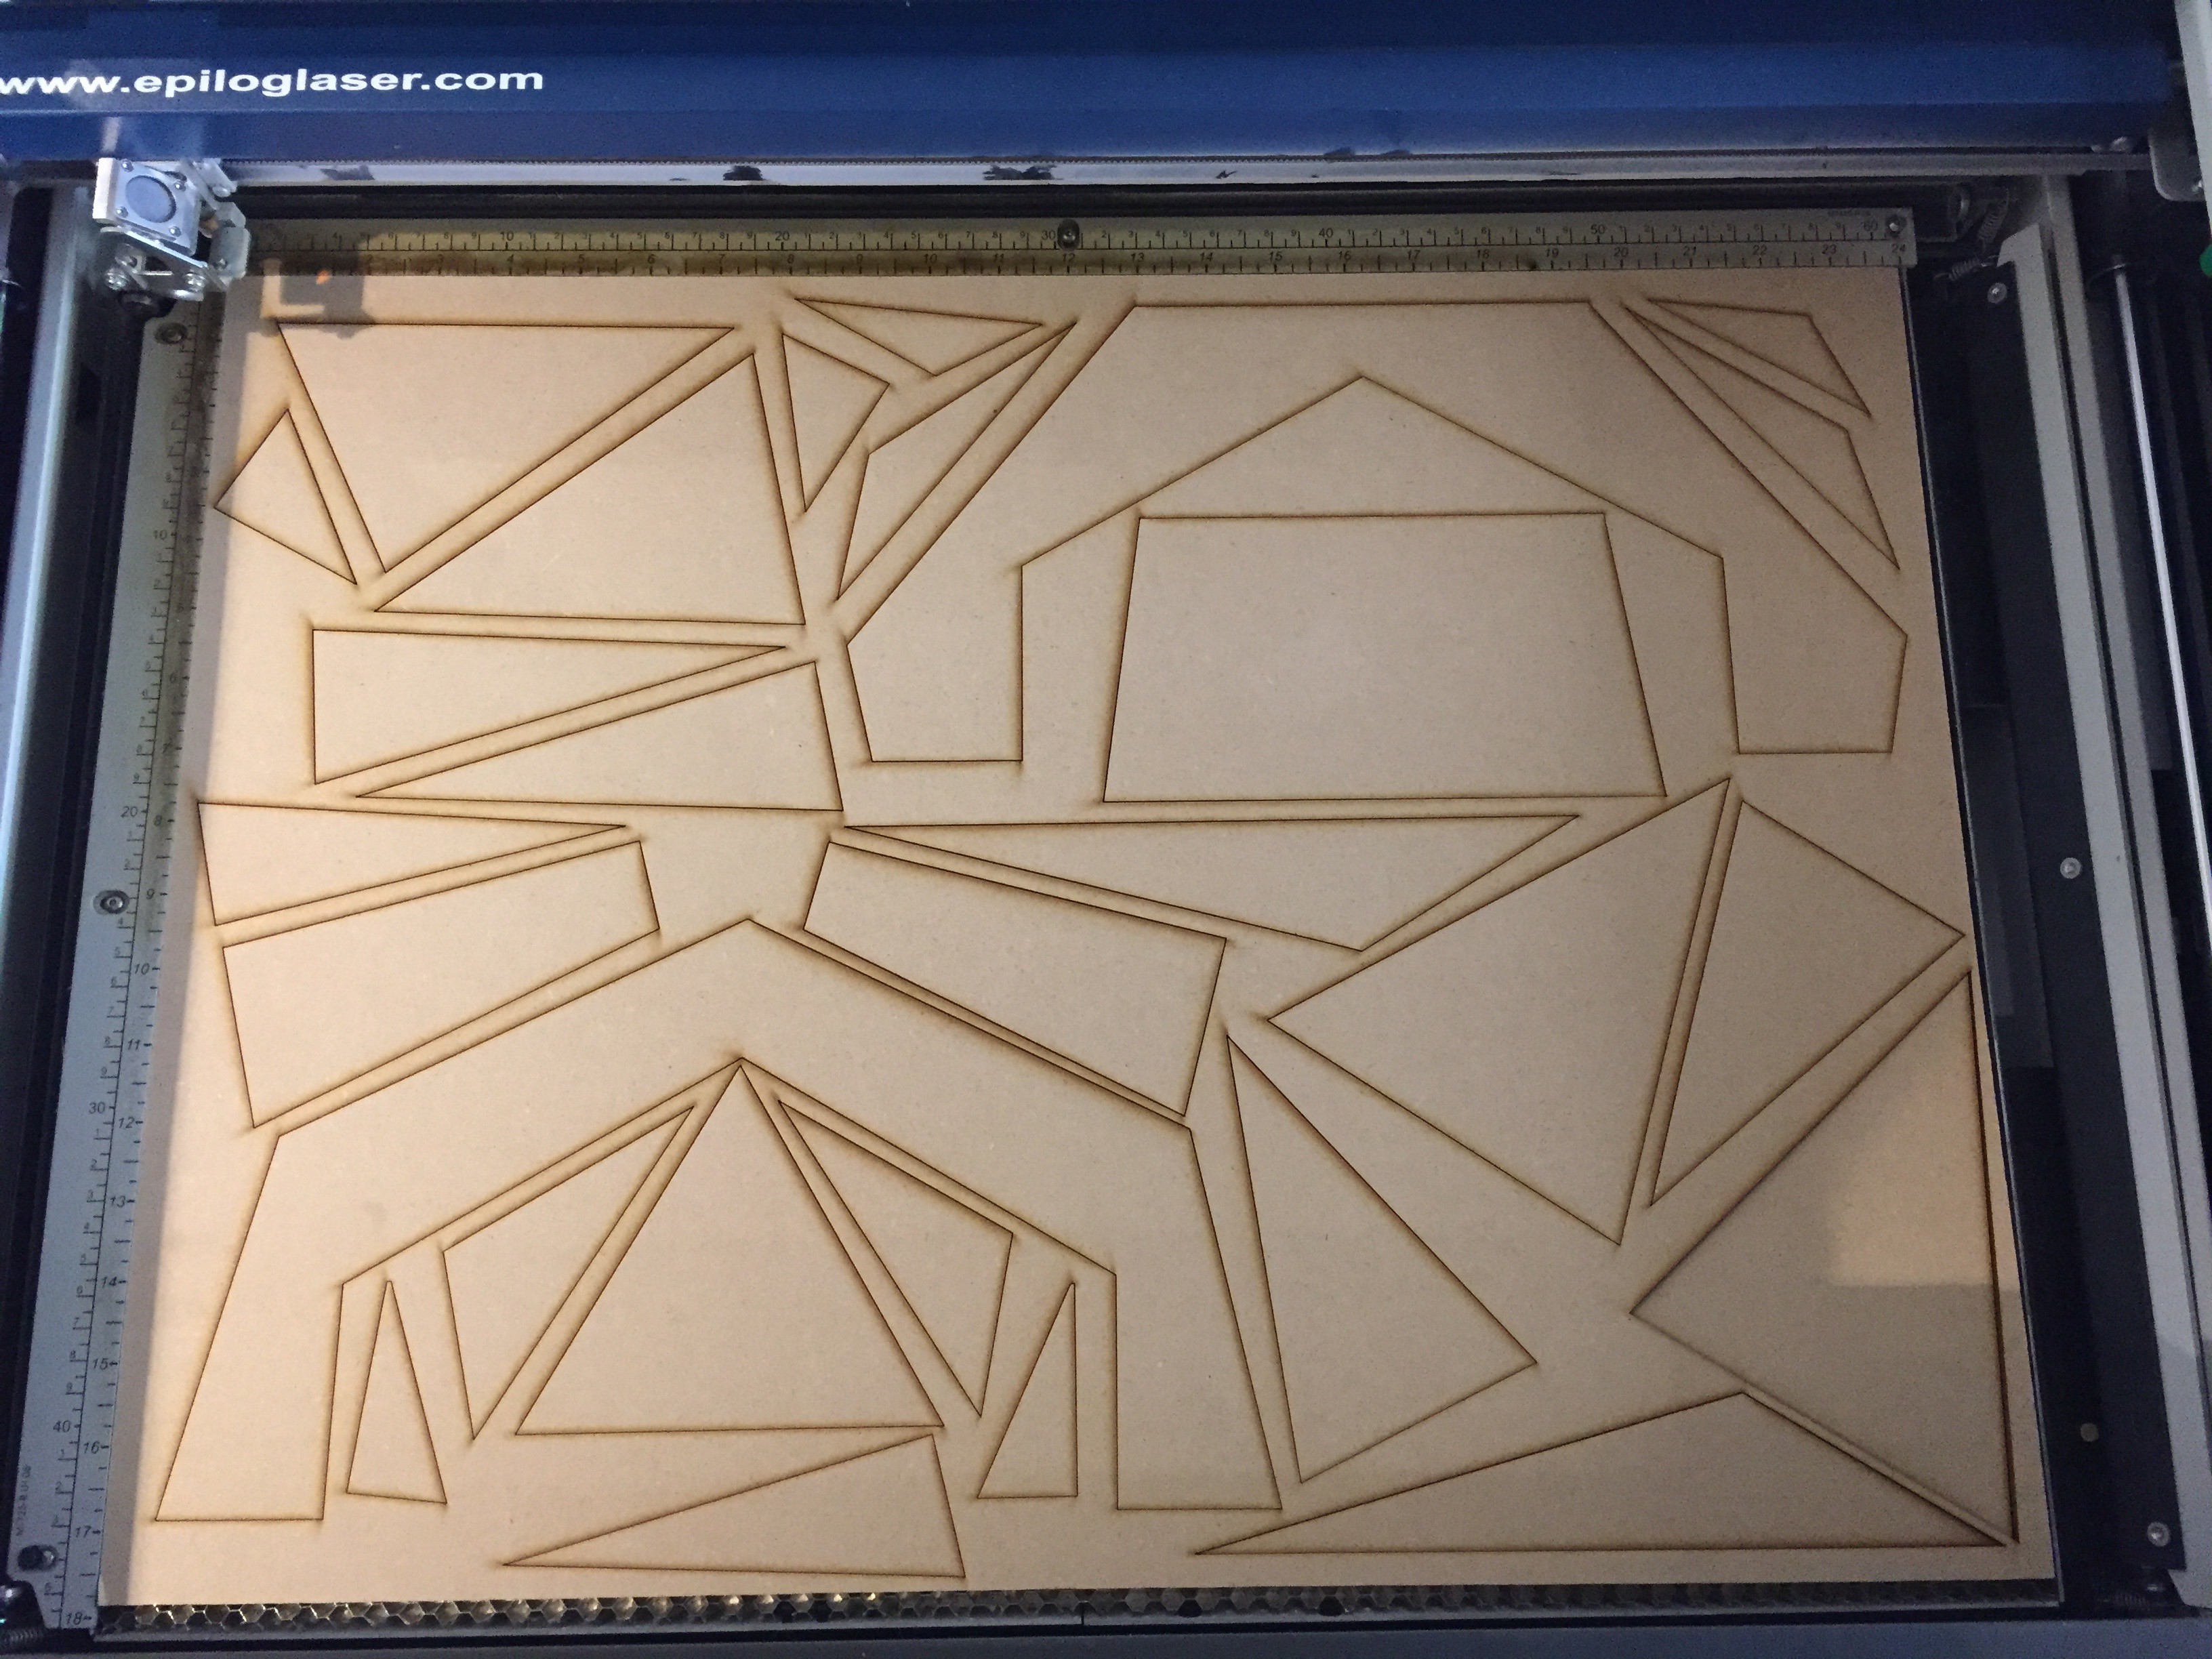
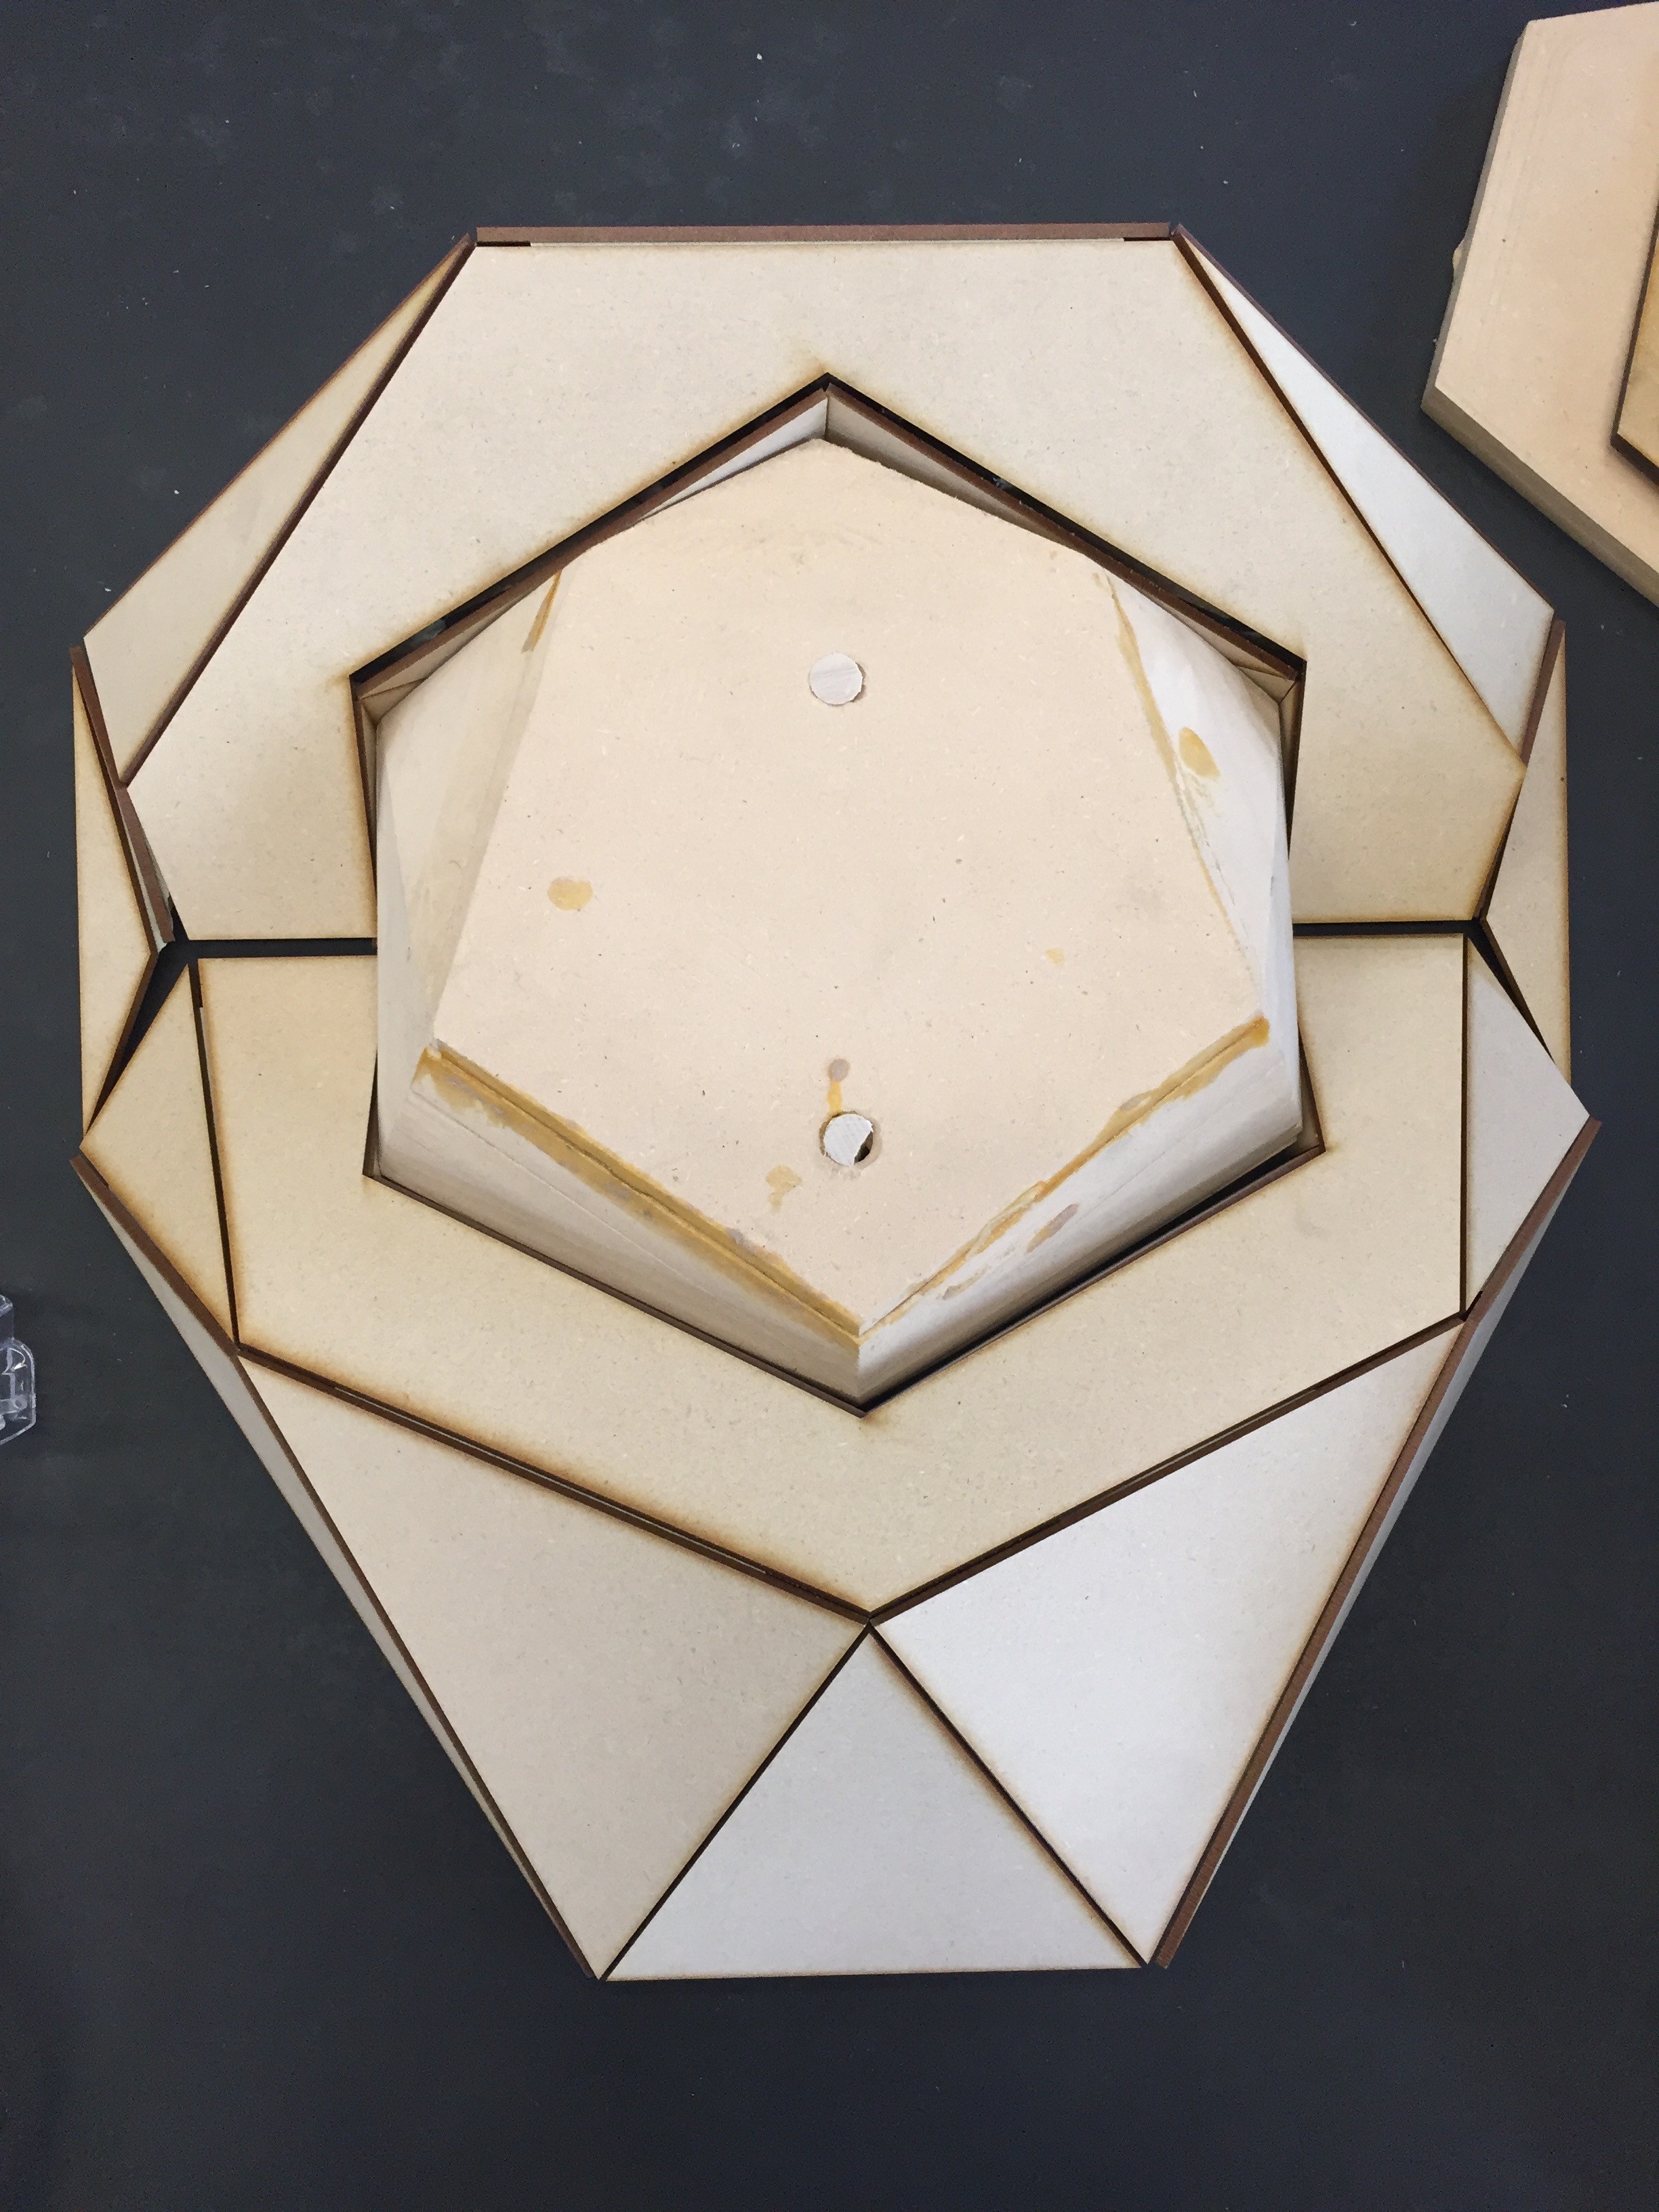
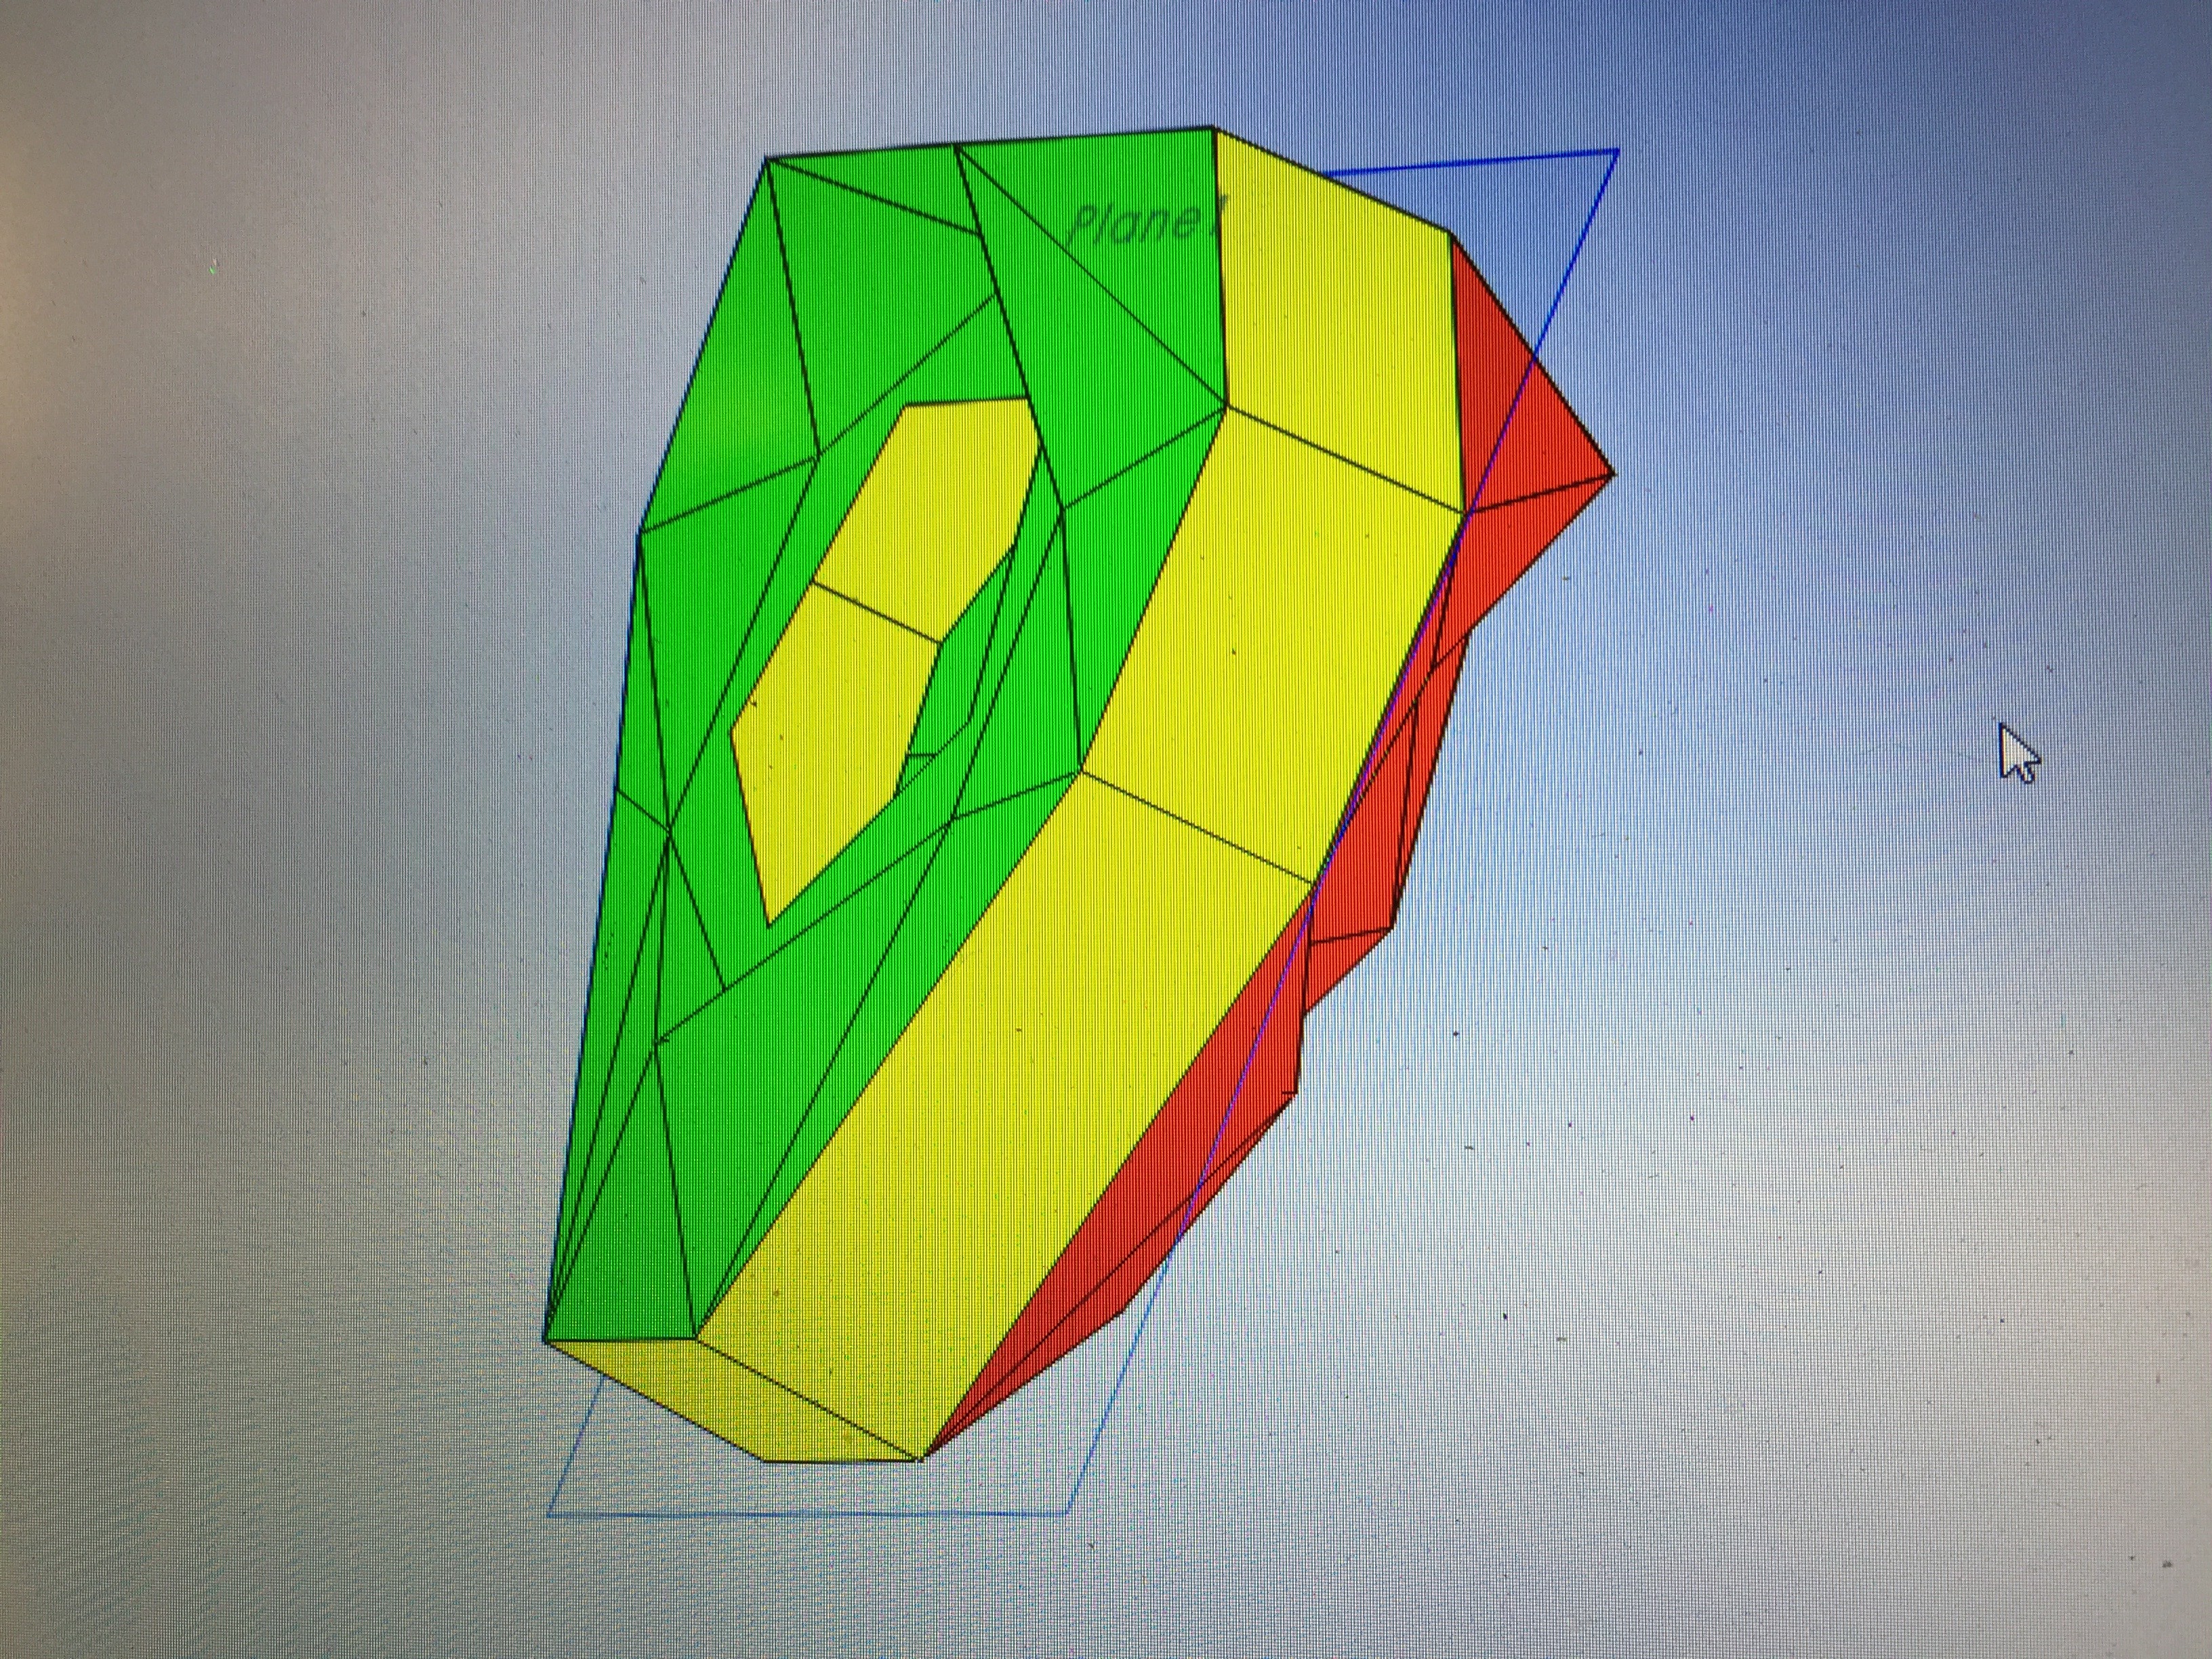
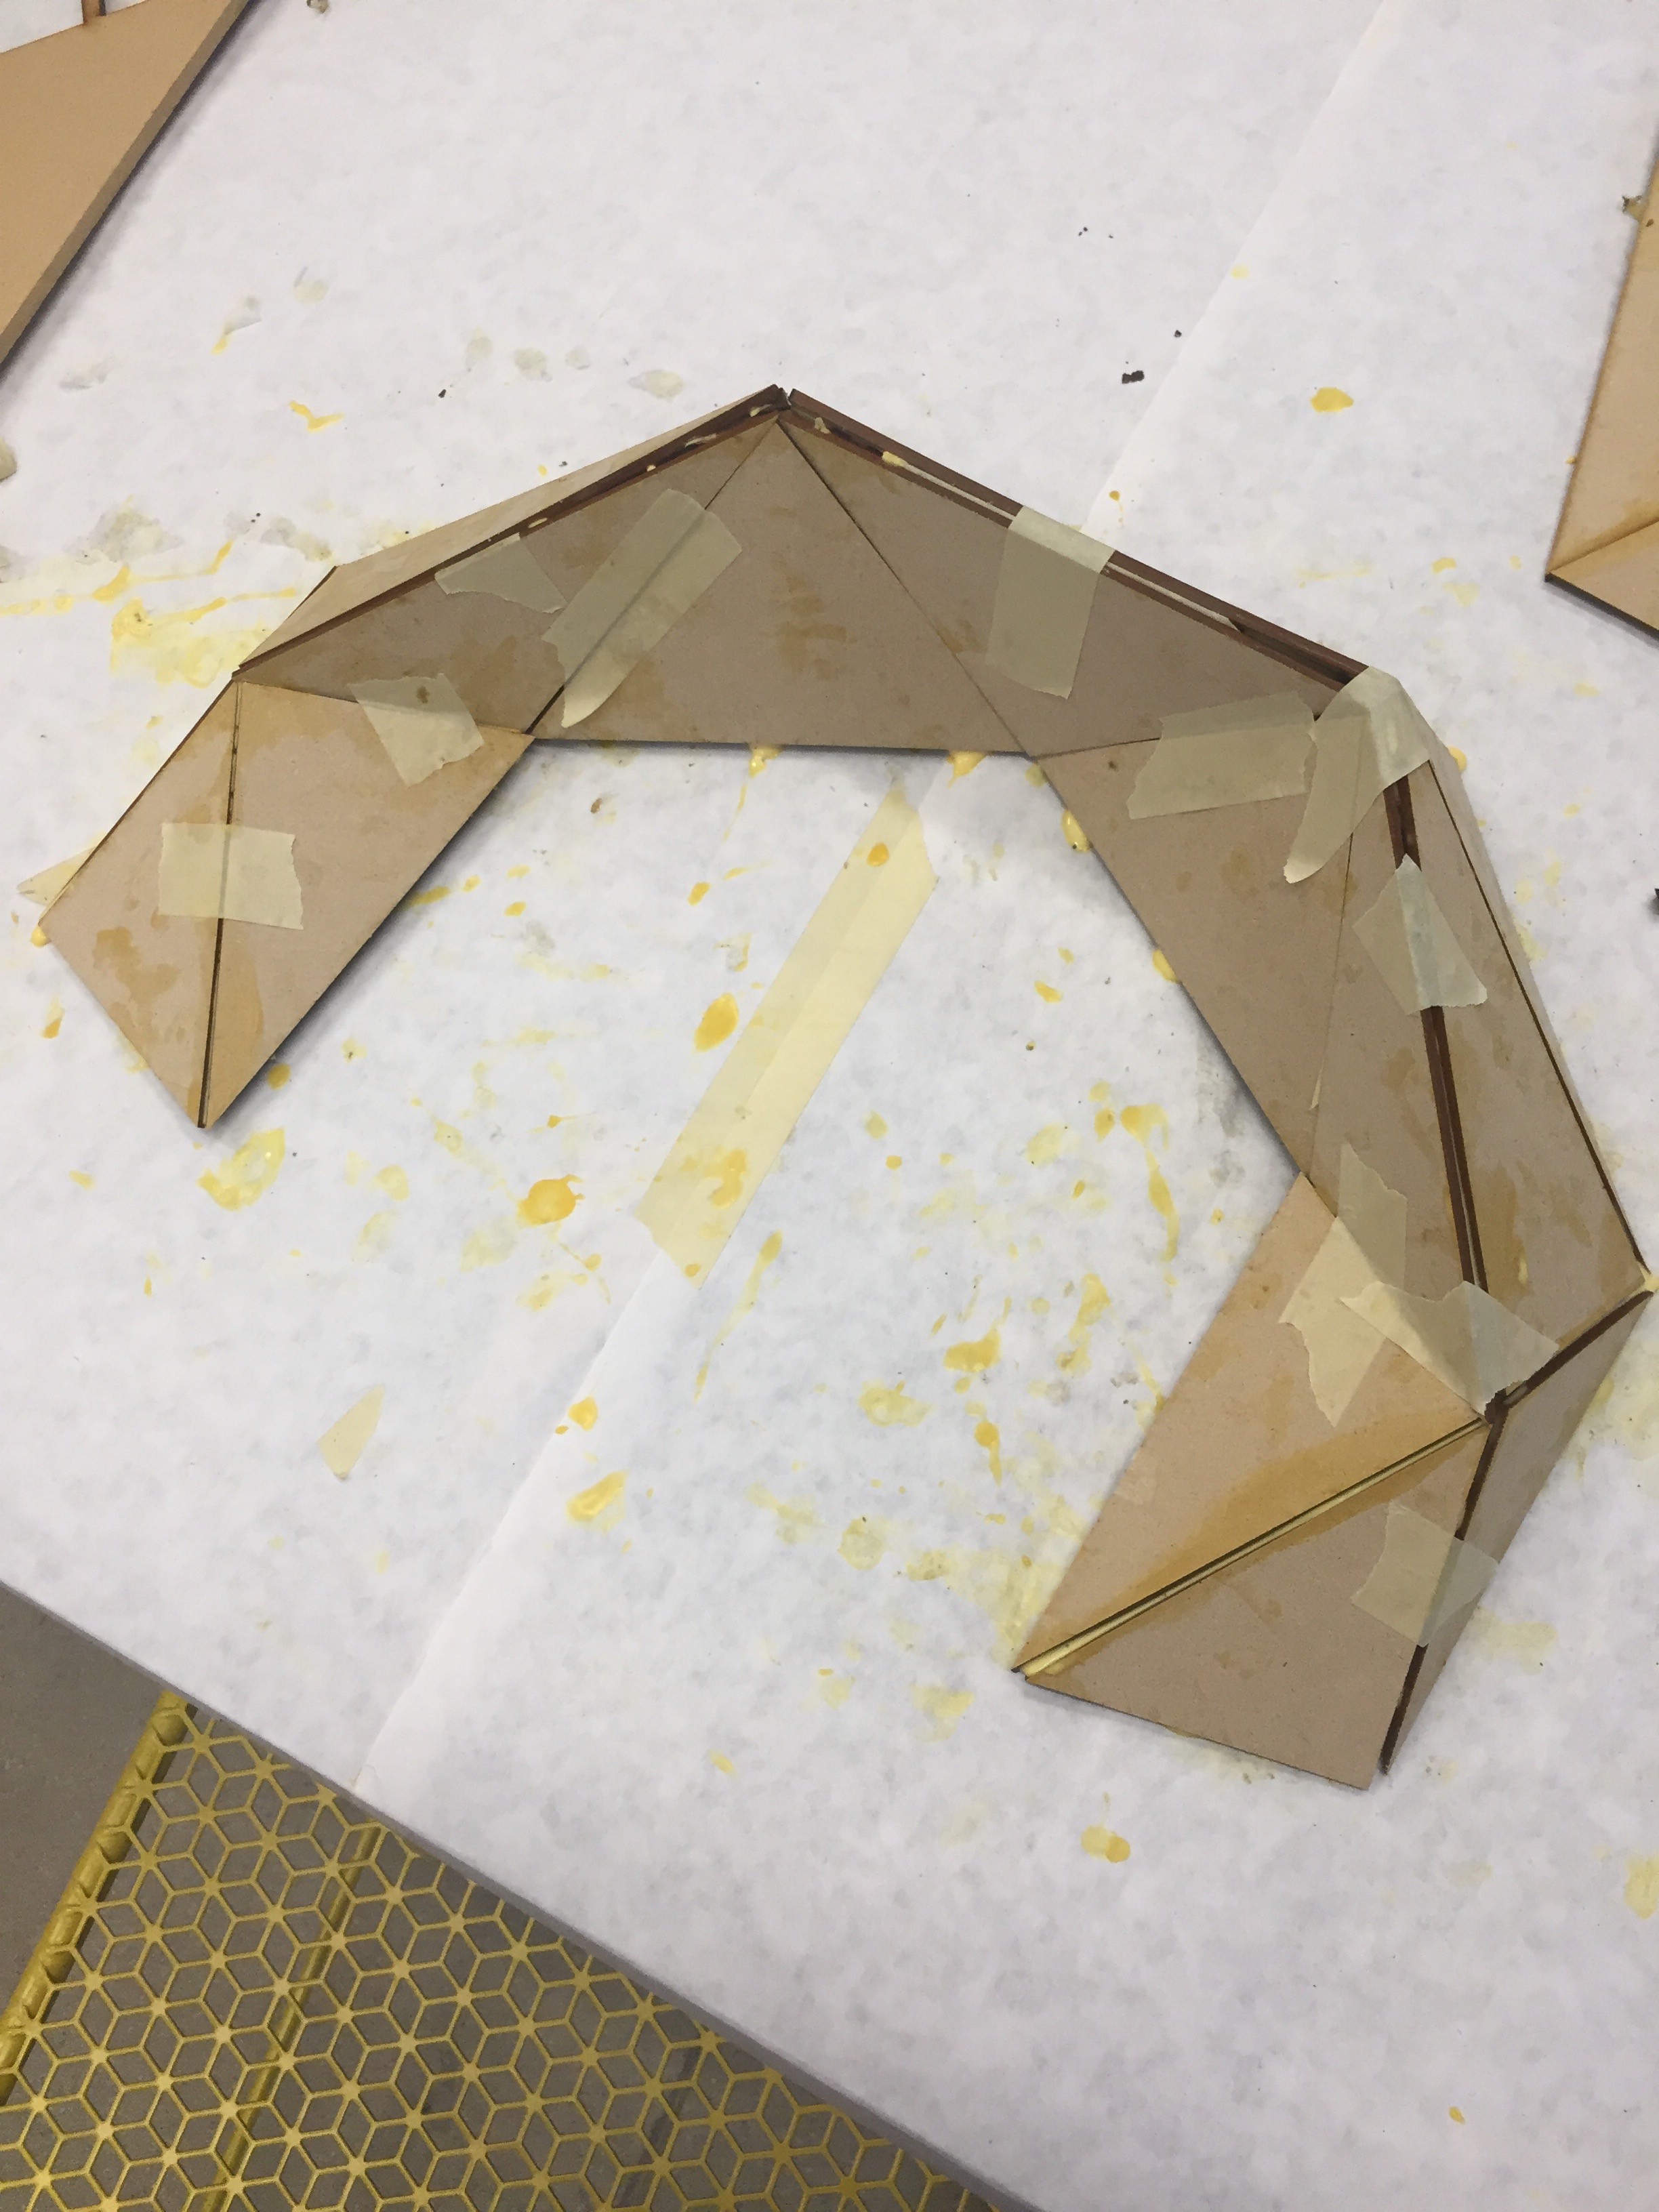
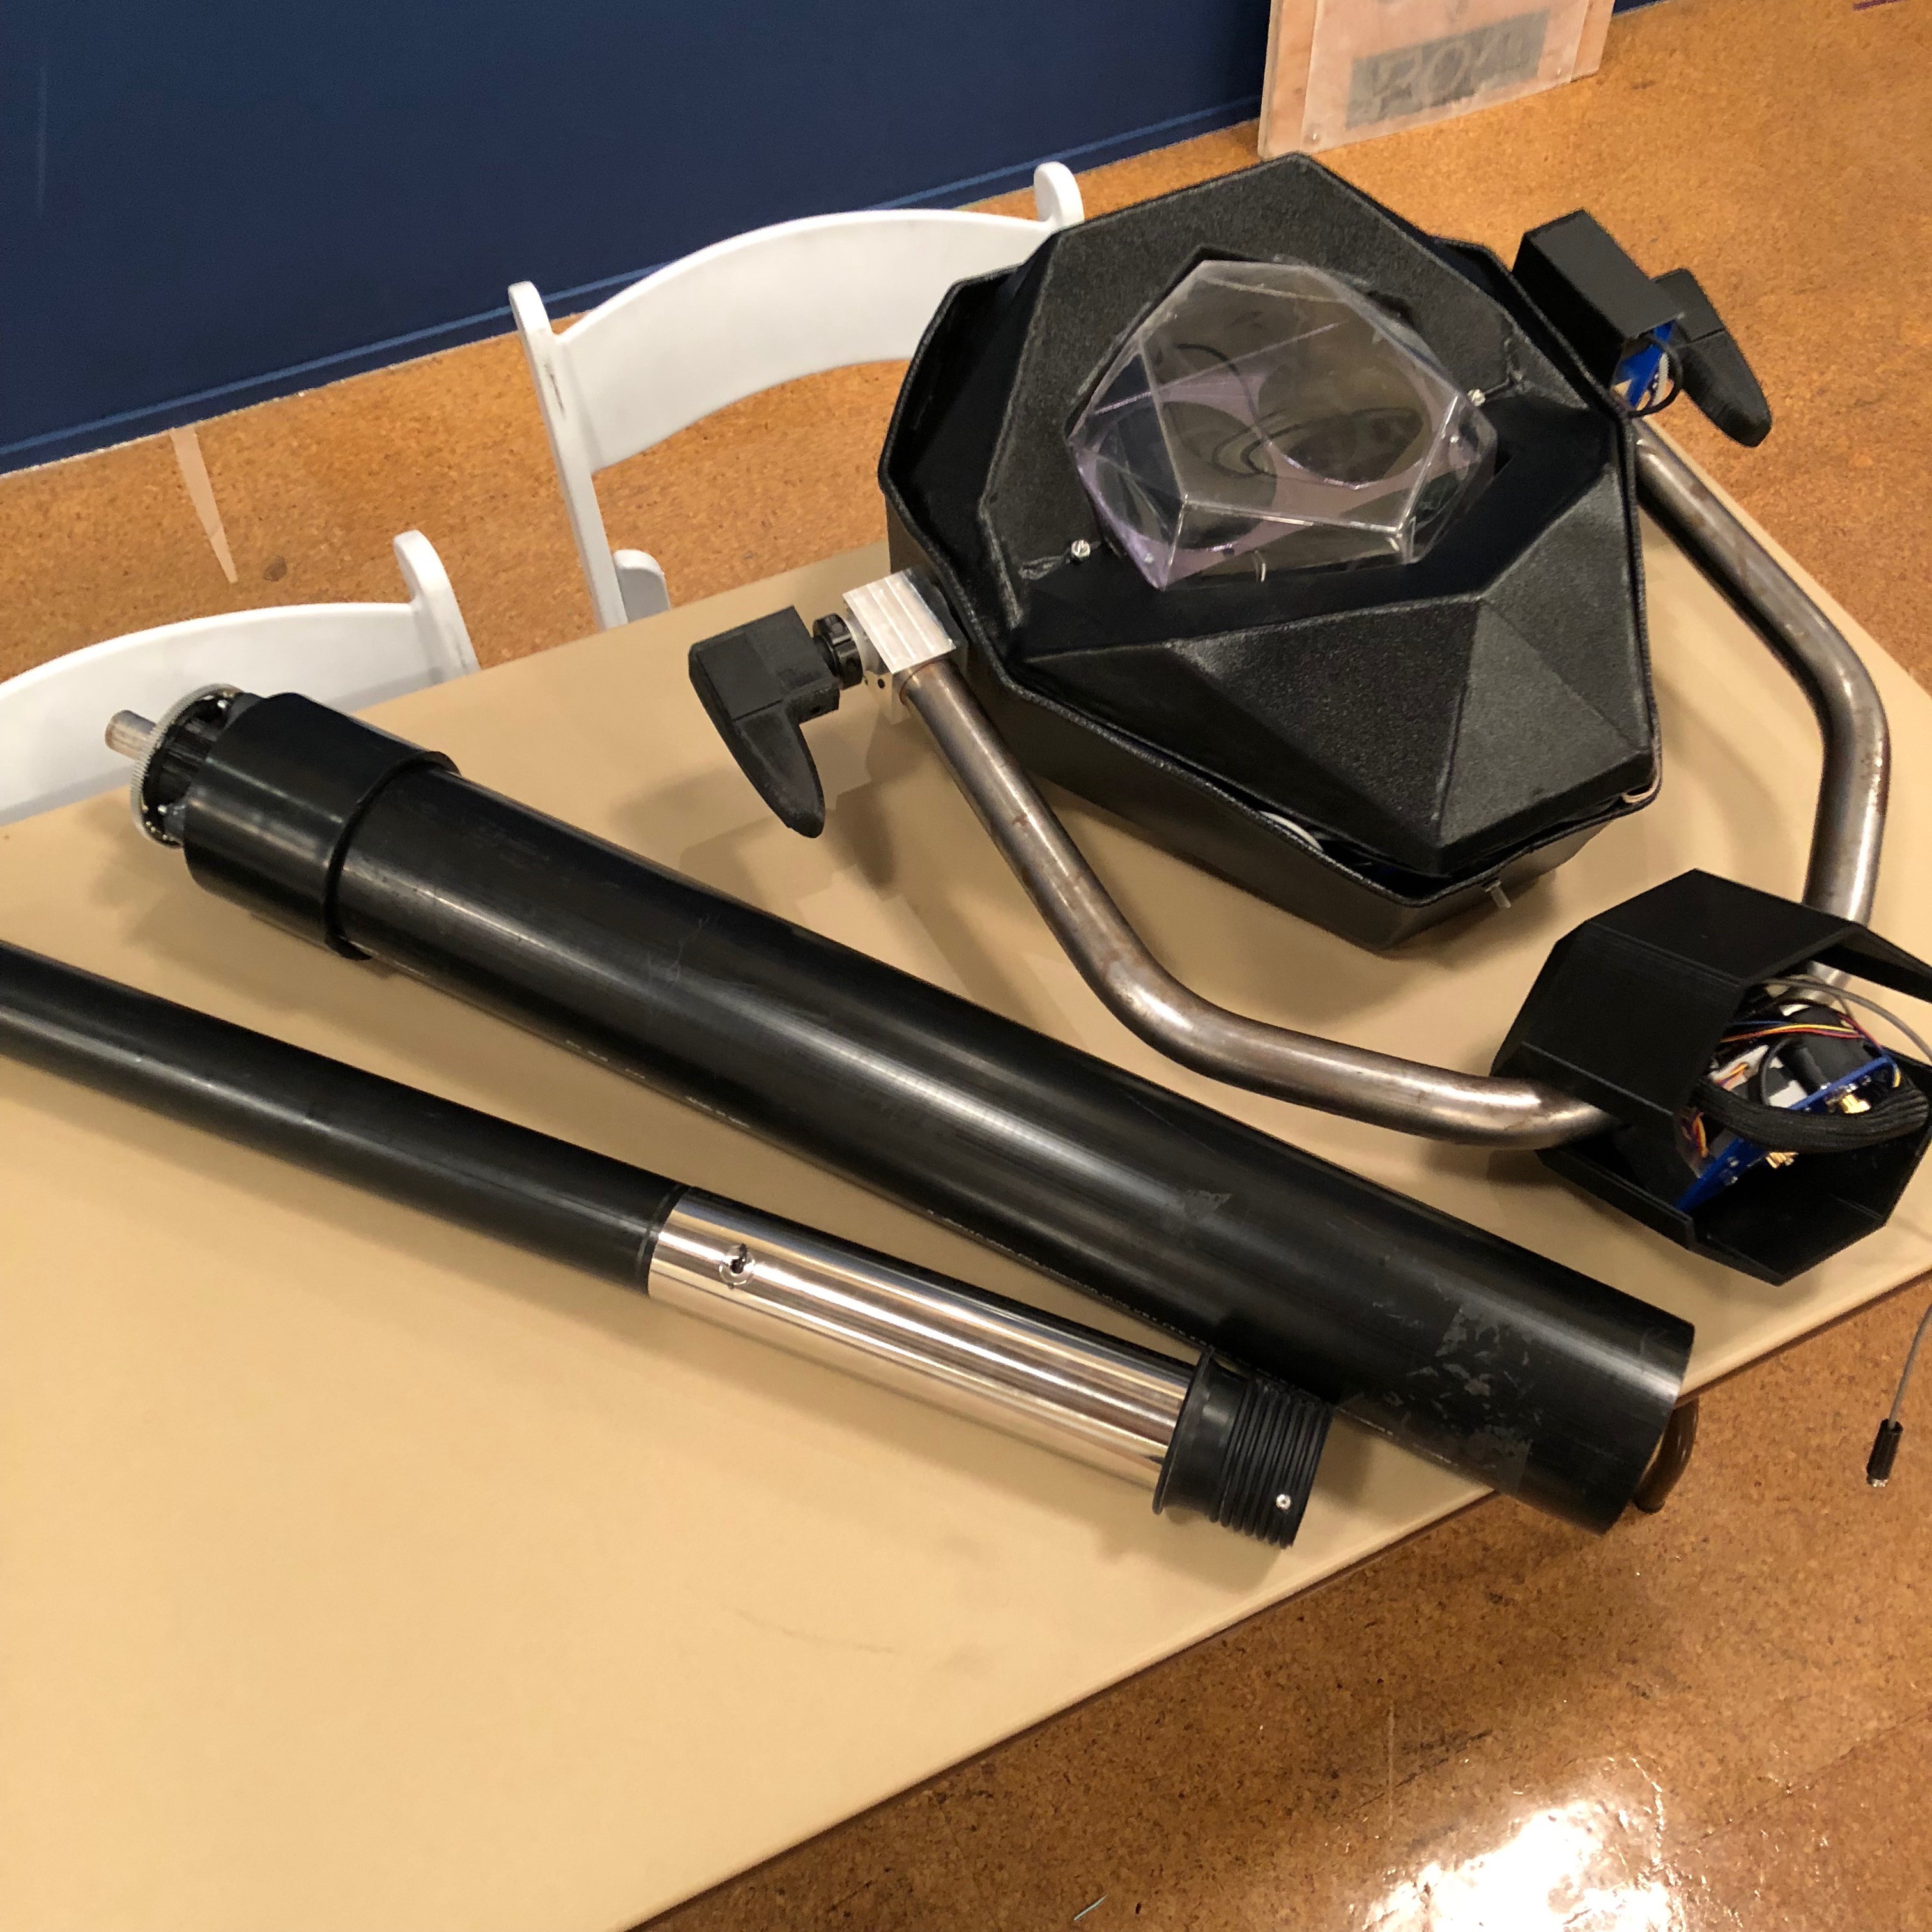
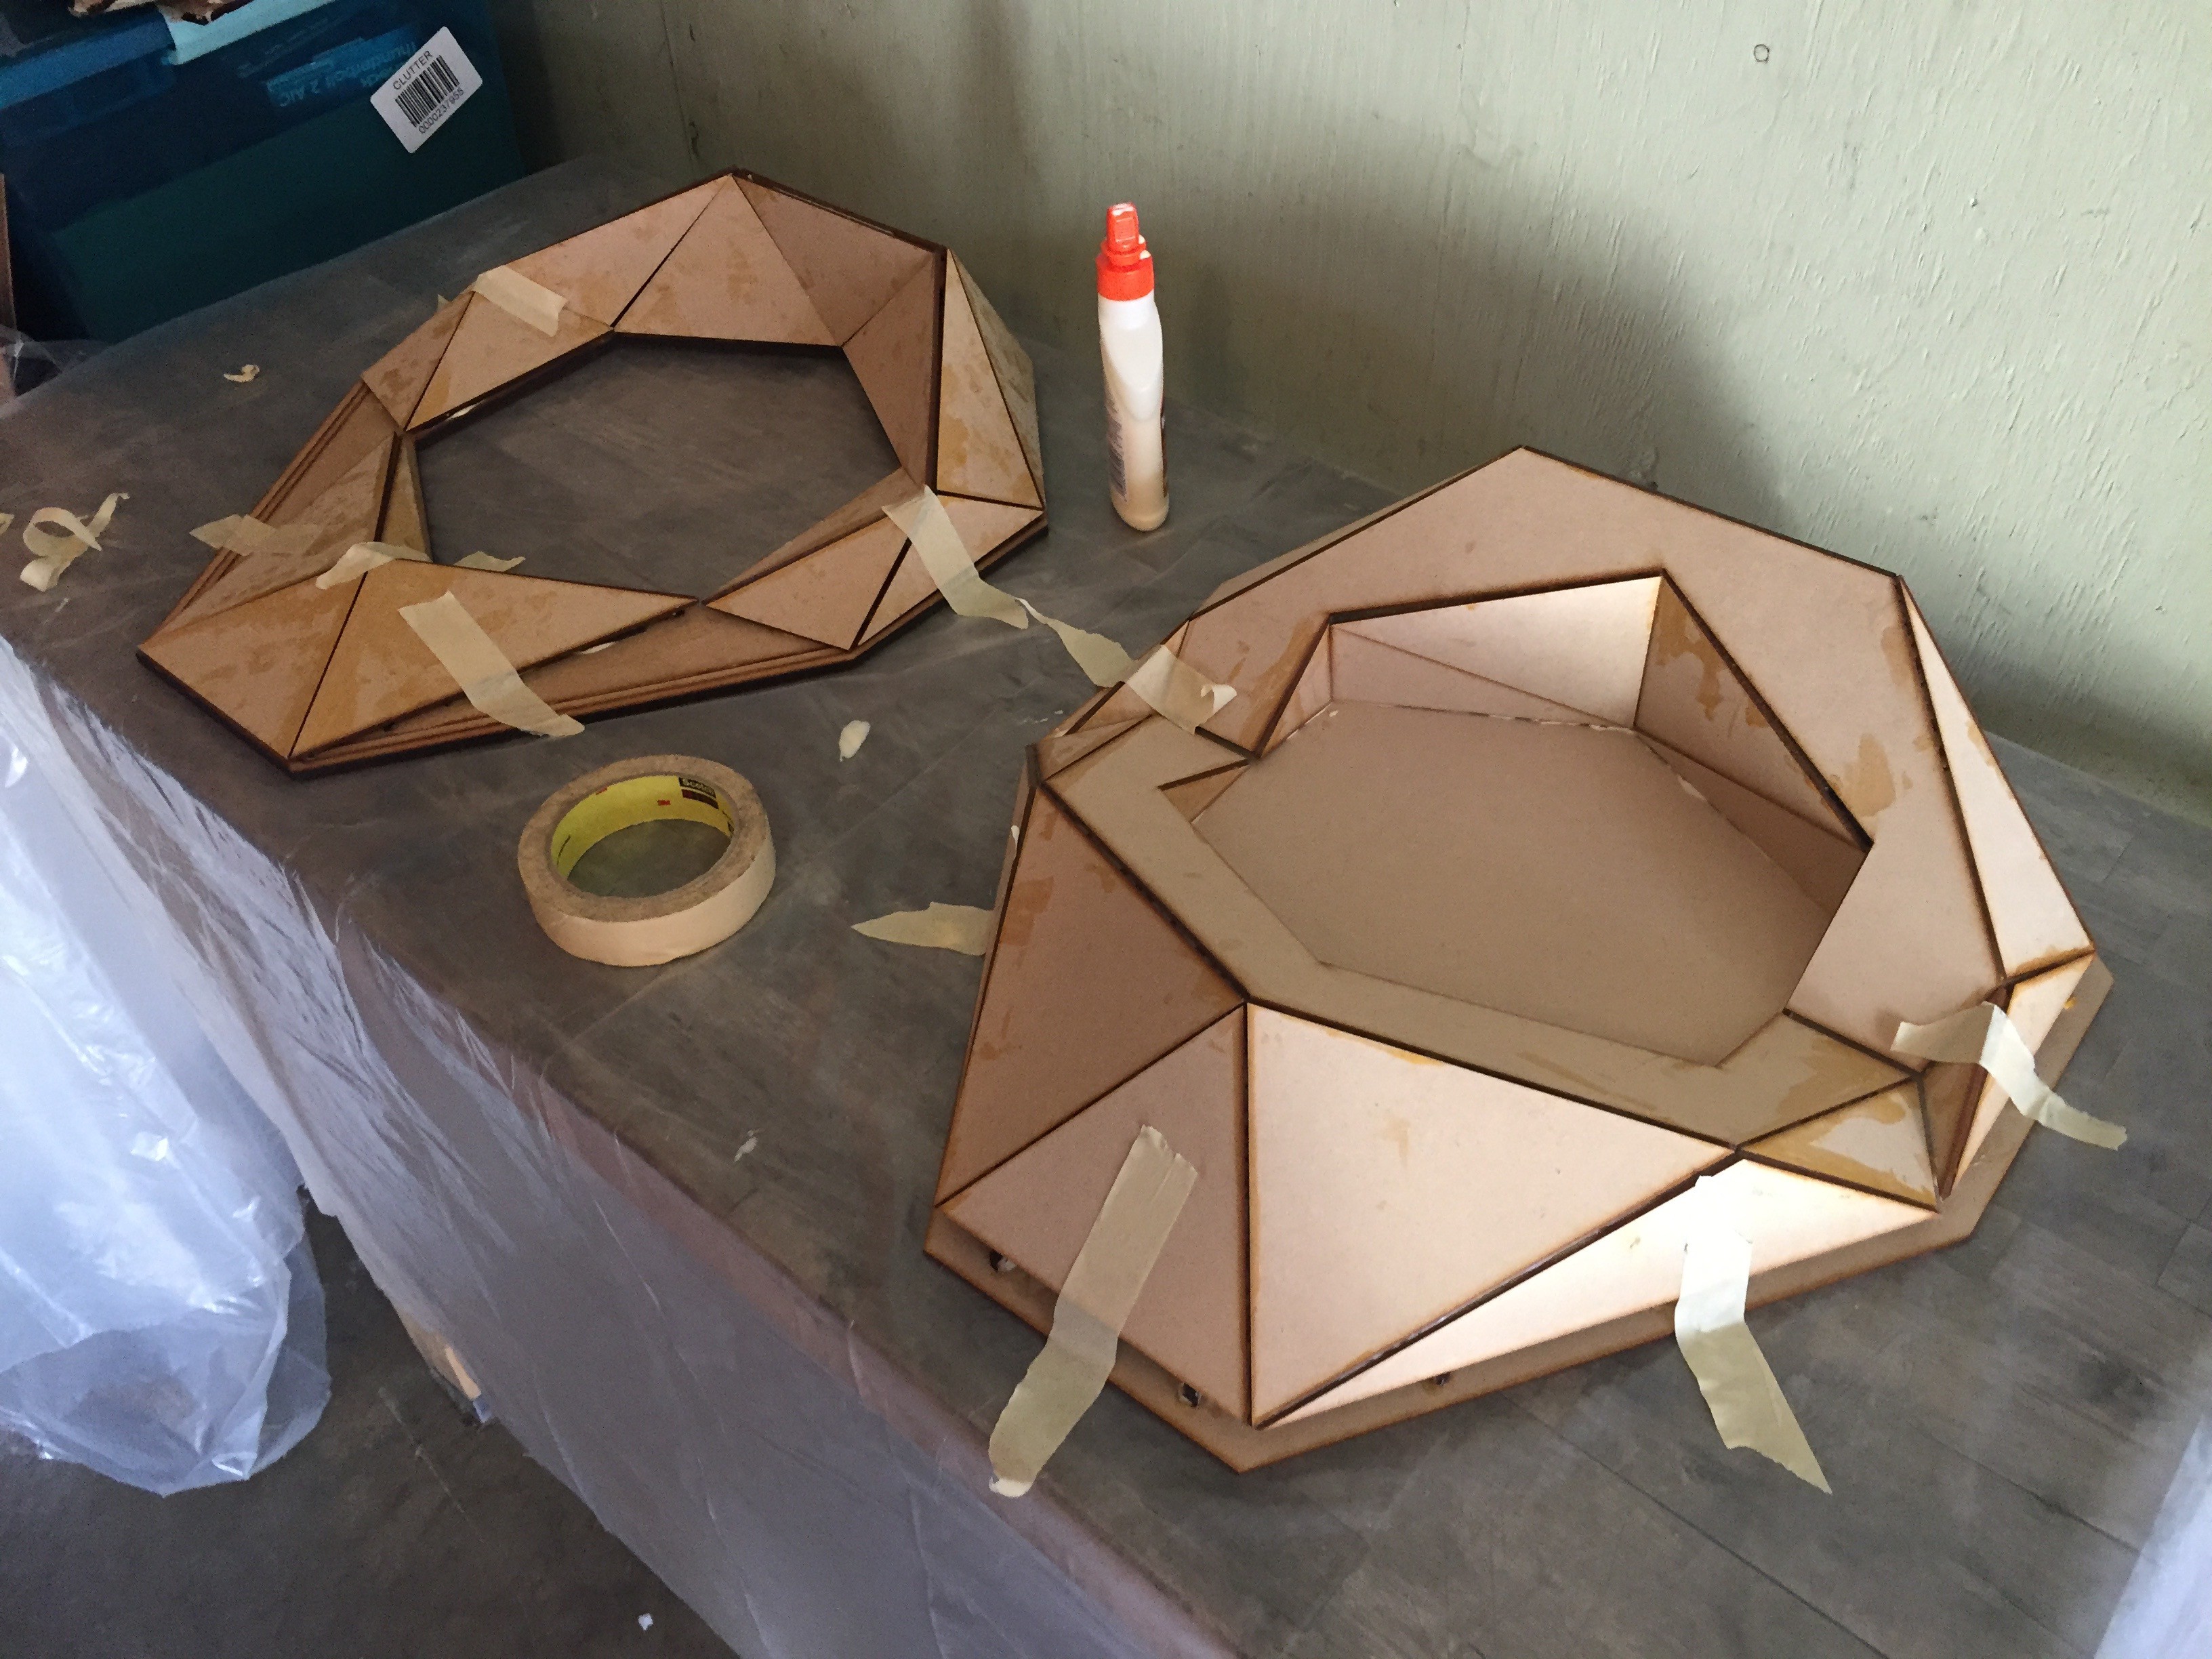
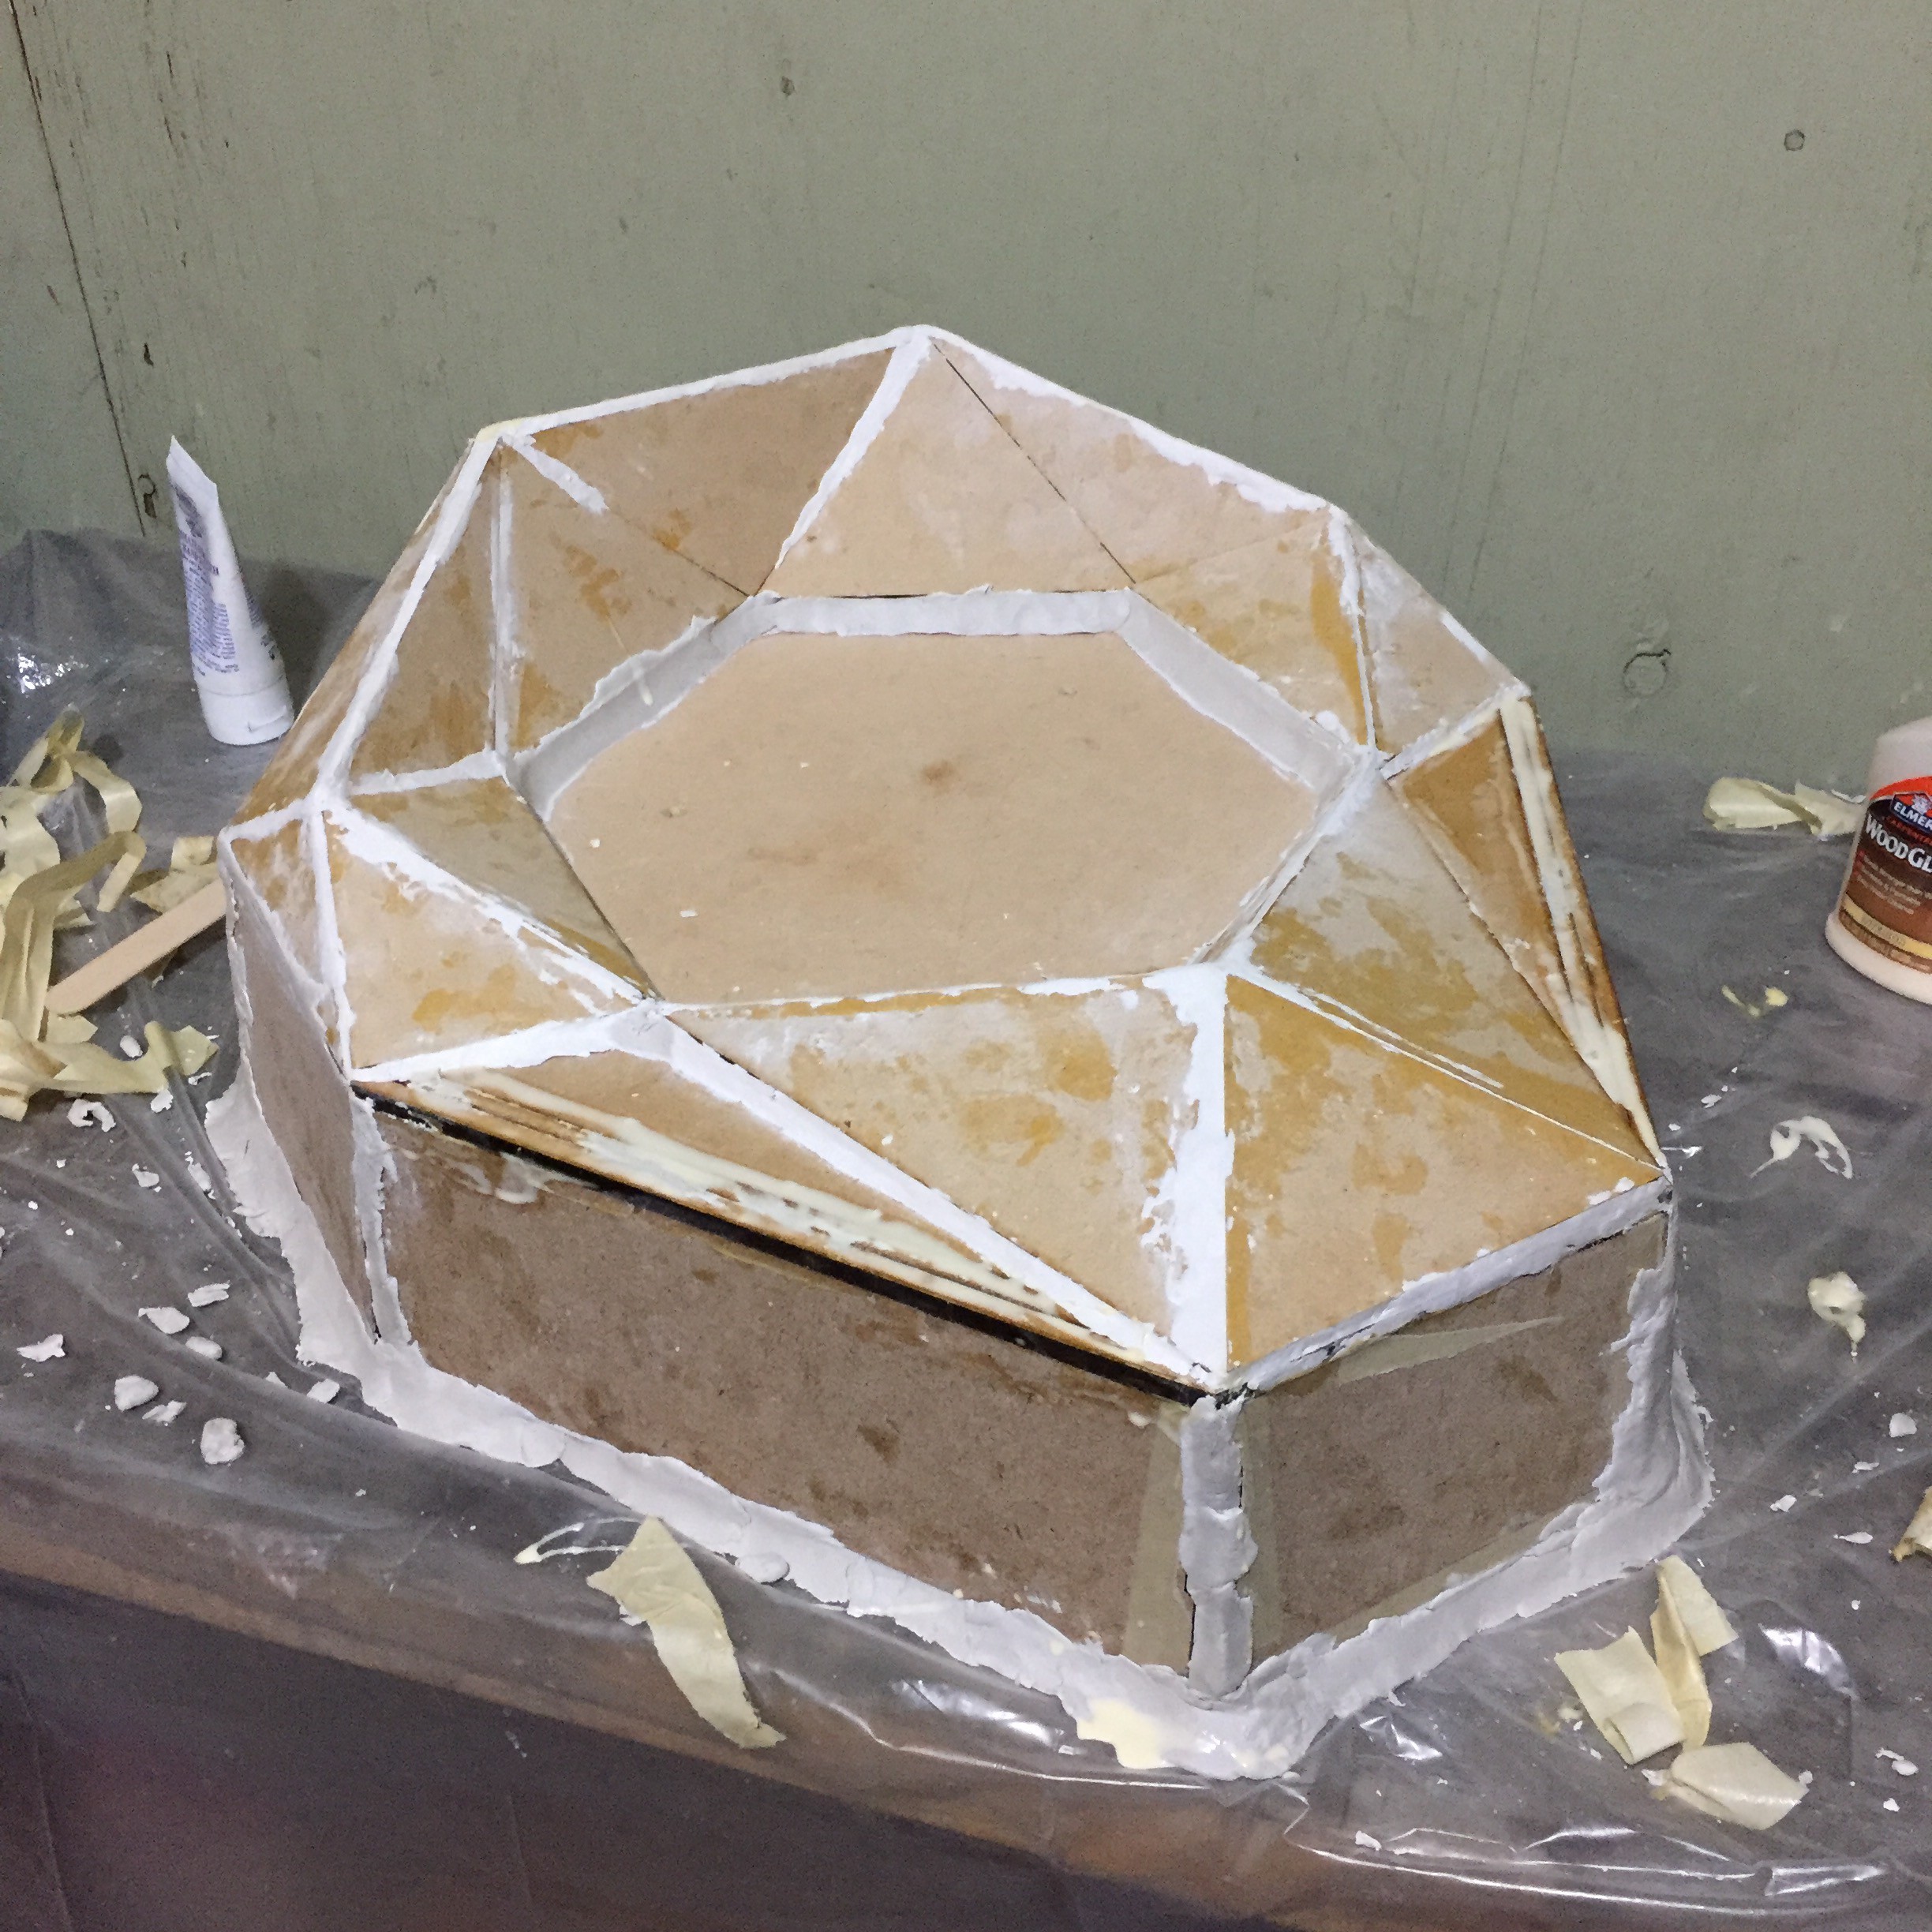
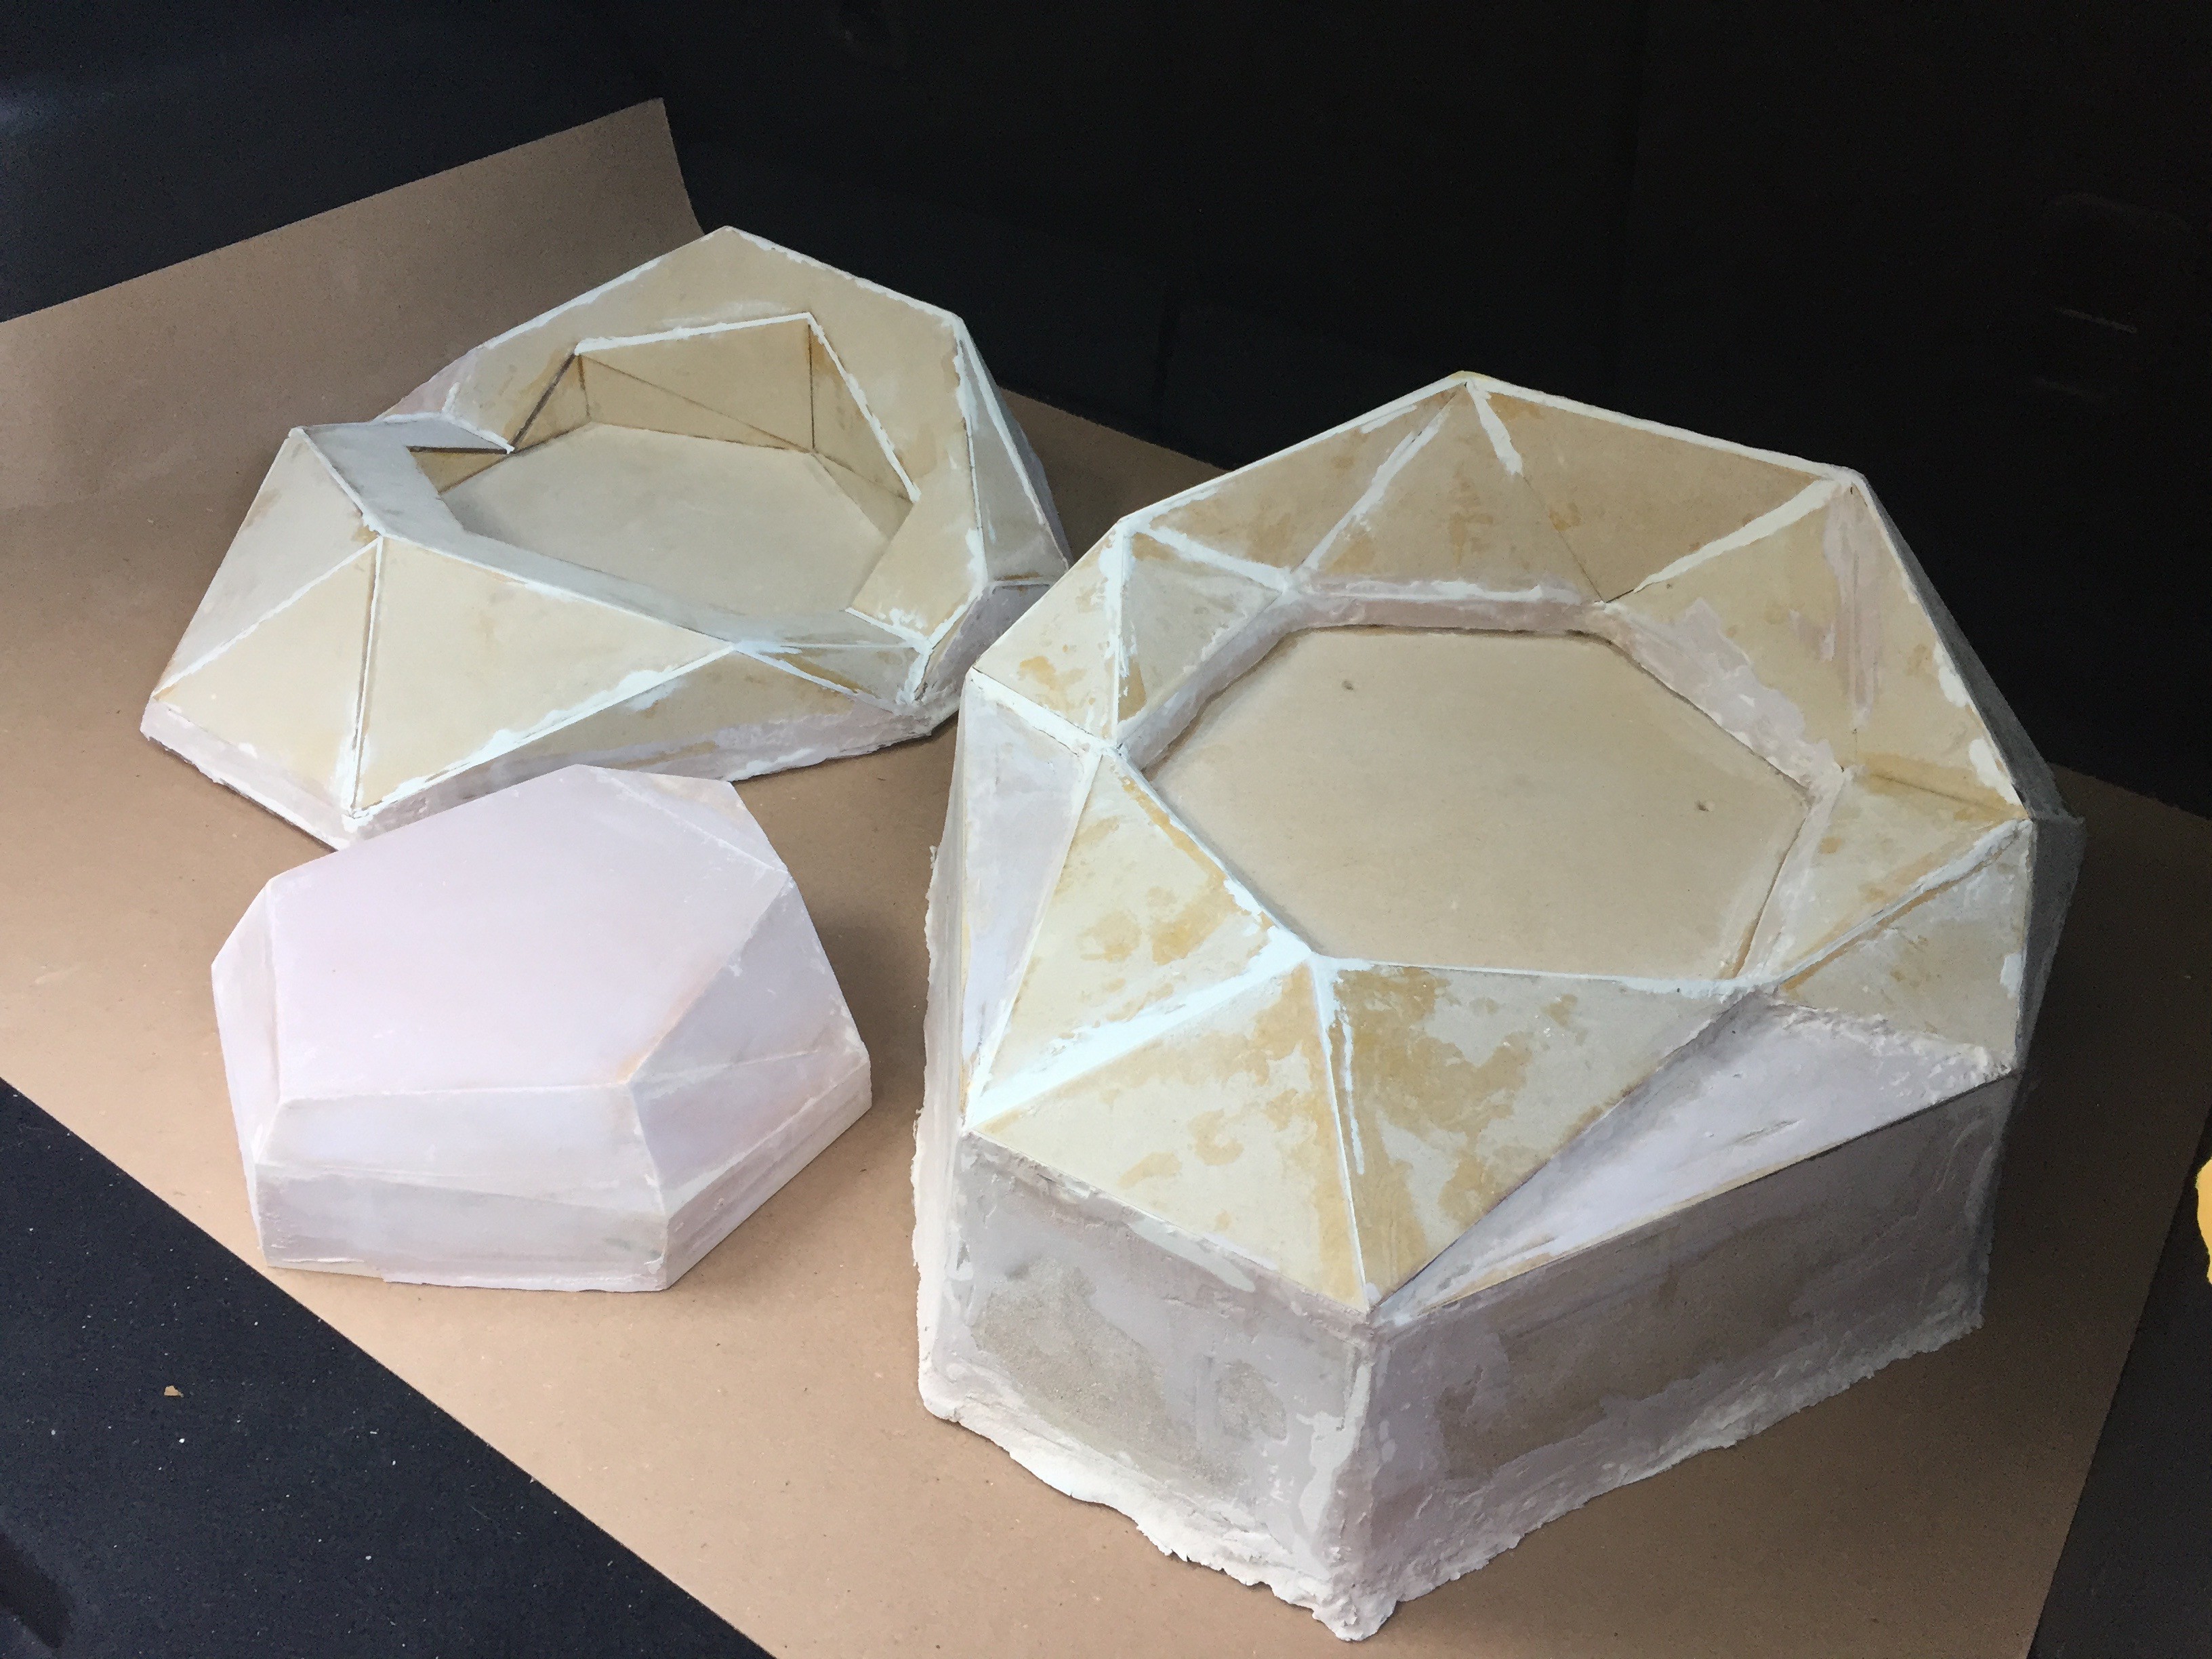
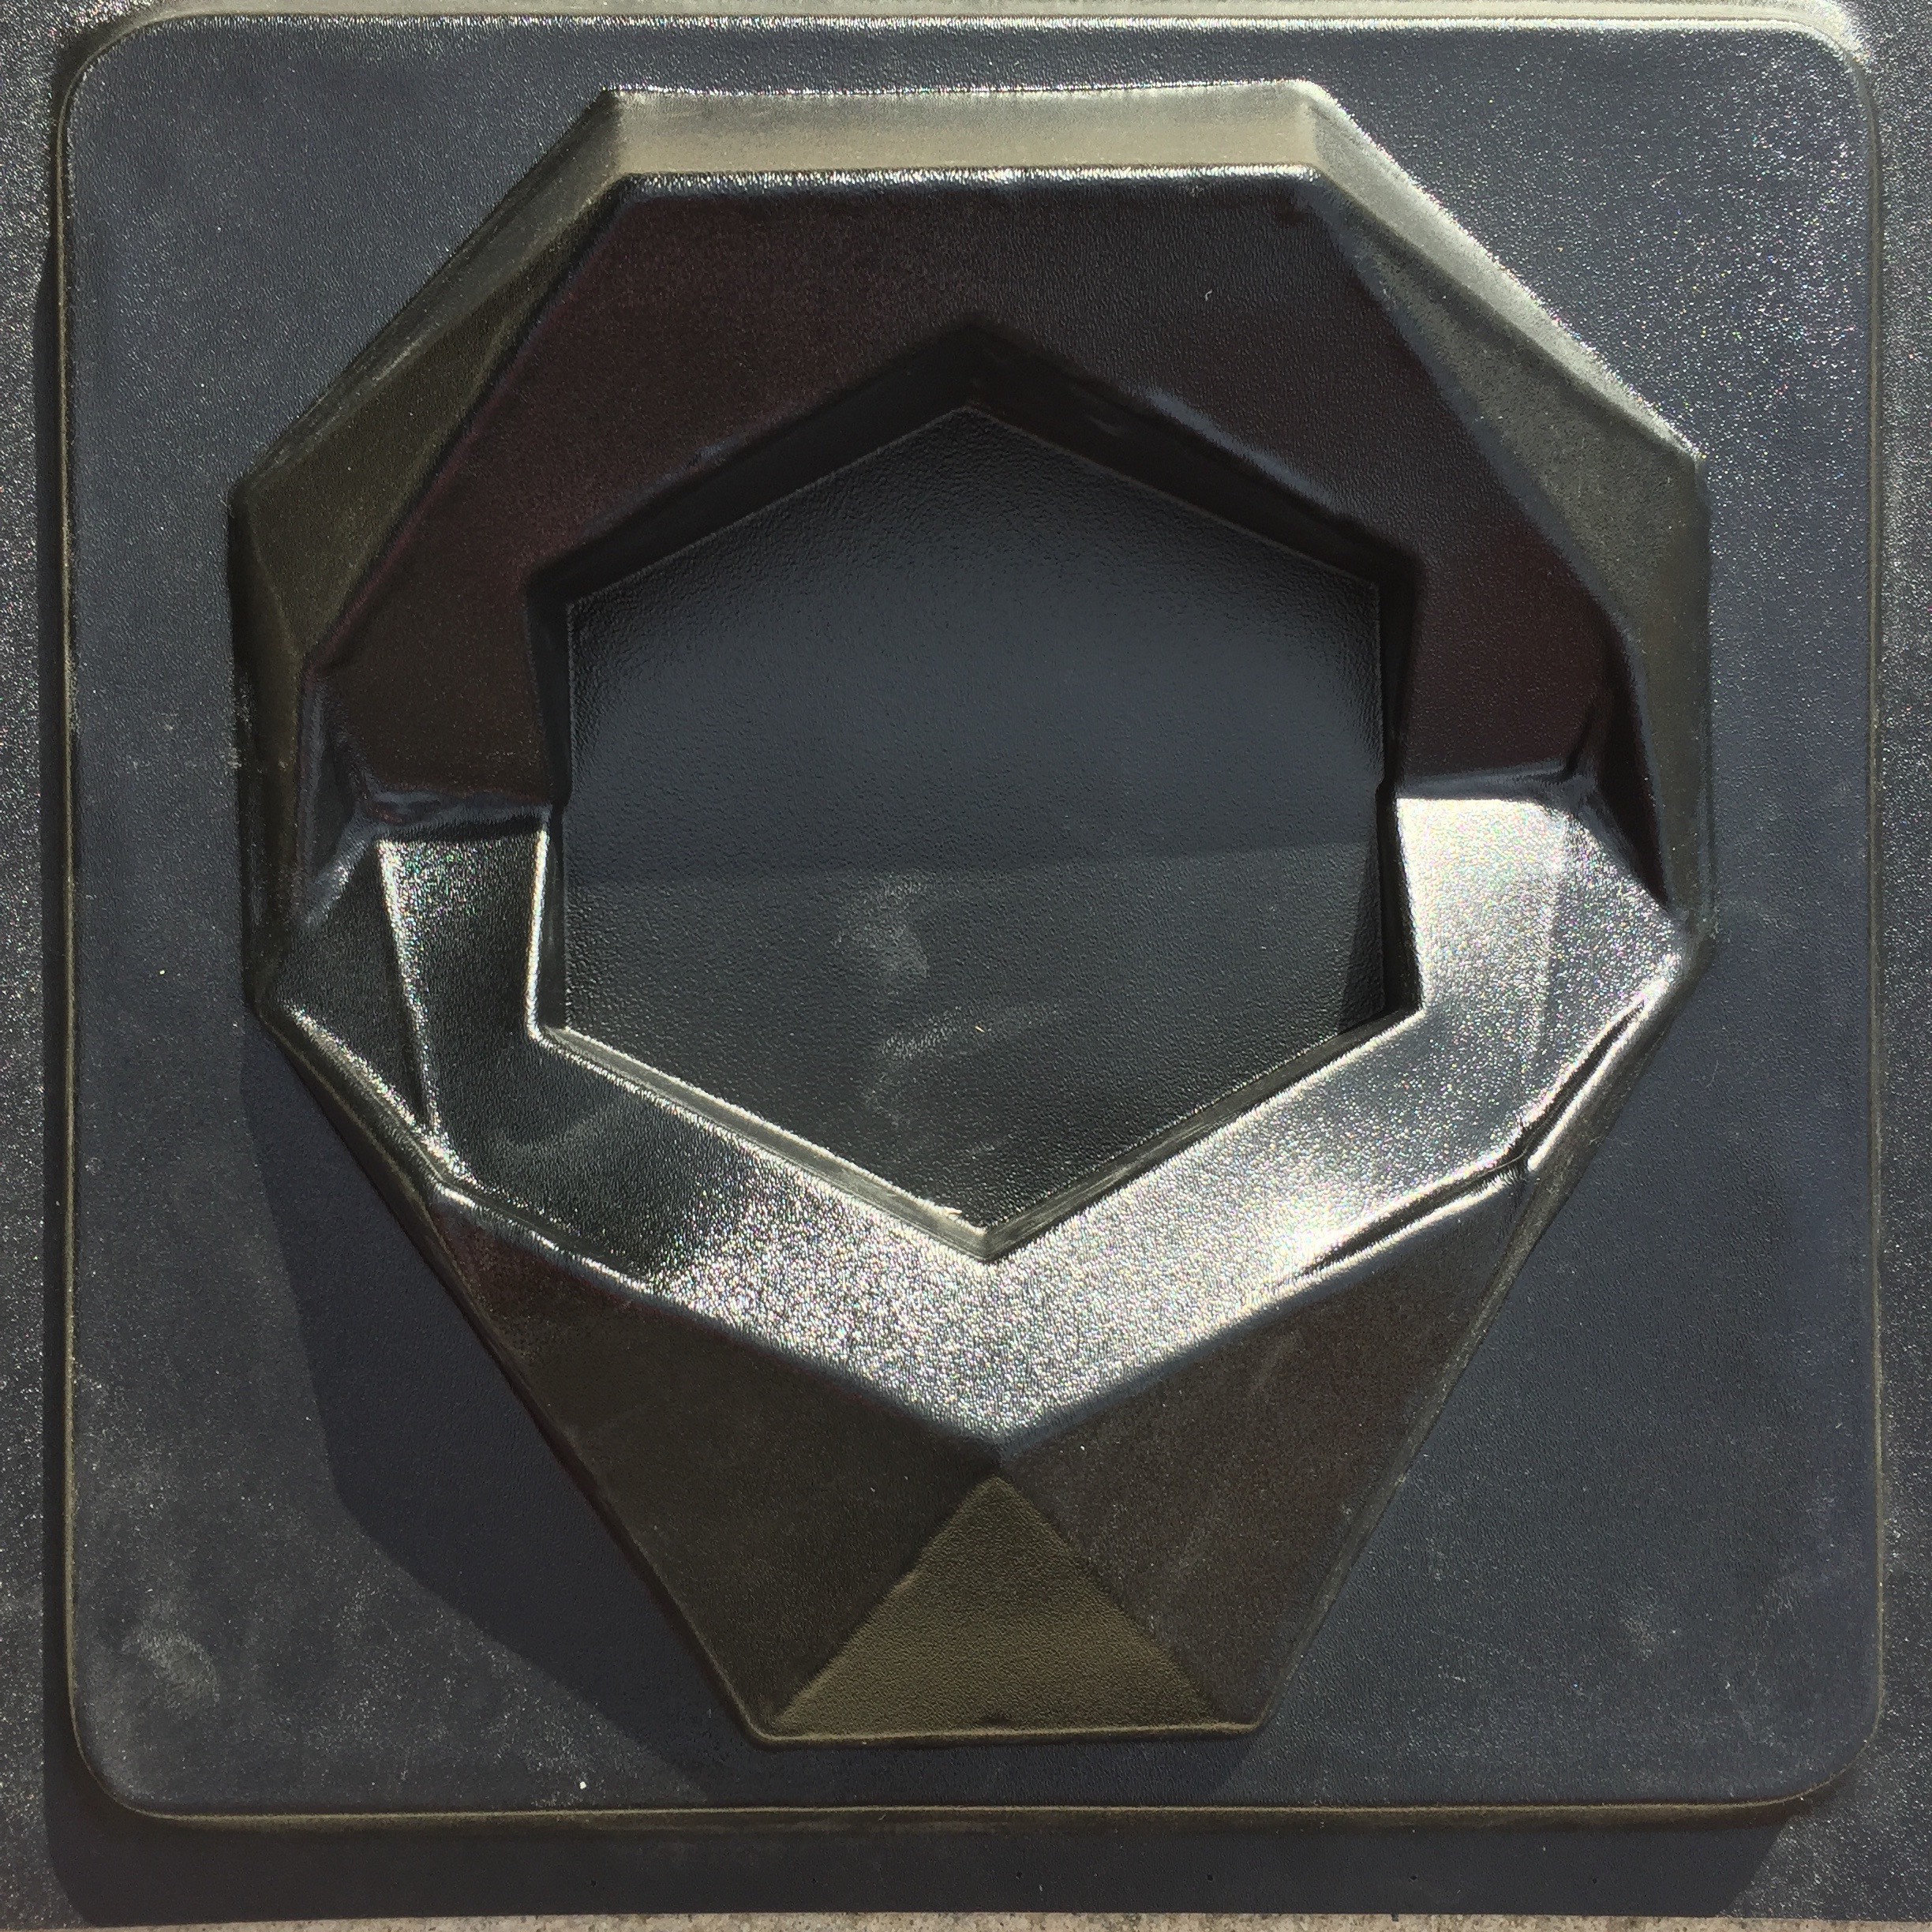
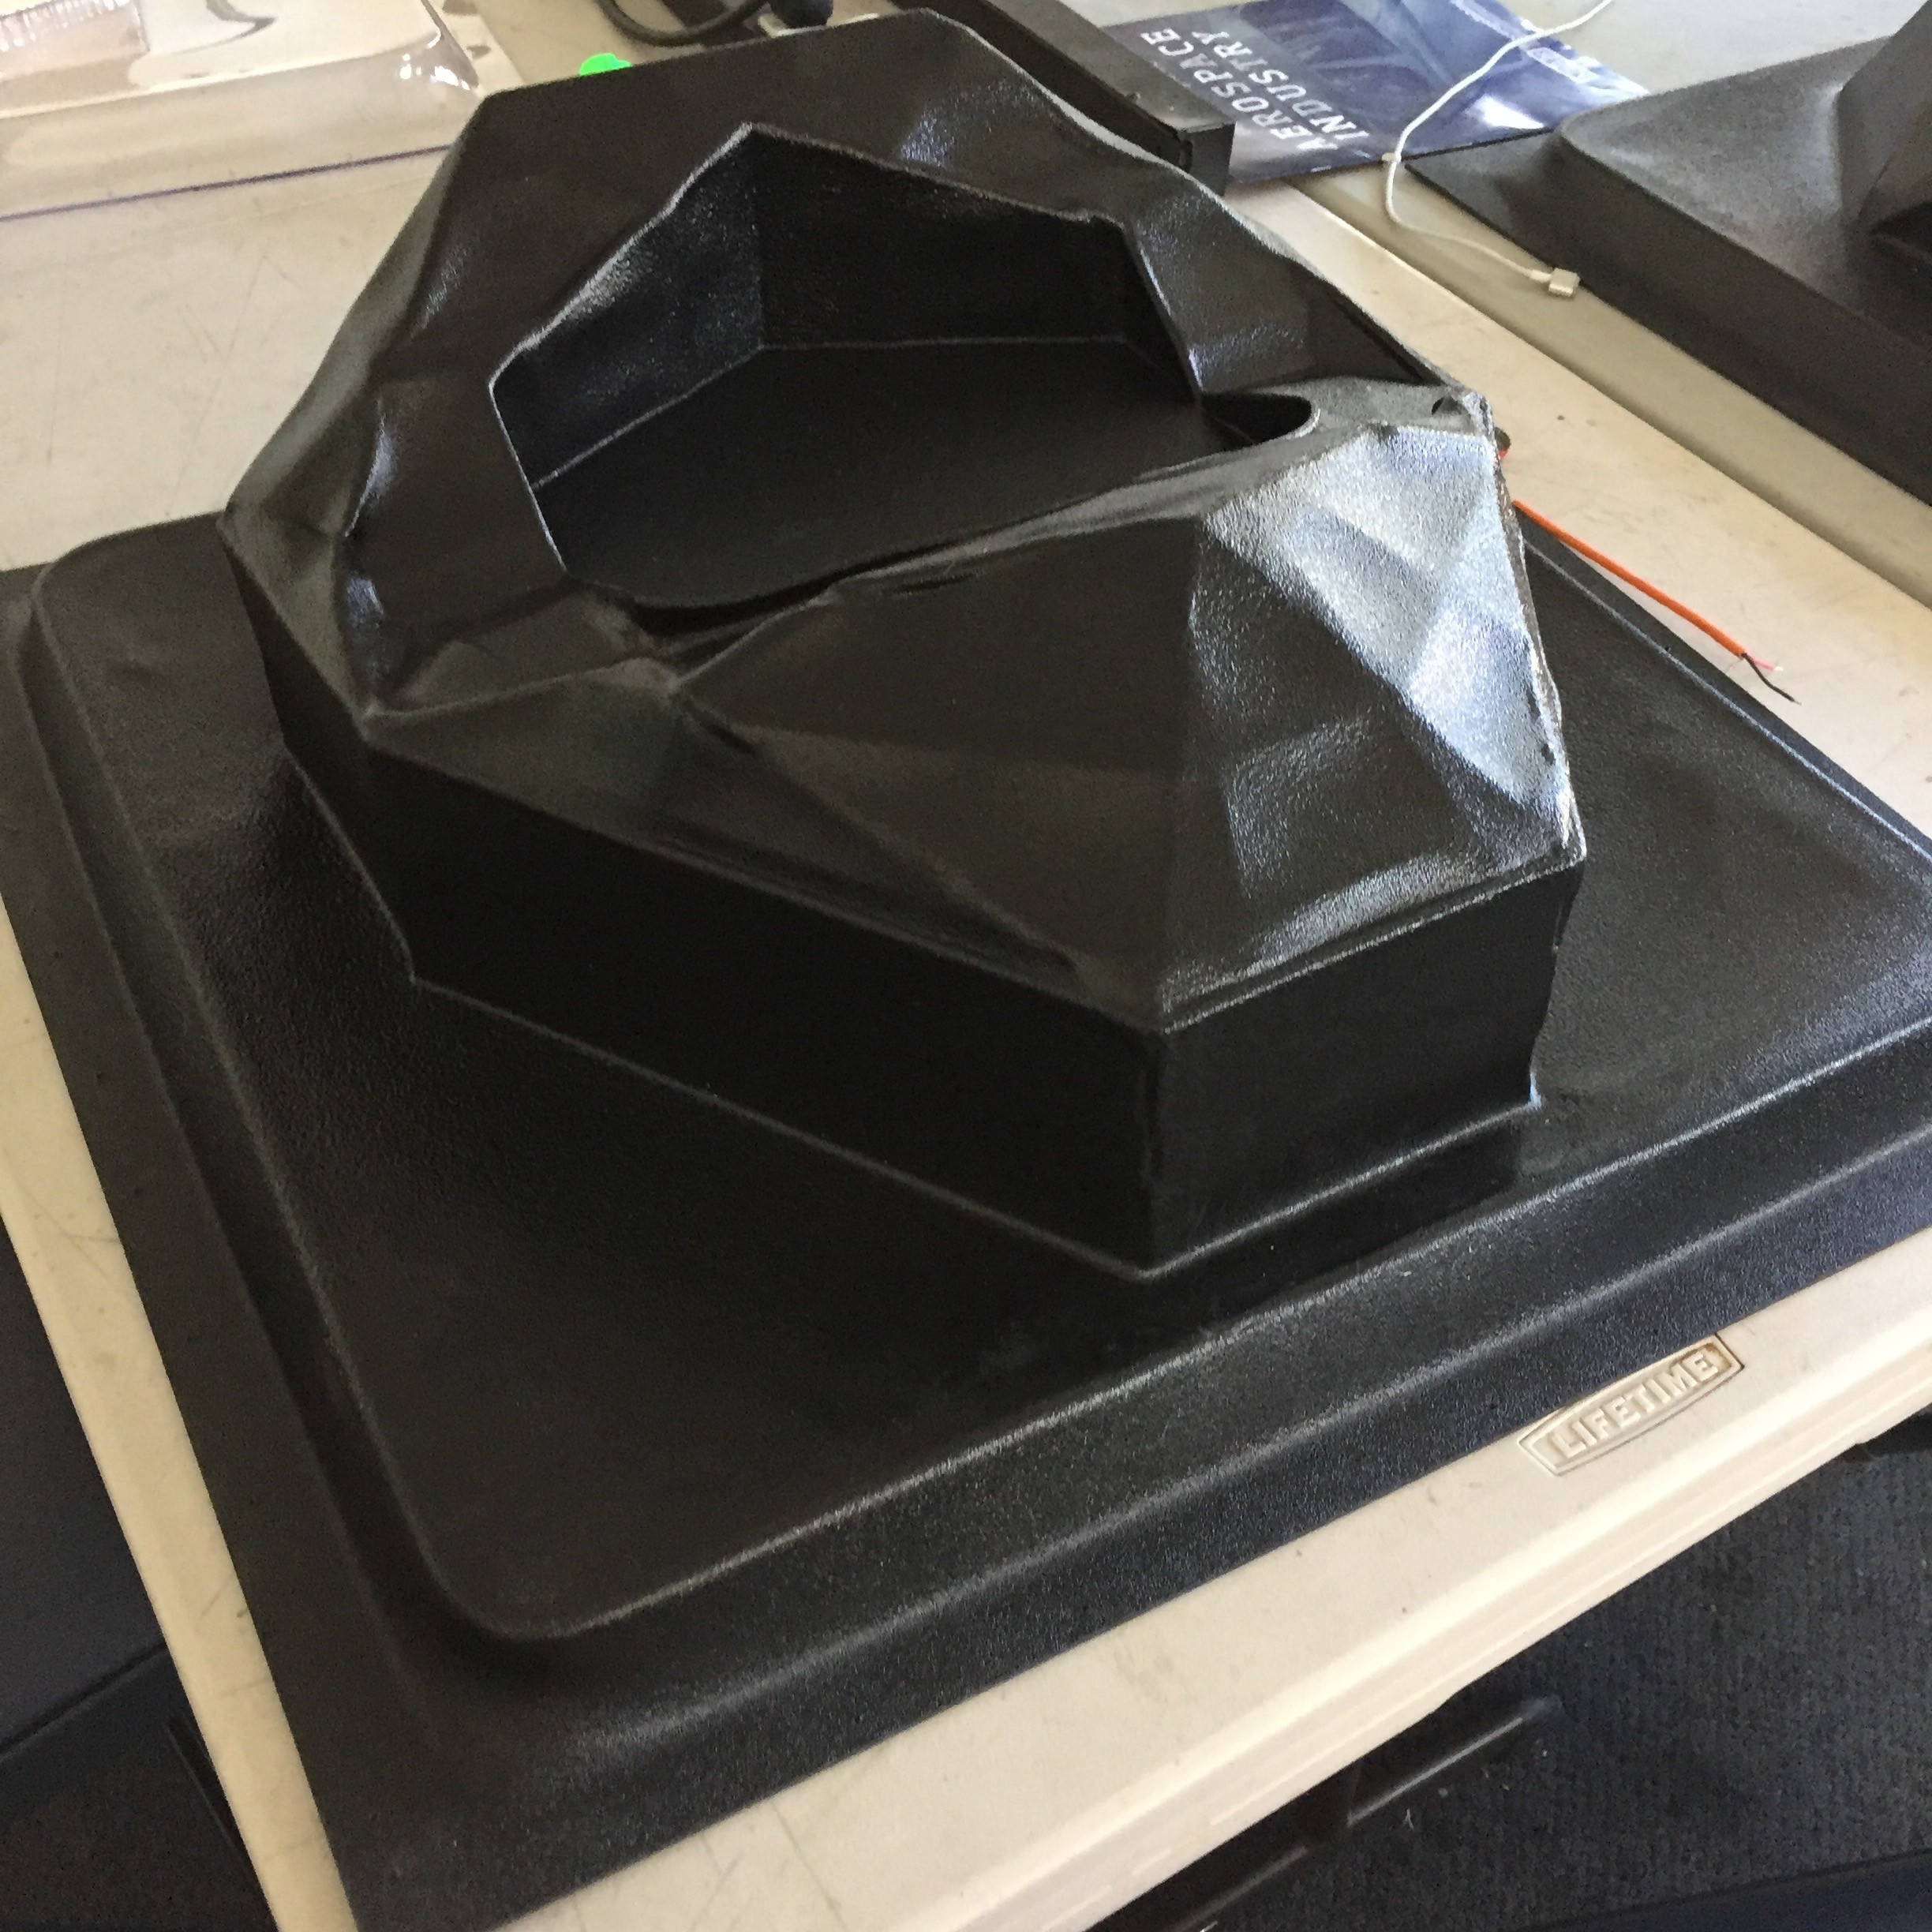
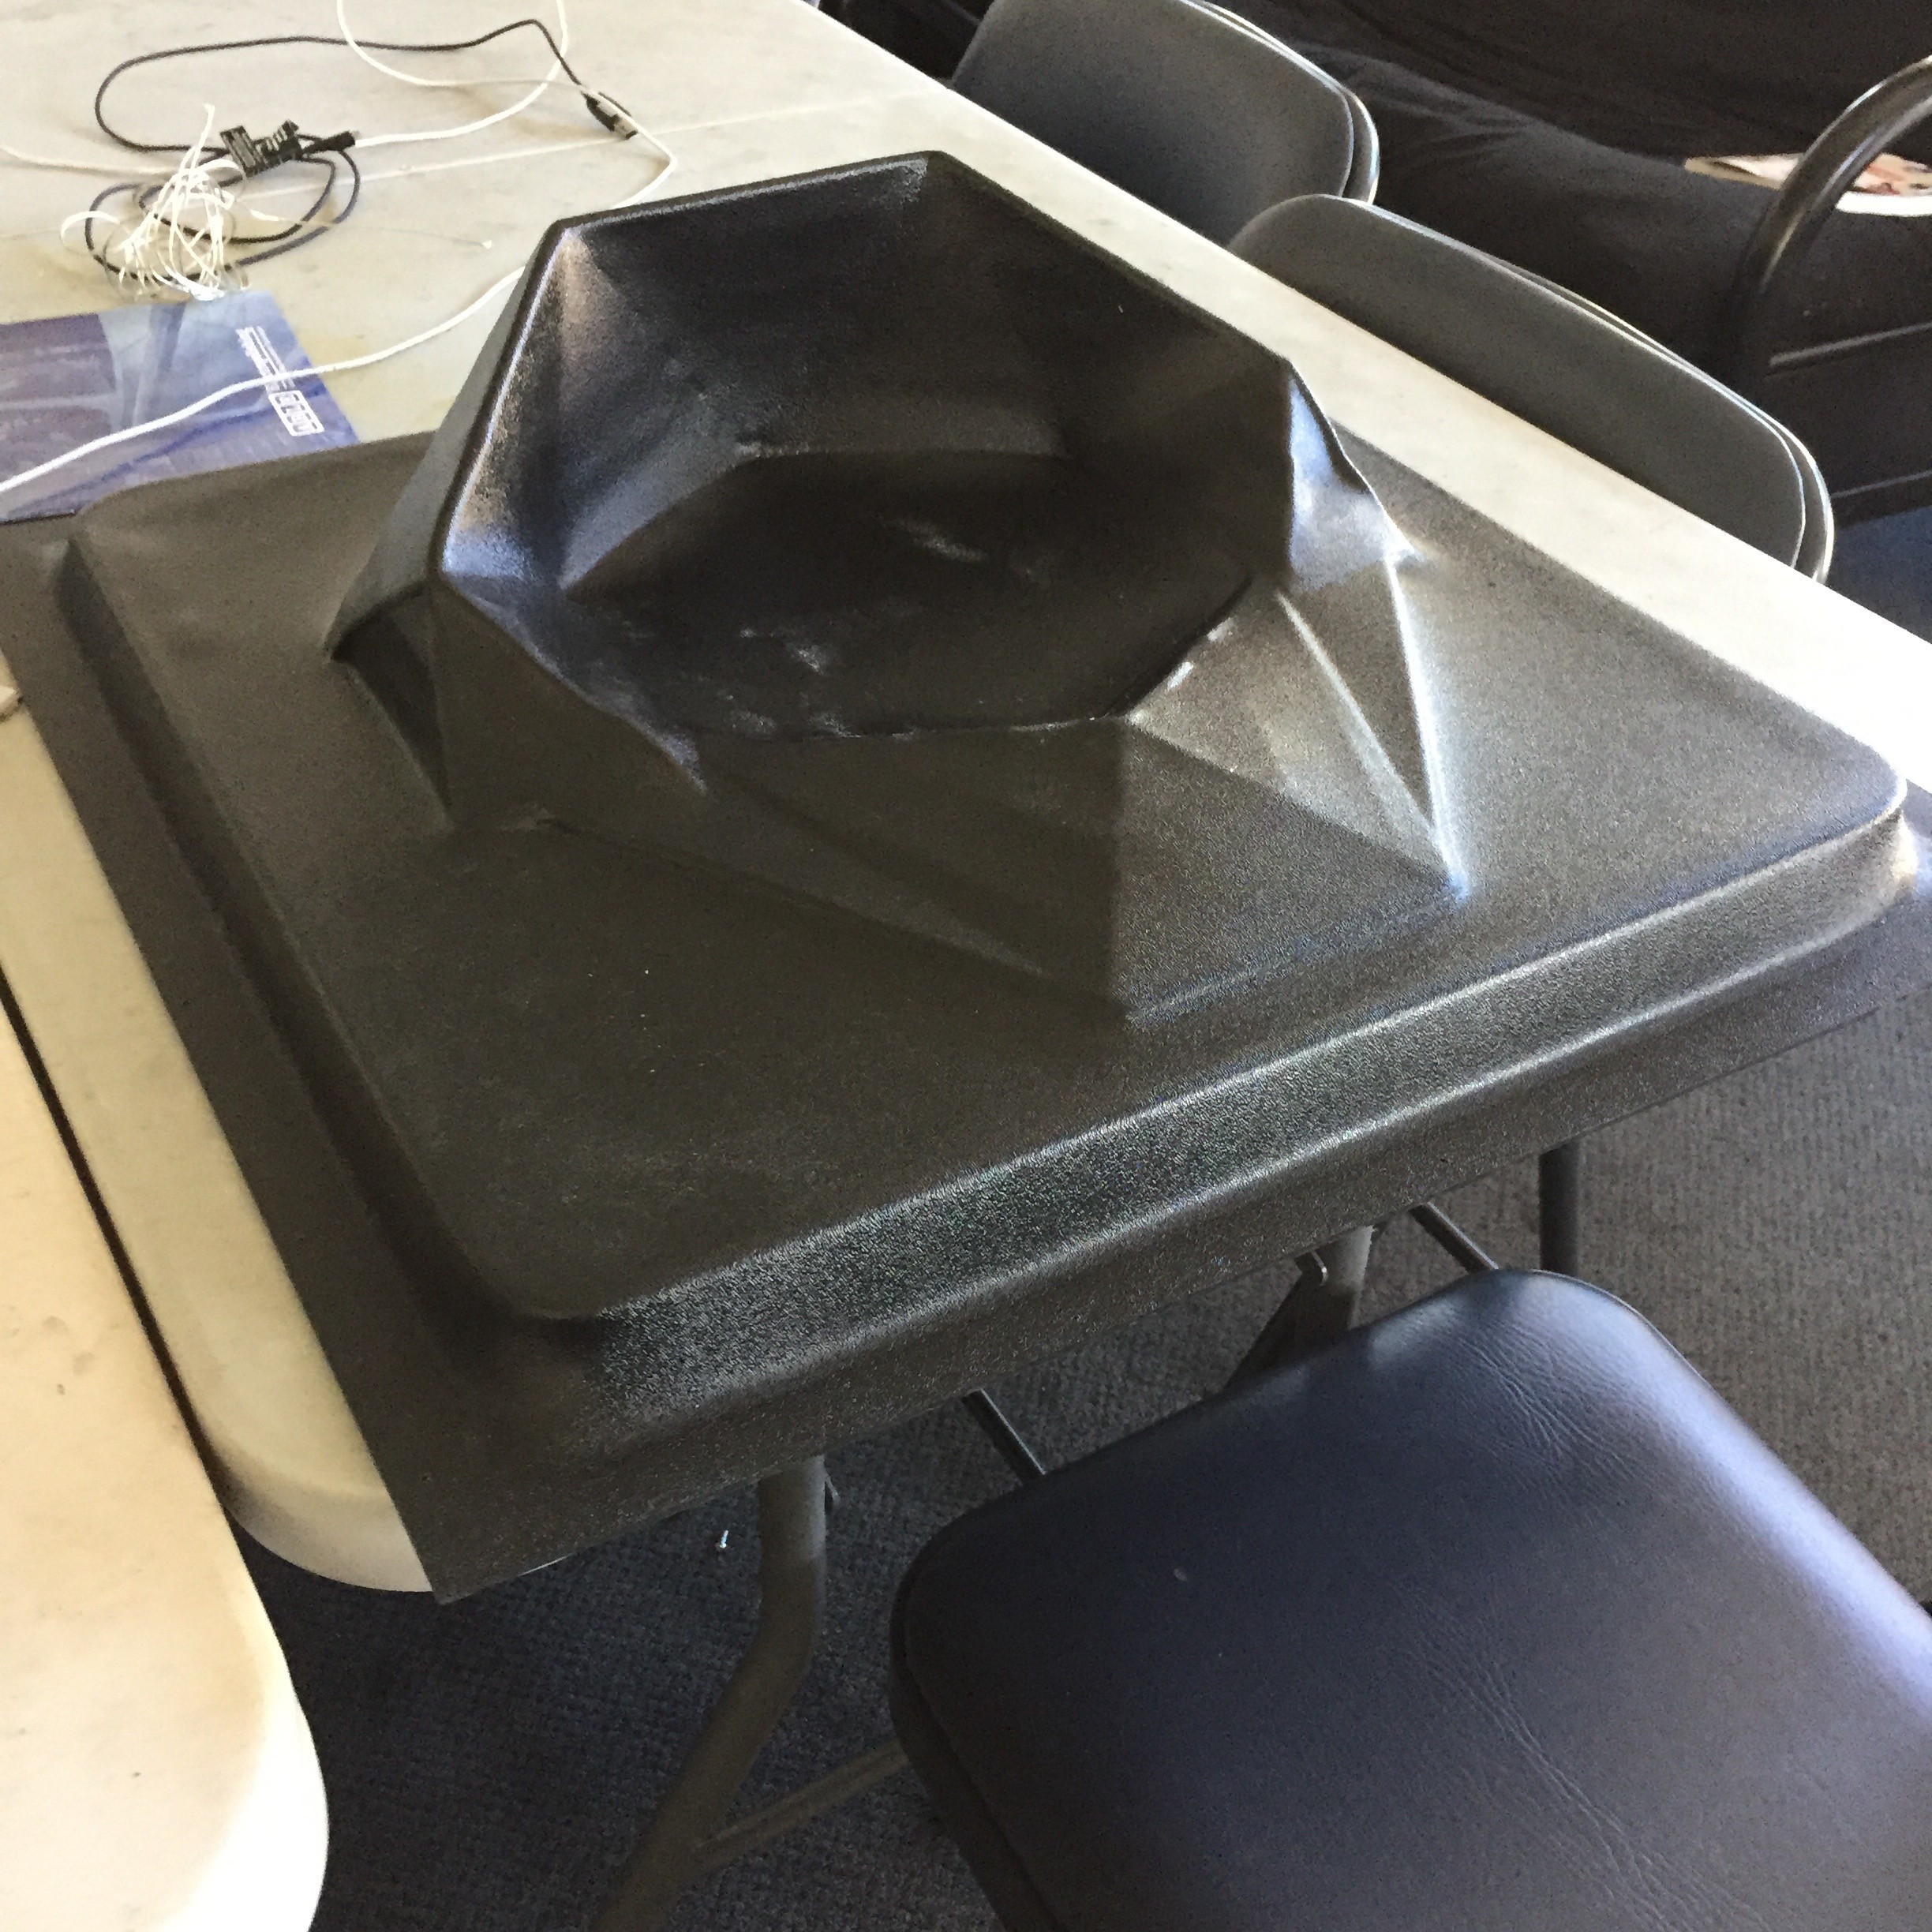
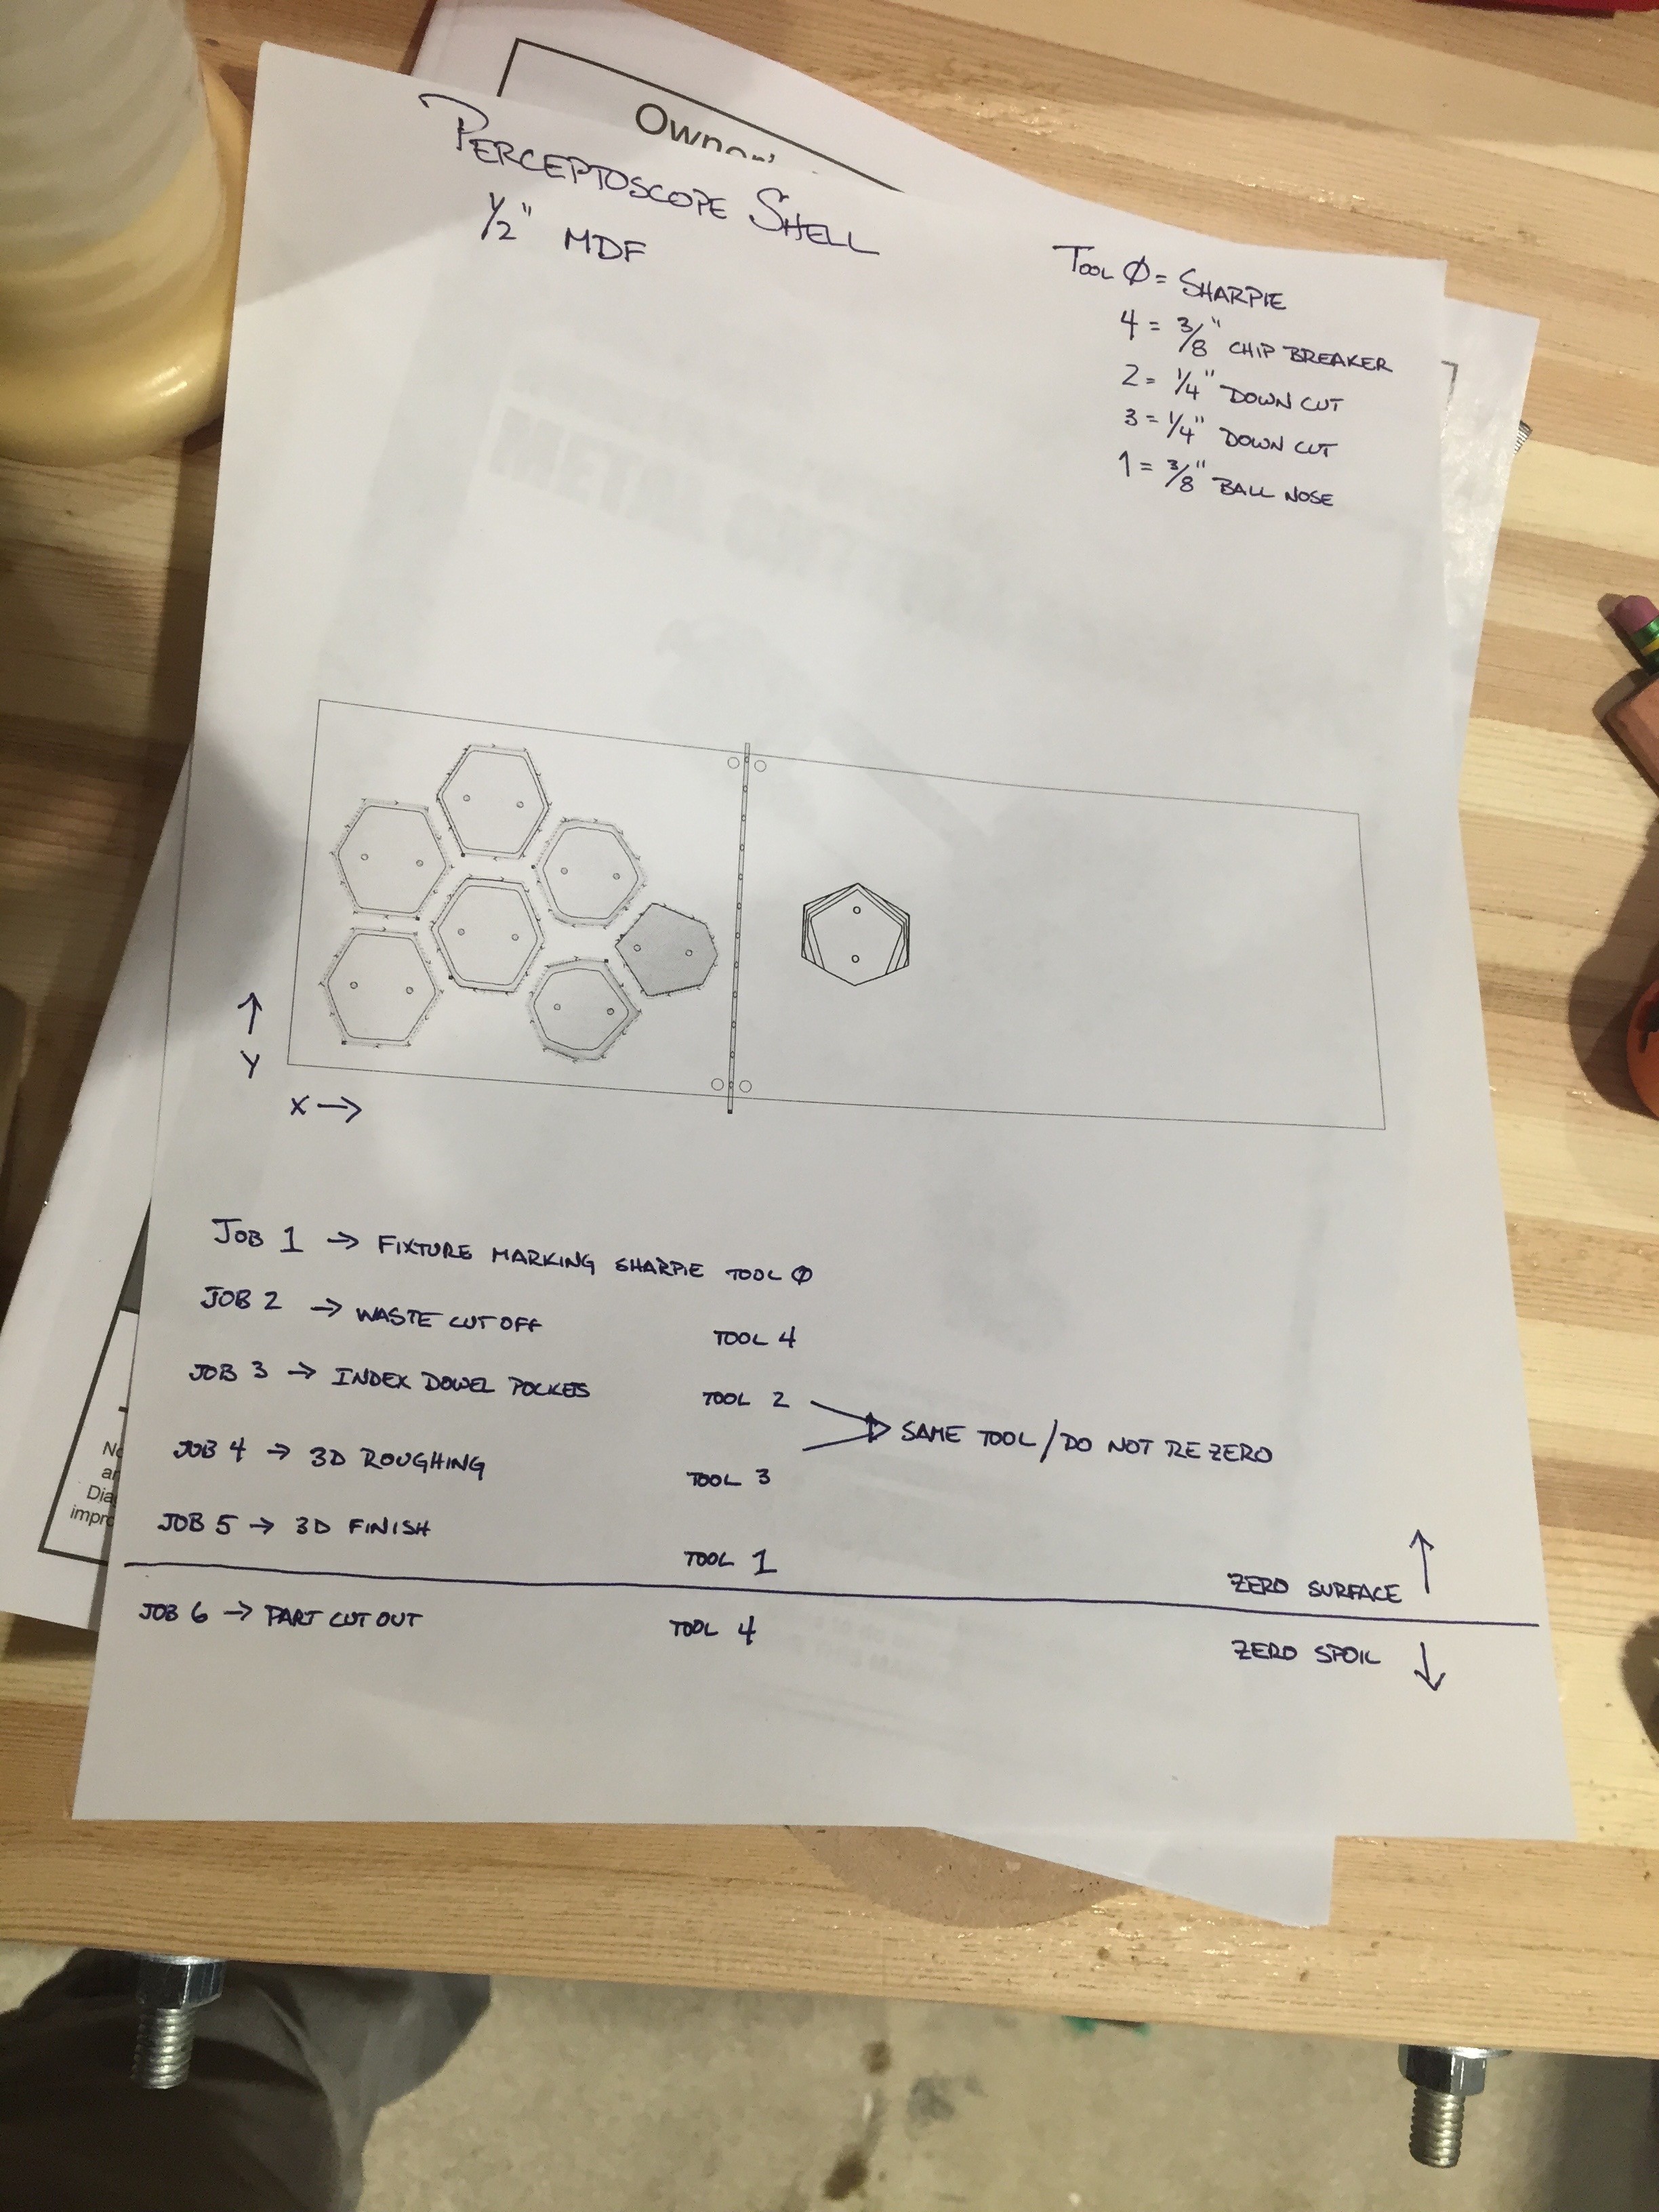
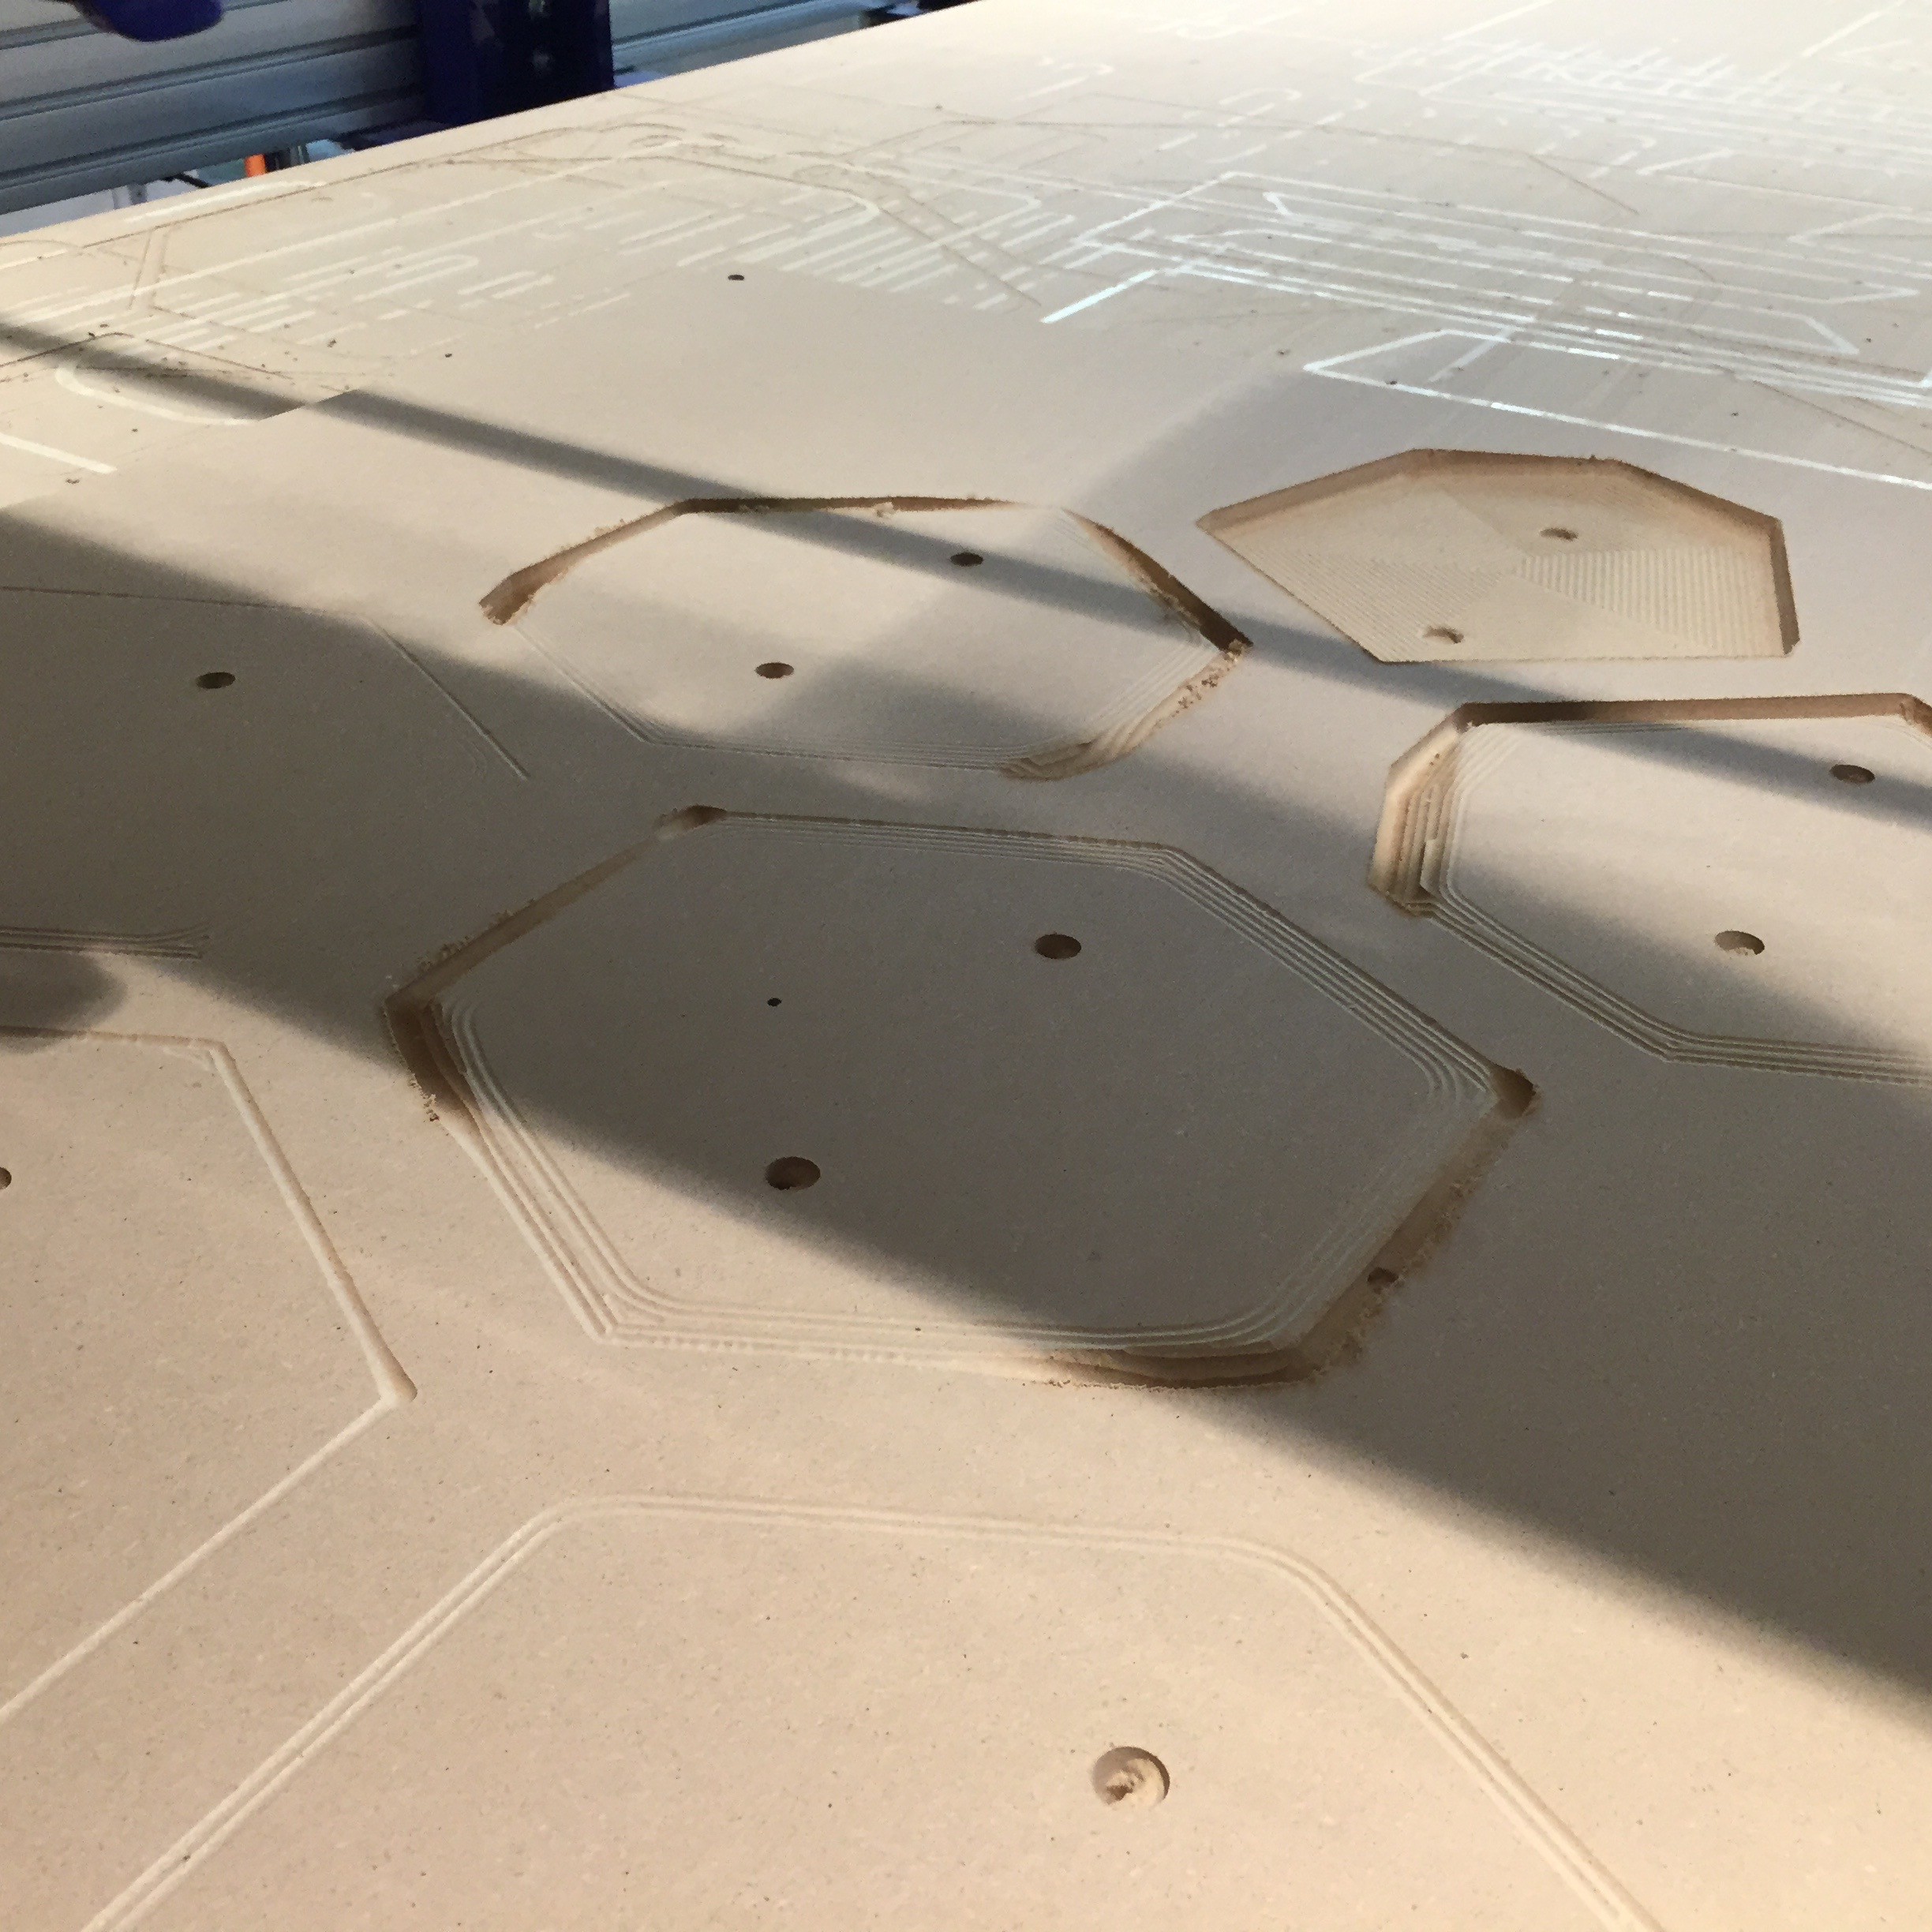
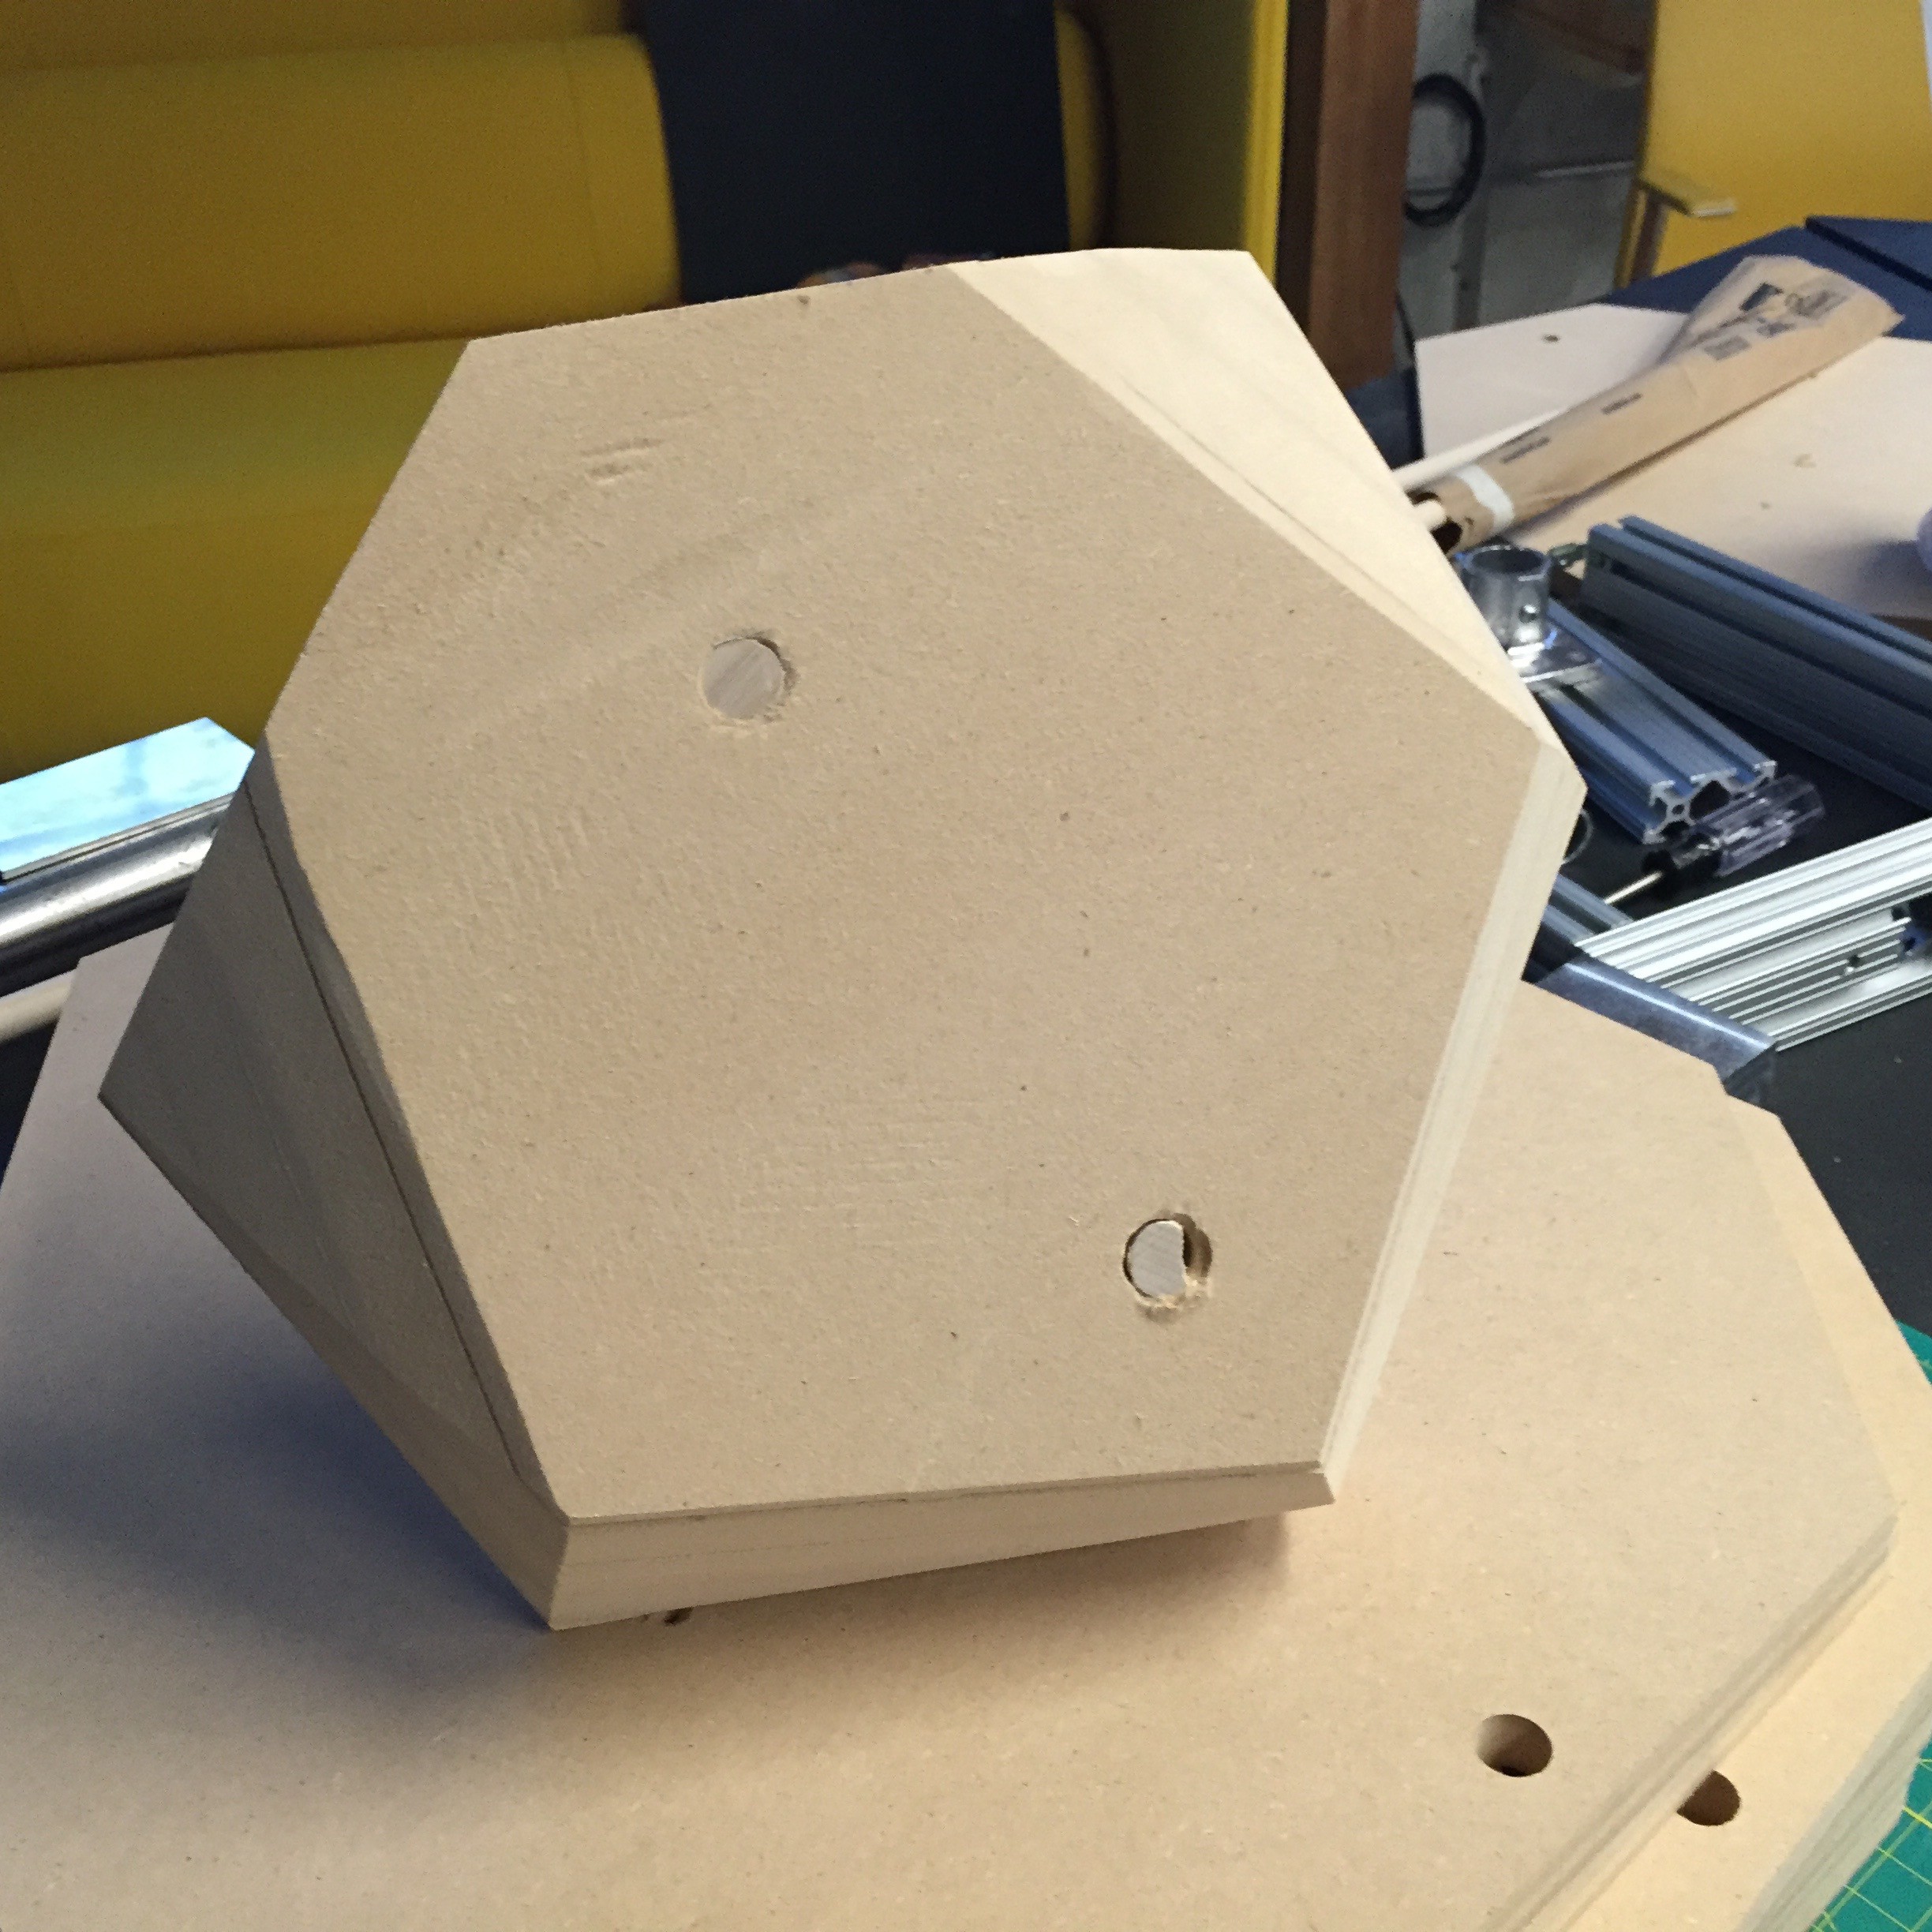
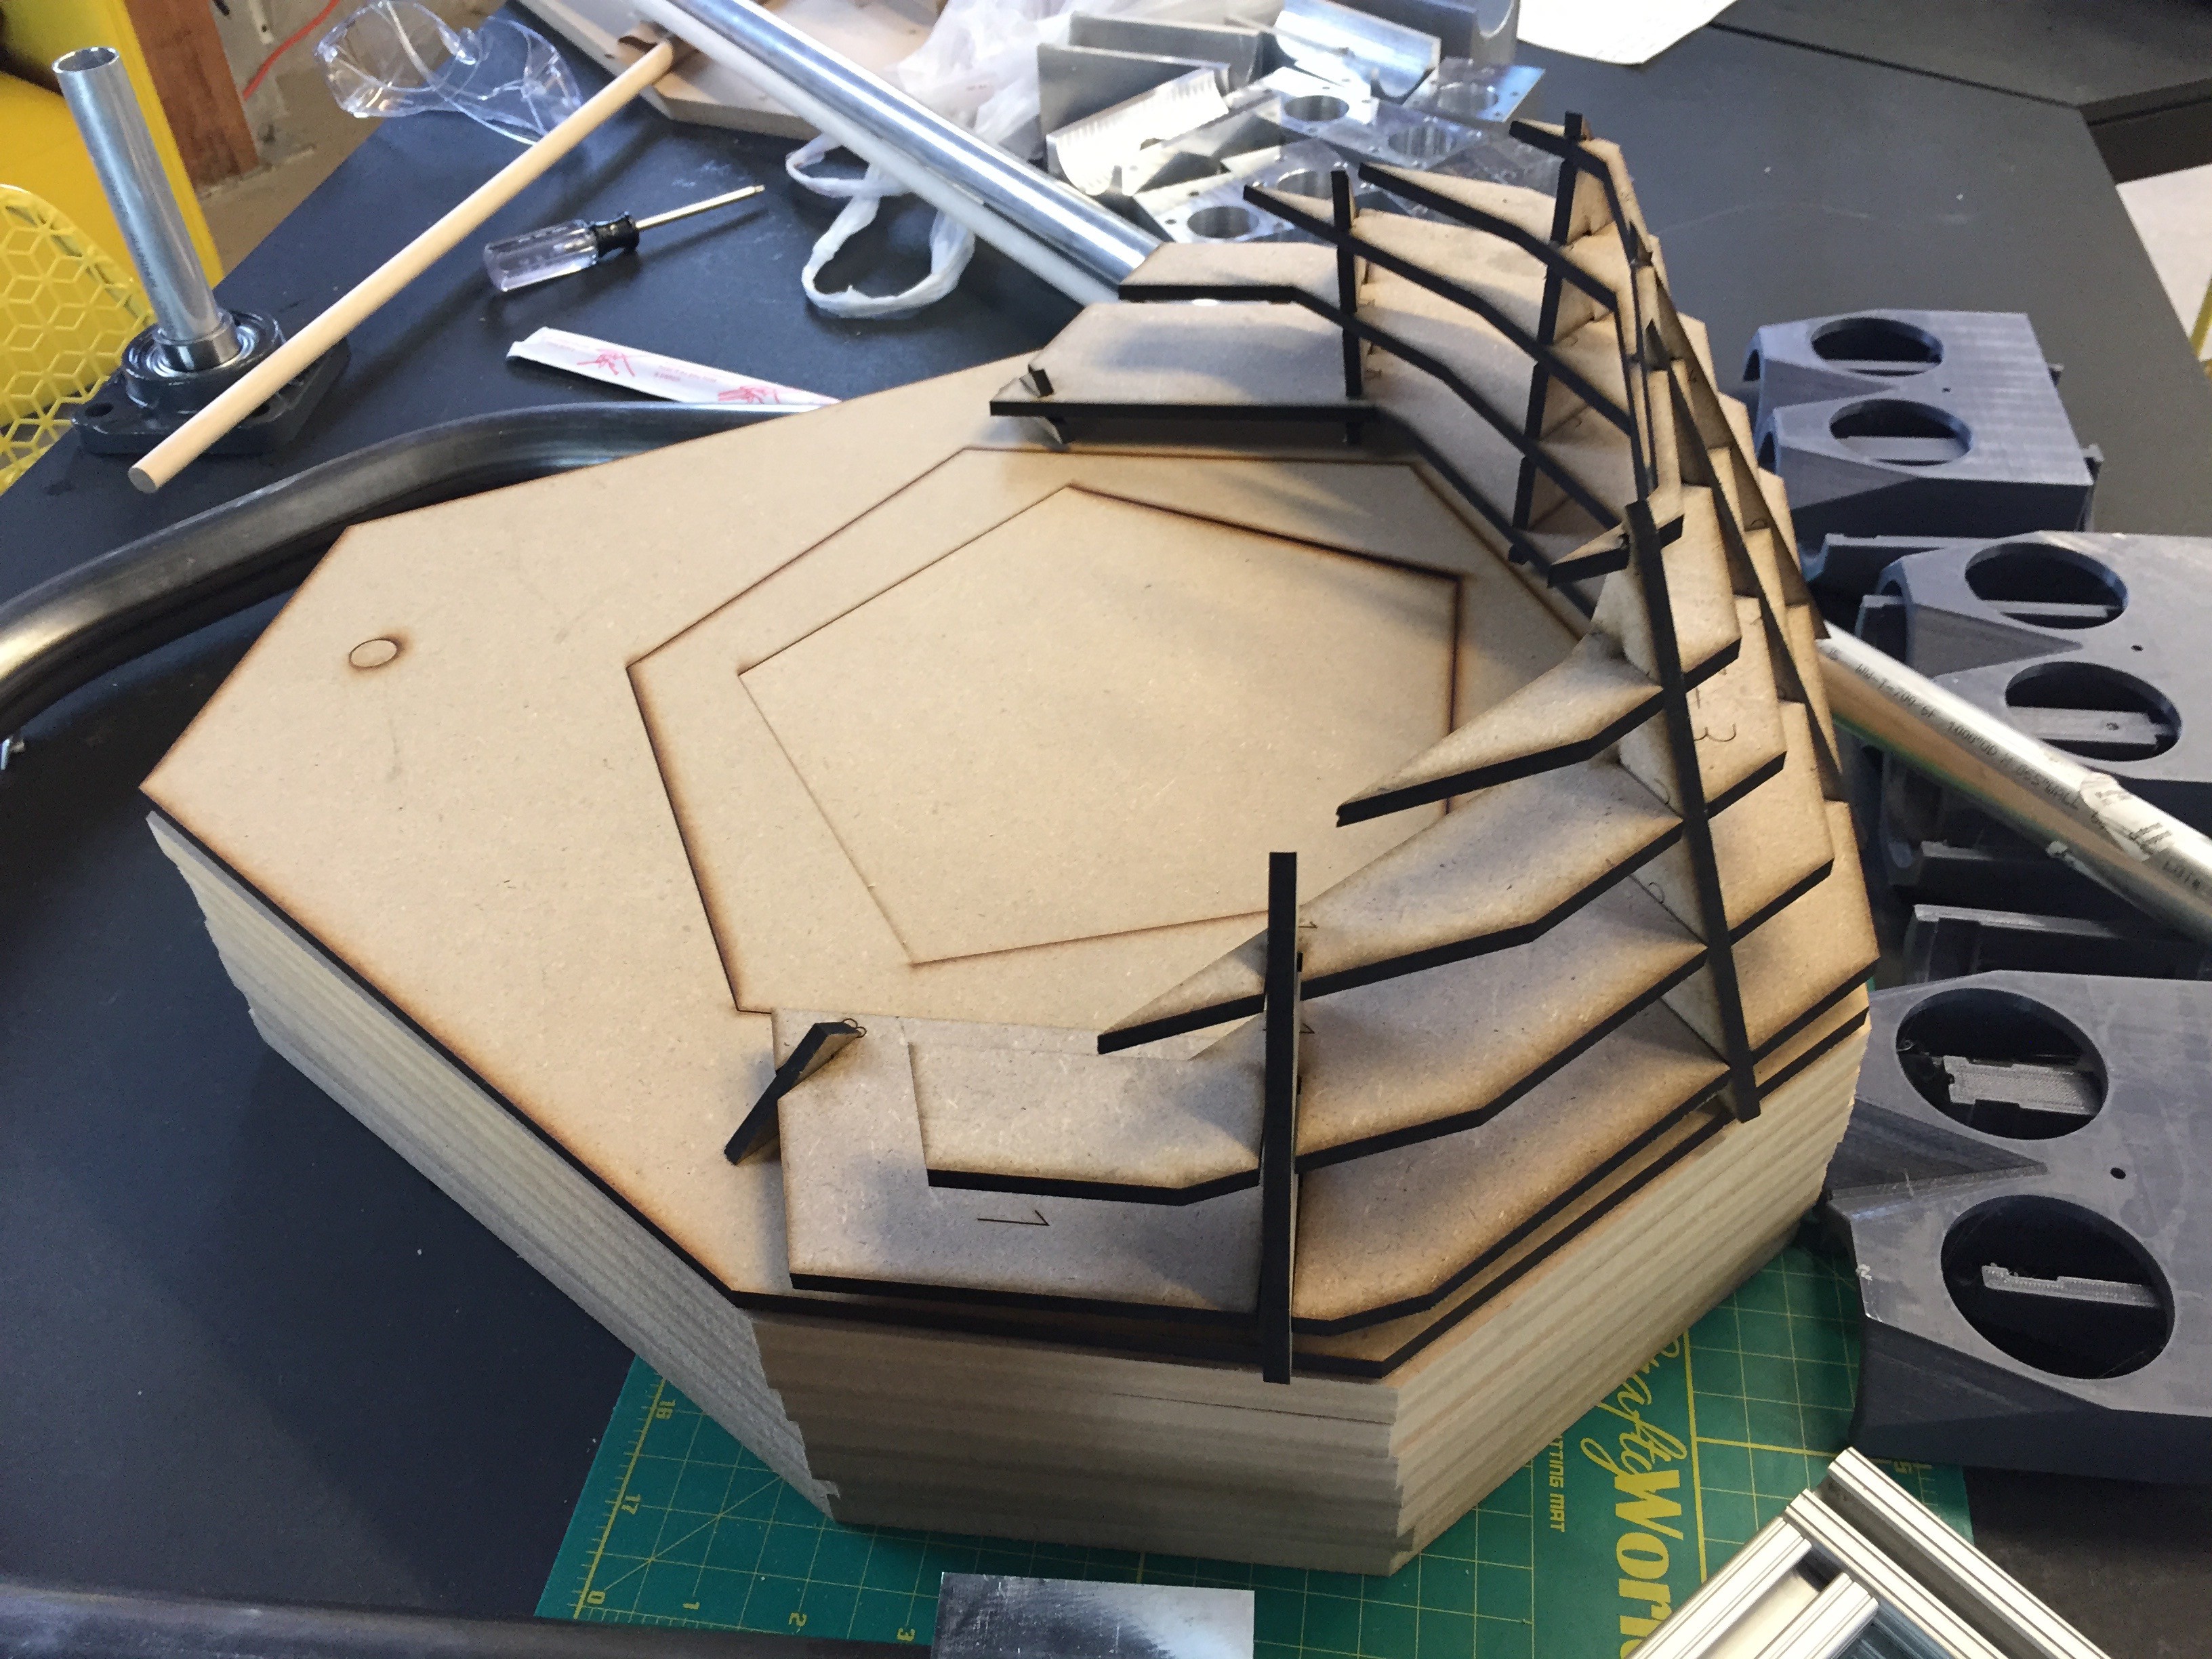
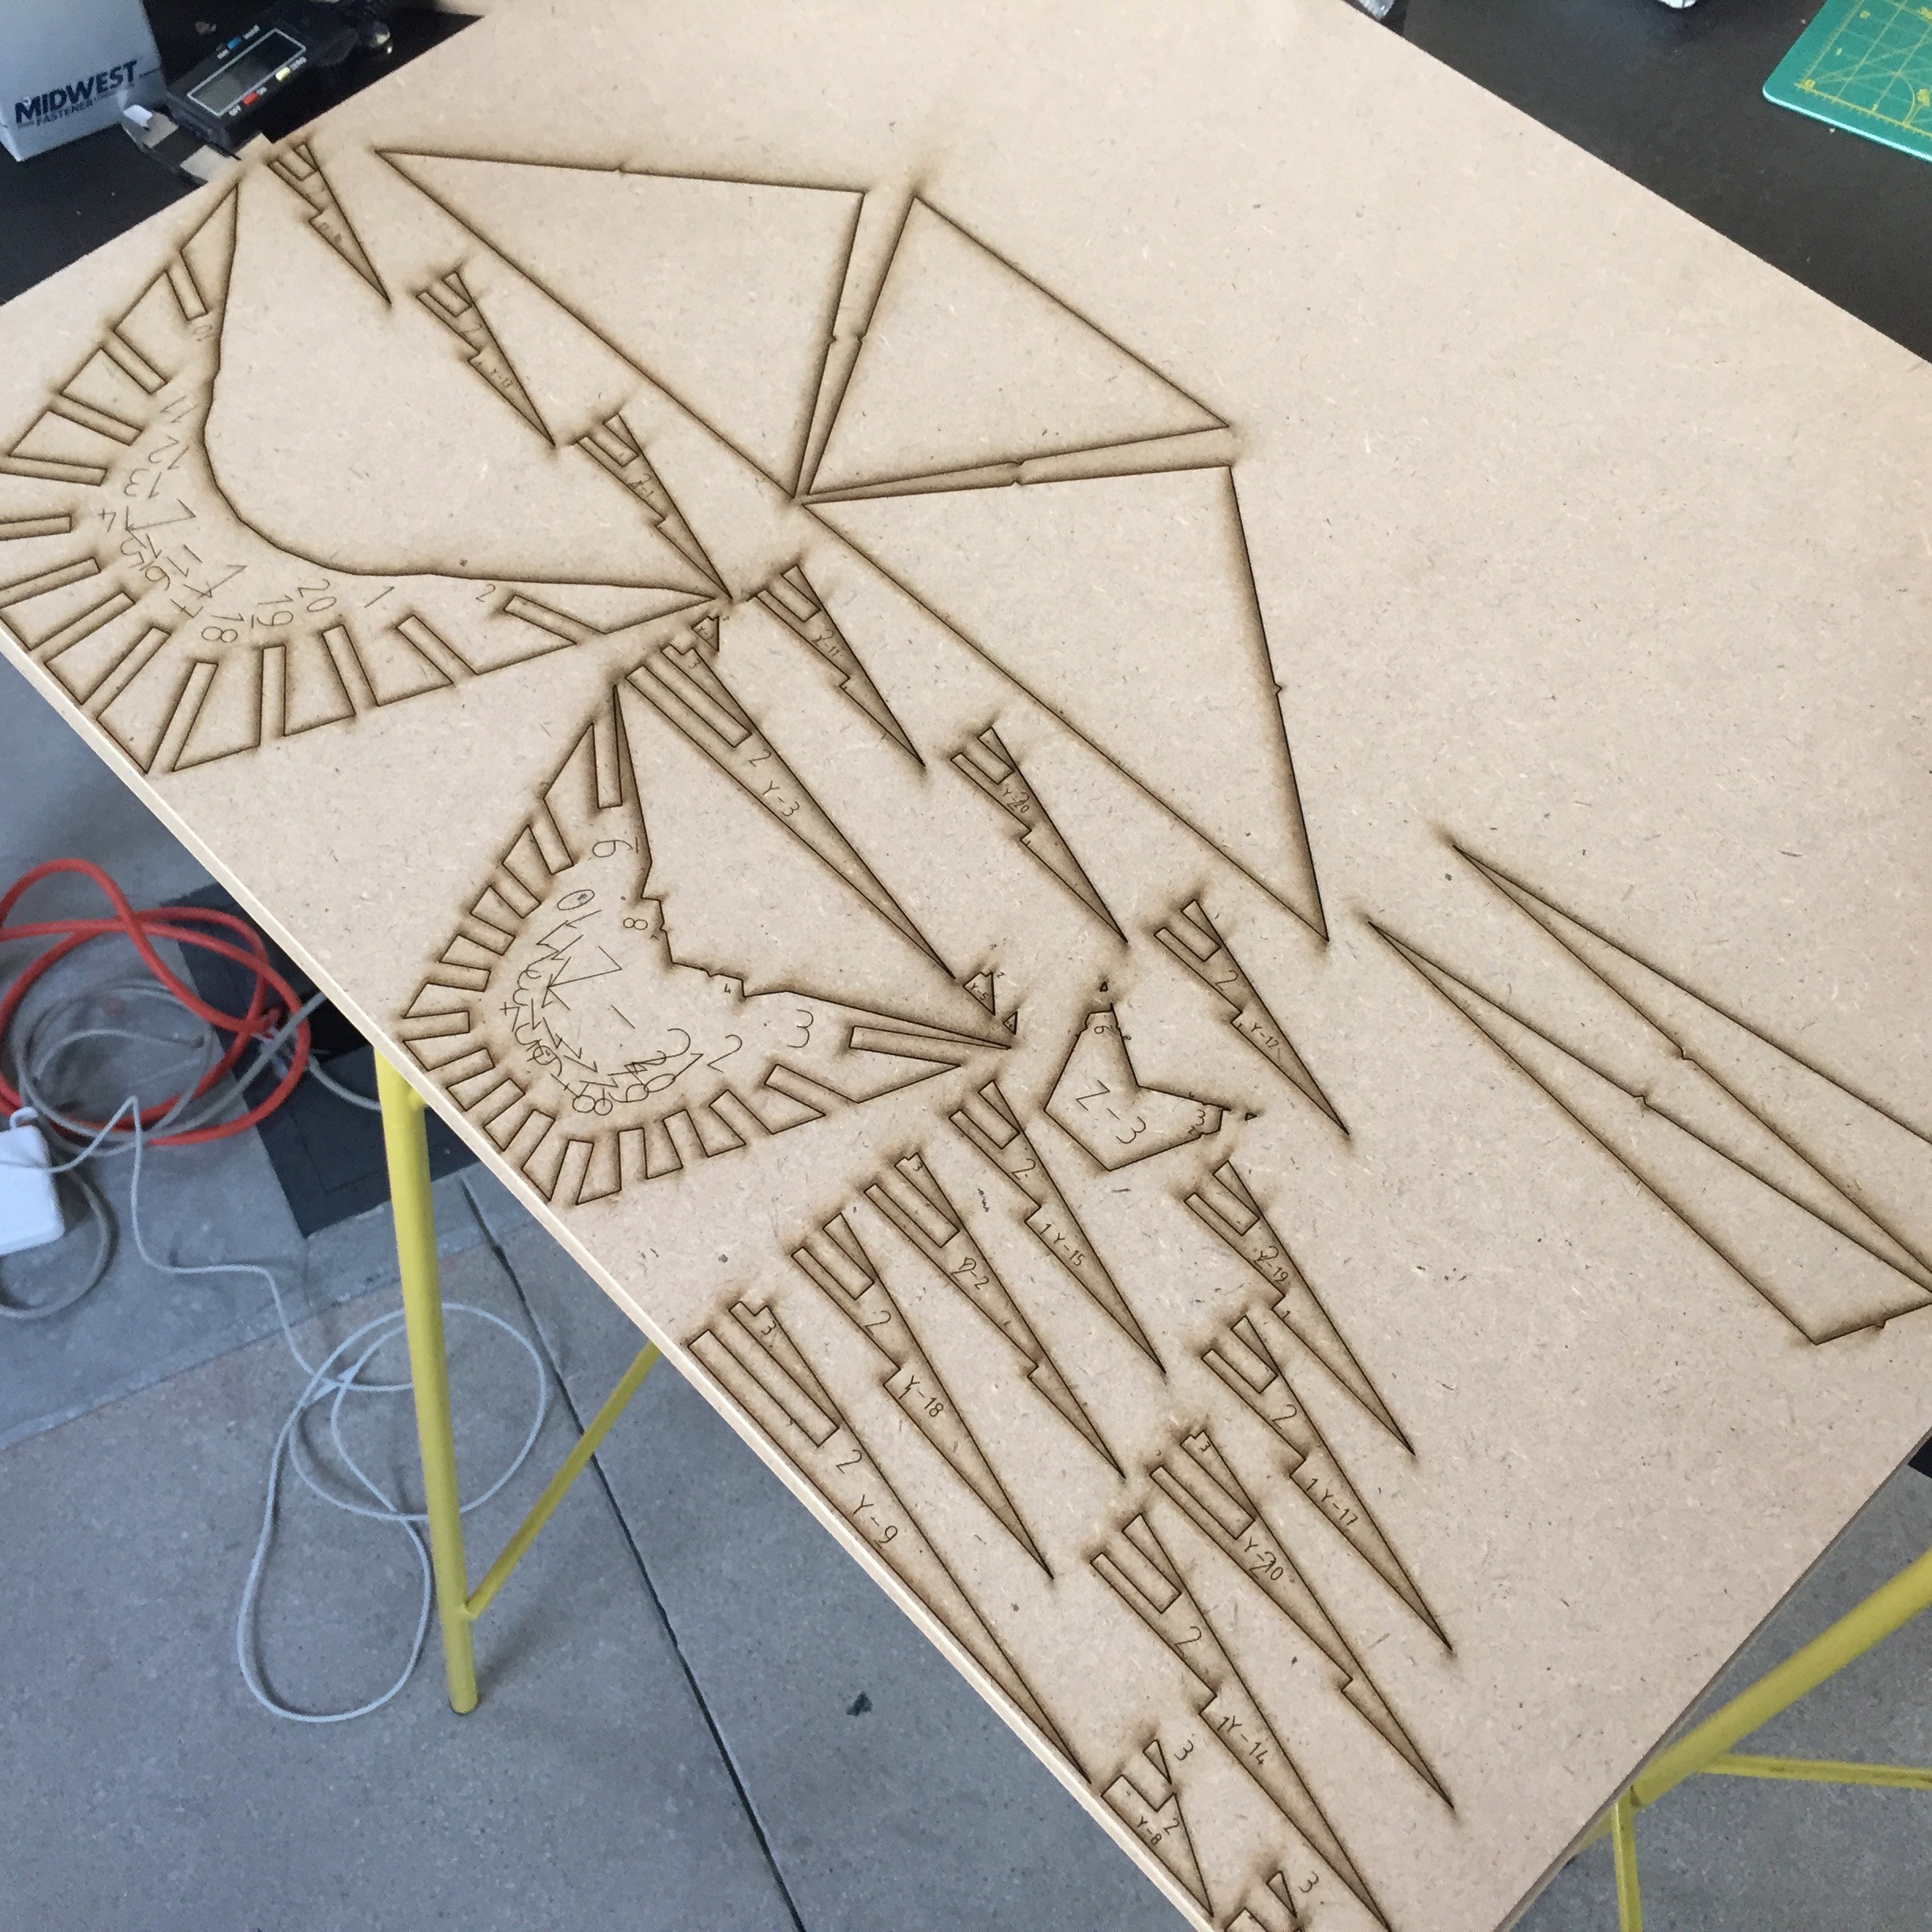
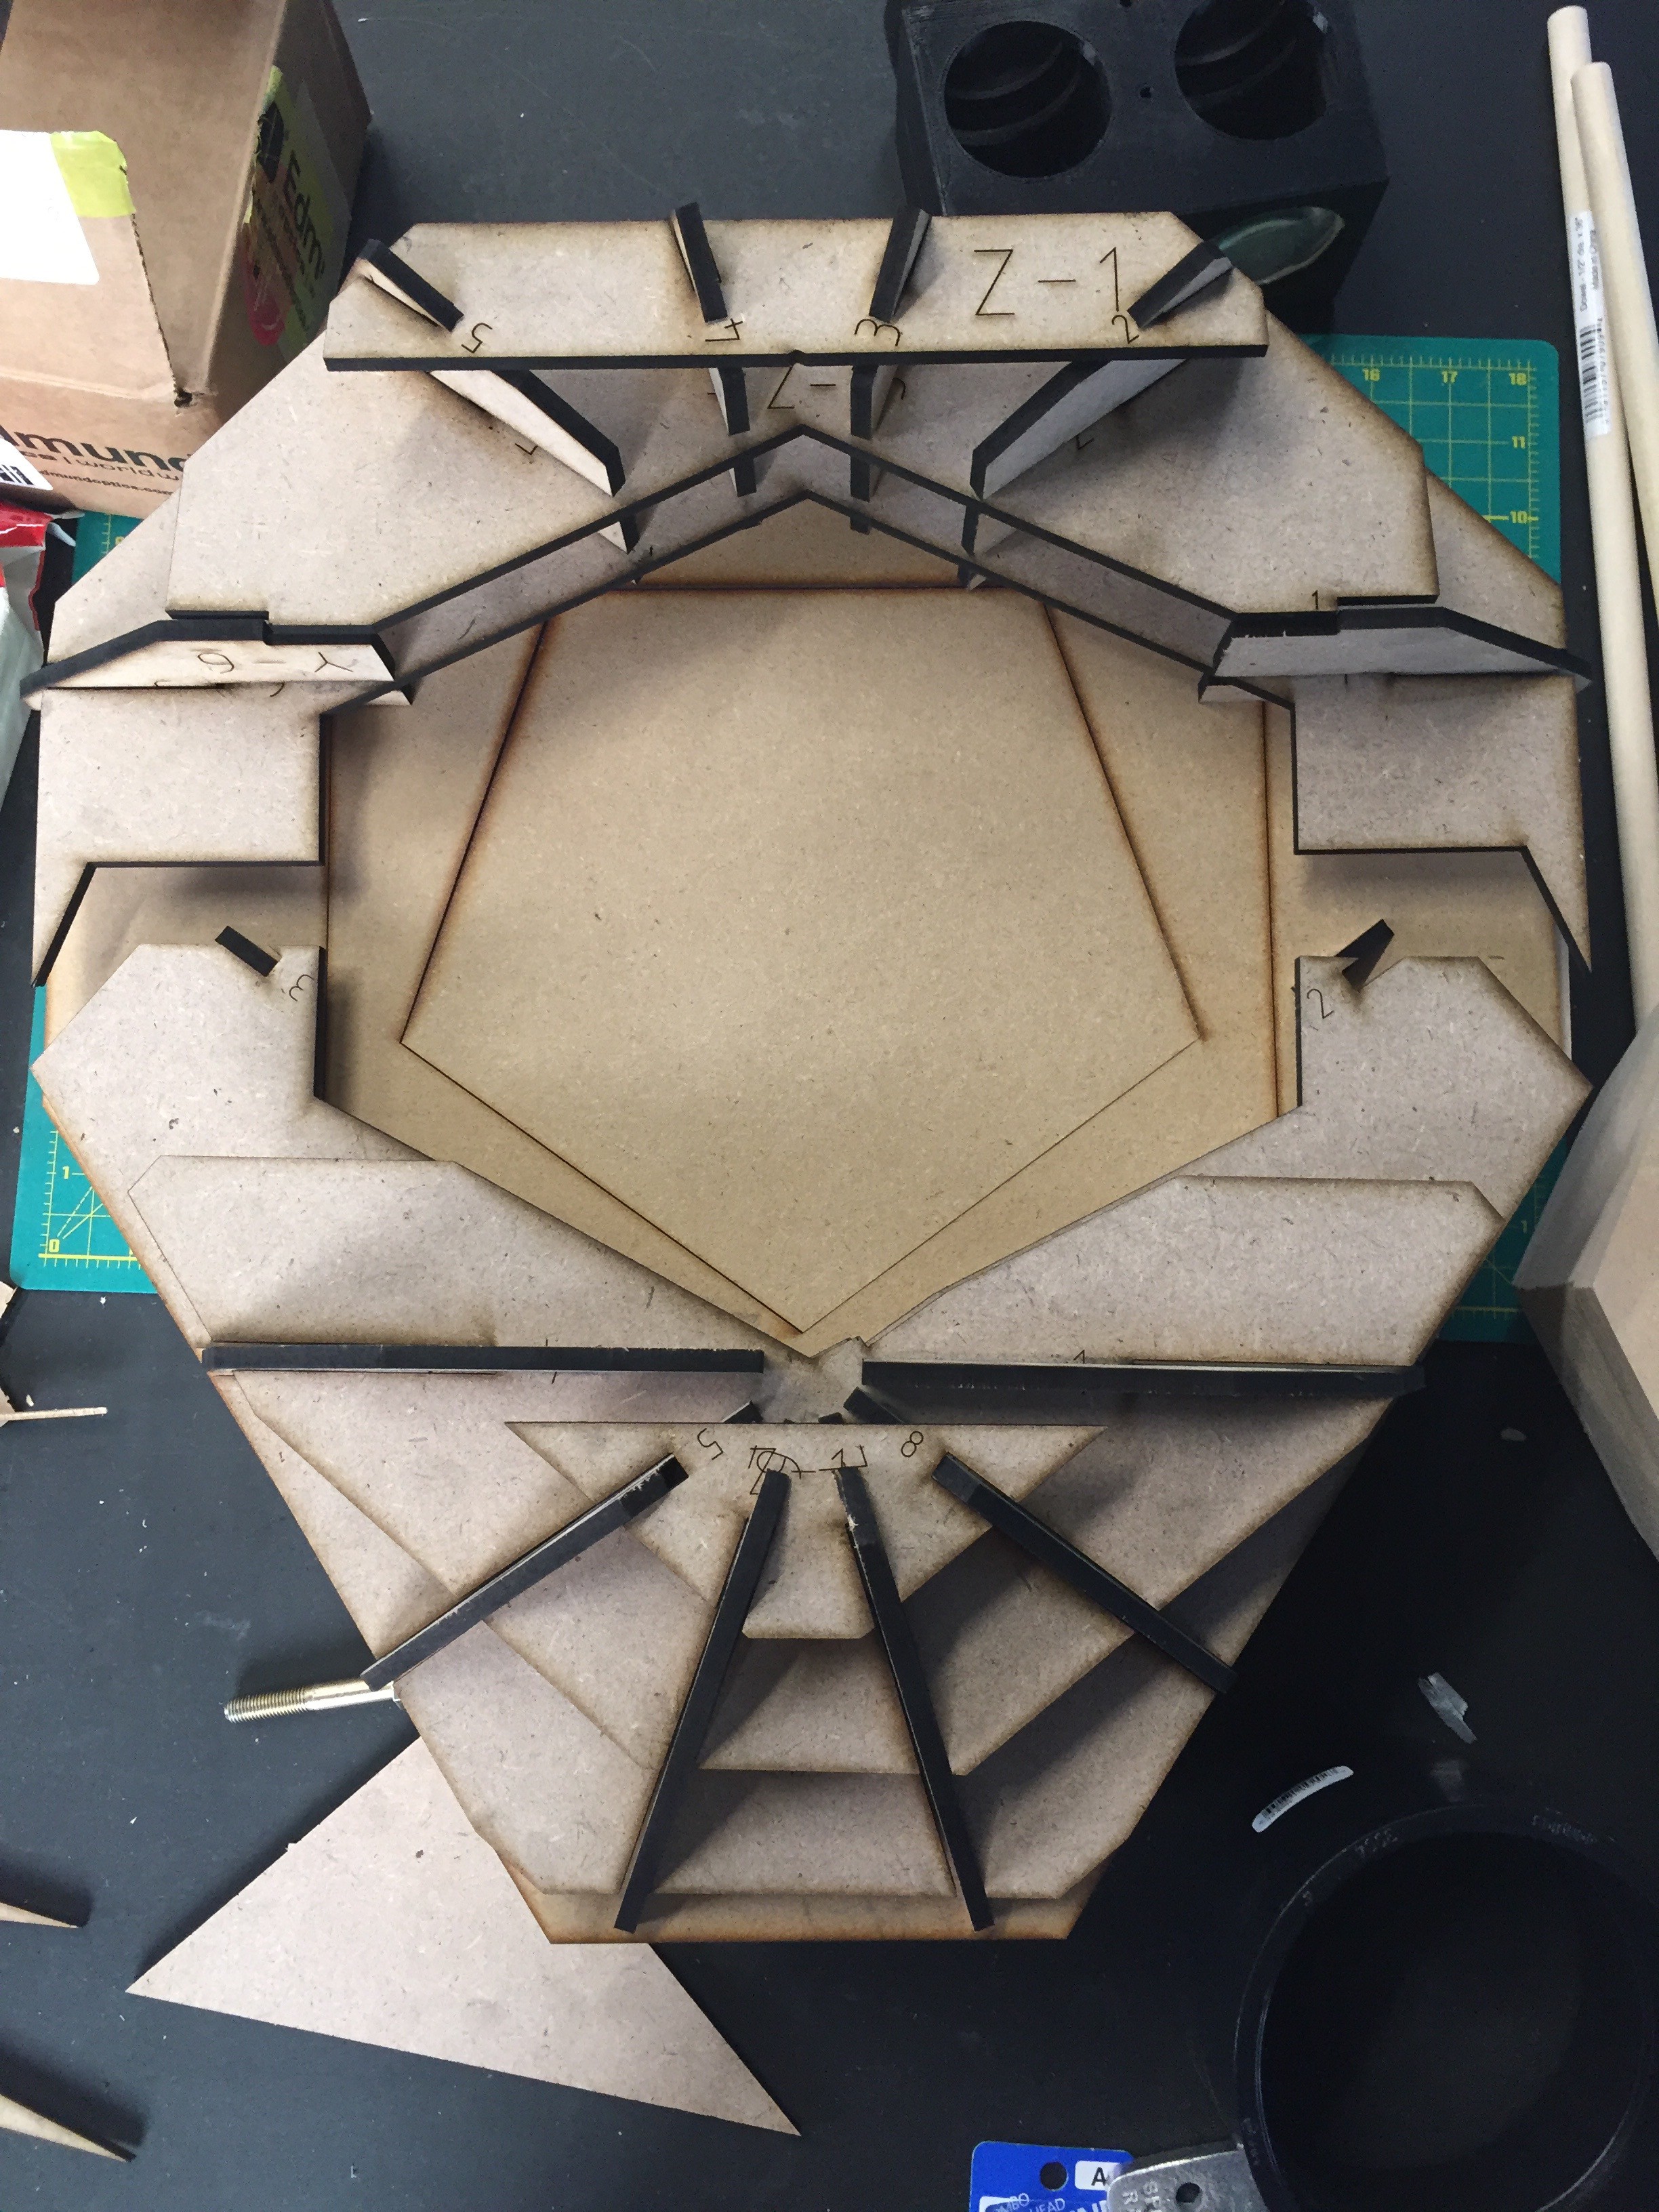
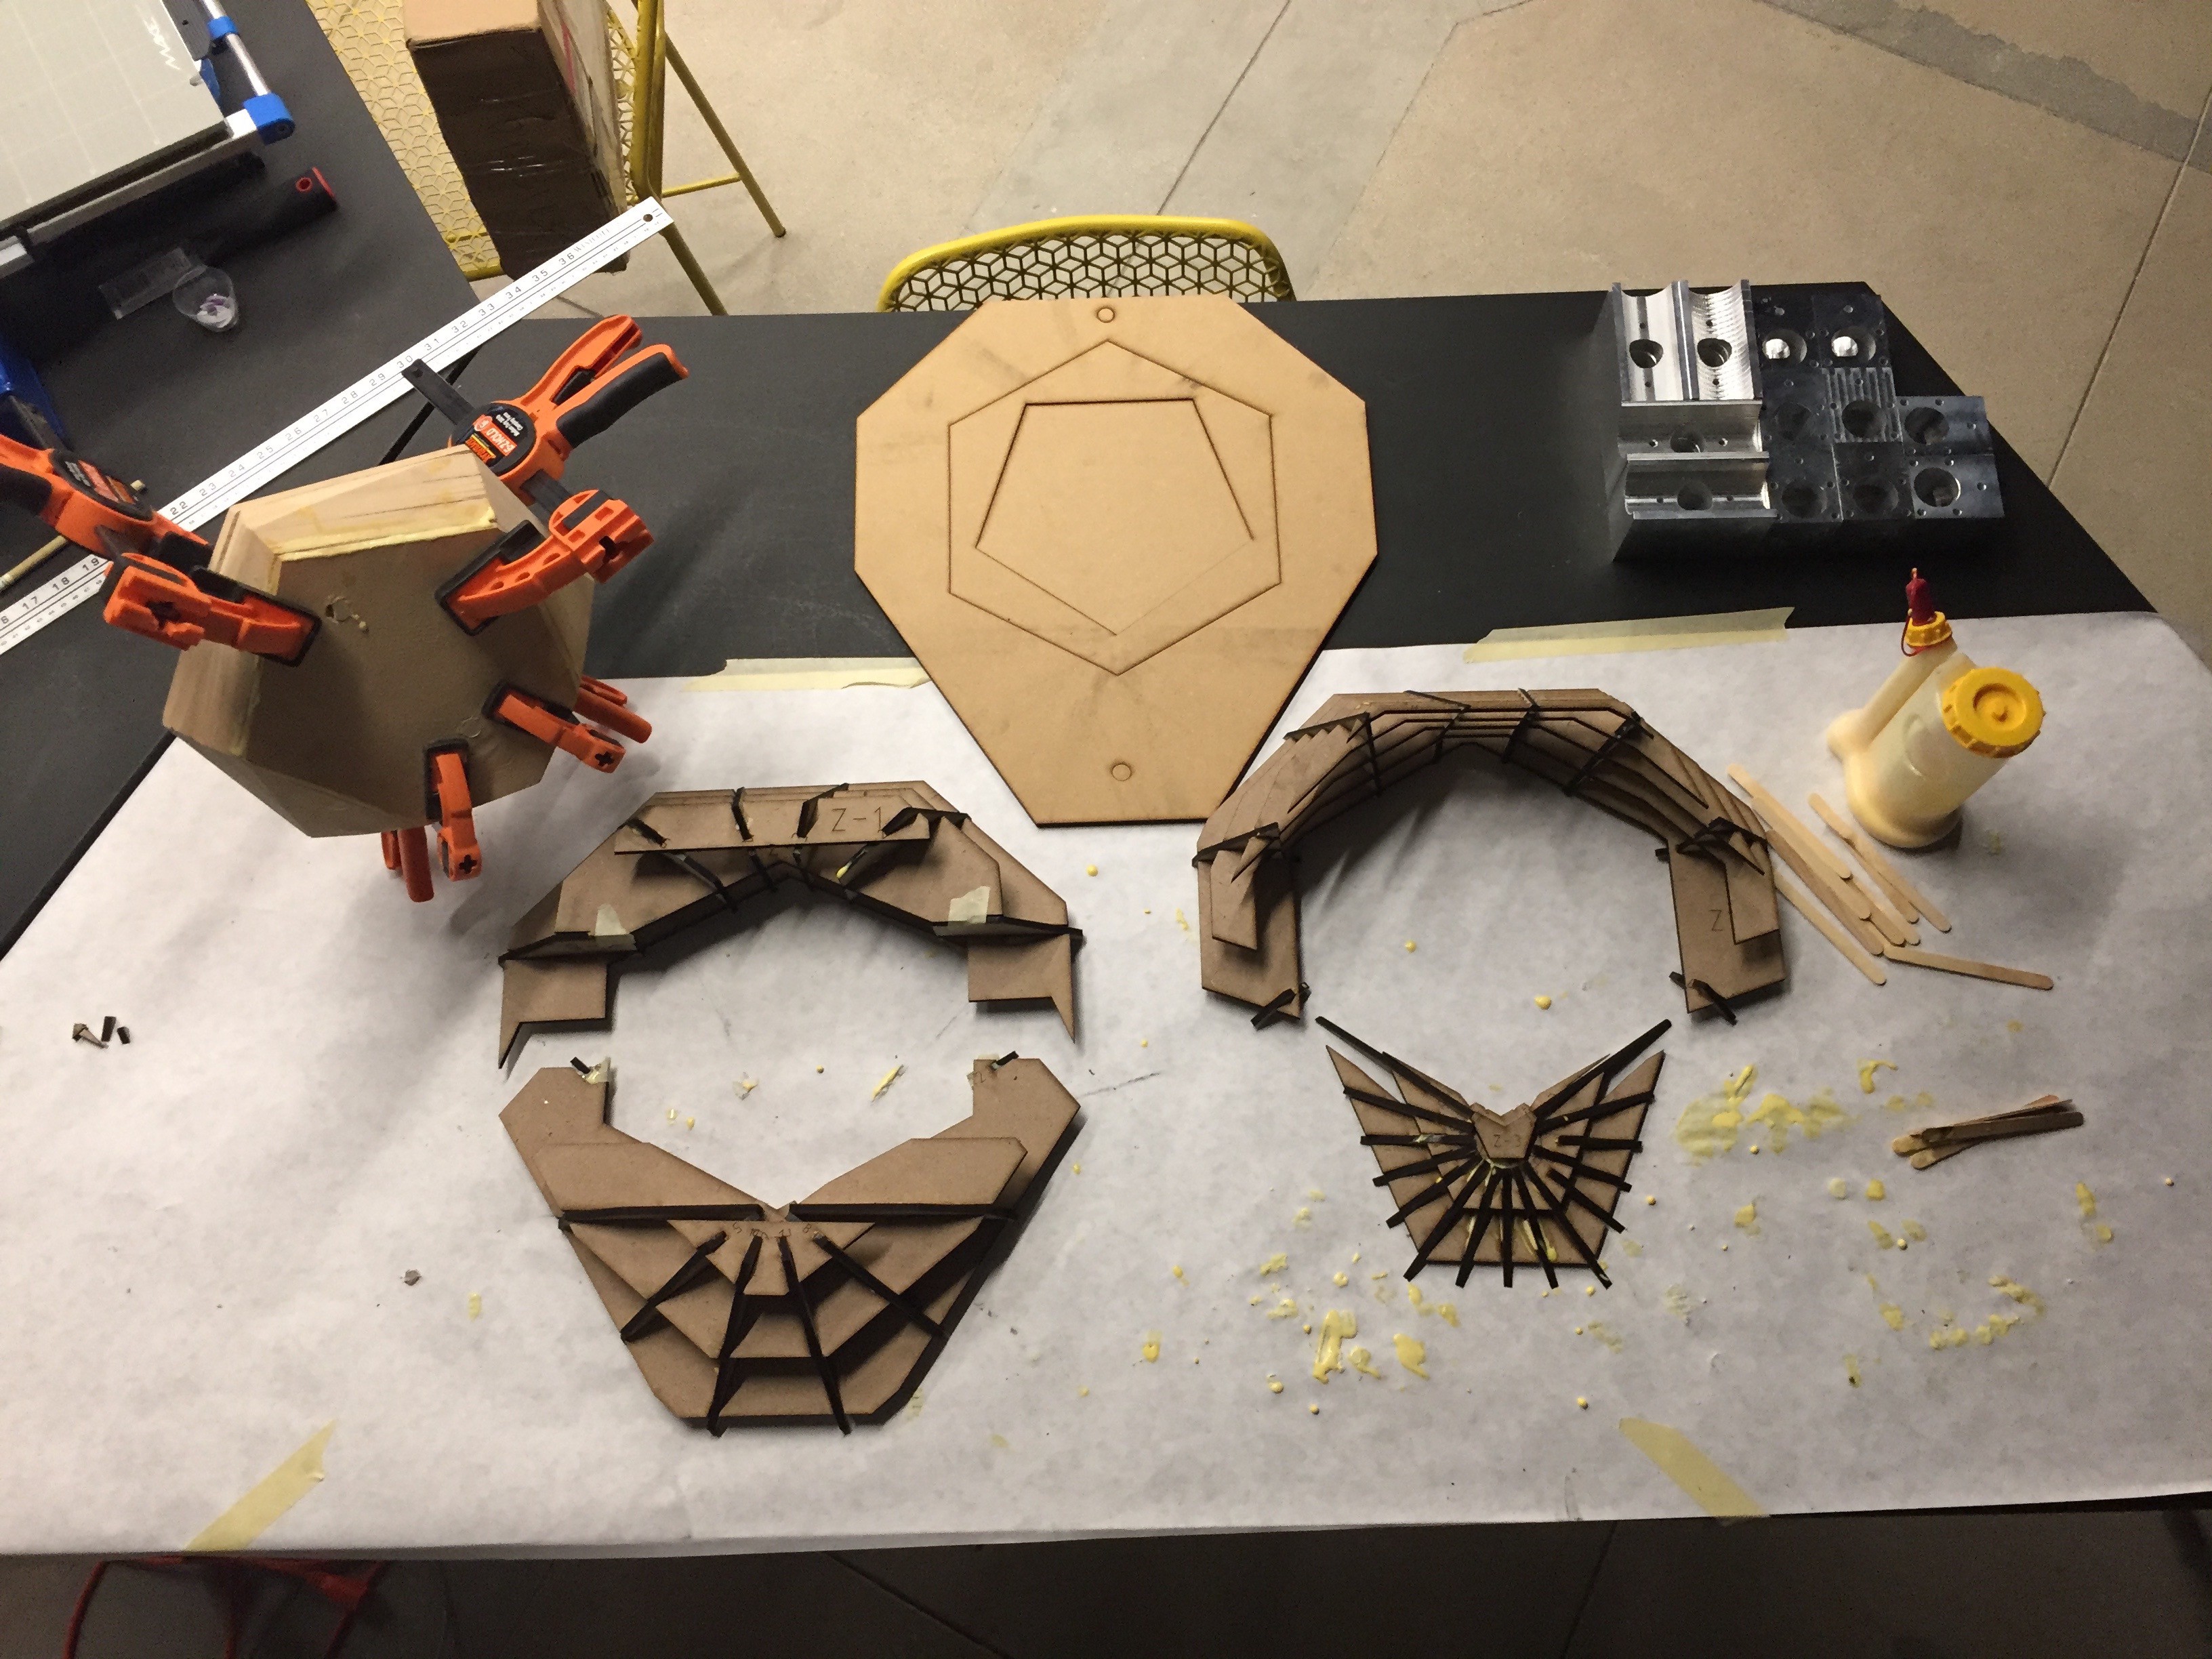
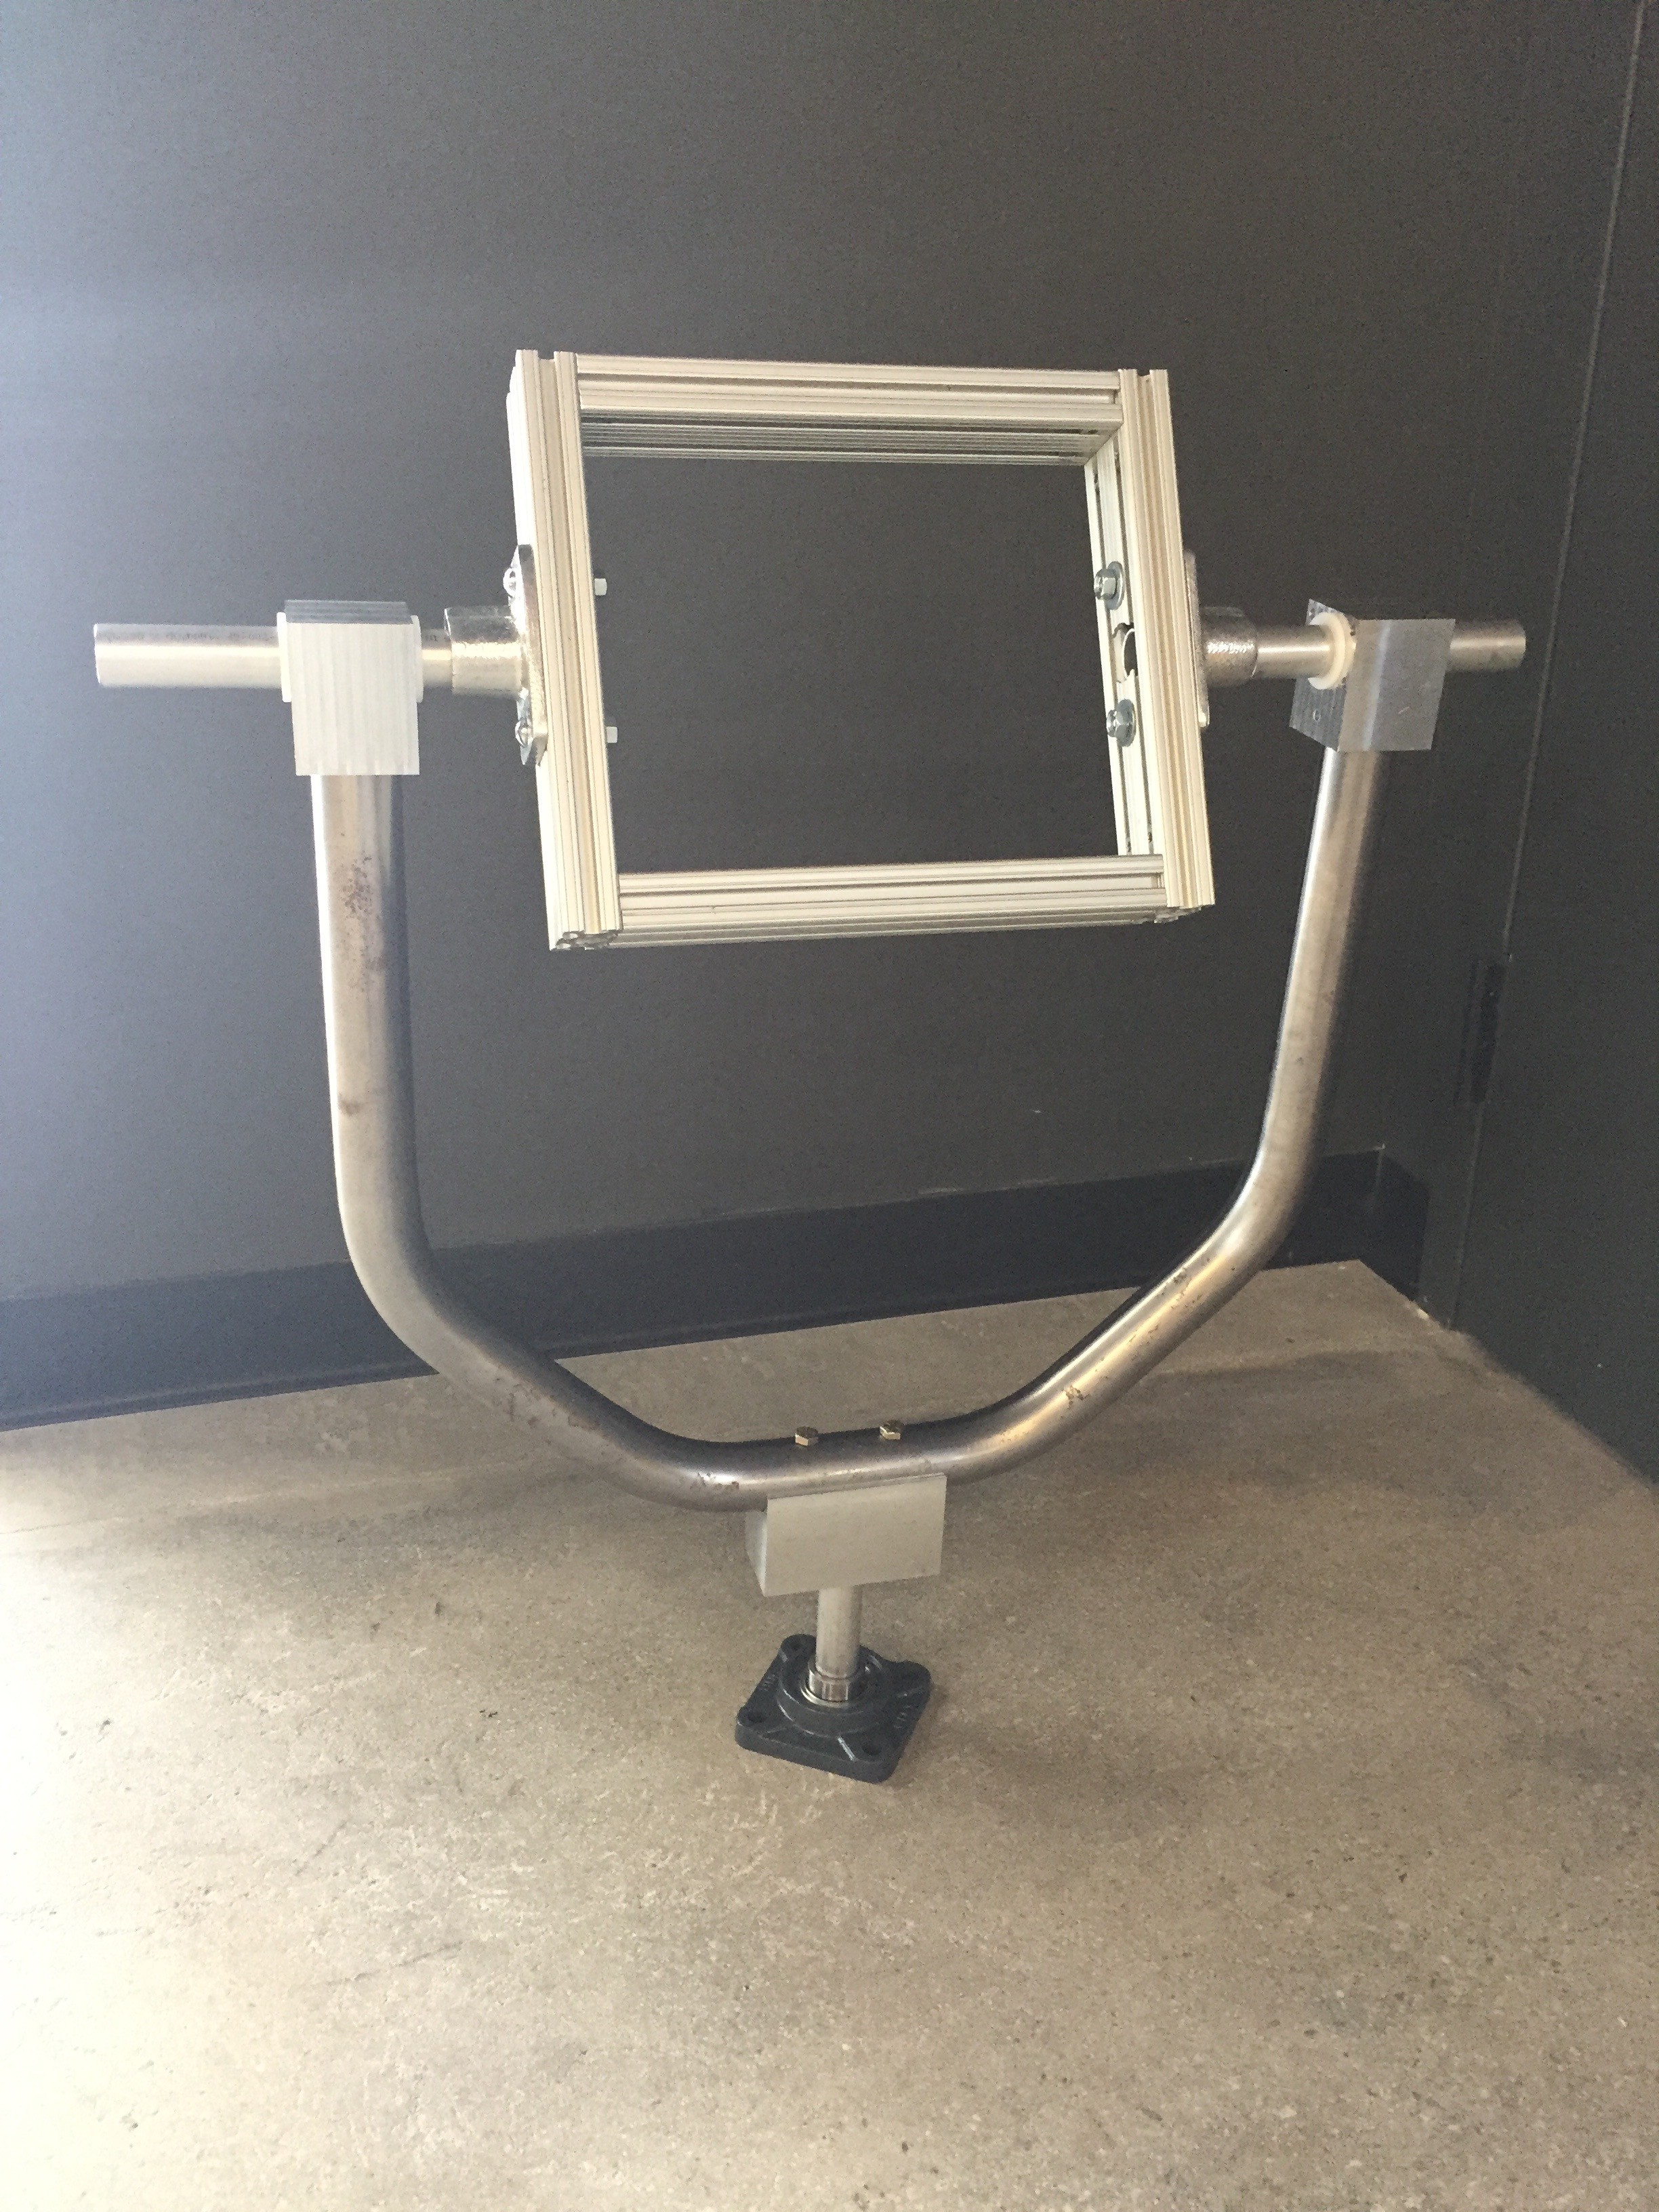
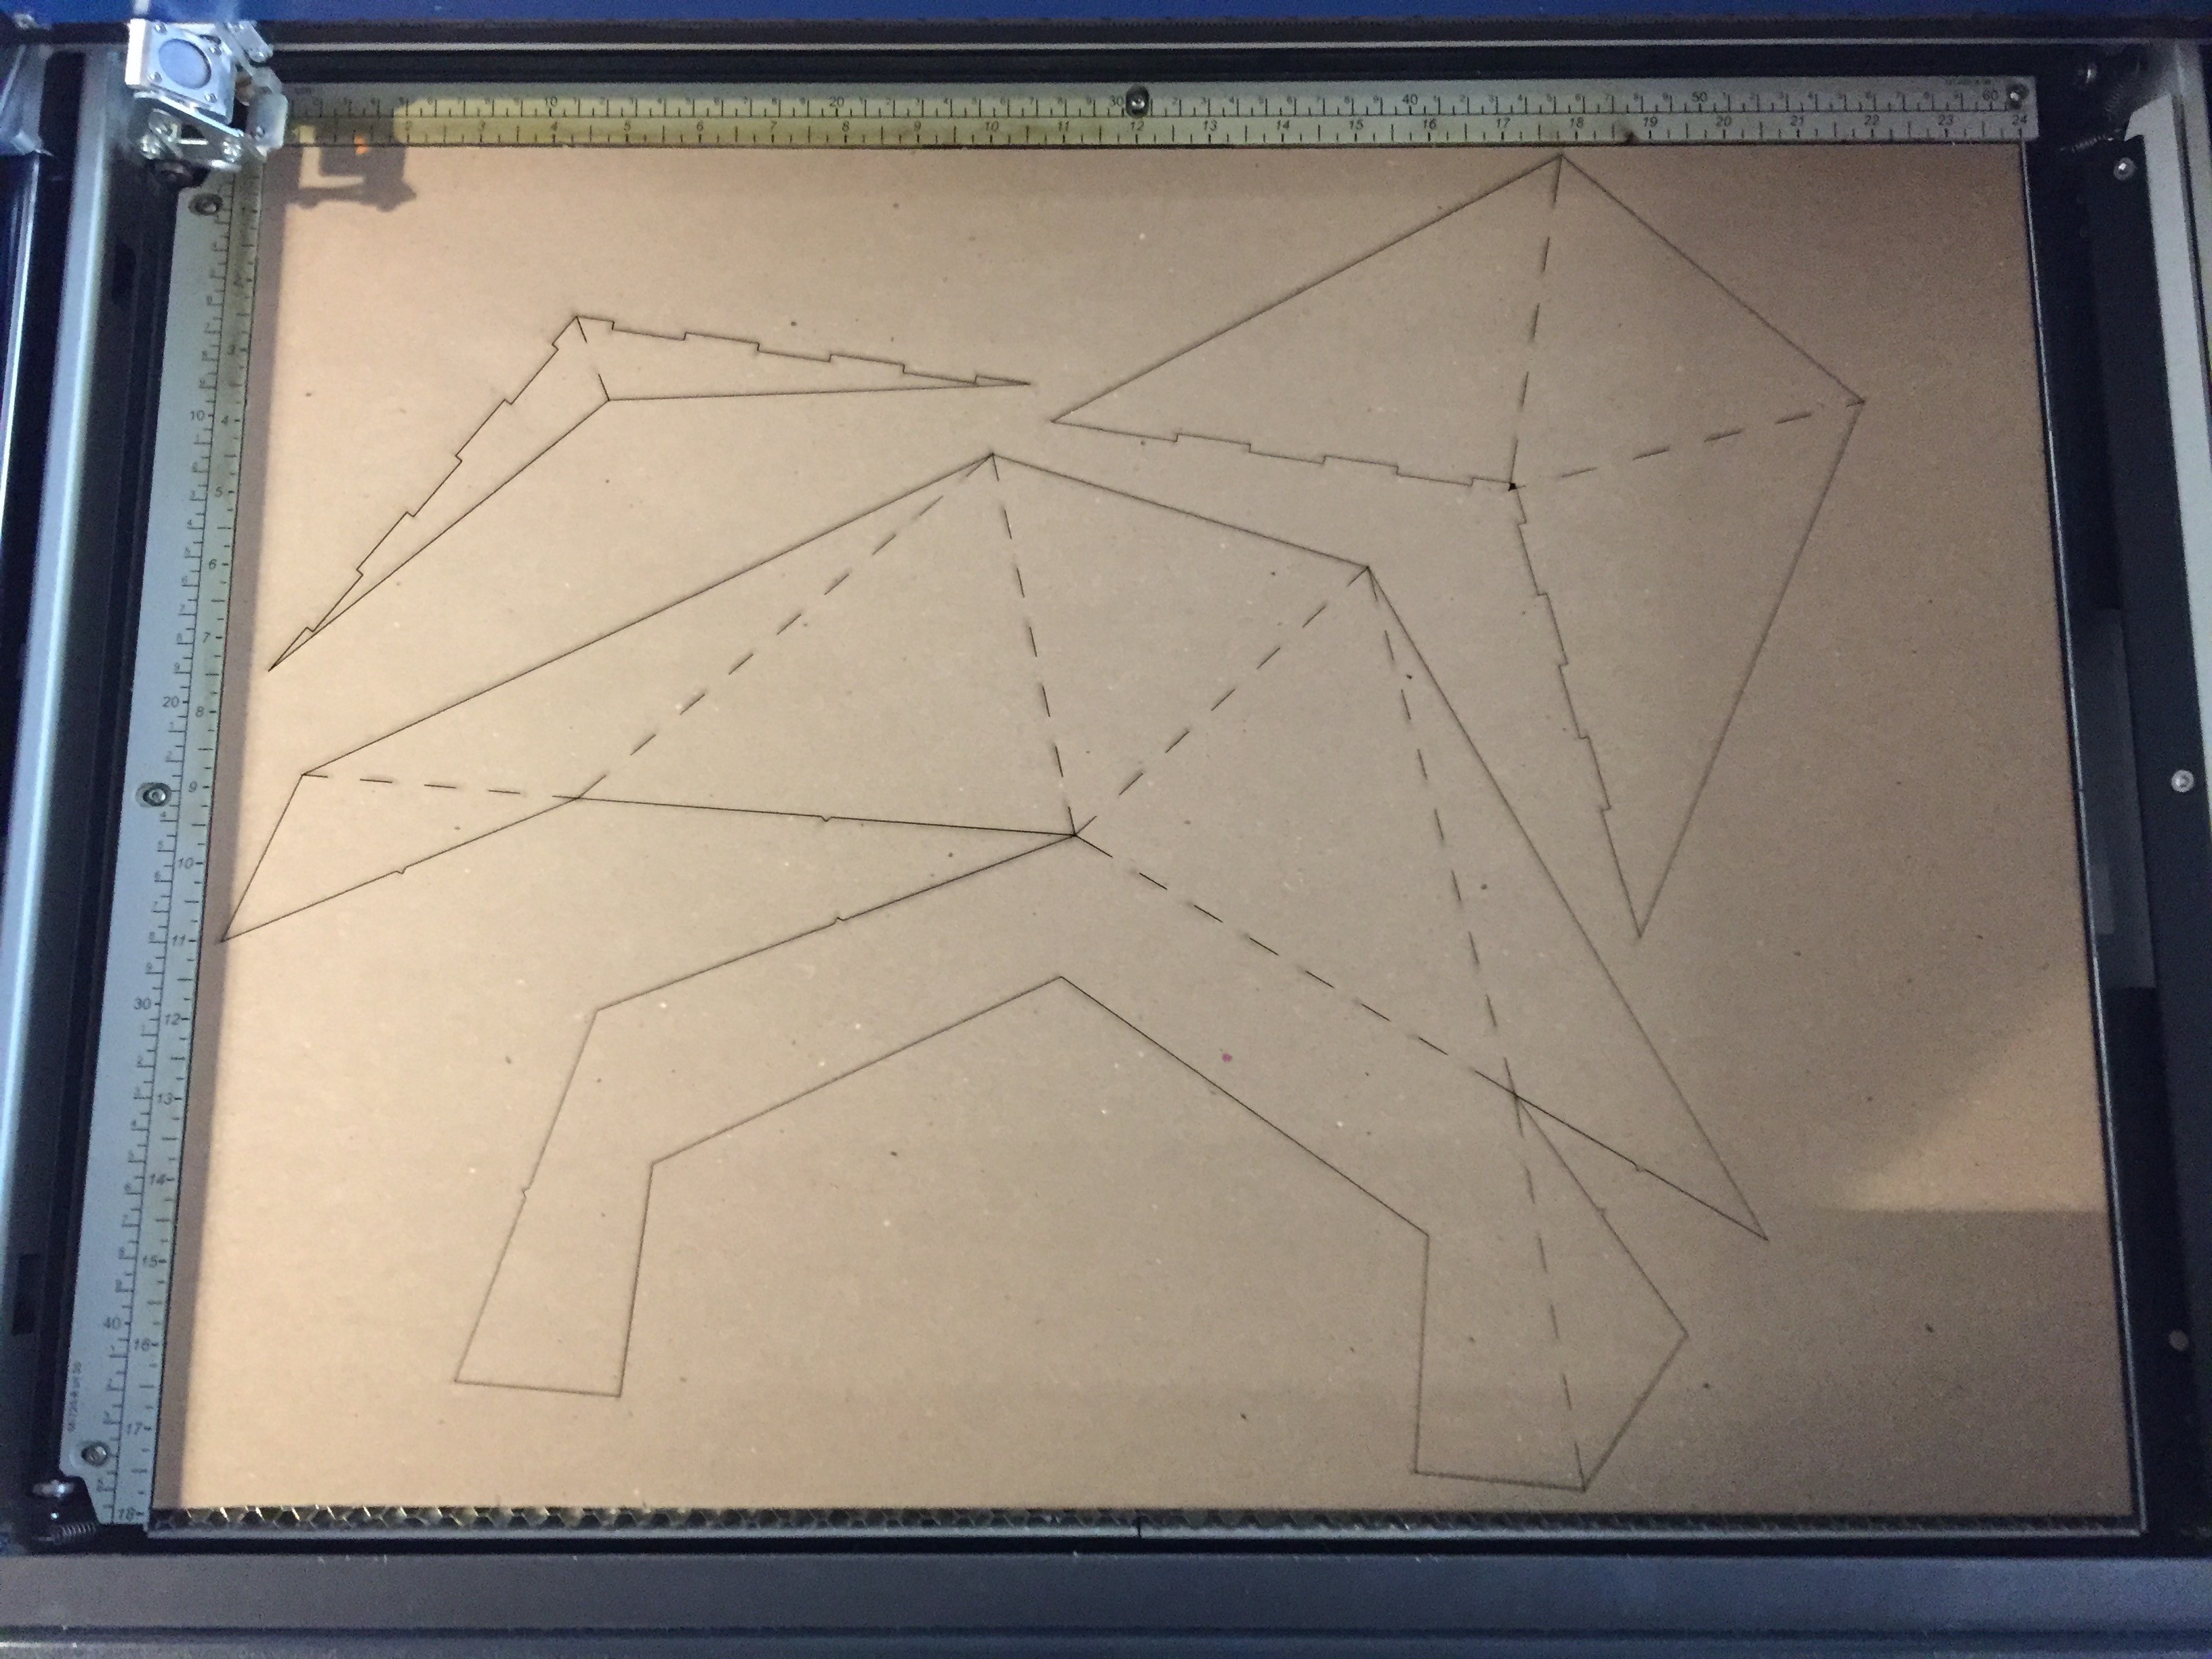
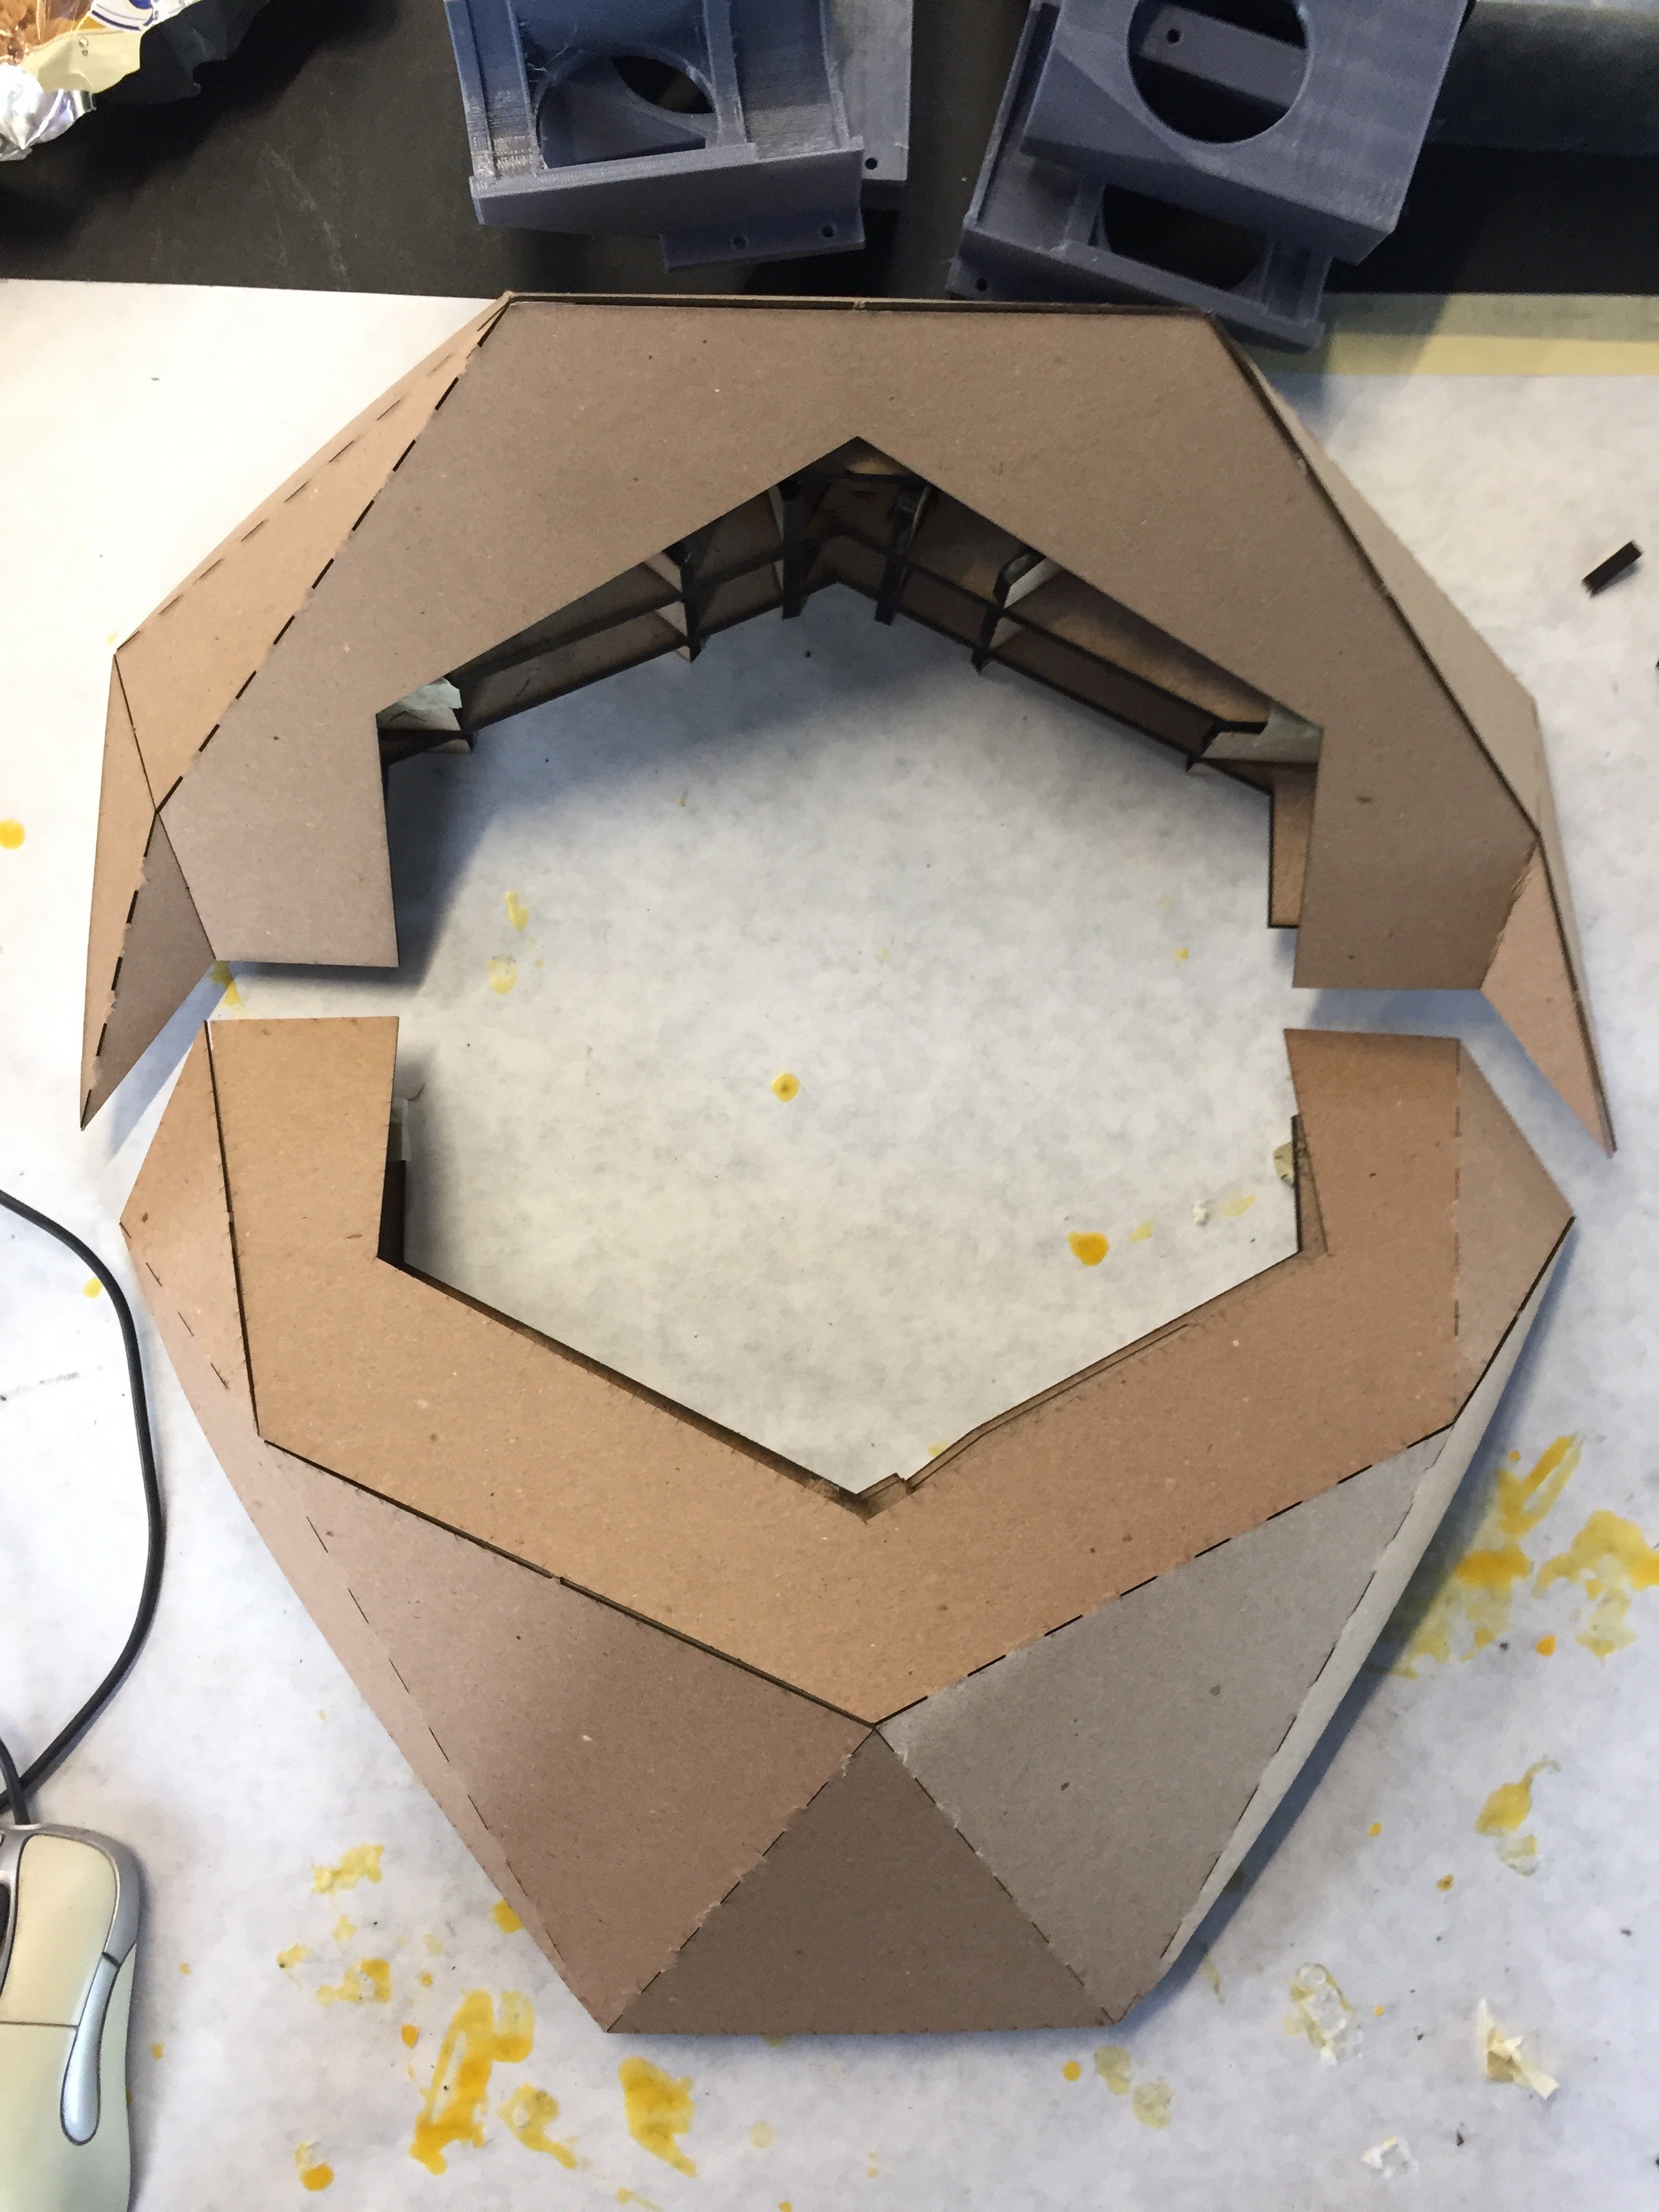
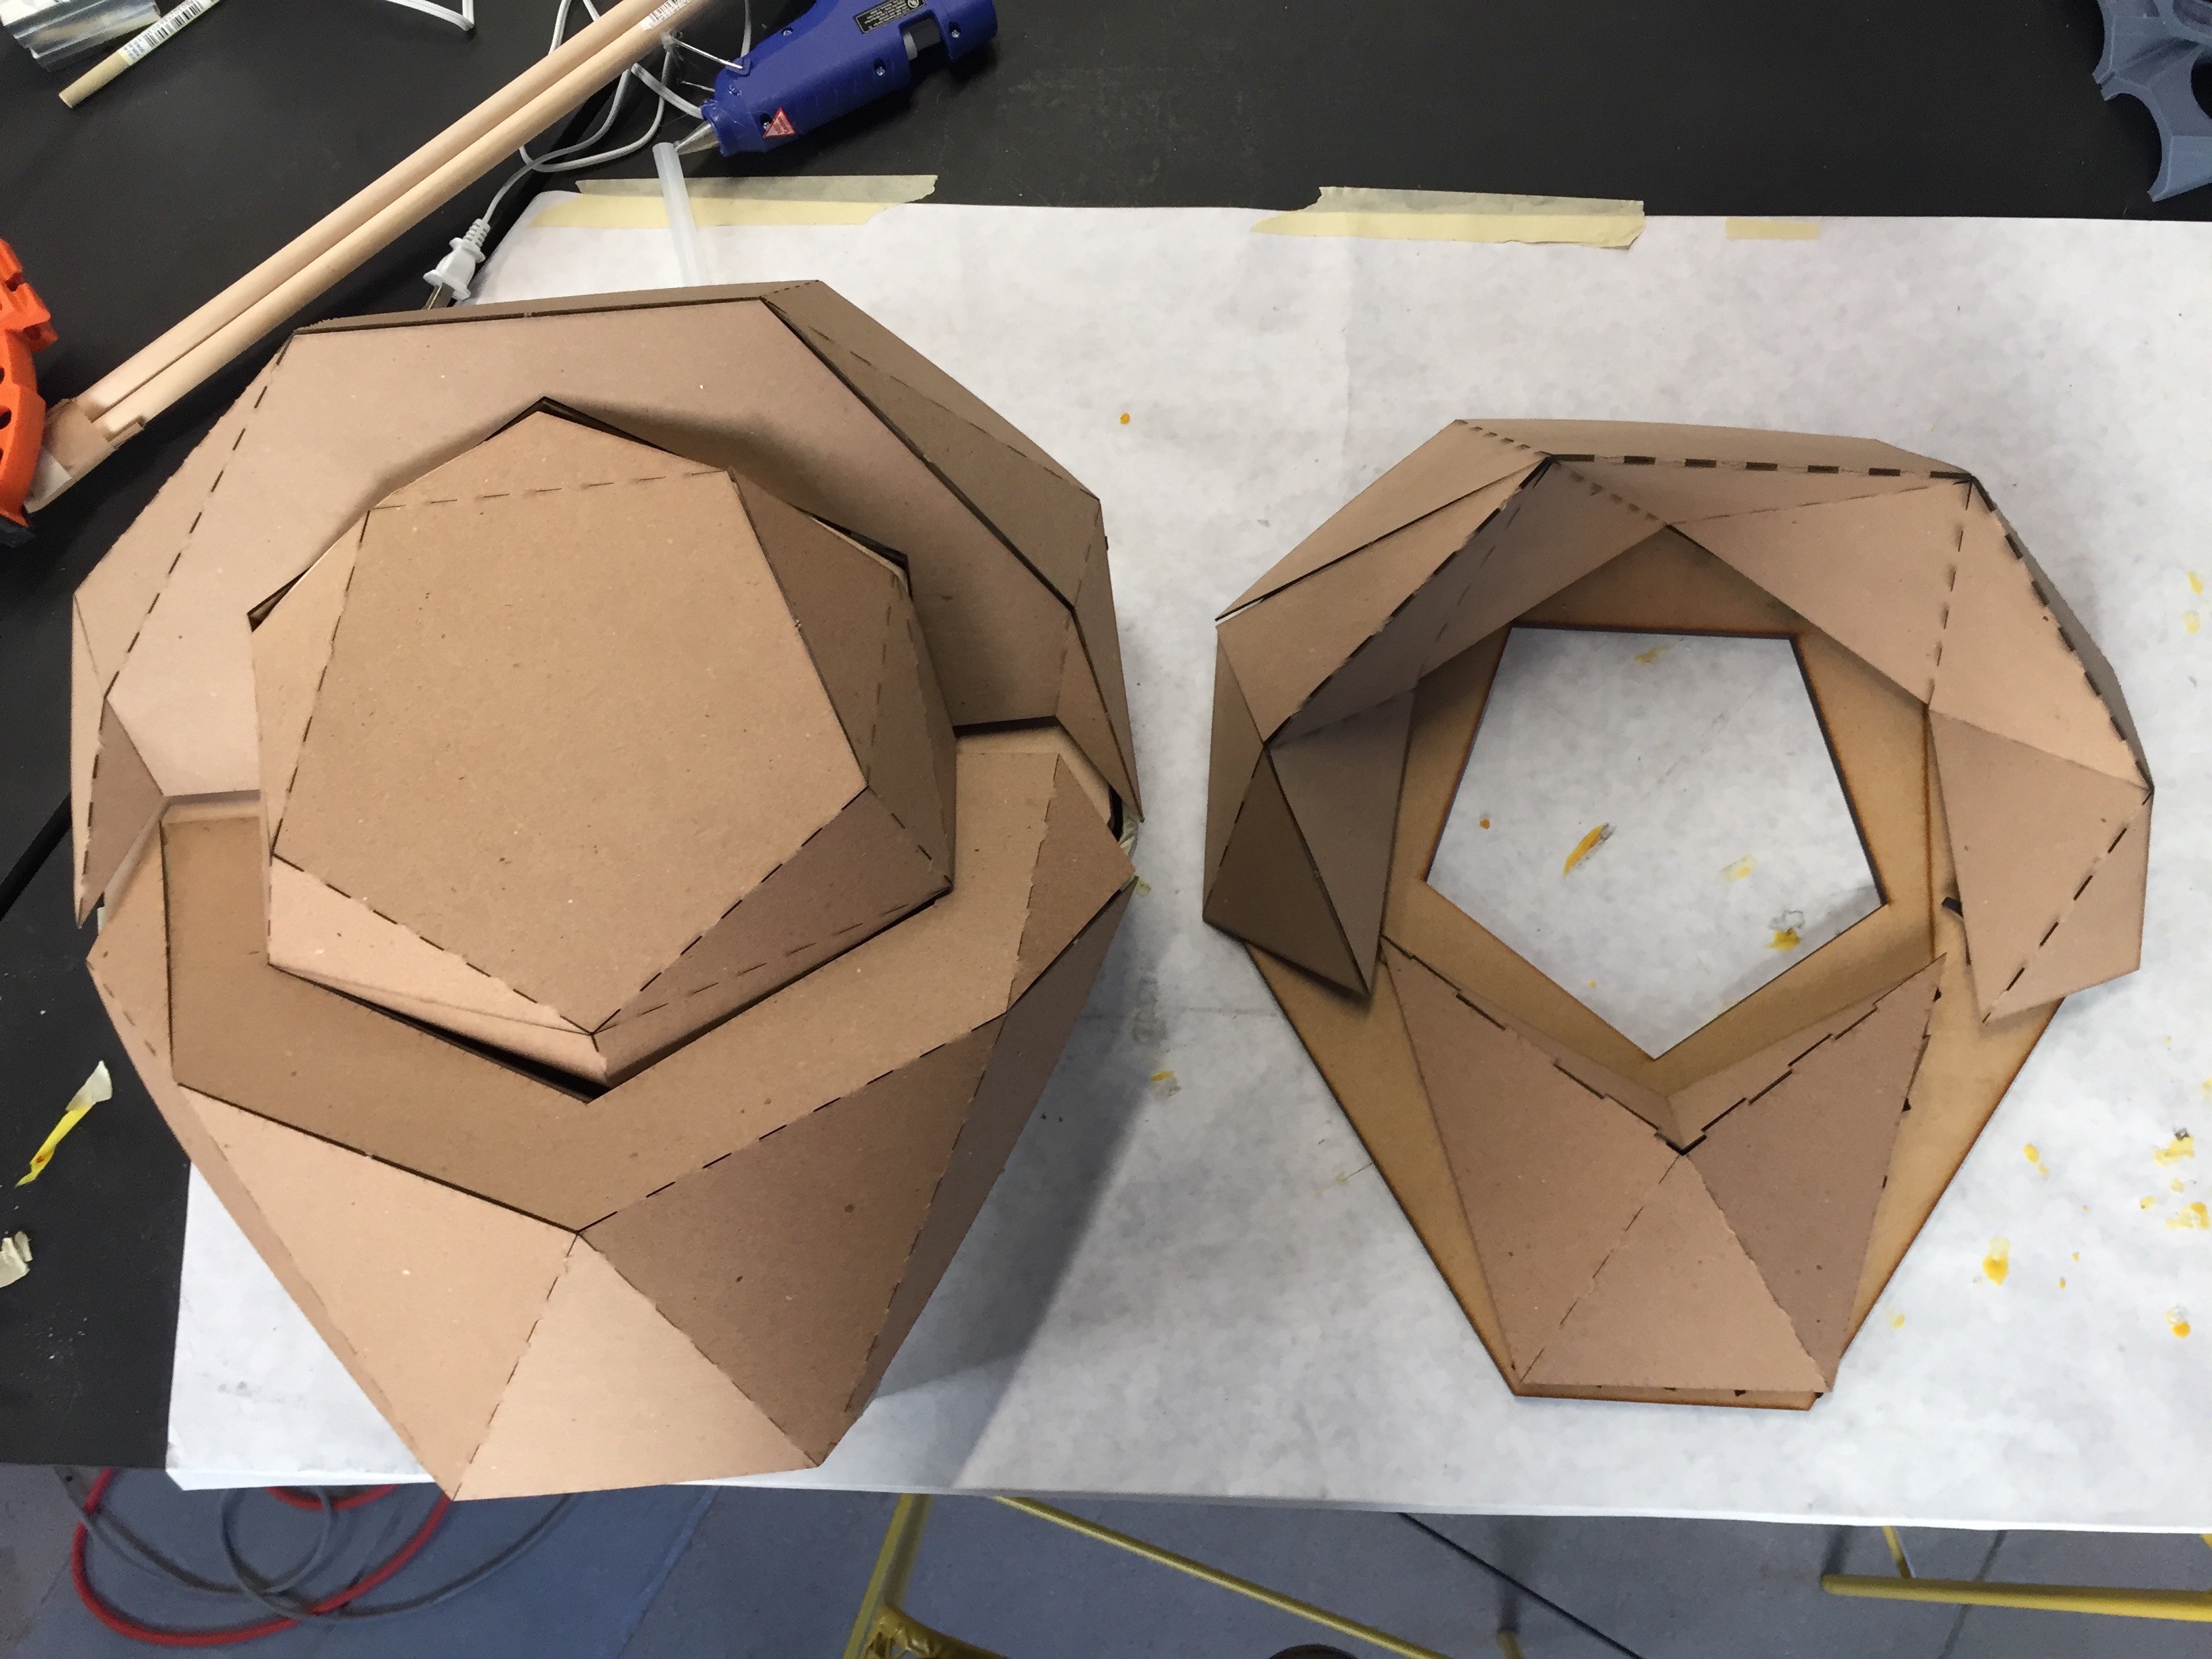
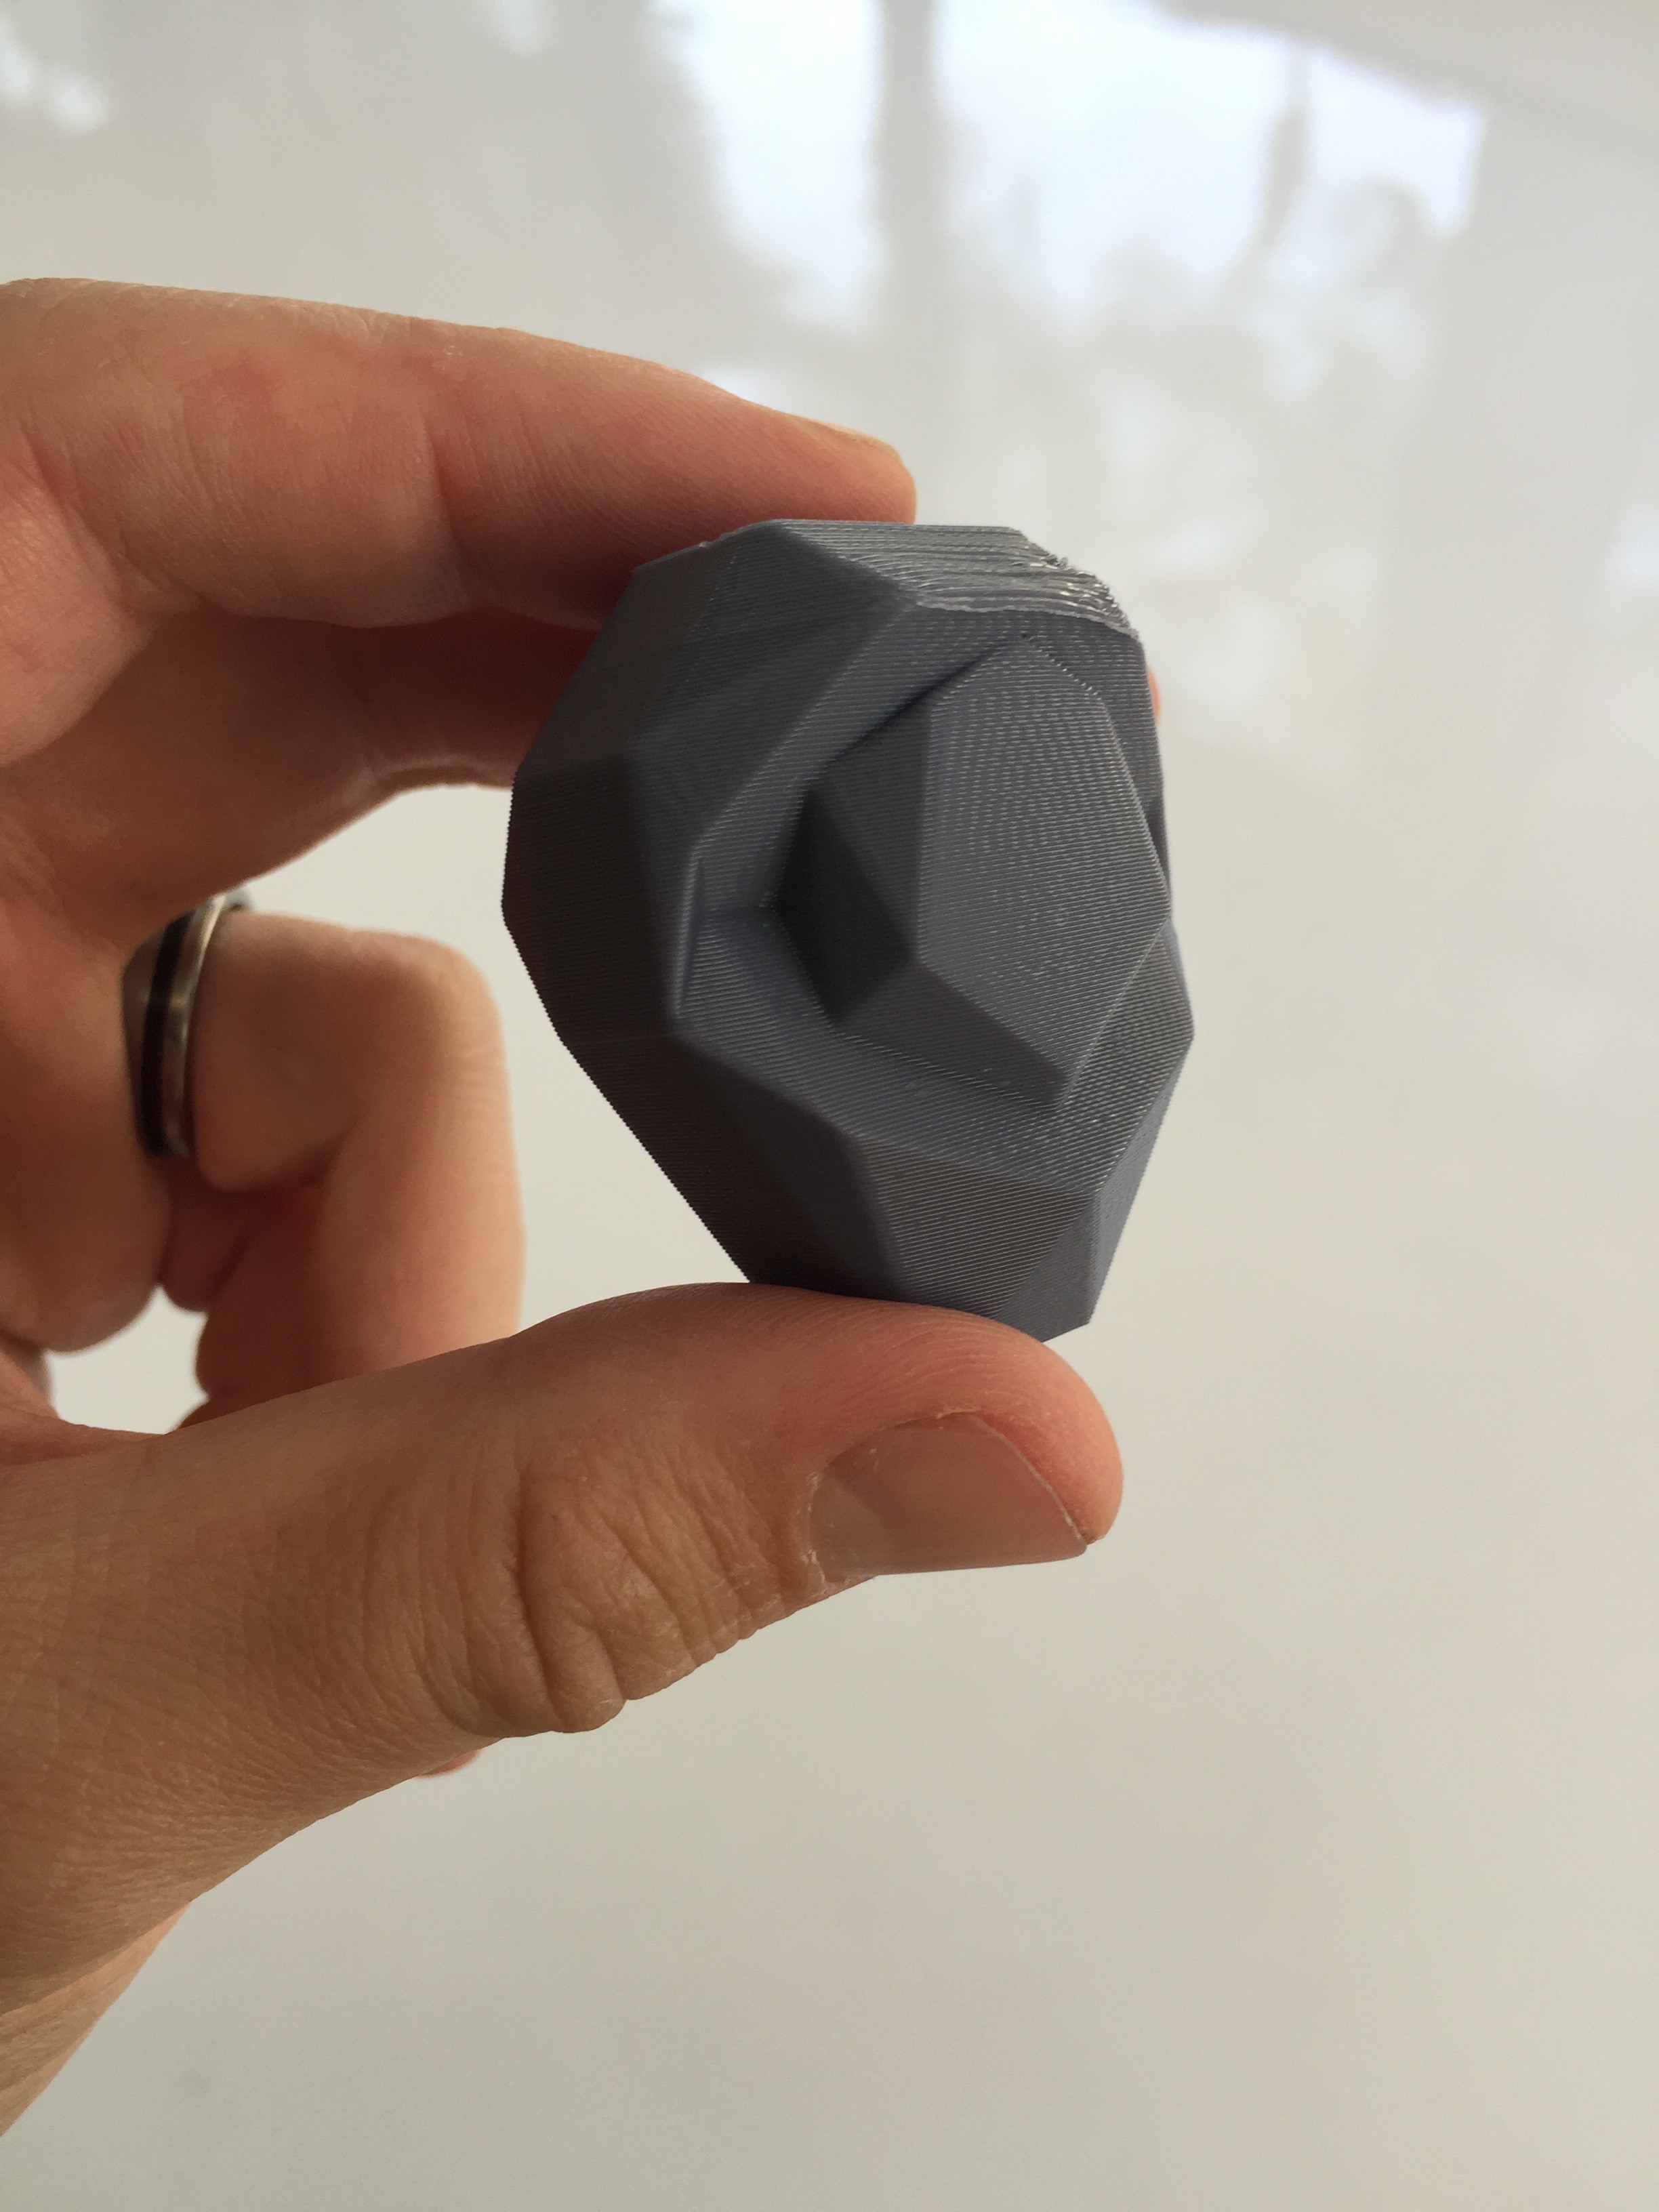
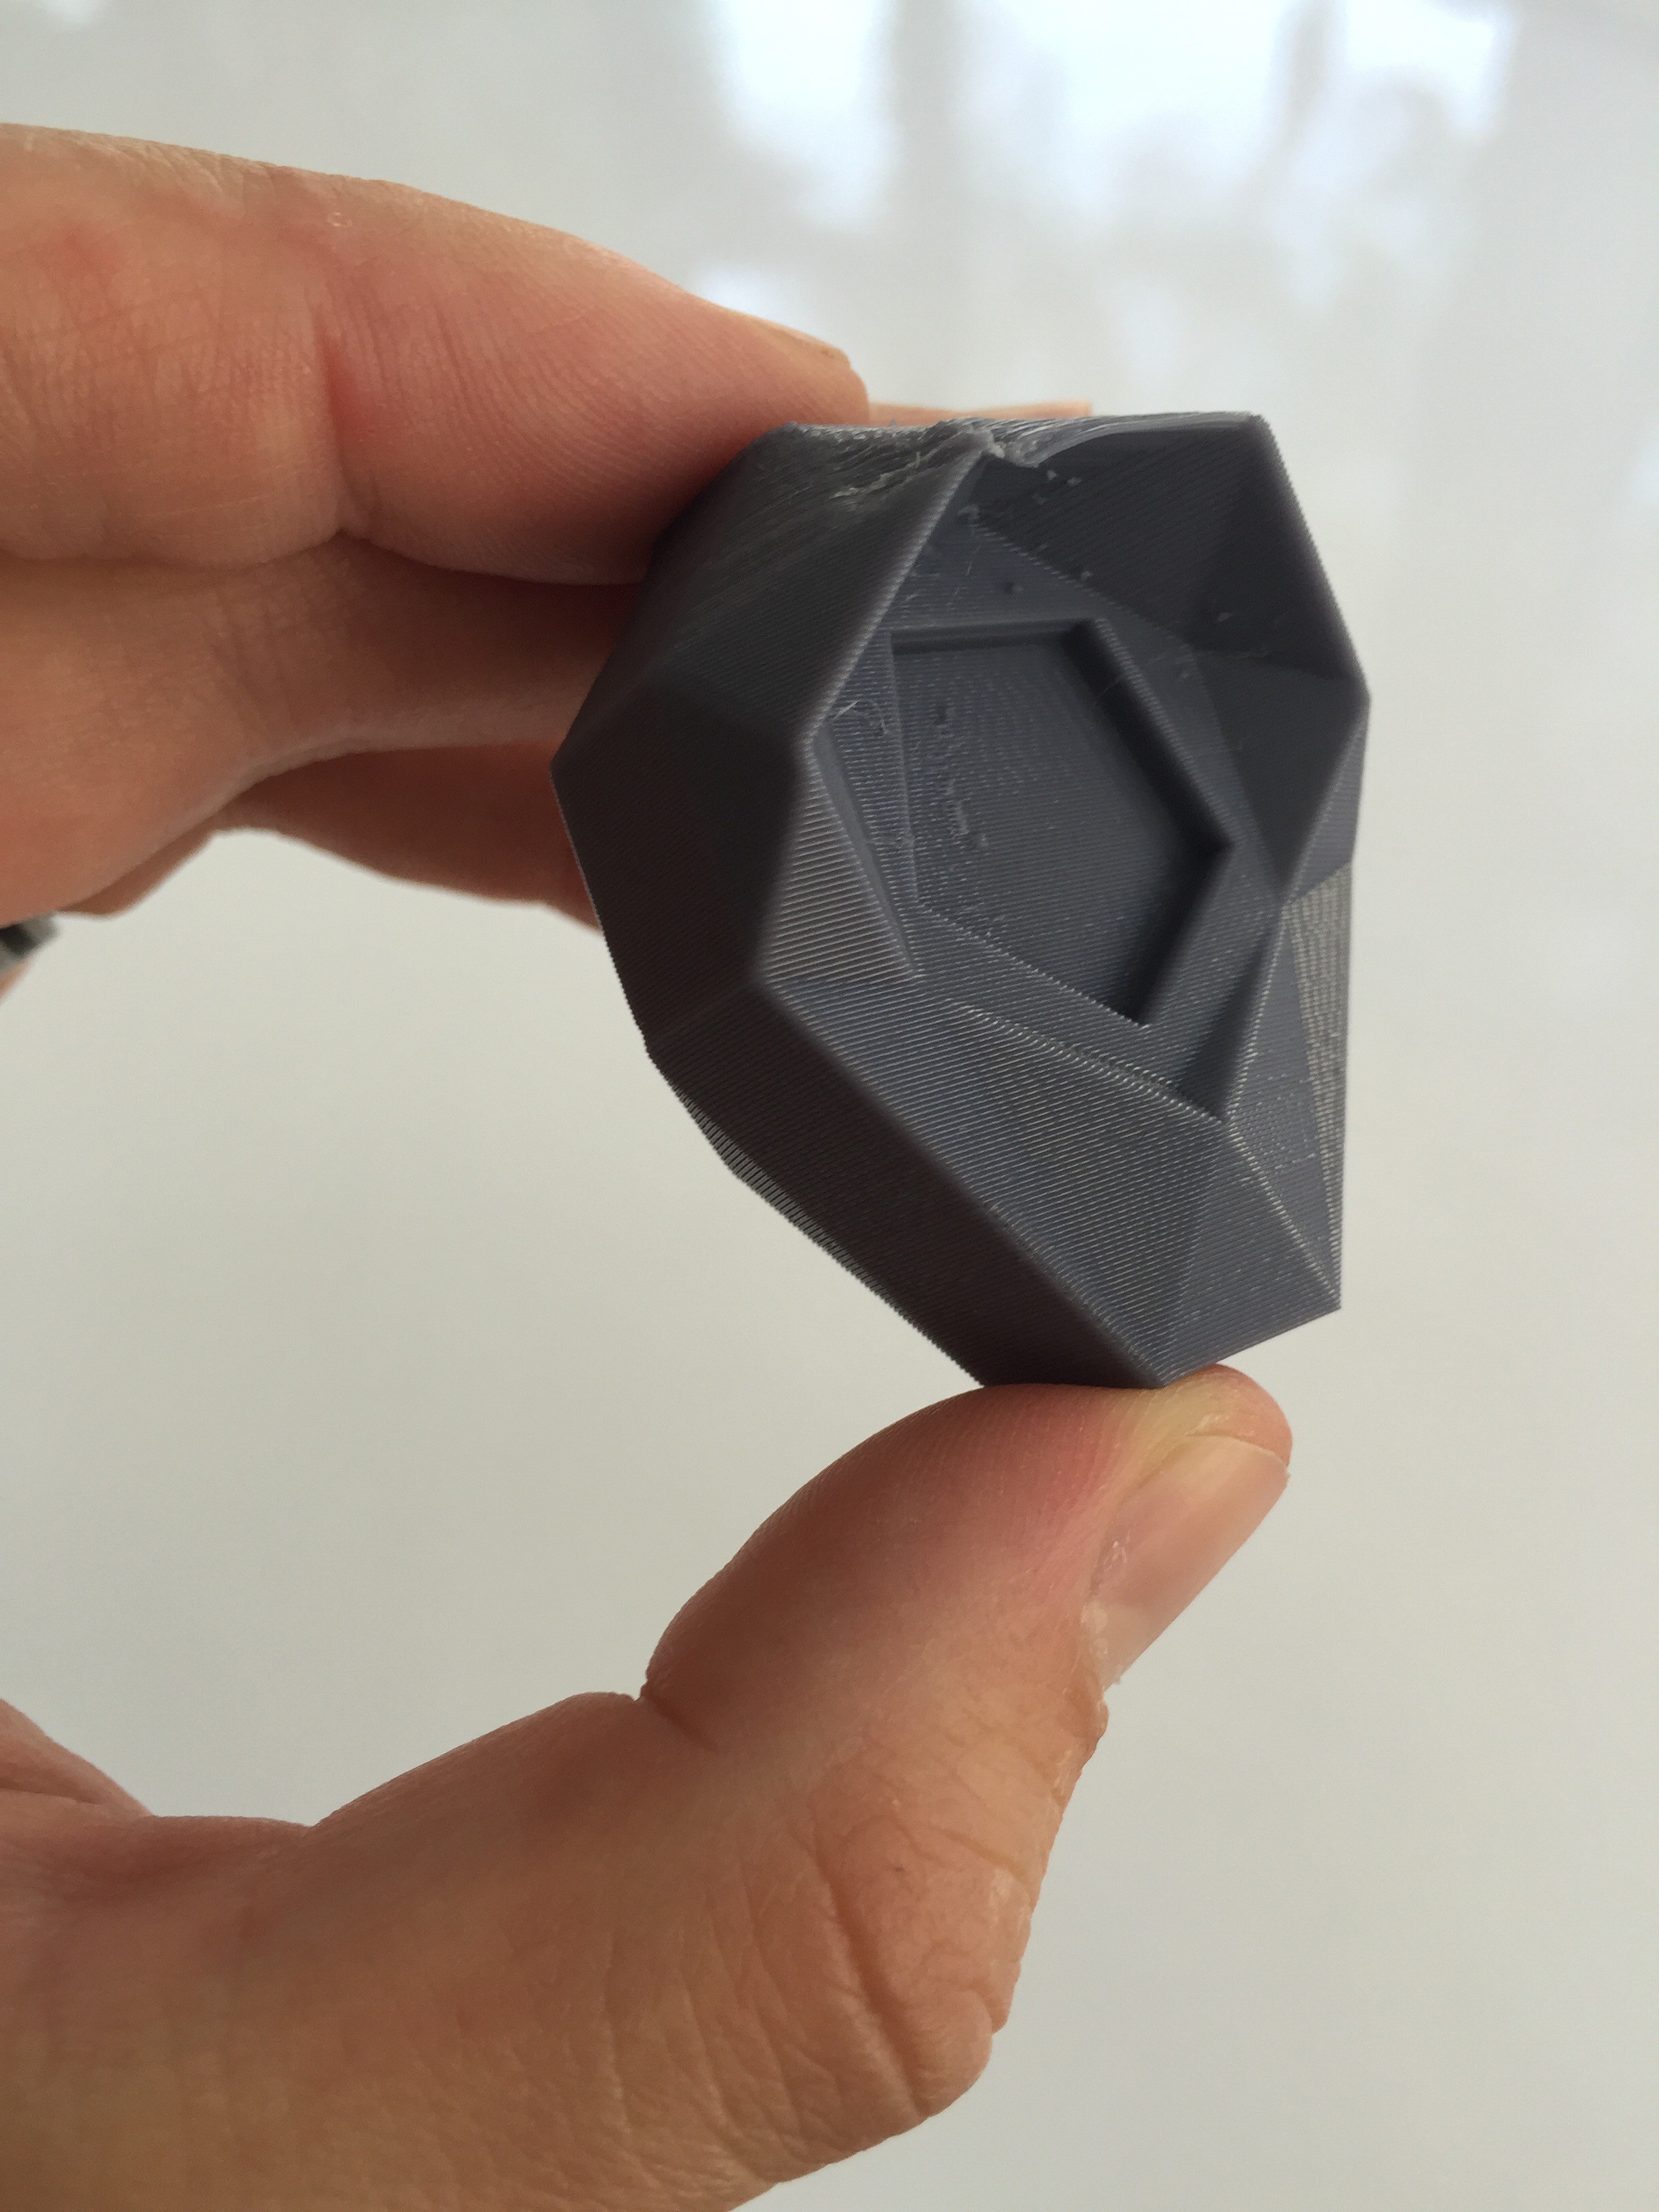
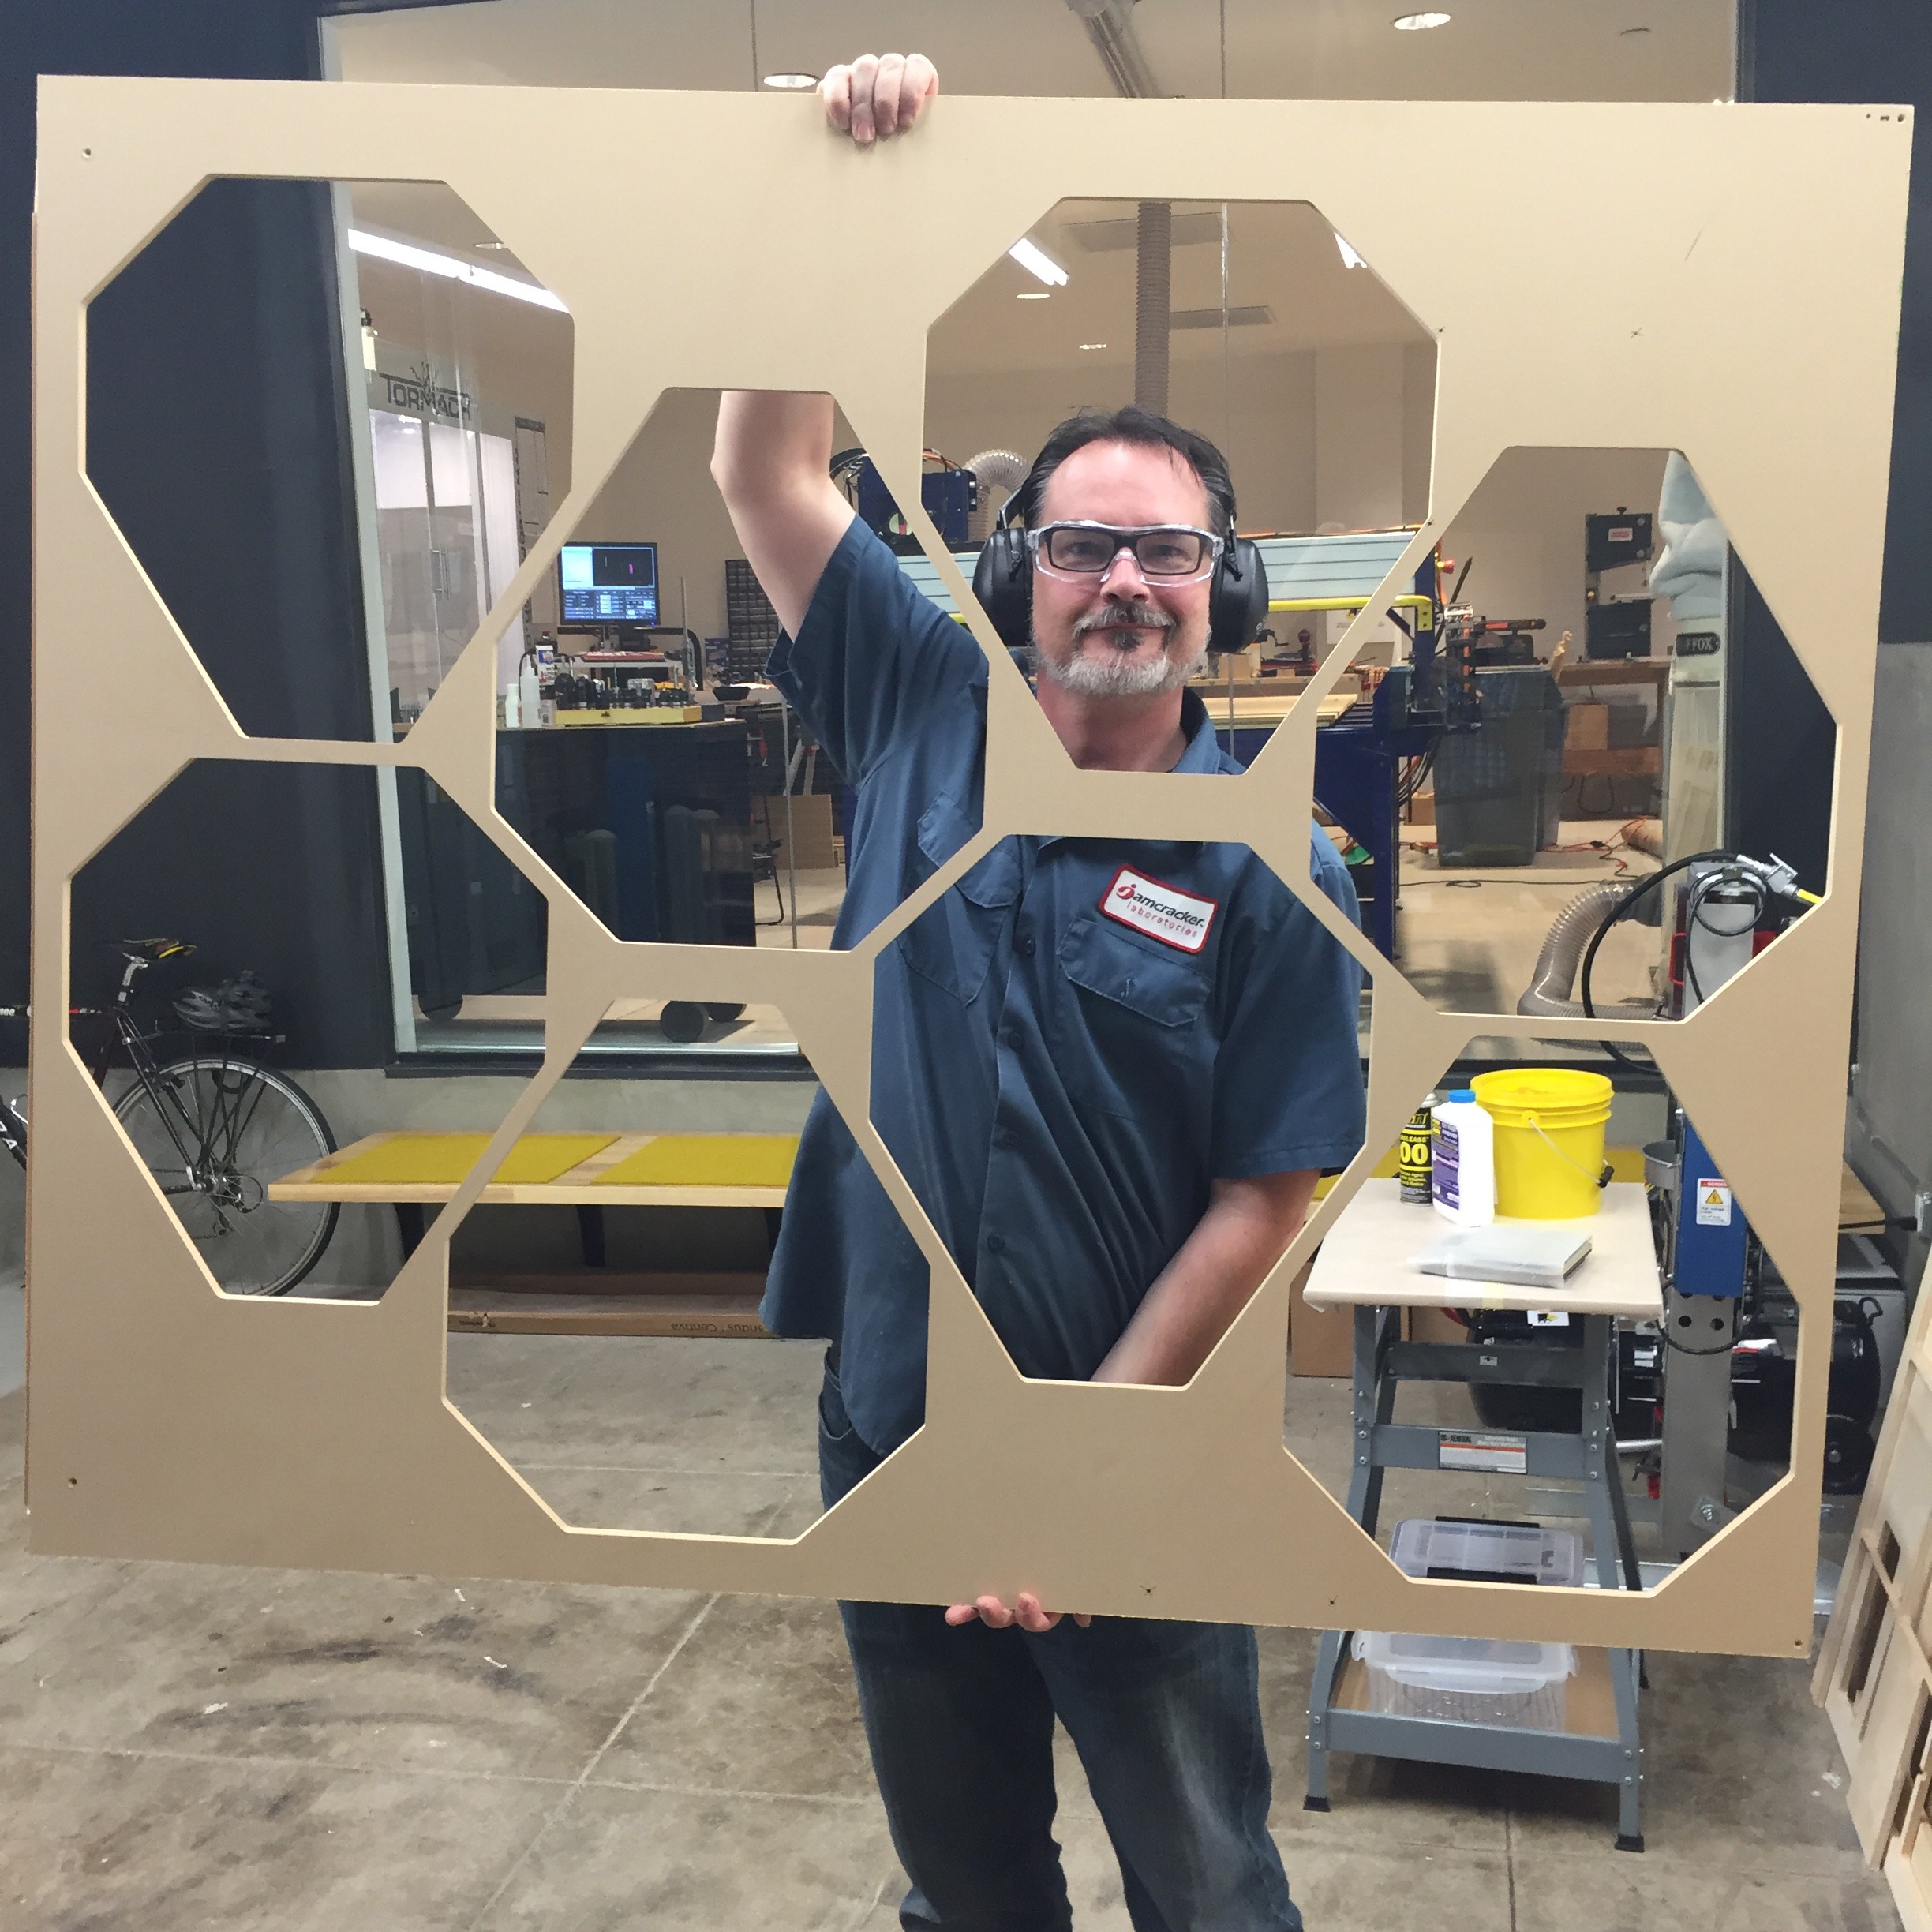
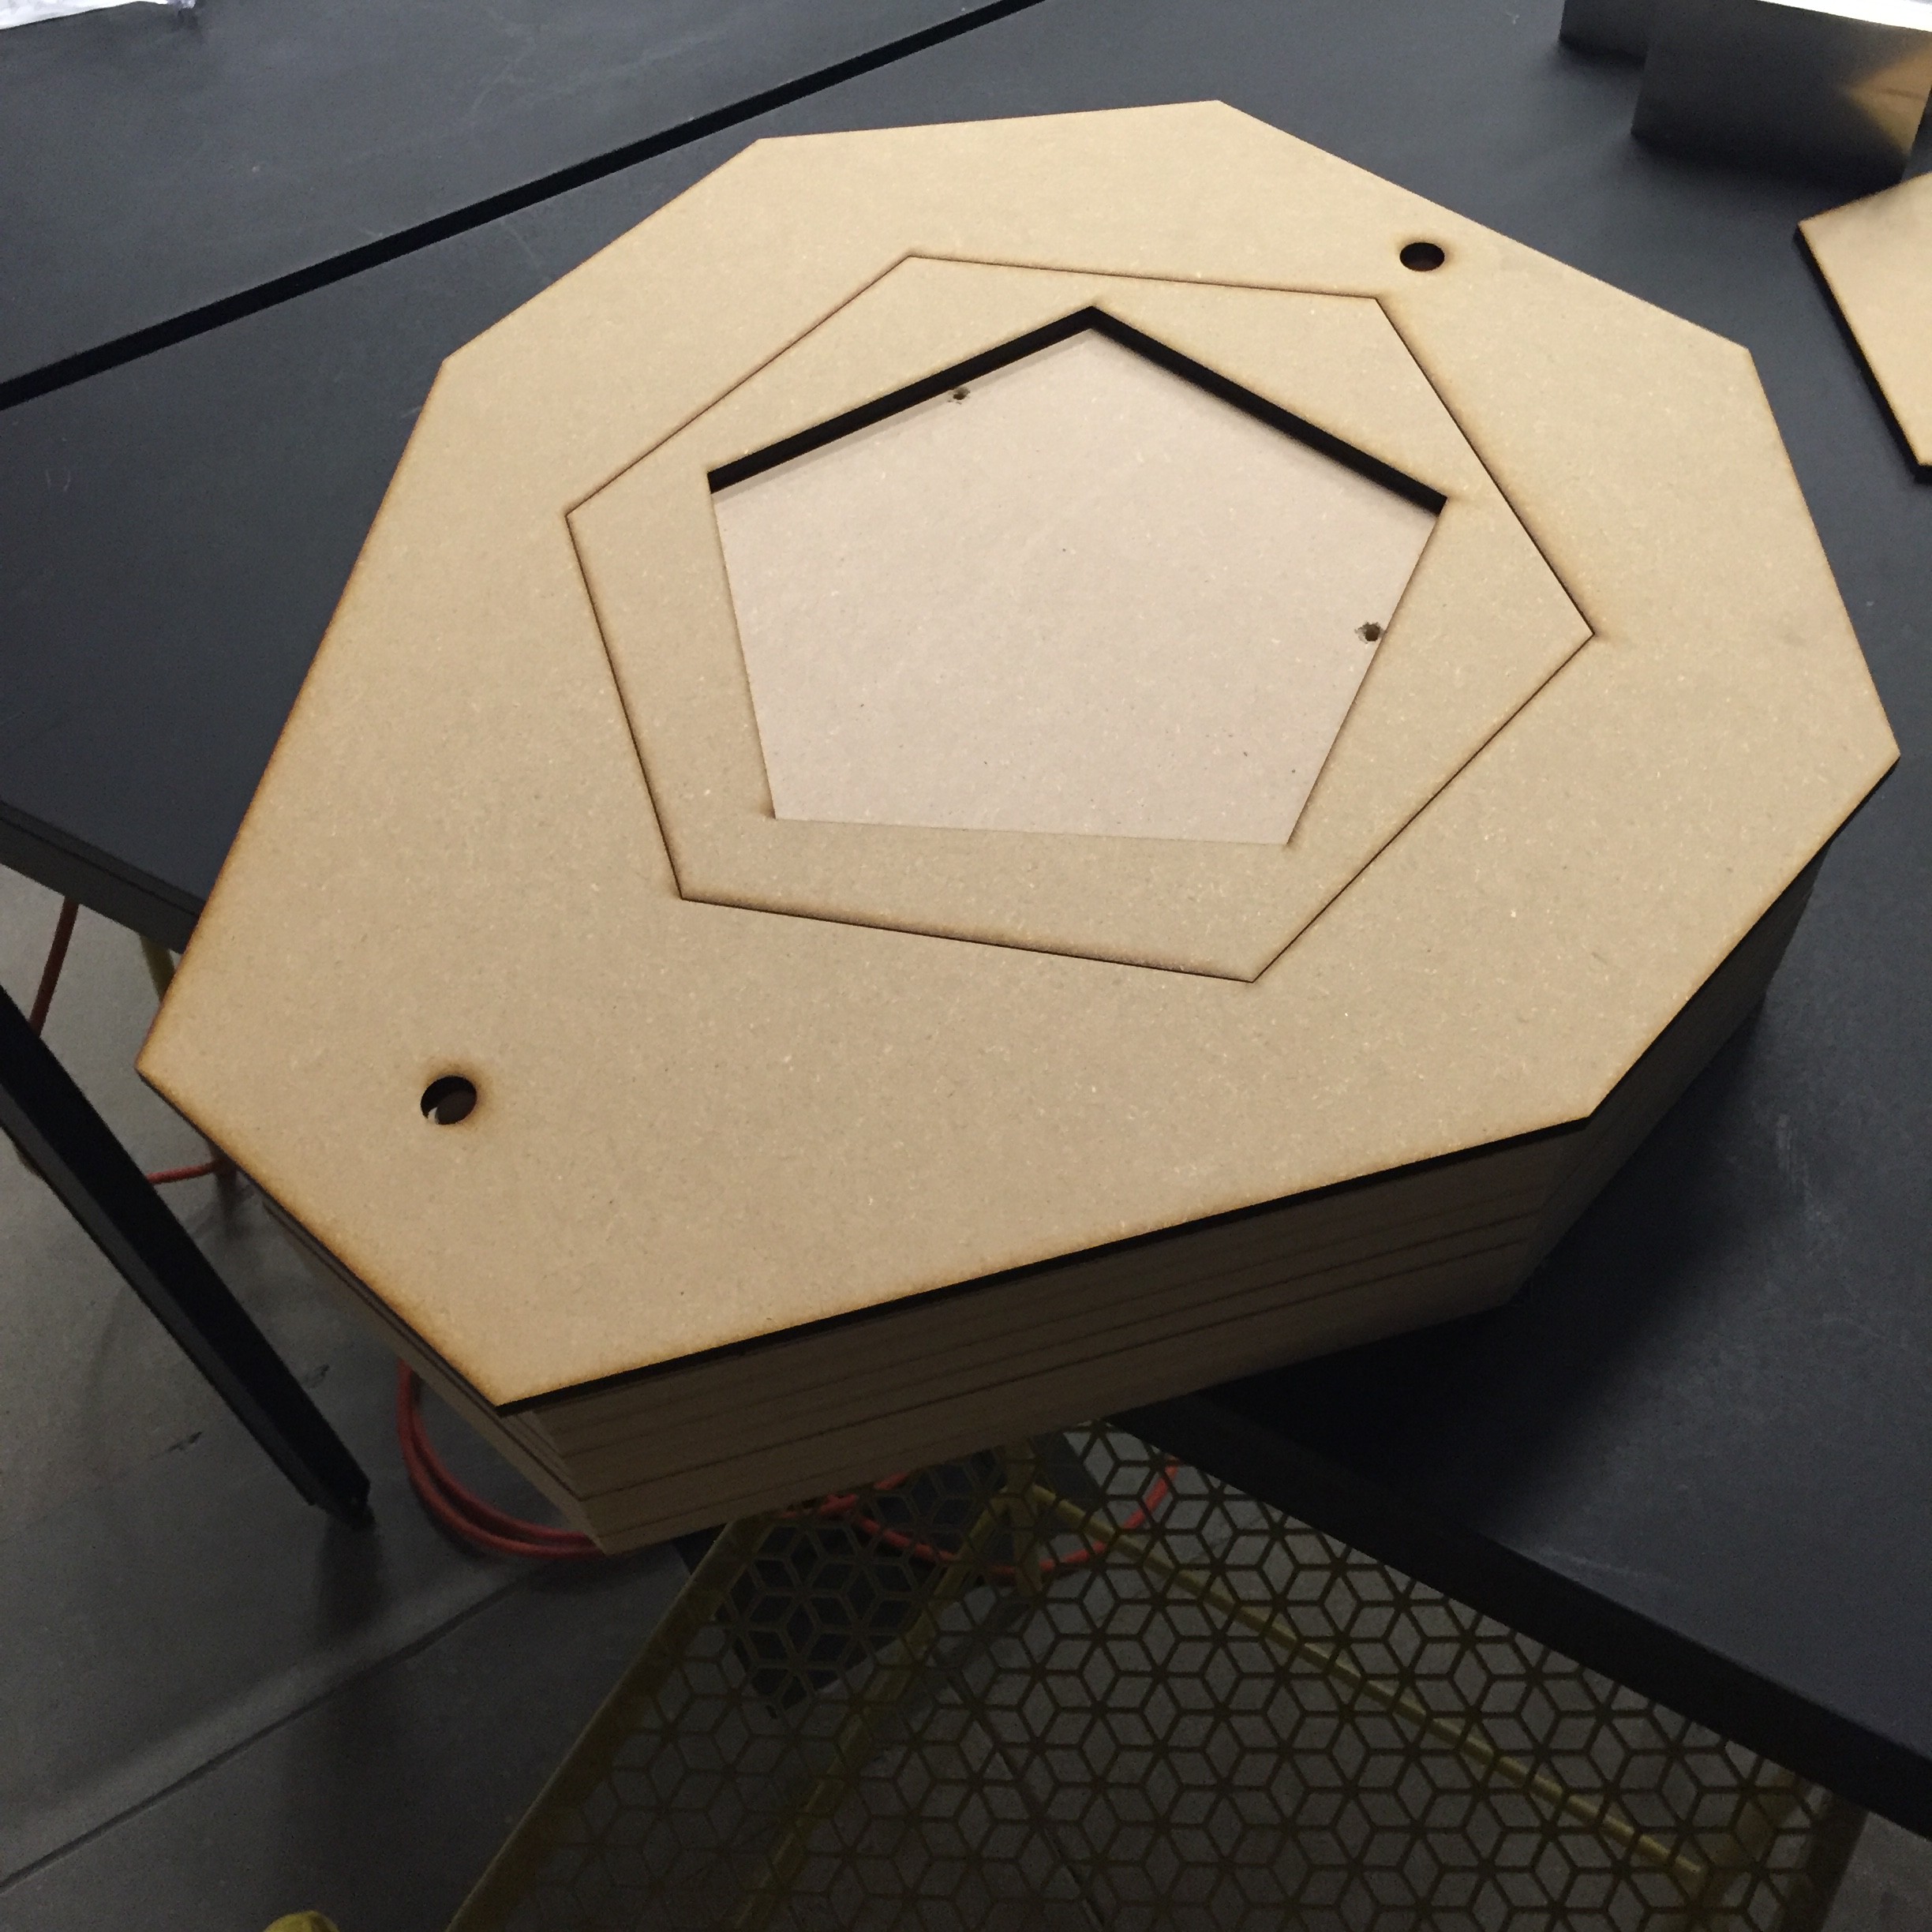
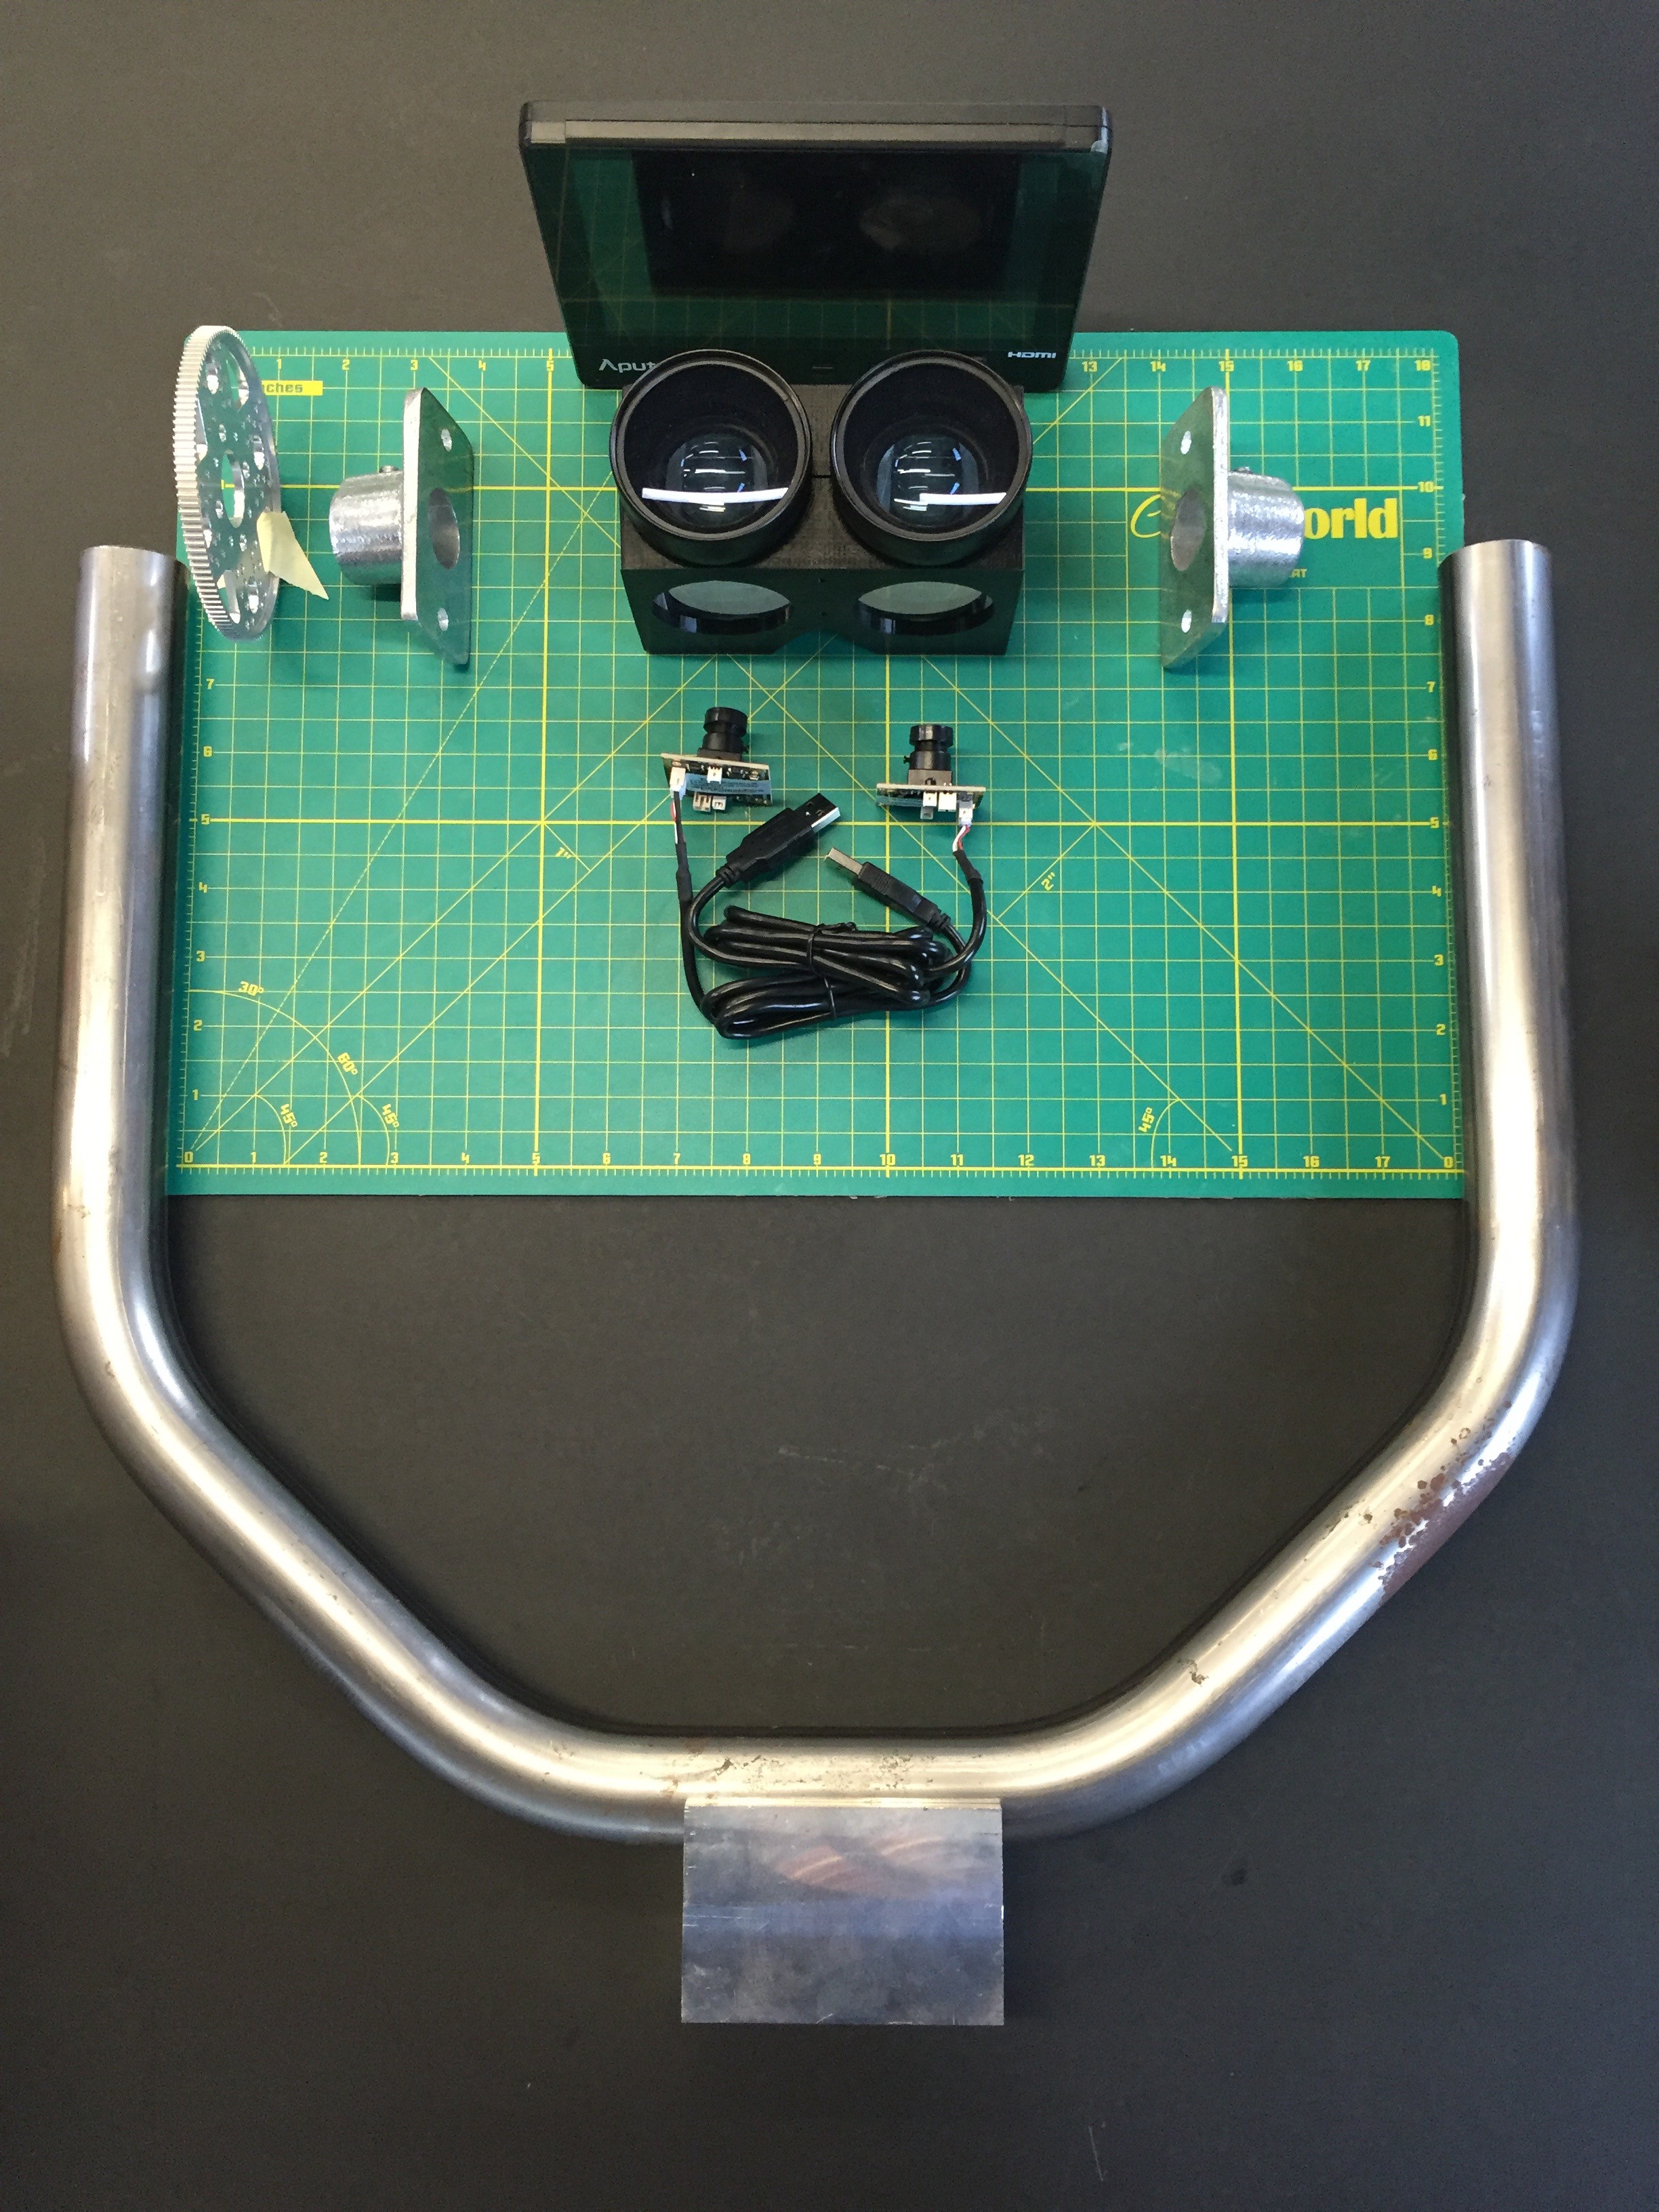
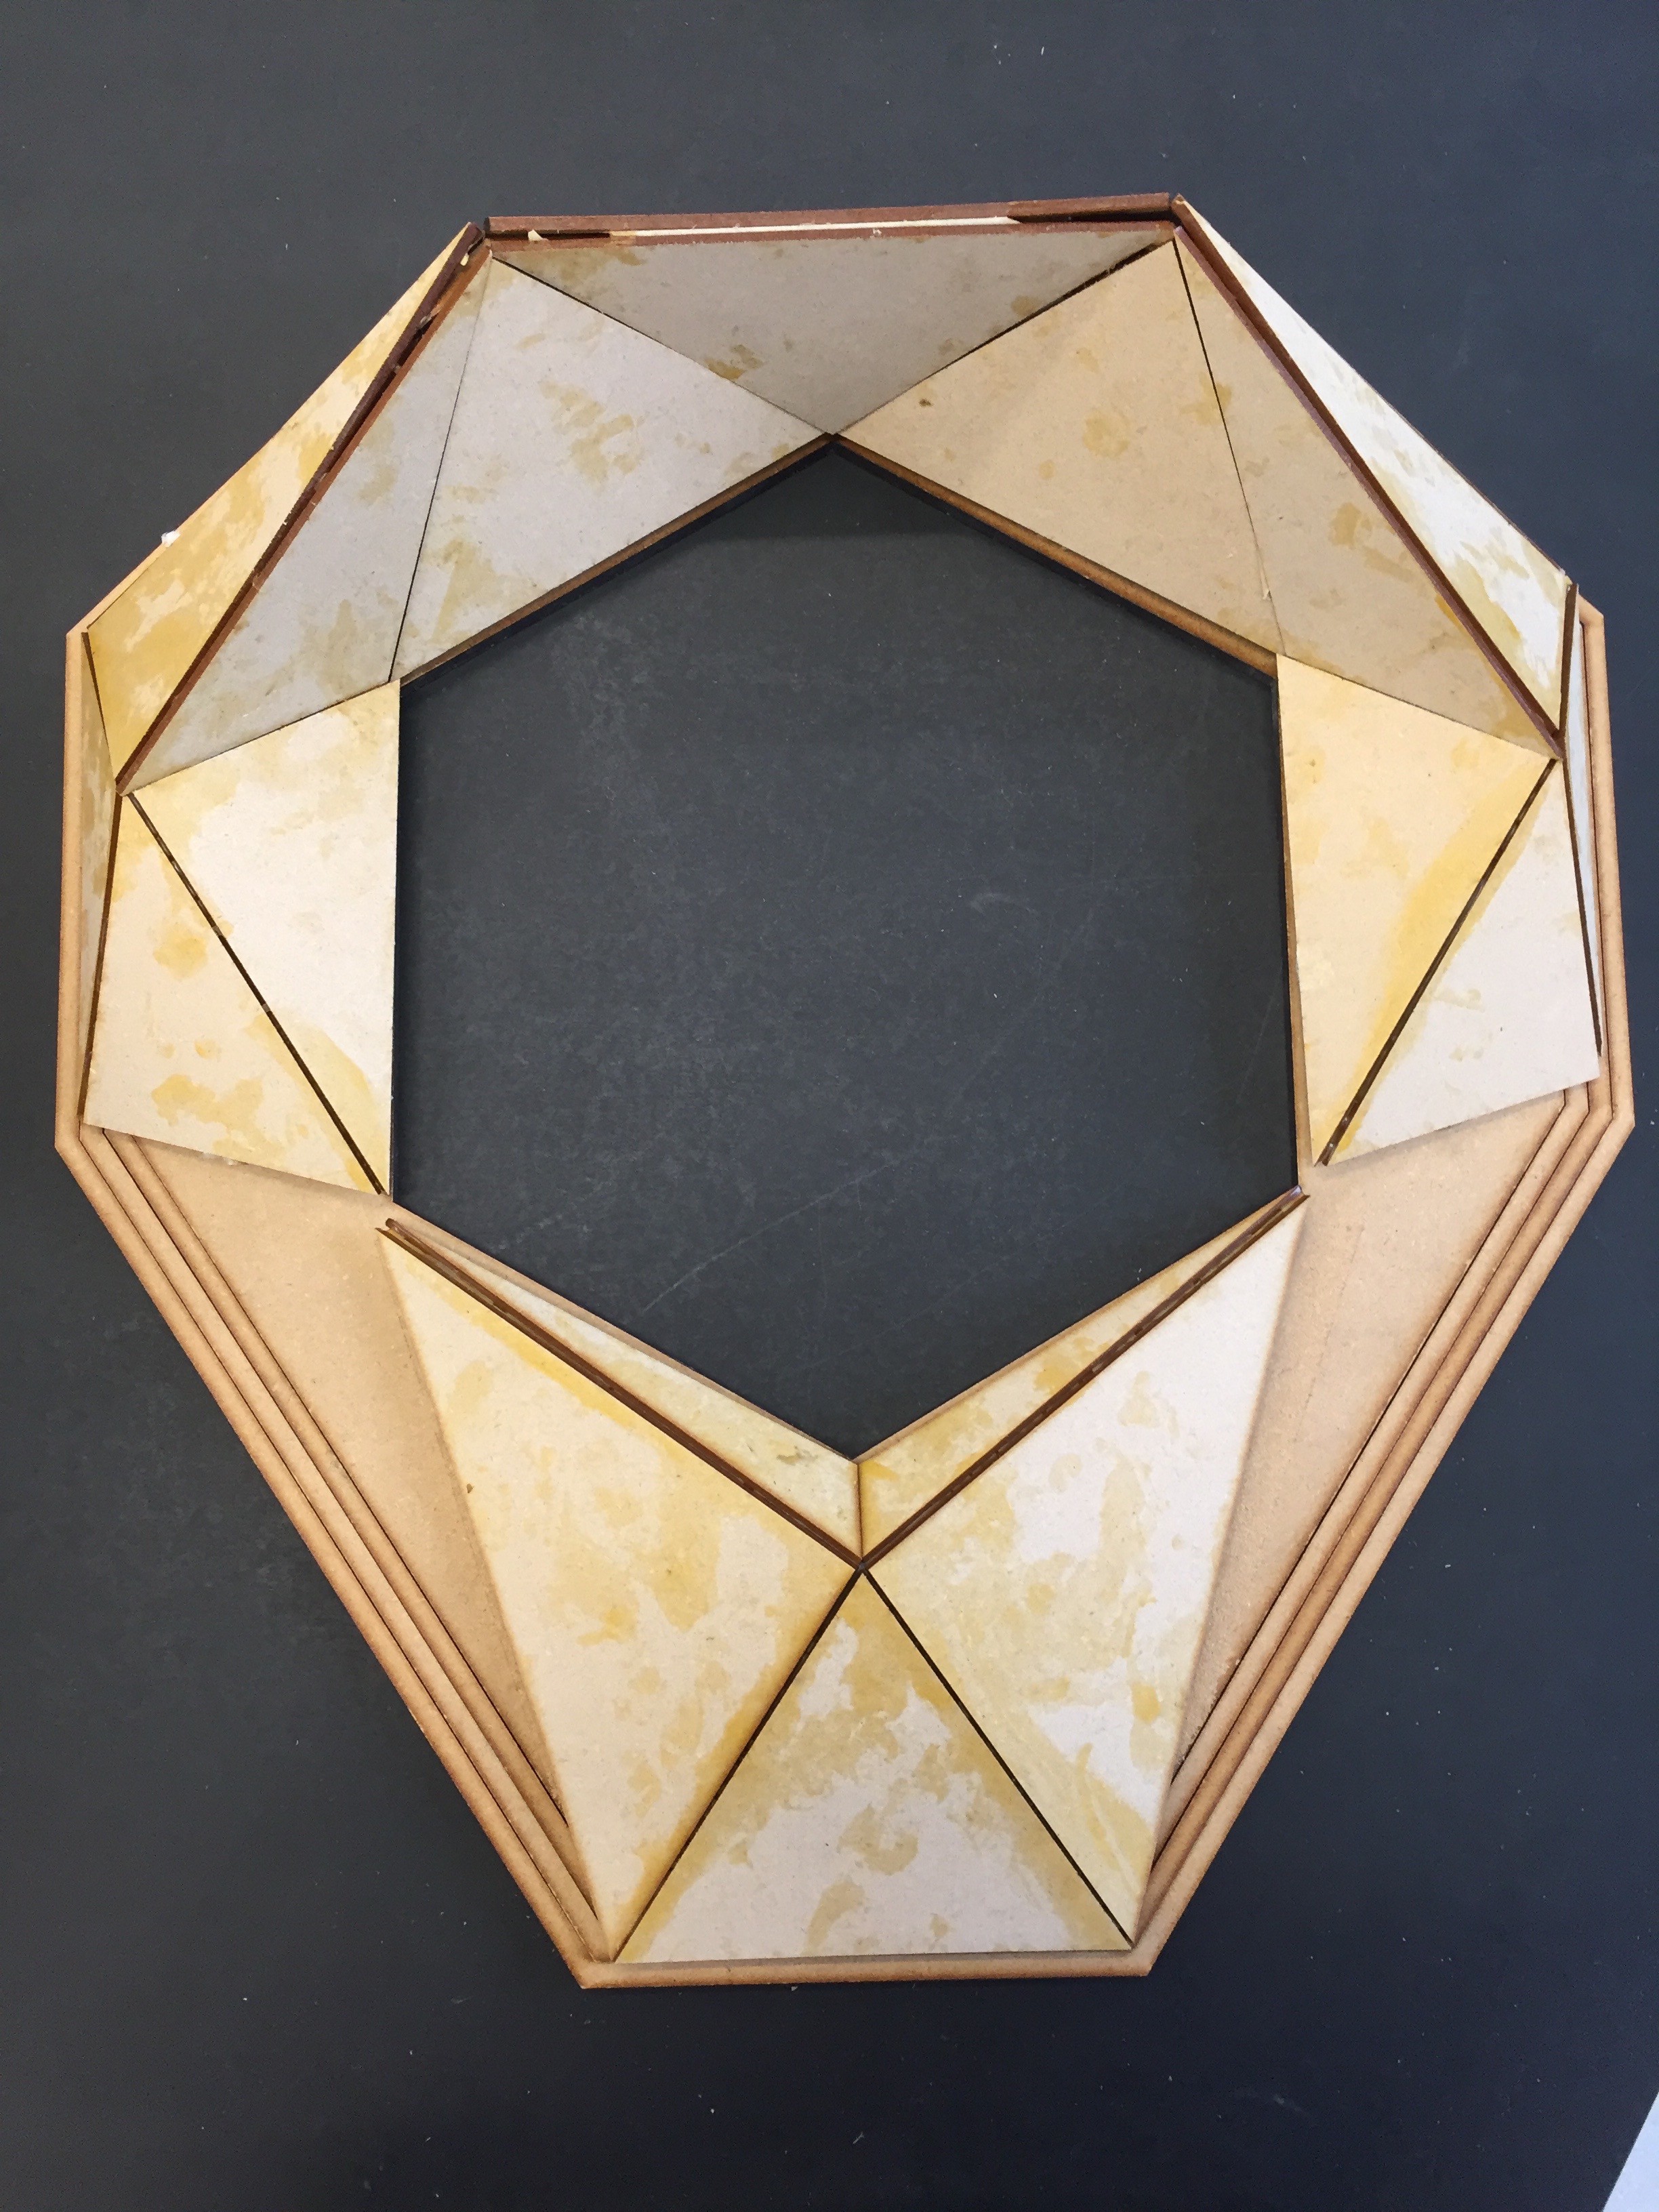 Now I just needed to glue all the pieces together to a backing board, and start filling in all the gaps that remain.
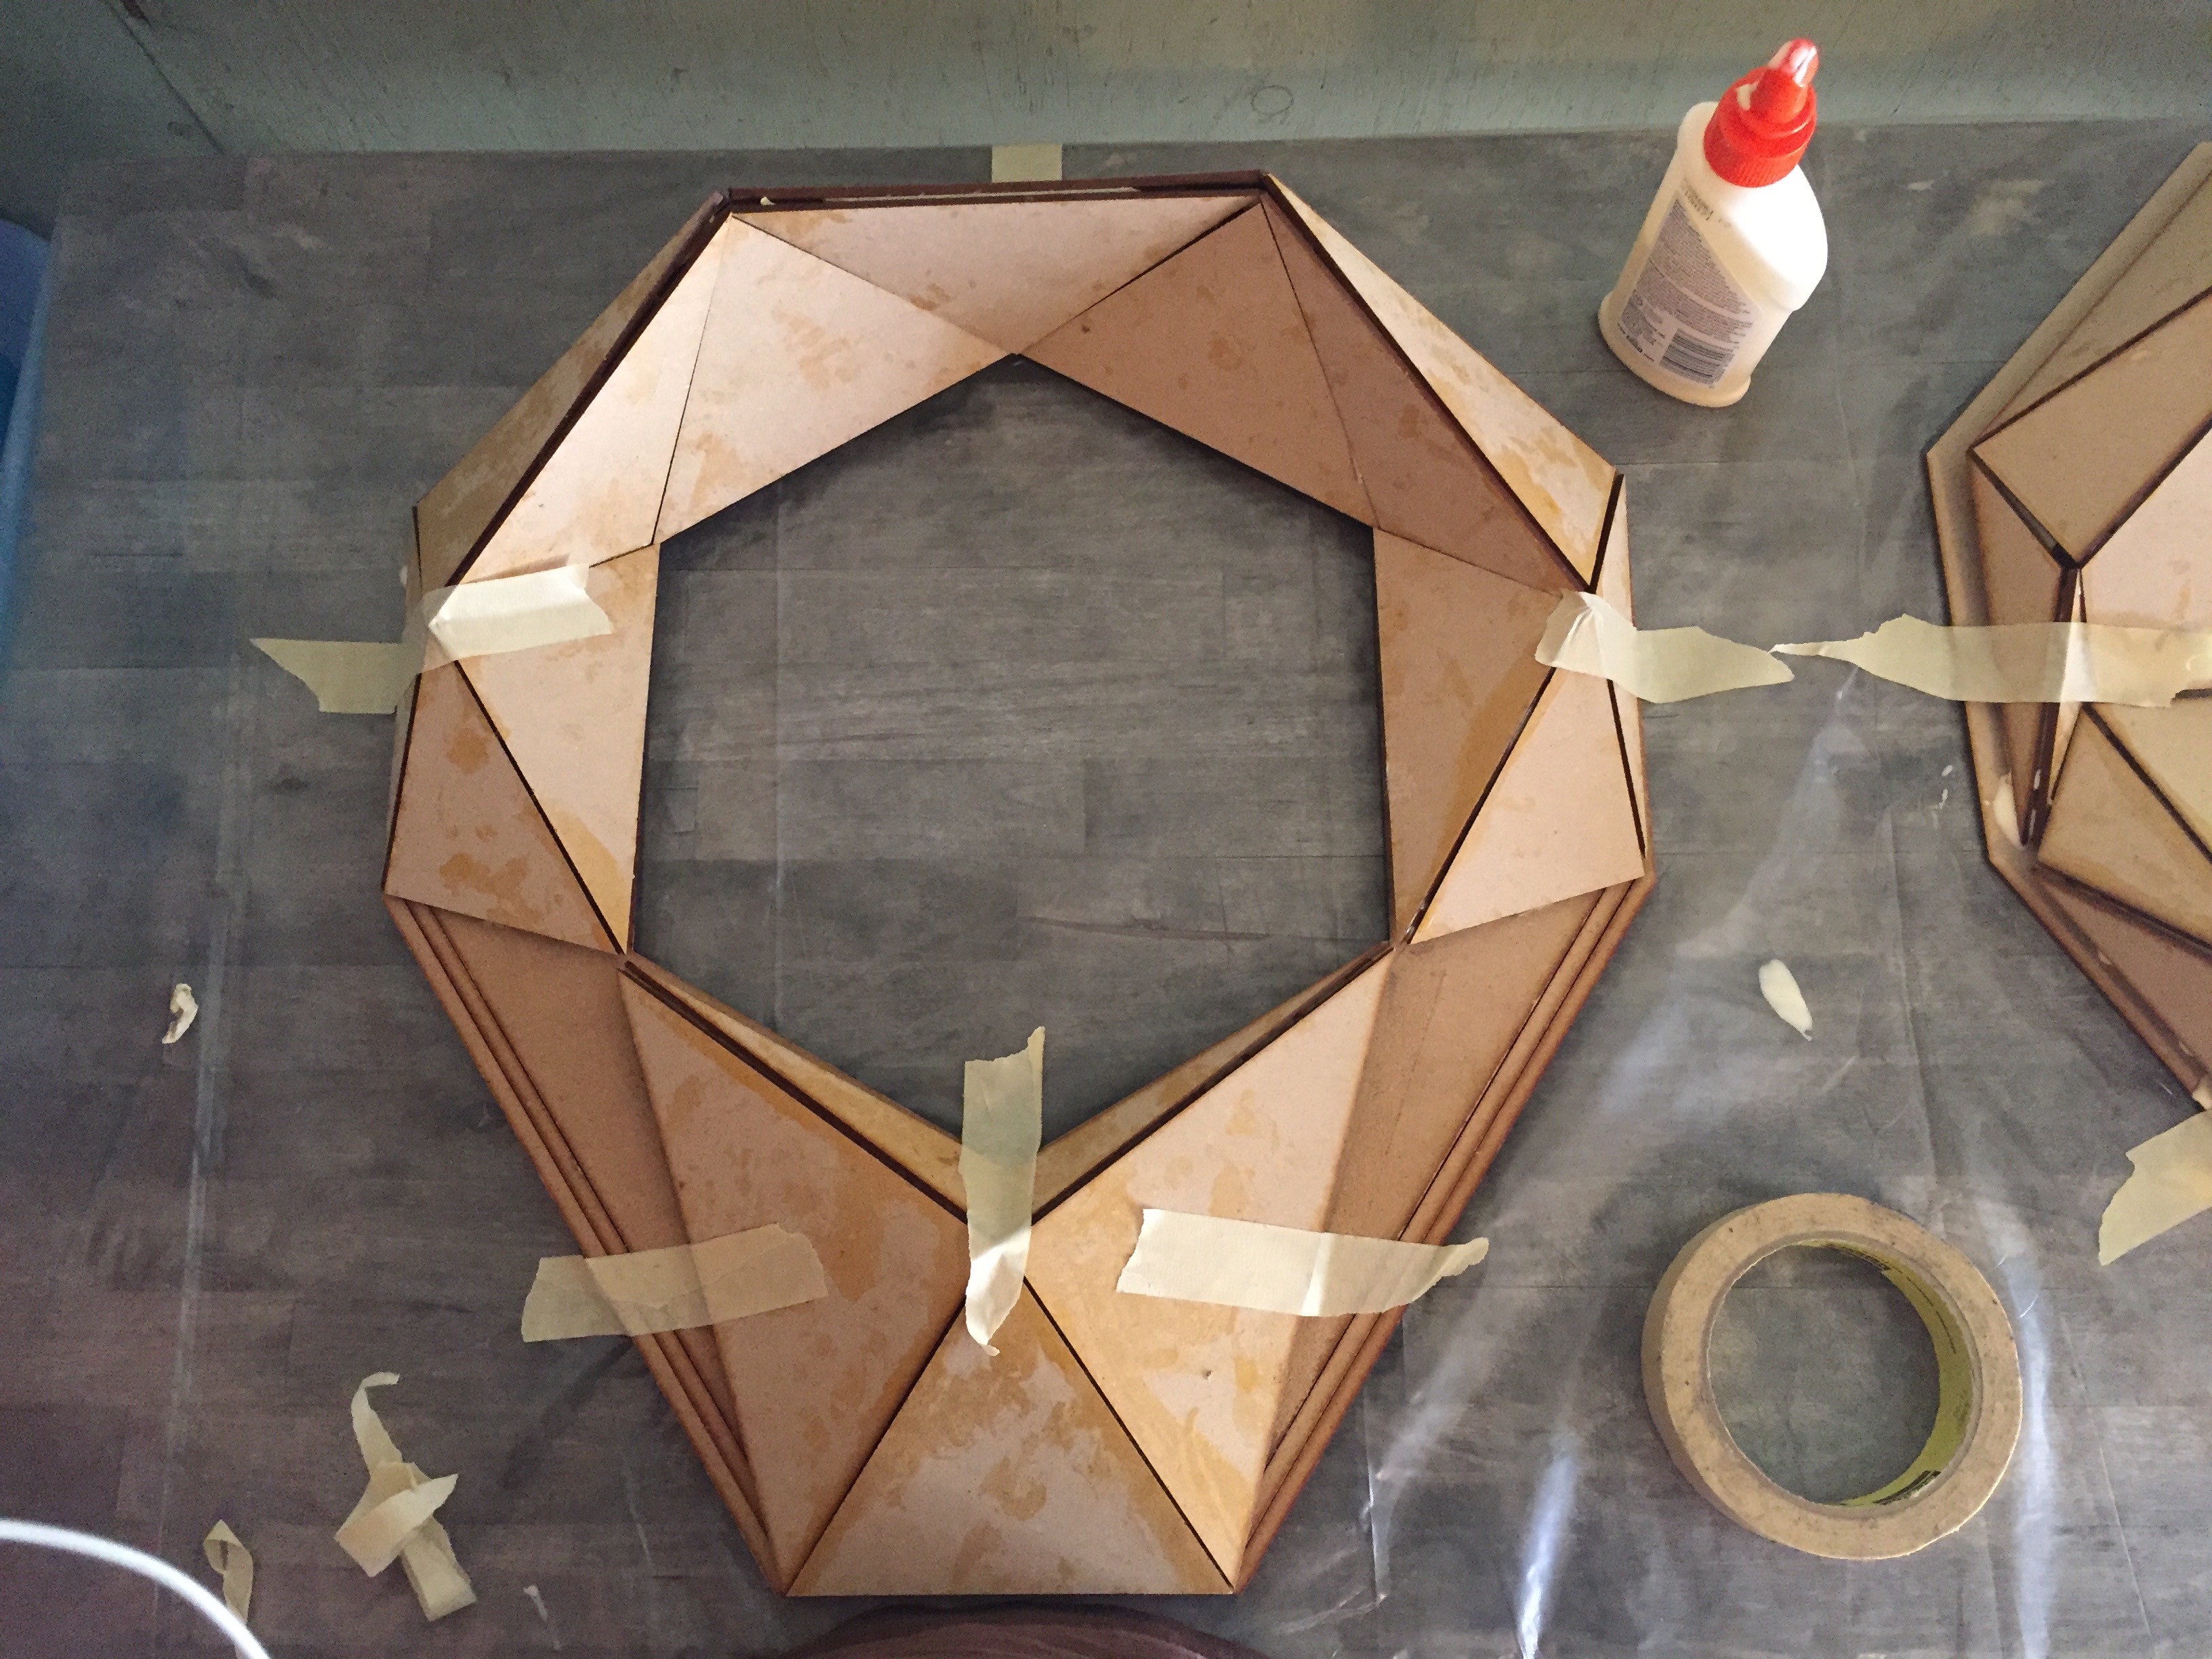


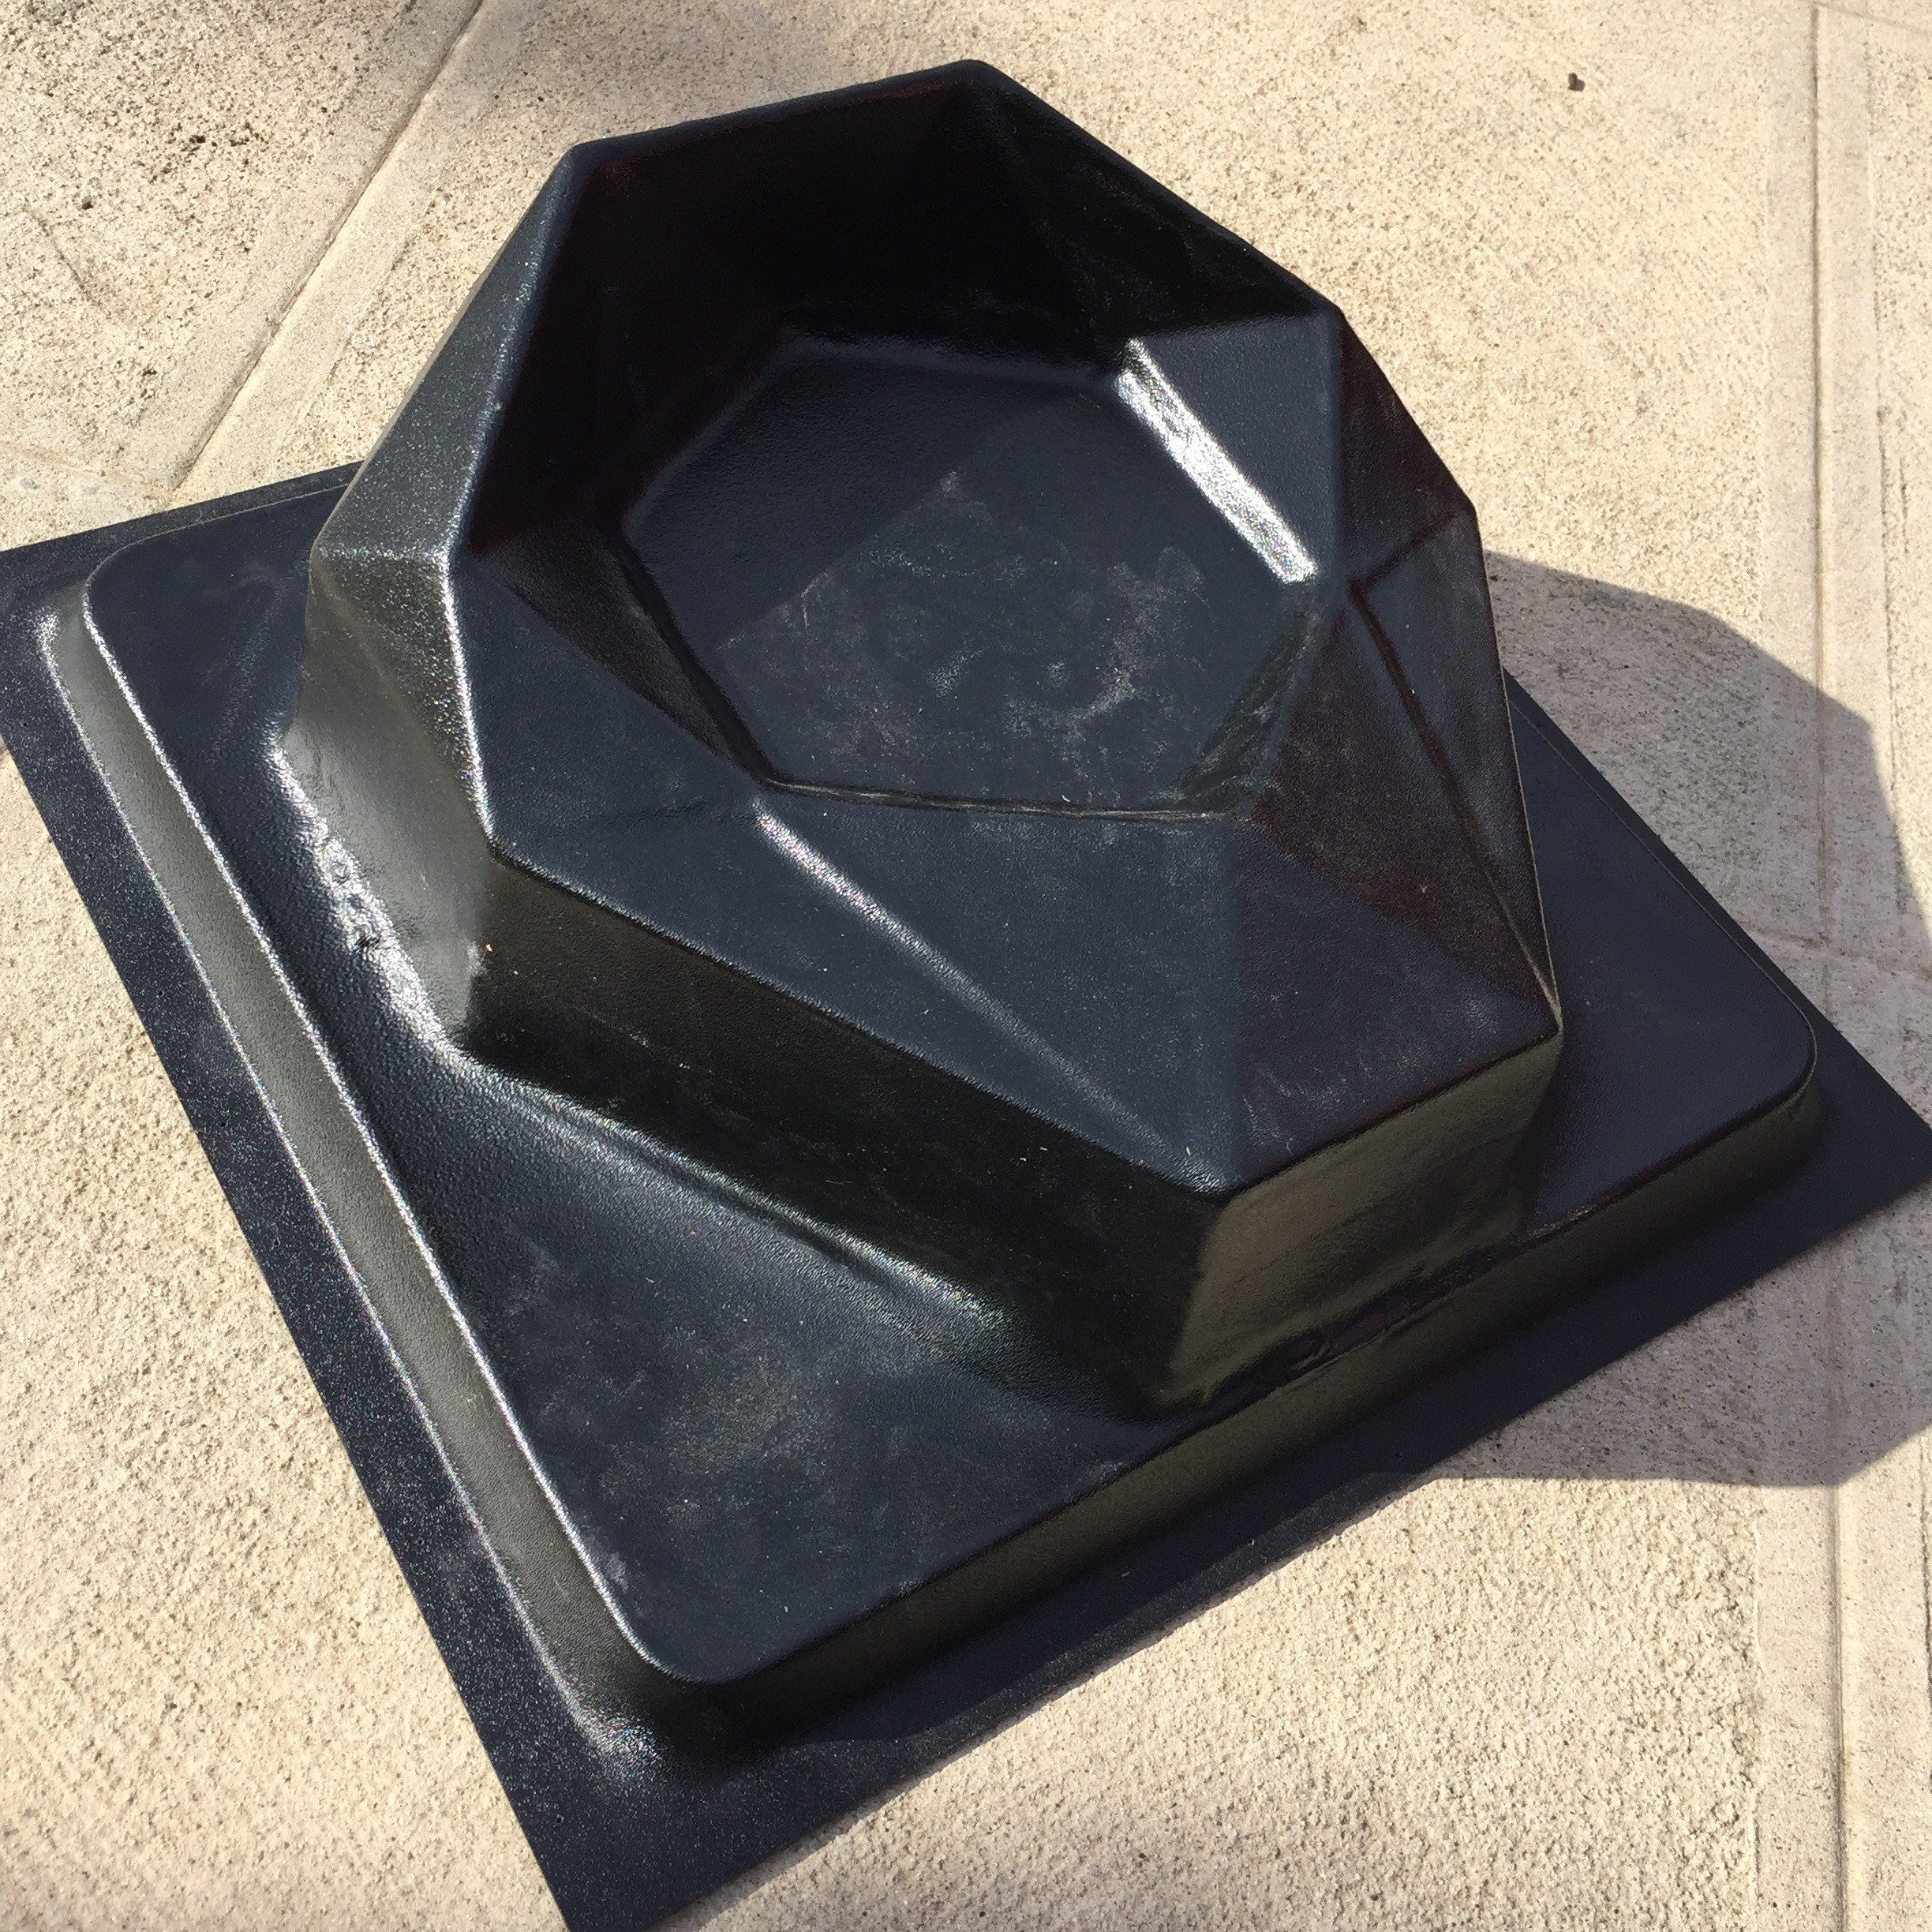
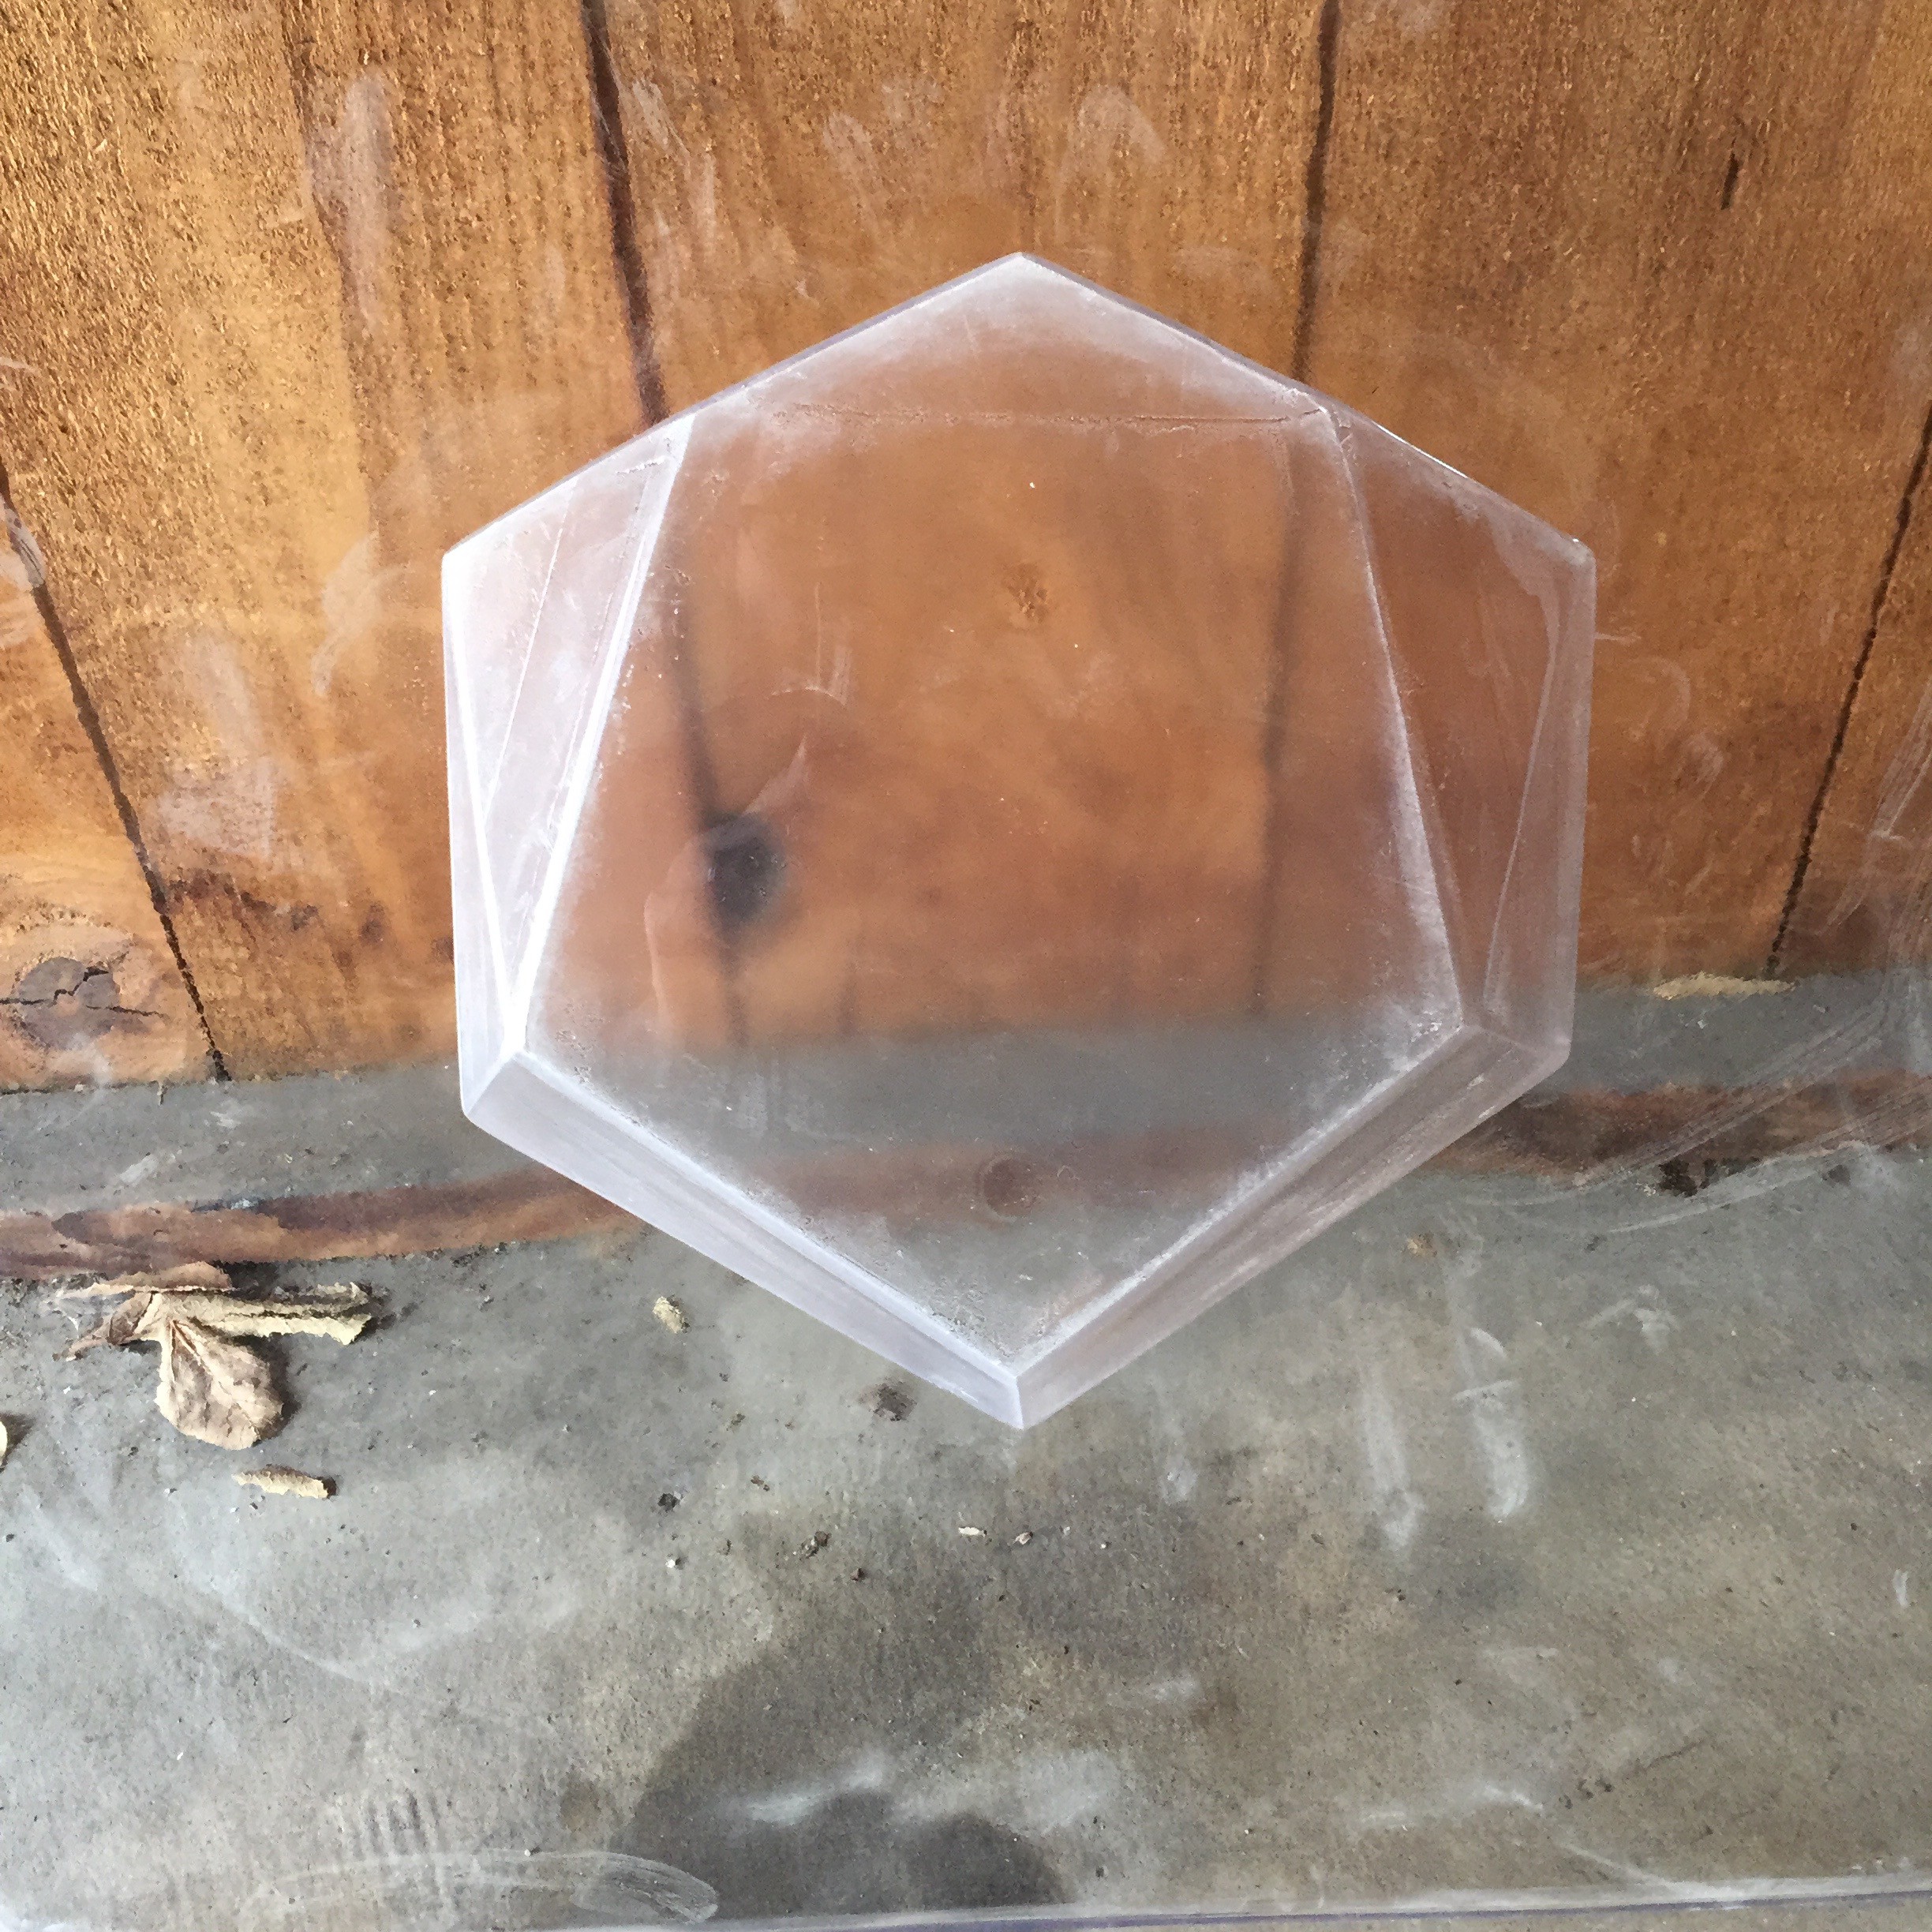

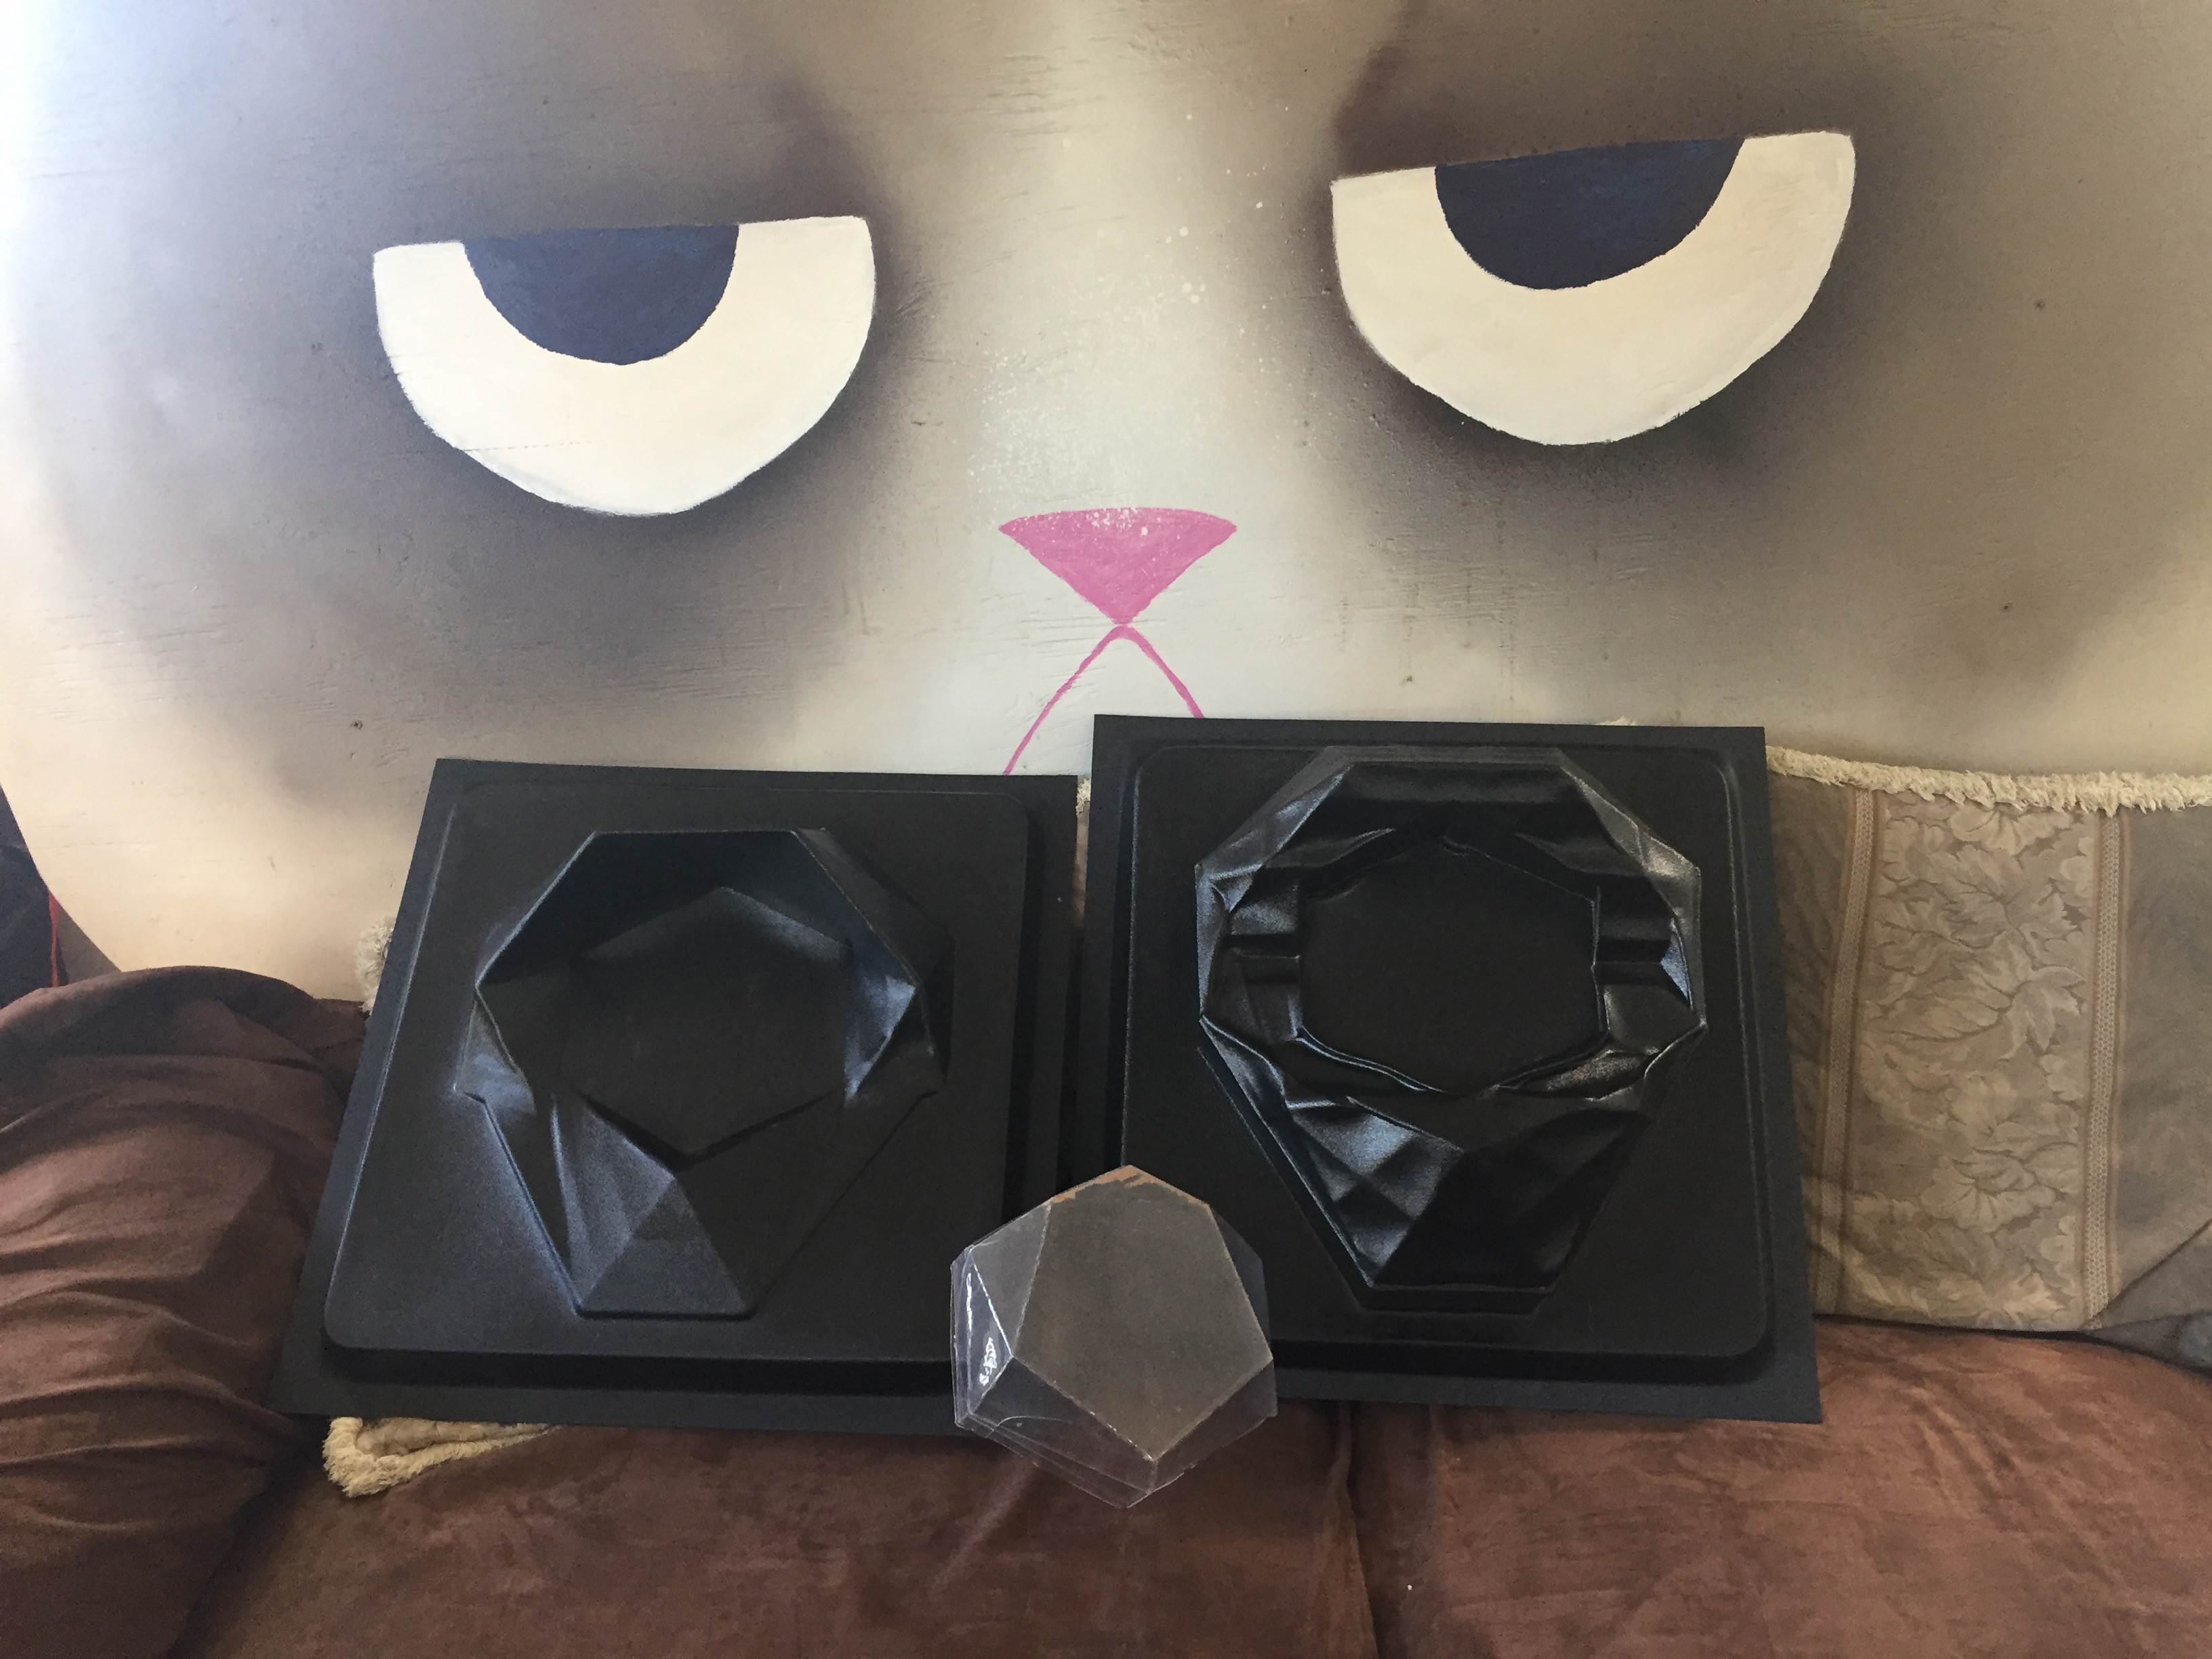
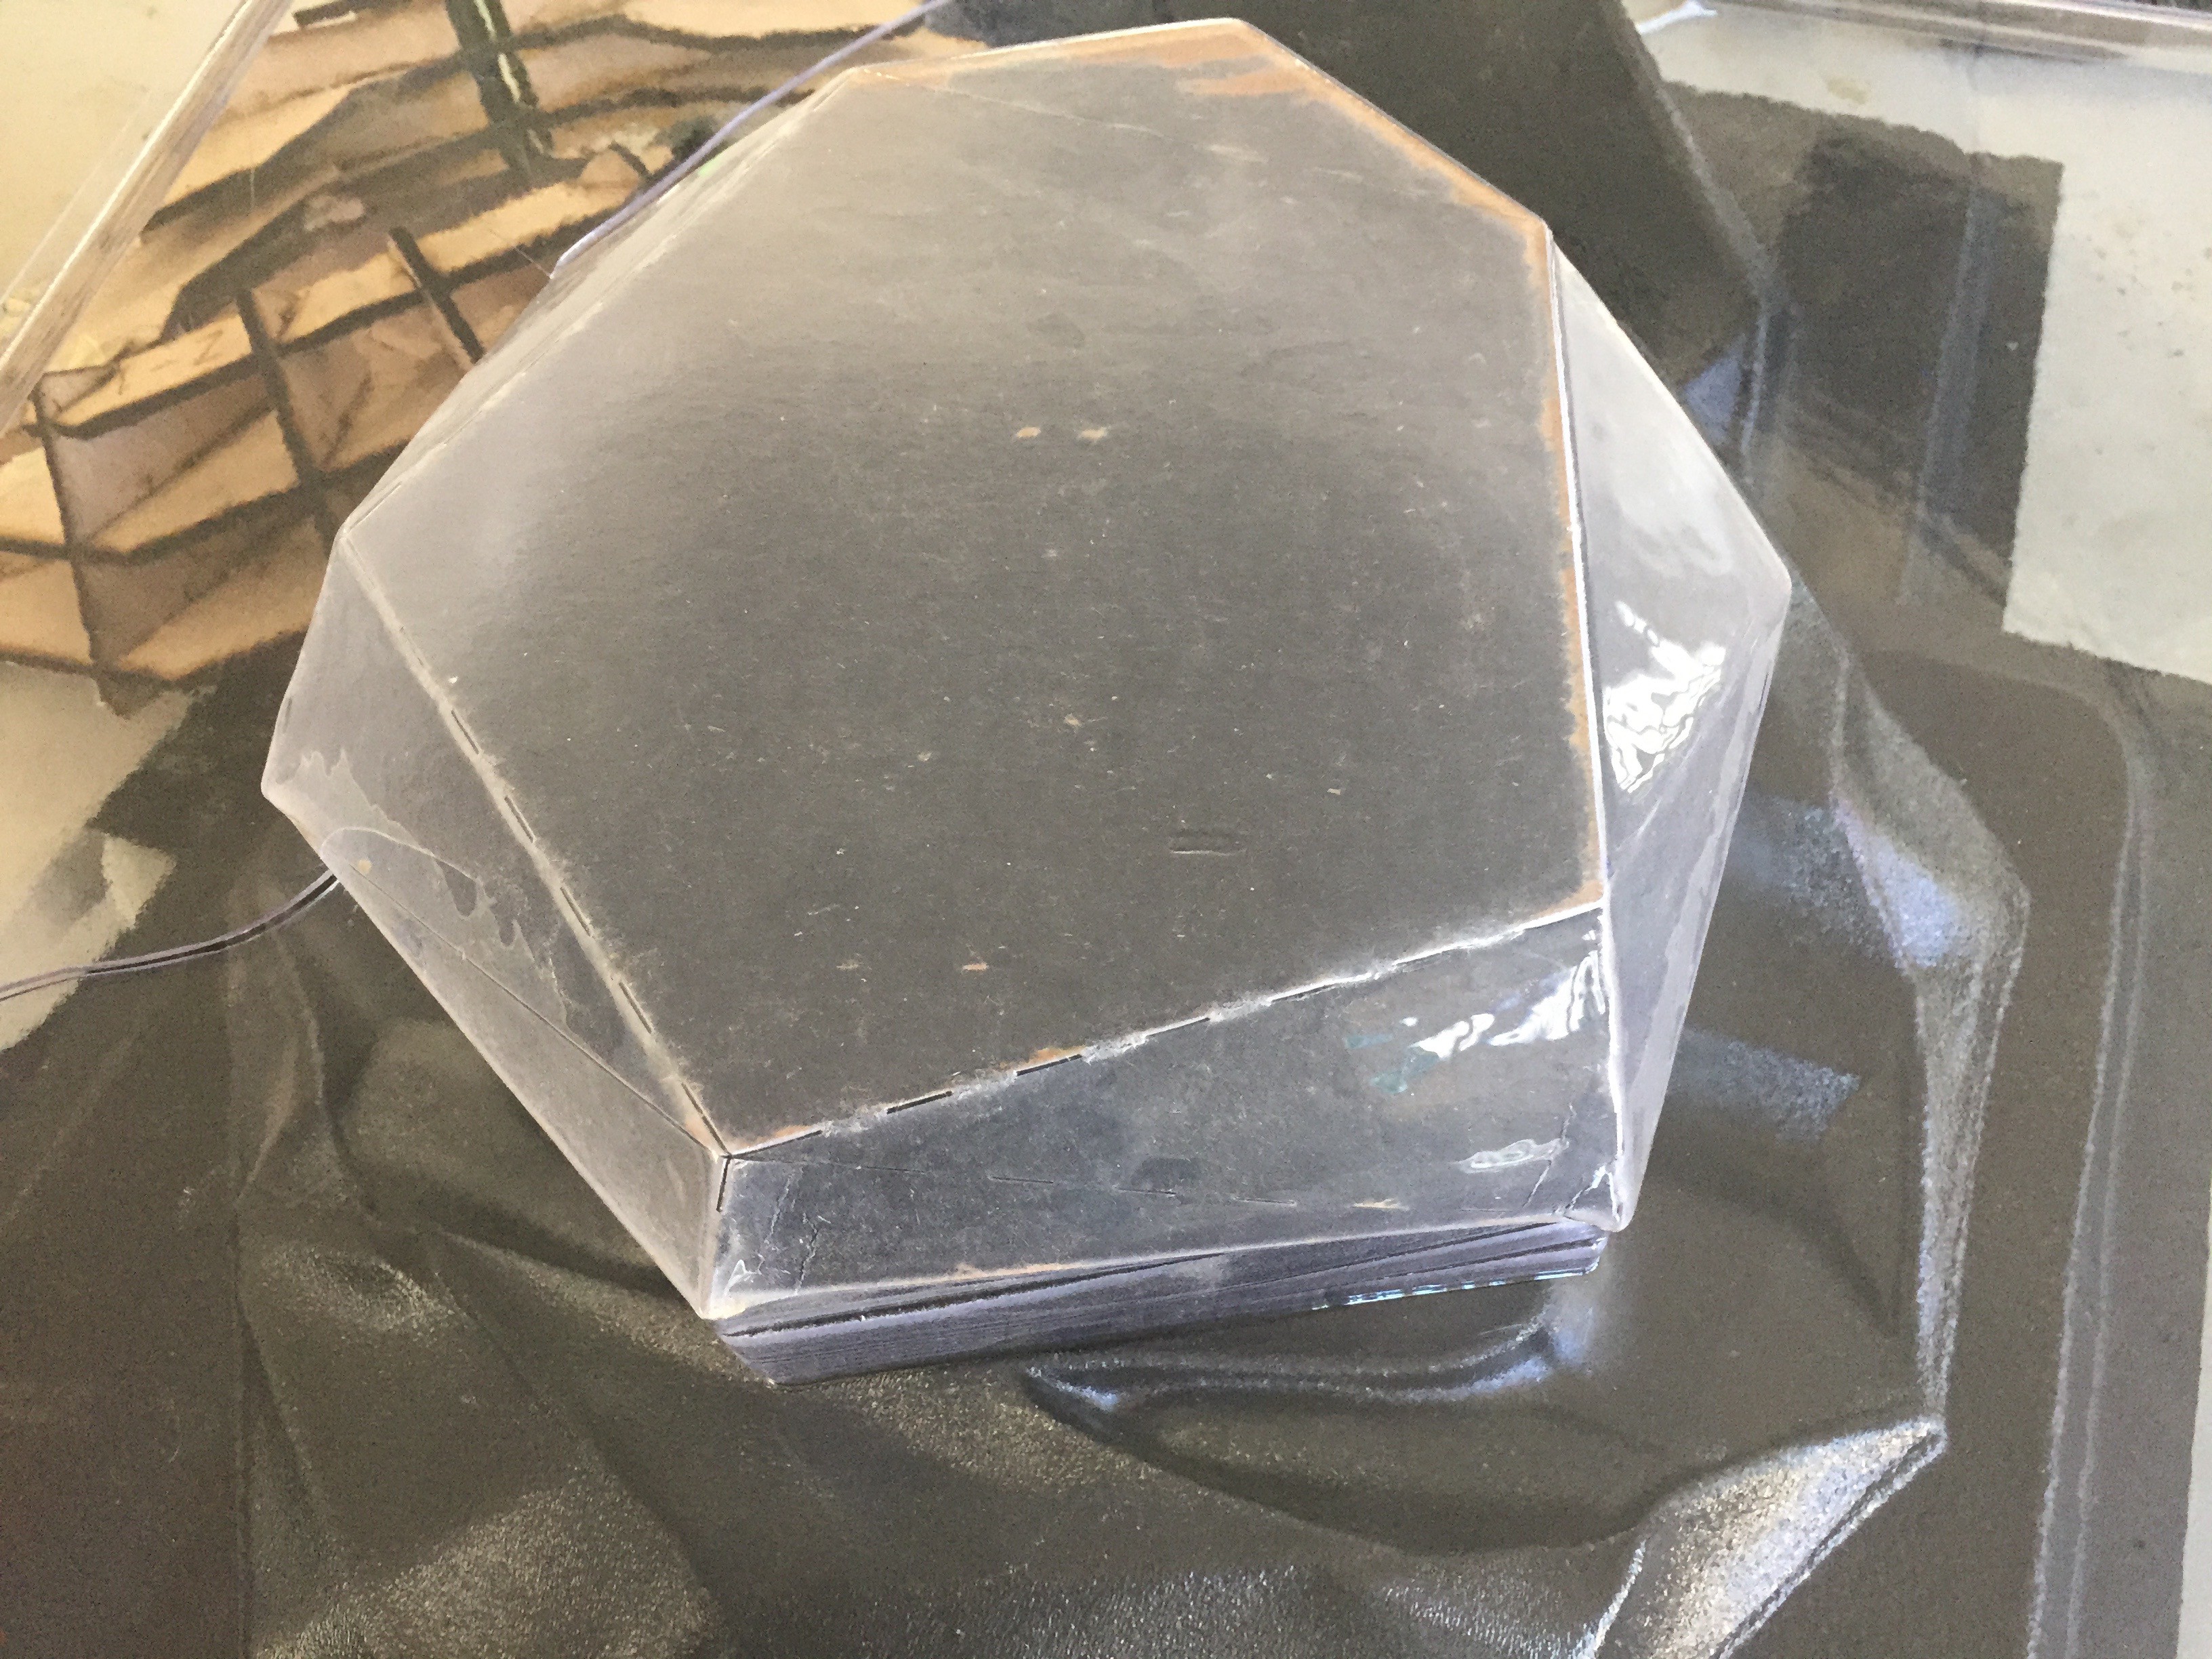
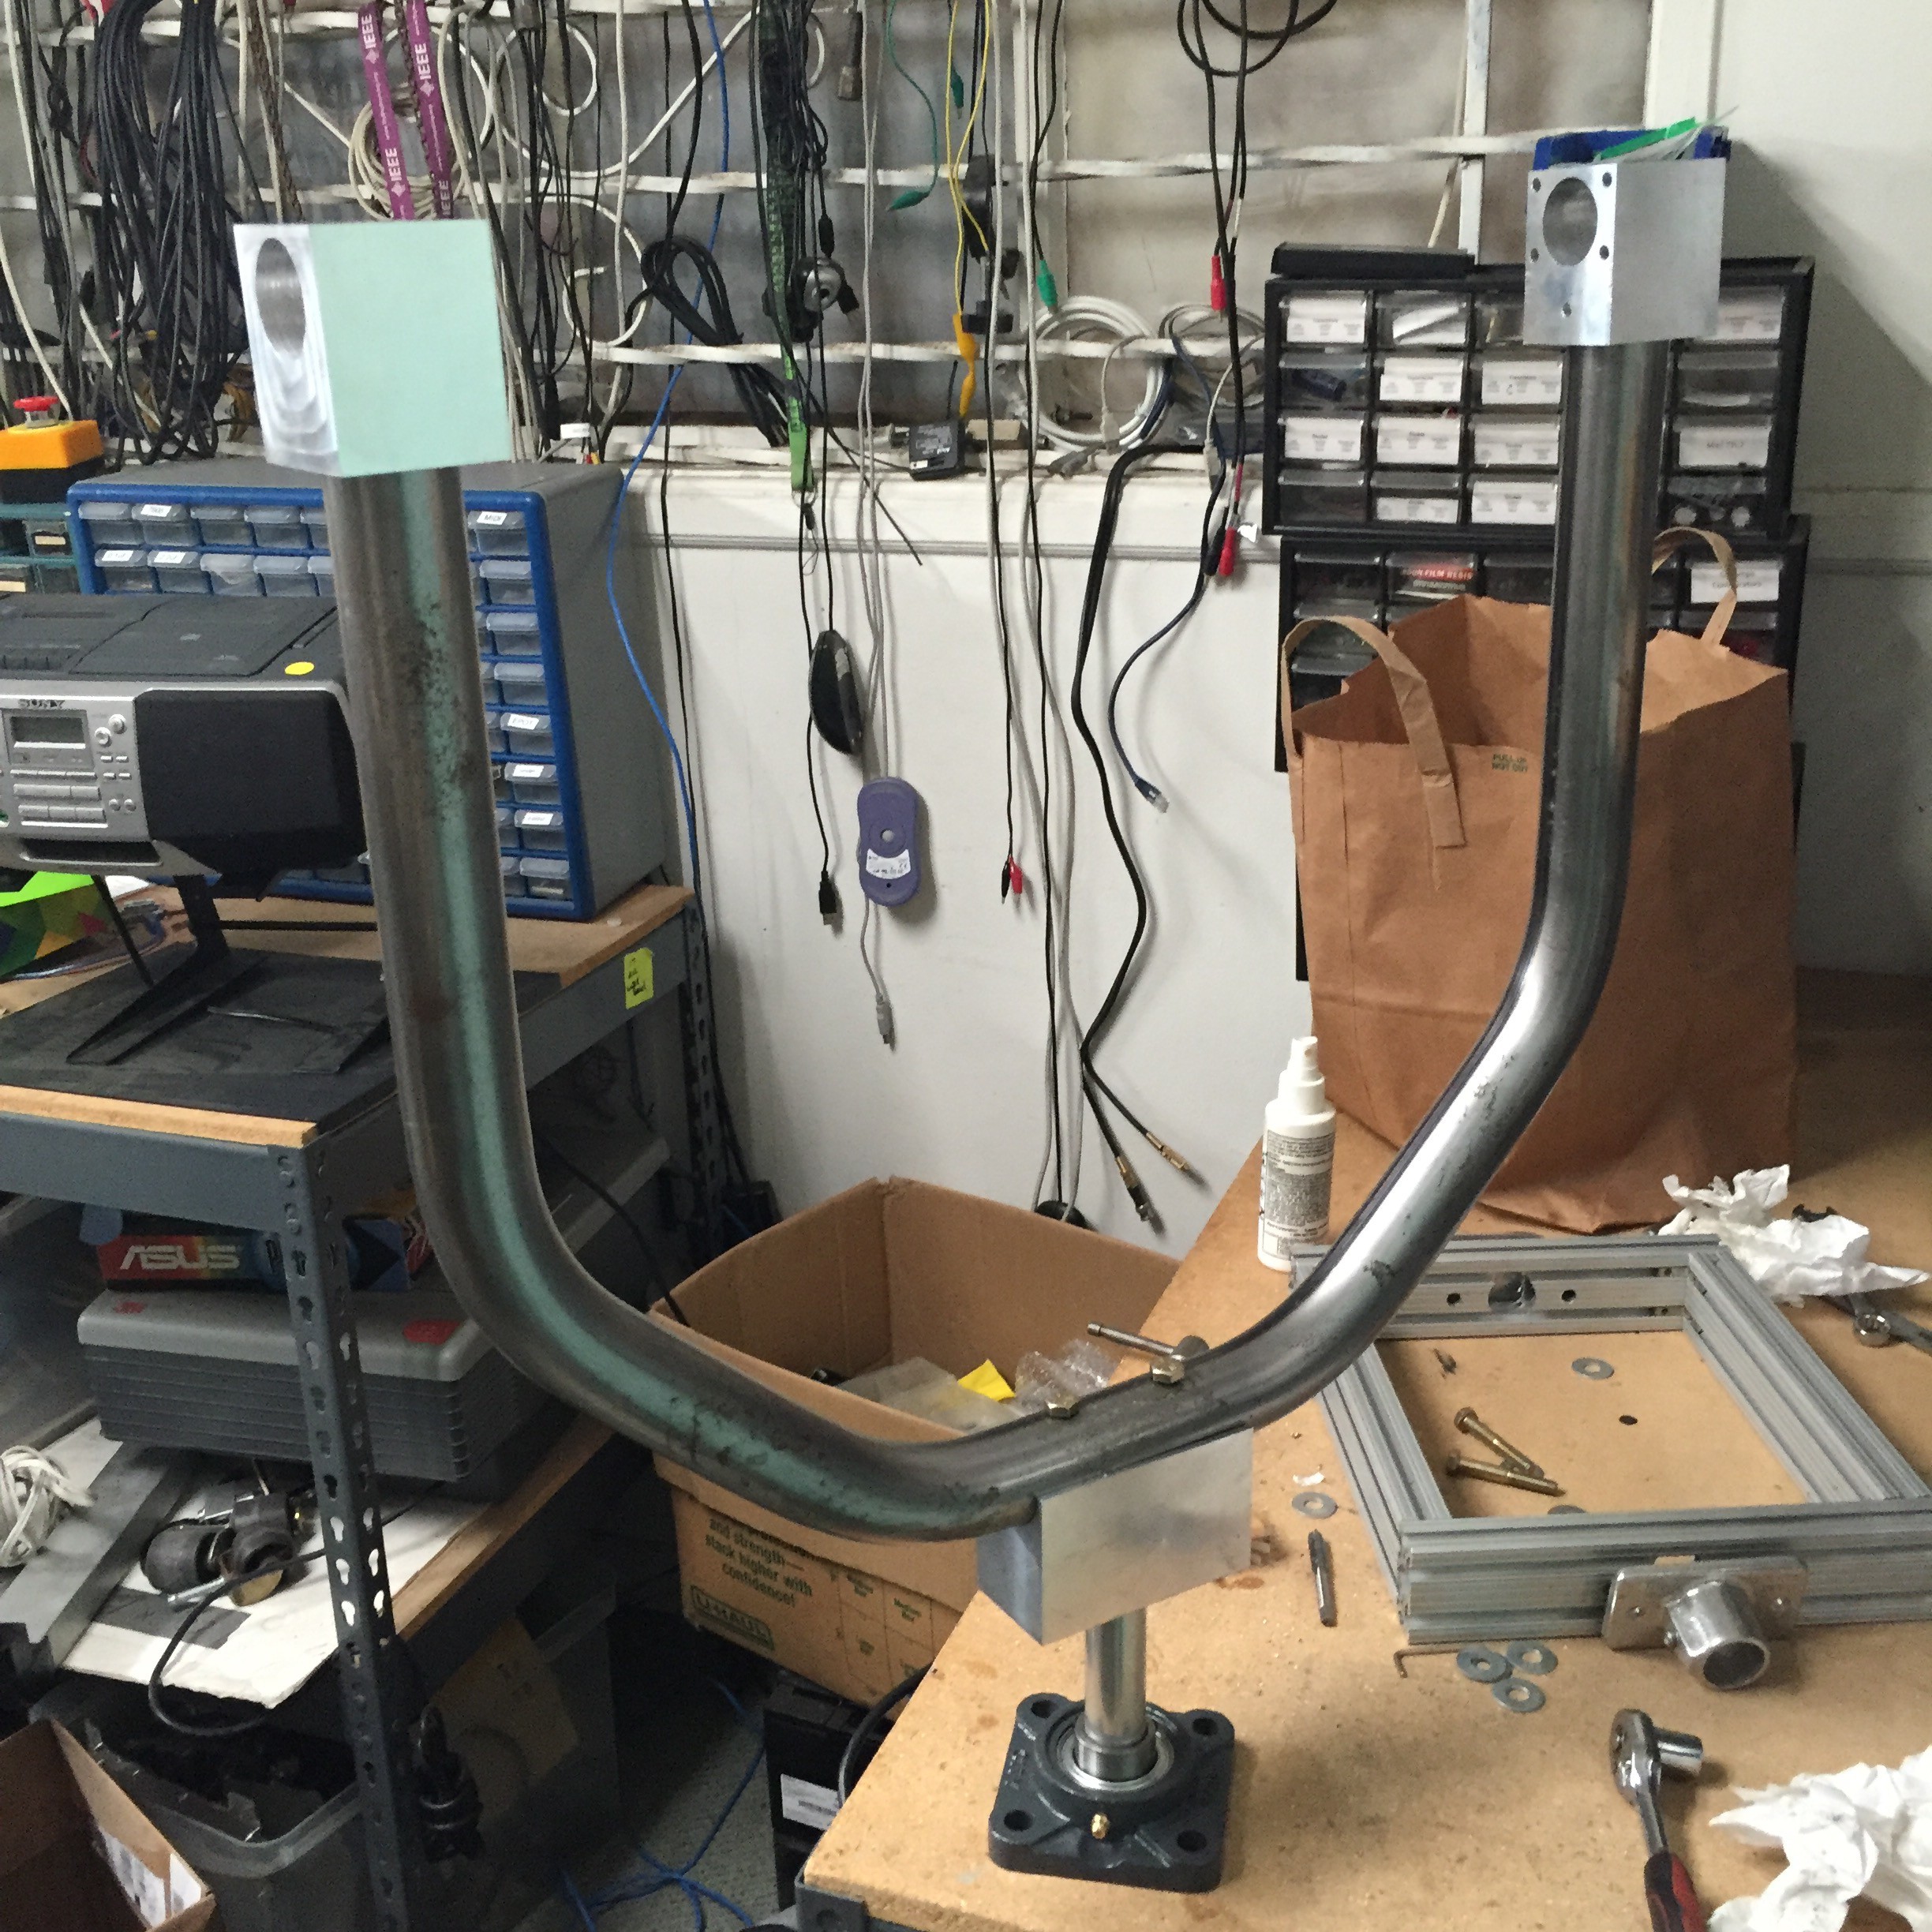
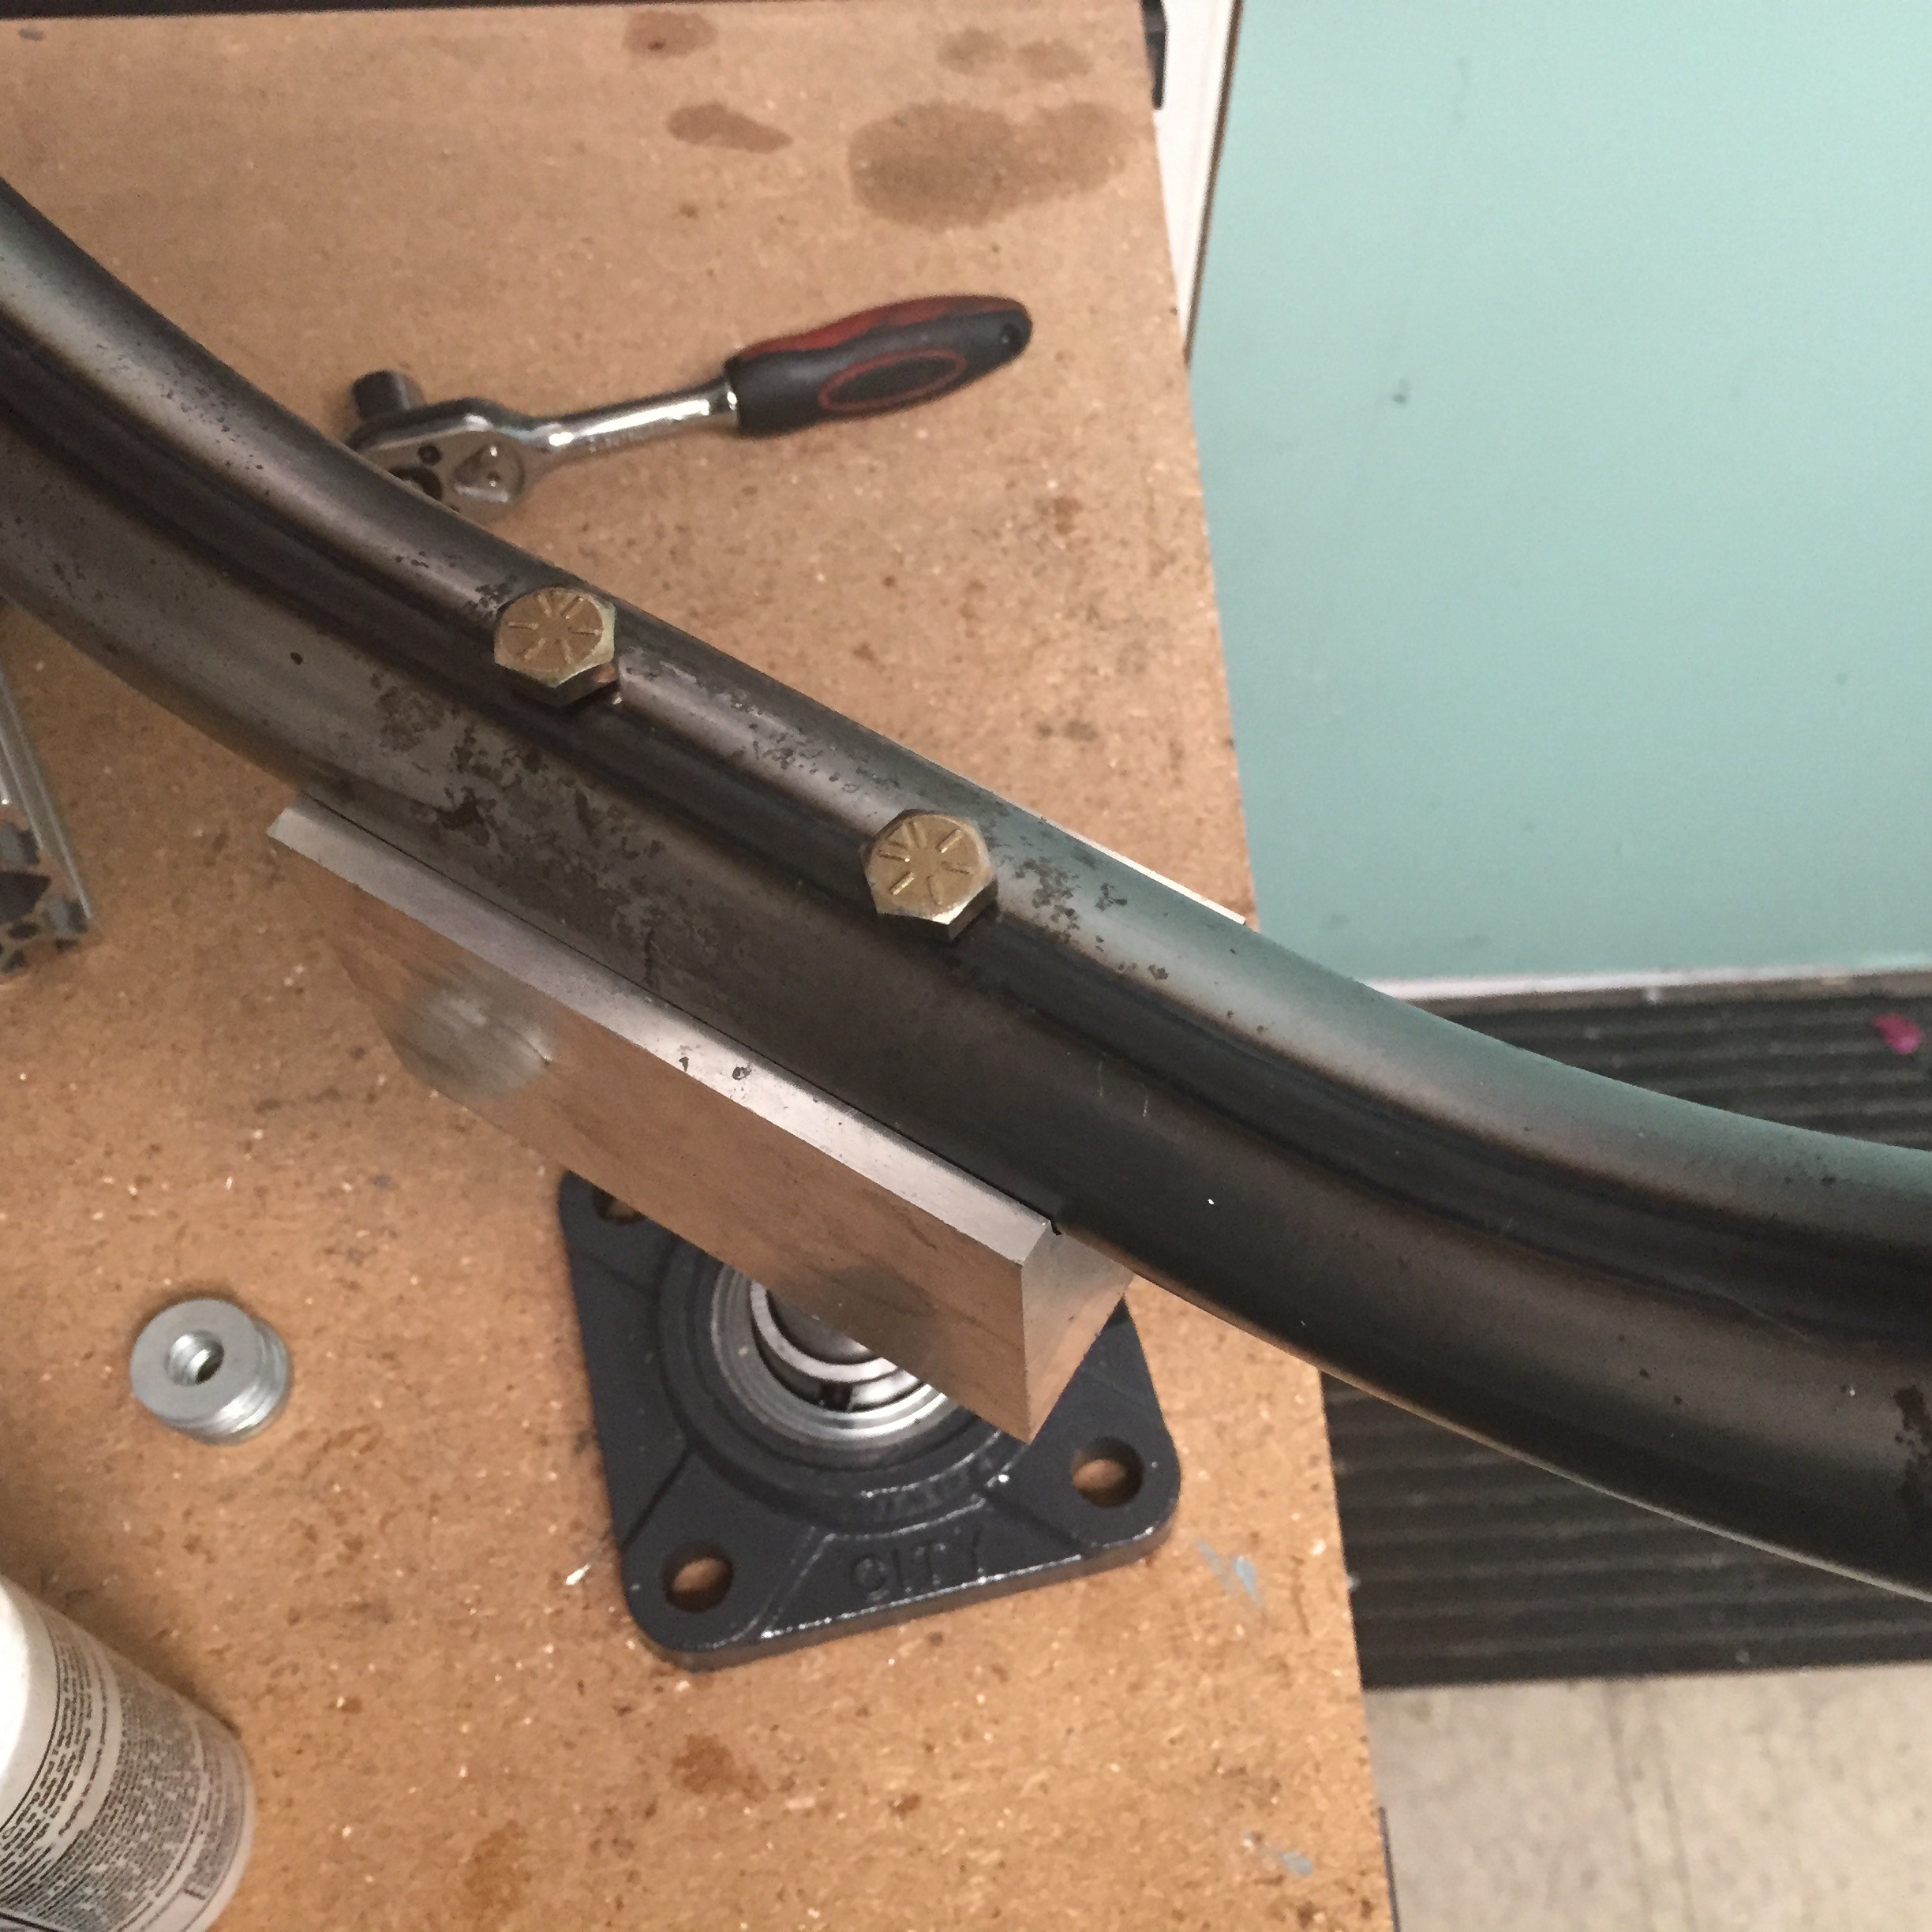

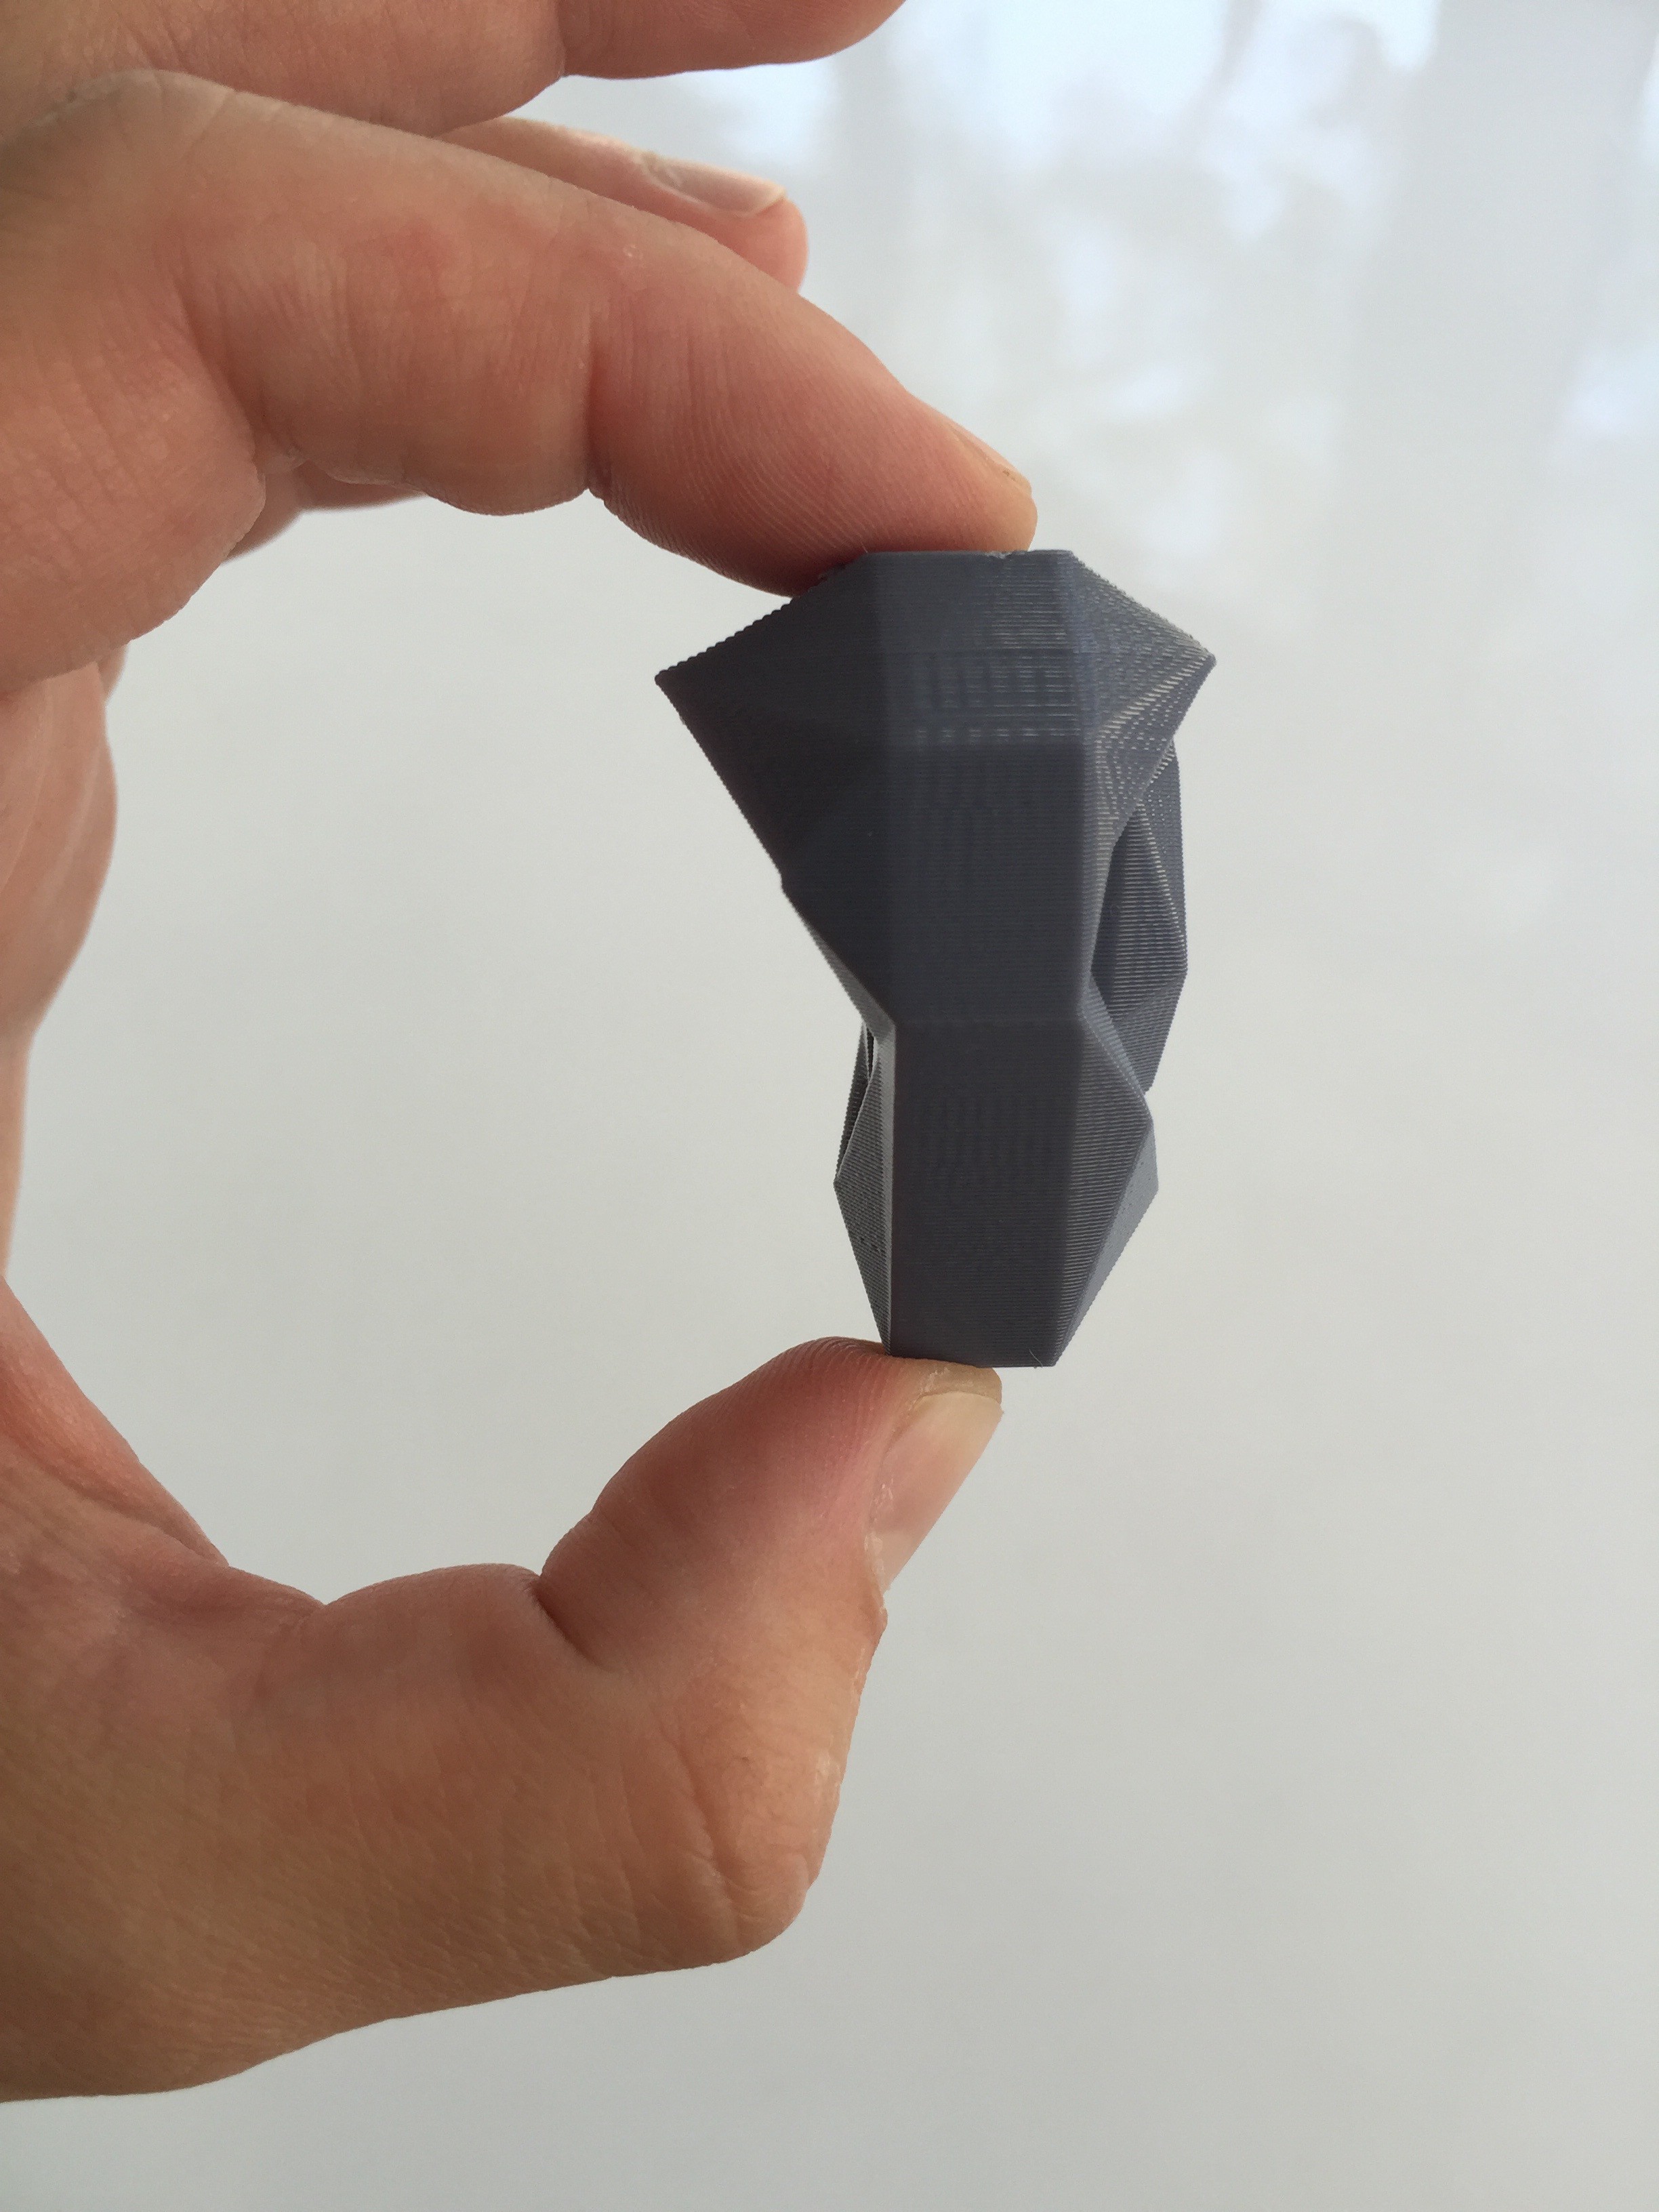

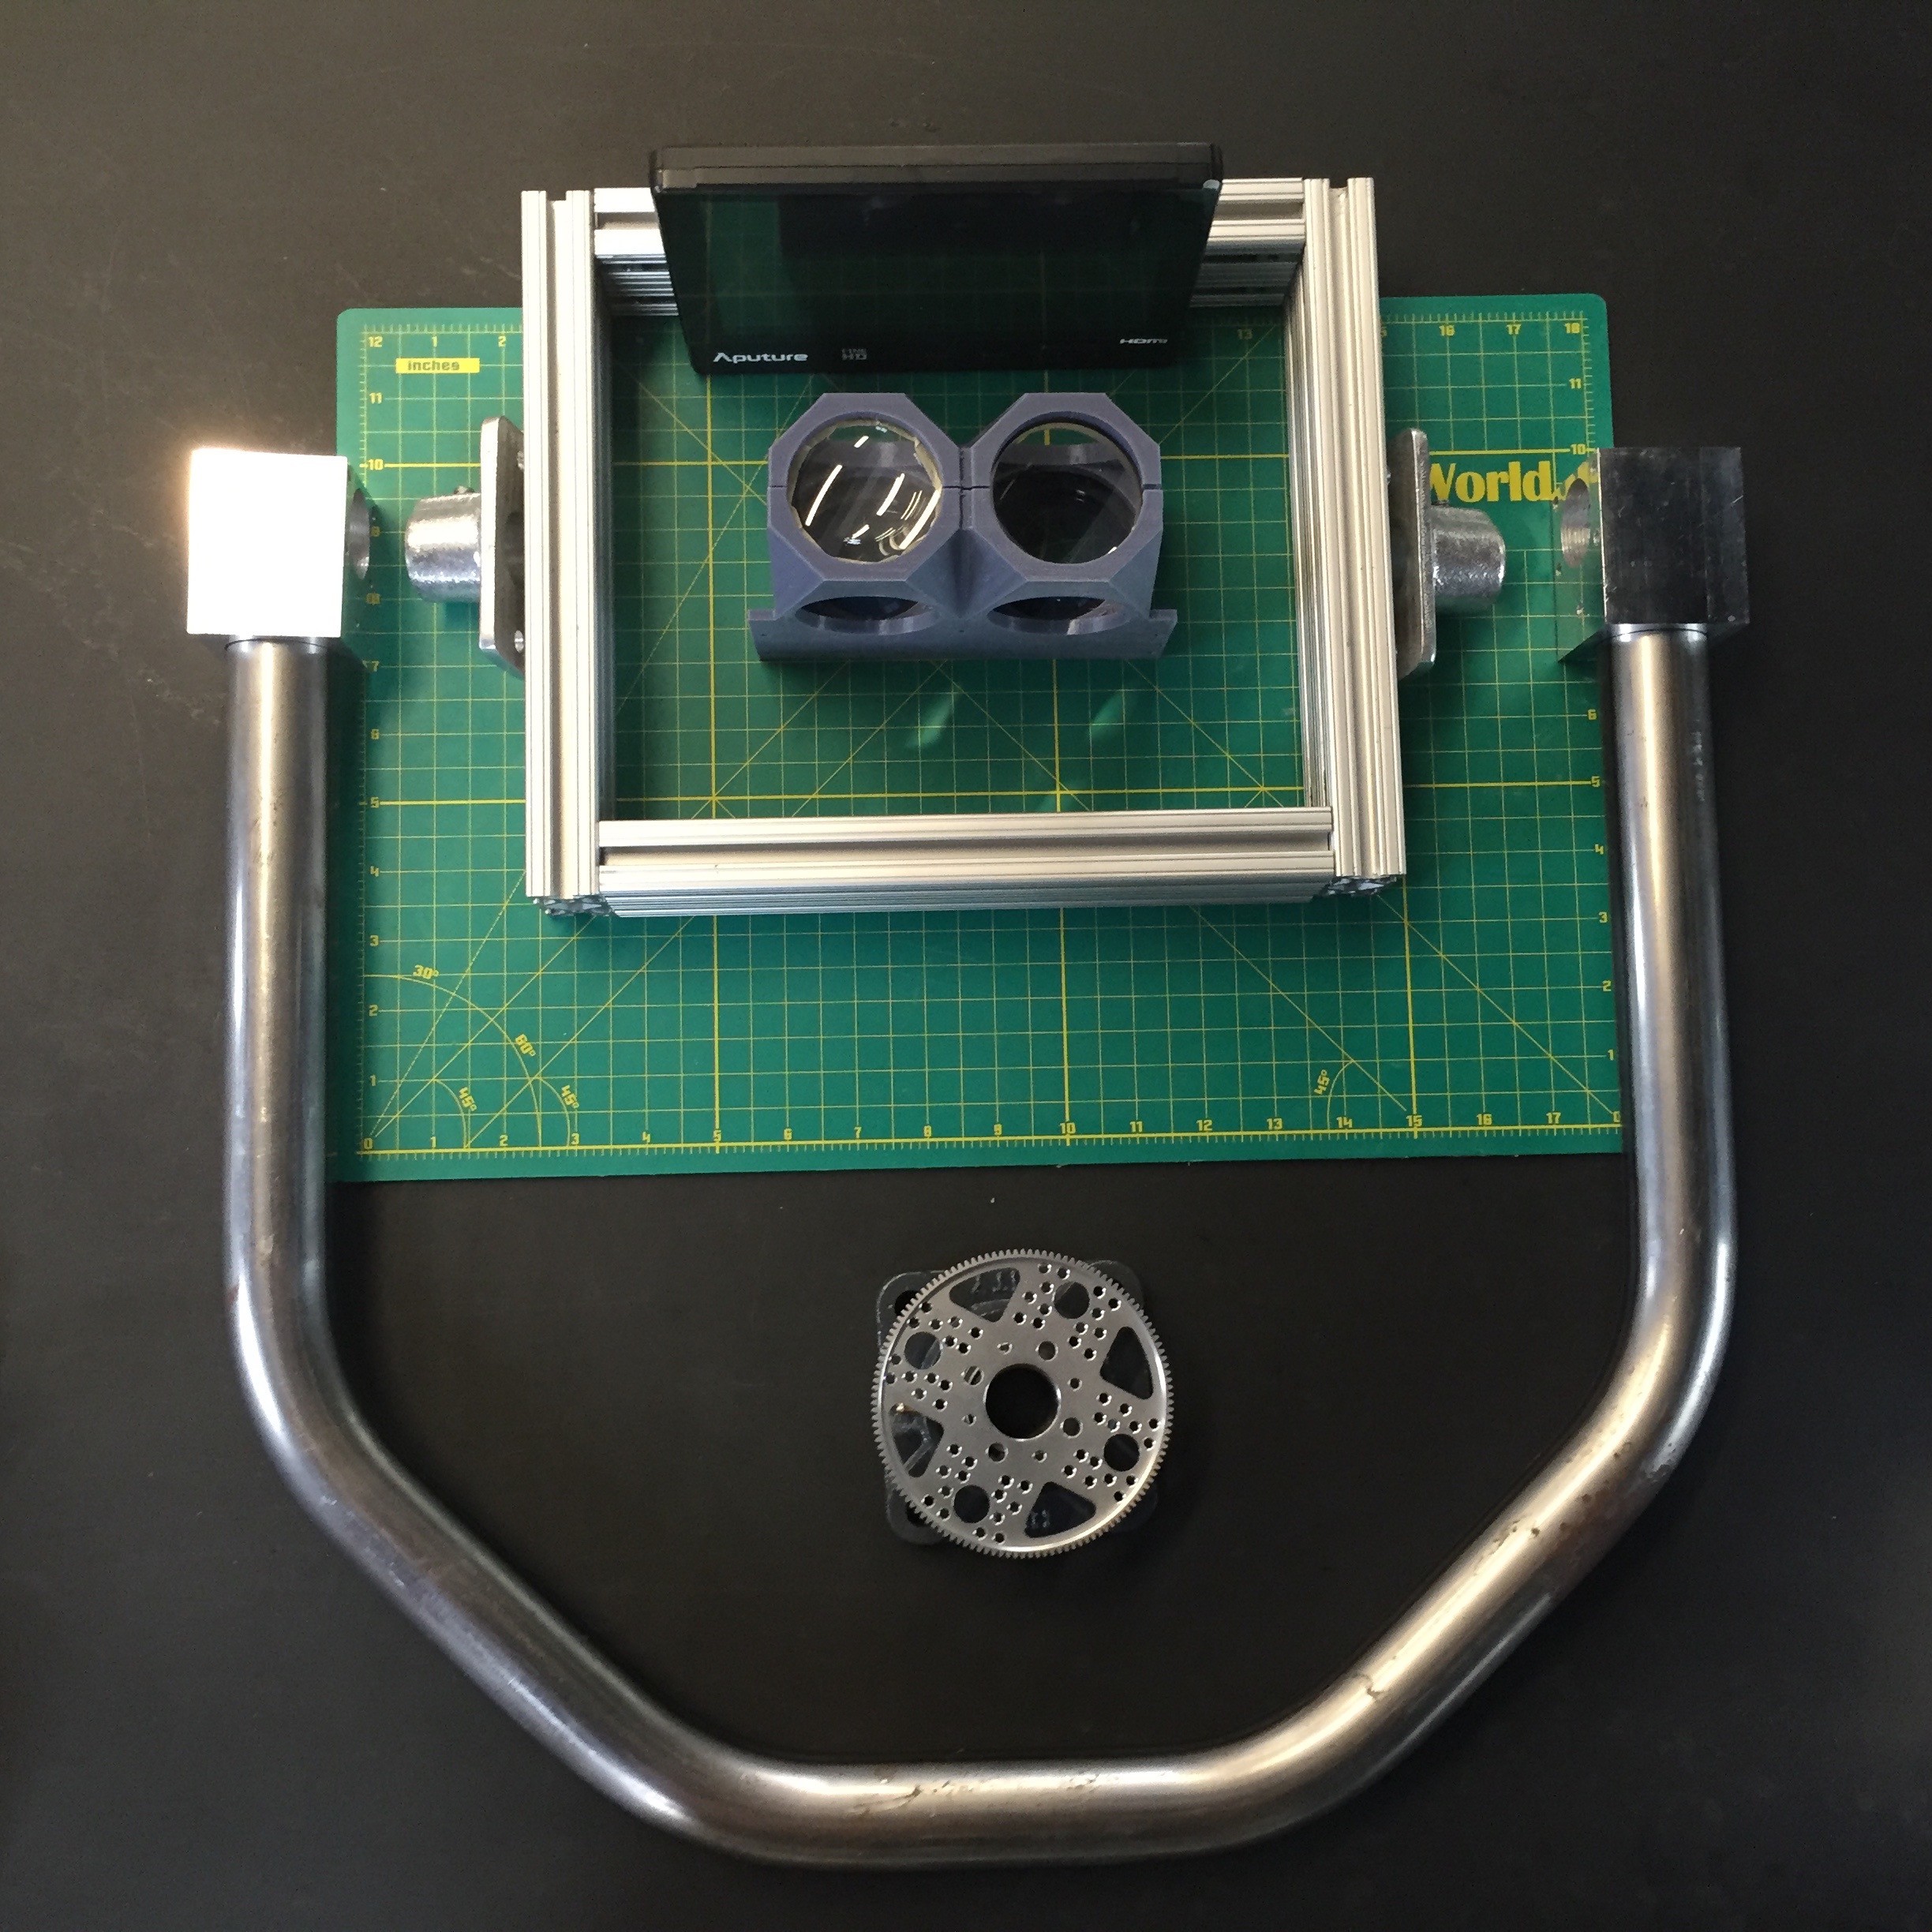
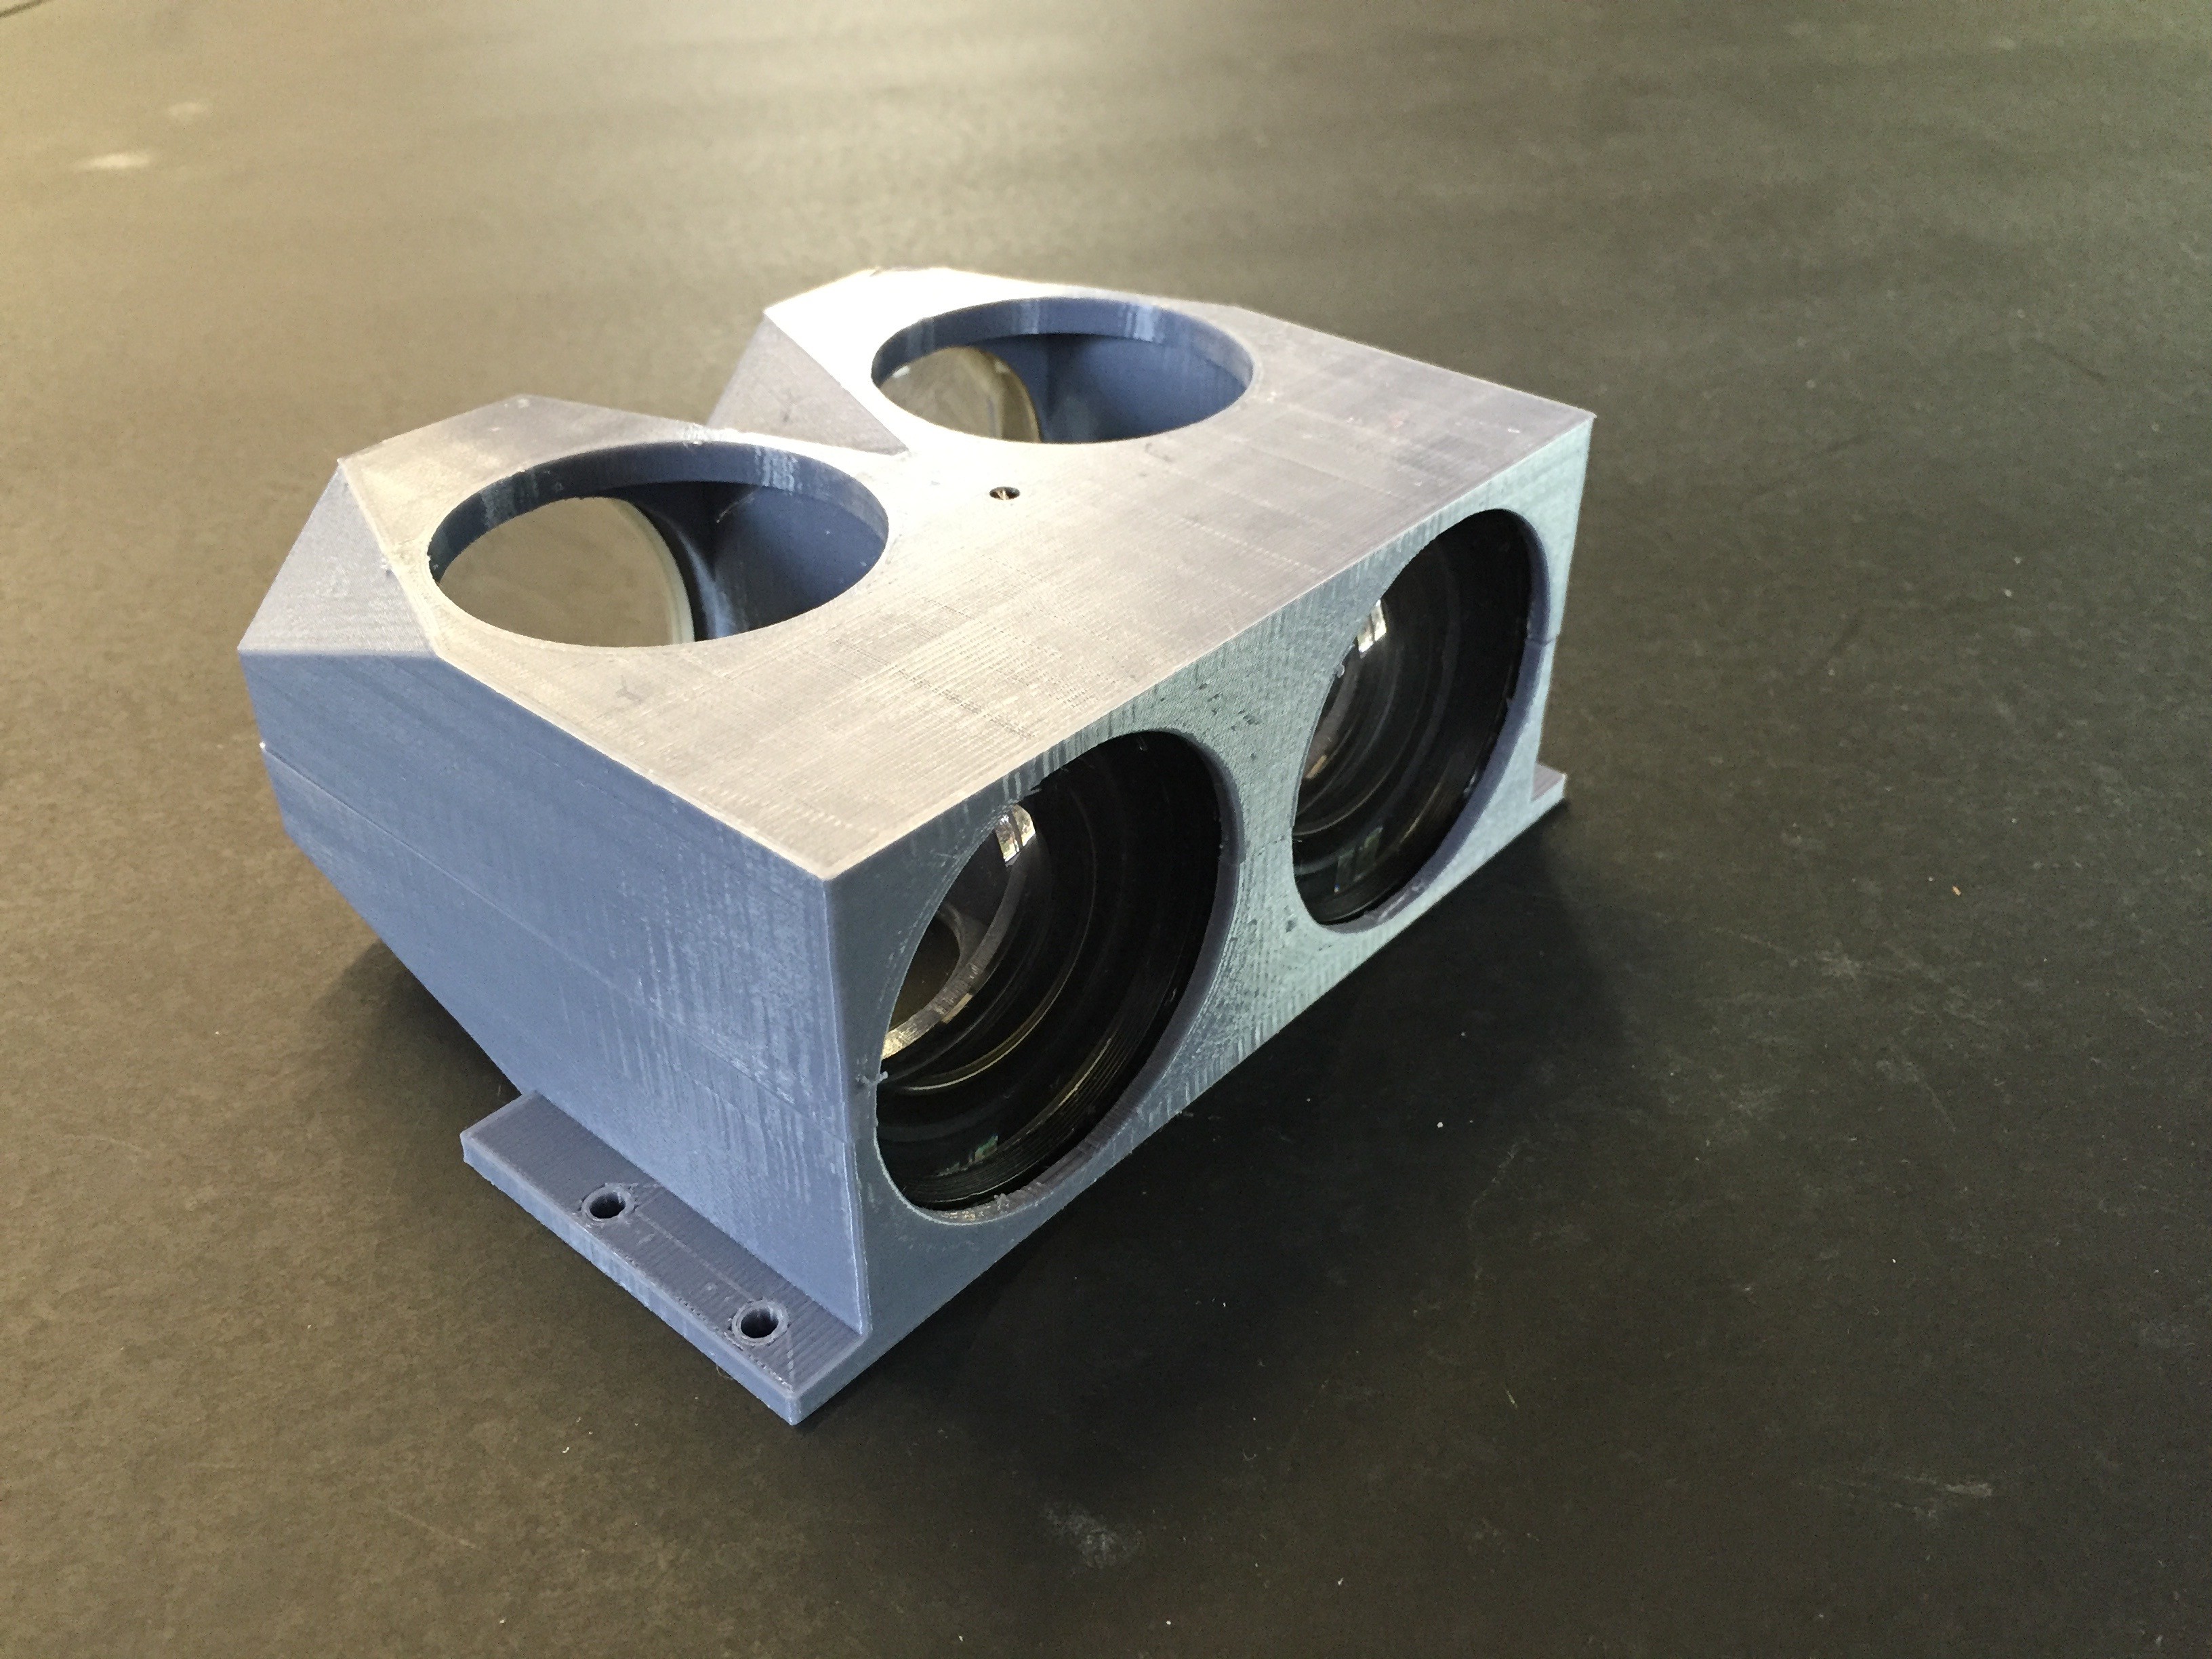
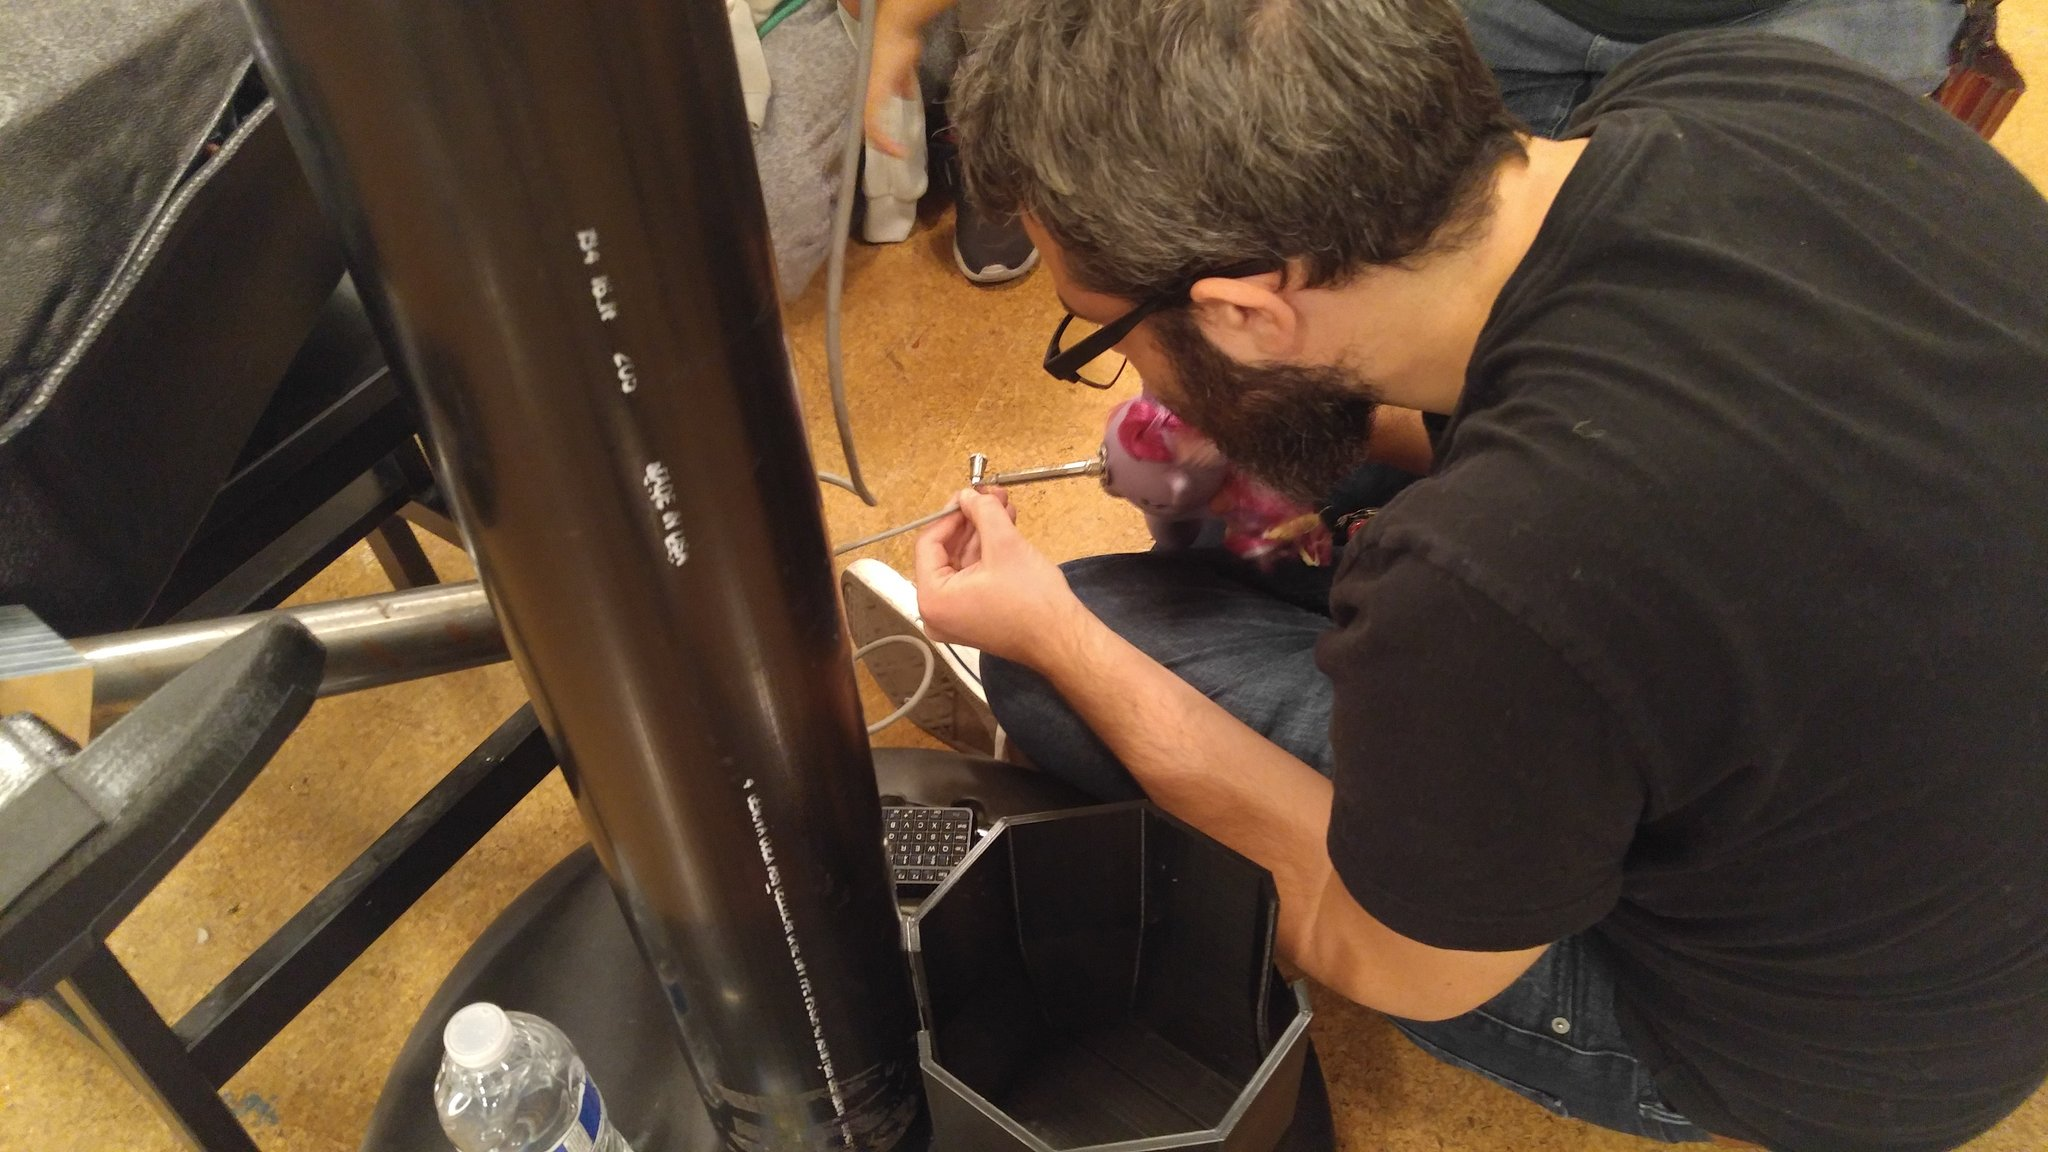
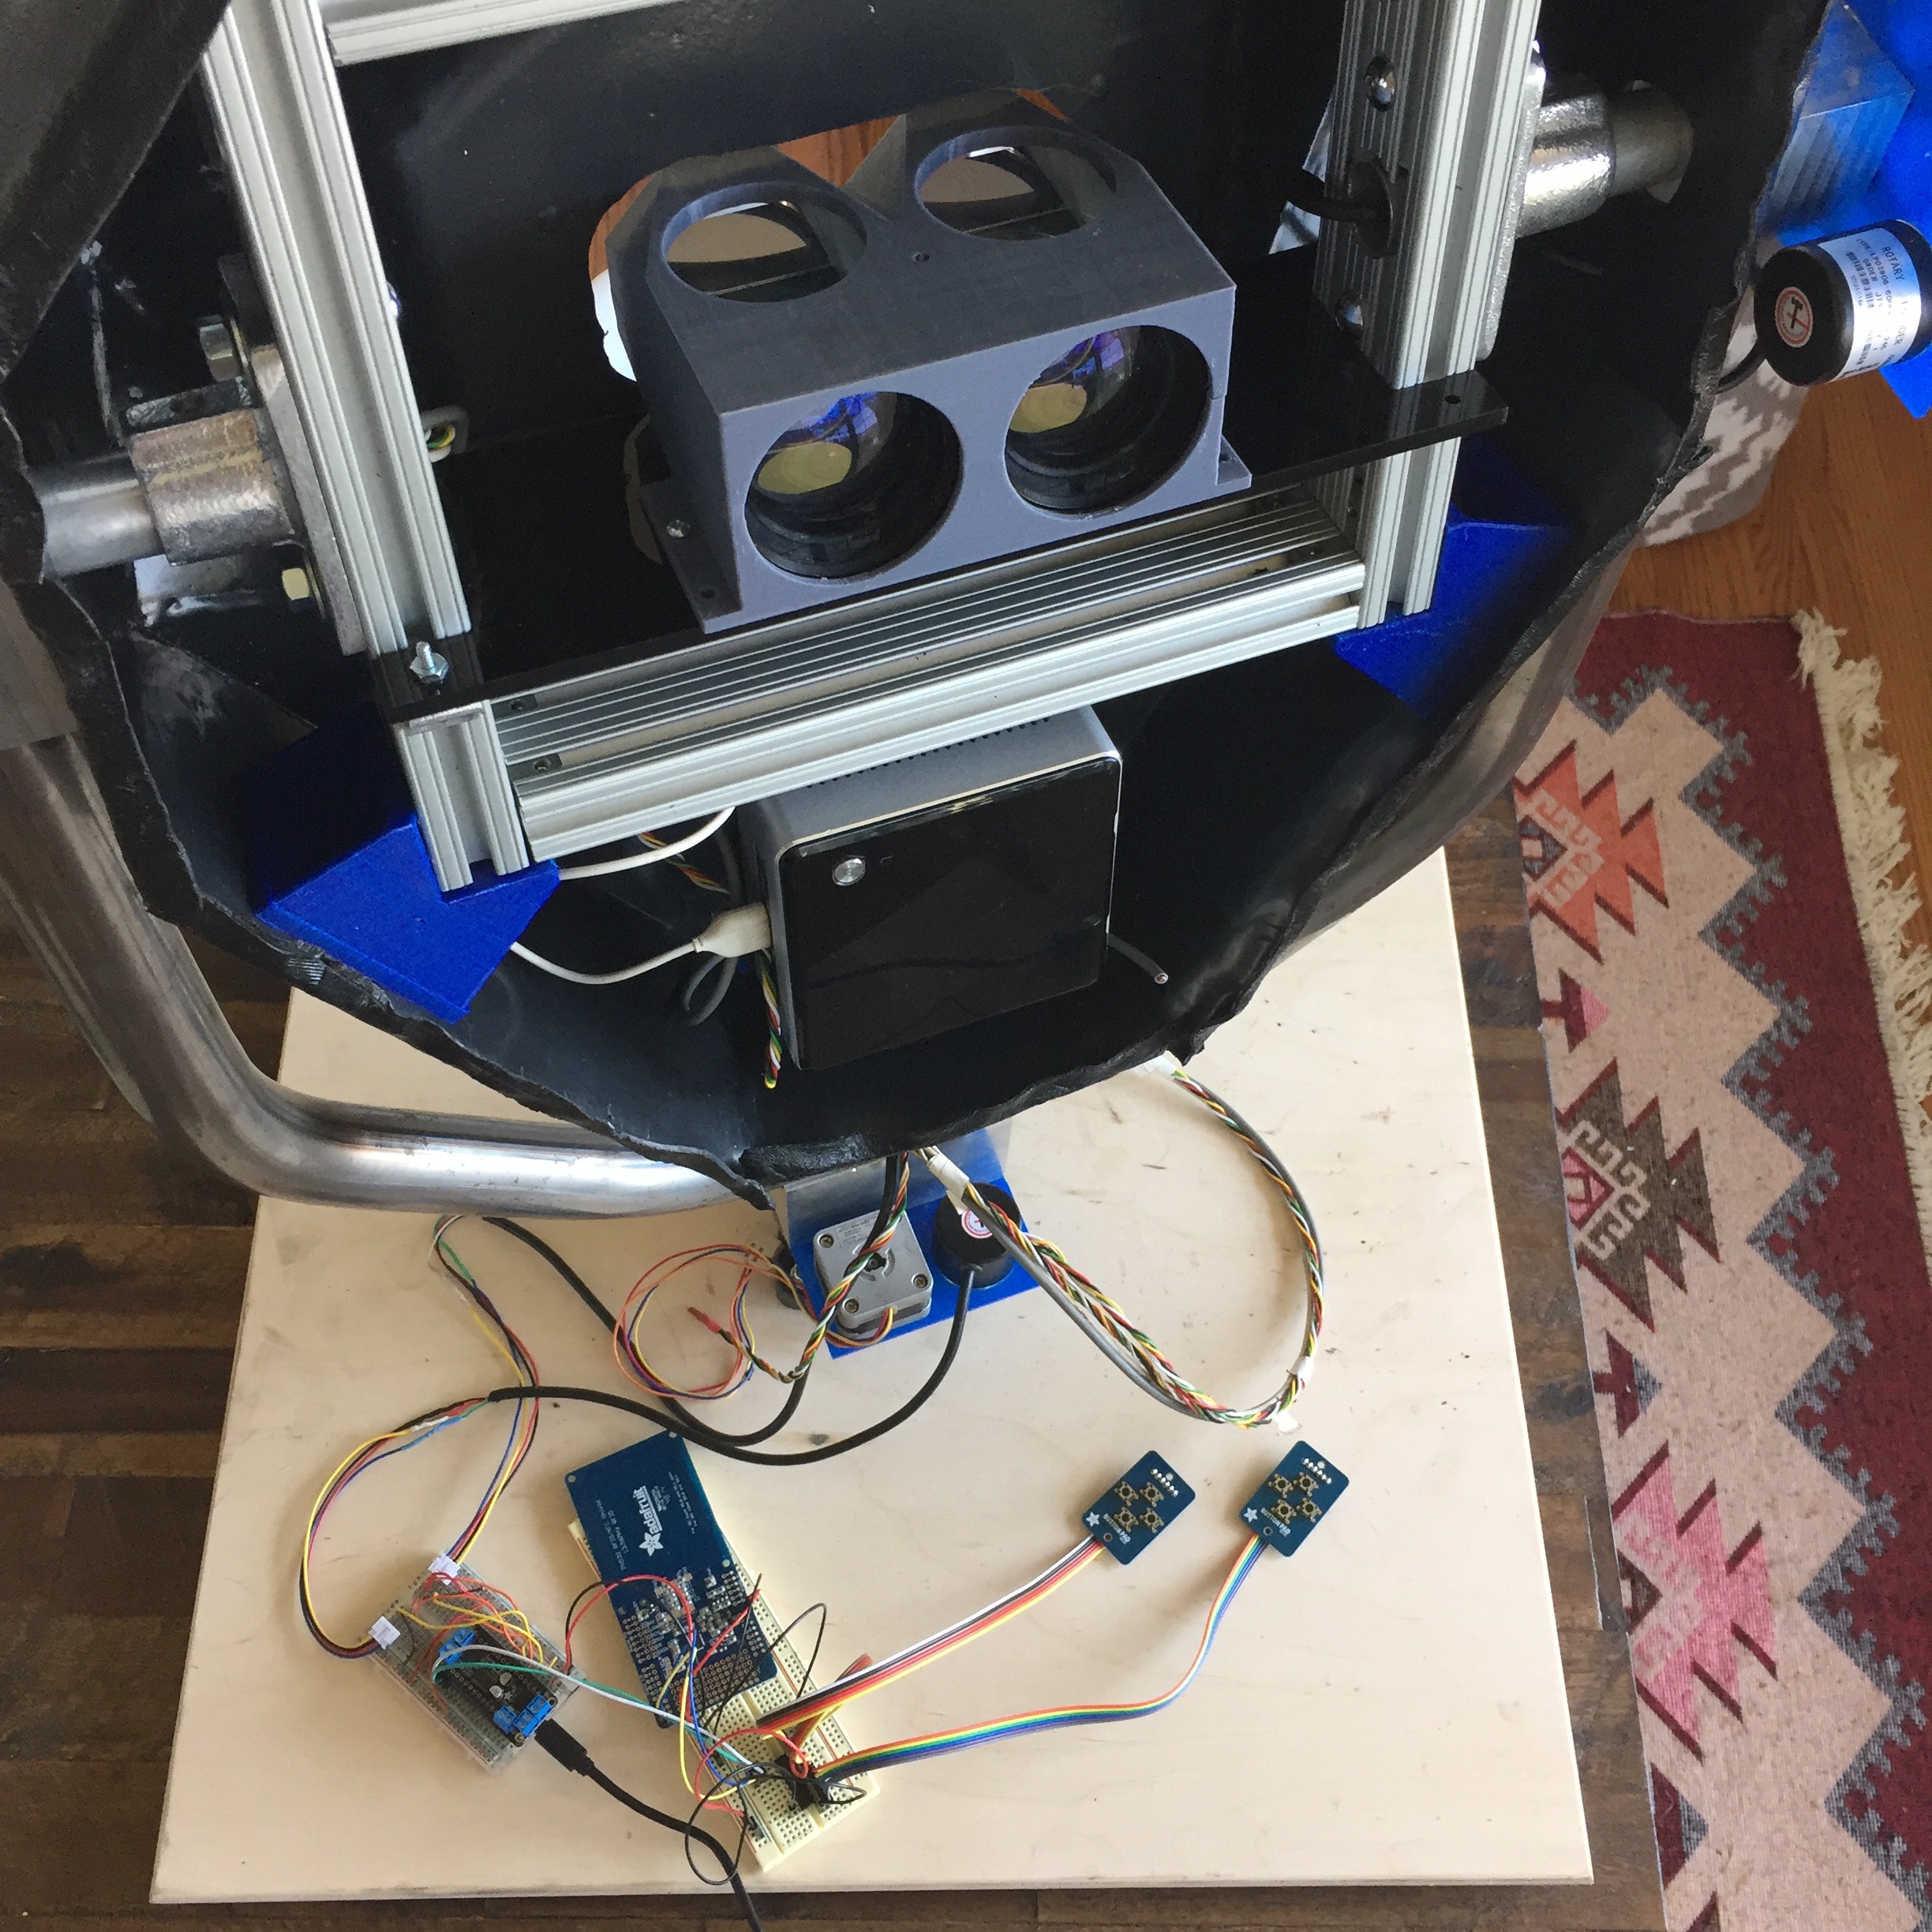
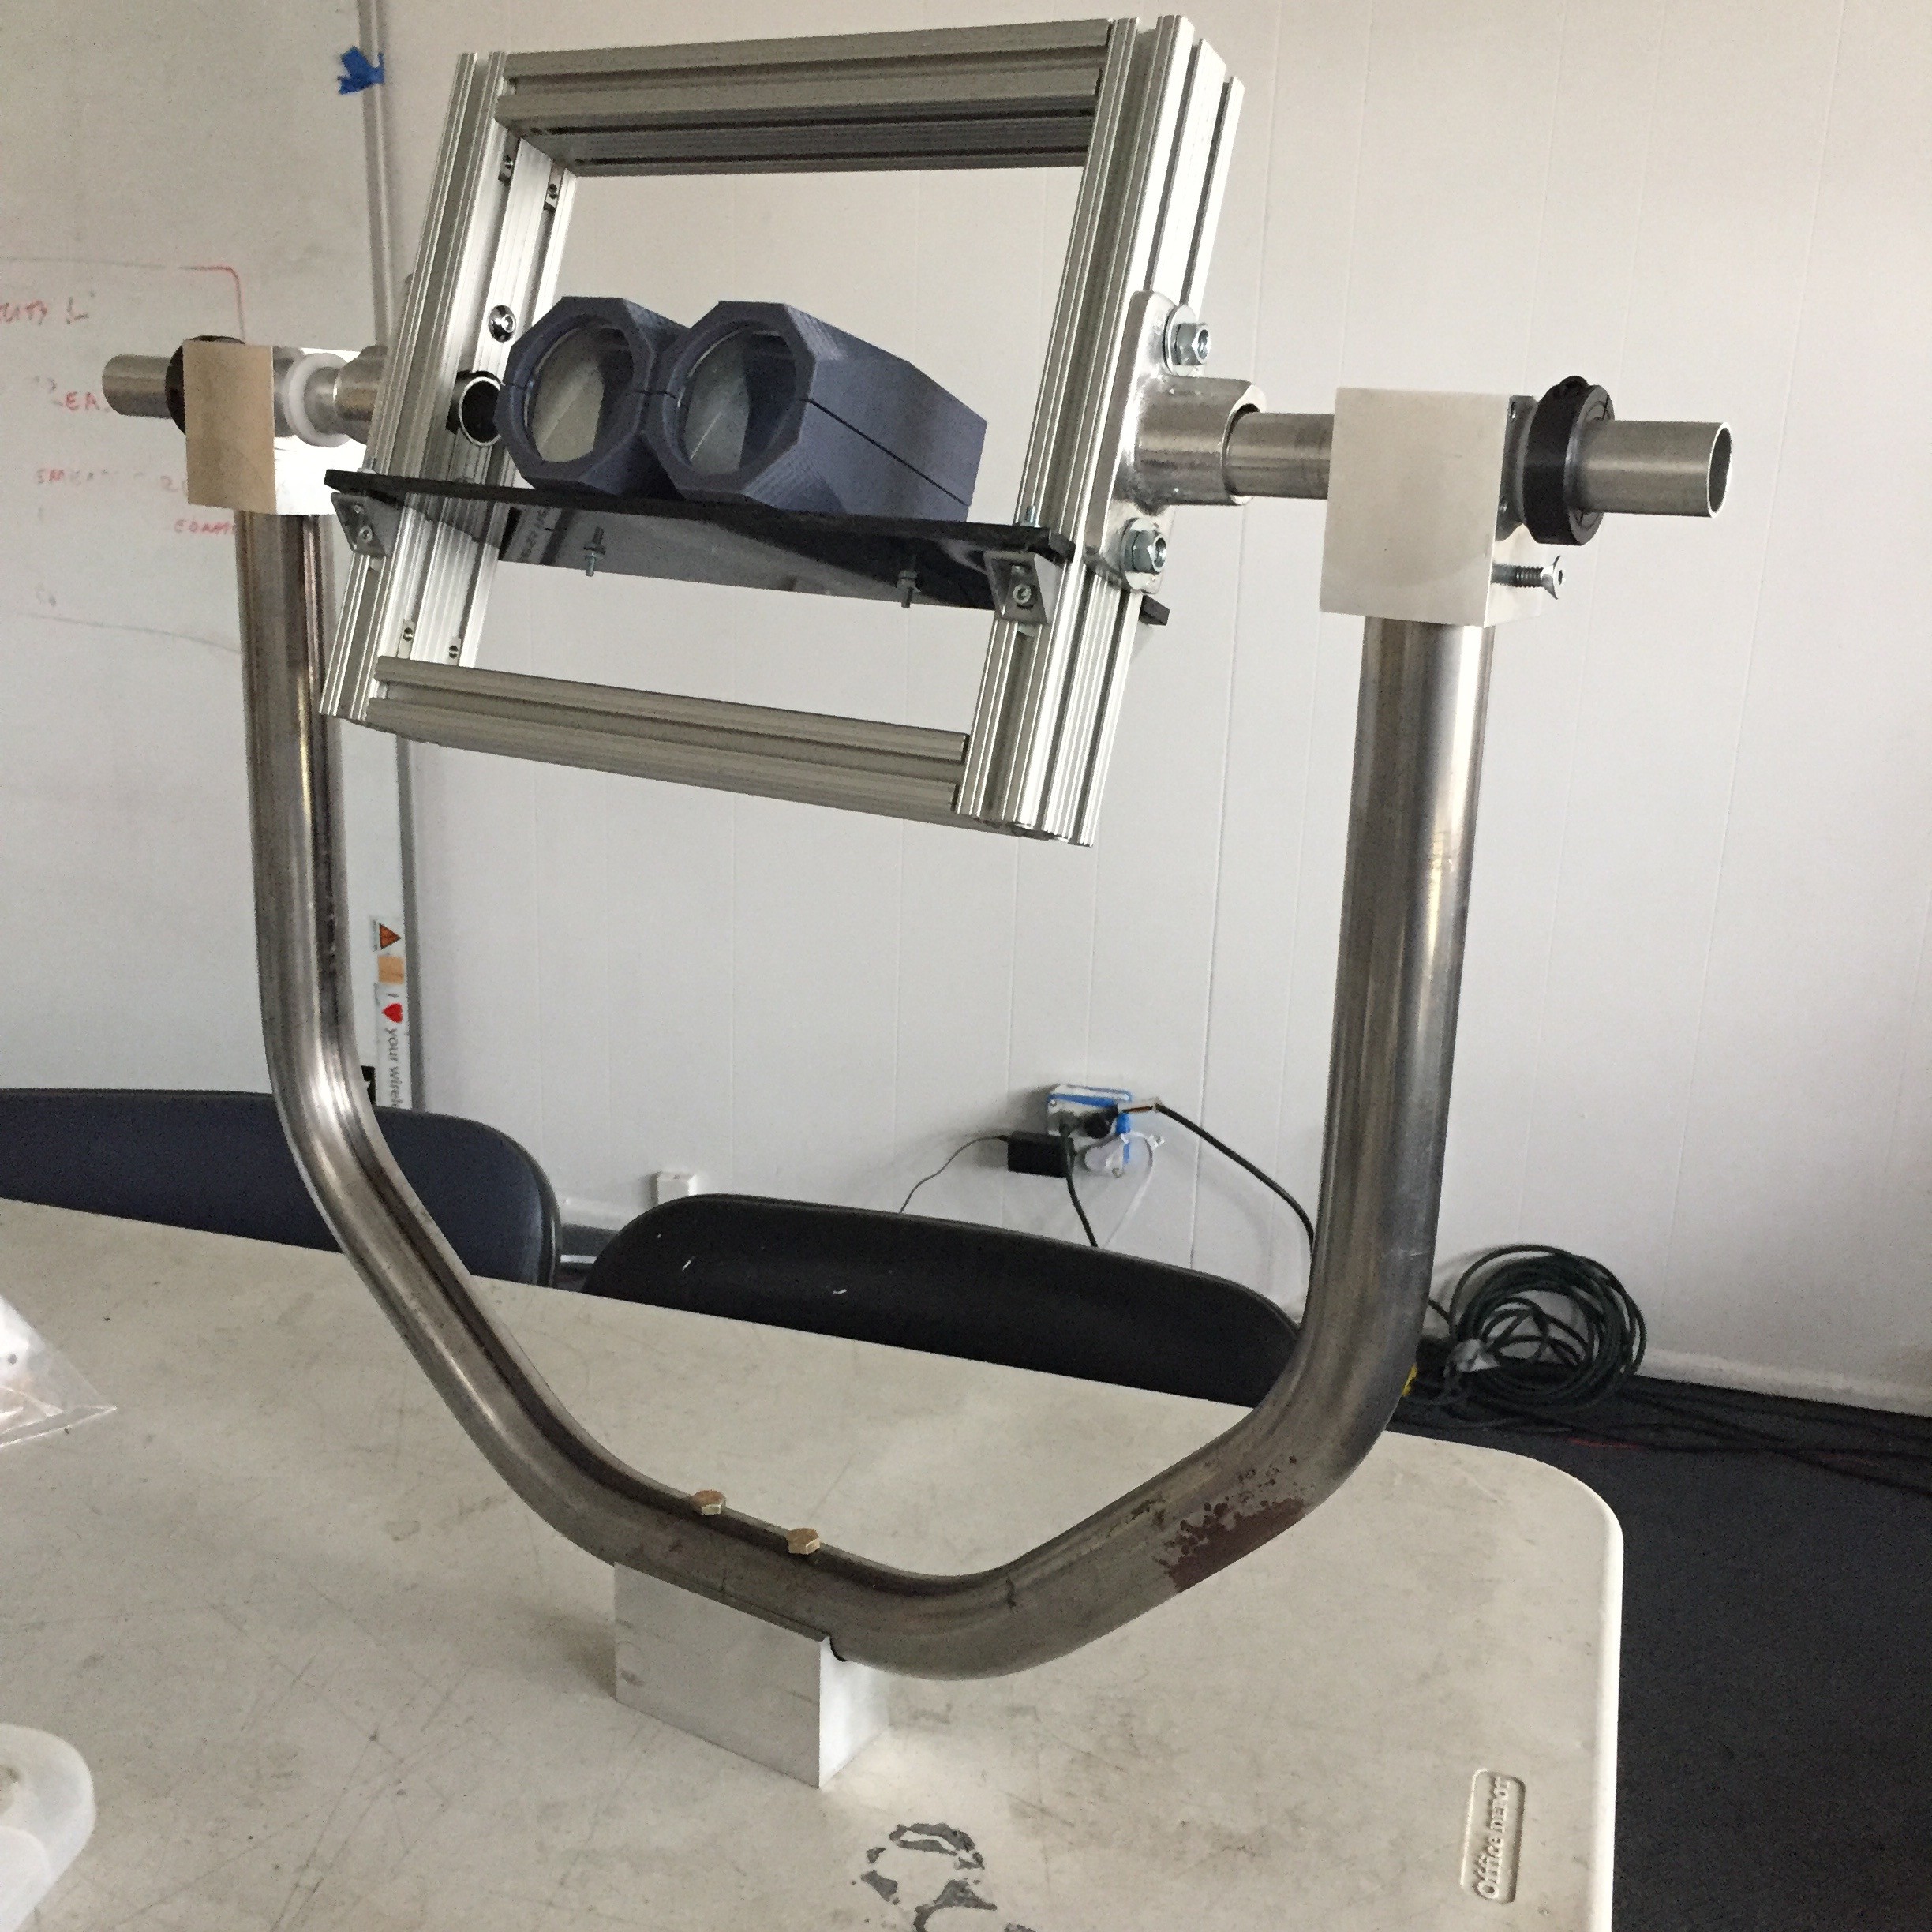
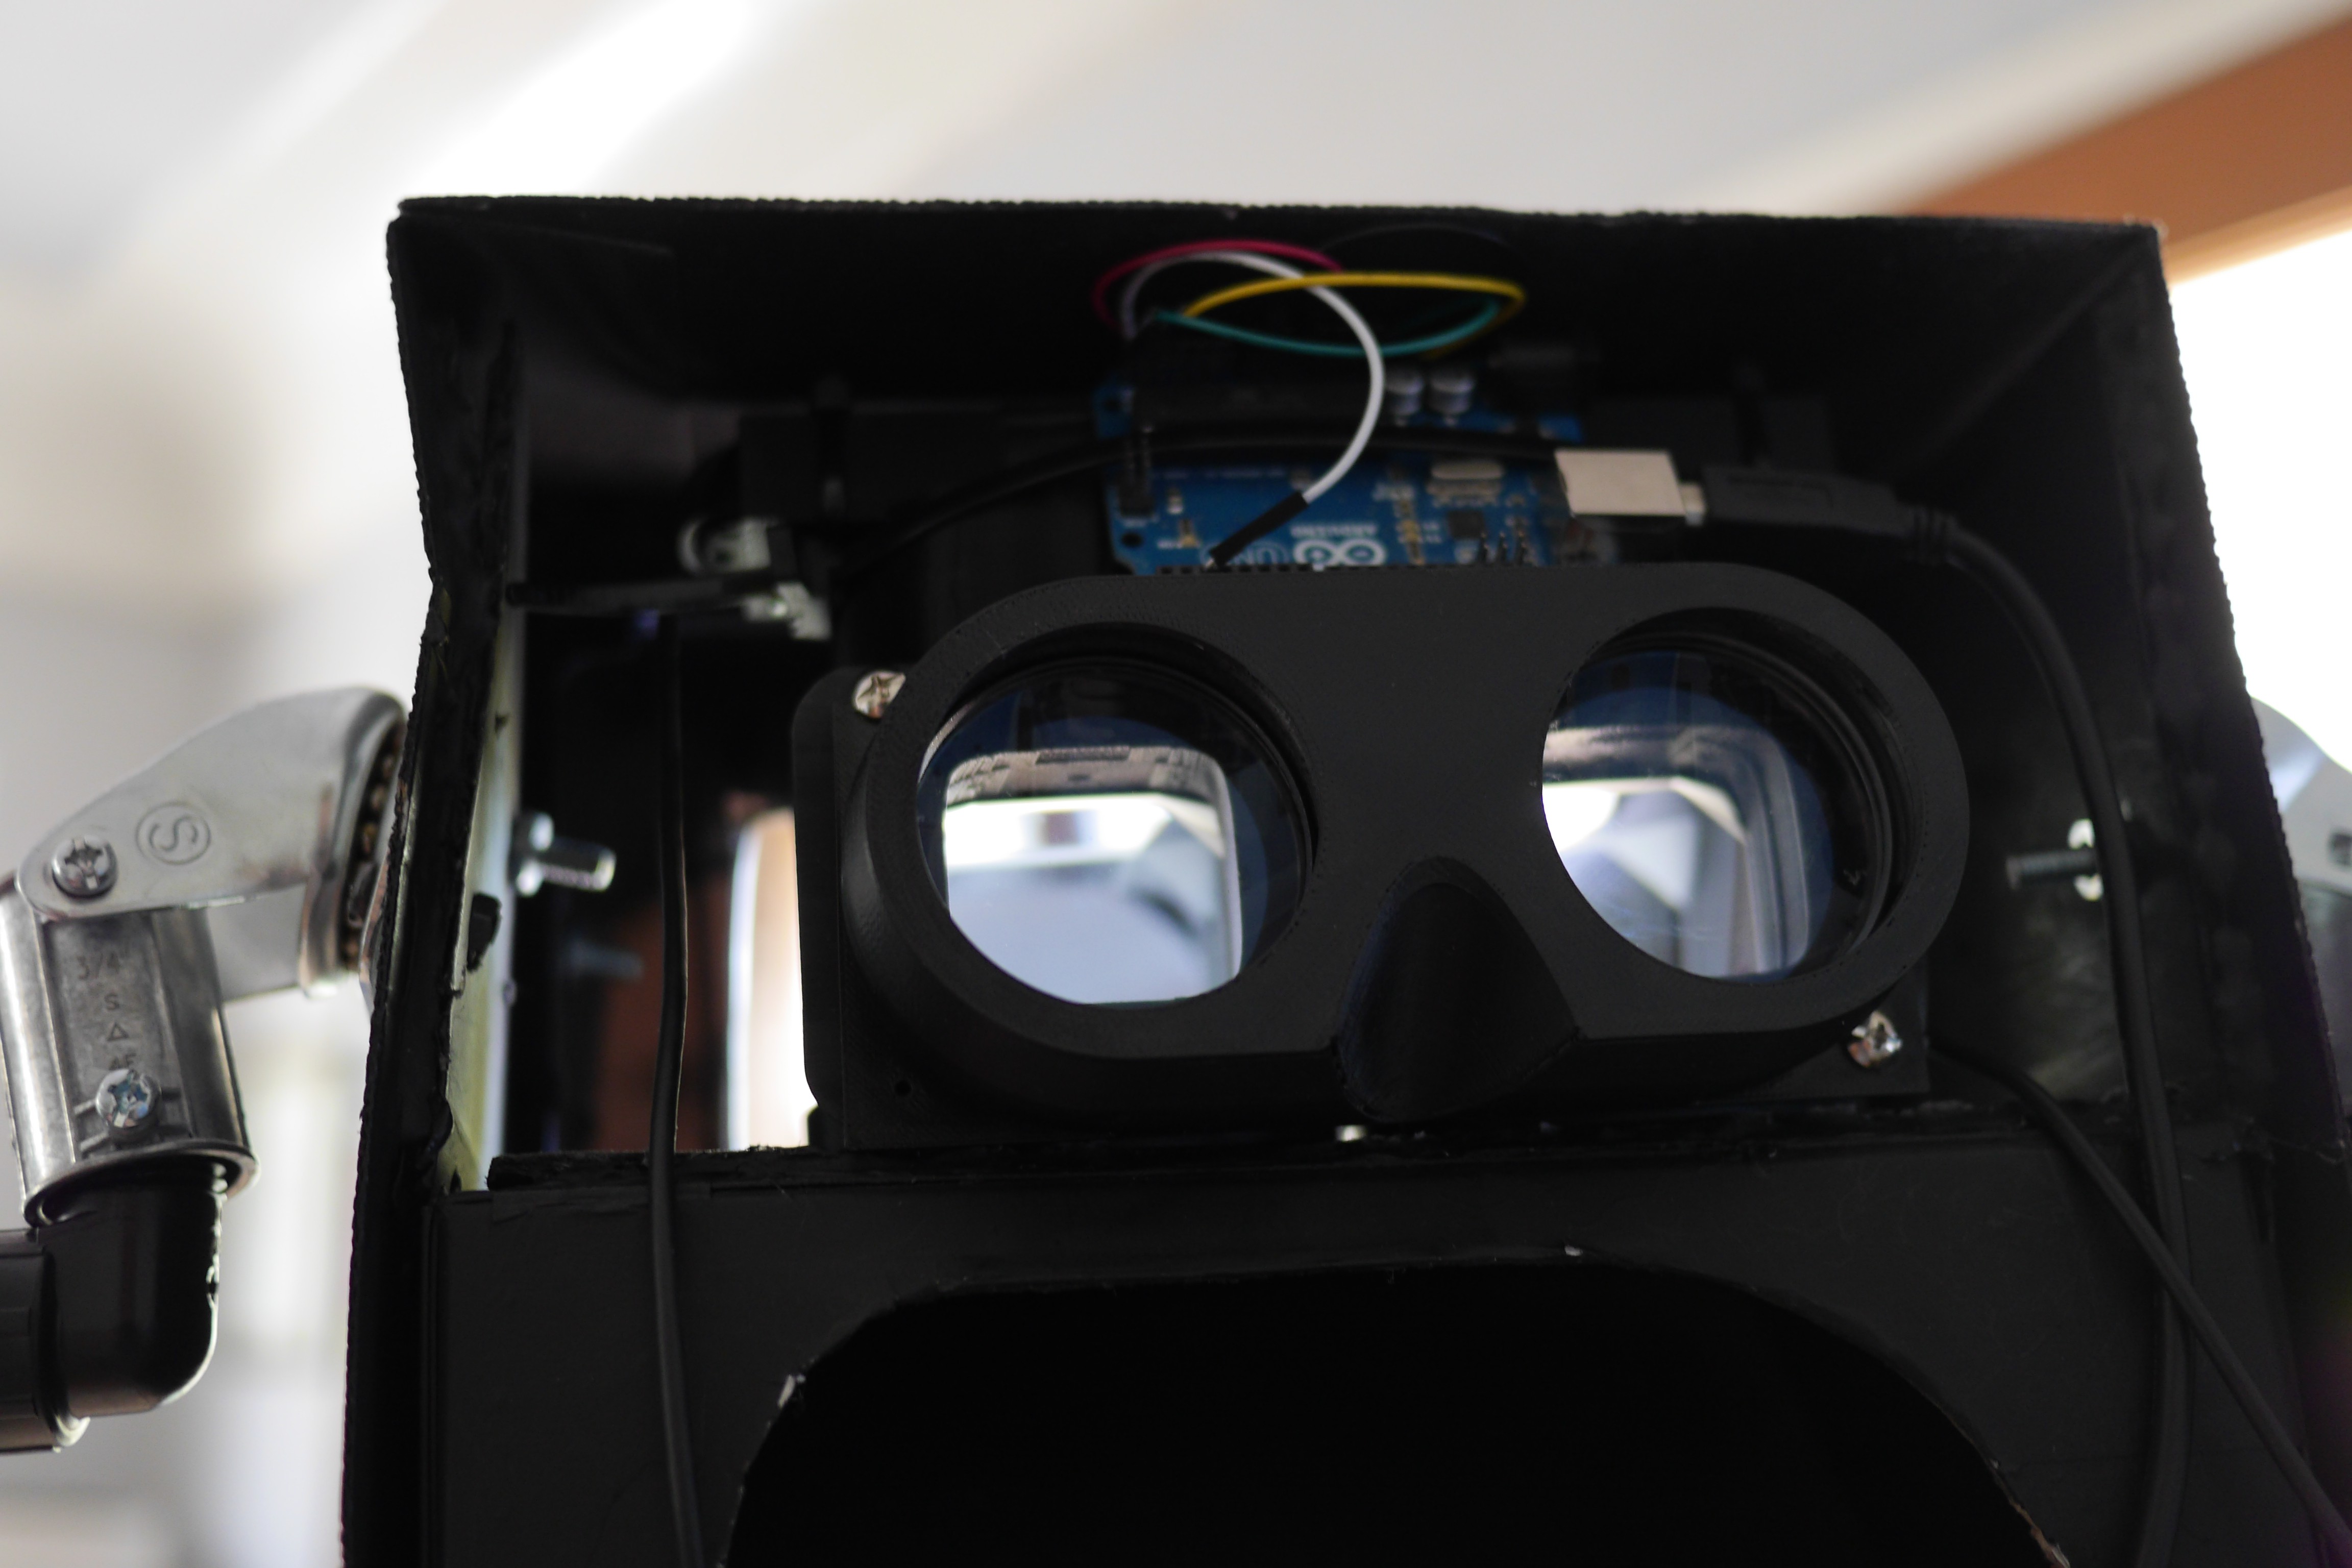
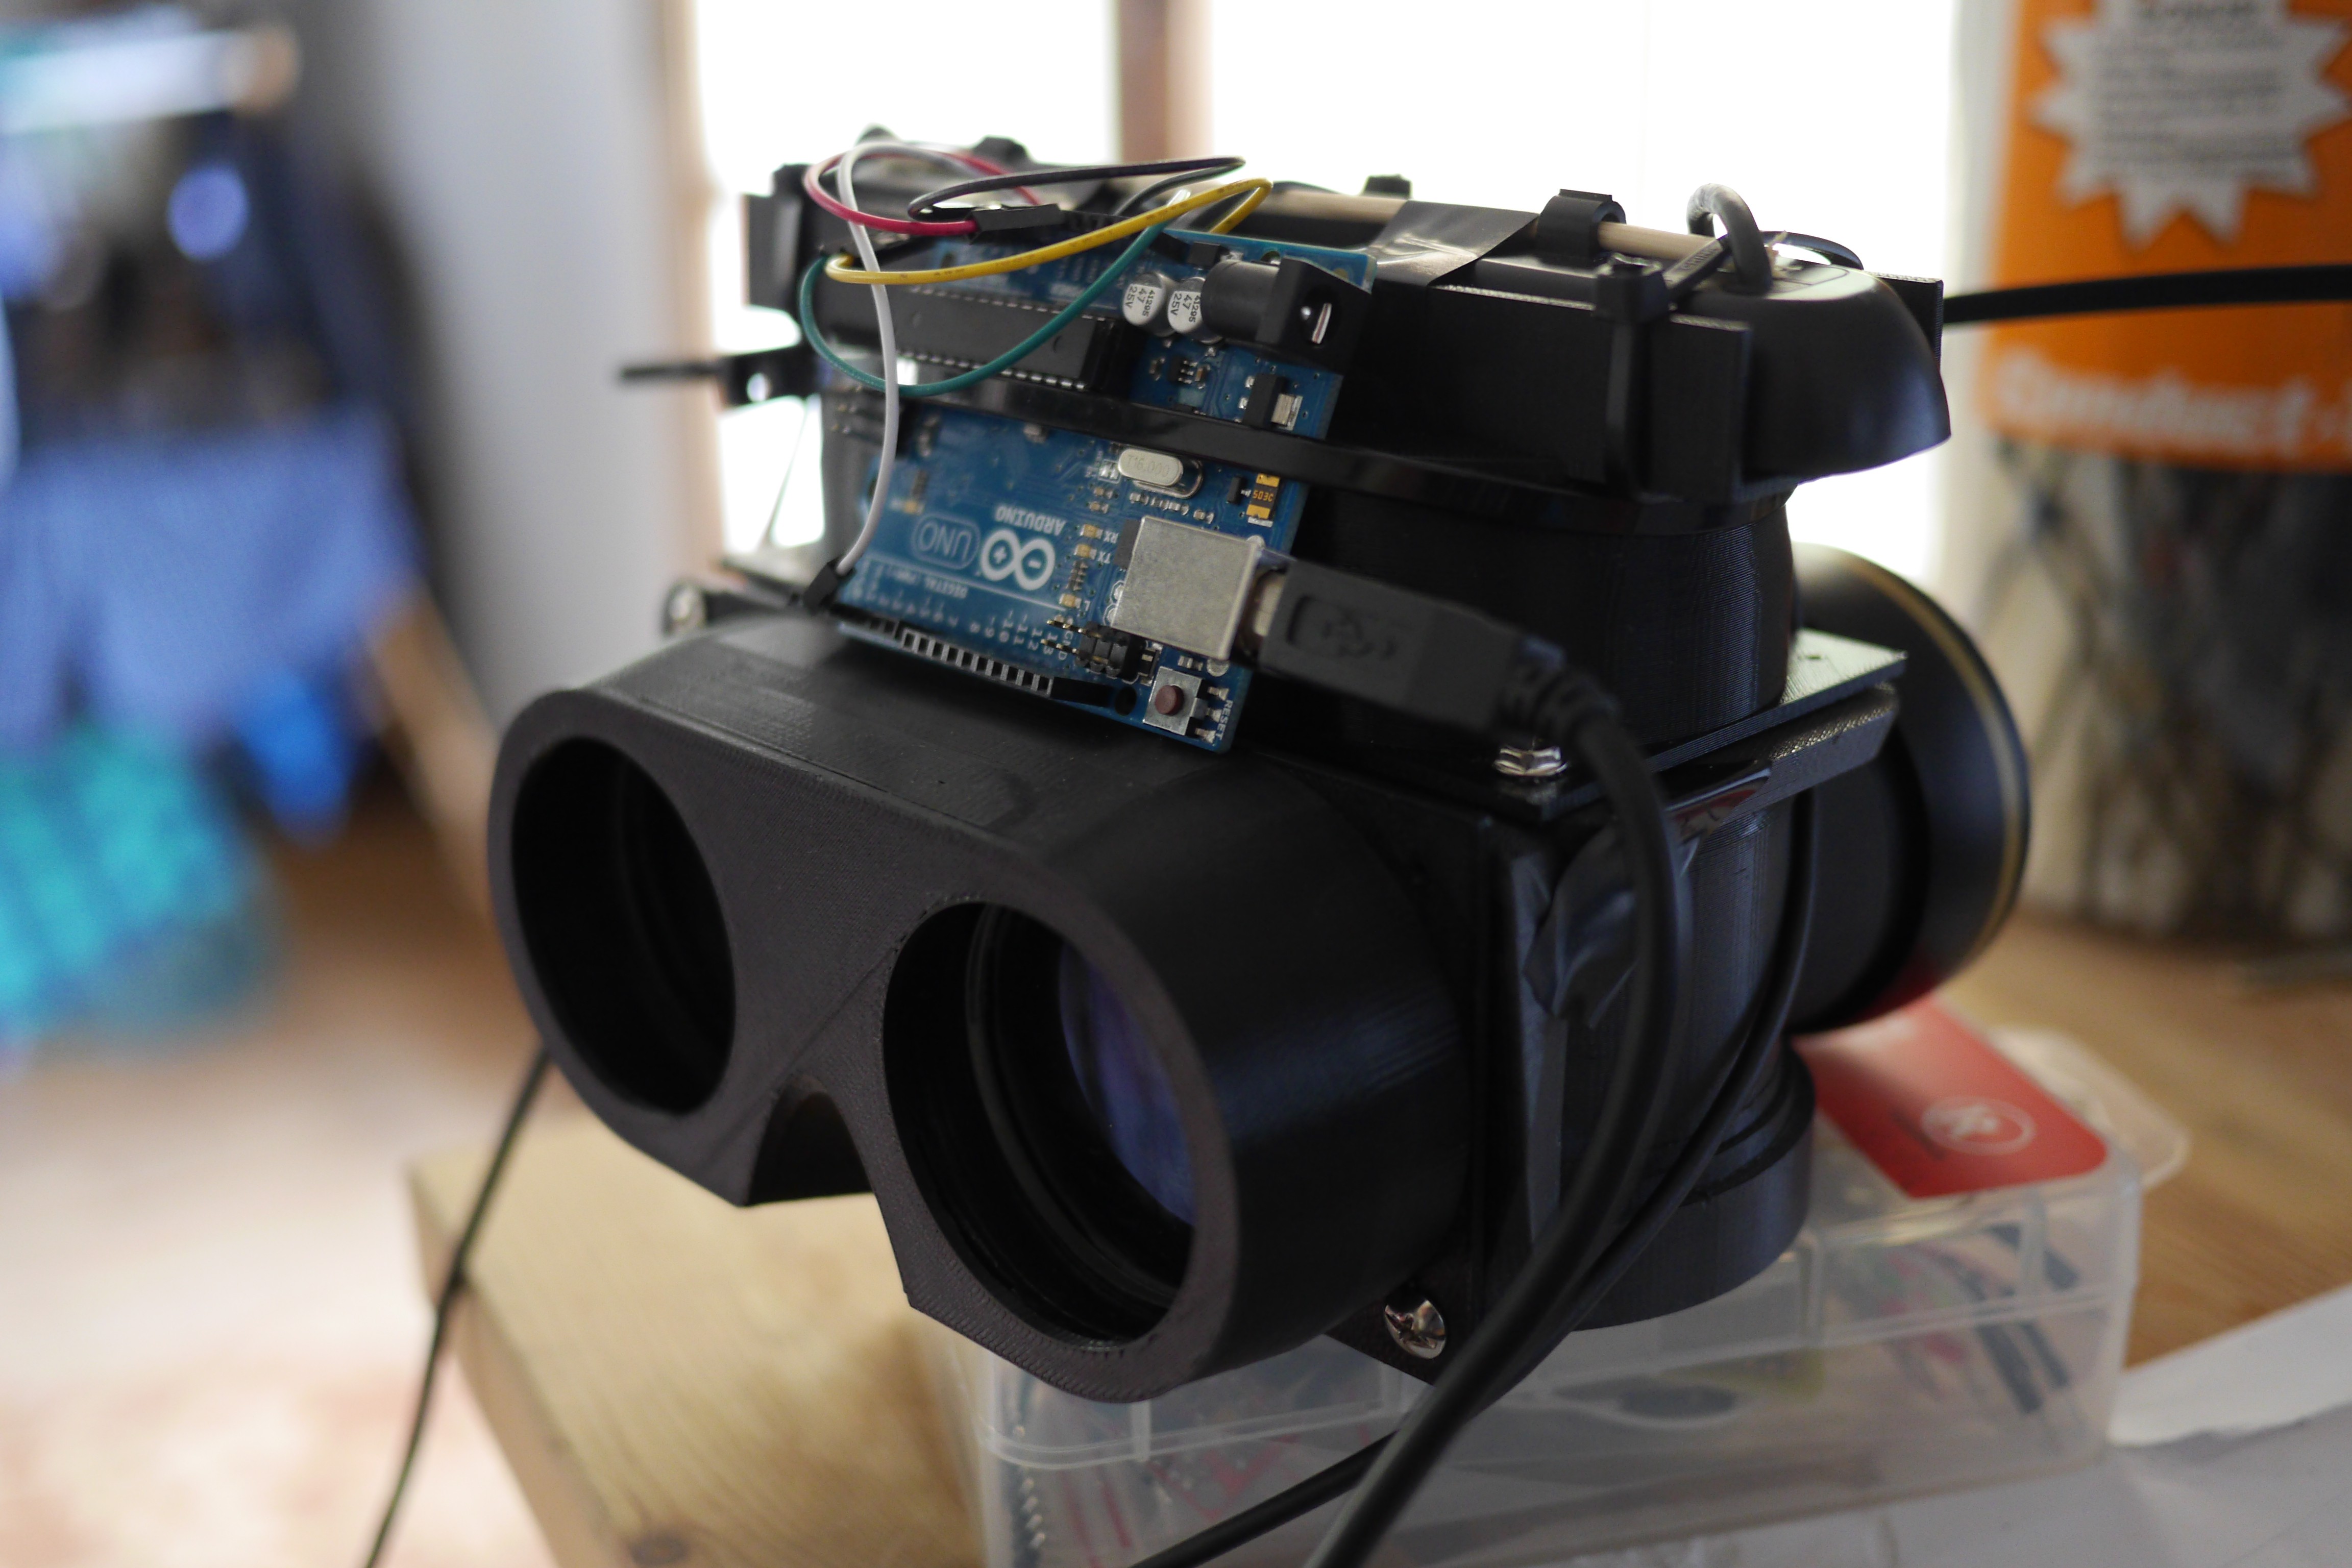
 One thing I wanted to make double sure of was that the distances between the screen and my optics were correctly calibrated for focus, so I powered up the screen with one of the tabletop power supplies and did a few tests.
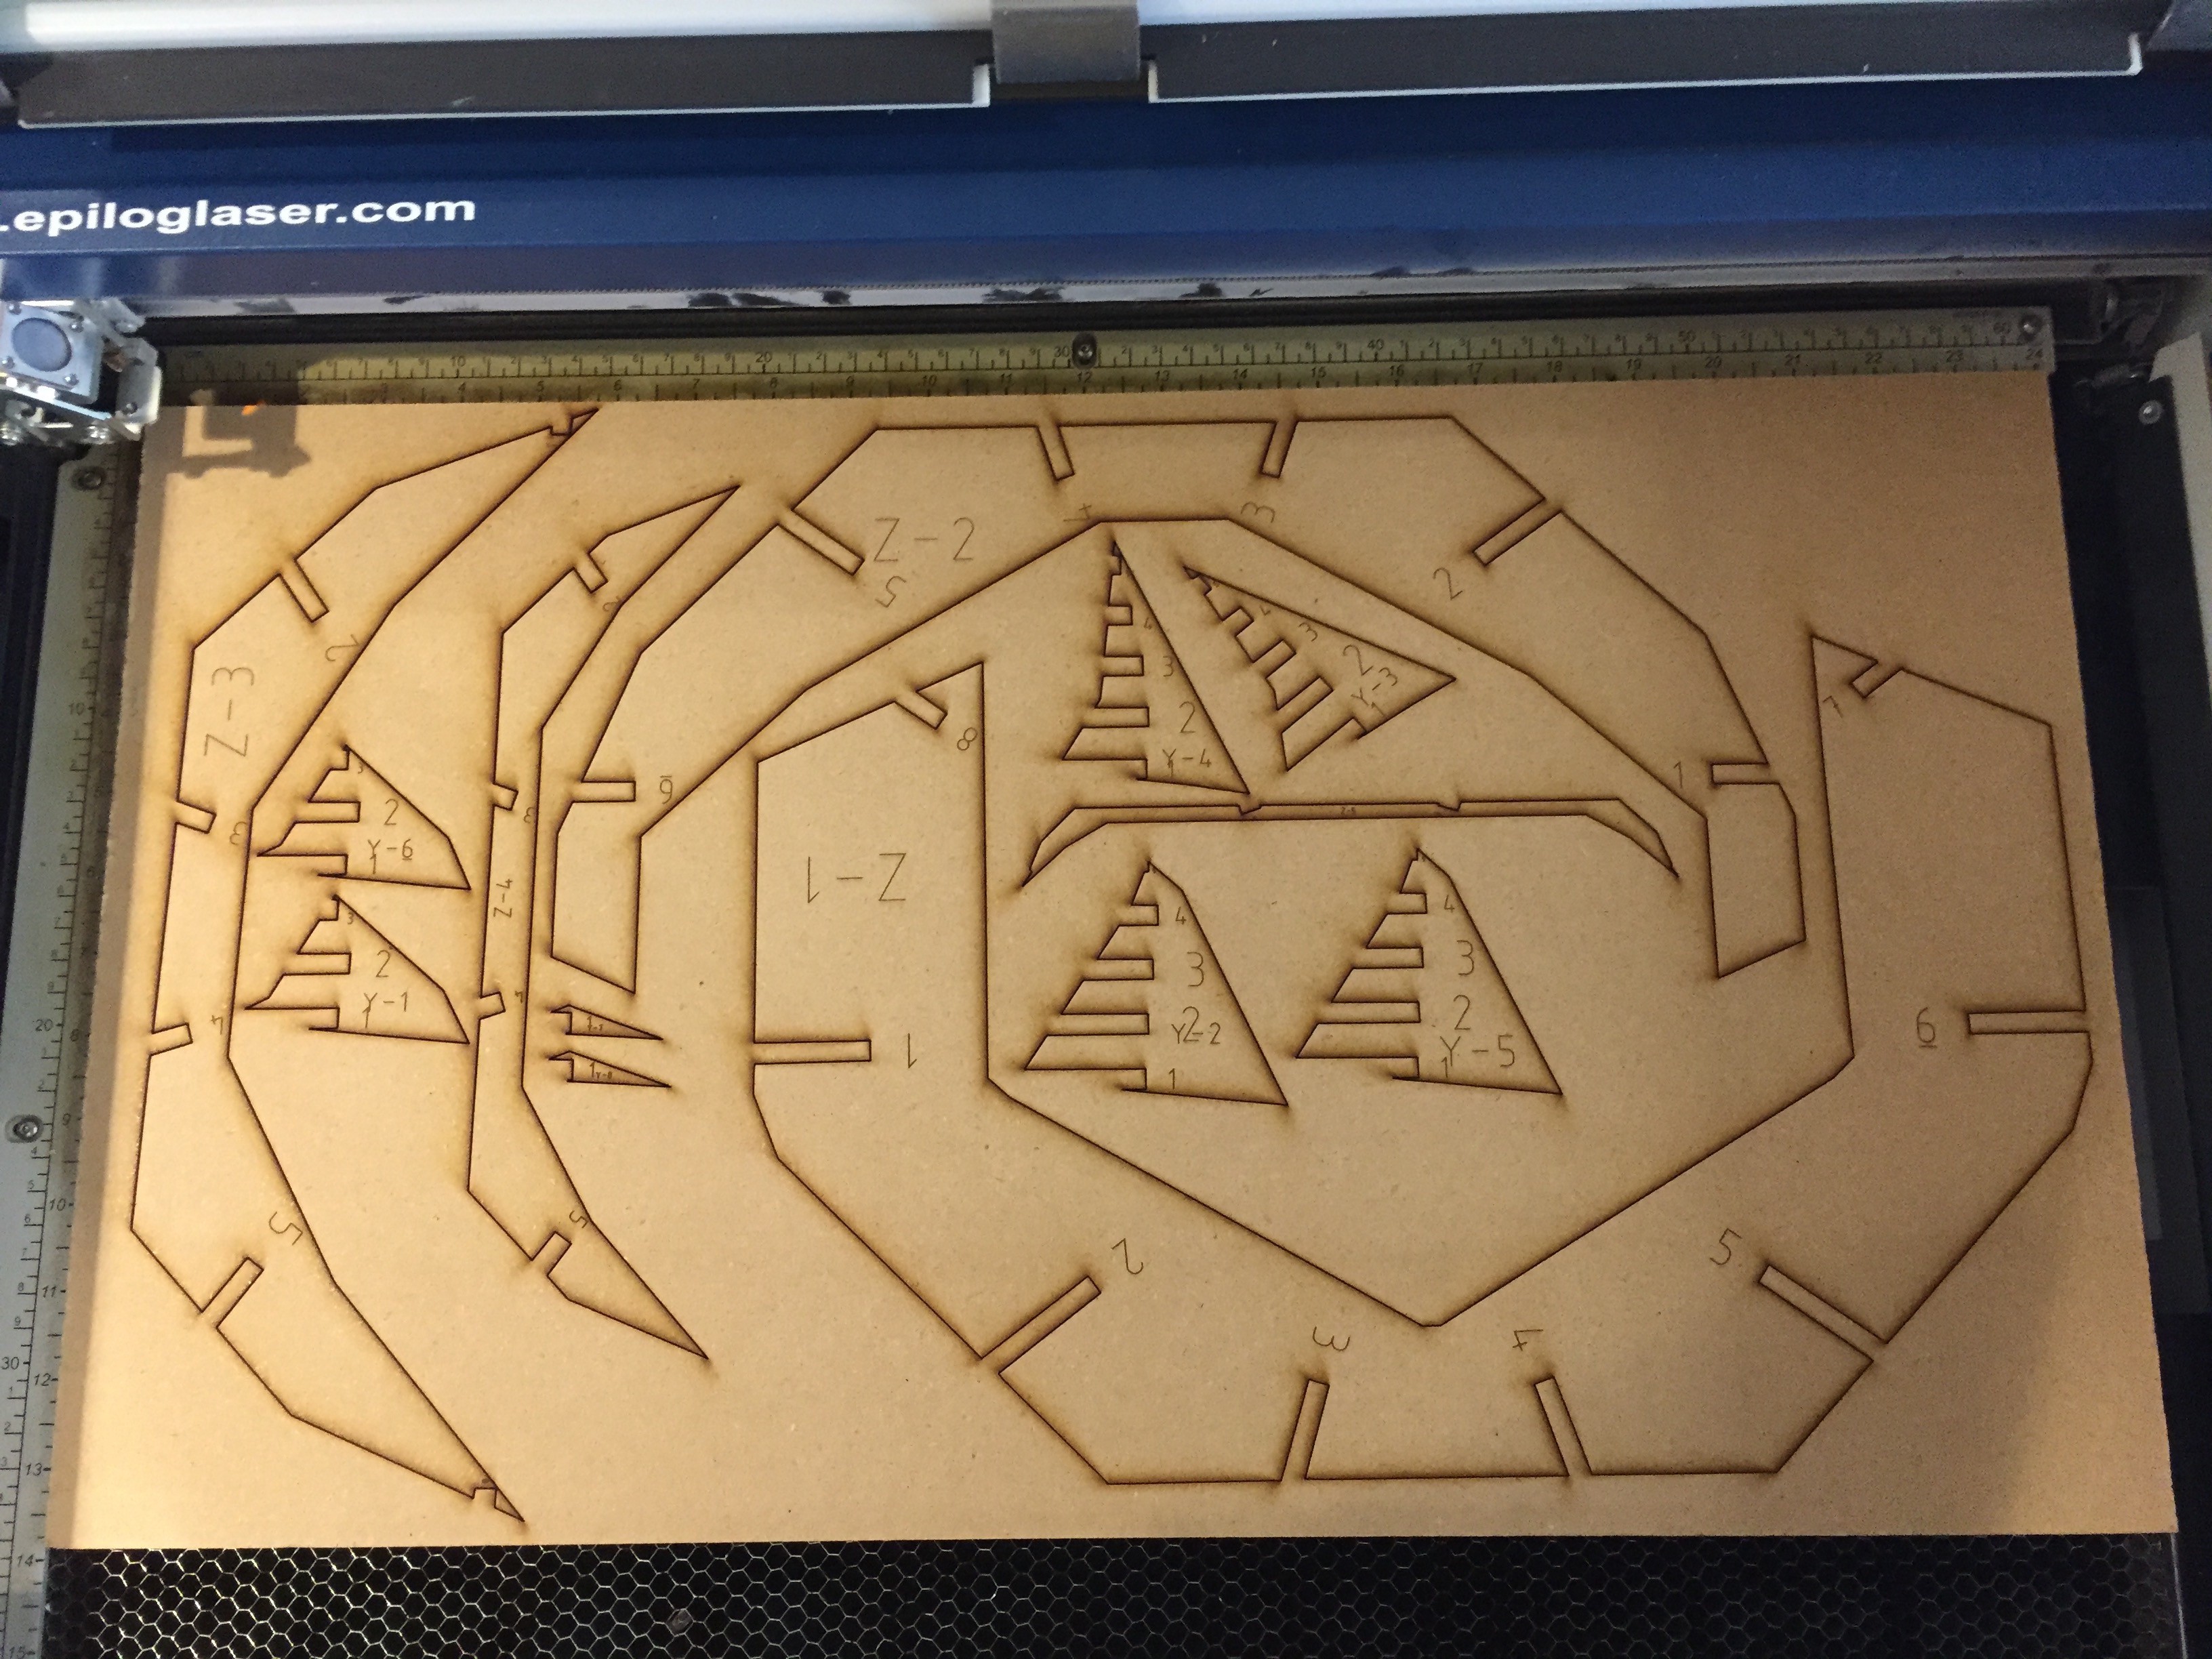
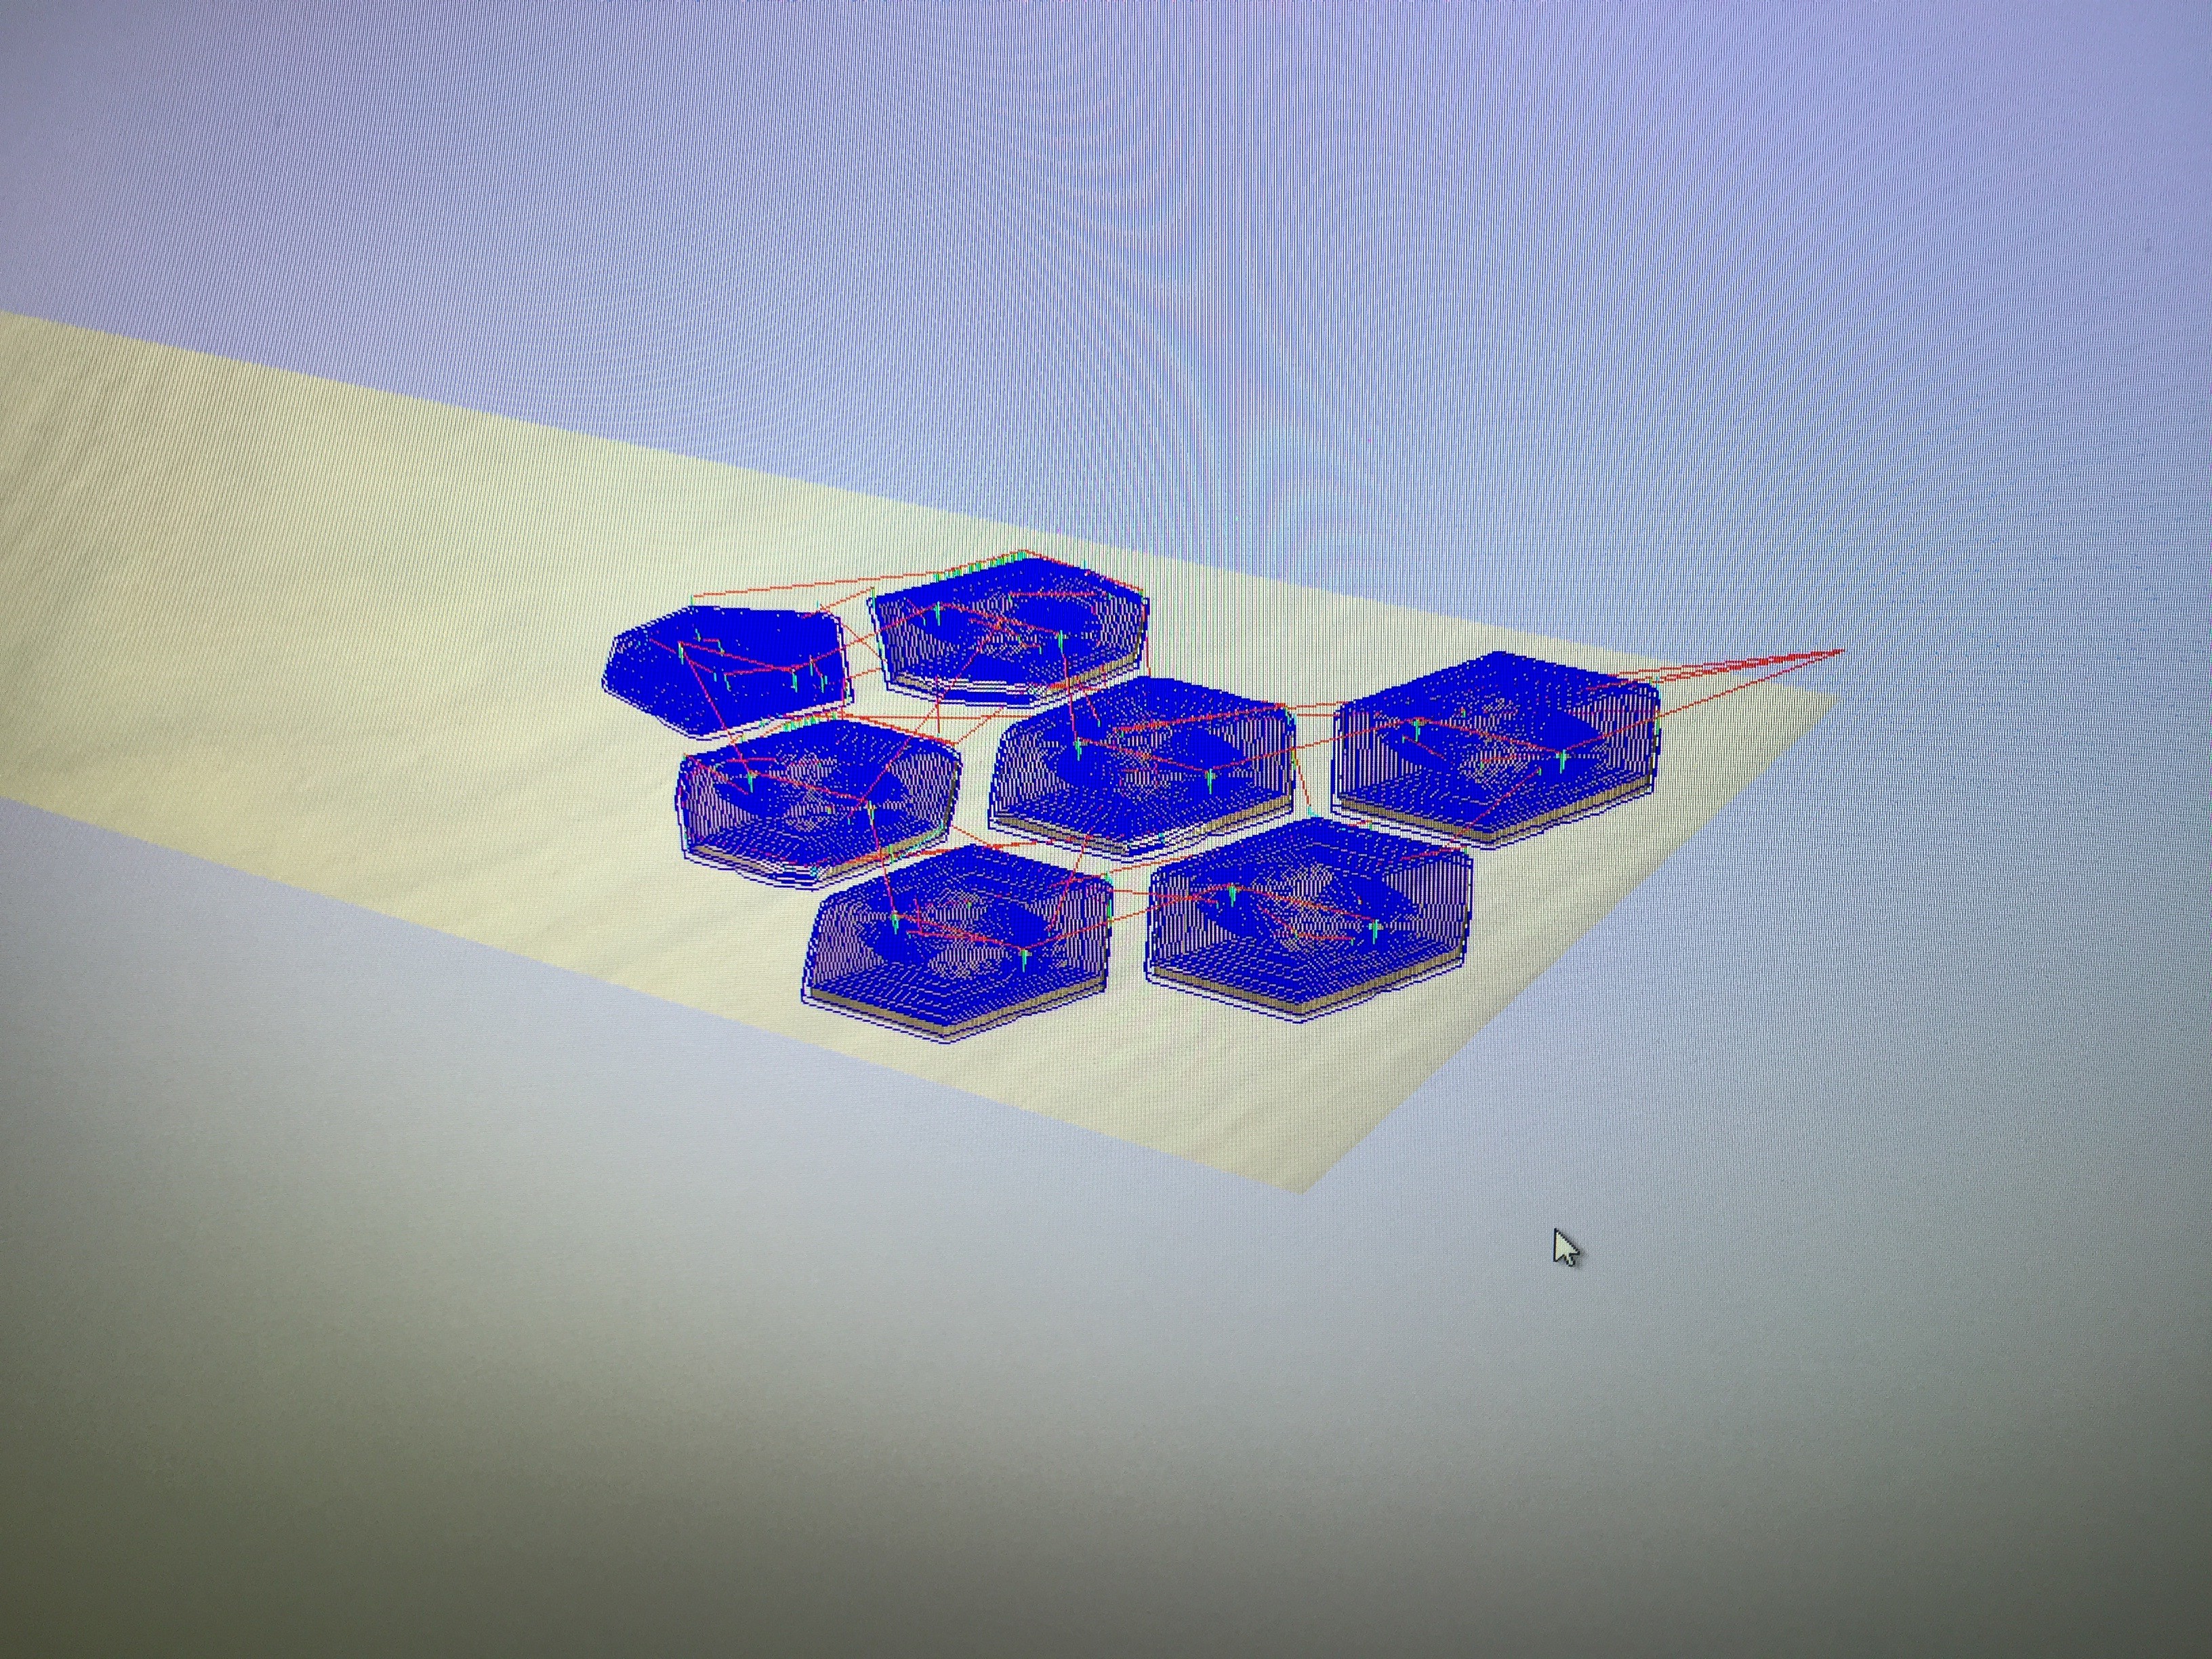
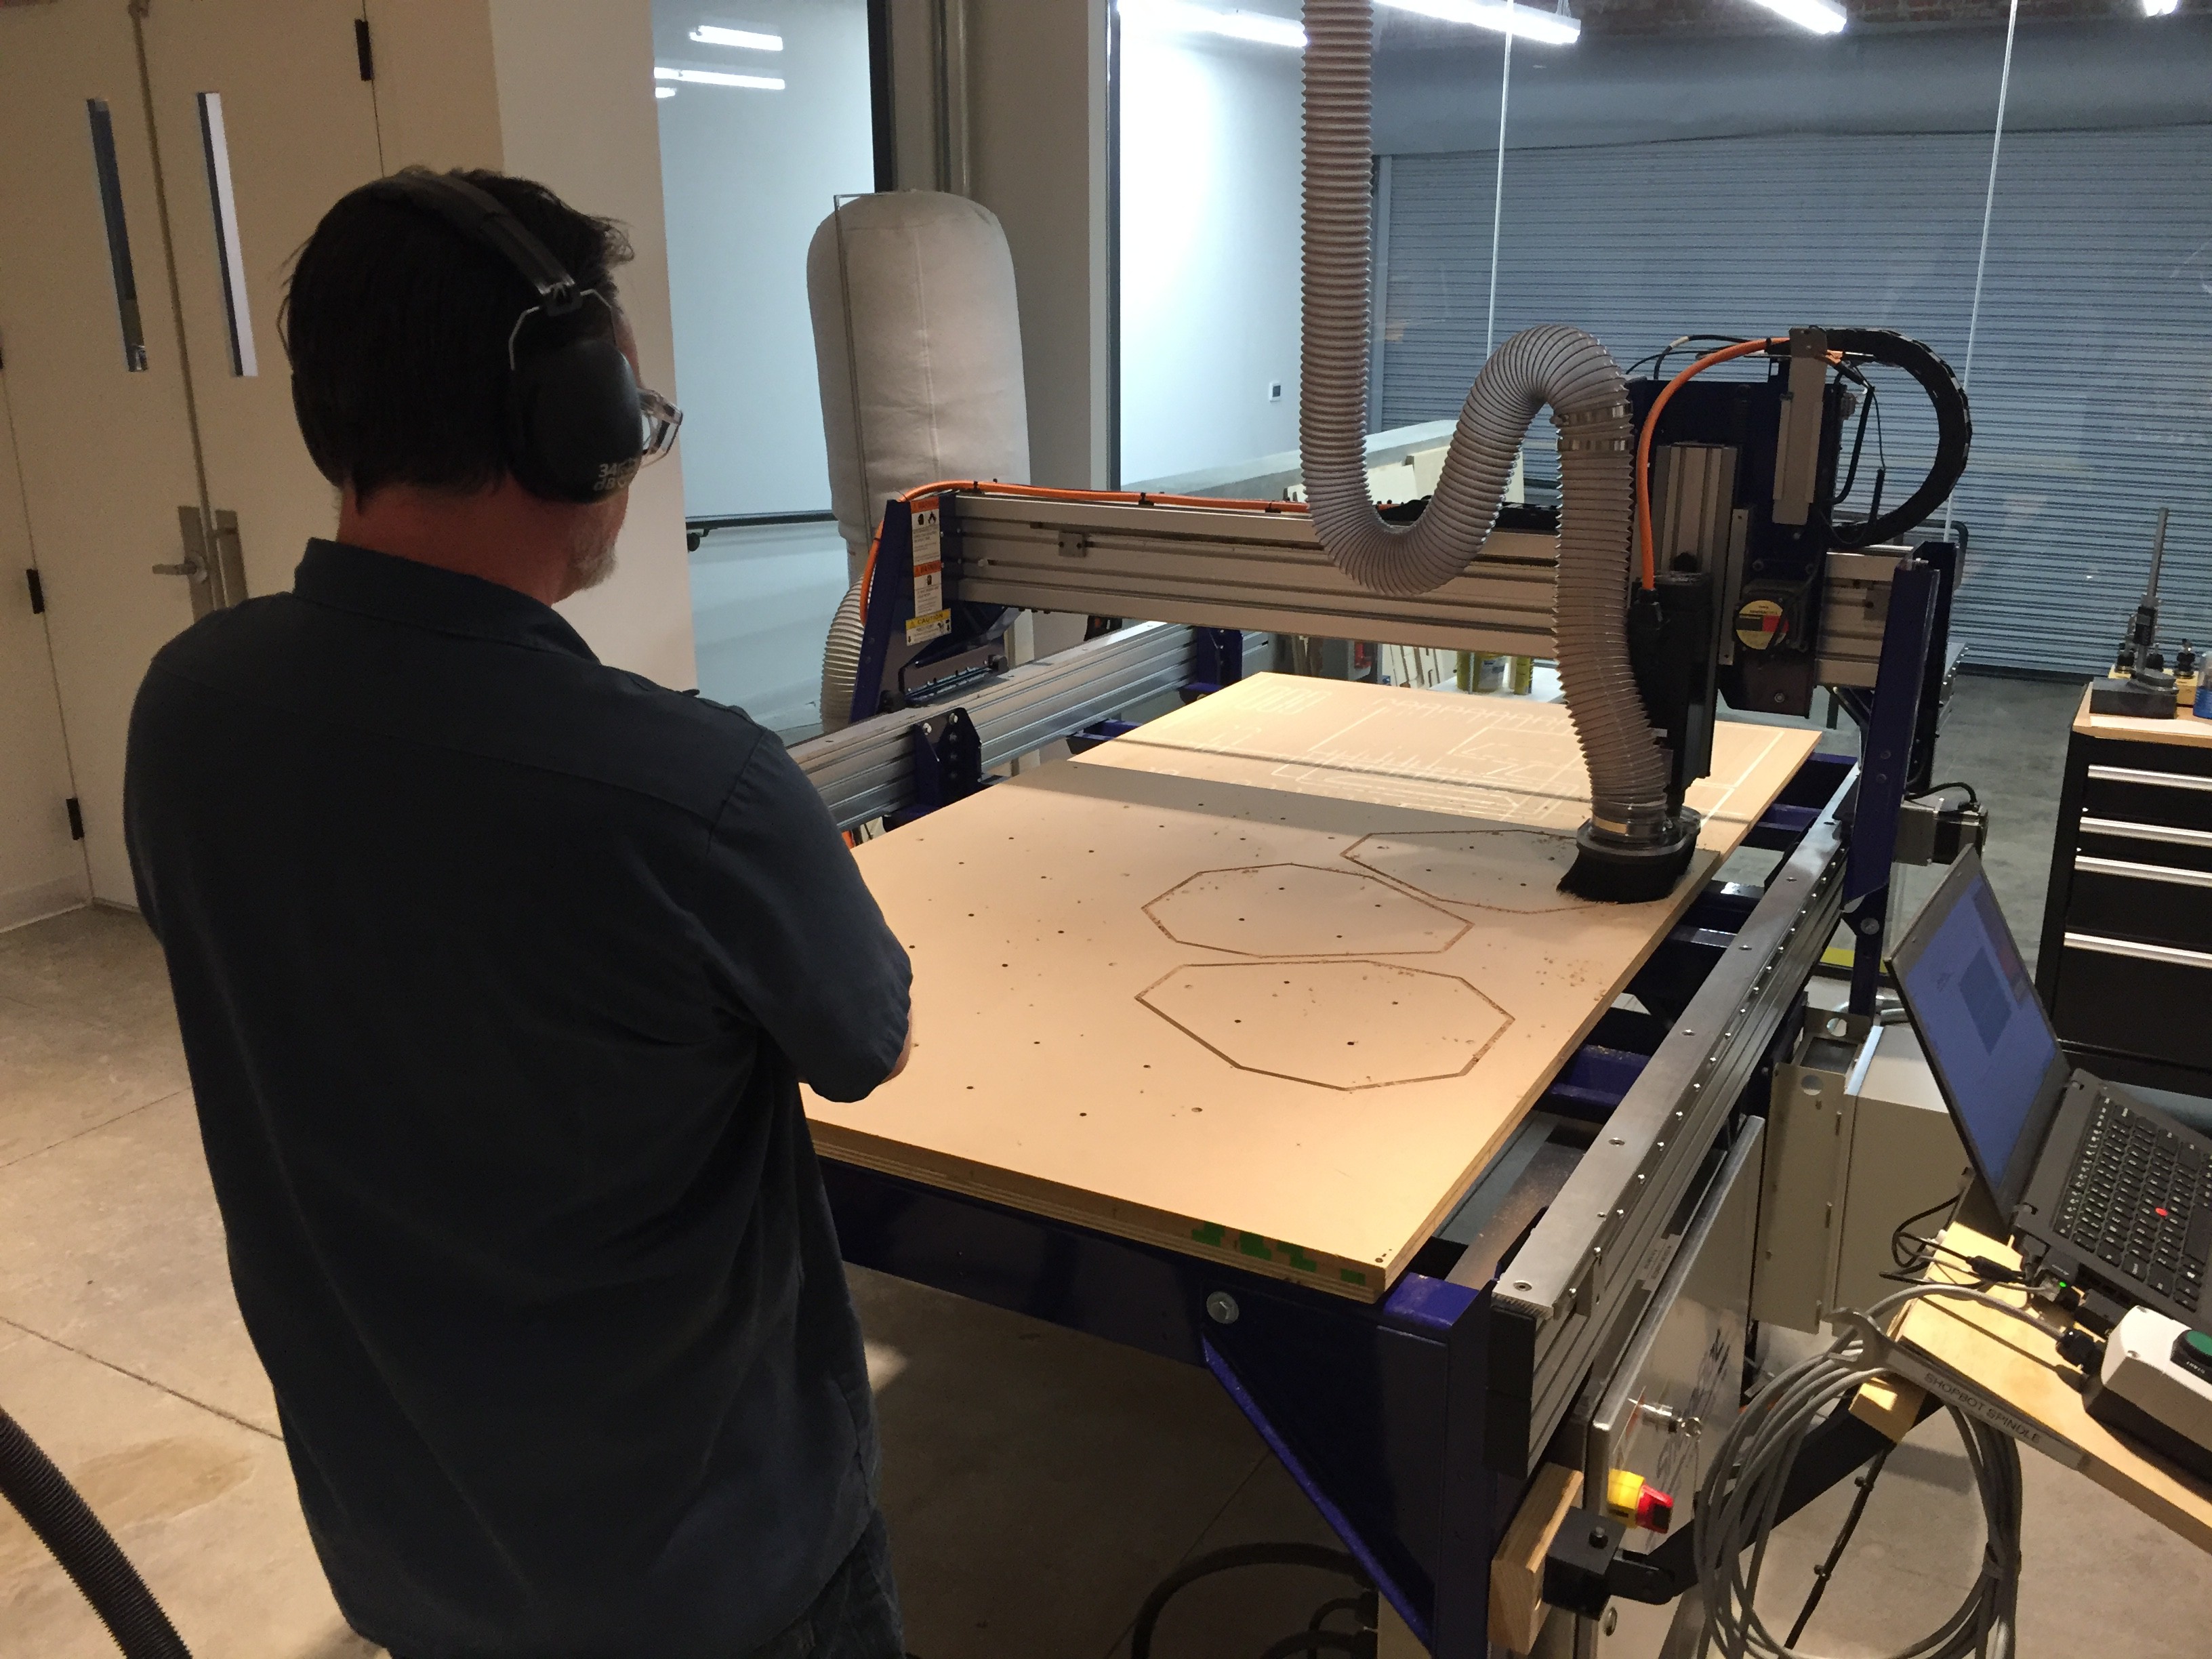
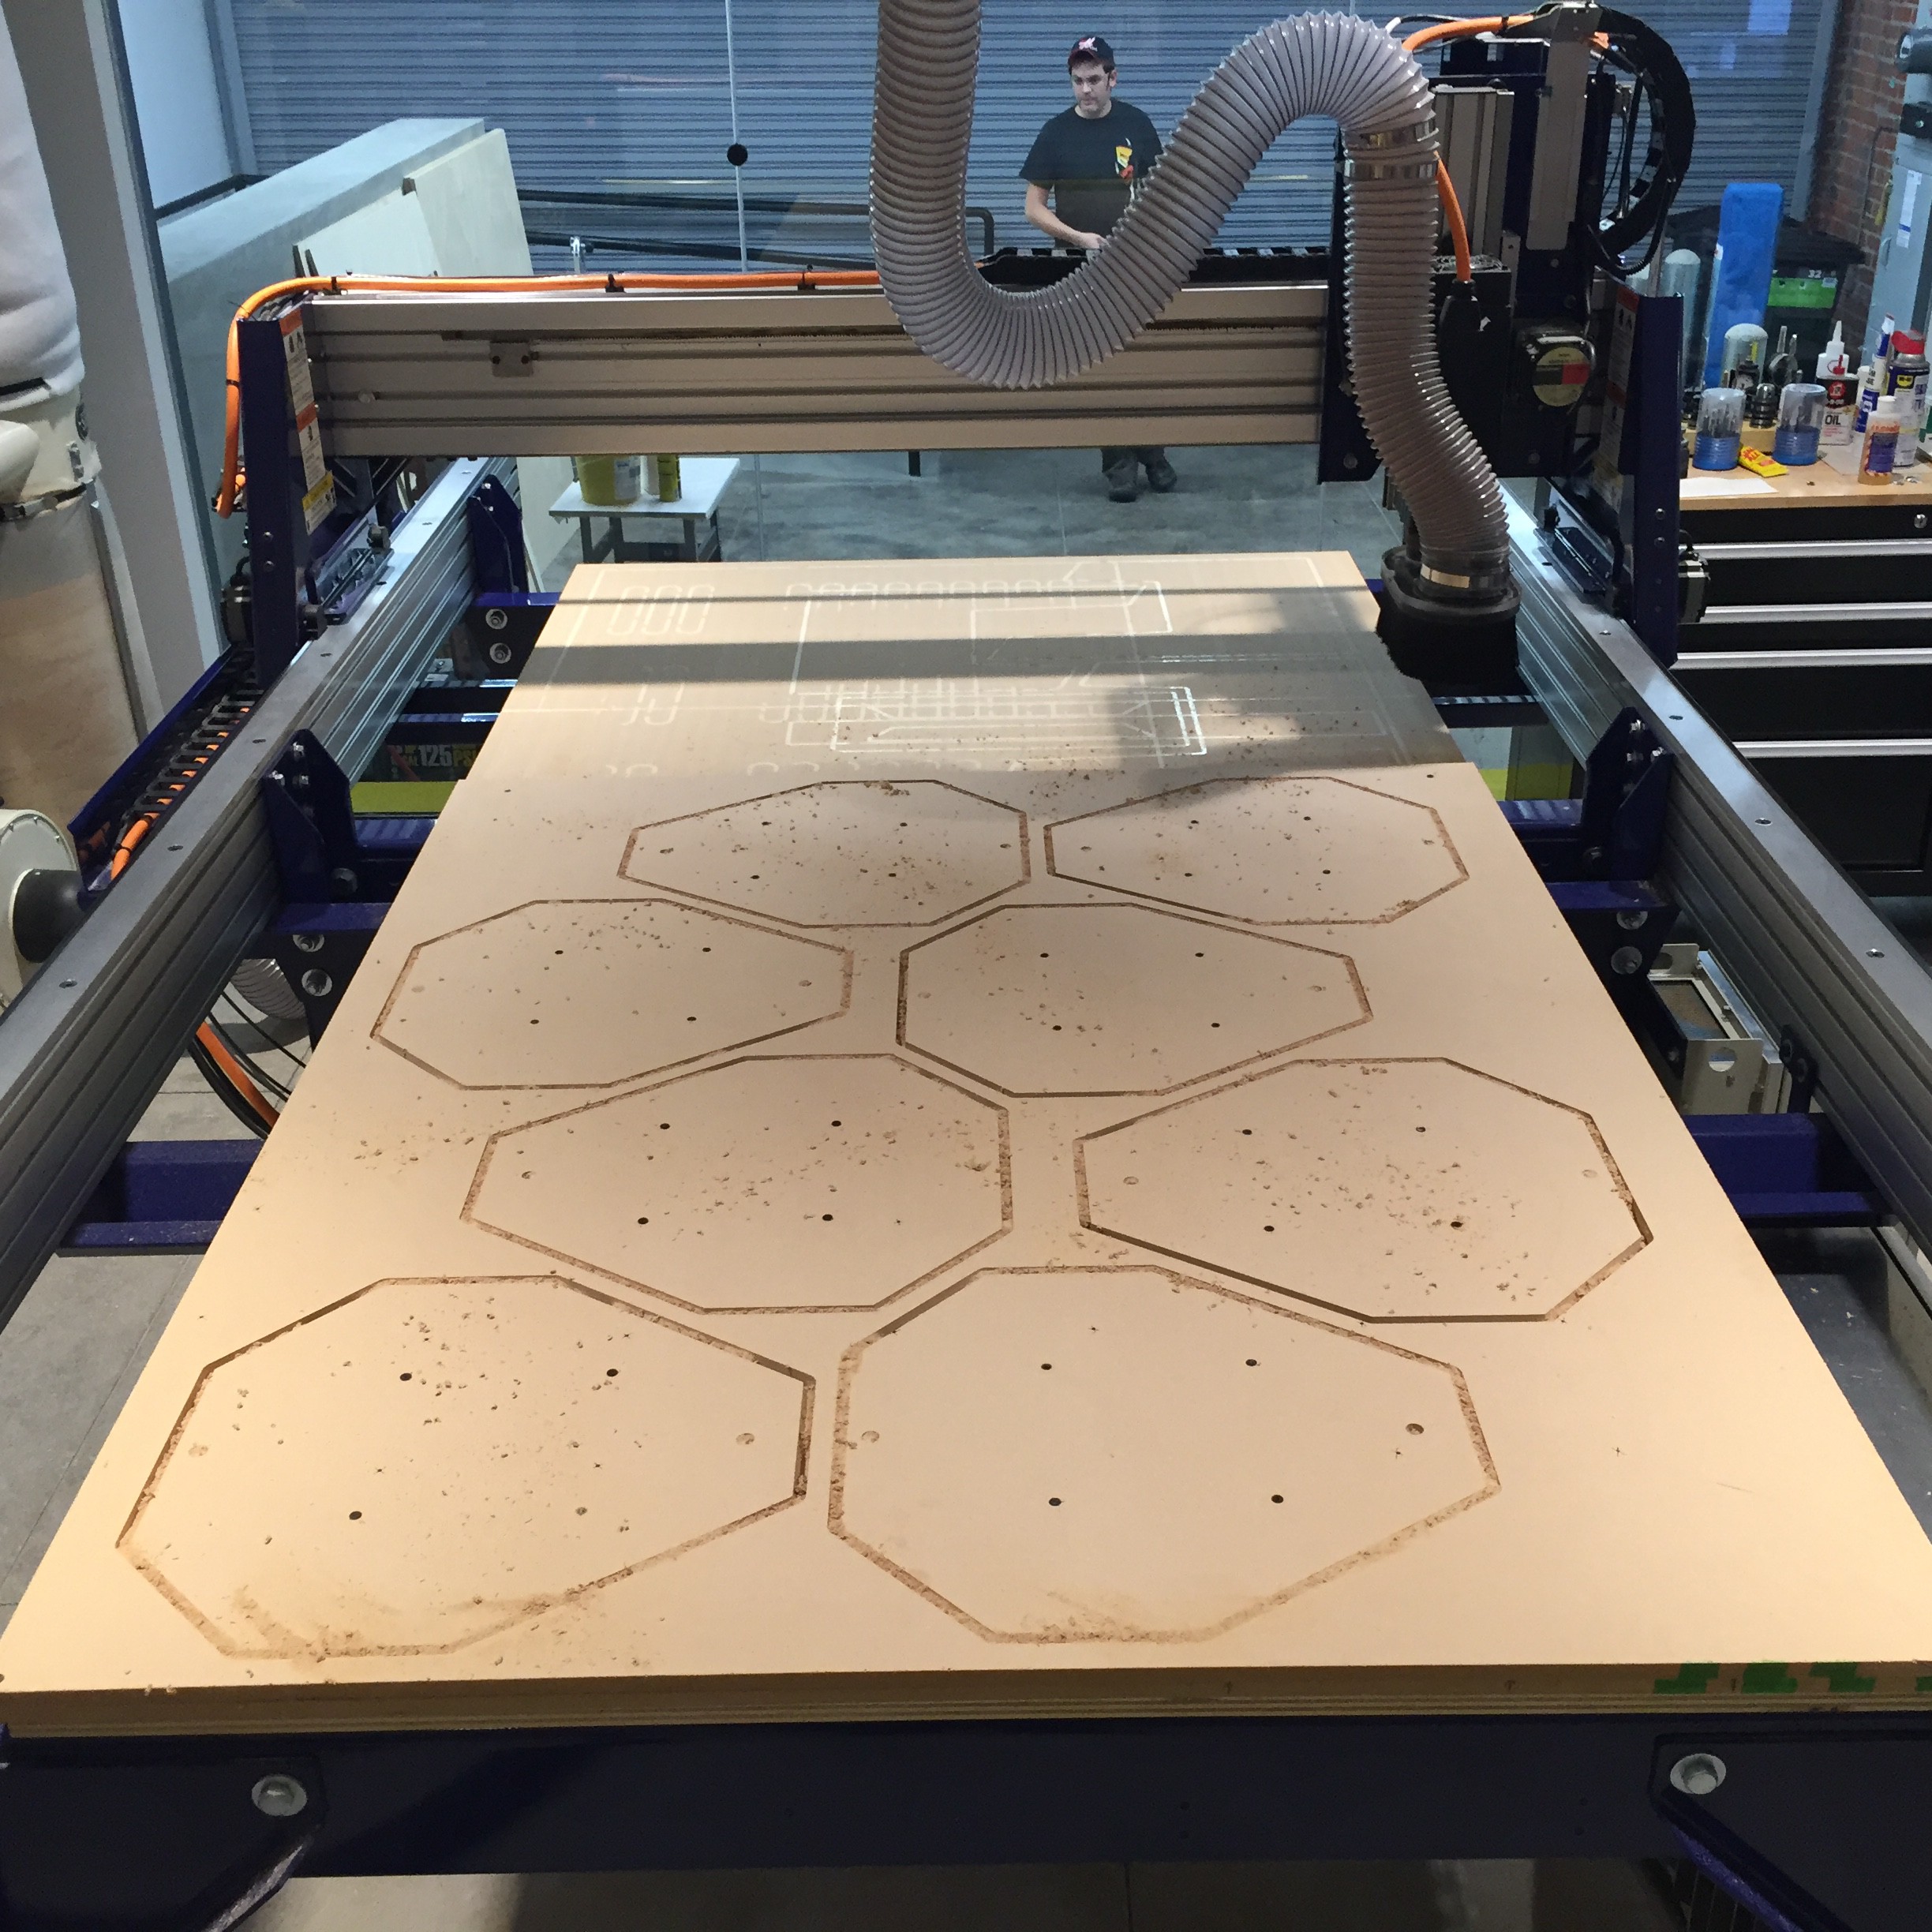
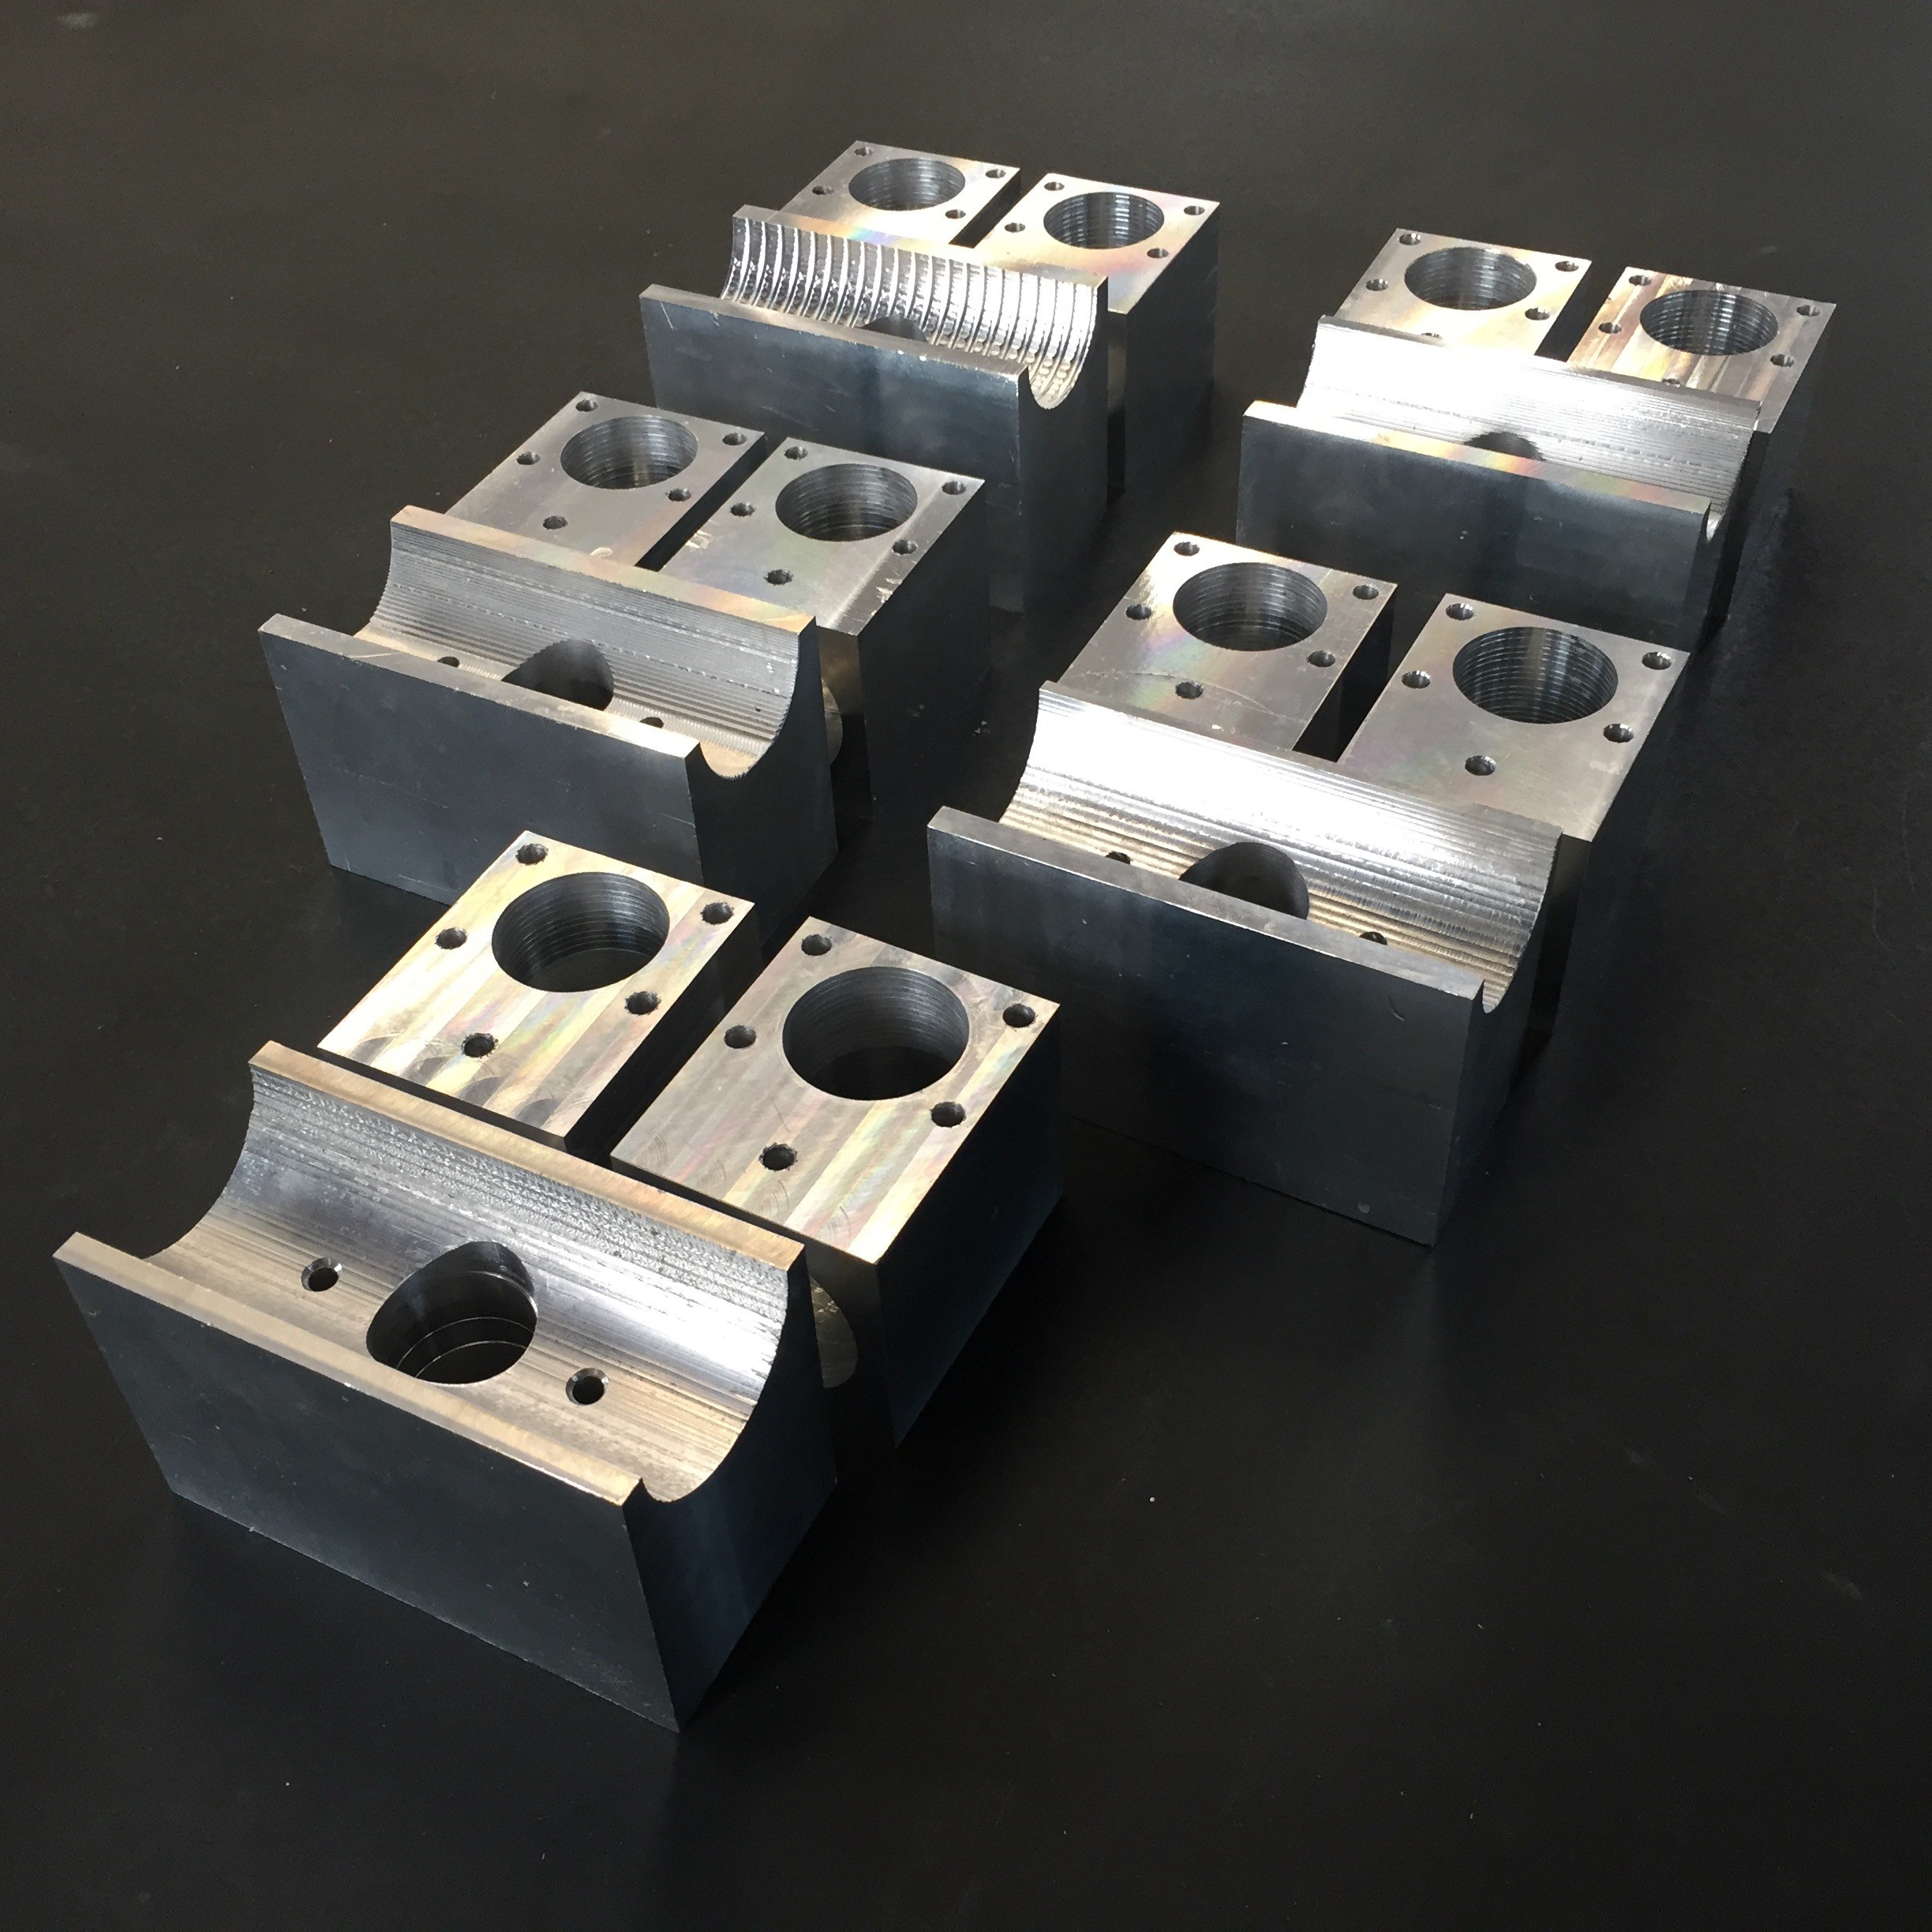
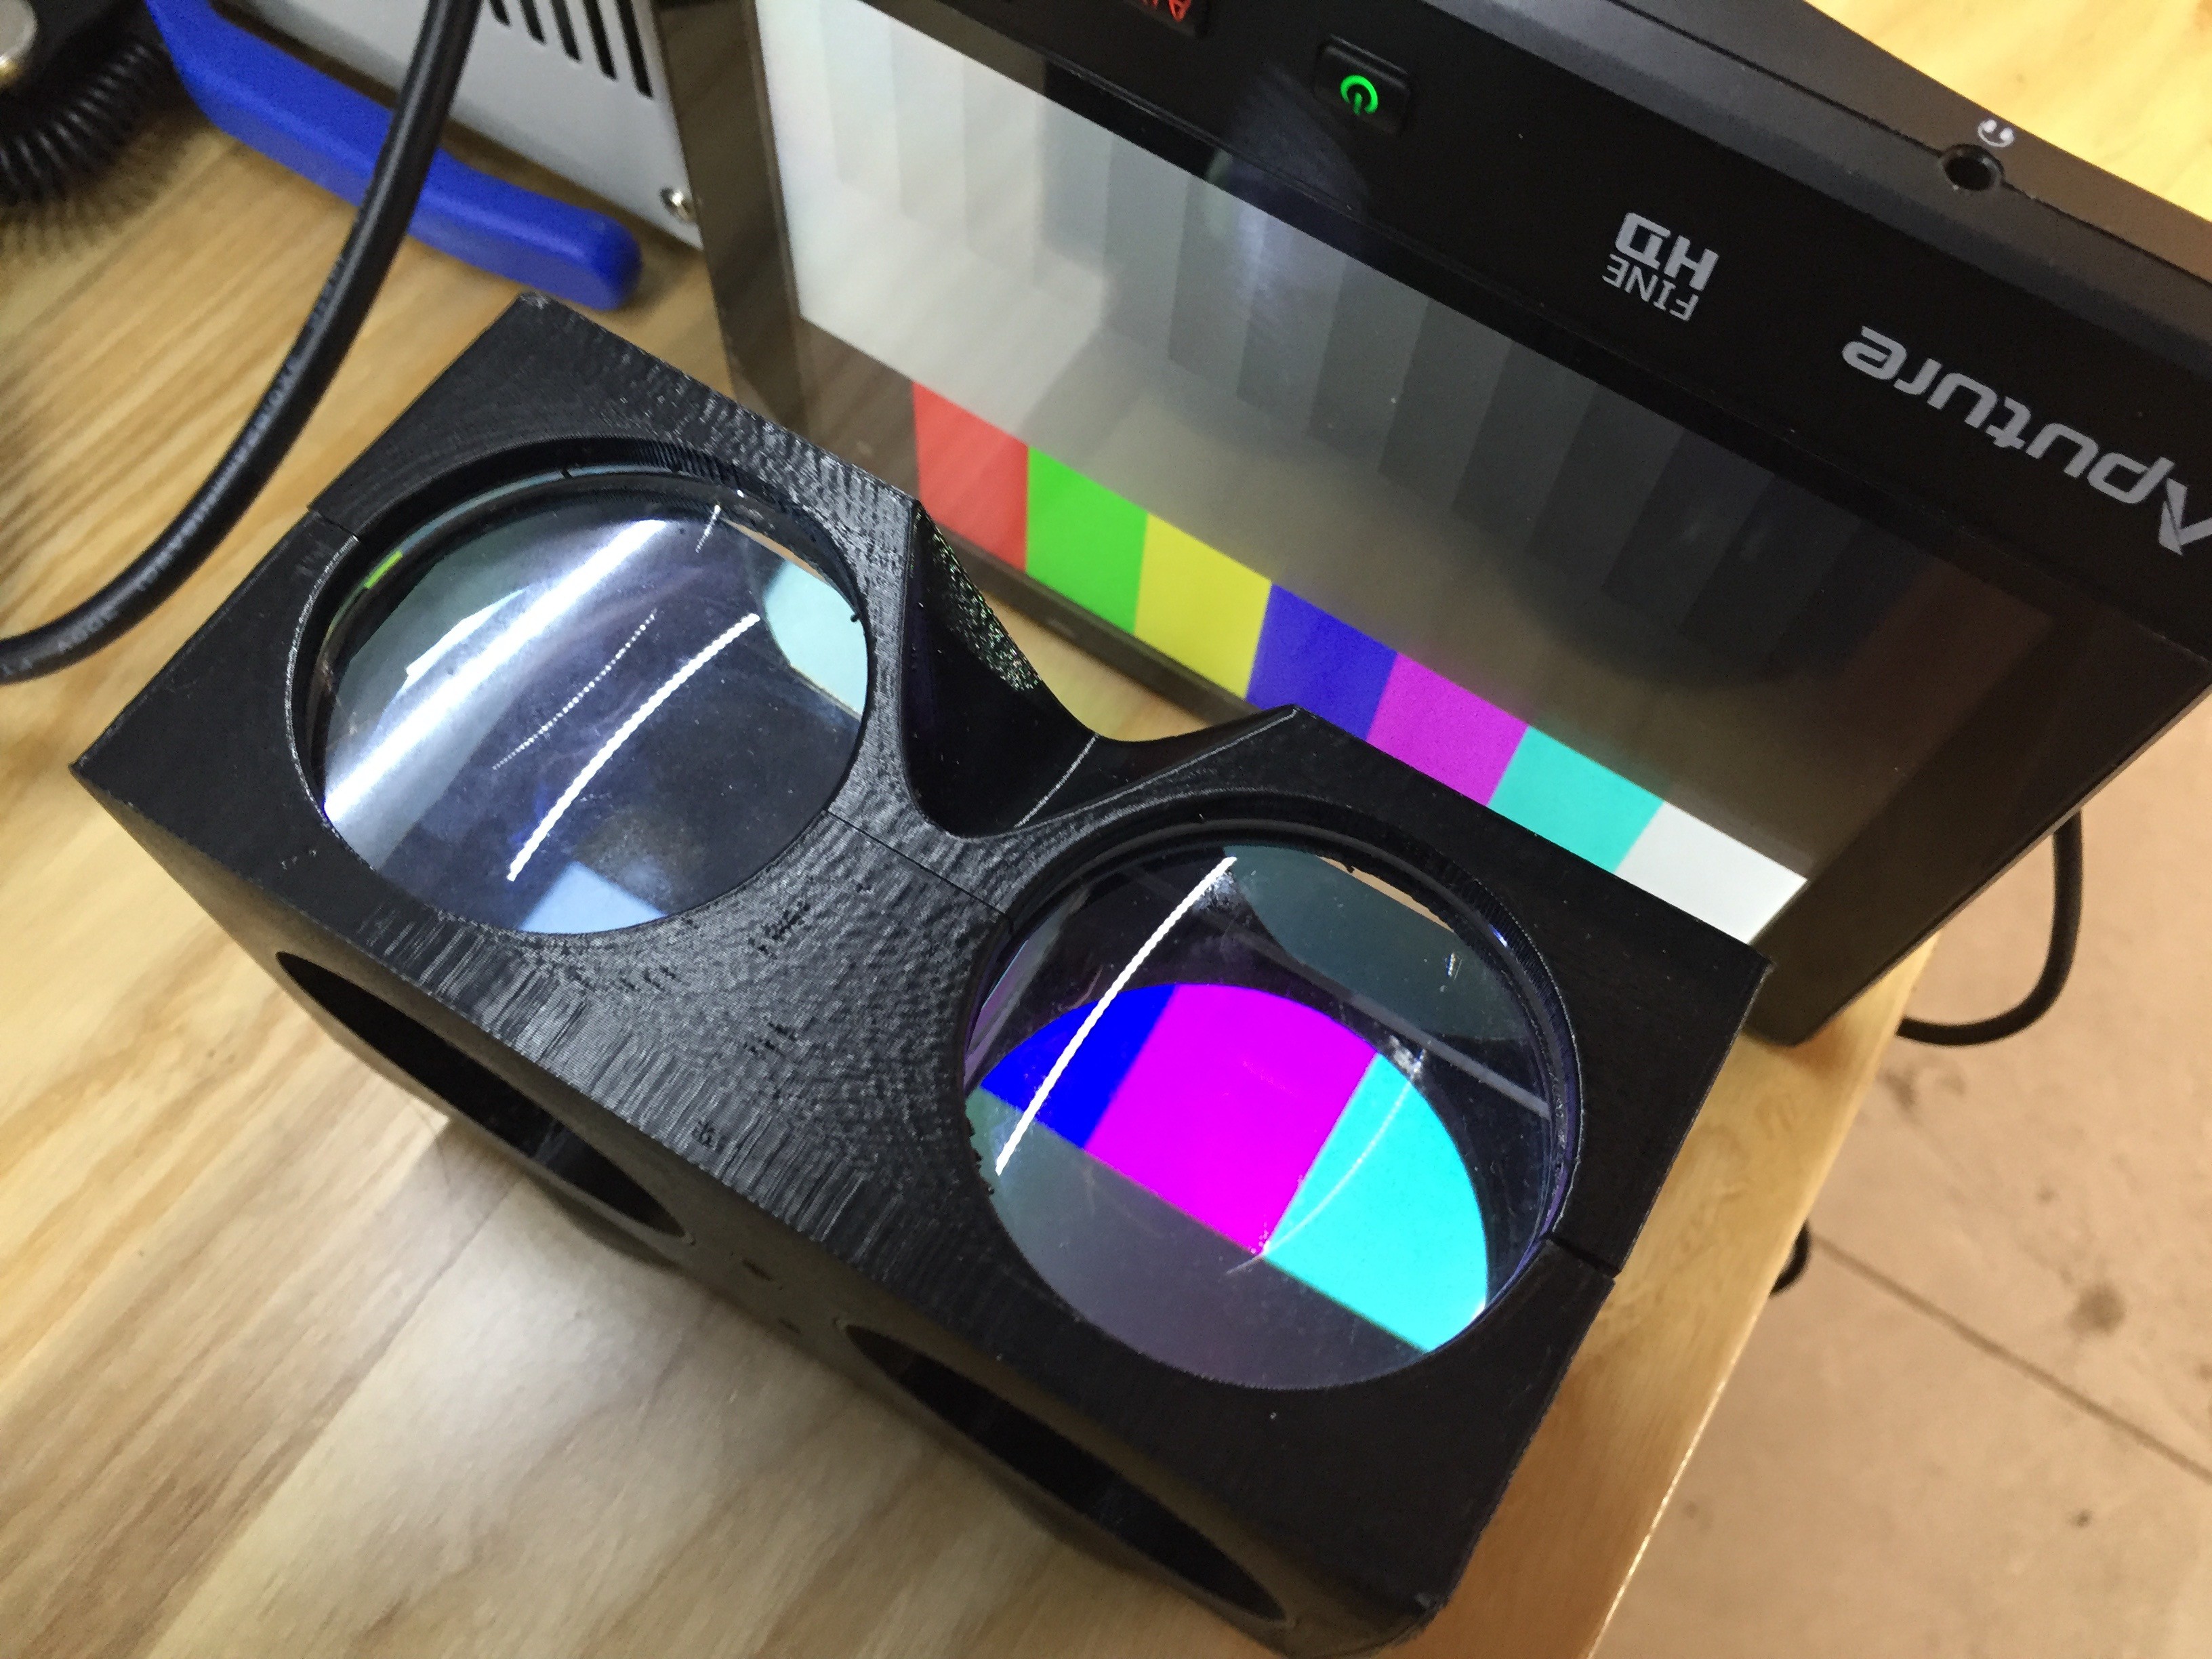 With a big push from Dan, we were able to bust out most of the pitch bearing blocks needed for these next few scopes too. That should put me in a good place to have any milling I'll need done by the end of the residency.
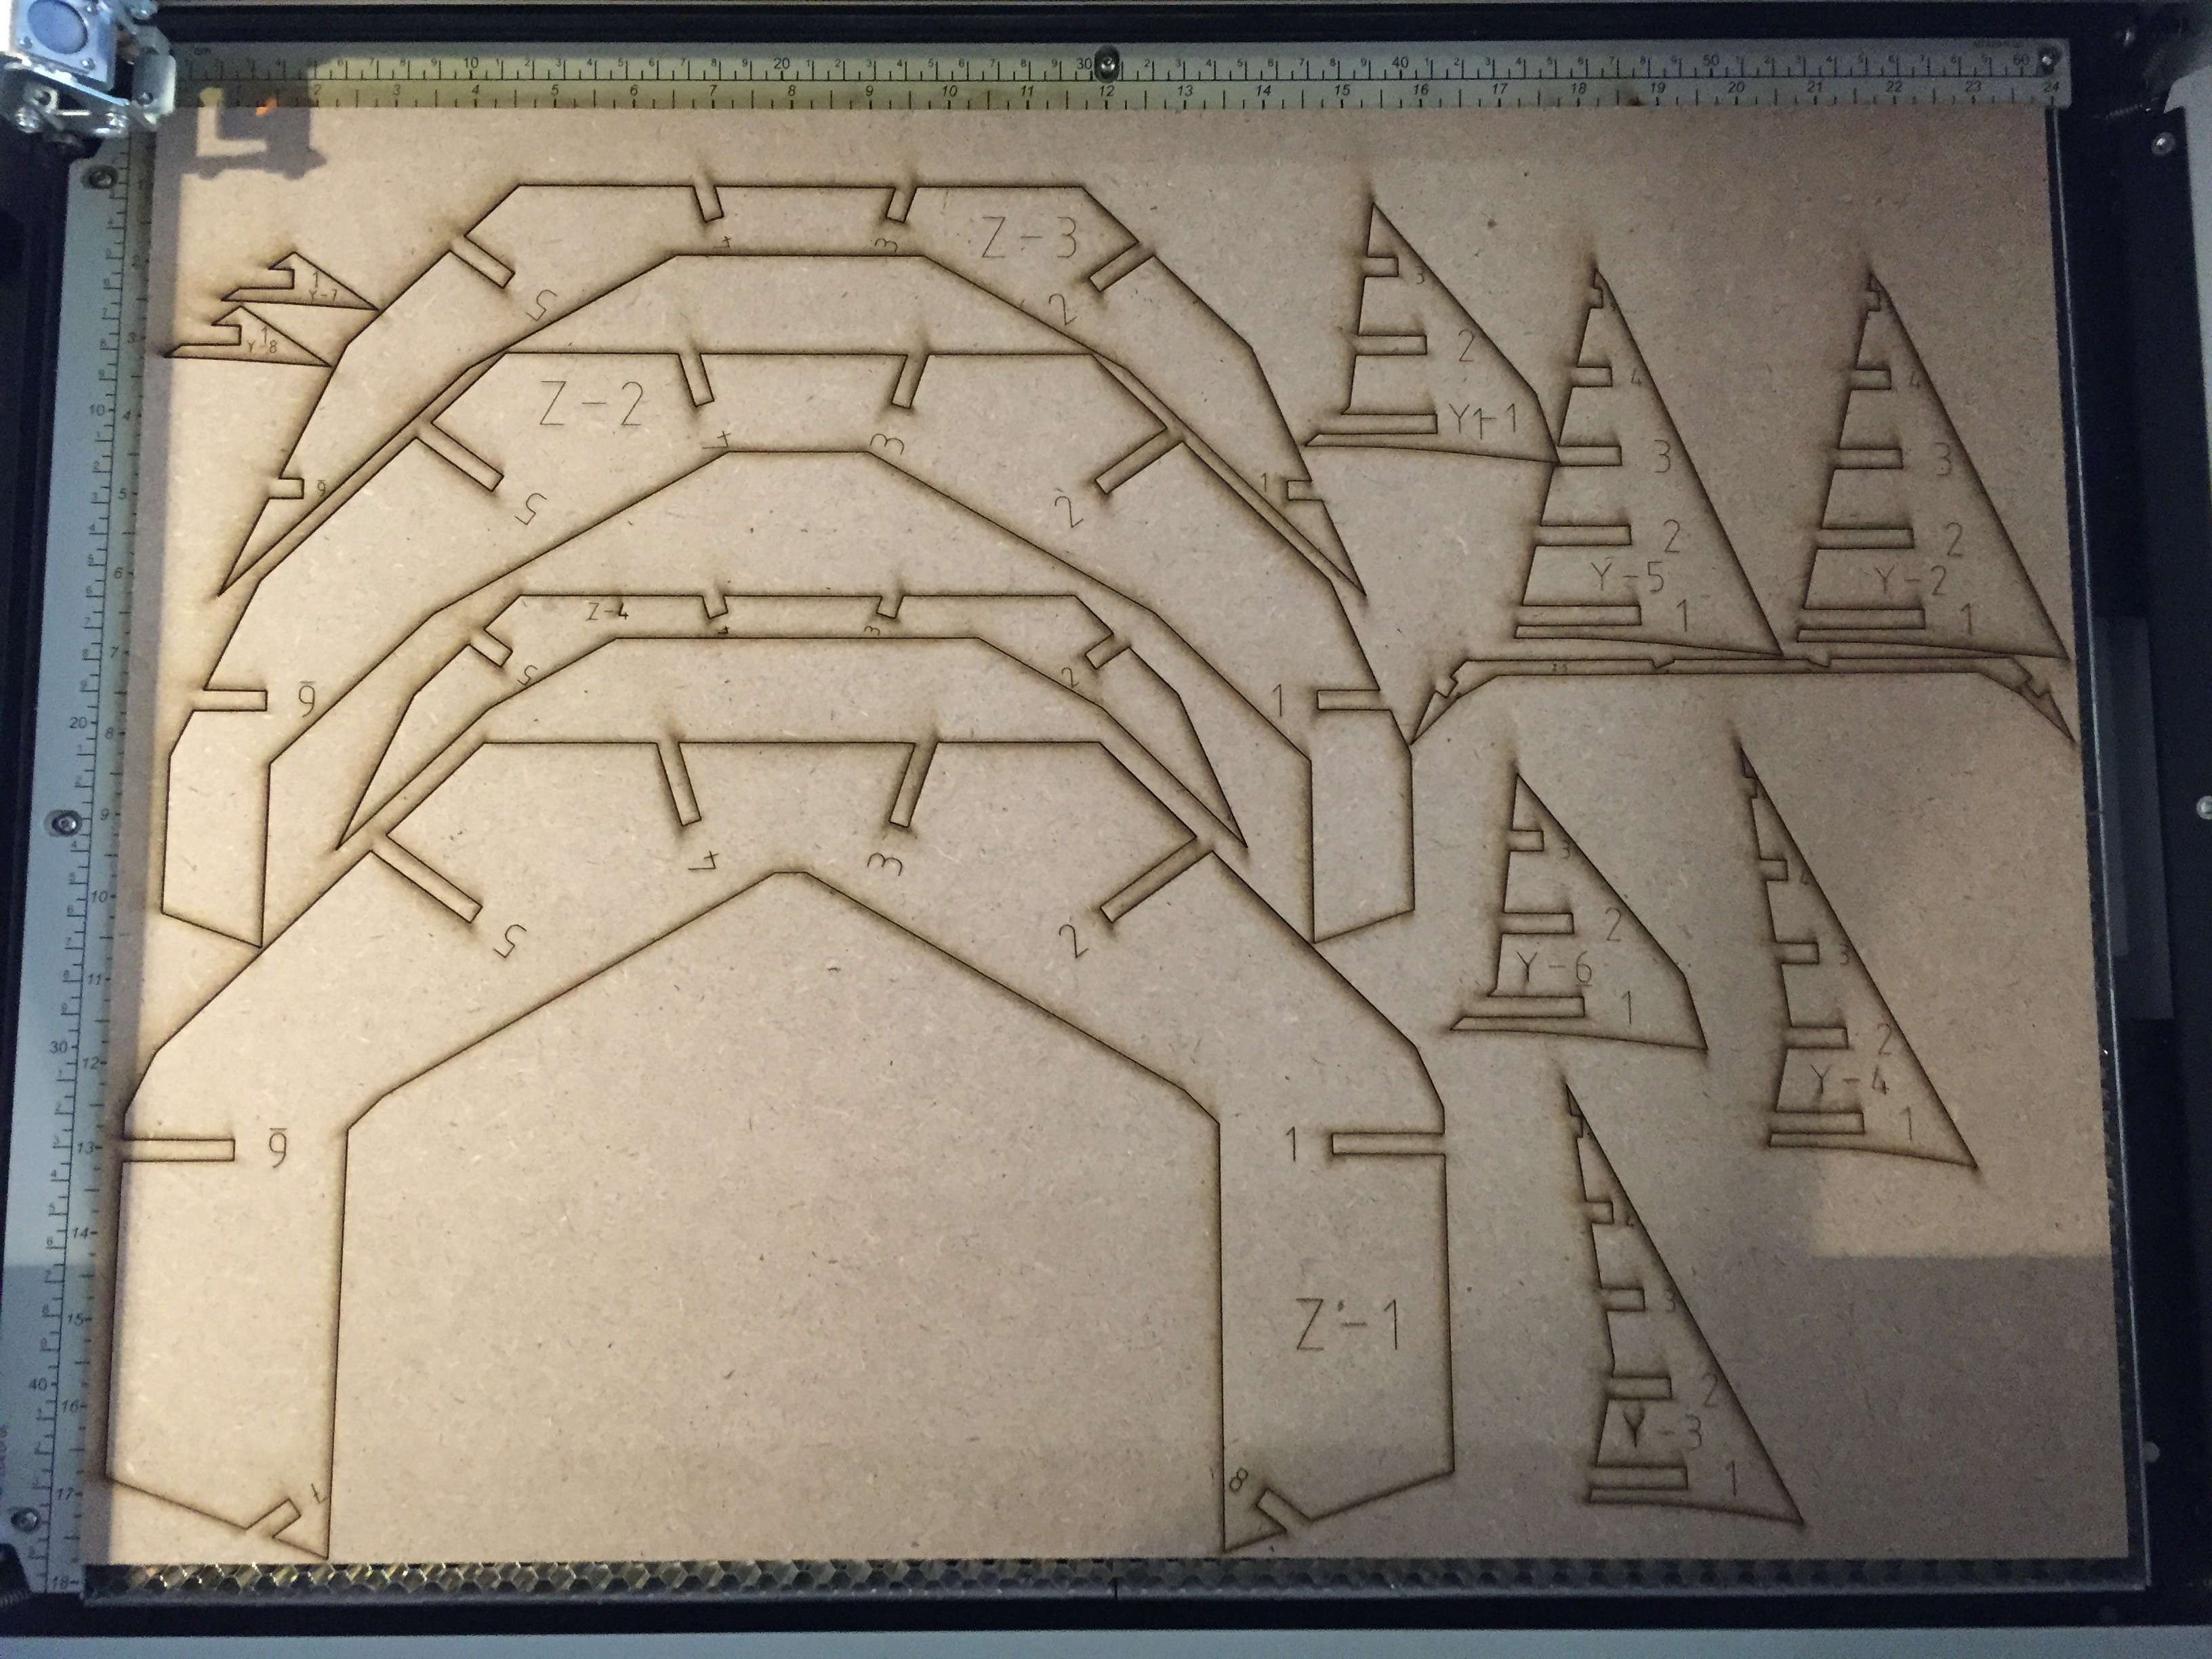
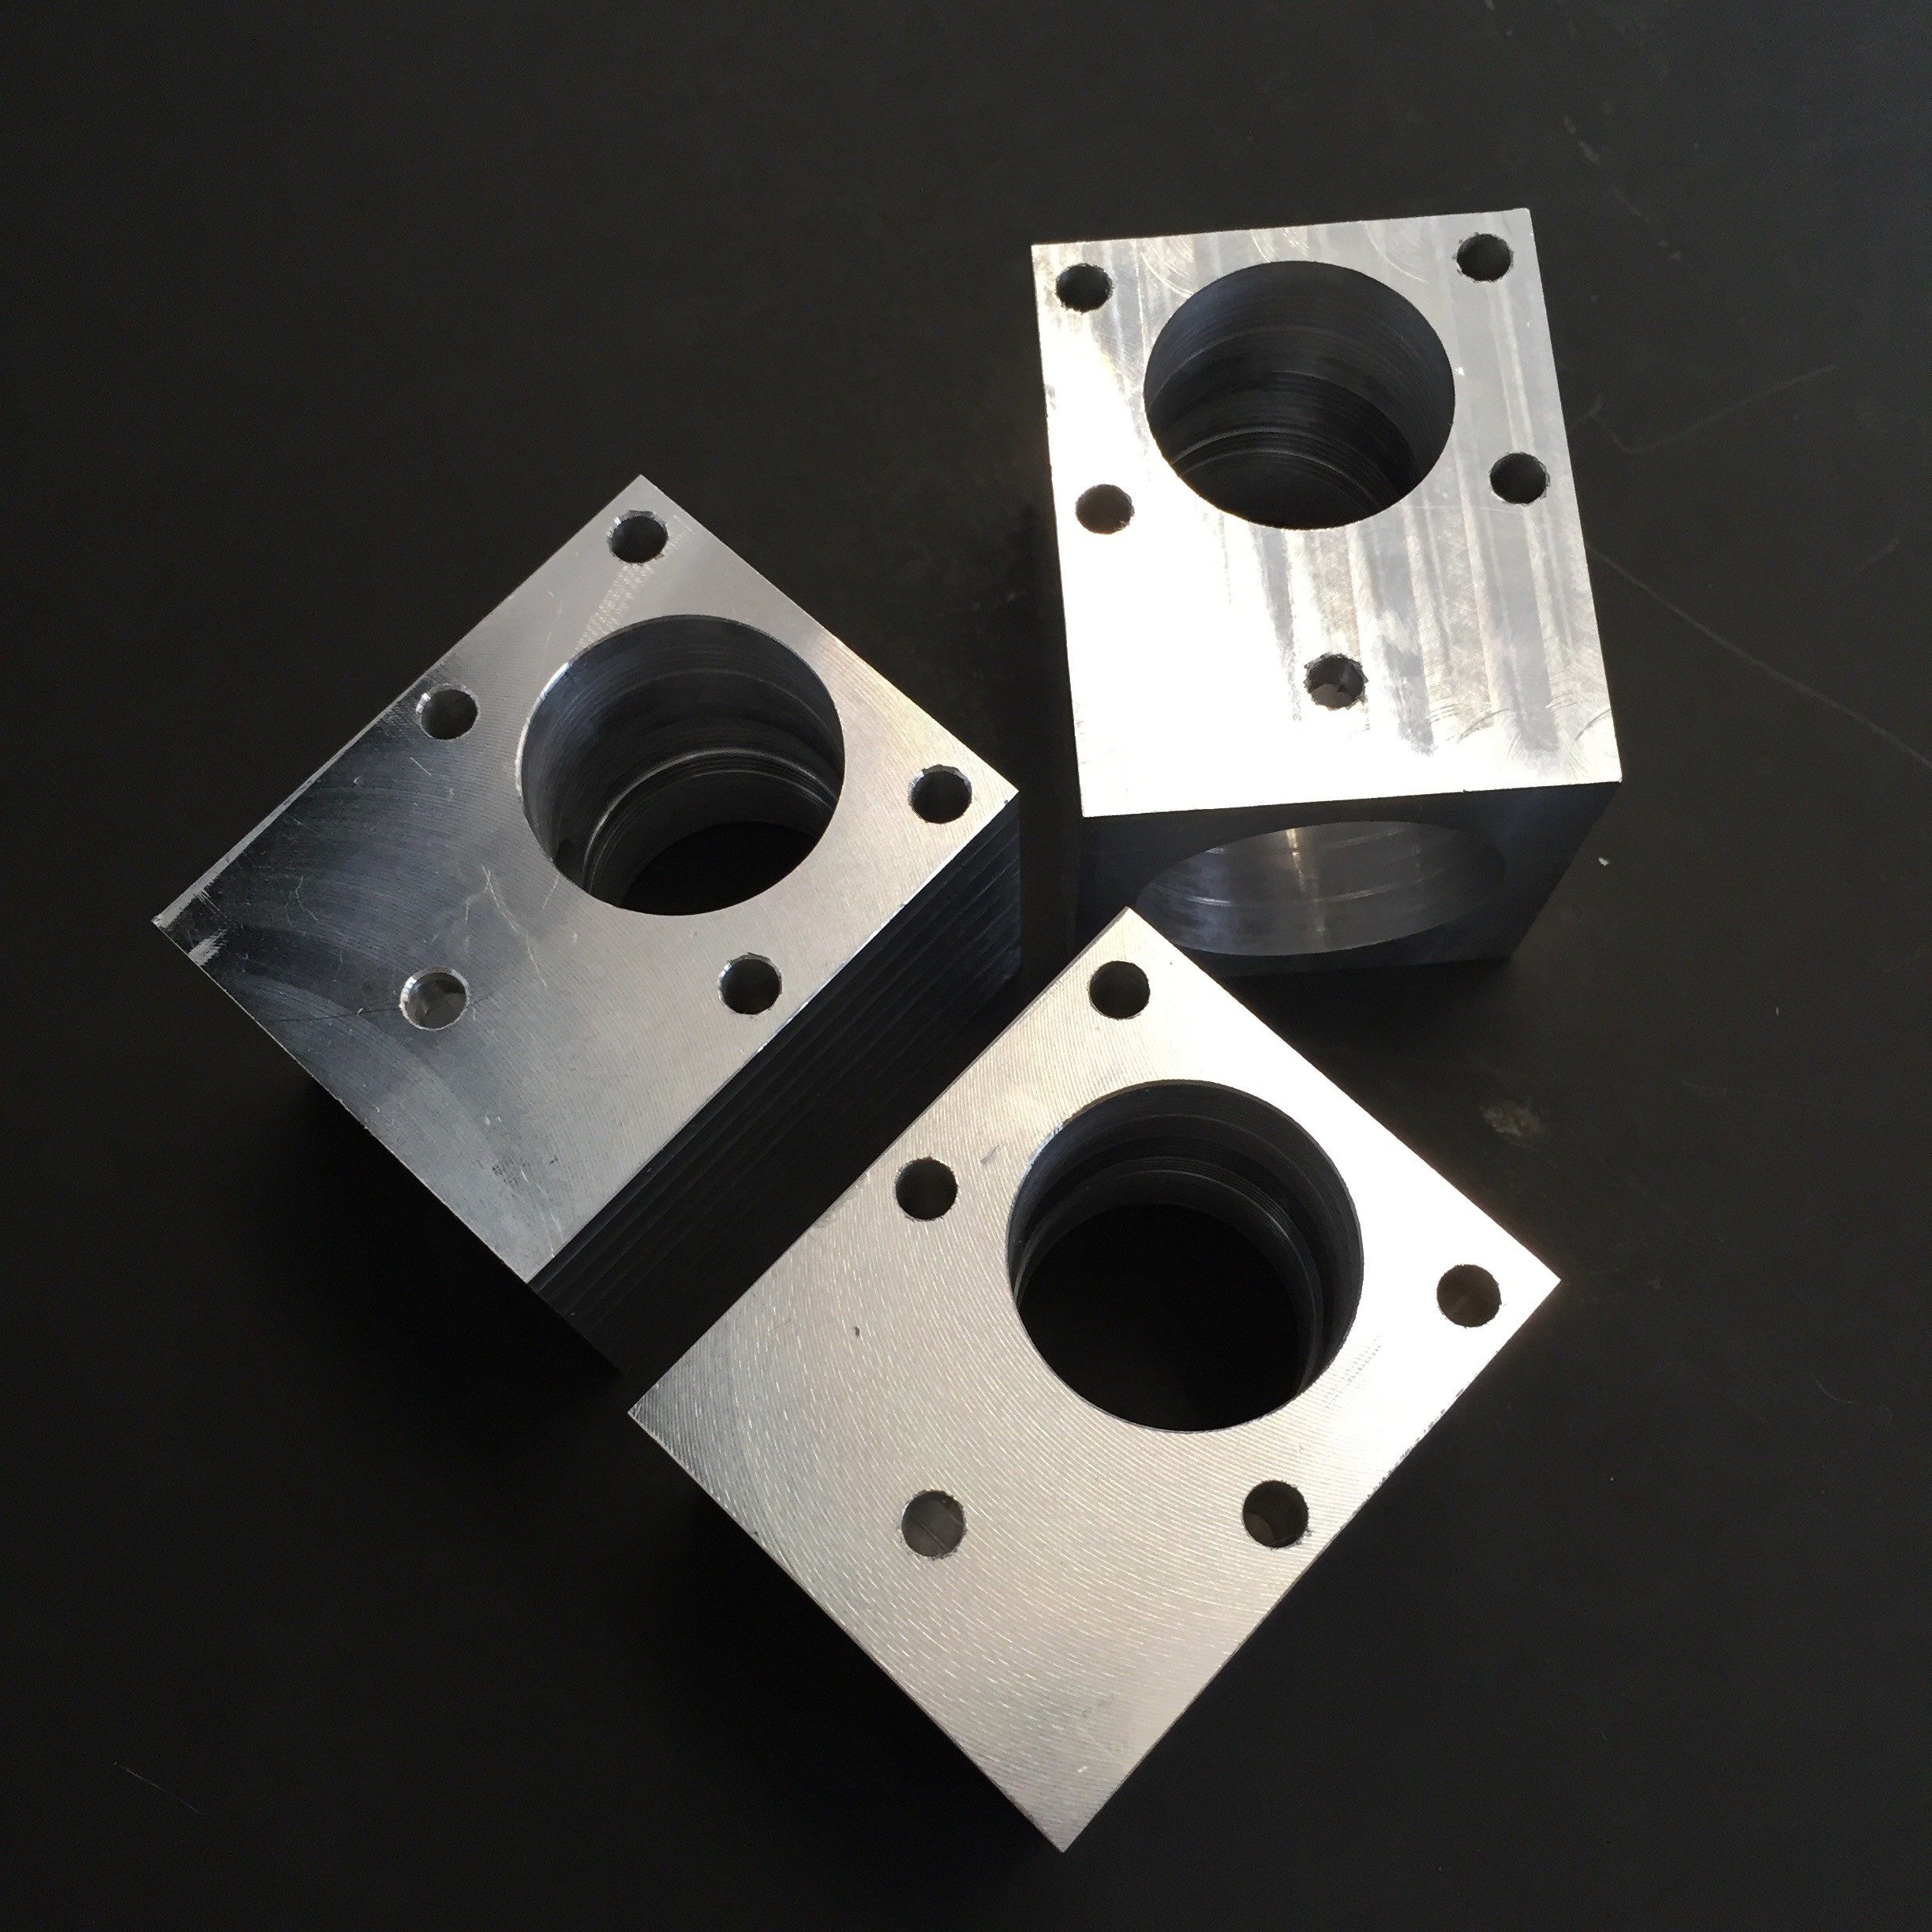

 Greg Stephens
 joseph
 starlord
 Supplyframe DesignLab
Thanks for providing us this great knowledge, I love the green space so visit https://apksip.net/rope-hero-3-mod-apk/