Getting to this point has been a long journey, from prototypes built out of cardboard and masking tape, to designing something with intention, strength and manufacturing in mind.
There's still work to be done: integrating the electrical systems, adding a few control components, and fabricating the pedestal, but we're now at a place where making new units is just a matter of repetition.
The challenges in designing and building anything from the ground up are immense. Even an object as simple as a mounting bracket takes time, precision, and imagination. Fortunately we live in a era where the tools are becoming increasingly democratized so that anyone with a little patience and ingenuity and make an idea into something real.
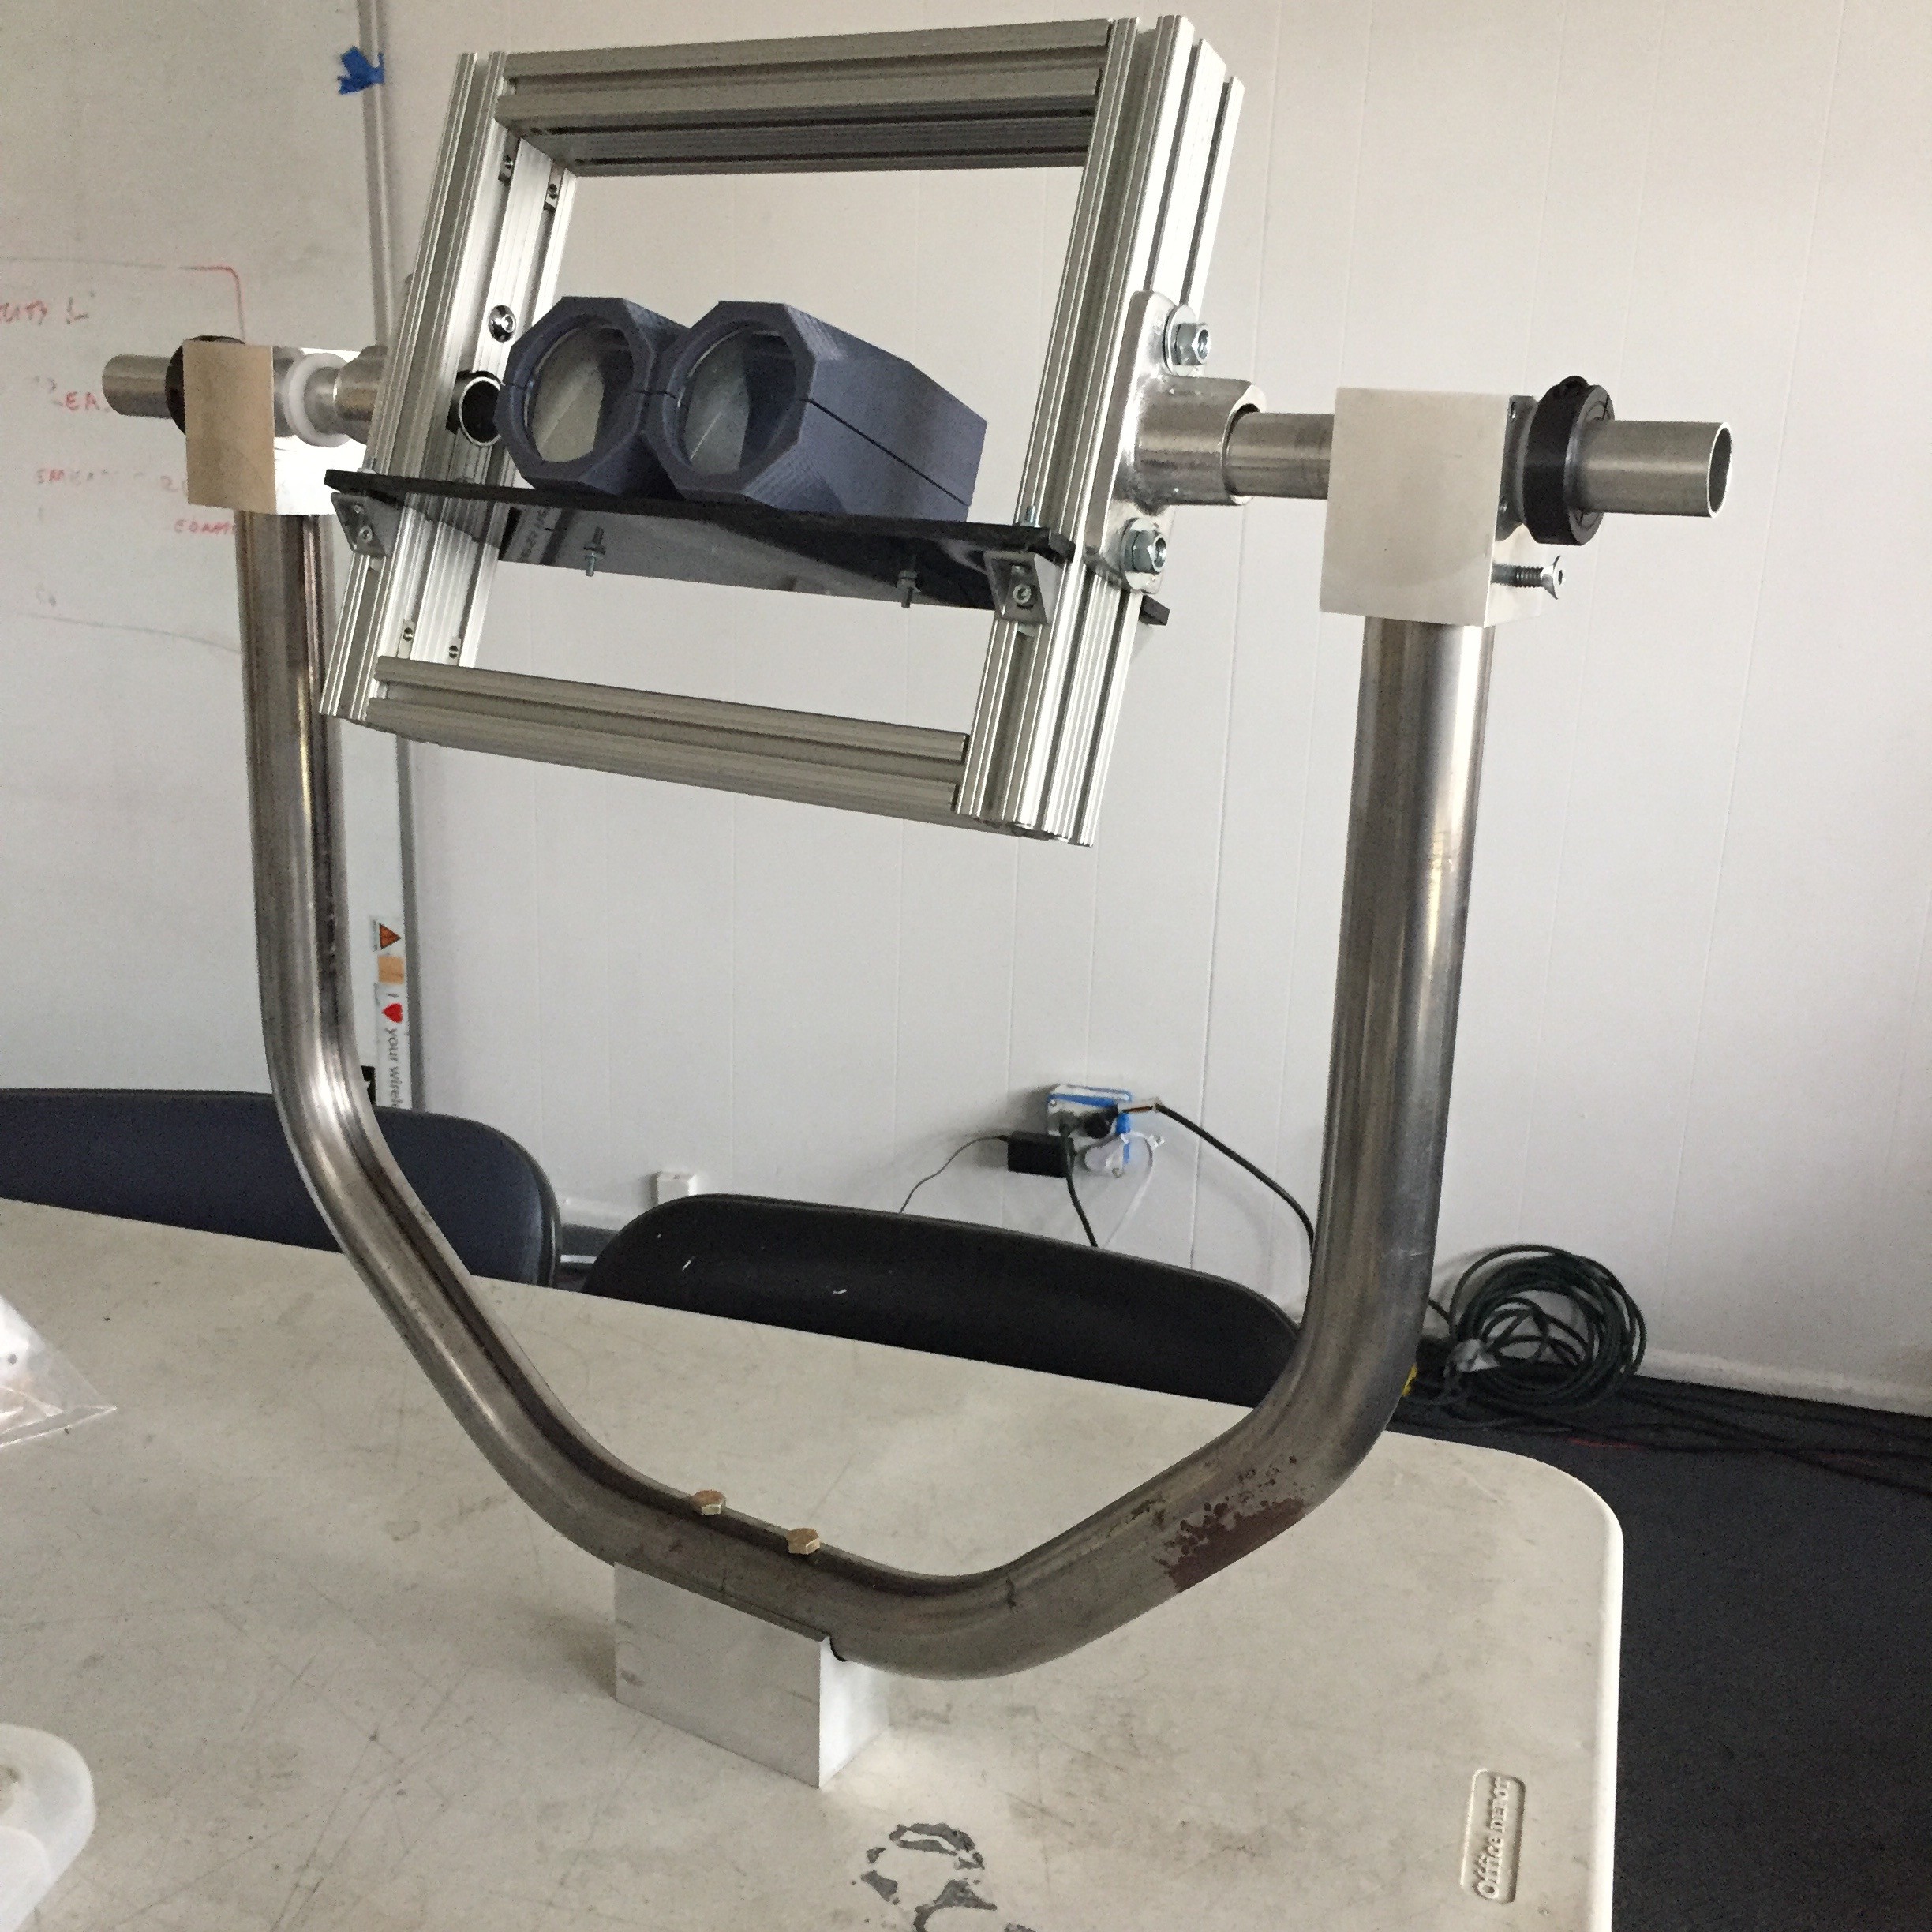
I started final assembly at CRASH Space, threading predrilled holes on the bearing blocks, and laser cutting a shelf to mount the optics.
Grumpy Cat approves.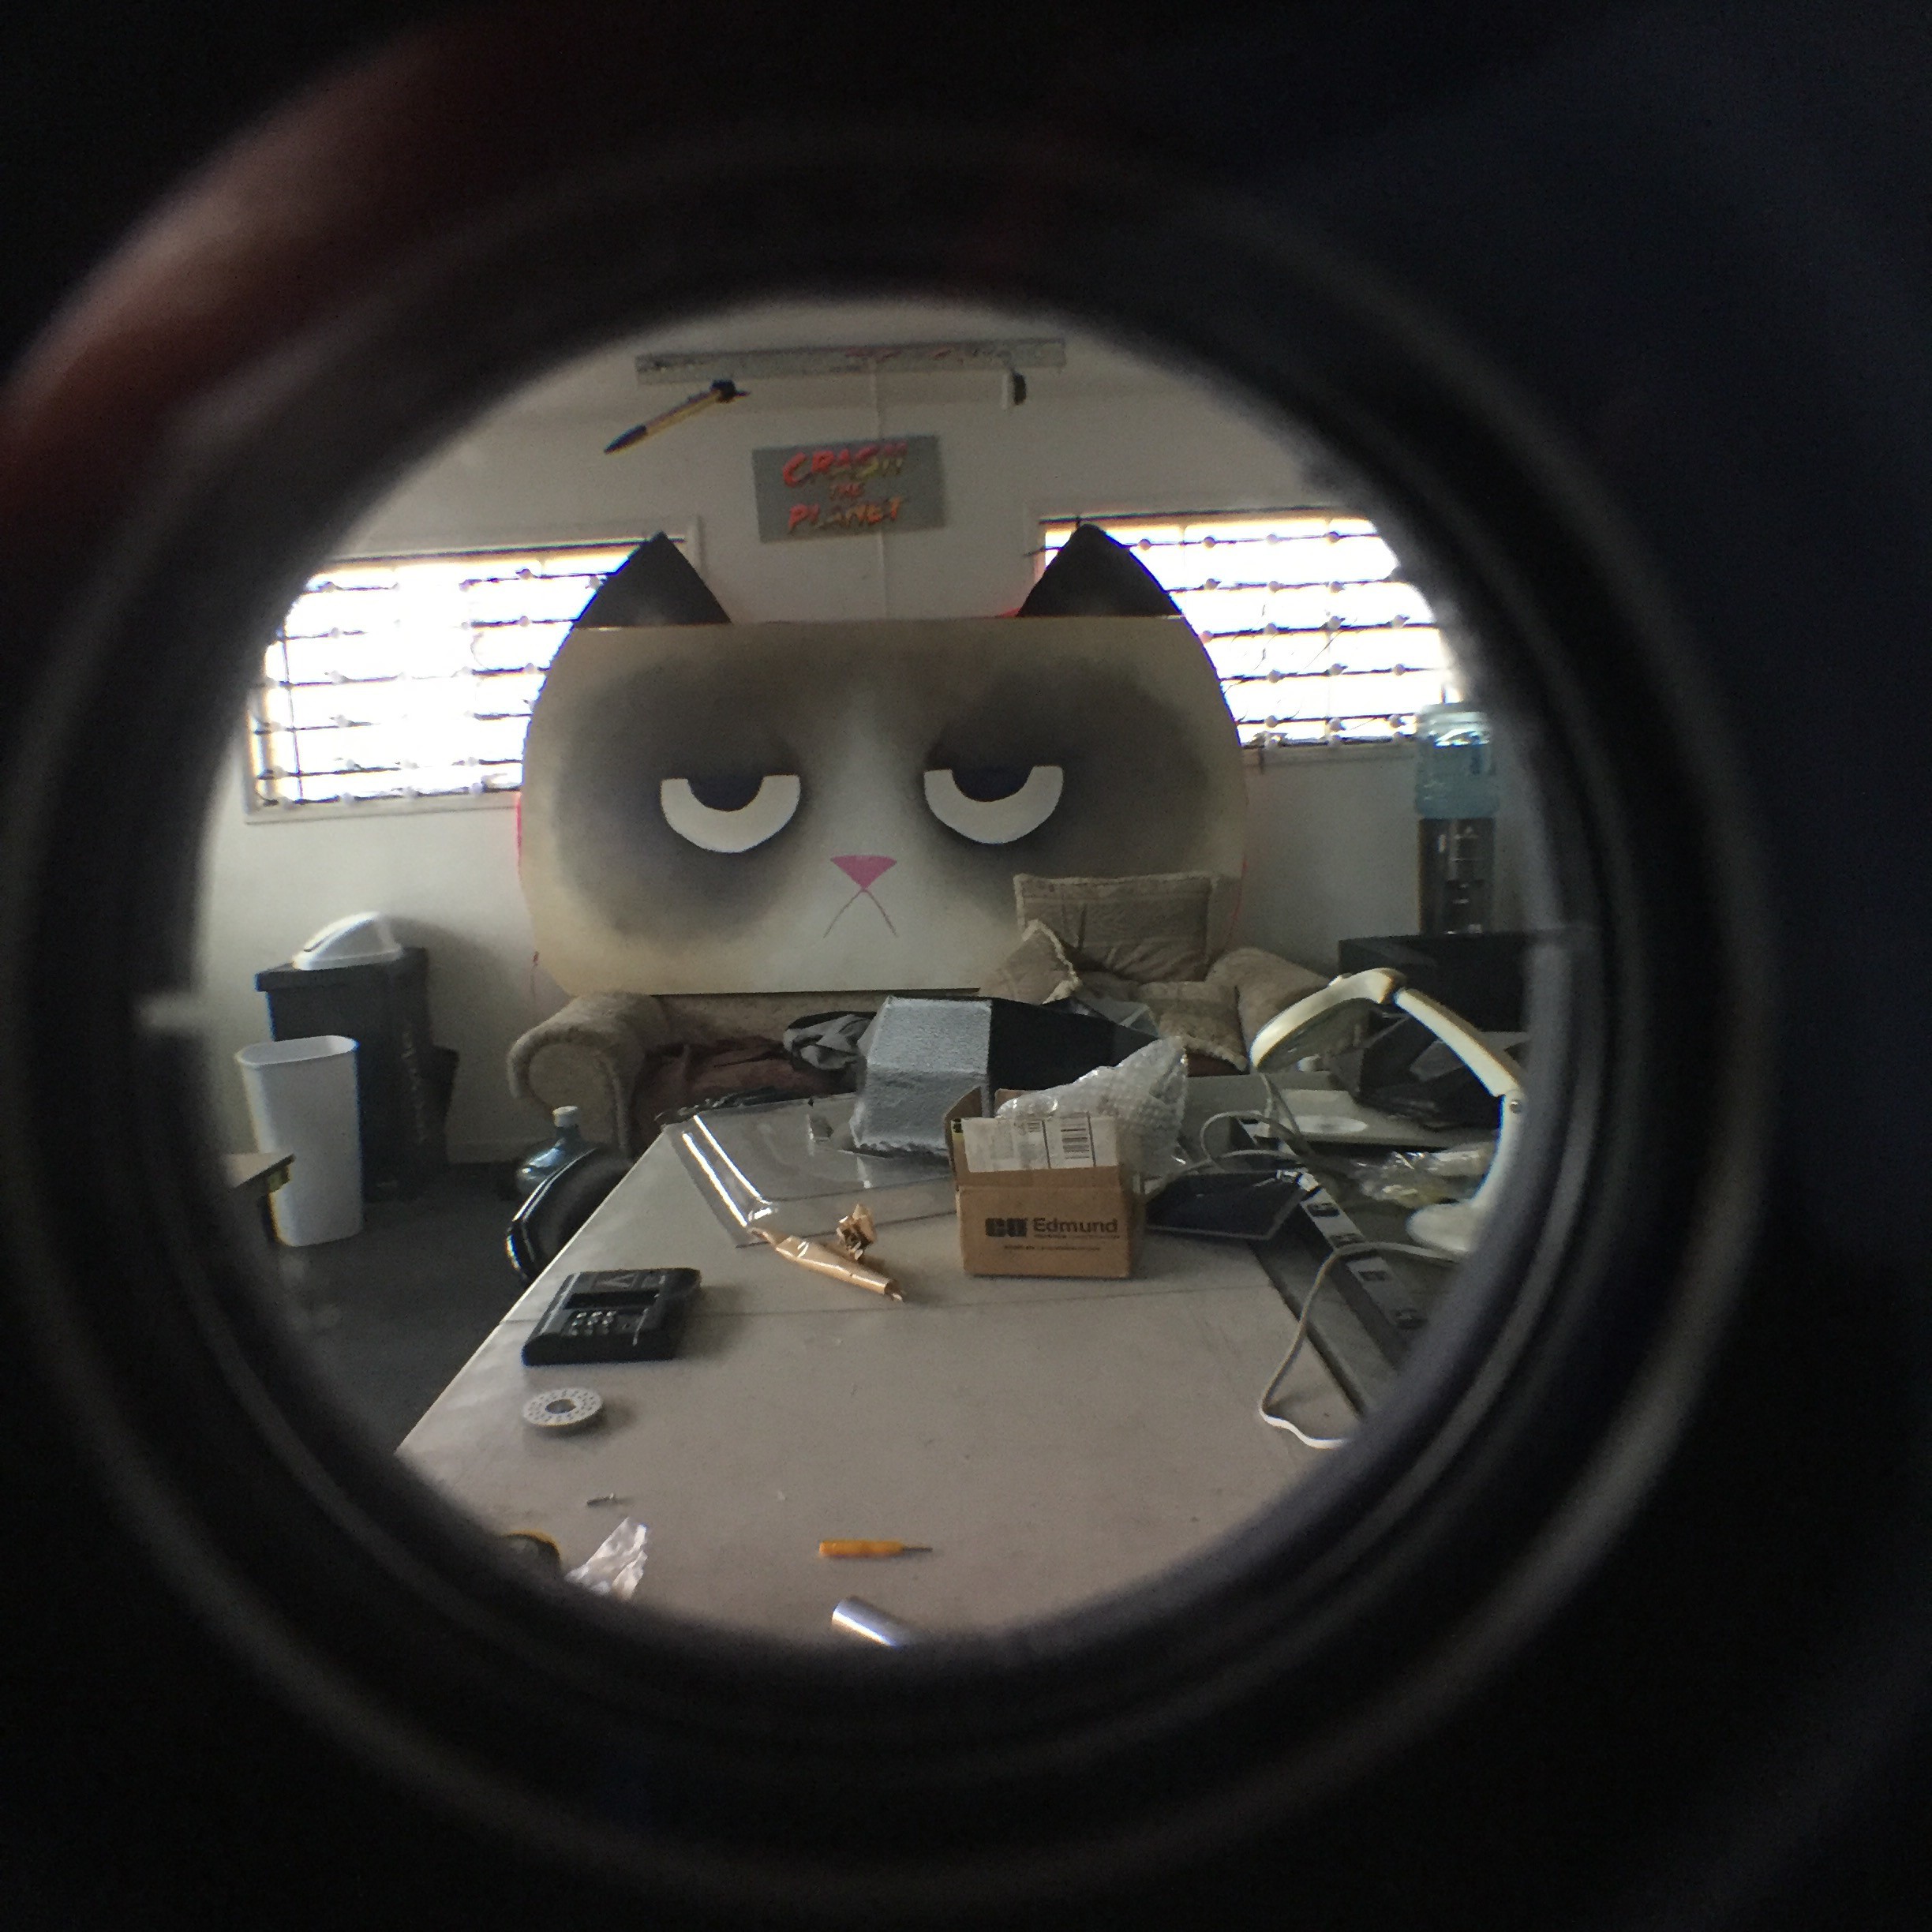
I finished the work back home, where I took a dremel to the vacuum formed shell so it could mount properly onto the frame and yoke.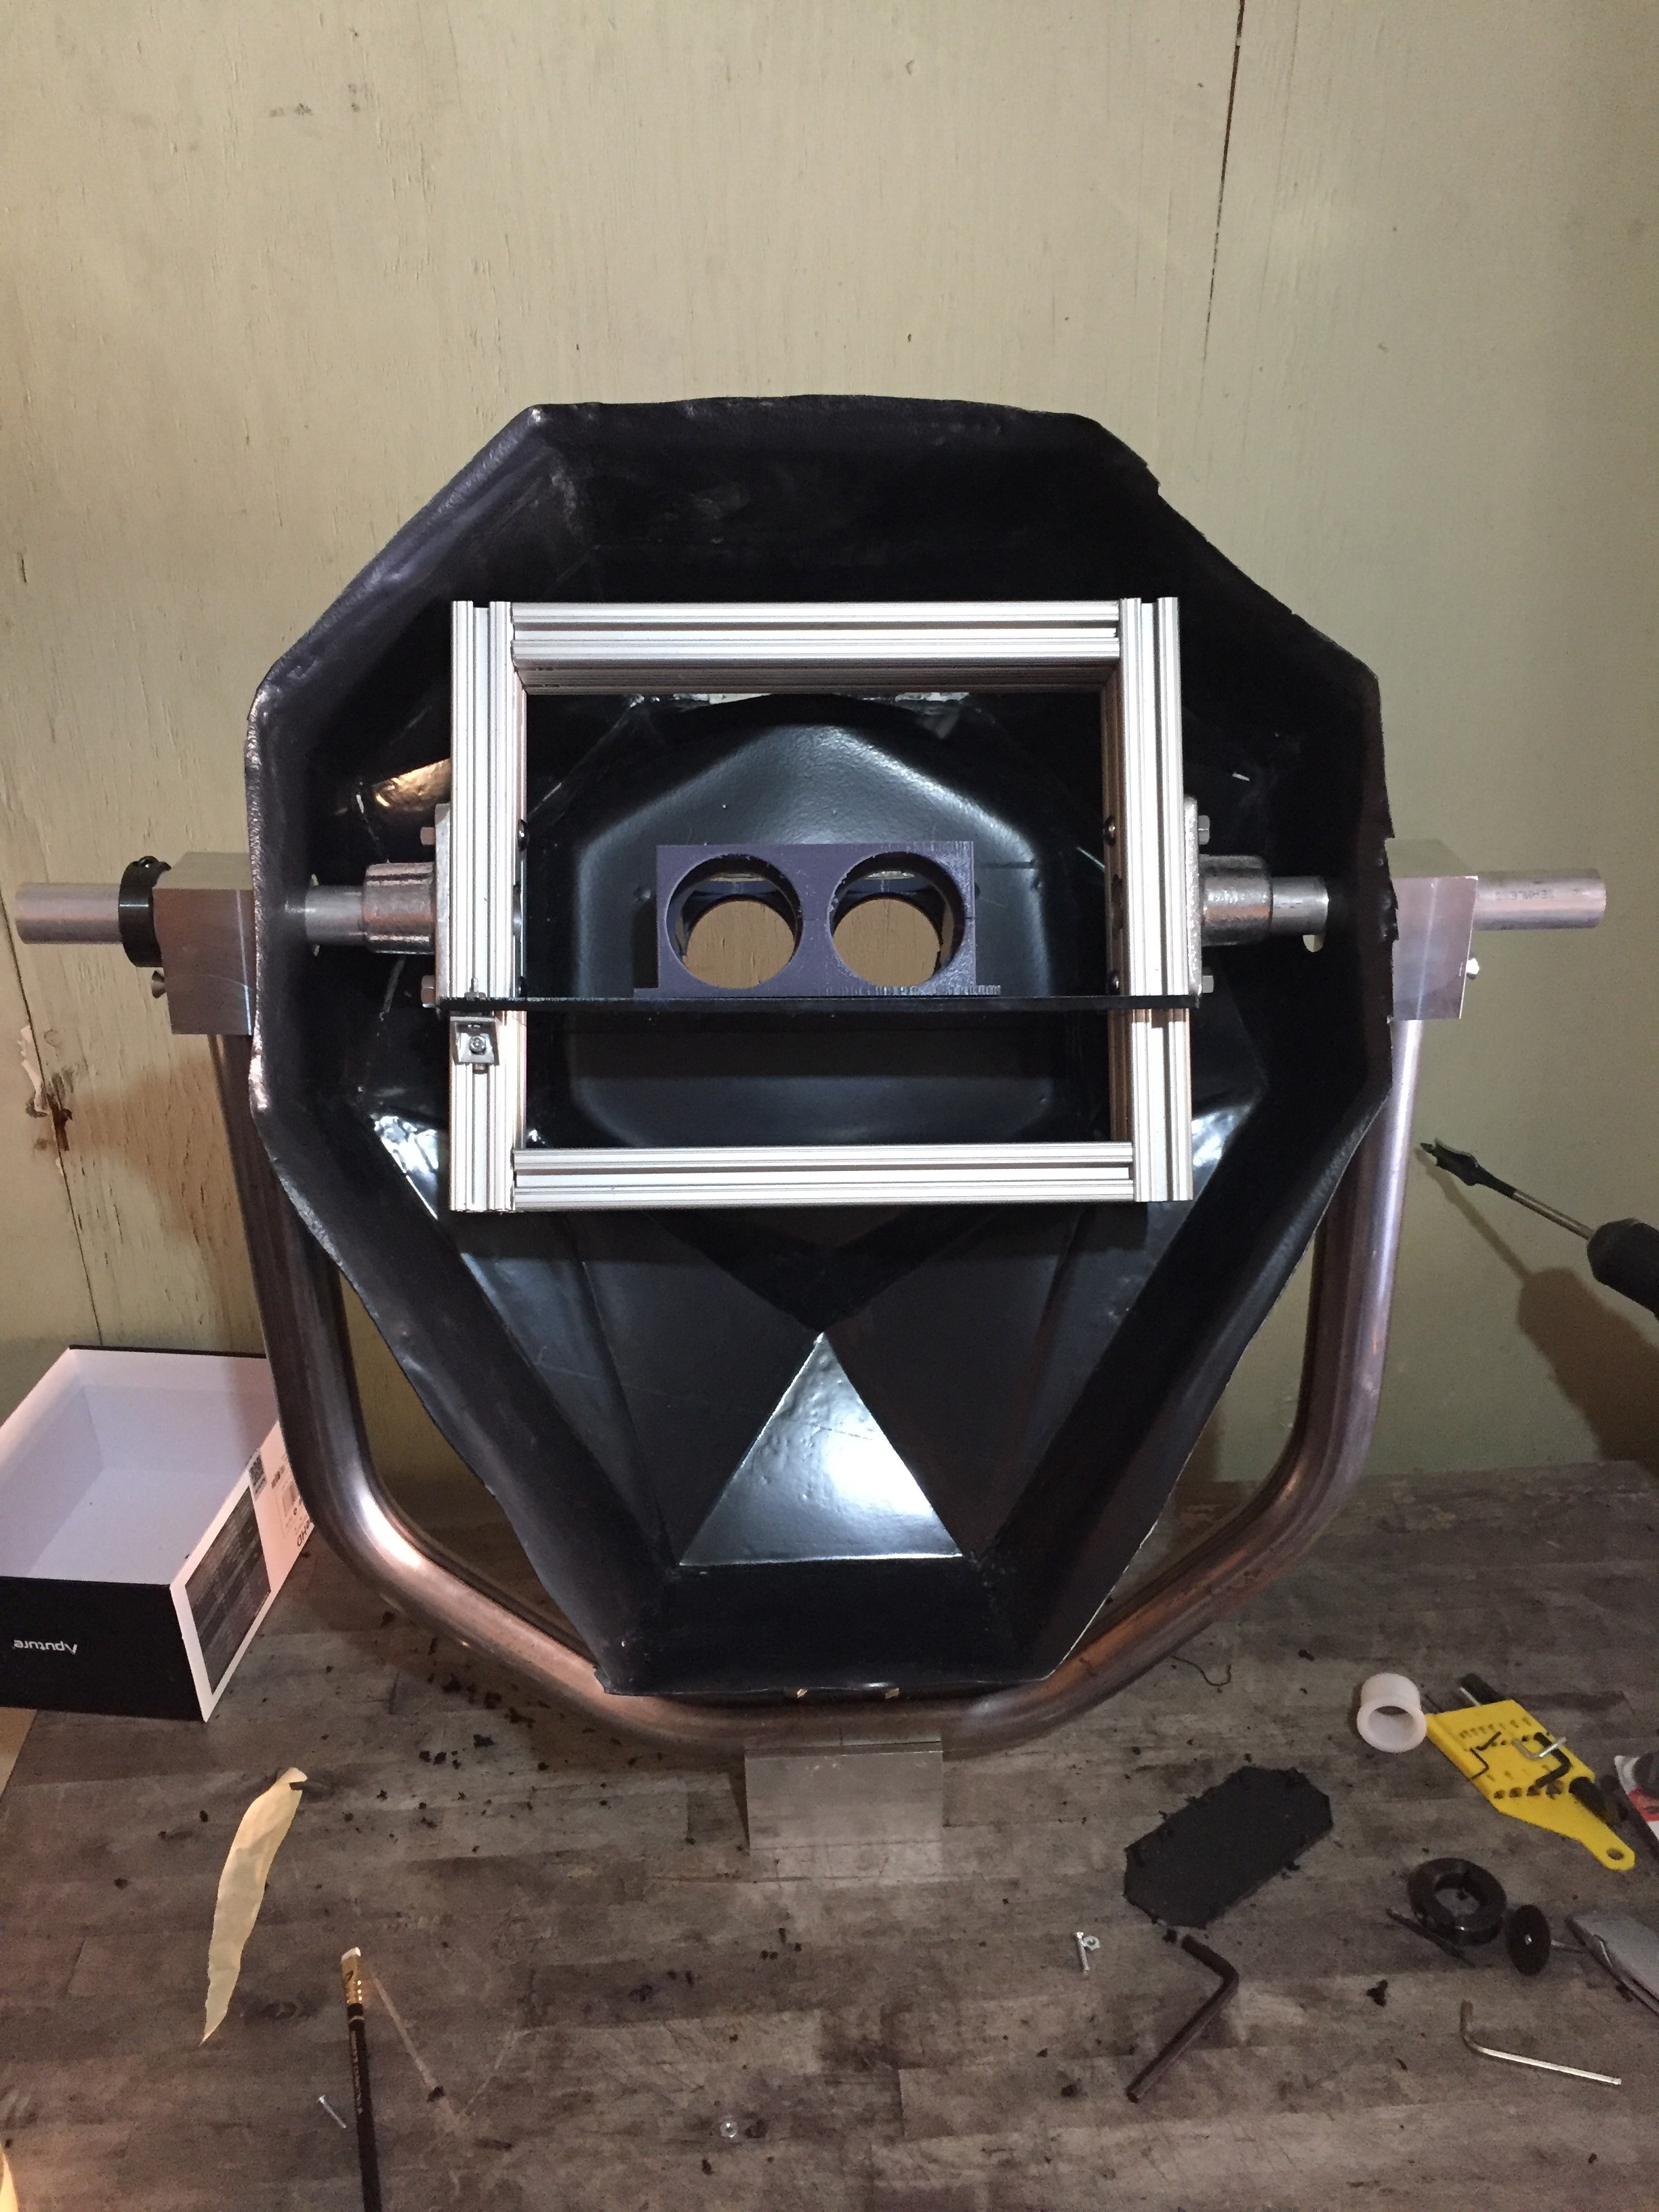
For the shell to be solid, we'd need to use some sort of mounting bracket between the corner of the 8020 frame and the skin of the shell. I did some measurements and then focused on design.
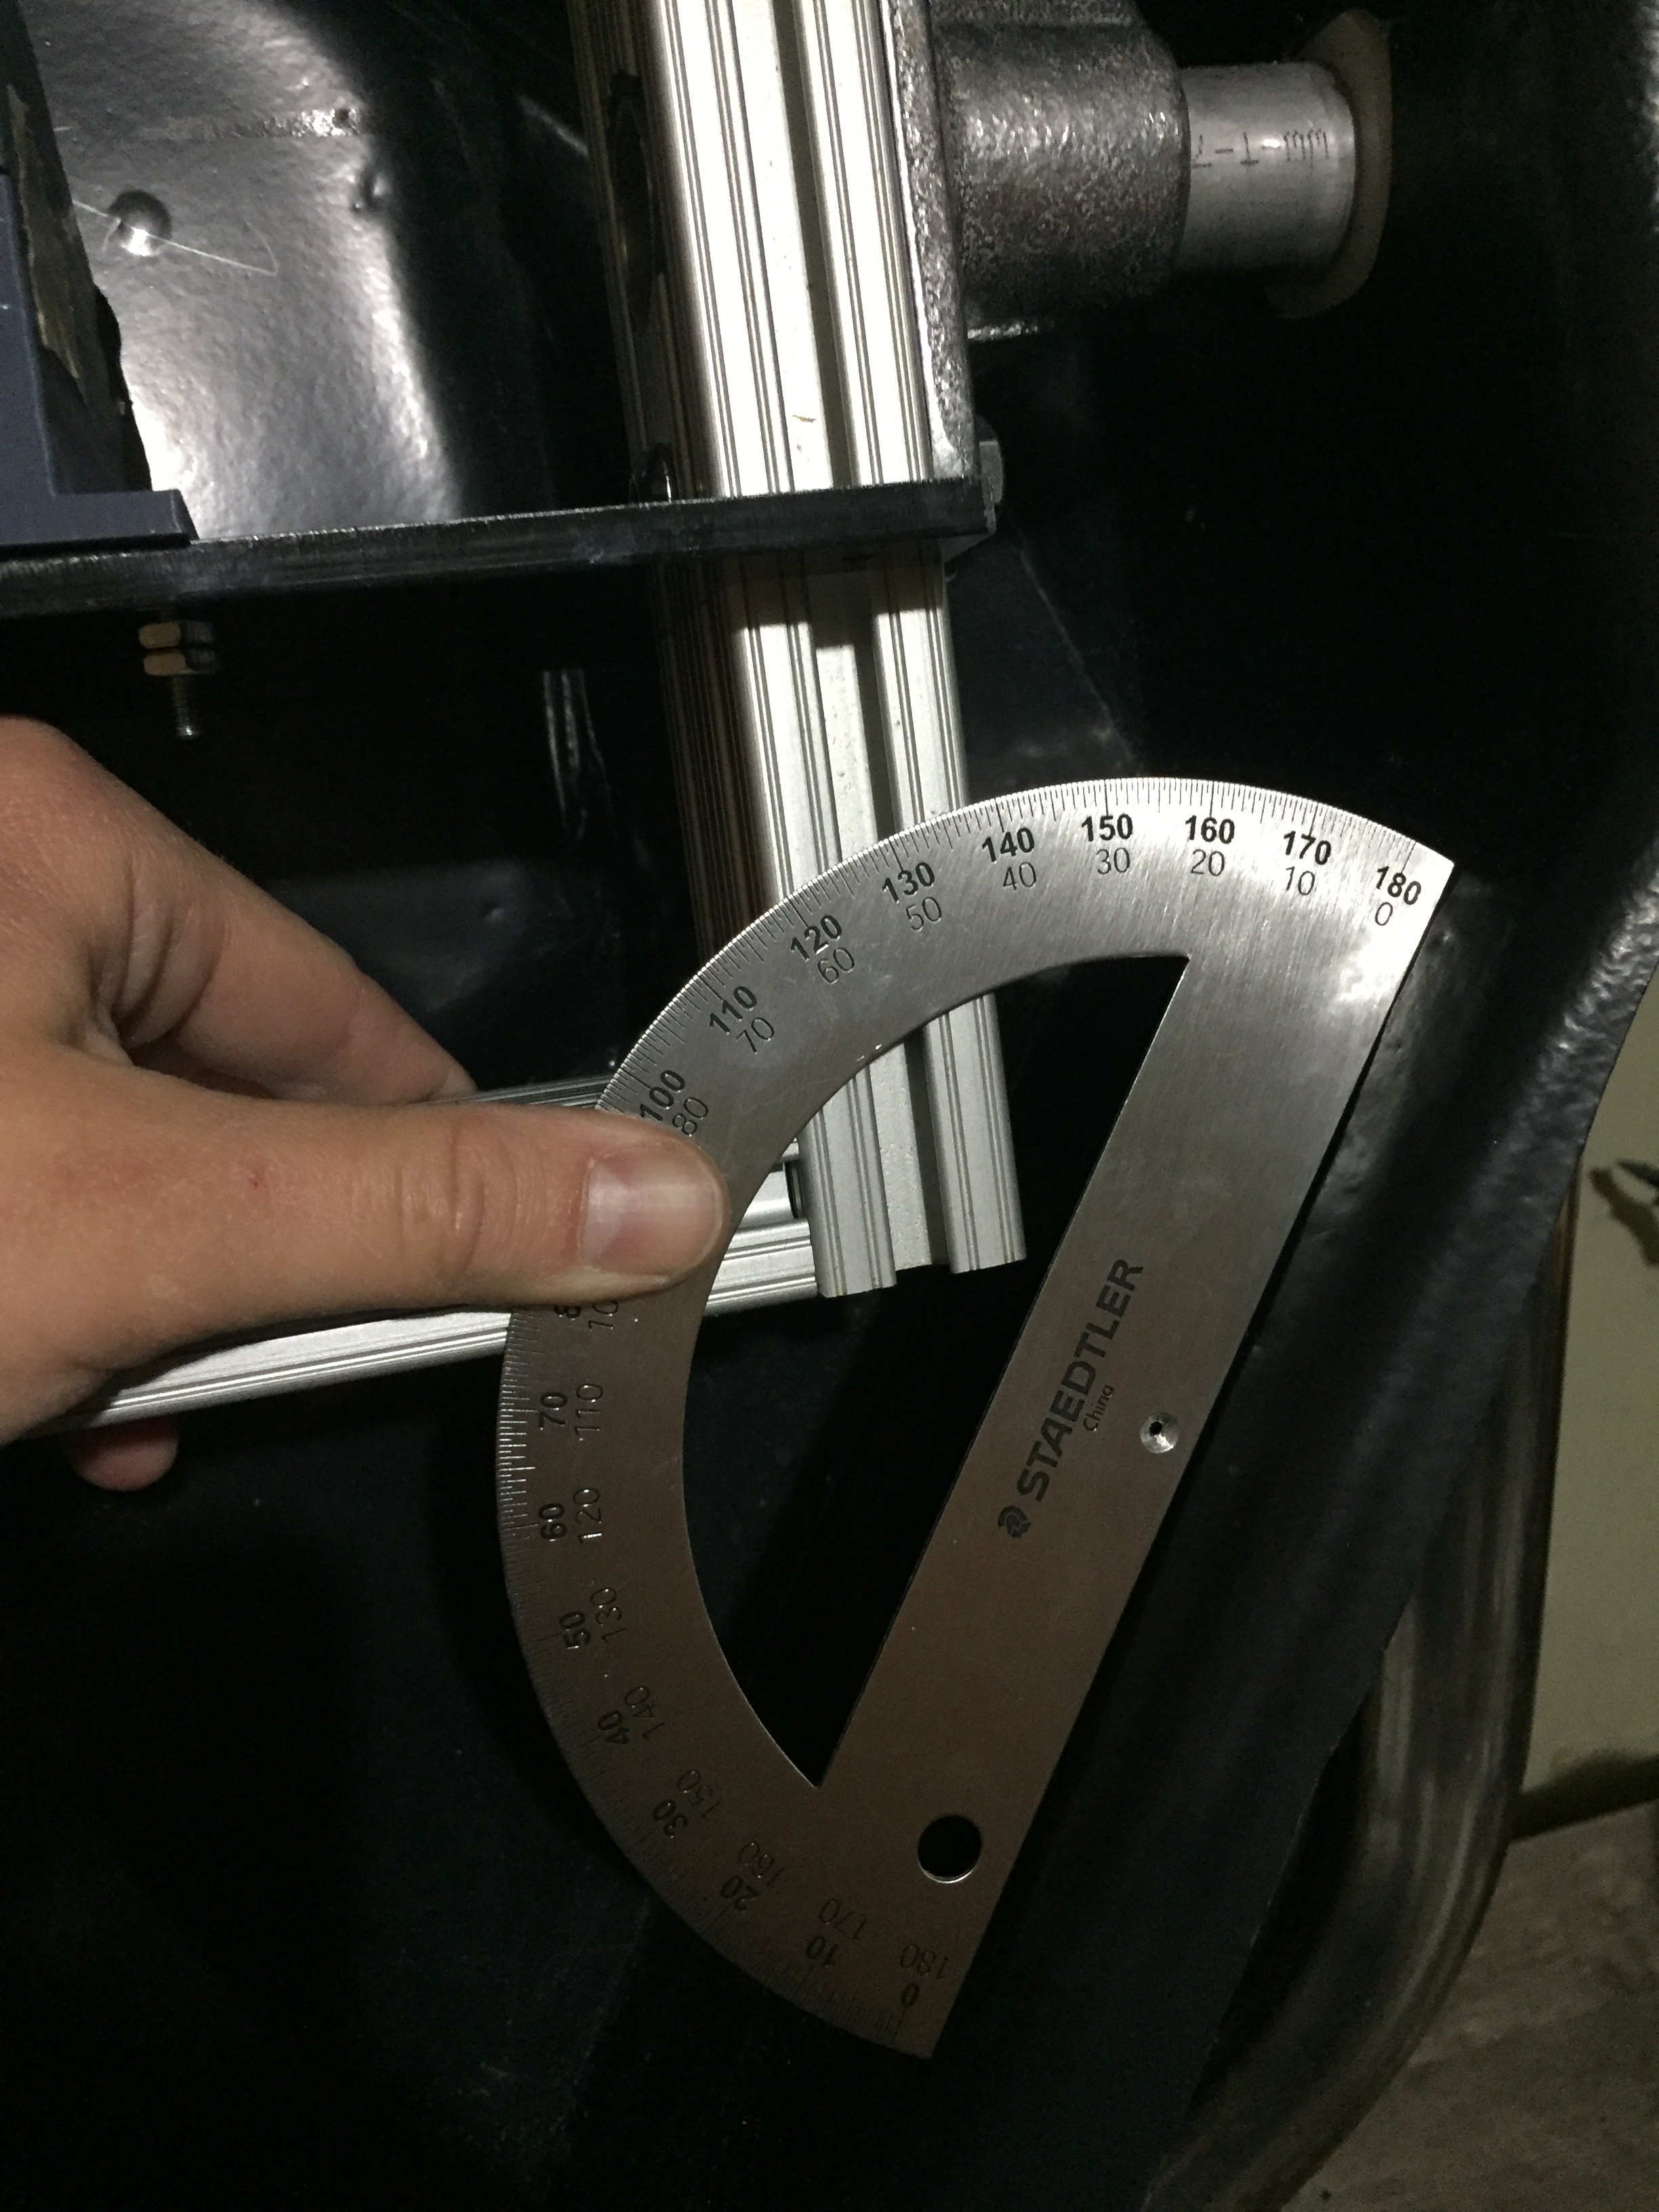 The geometries are a bit tricky right there. I'd have to take into account both the angle of the shell relative to the corner of the frame, as well as the outward draft angle of the shell itself.
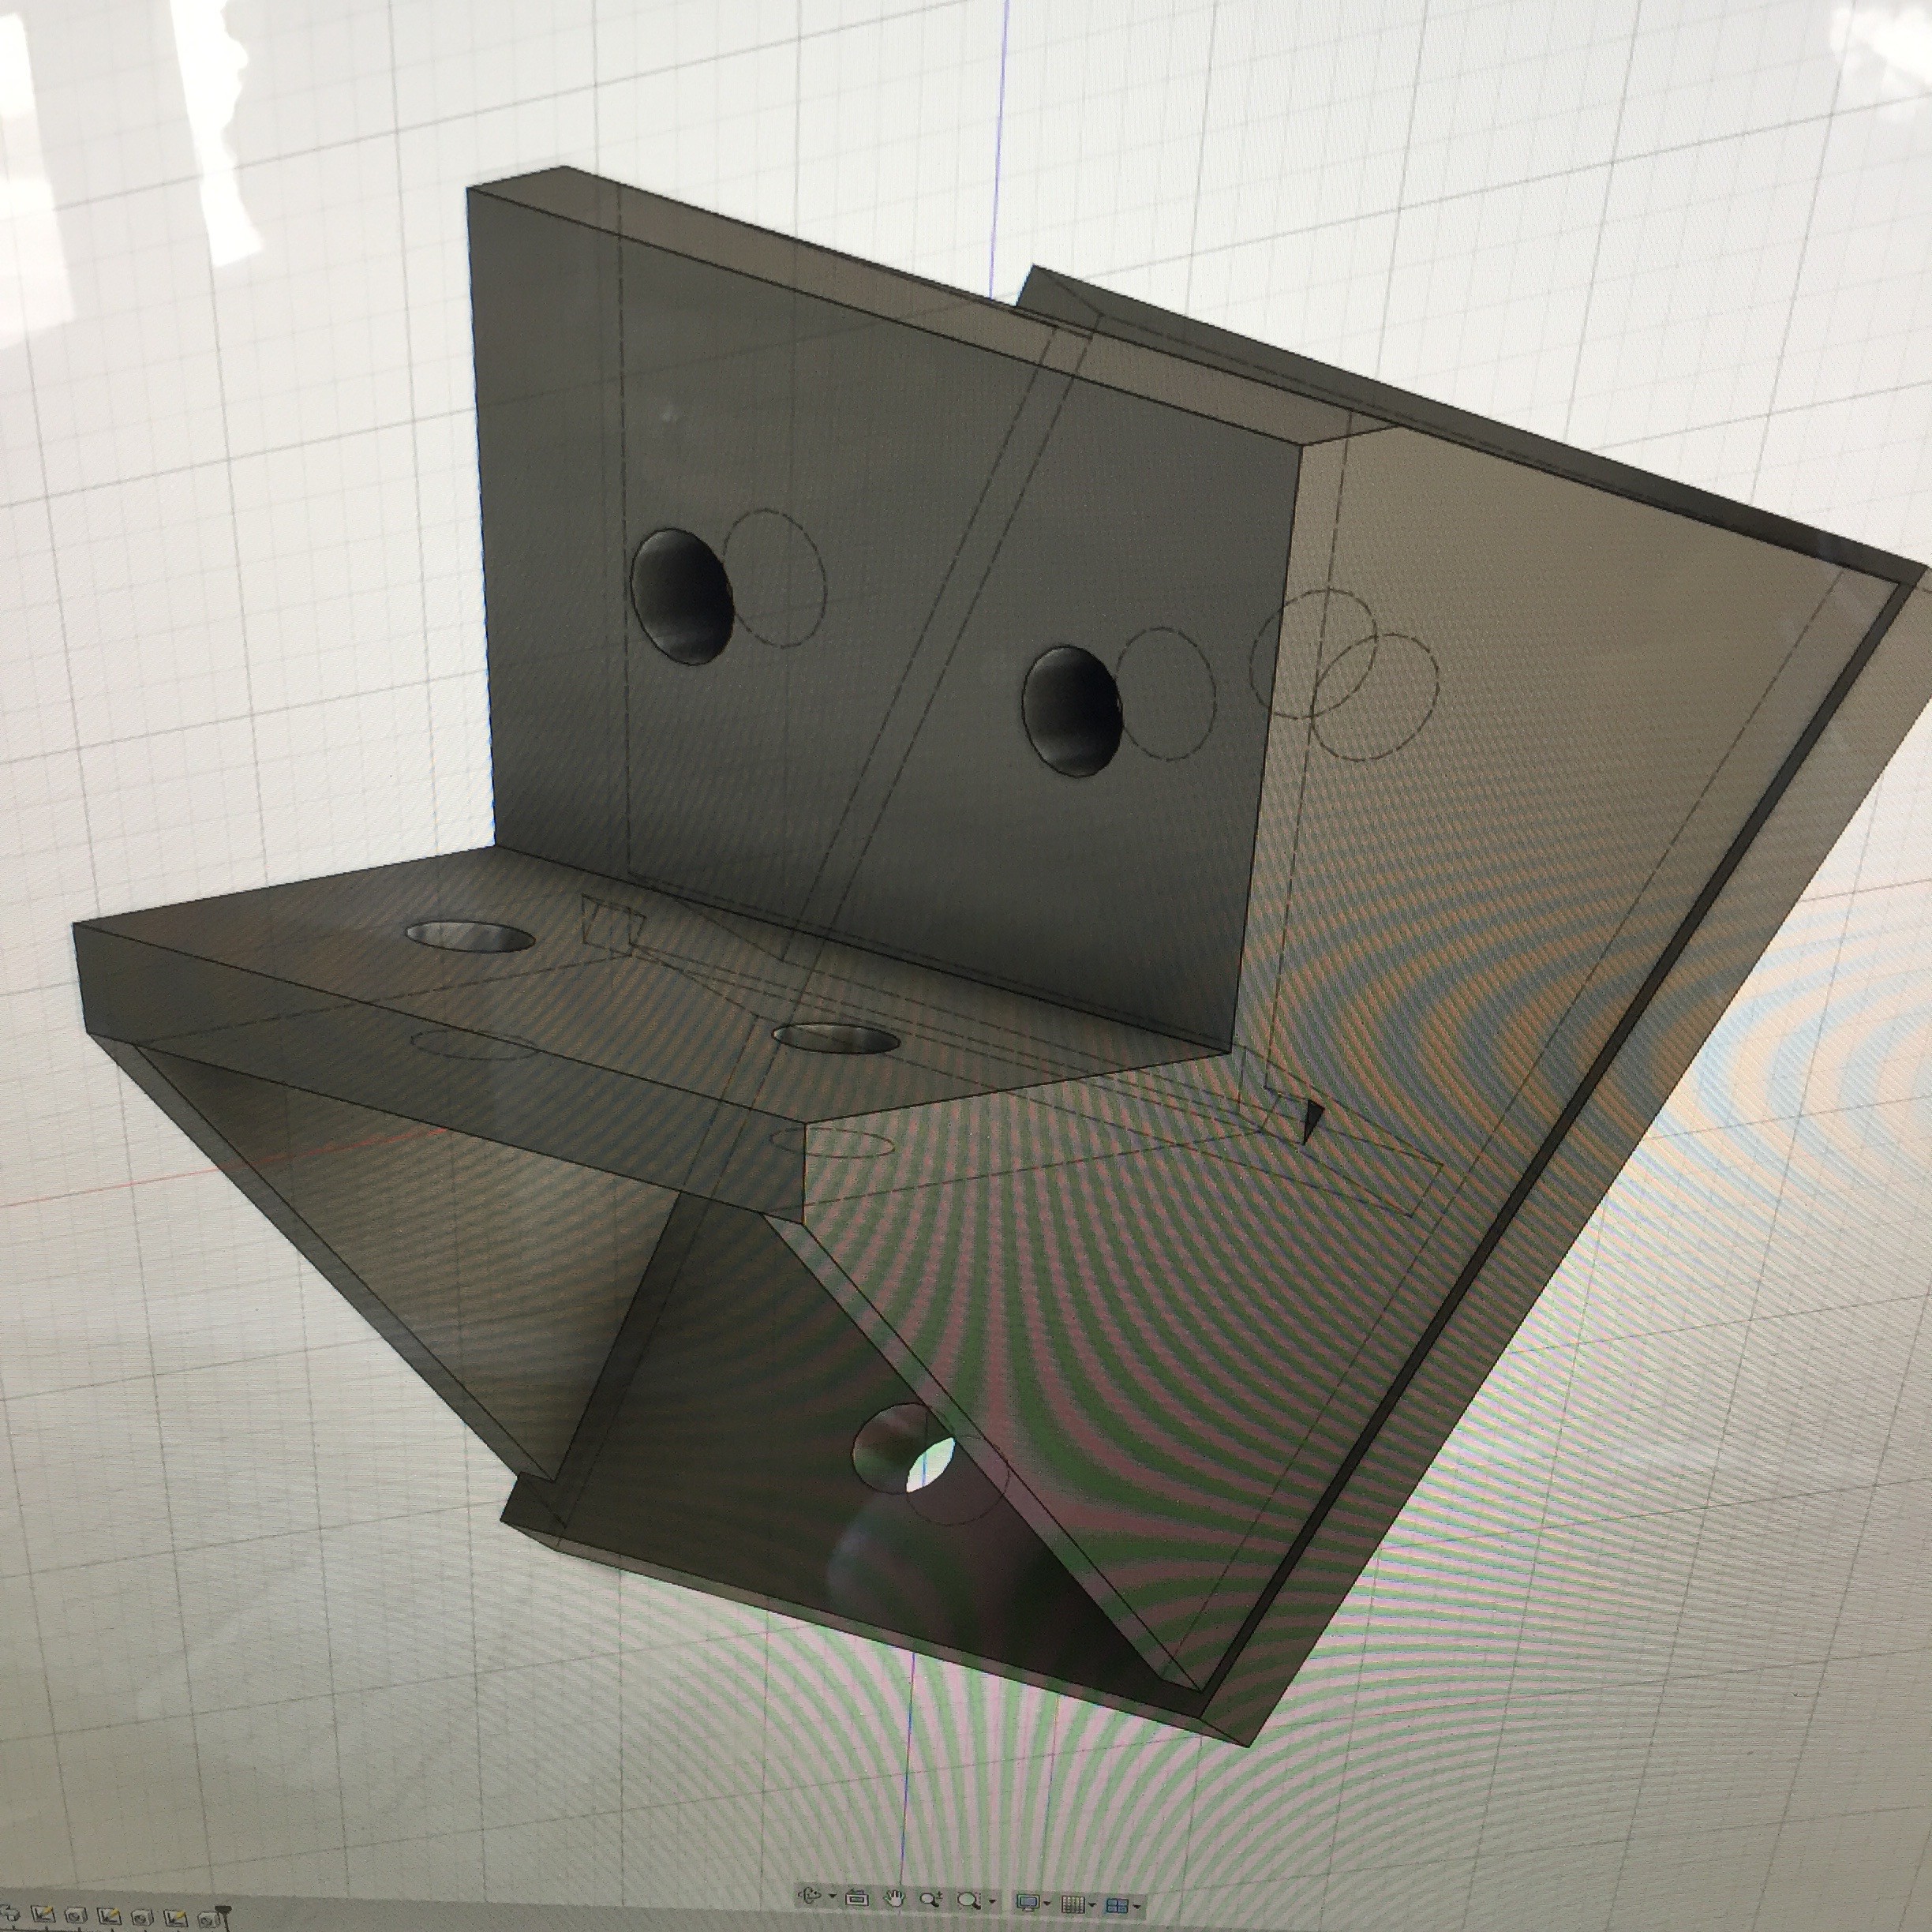
I printed it at the Lab and focused on mounting all the remaining components.

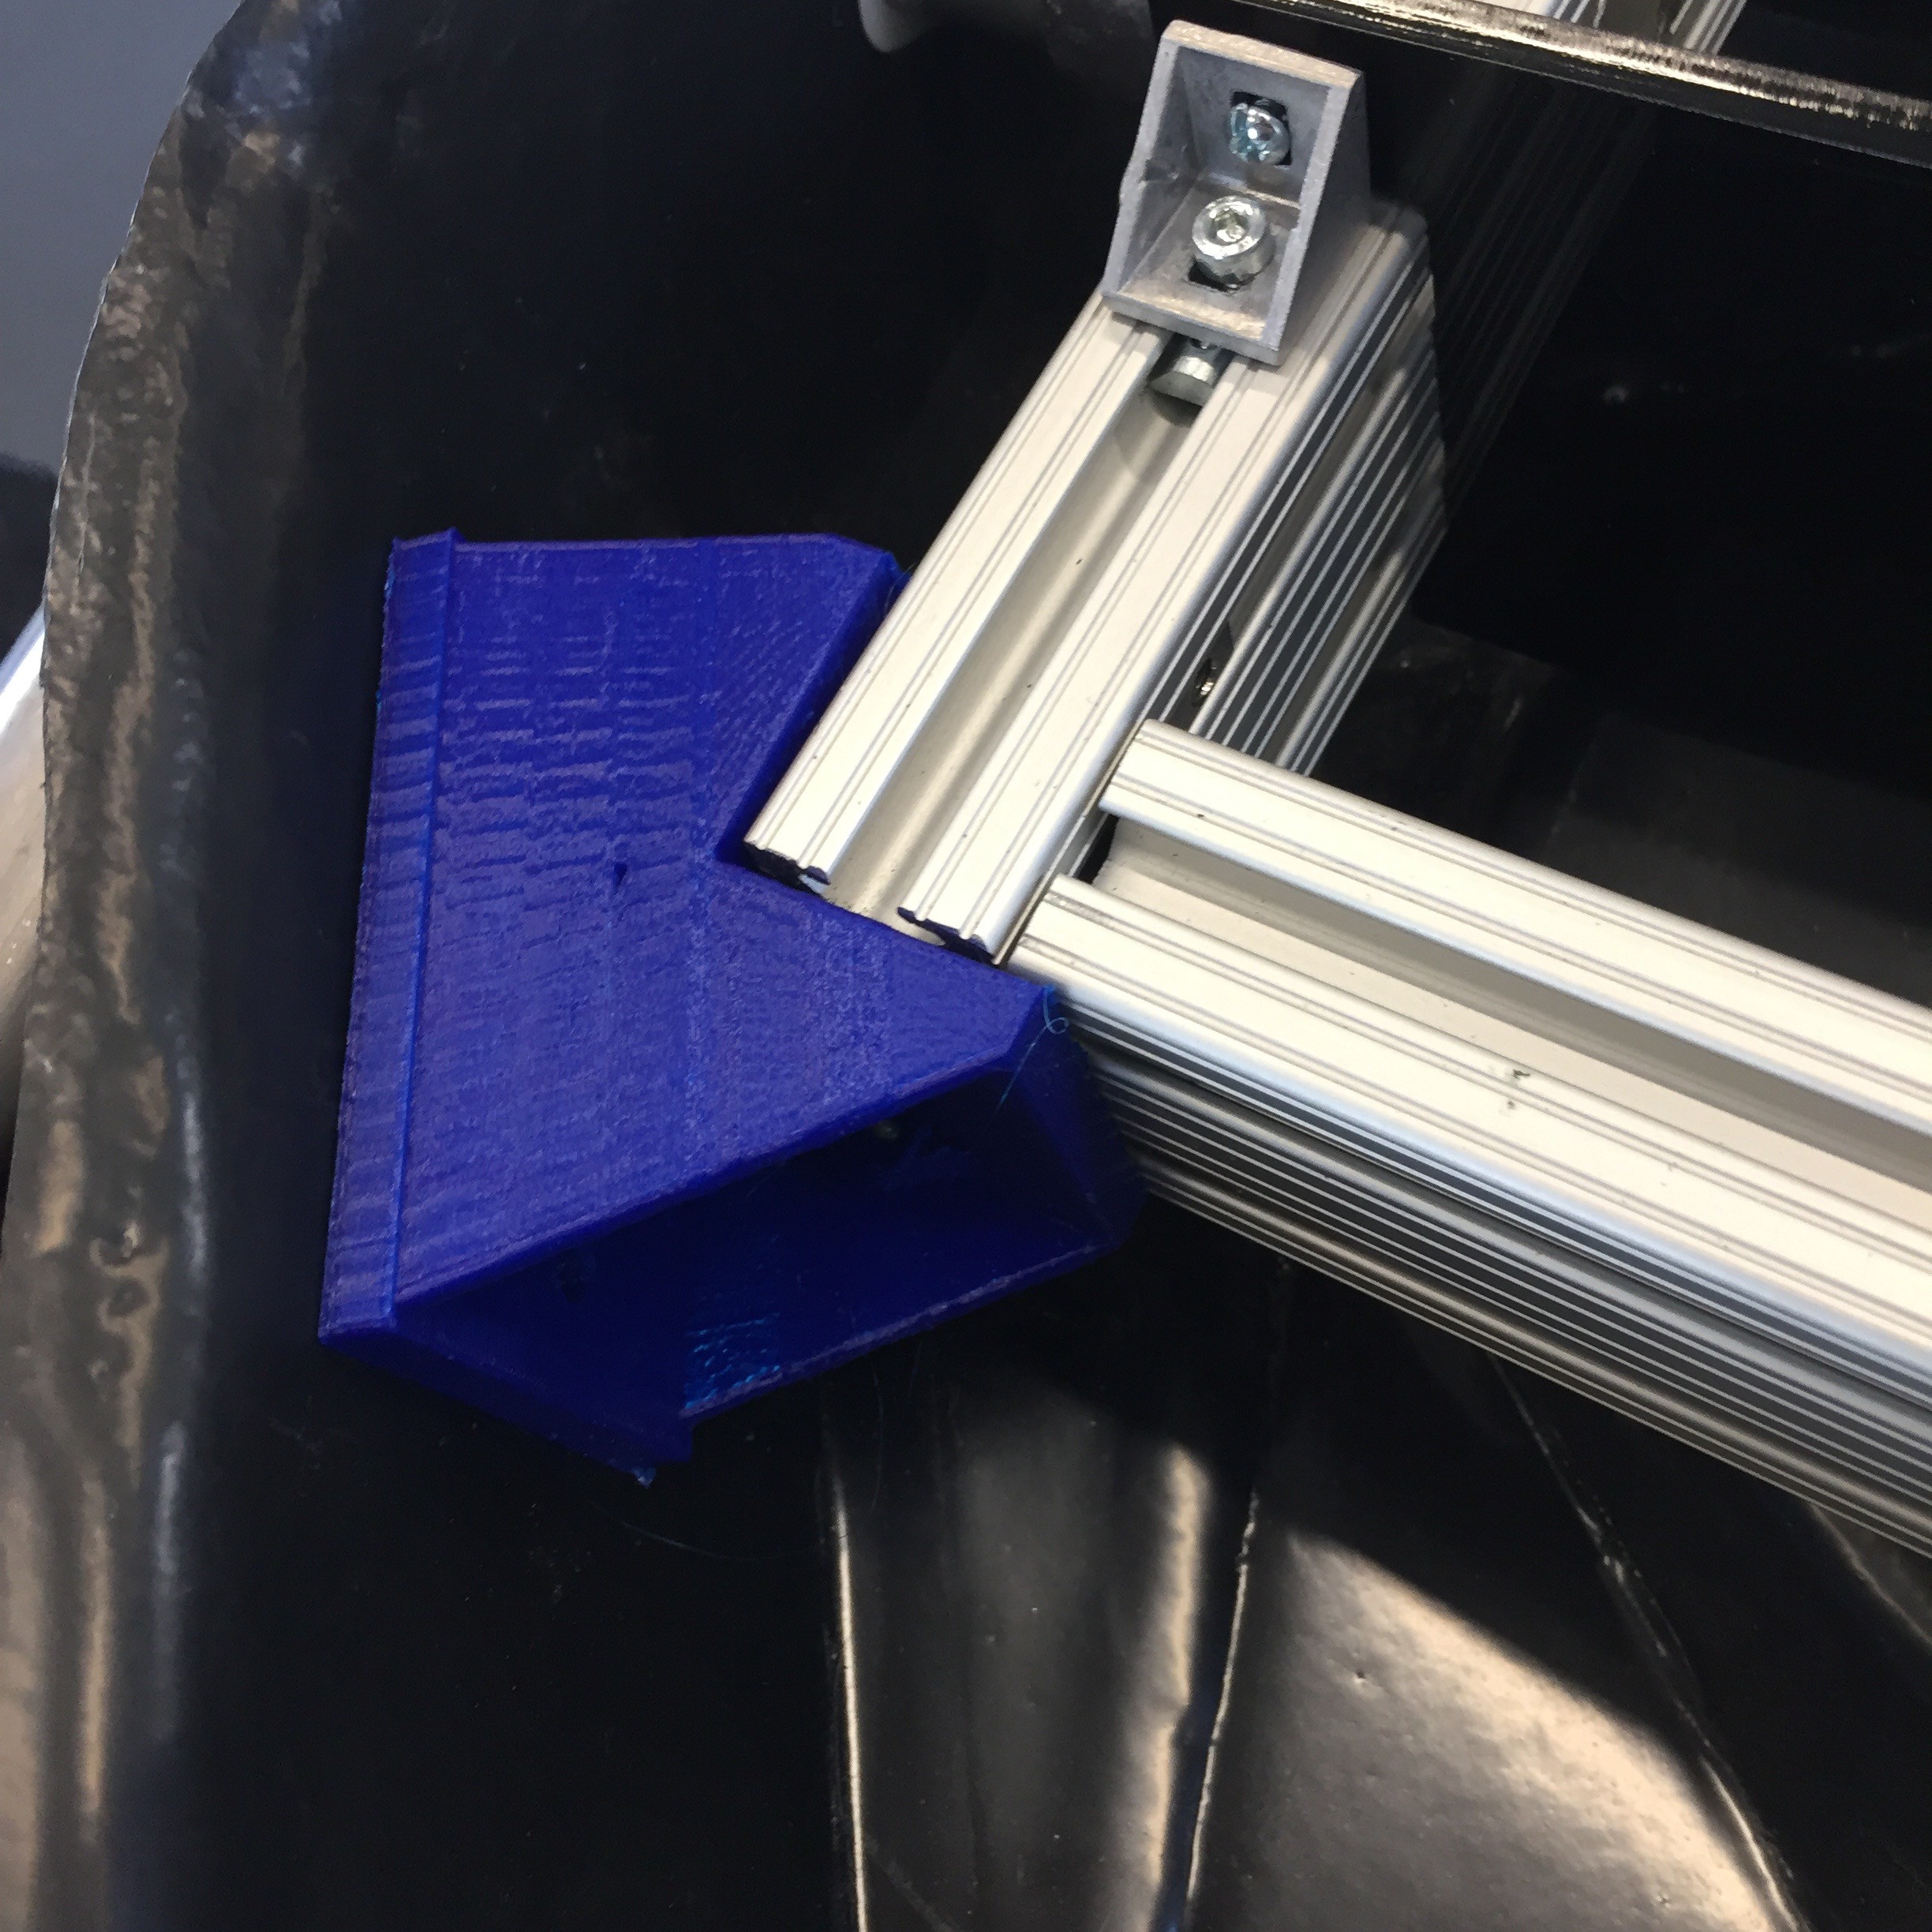
The fit looks just right, and the shell feels firmly attached. 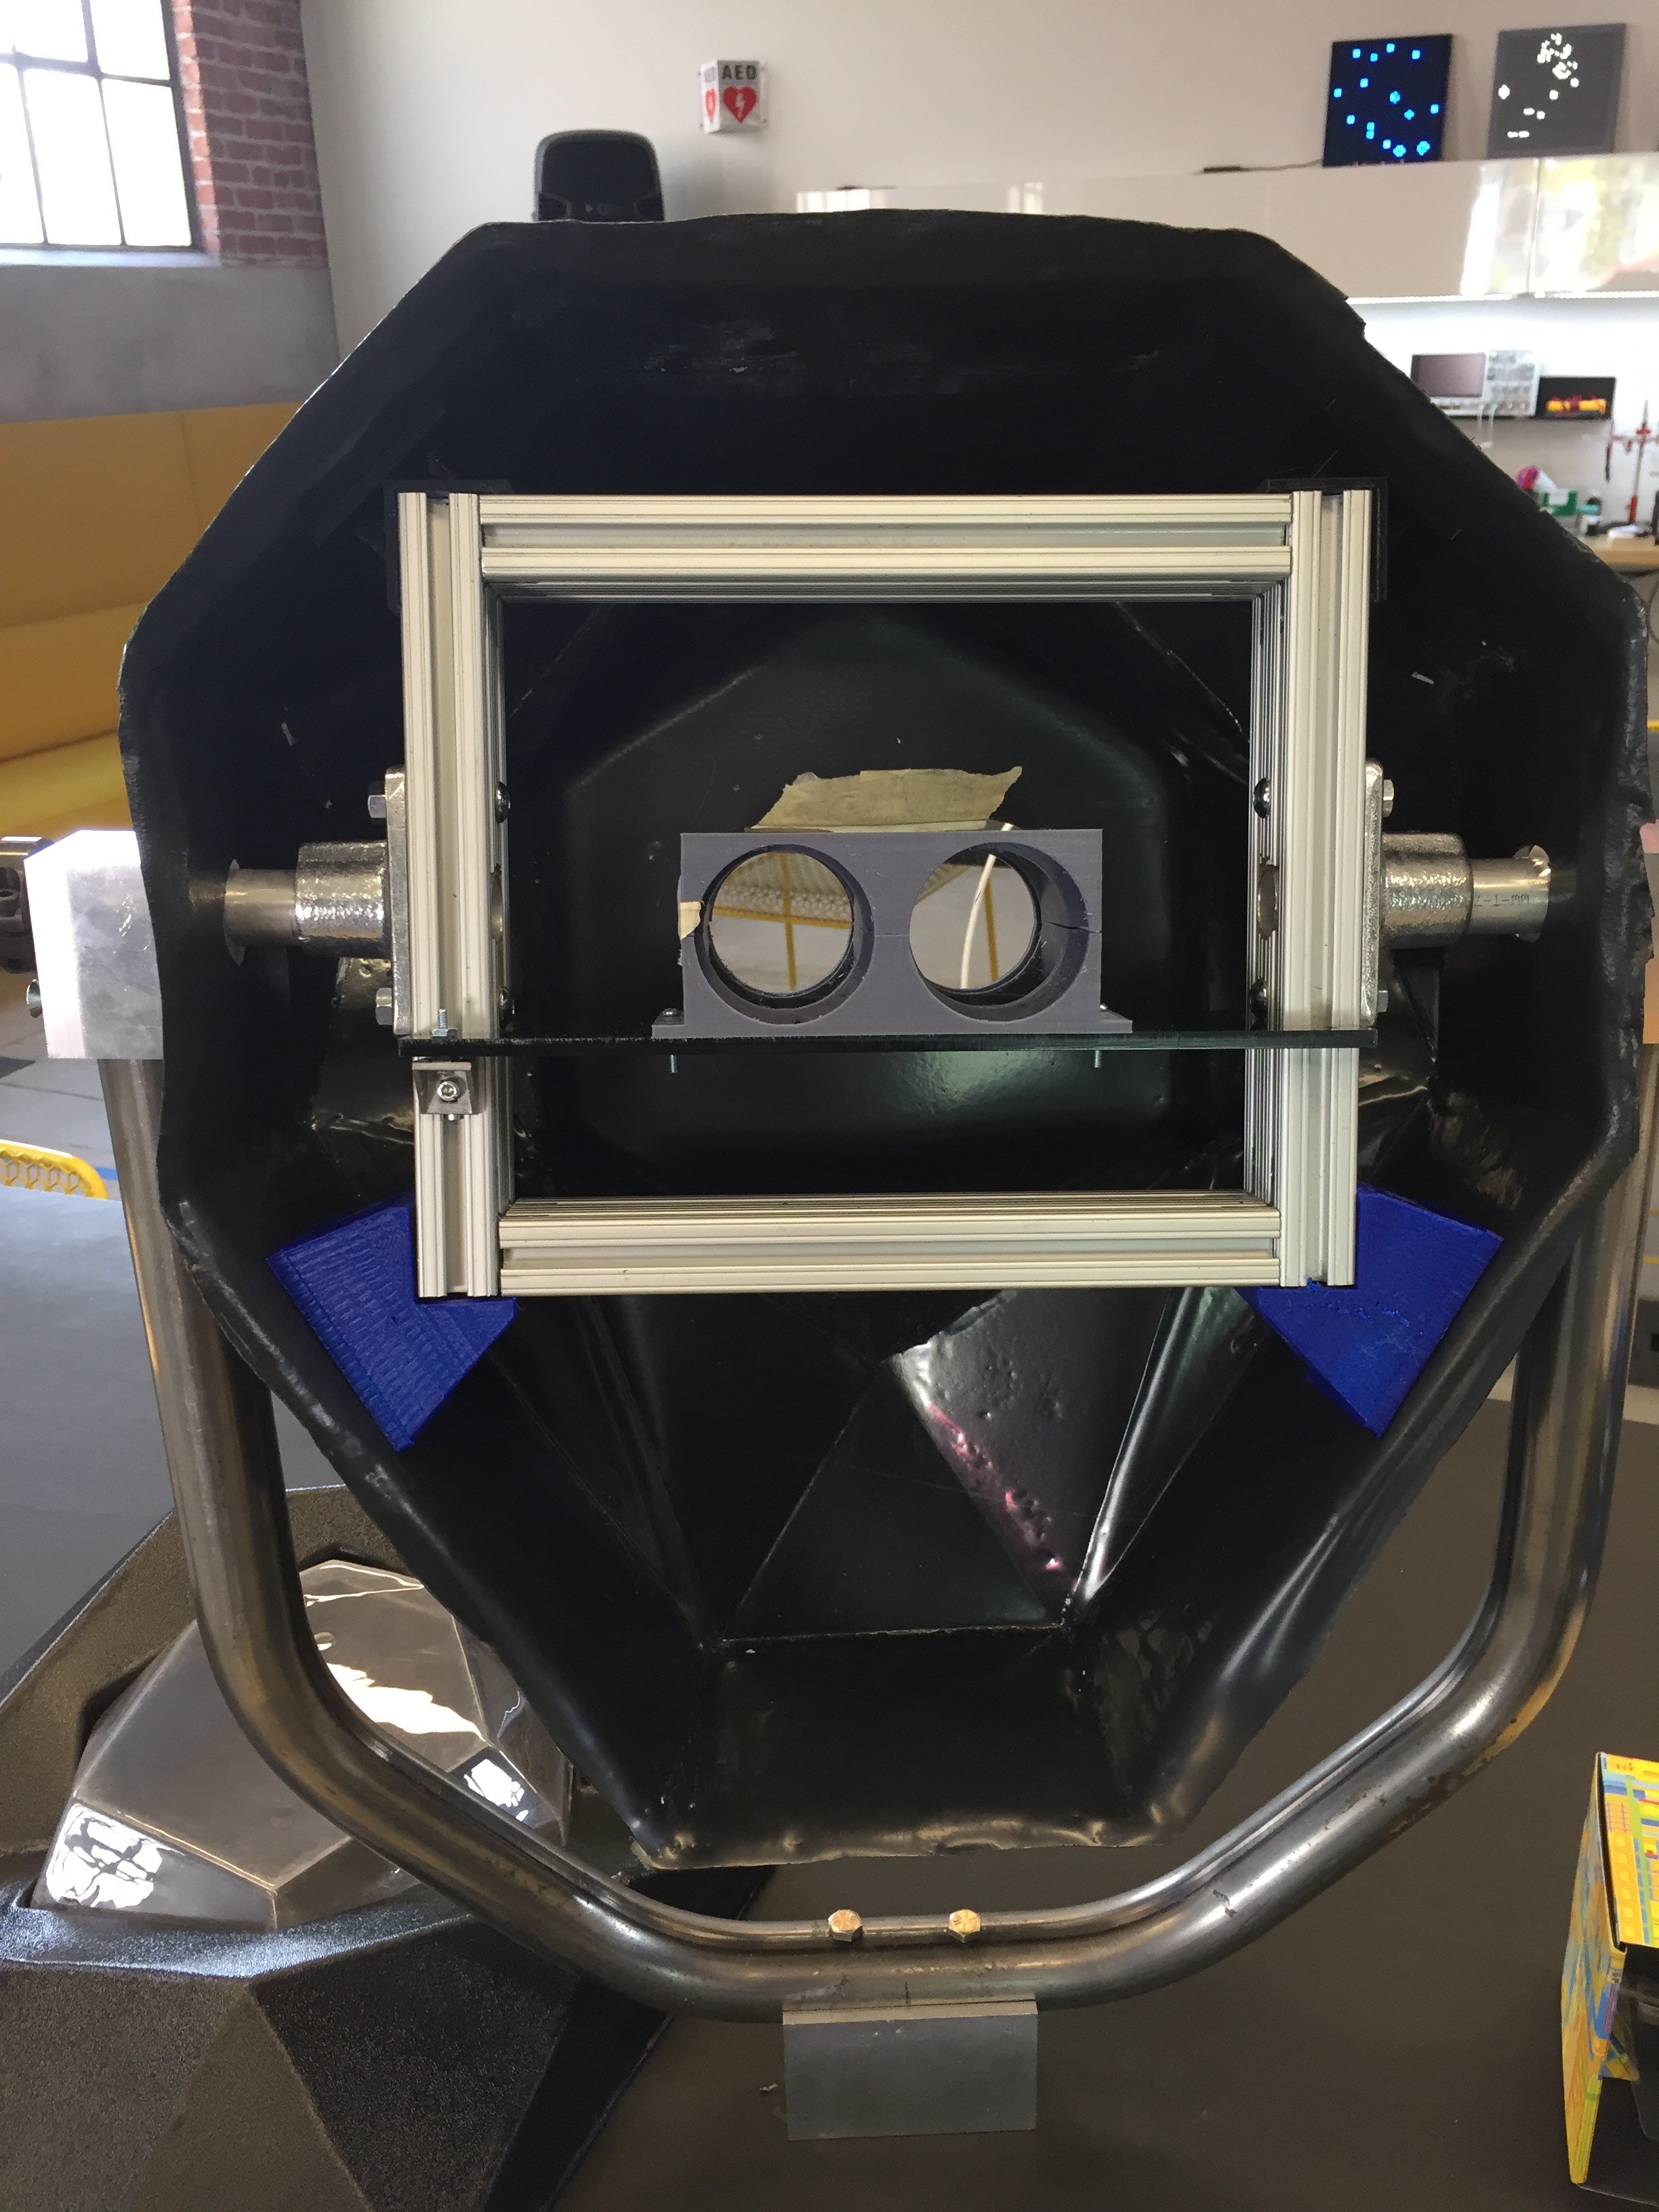
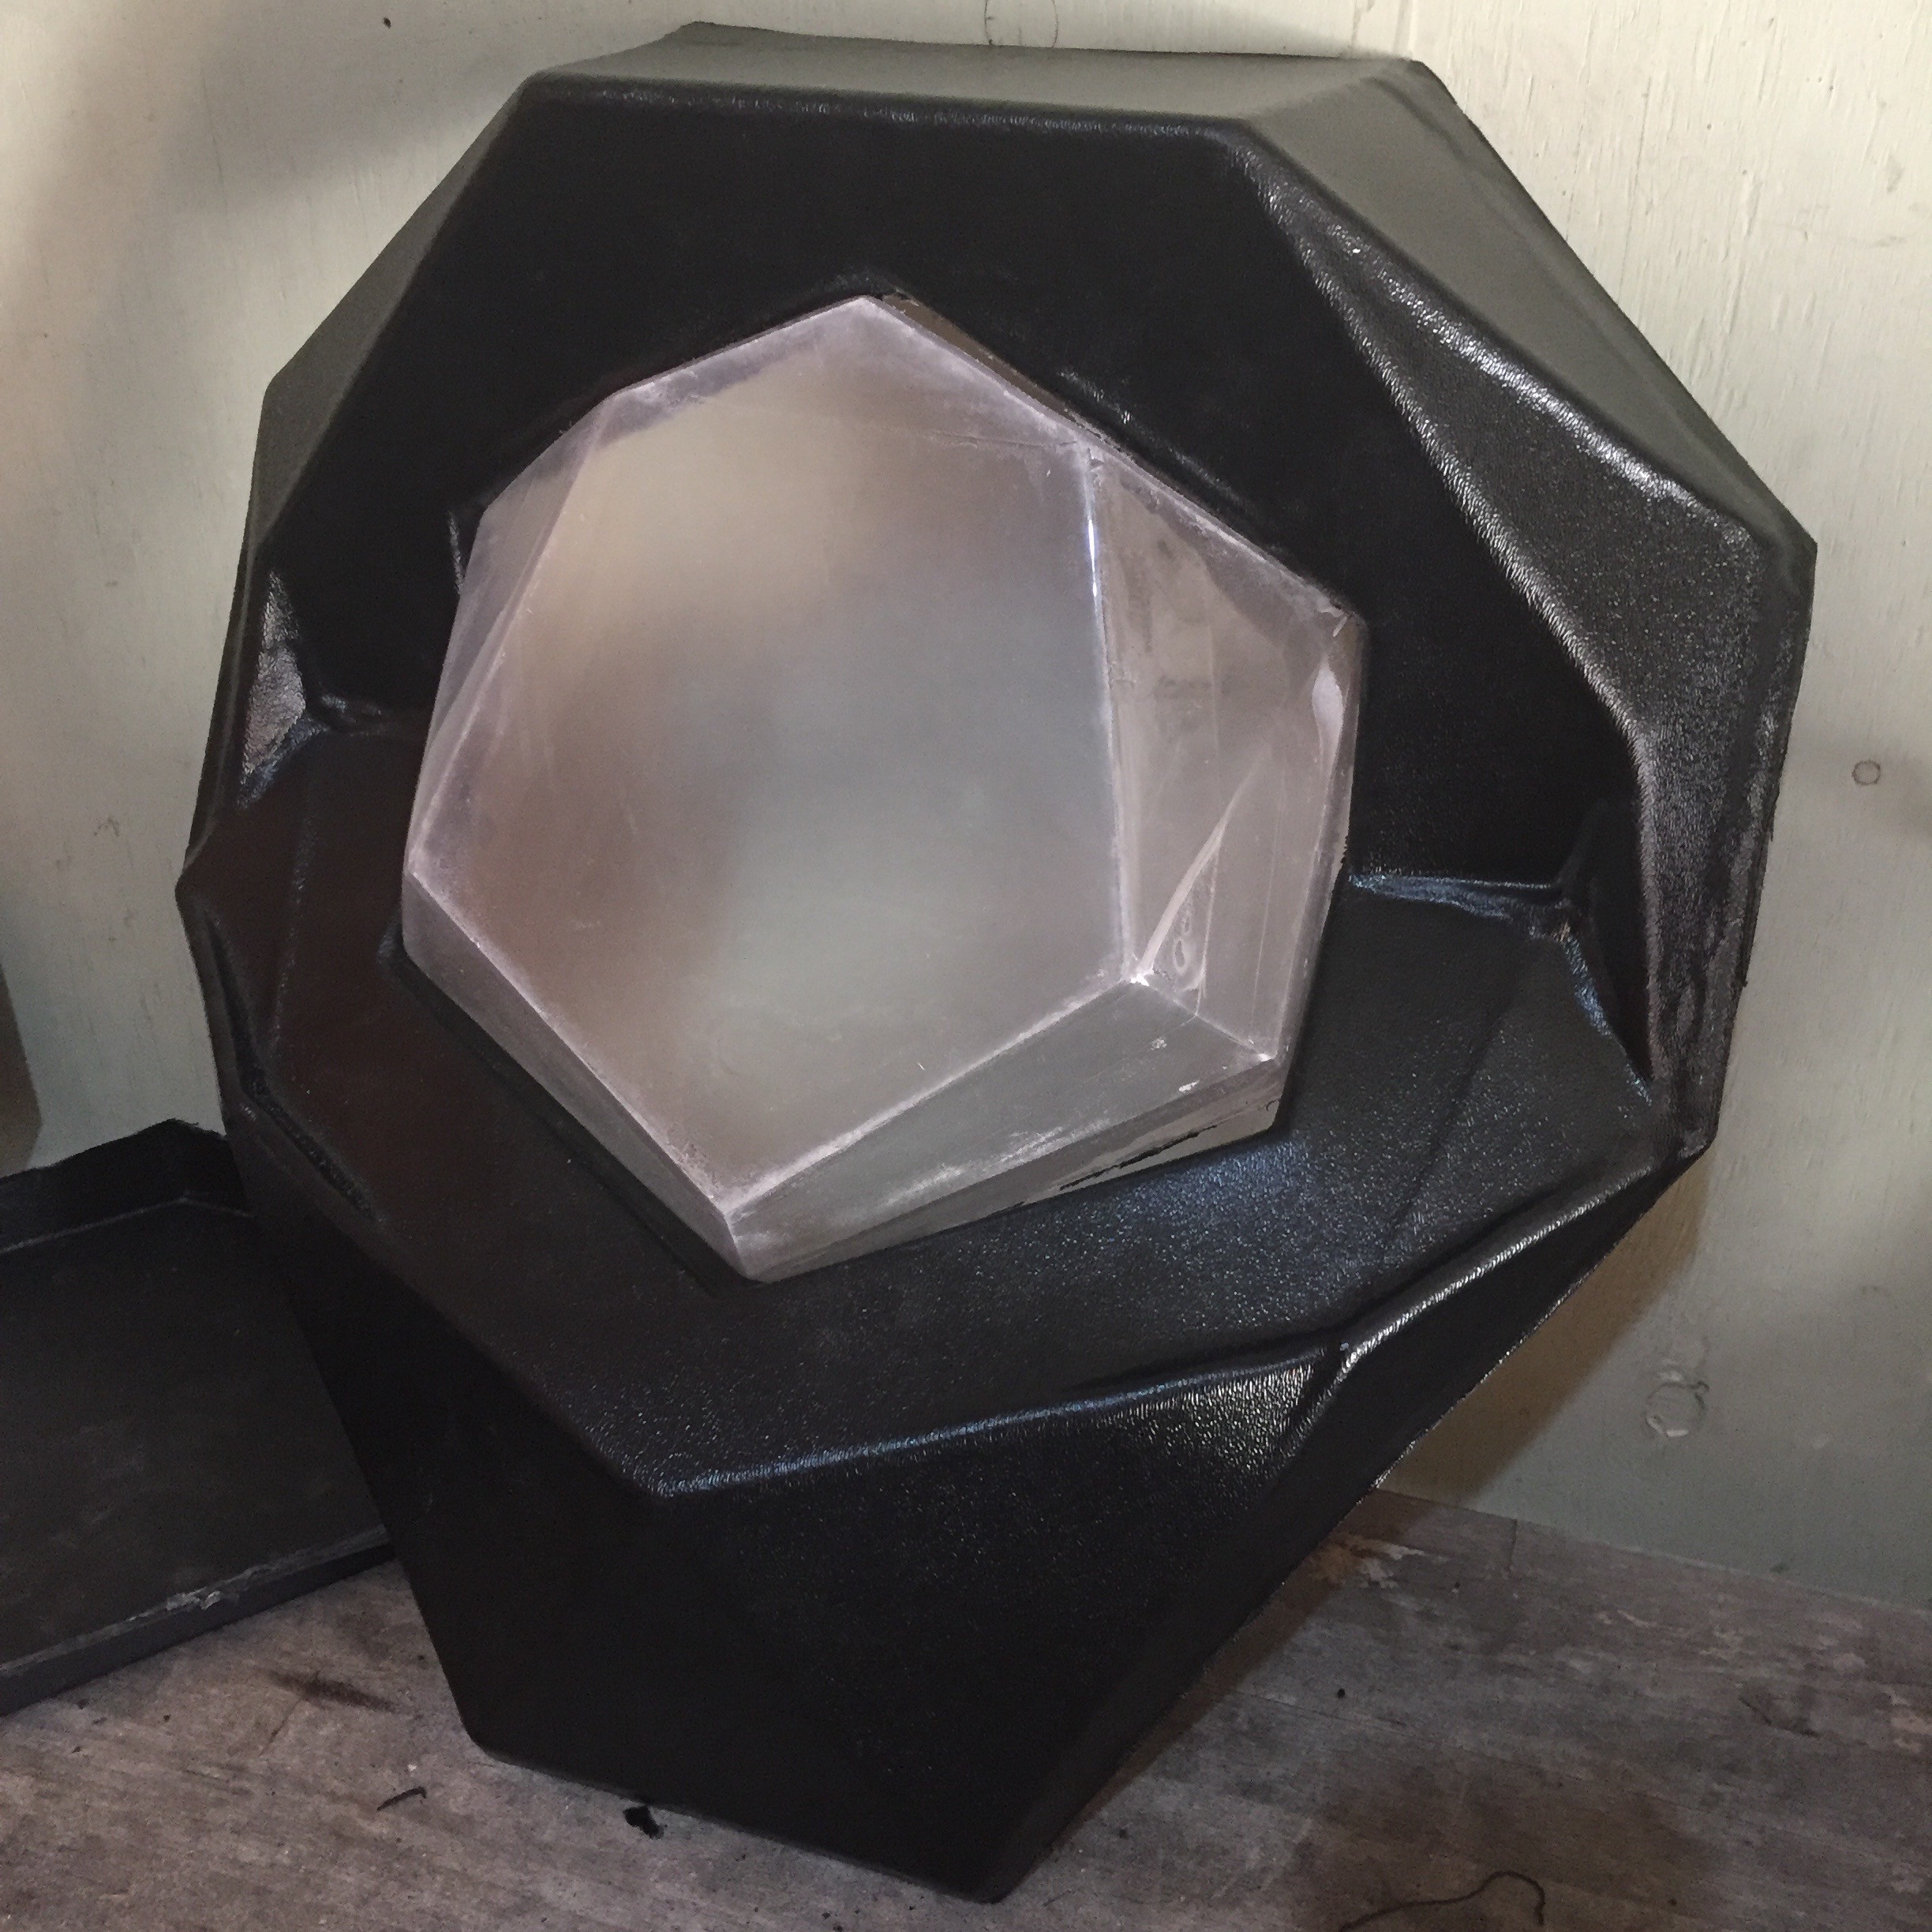
To finish up the front half of the shell, I'd need to find a way to clear up the fogginess of the window. Though I had used bondo and fine grit sandpaper to make my vacuum form buck as smooth as possible, the interior of the PETG window still came out a bit rough, diffusing the light that passes through it when it hits that side.
I'd need to take on some sort of polishing step to make it transparent.
Vapor polishing was the first idea I had. However, I came to discover PETG doesn't respond to typical solvents like acetone, and I'd need to work with some pretty hazardous and difficult to acquire chemicals.
There were a few options. Flame polishing could heat the plastic up to remelt it smooth. An orbital sander with increasingly finer grits of polish could smooth it out by removing material from the rough side. I could try painting it with a transparent clear coat that would fill in the roughness, but I'd probably need to take into account refractive issues where the plastic meets the paint.
Heat seemed like the best solution. I wouldn't need to introduce any new substances to the window, and it could potentially go fairly quickly.
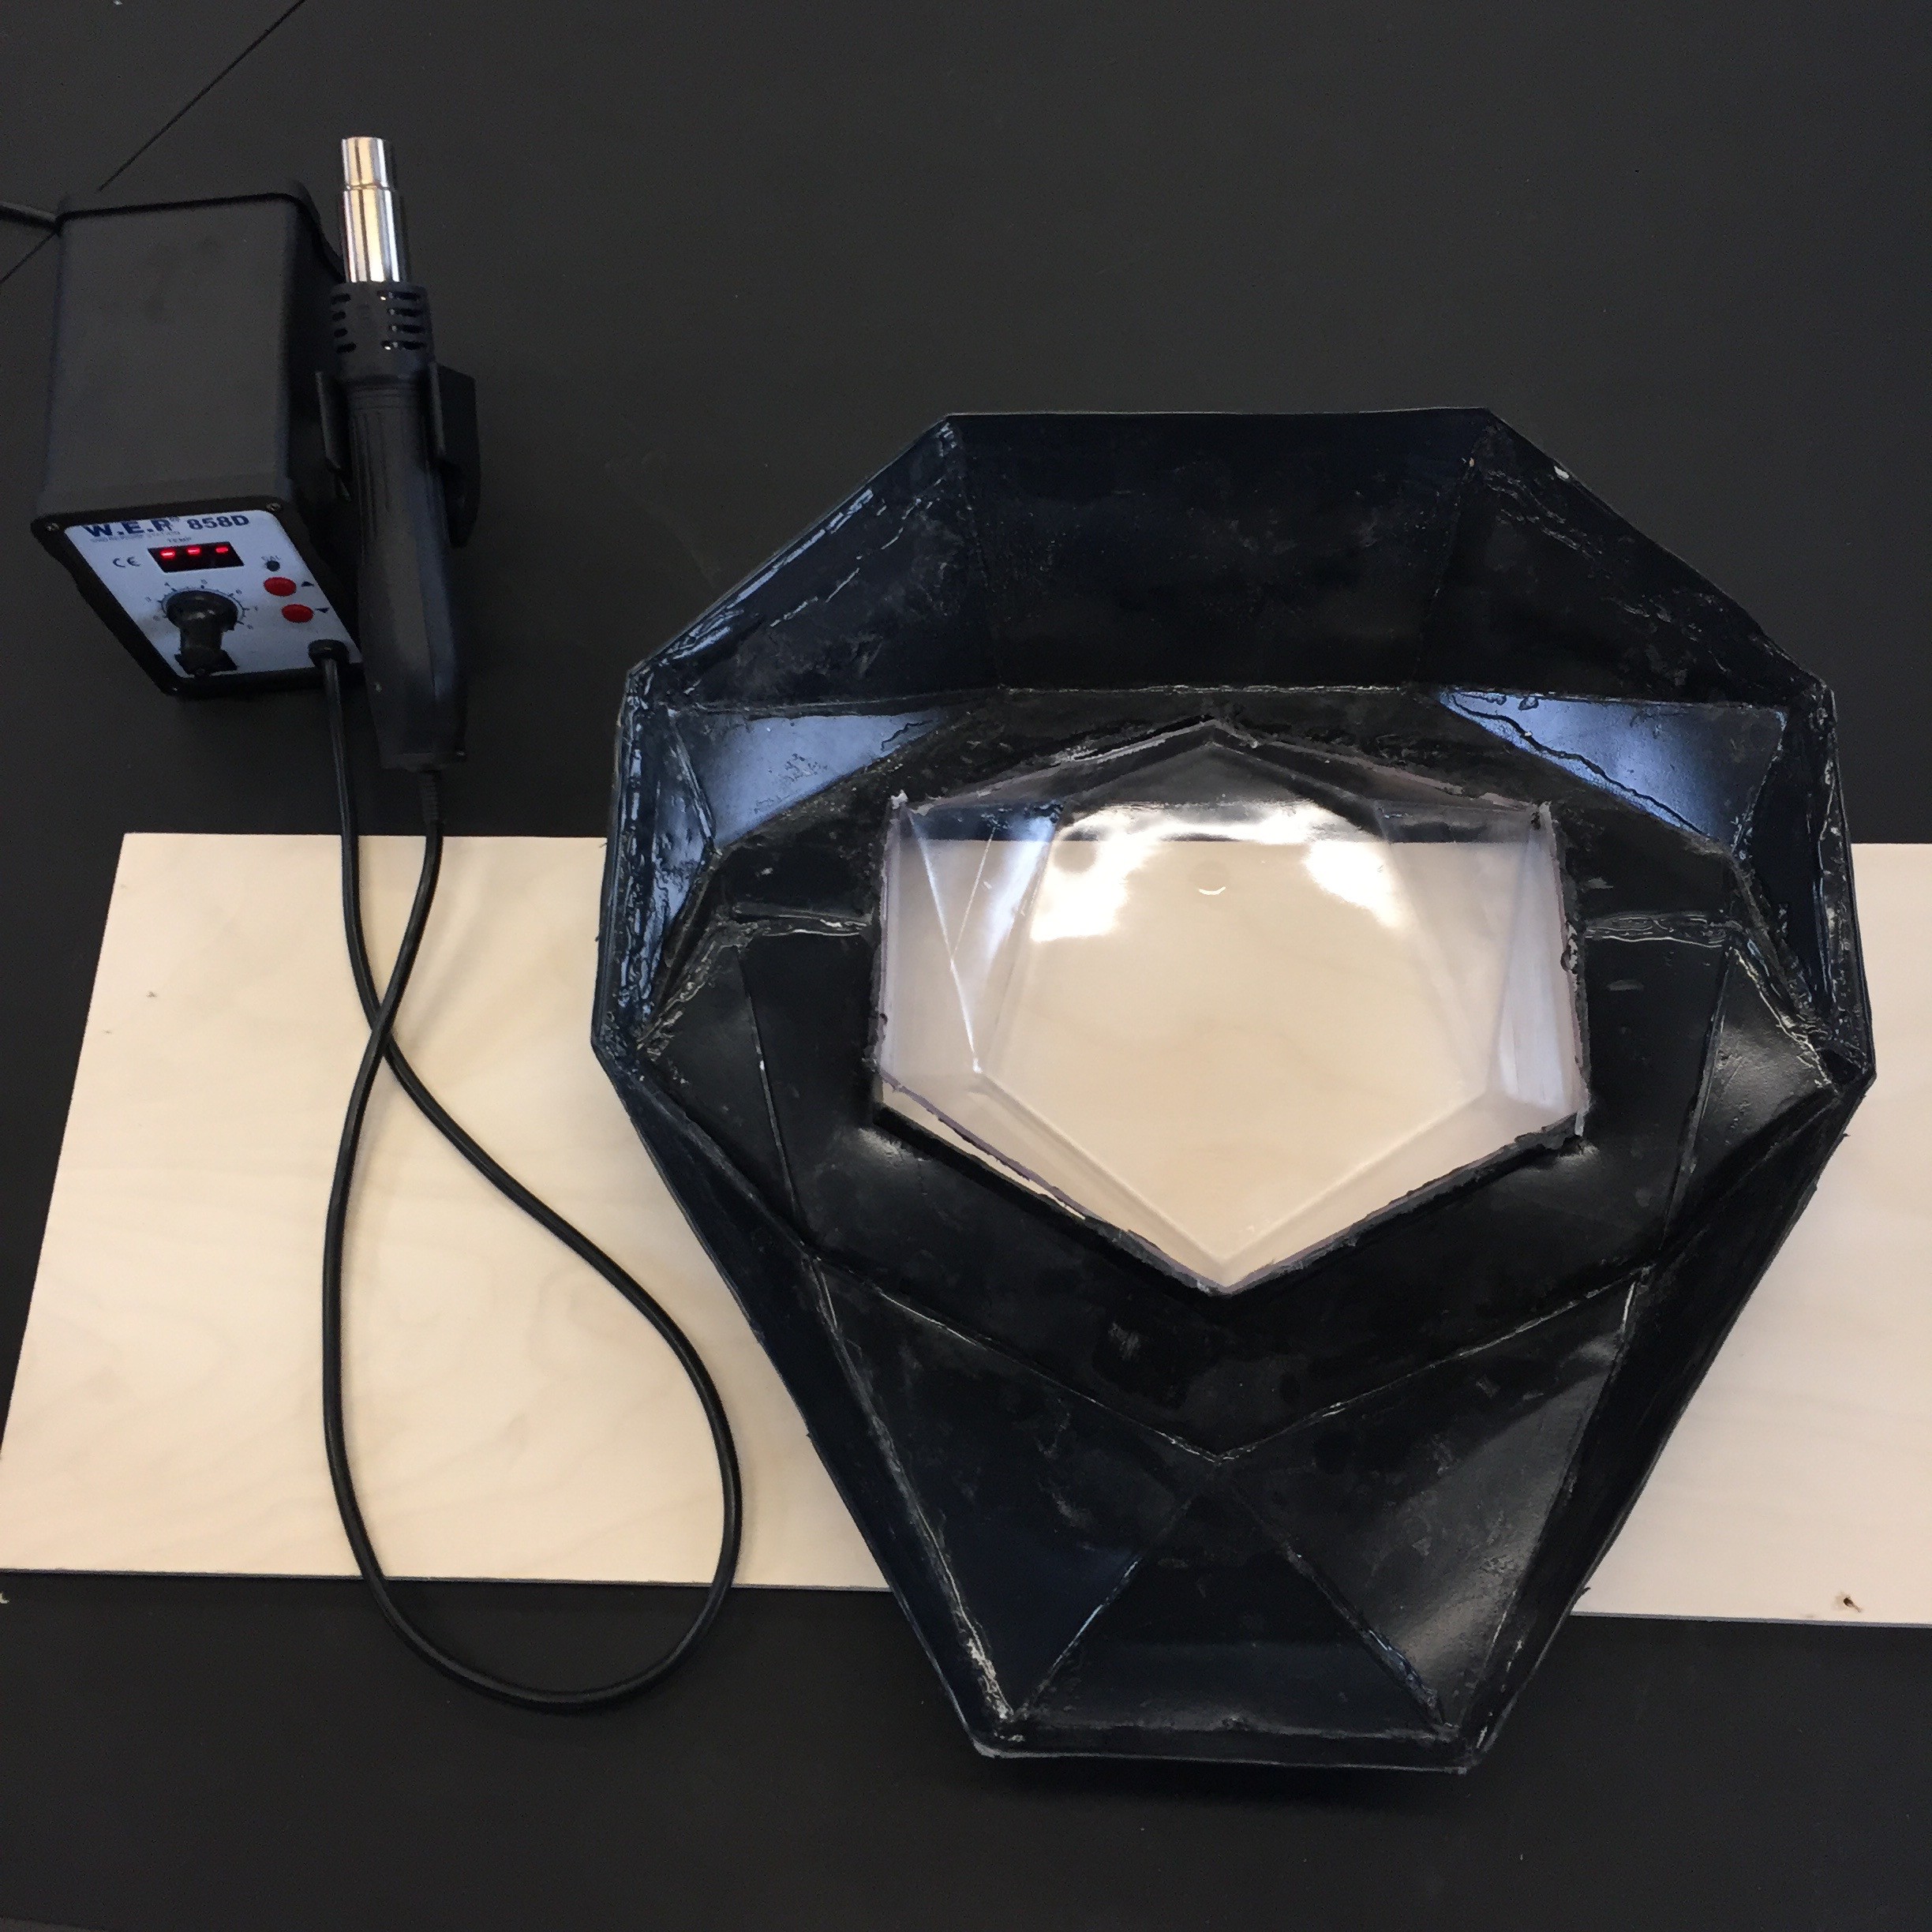
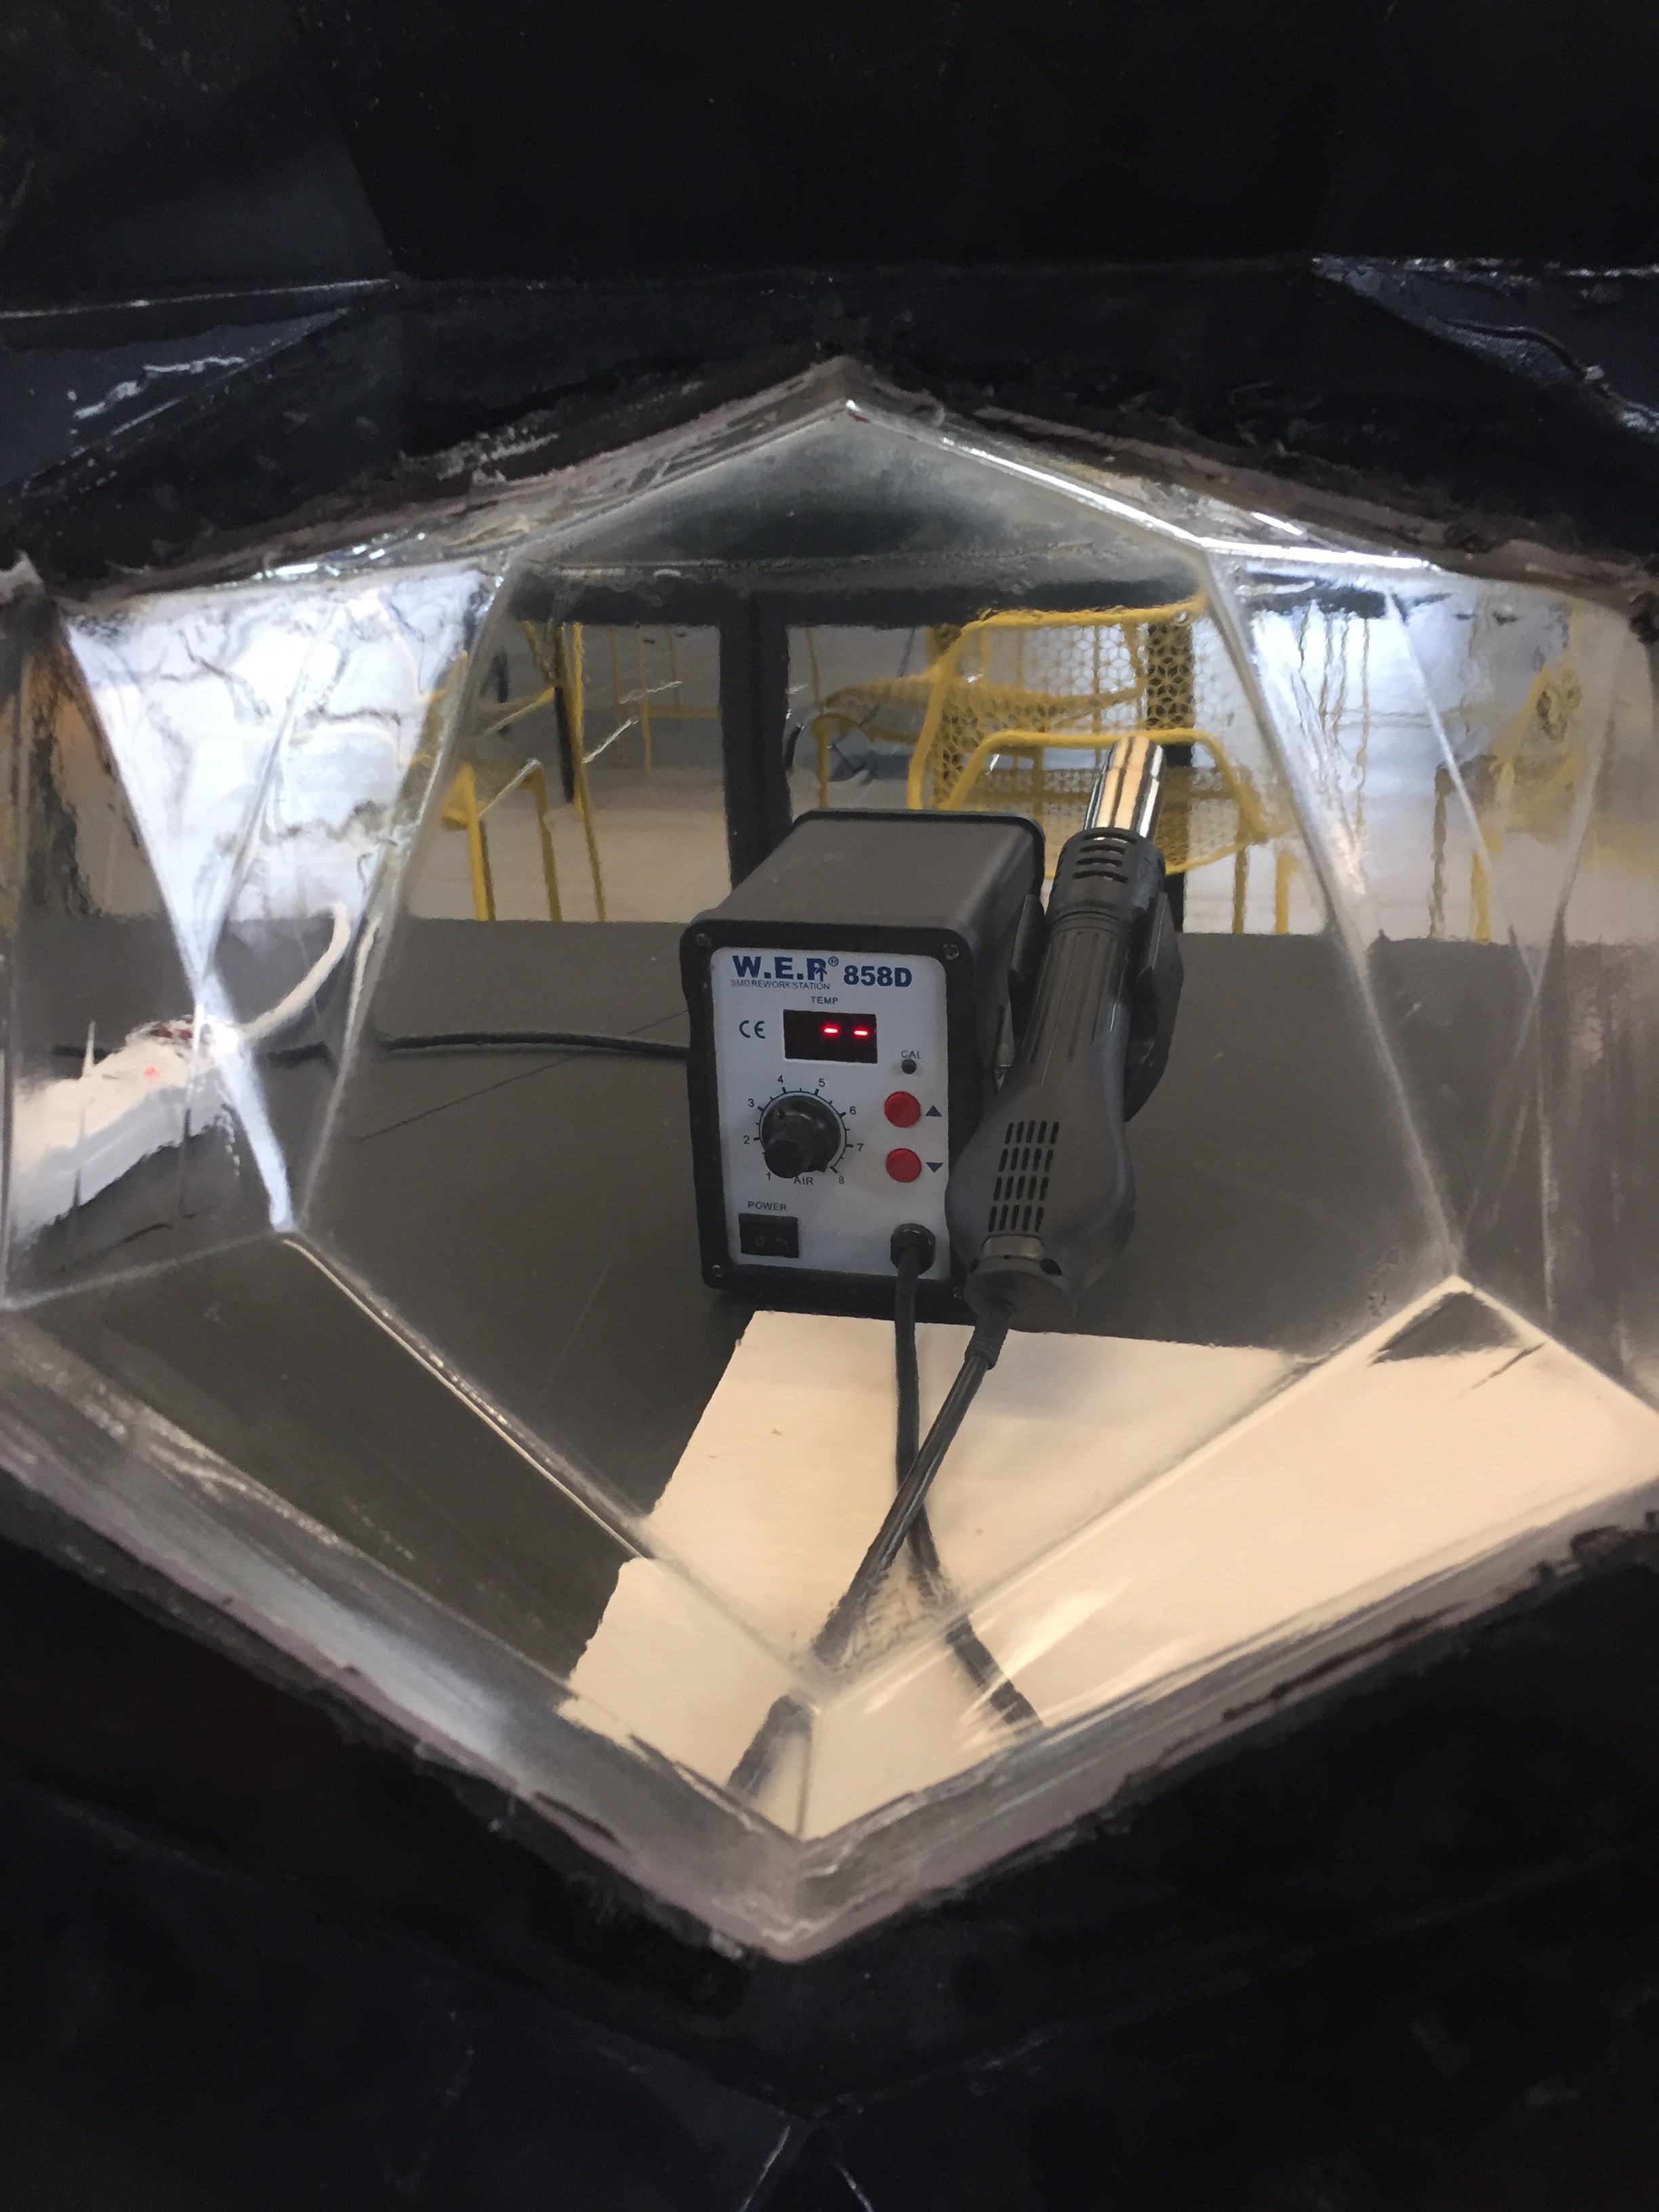
I didn't have a torch at hand, and I was concerned about potentially burning or bubbling the plastic, so I grabbed one of the hot air rework stations at the lab and tried an experiment.
As I blew hot air over the rough side, I could see it starting to smooth and melt down. I increased the temperature to around 500 degrees and moved quickly. The results speak for themselves
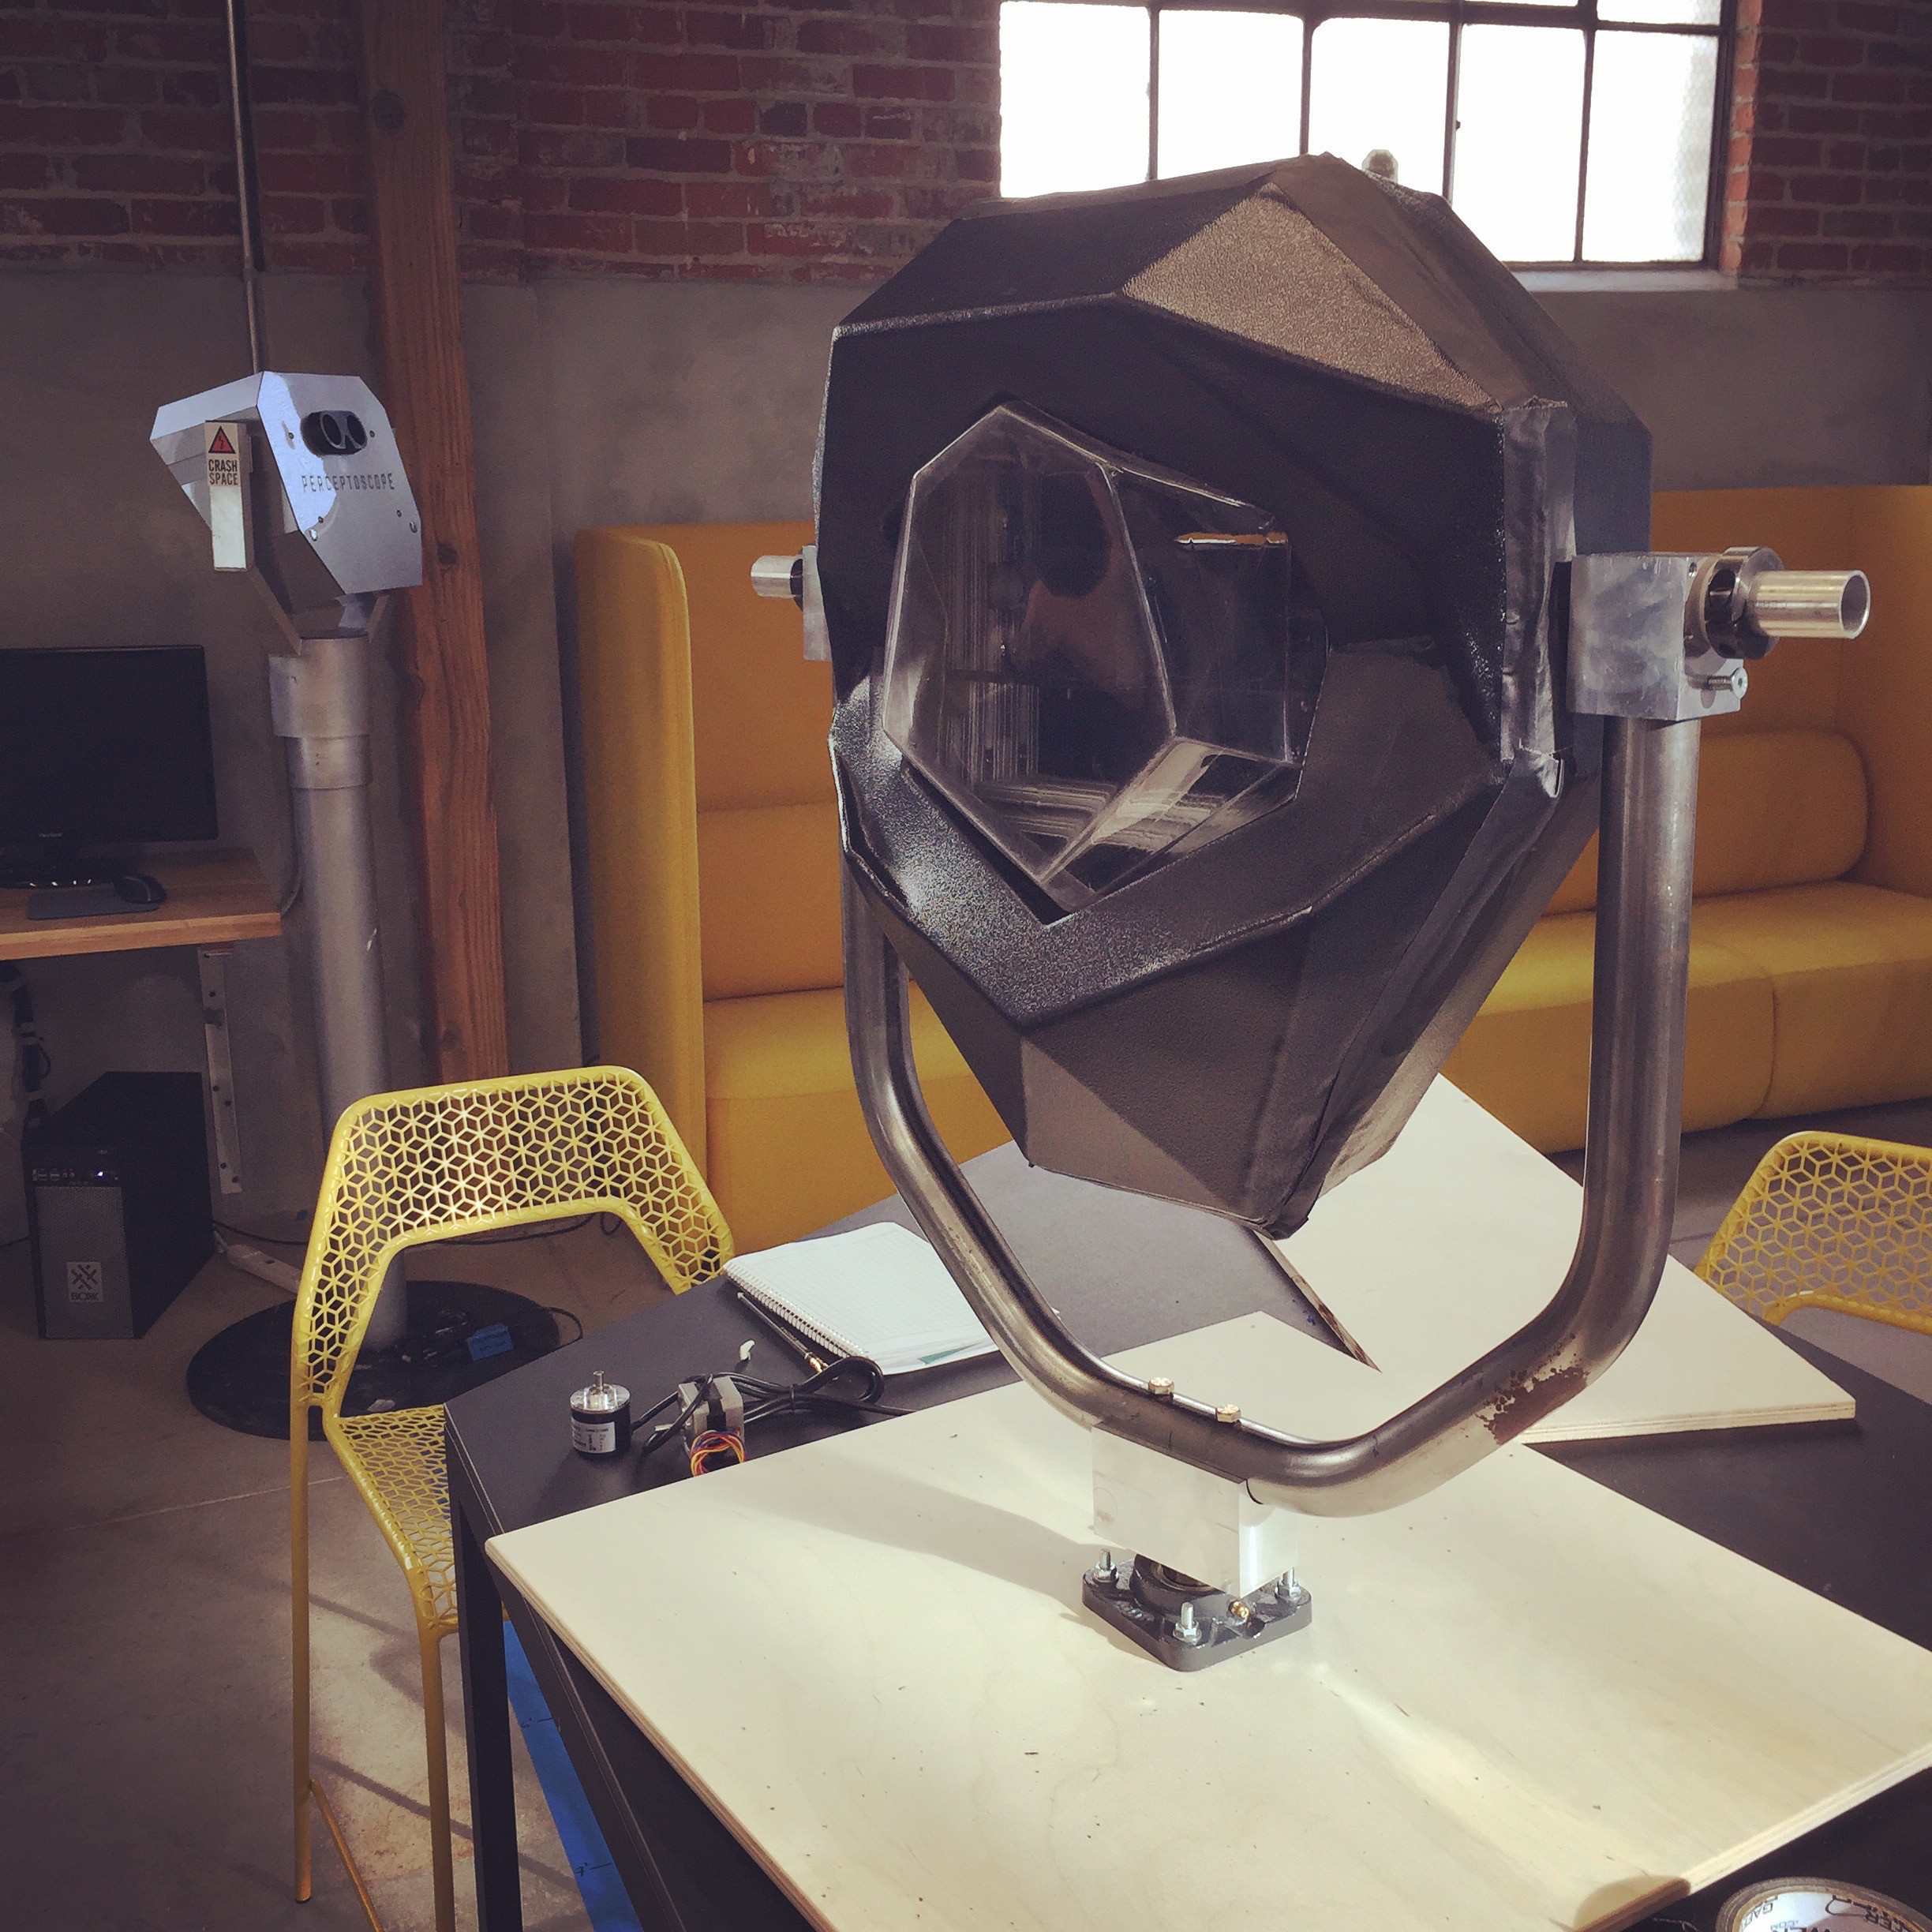
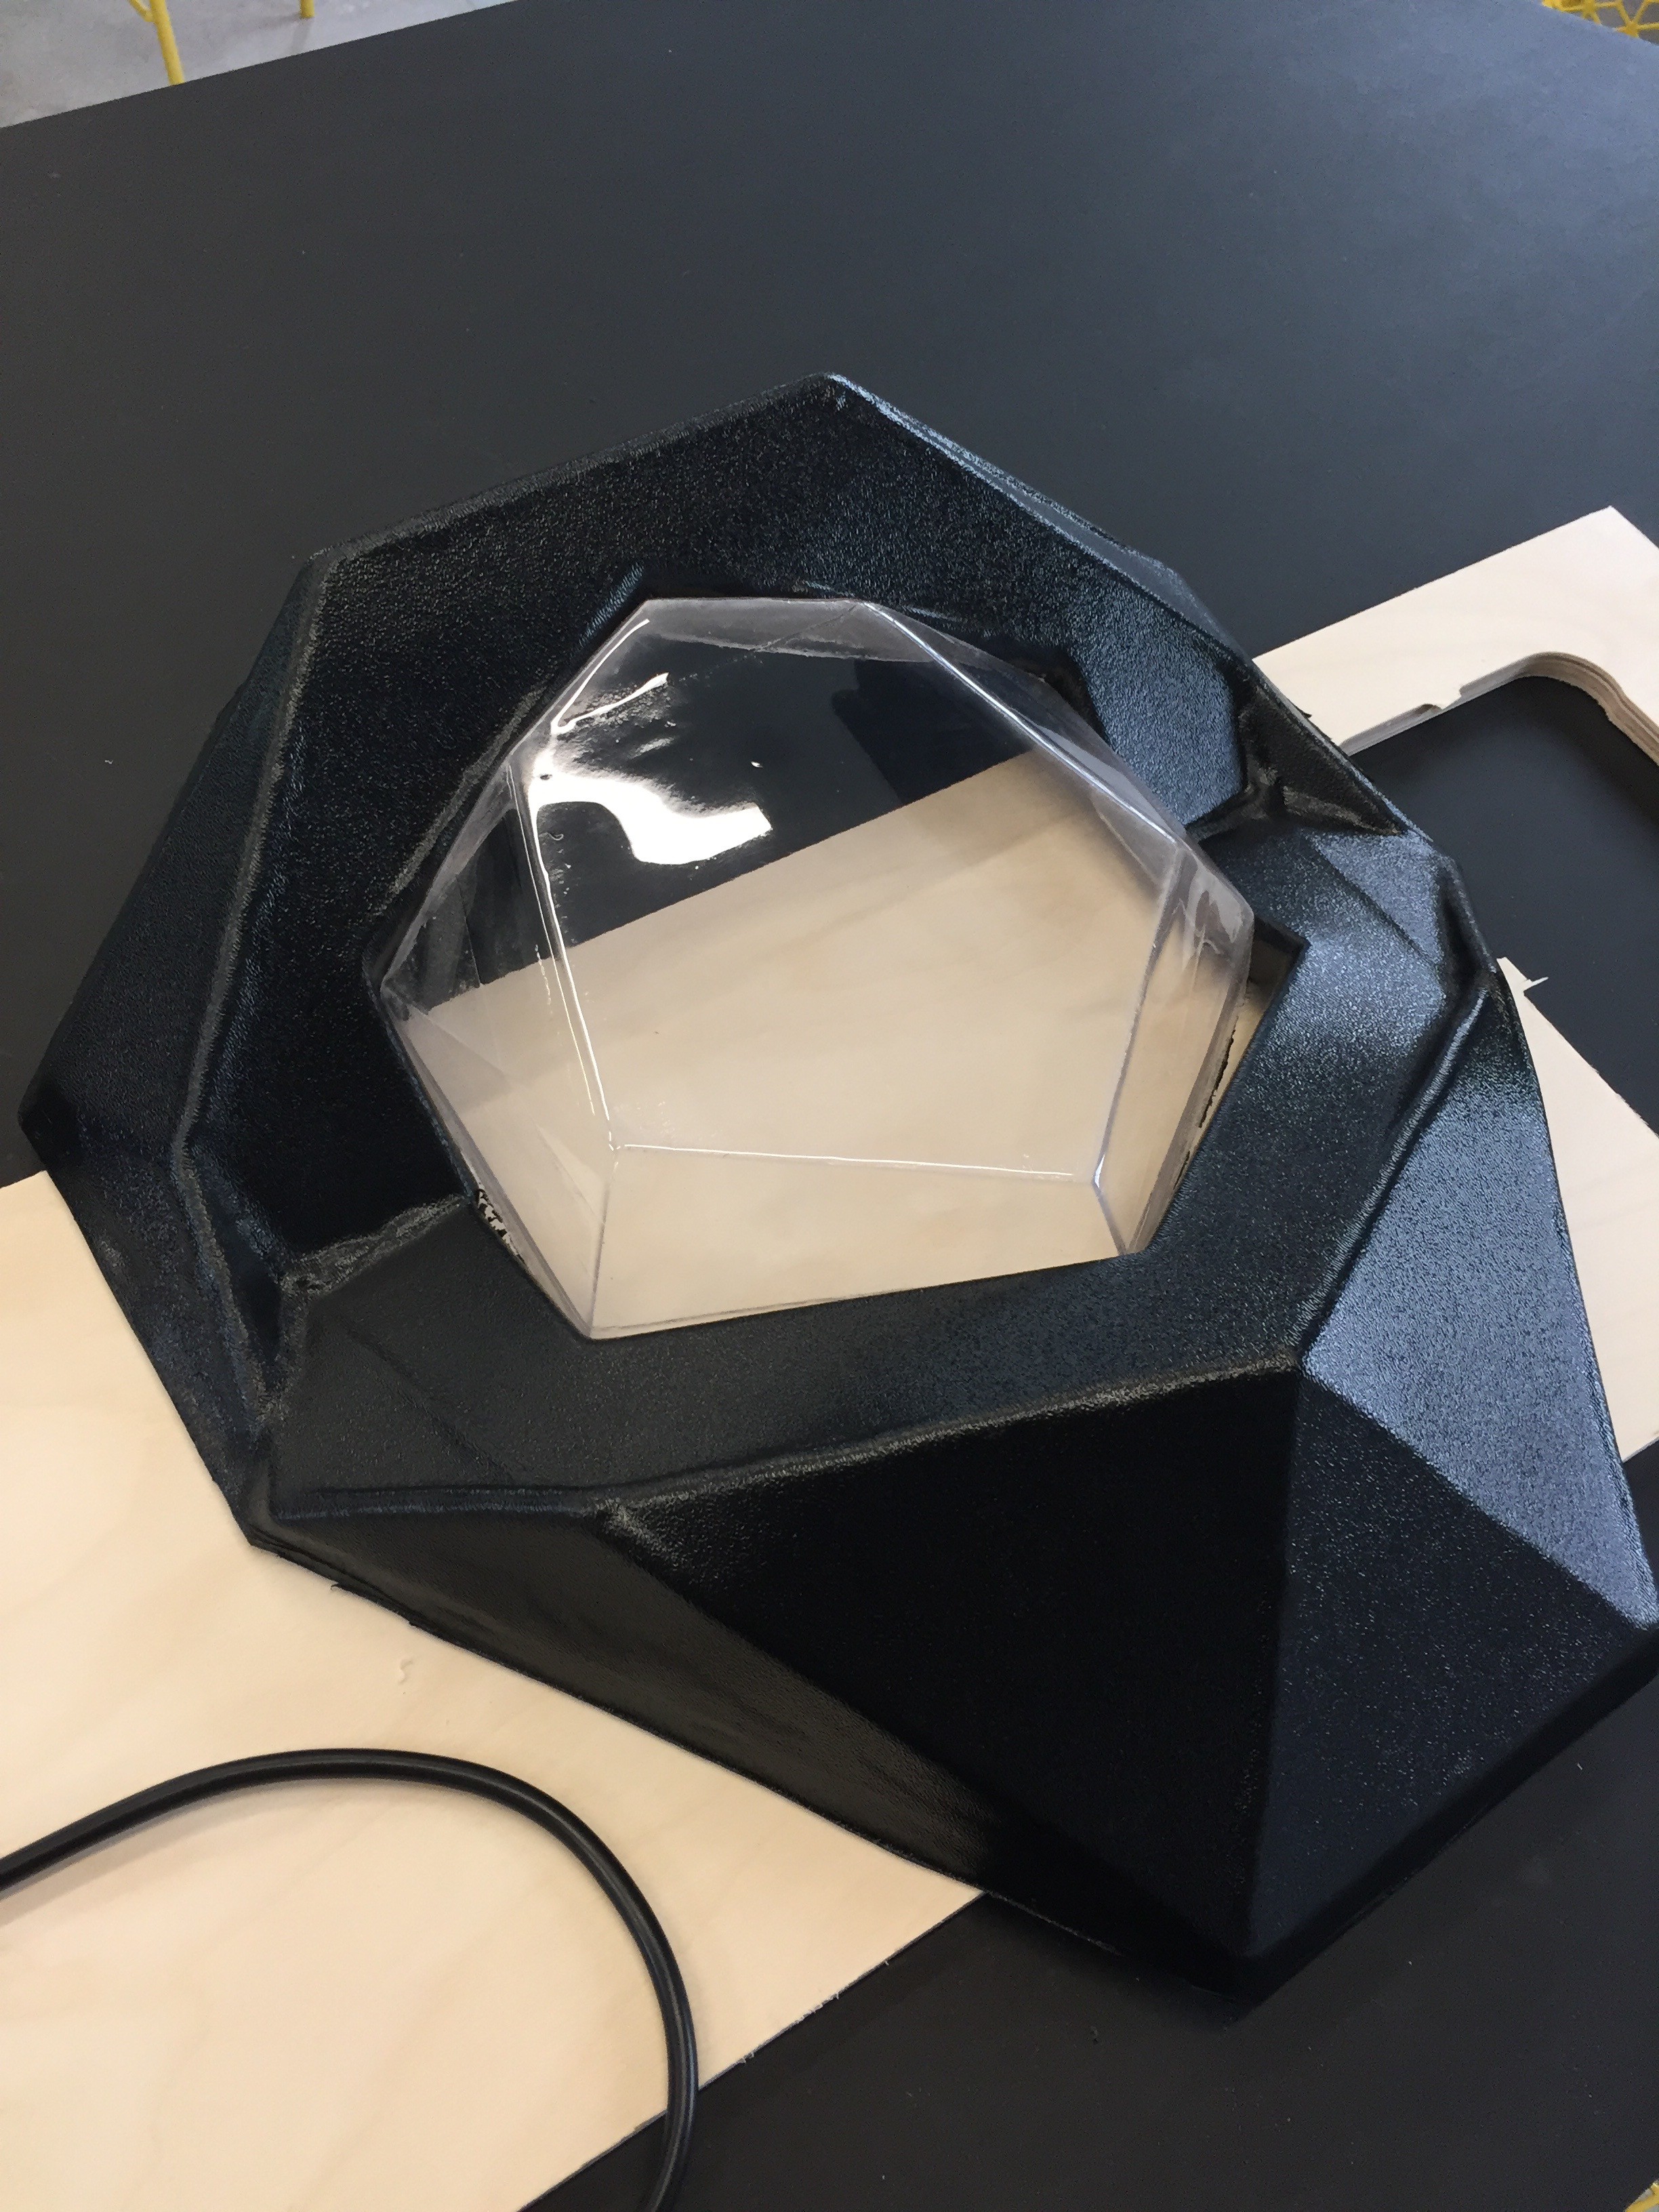 Feeling inspired by the power of hot air, I took the rework station to the edges of the shell, and heated up the ABS so I could bend the excess plastic inward. Cleaned up and mounted, the main assembly of the newest Perceptoscope is complete.

Discussions
Become a Hackaday.io Member
Create an account to leave a comment. Already have an account? Log In.
quite an impressive journey. The polygonal box looks intriguing.
Are you sure? yes | no